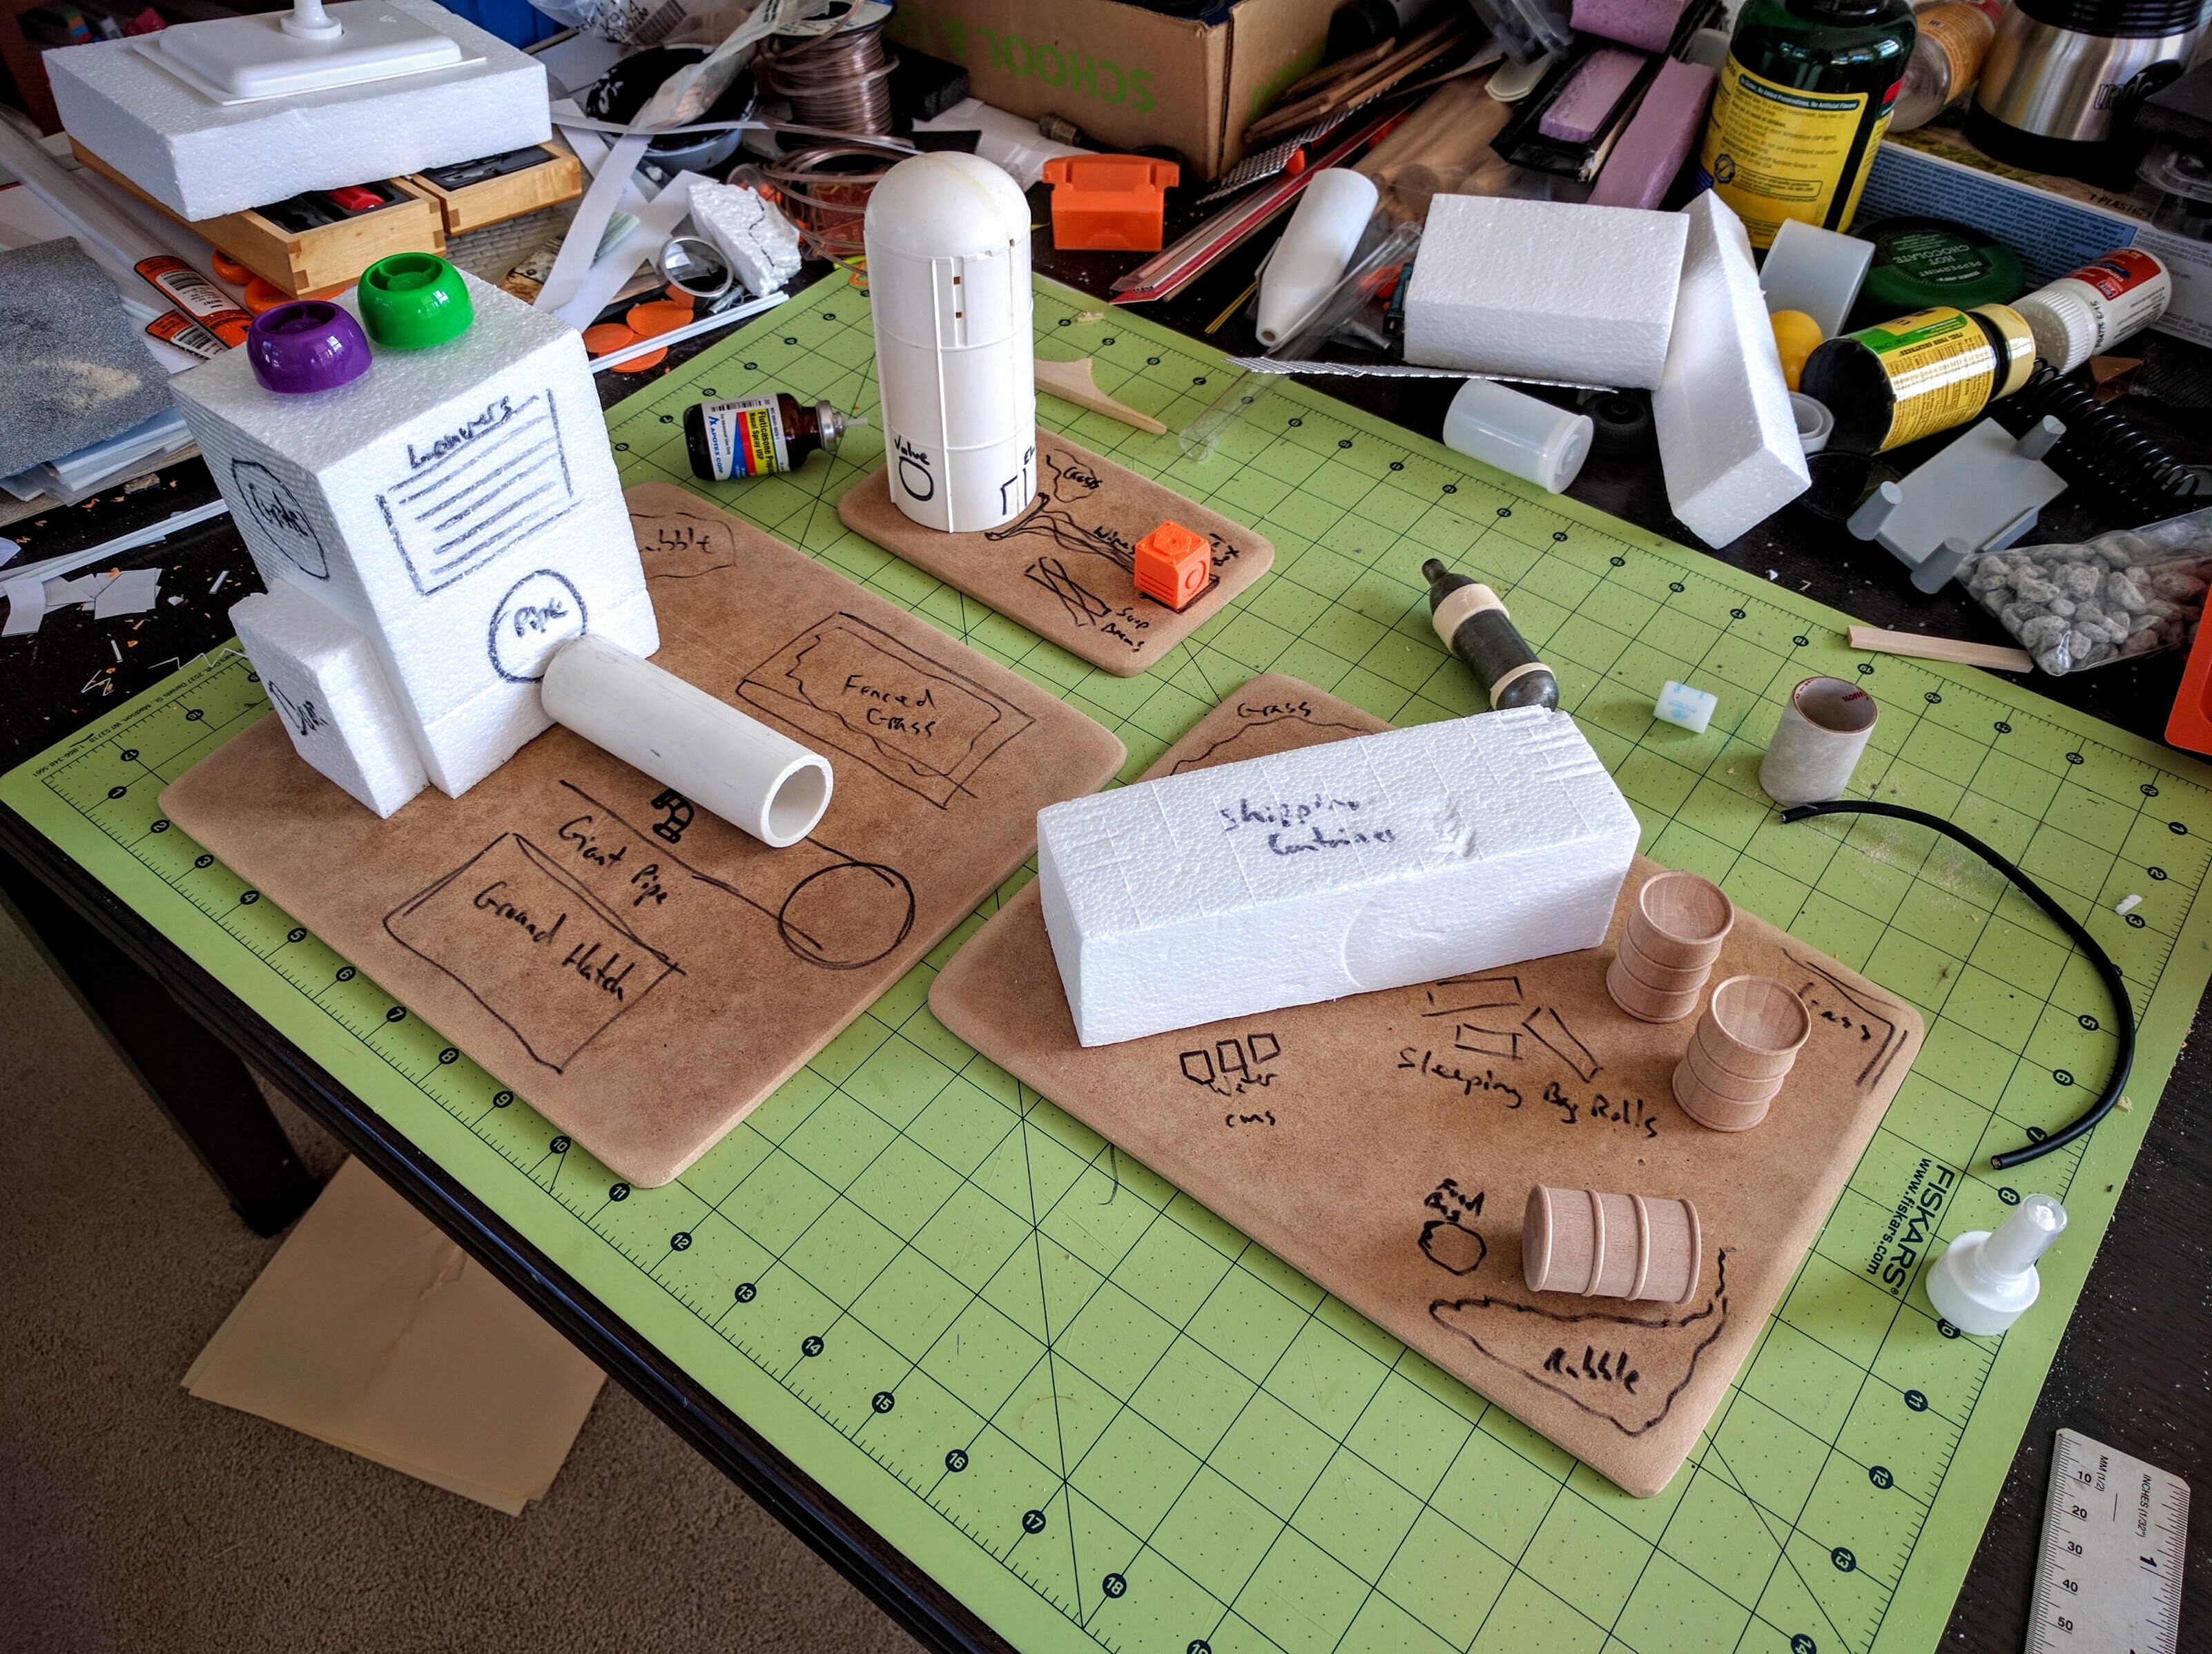
Having spent the day at an X-Wing tournament, 10pm Saturday I finally got going on the last two pieces for the Medea Refinery. After cranking away through the night I managed to get them done just in time for our group painting session on Sunday…
Both came out pretty neat: A reservoir tank, and a processing site.

Reservoir tank.
Processing site.
Reservoir Tank
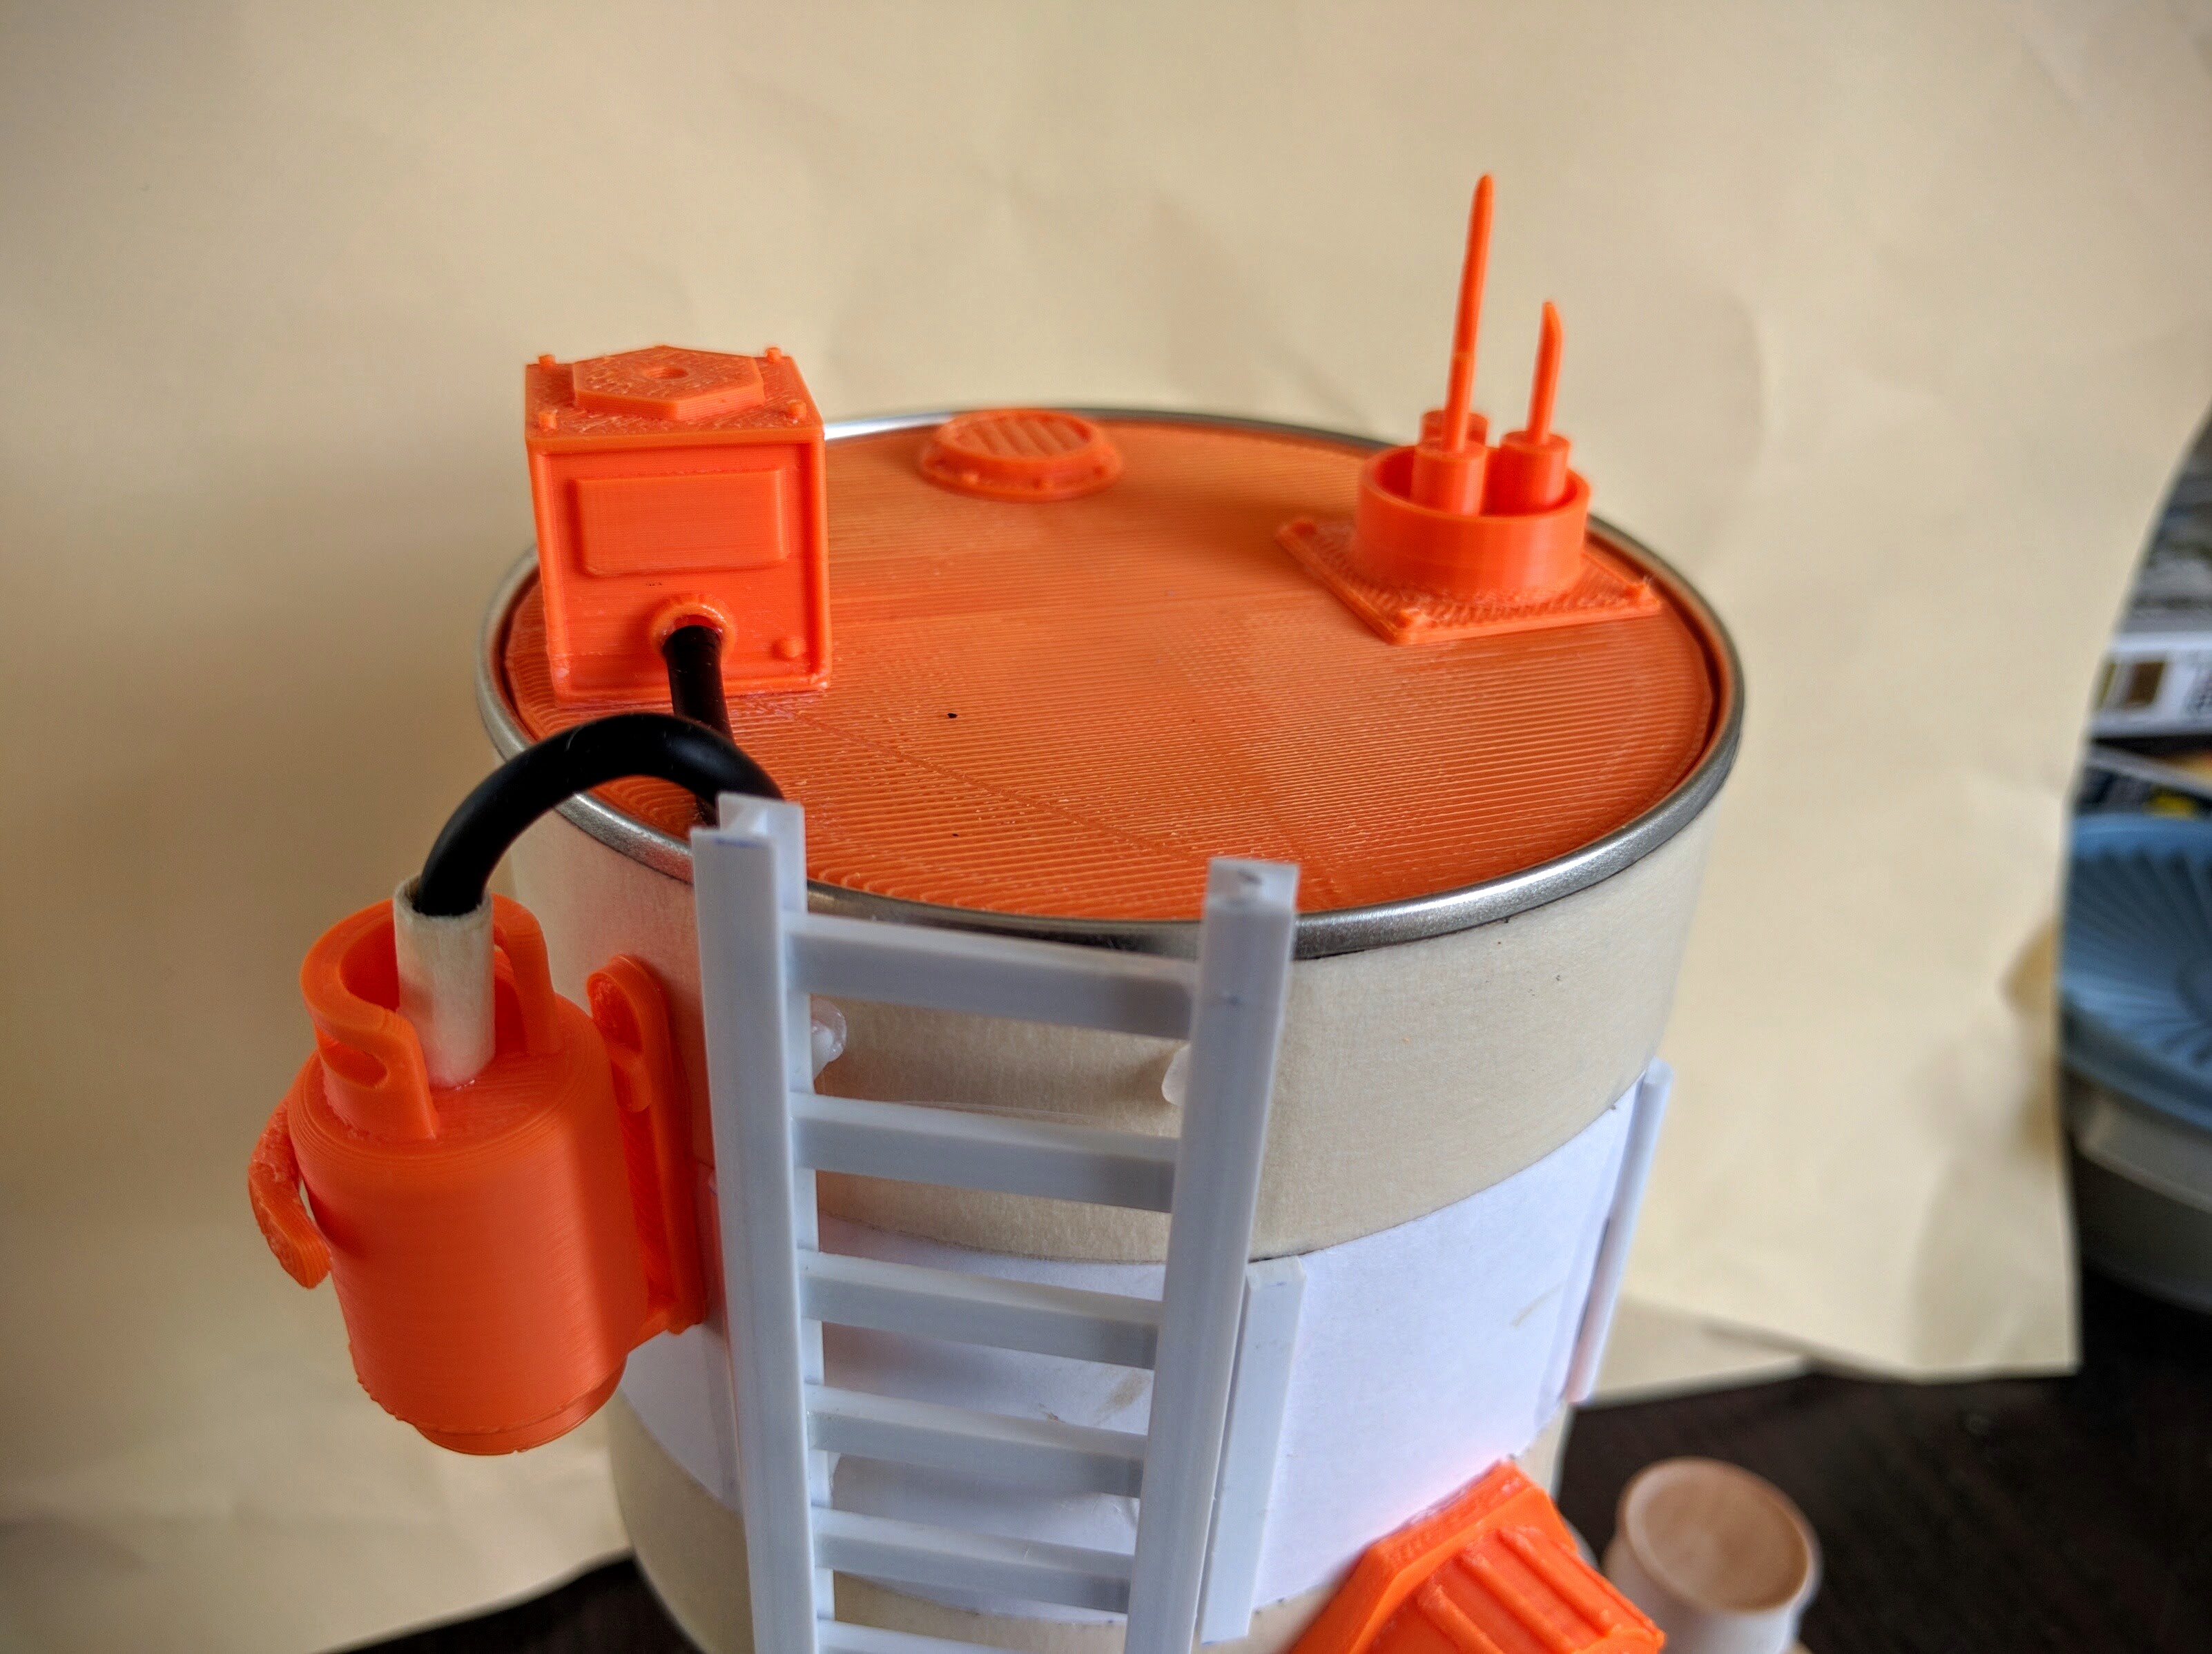
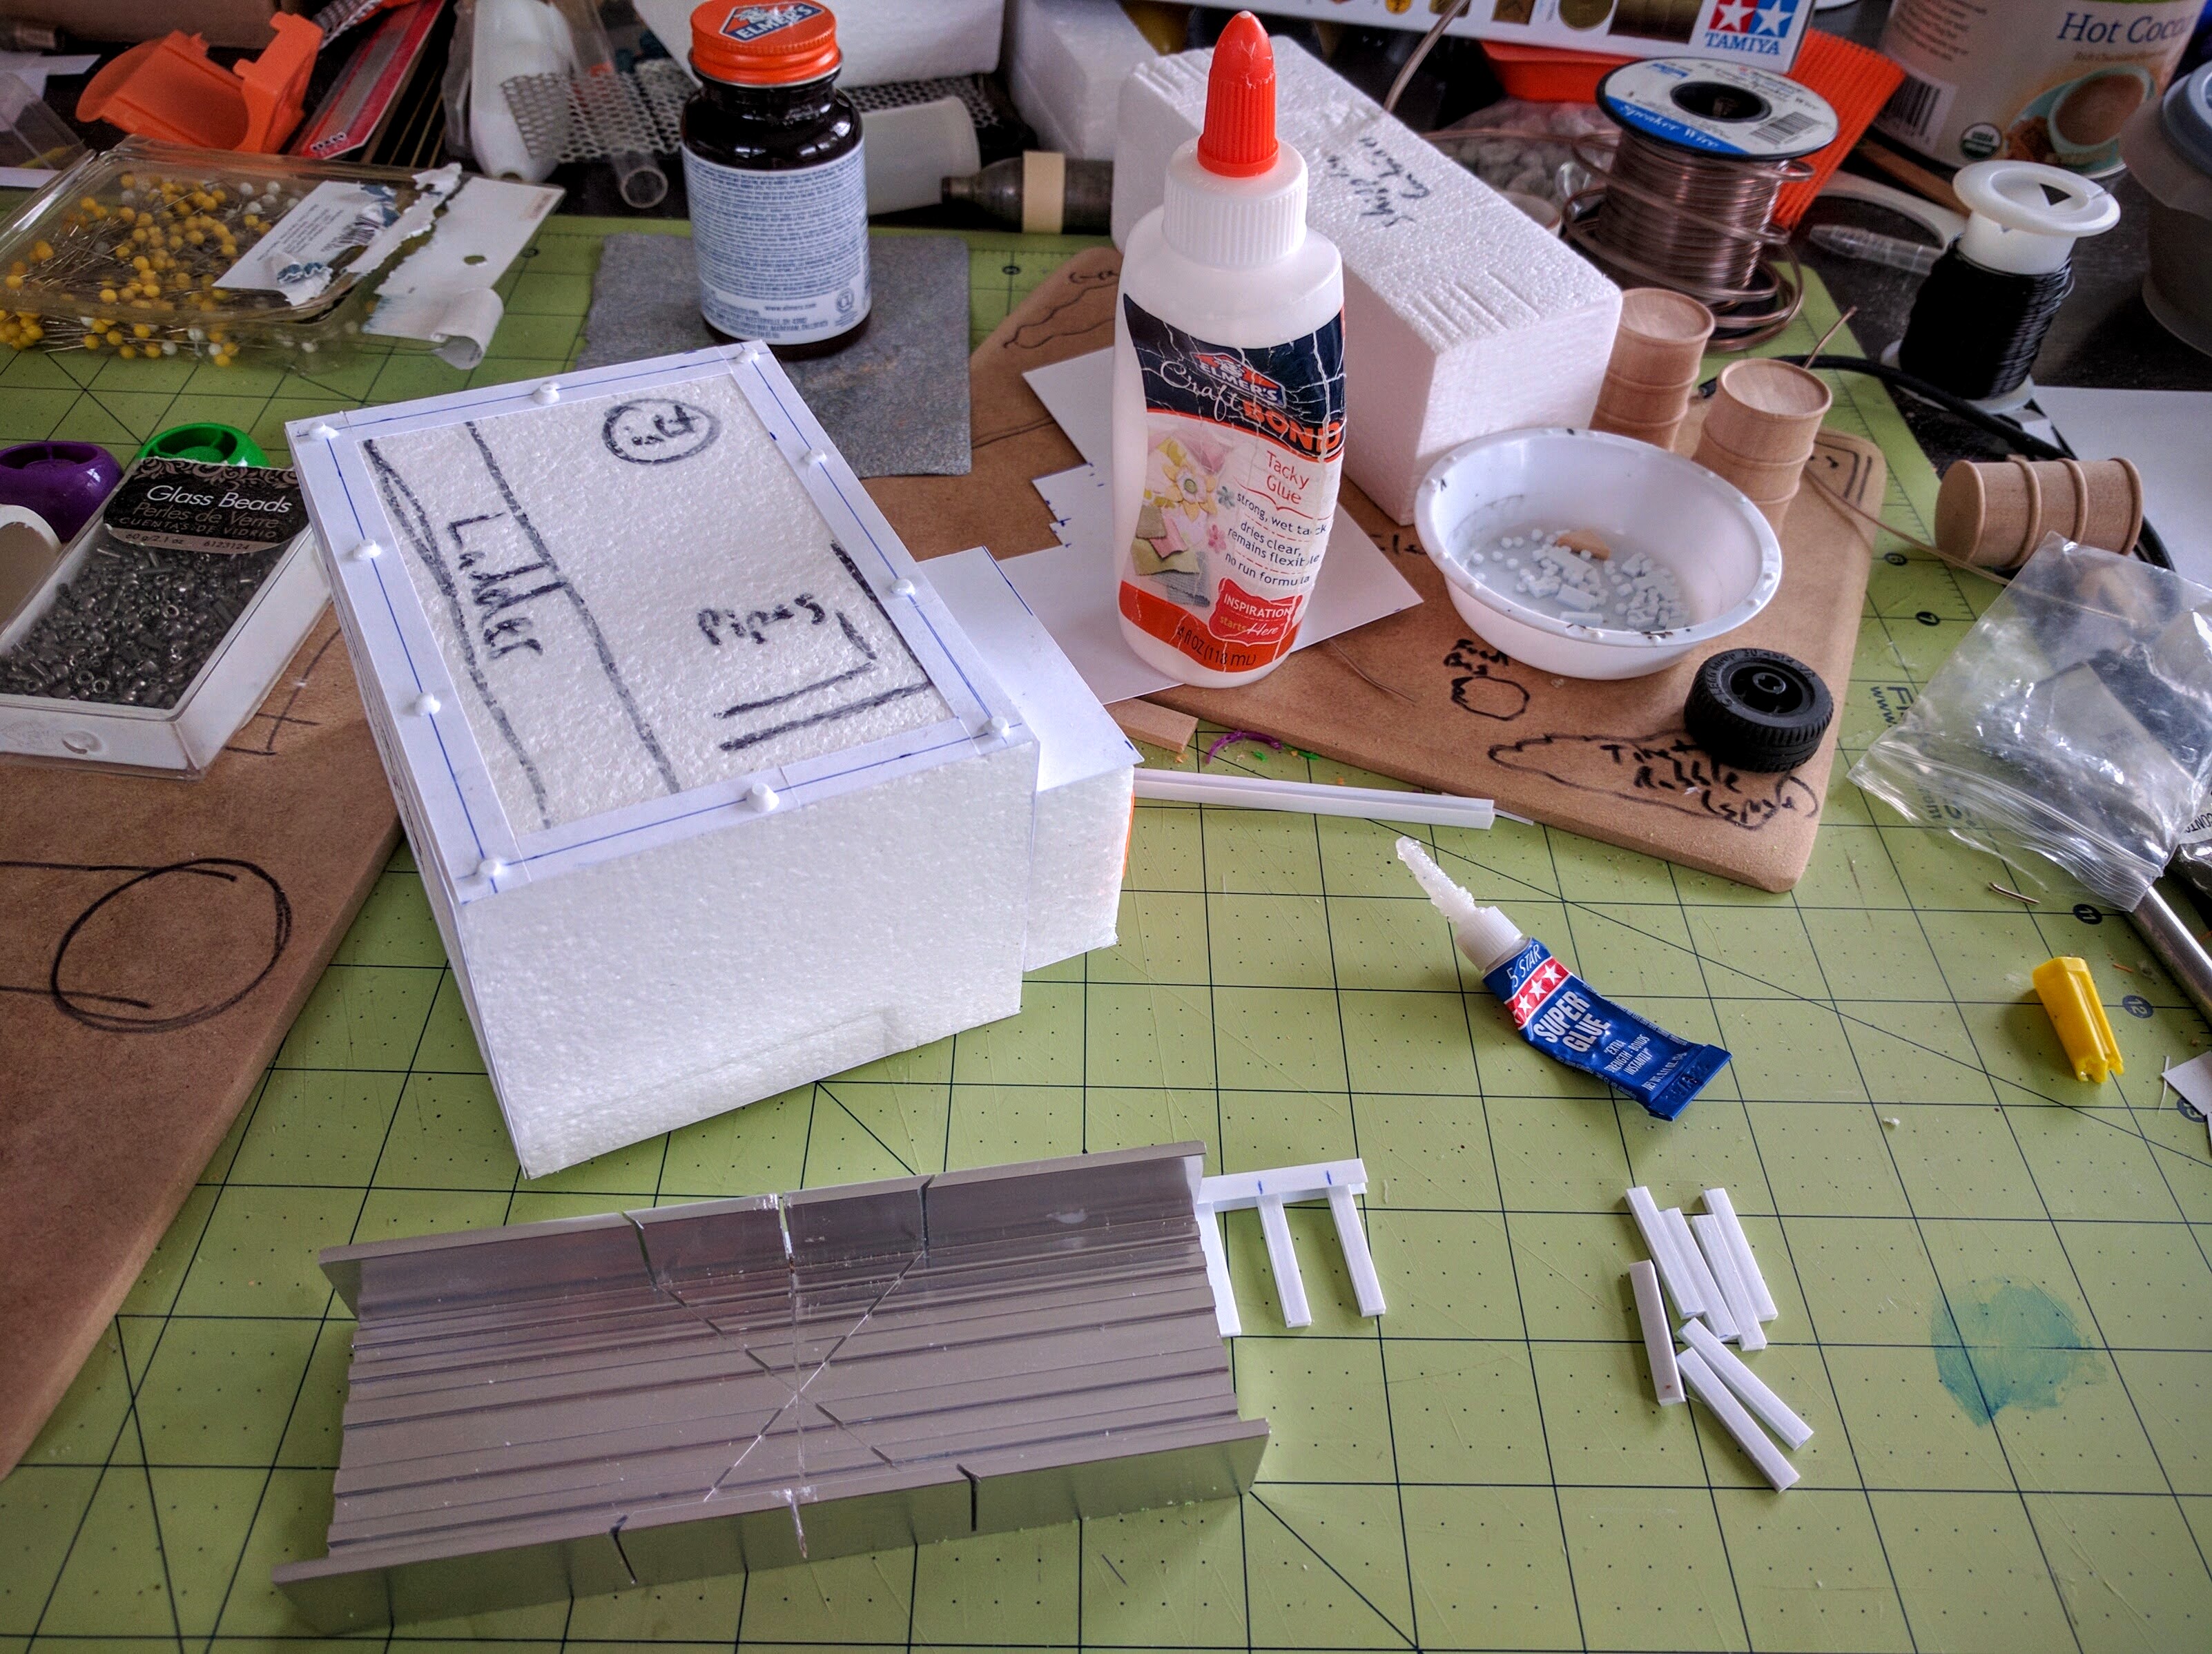
The reservoir tank was really fast and fun to put together. The core component is a great piece of junk plastic, half of a broken hot tub filter intake; the other half made the smoke stack on the furnace piece. This part though was actually the first bit I worked on for this build. Way back at the start I cut a chunk of foam to fill it as a quick test of a foam cutter I got, then put it aside until I knew what to do with it.
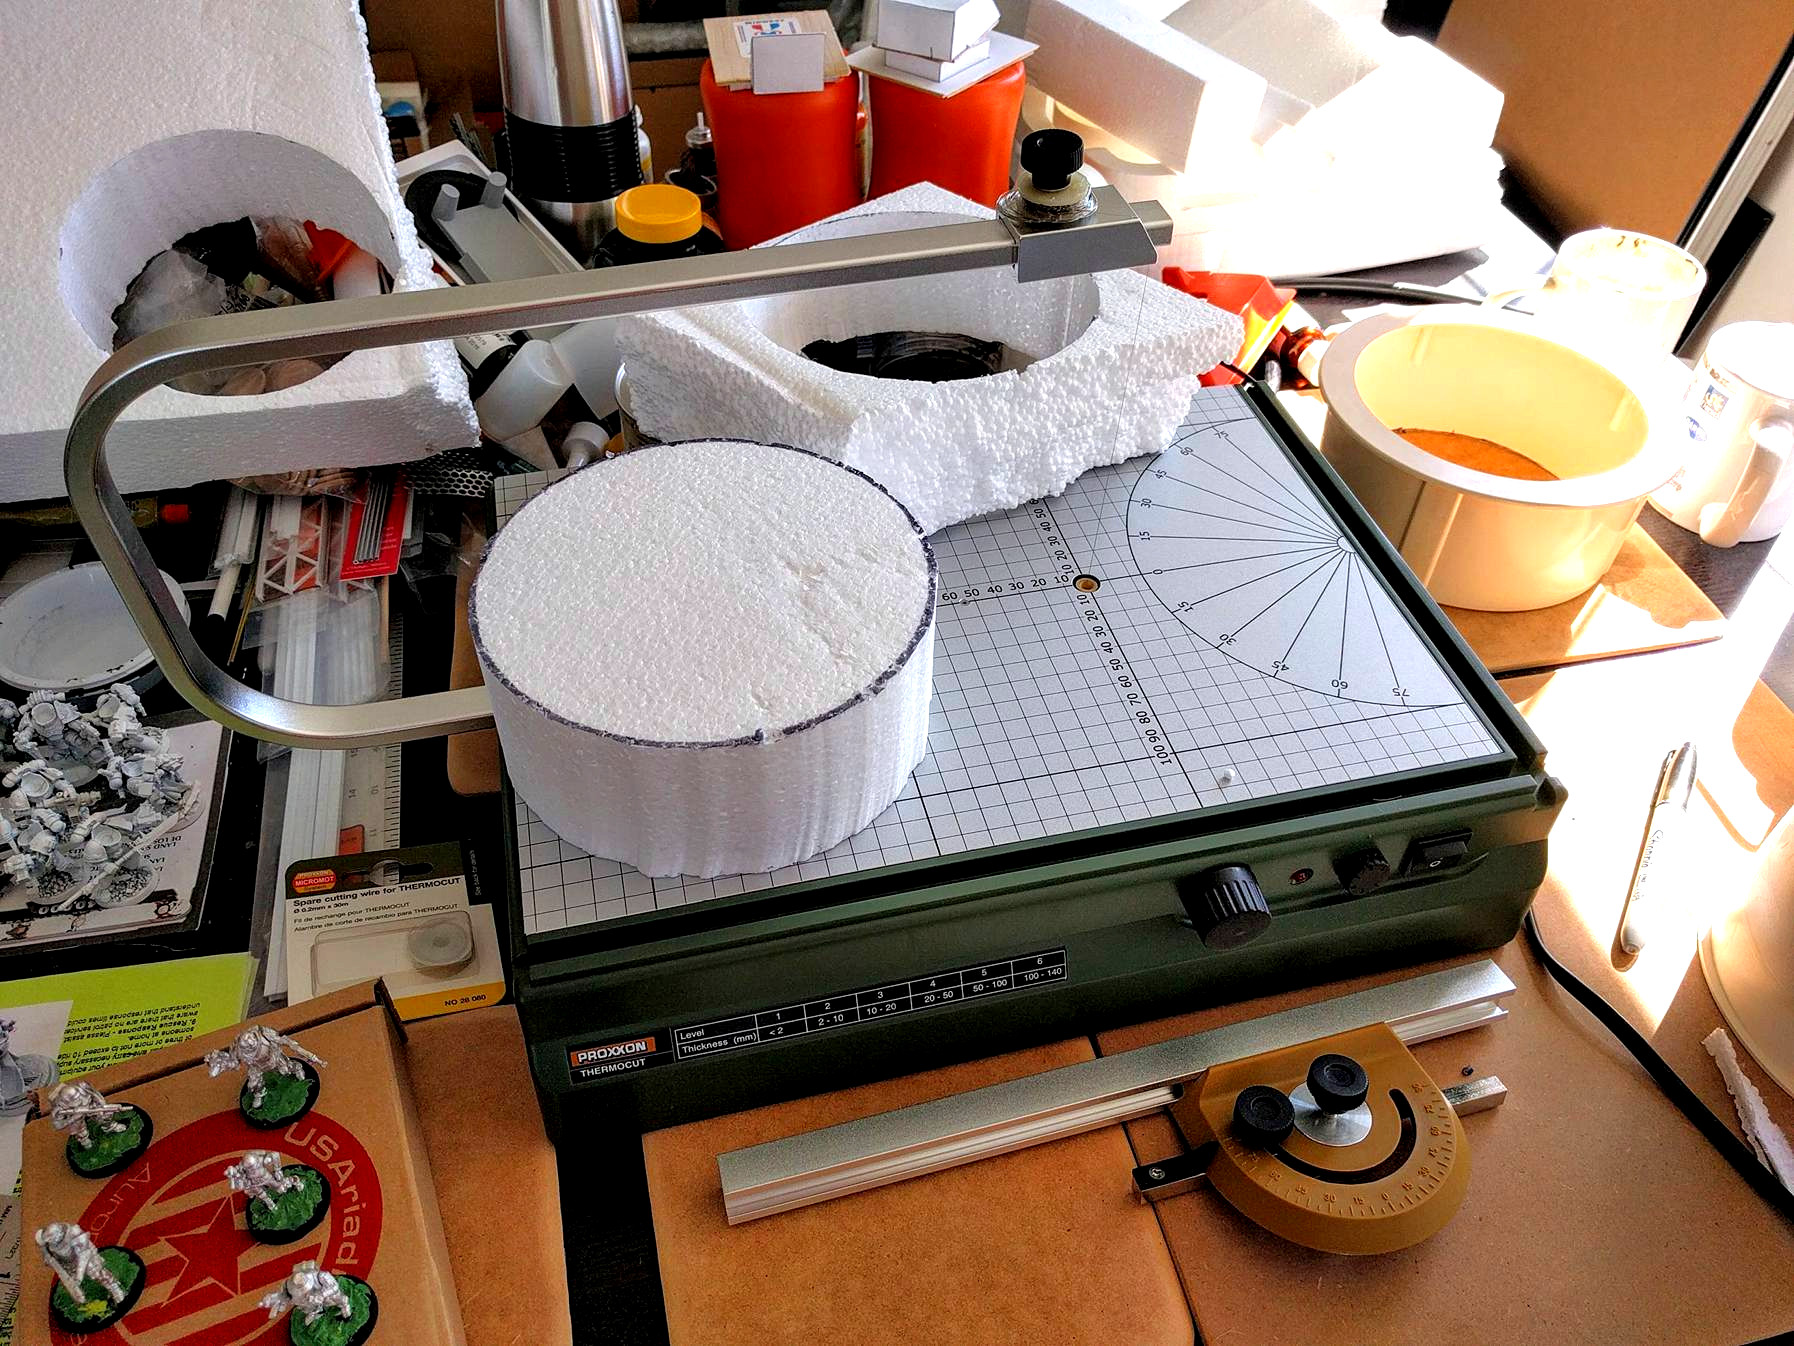
Cutting an insert to fill some junk plastic.
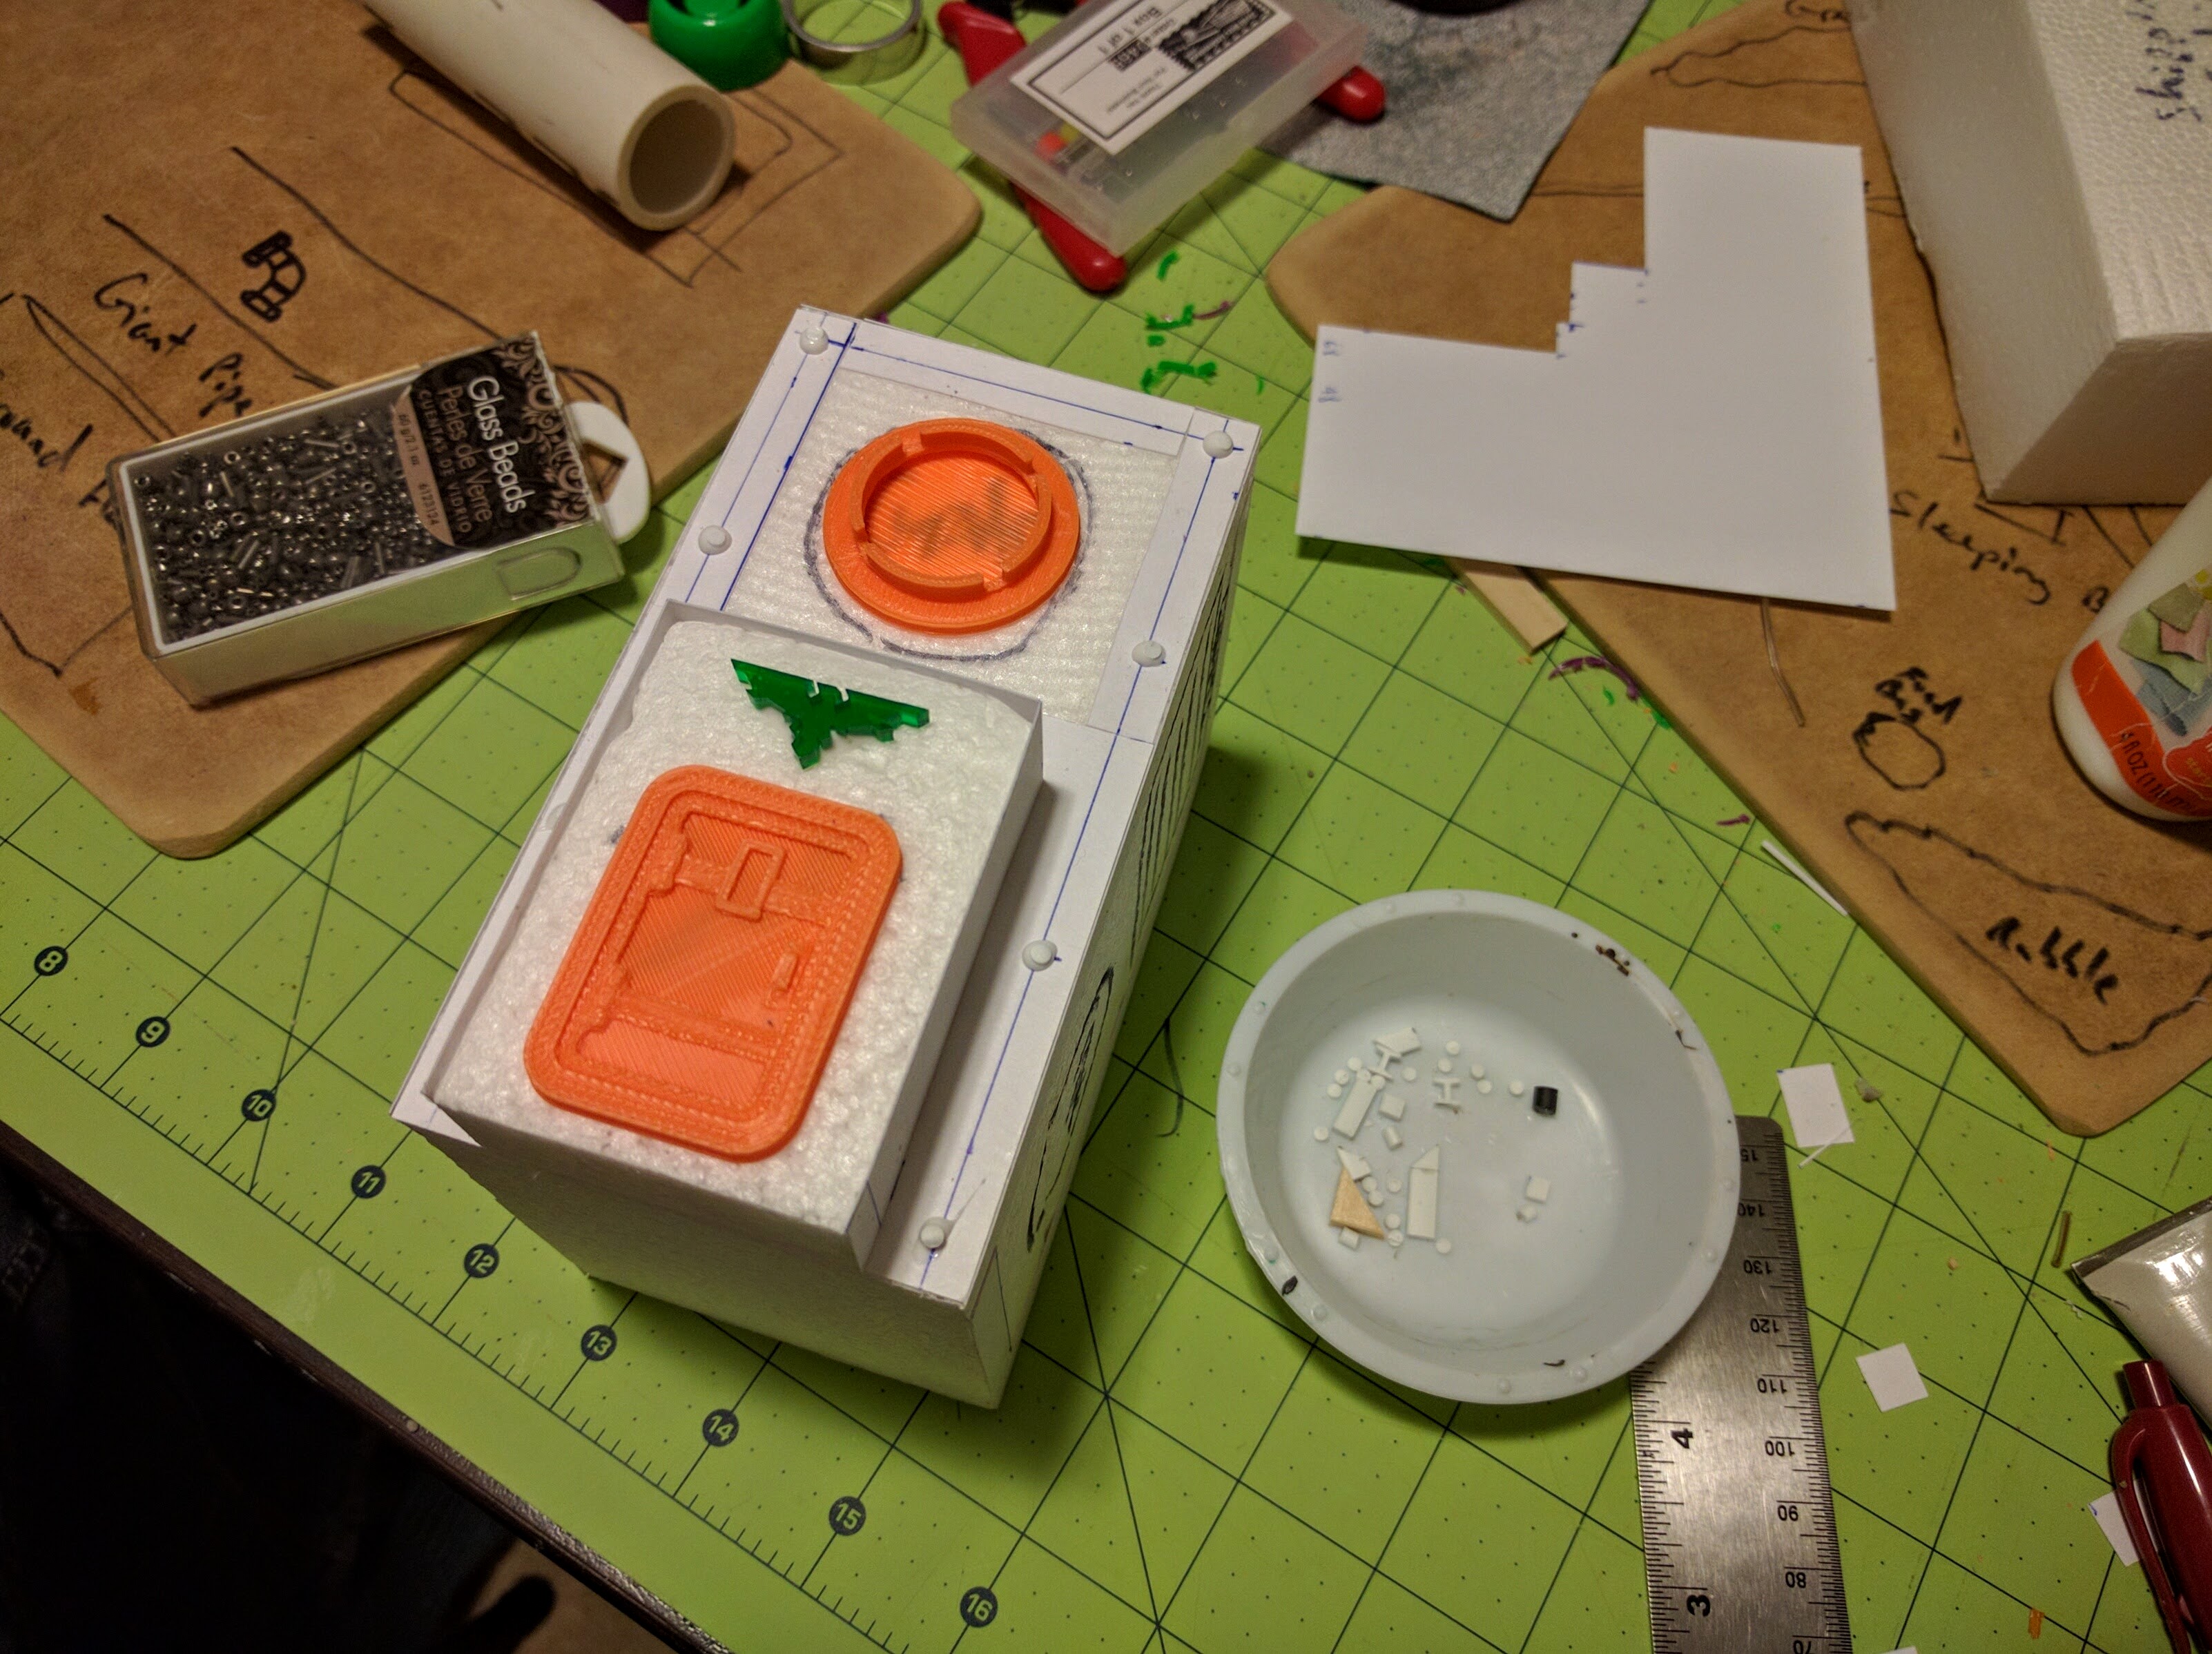
Picking it back up, I looked around my bits pile to see what could finish it up quickly. The big find was that the lid of the hot chocolate canister used to make the water tower worked really well as a top component, looking like some kind of access compartment. Unfortunately it had a significant undercut to slide into the canister that didn’t look good set directly onto the top. I’m not sure how I would have addressed this manually. Probably cut some foamcore to slide it into, but I hate cutting circles. Instead I 3D modeled a collar to fit exactly around the lid and fill out the undercut, included some bolts for detail, and printed it out.
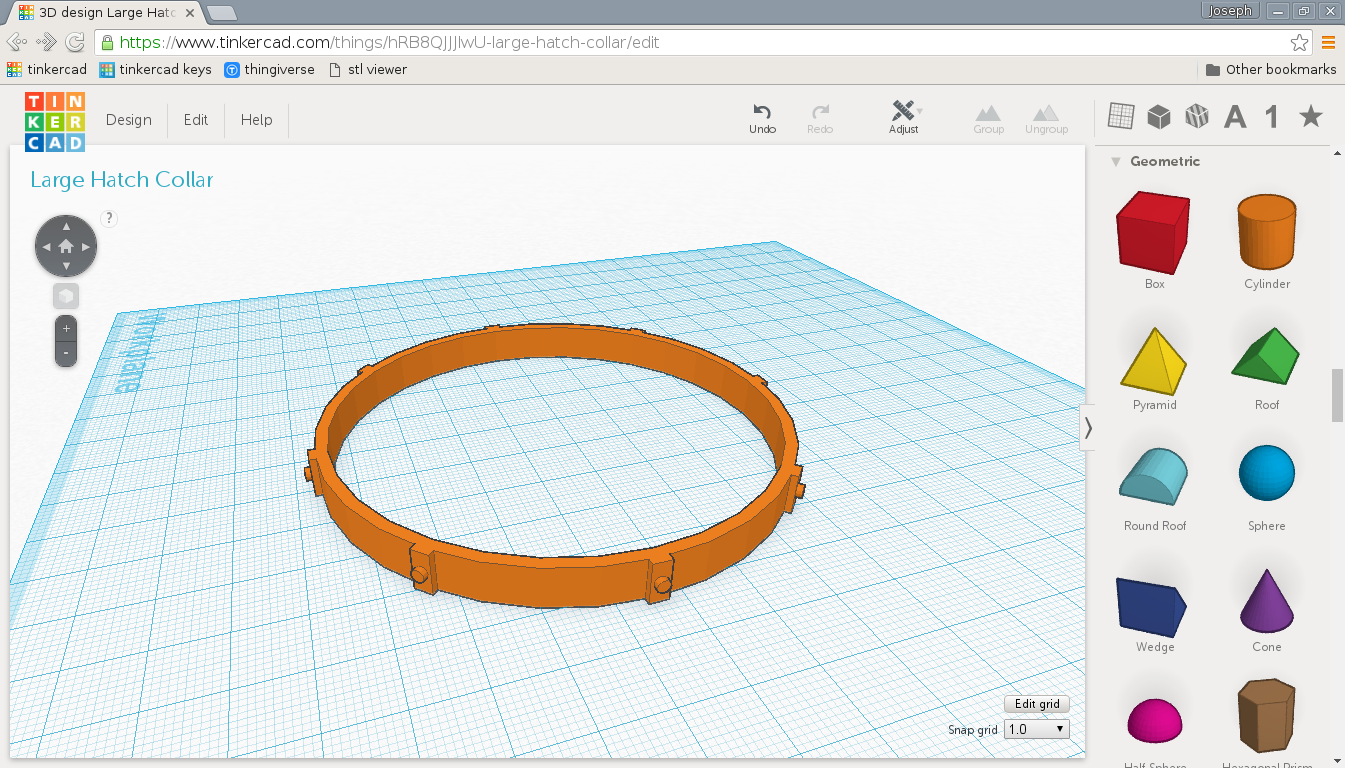
Modeling the collar.
After that I built a ladder following the procedure I’ve used throughout this build, glued on a bunch of hatches and wall bits I downloaded and printed, and called it done. A simple, effective piece that’s a solid line of sight blocker at 4″ to the top.
Processing Site
For the final piece I wasn’t sure what to make. Pretty much out of time, I didn’t want to embark on a building or similar structure. I also kind of wanted a piece of just area terrain/partial cover, not a chunky line of sight blocker like the other pieces.
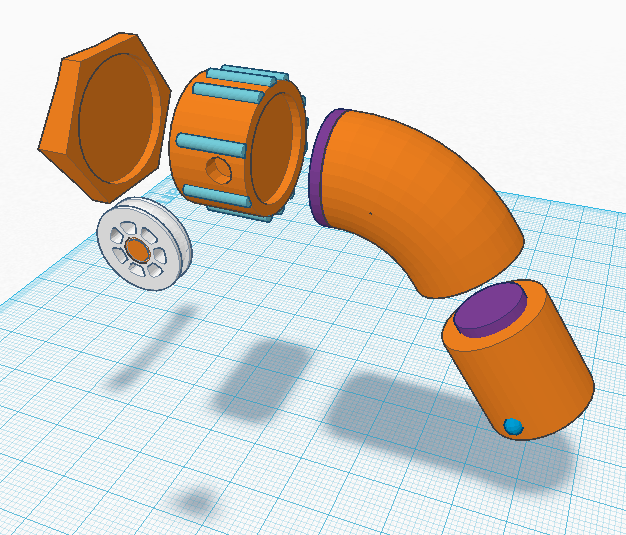
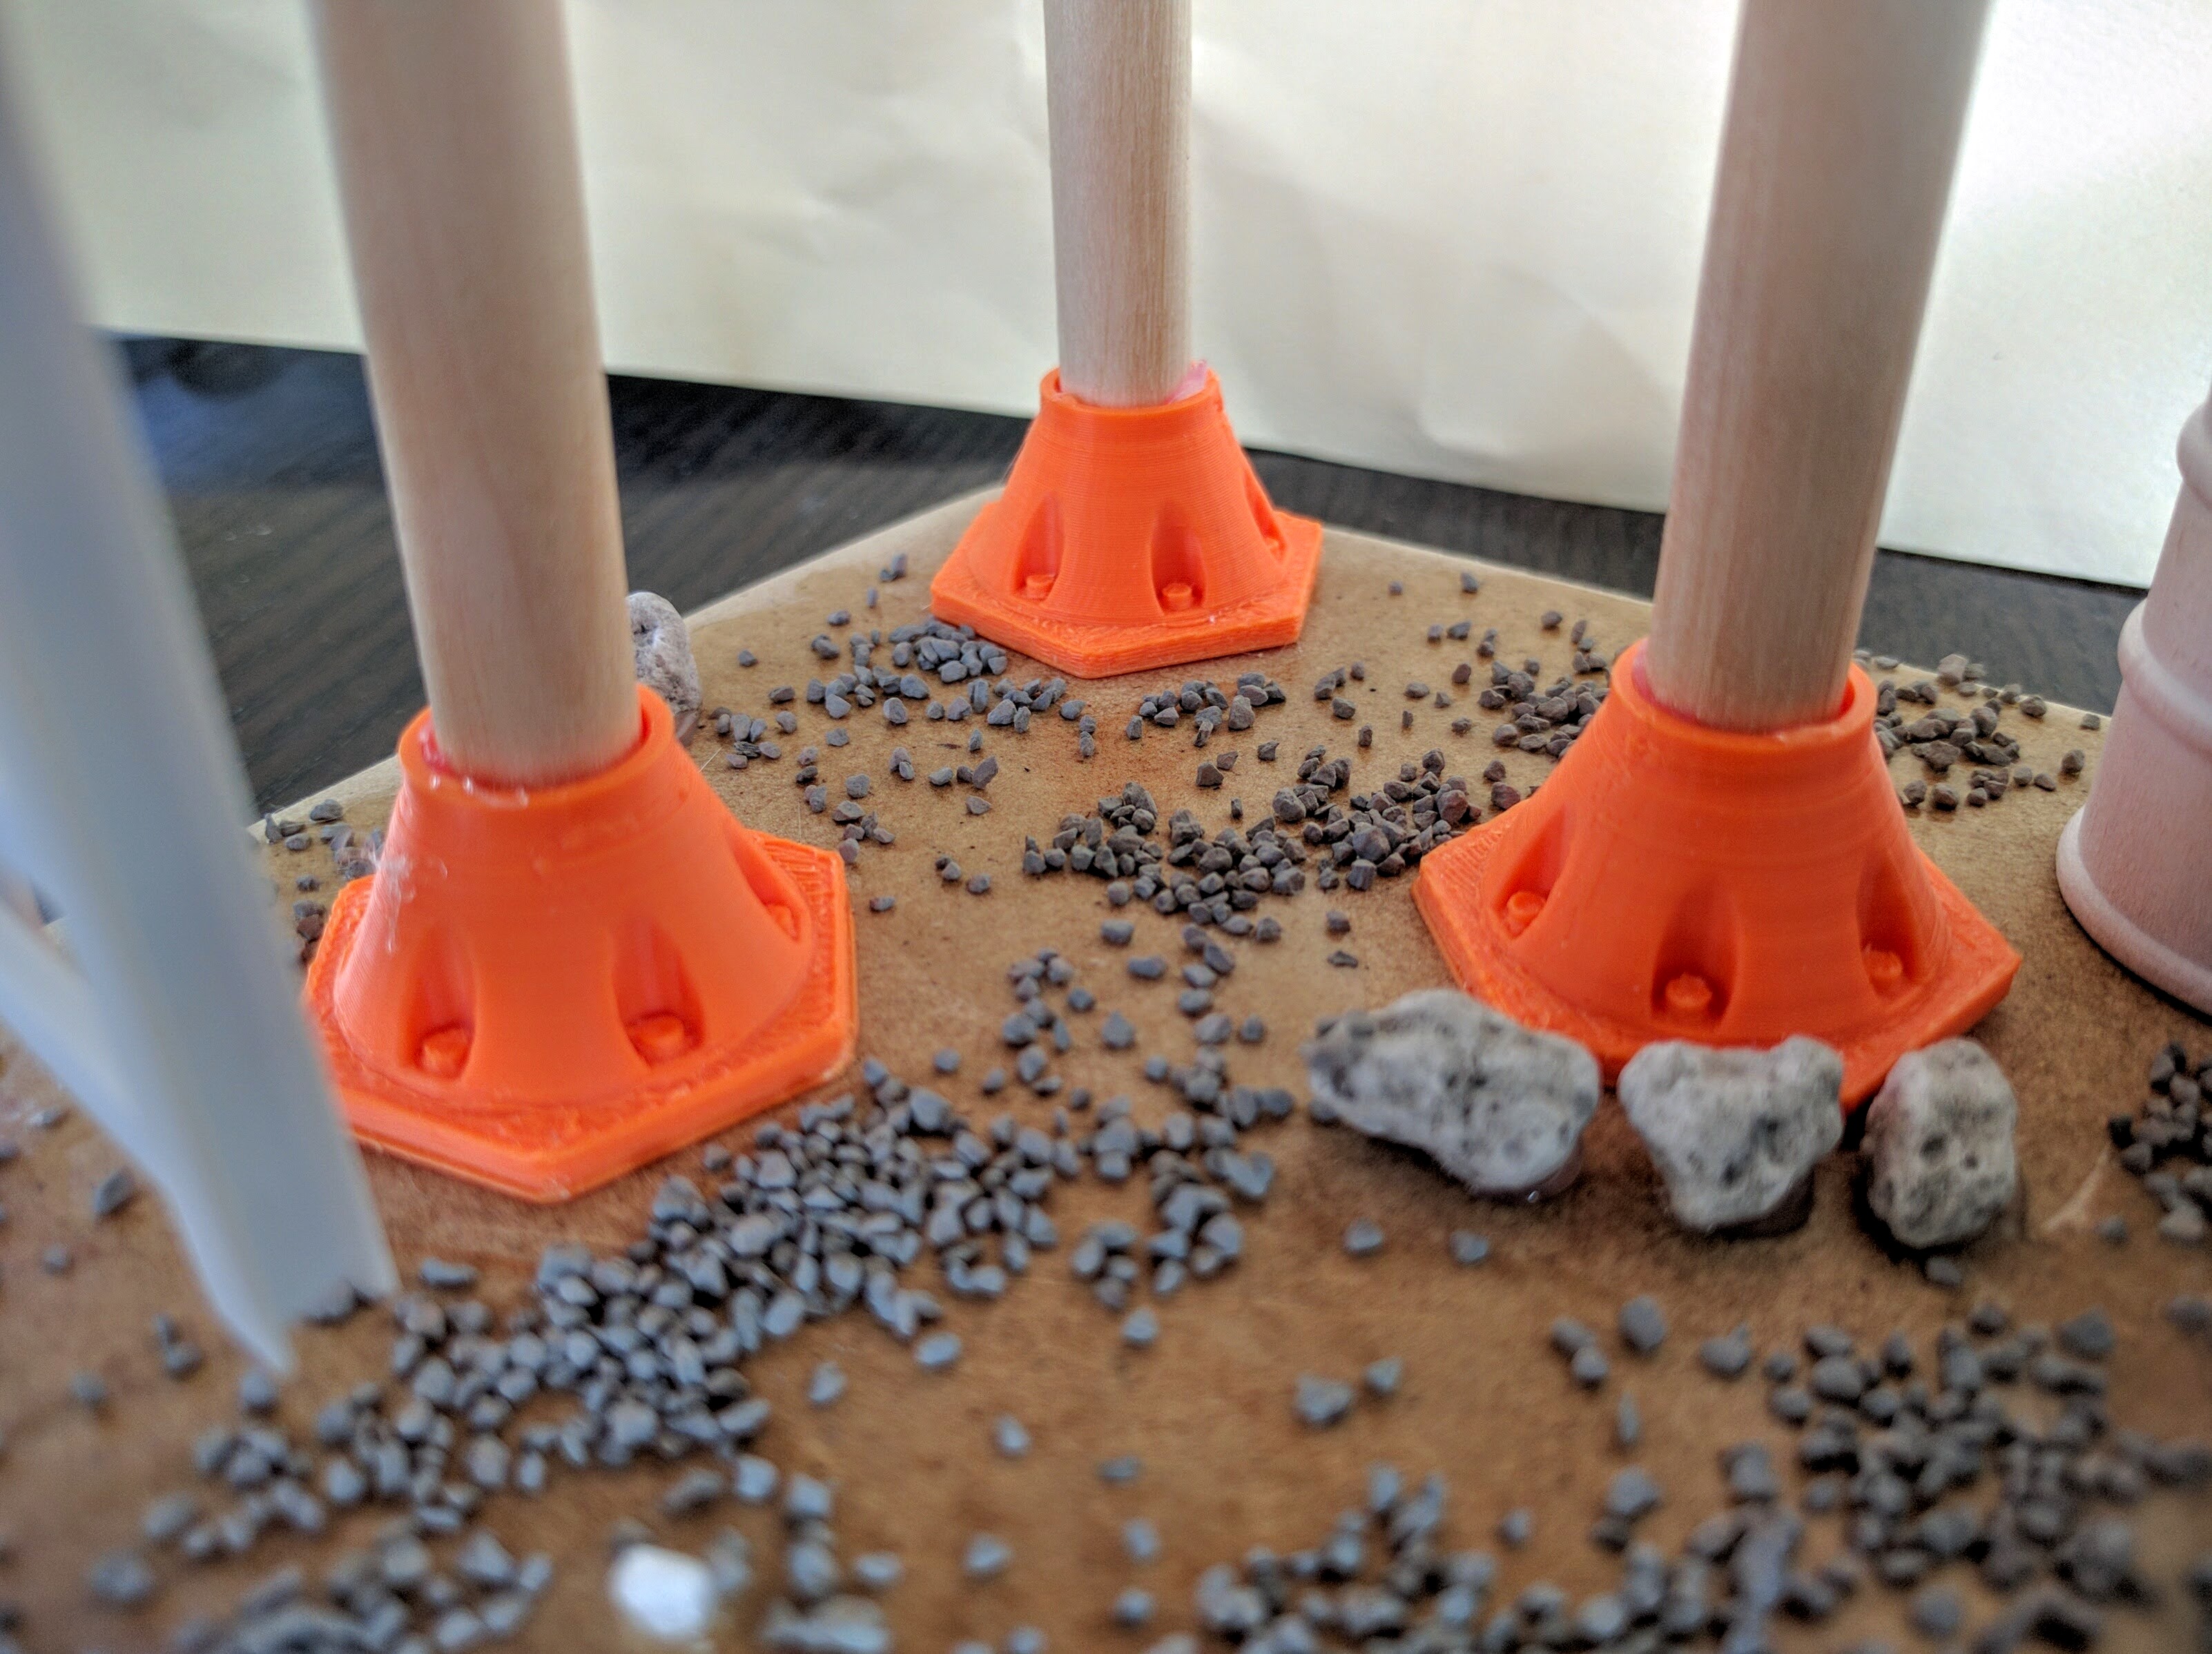
Rooting through my bits and supplies pile again I started looking at some large wood dowels I have. It got me to thinking about a collection of small tanks making up a little chemical processing site of some sort. In the end I only used the dowels for the tallest tank because it was unfortunately a hard enough wood I didn’t want to deal with cutting them all to size. But I started by designing caps to fit the dowels, and only at the last minute decided to print the barrels as well.
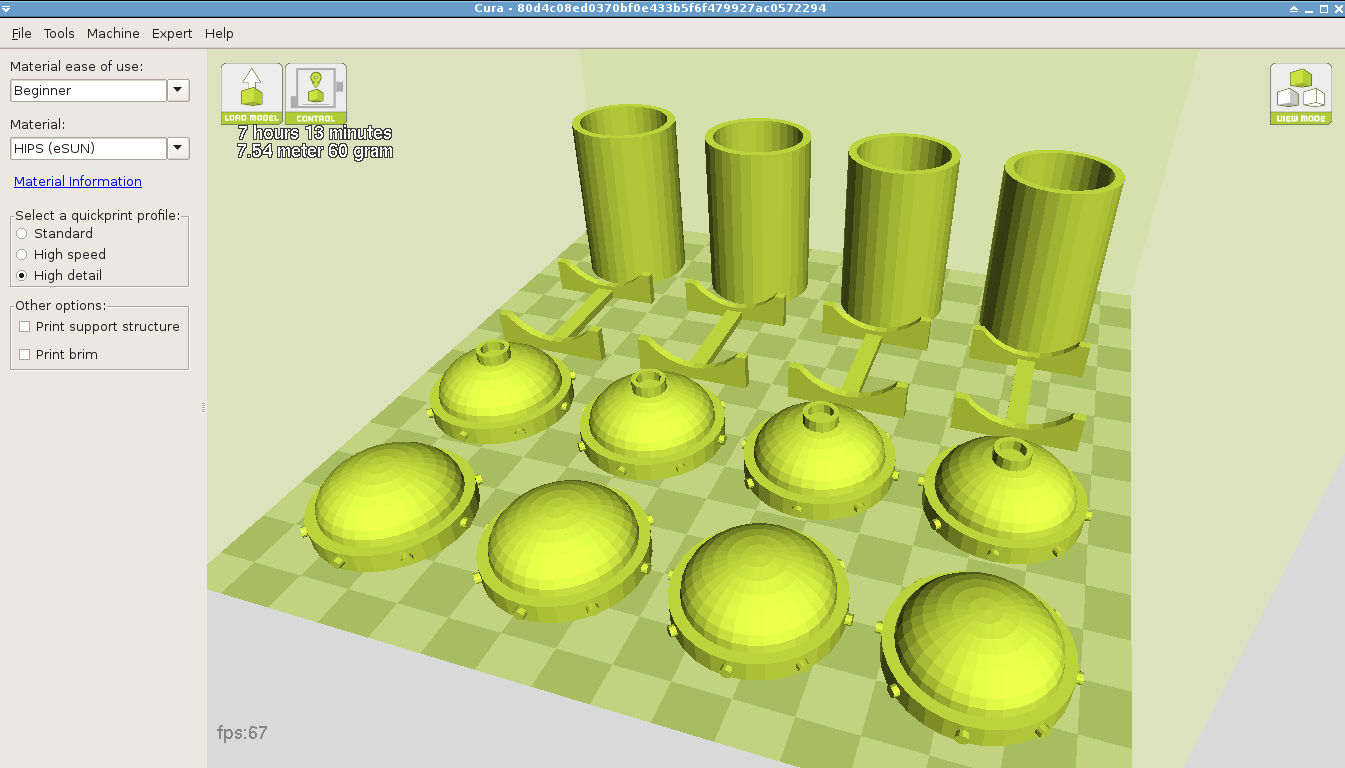
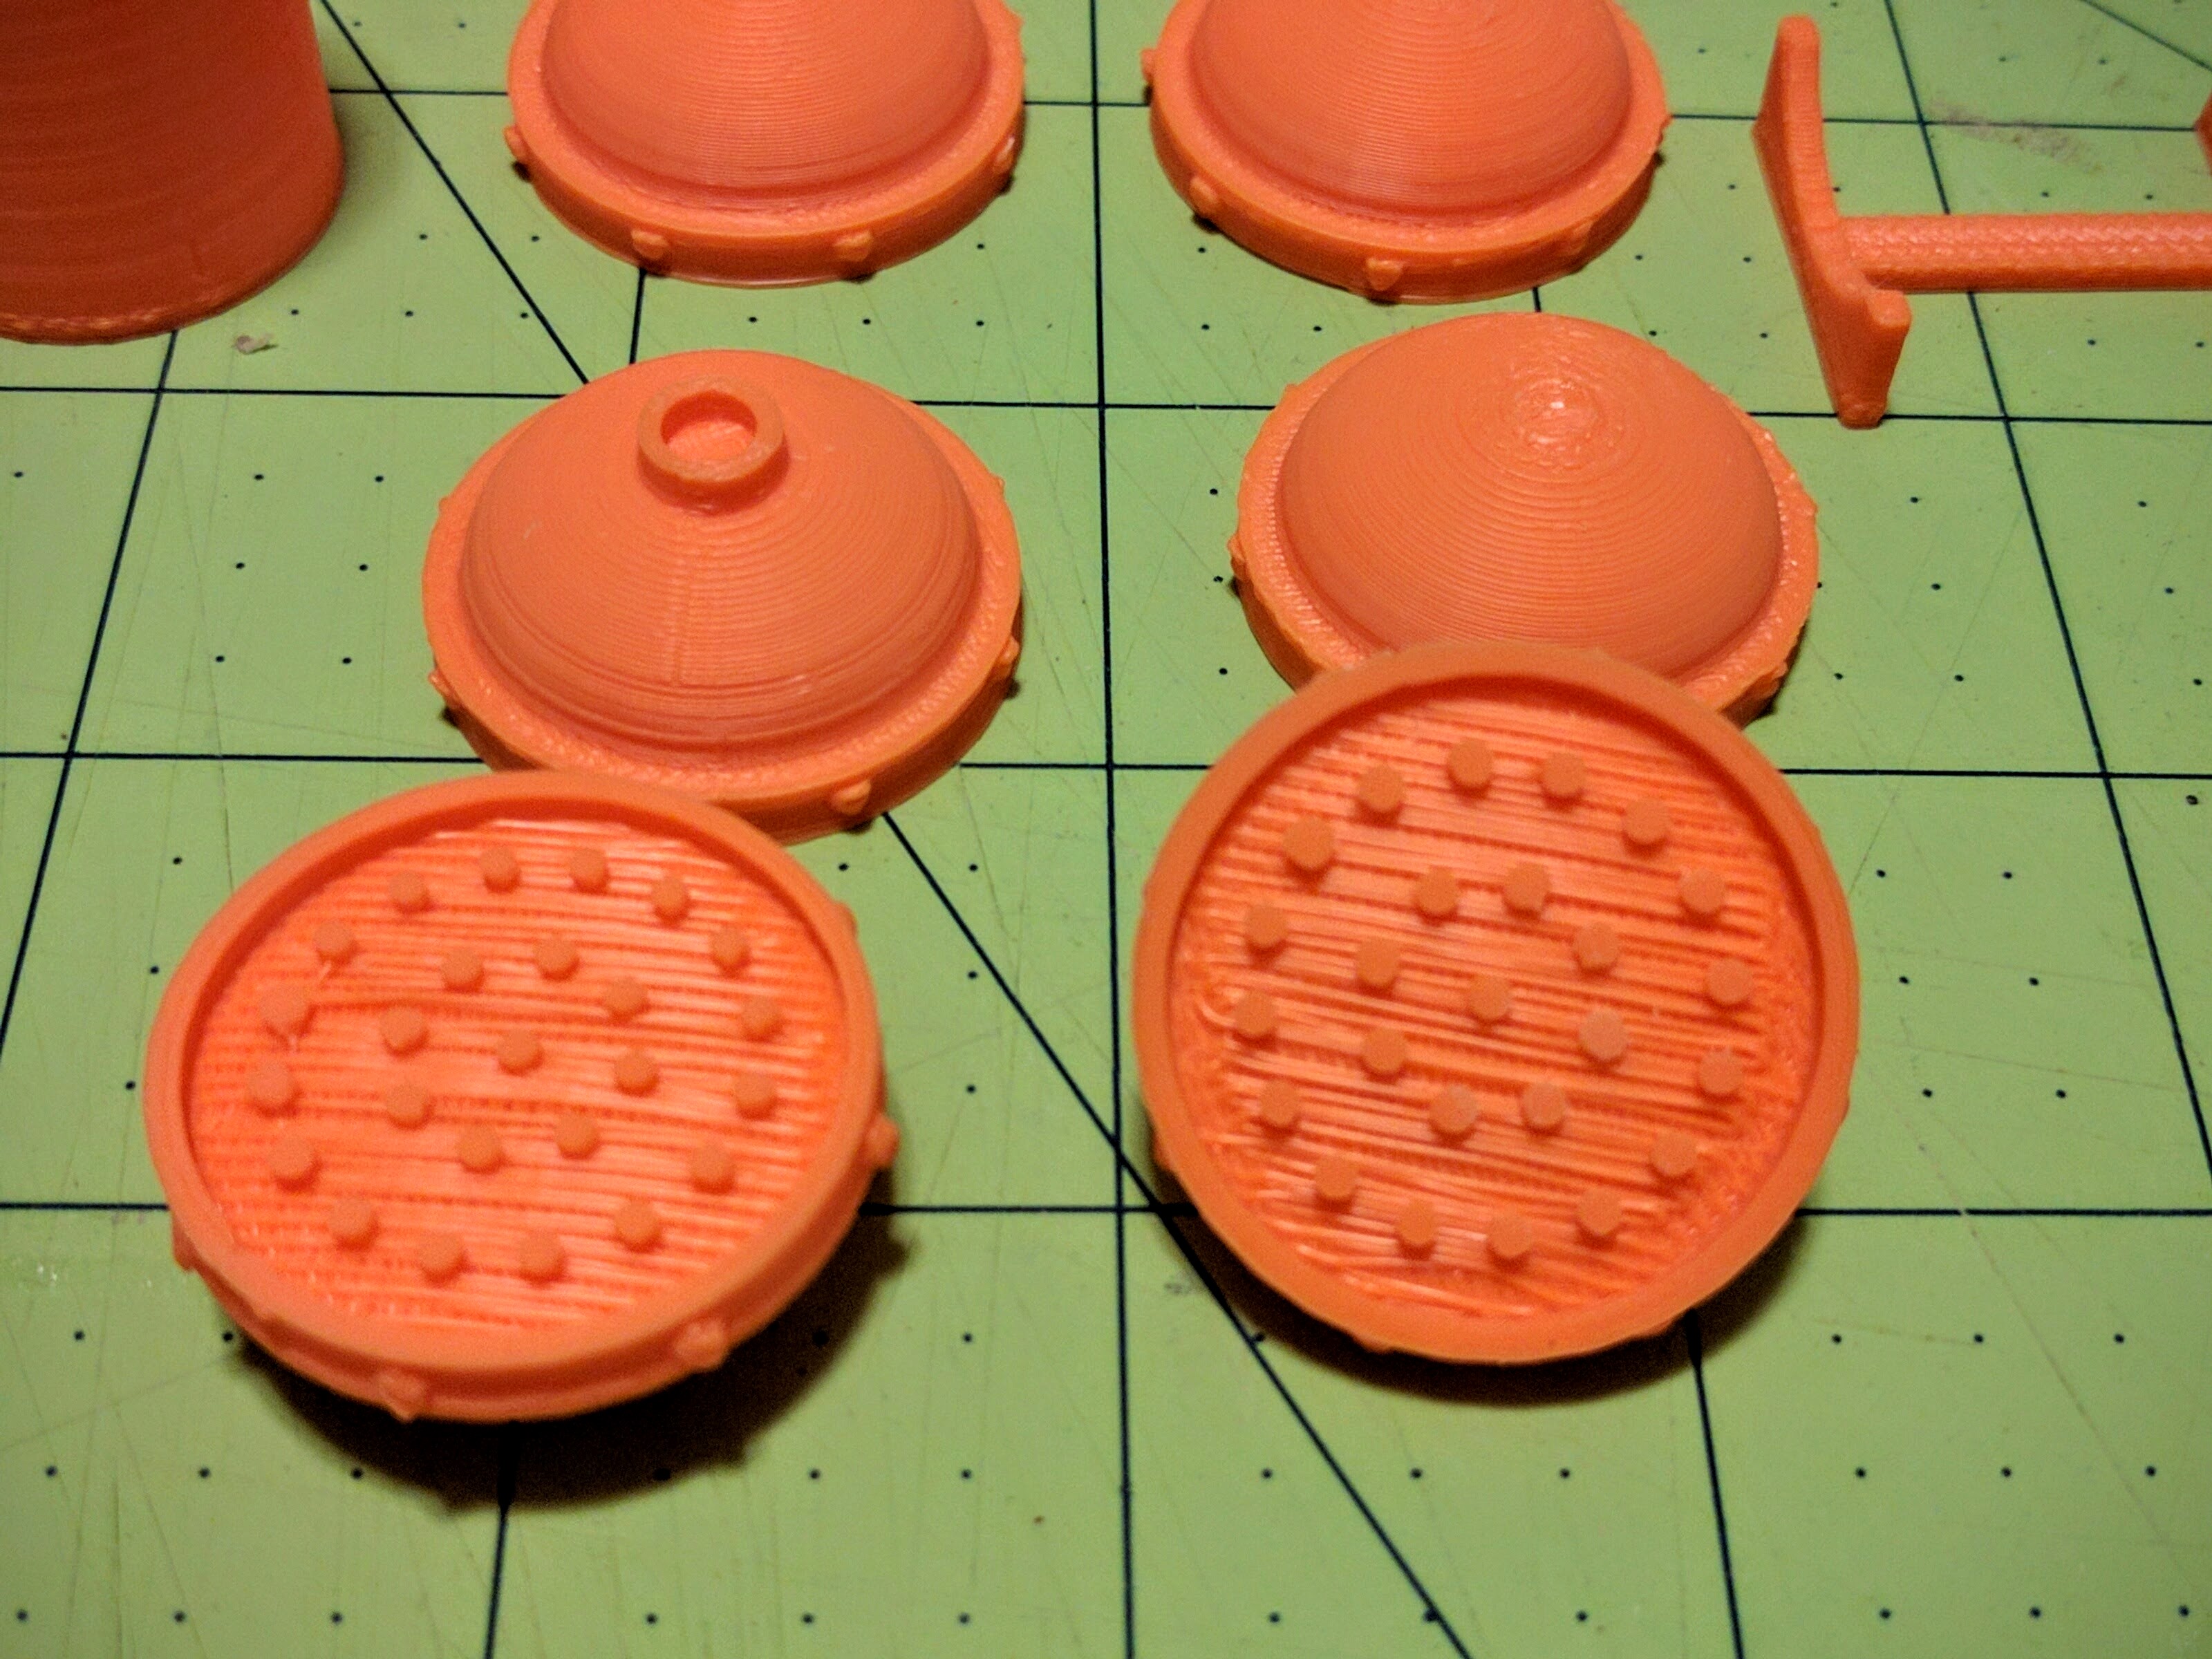
About to print the tanks.
One somewhat interesting modeling detail is that the caps have a concave underside so the barrels fit slightly inside the collar, rather than just surface mating. It seemed like it might be too much area for the print head to traverse in space without potentially distorting the shape of the cap by collapsing a bit as the underside hanging in open air sagged. The printer software I use can automatically add supports, but in doing so it would also unnecessarily support the bolts hanging off the side. The underside supports would possibly also be a hassle to cut off because the automatic supports would cover a lot of area. So instead I included the supports directly in the model as concentric rings of little divots that provide just enough support, but flick off with your fingernail. After doing a test print to check the supports and sizing against the dowels I decided to double the number of them to eliminate a few loose stringers from sagging plastic that had to be cut out. But after that these pieces required essentially zero post-print cleanup.
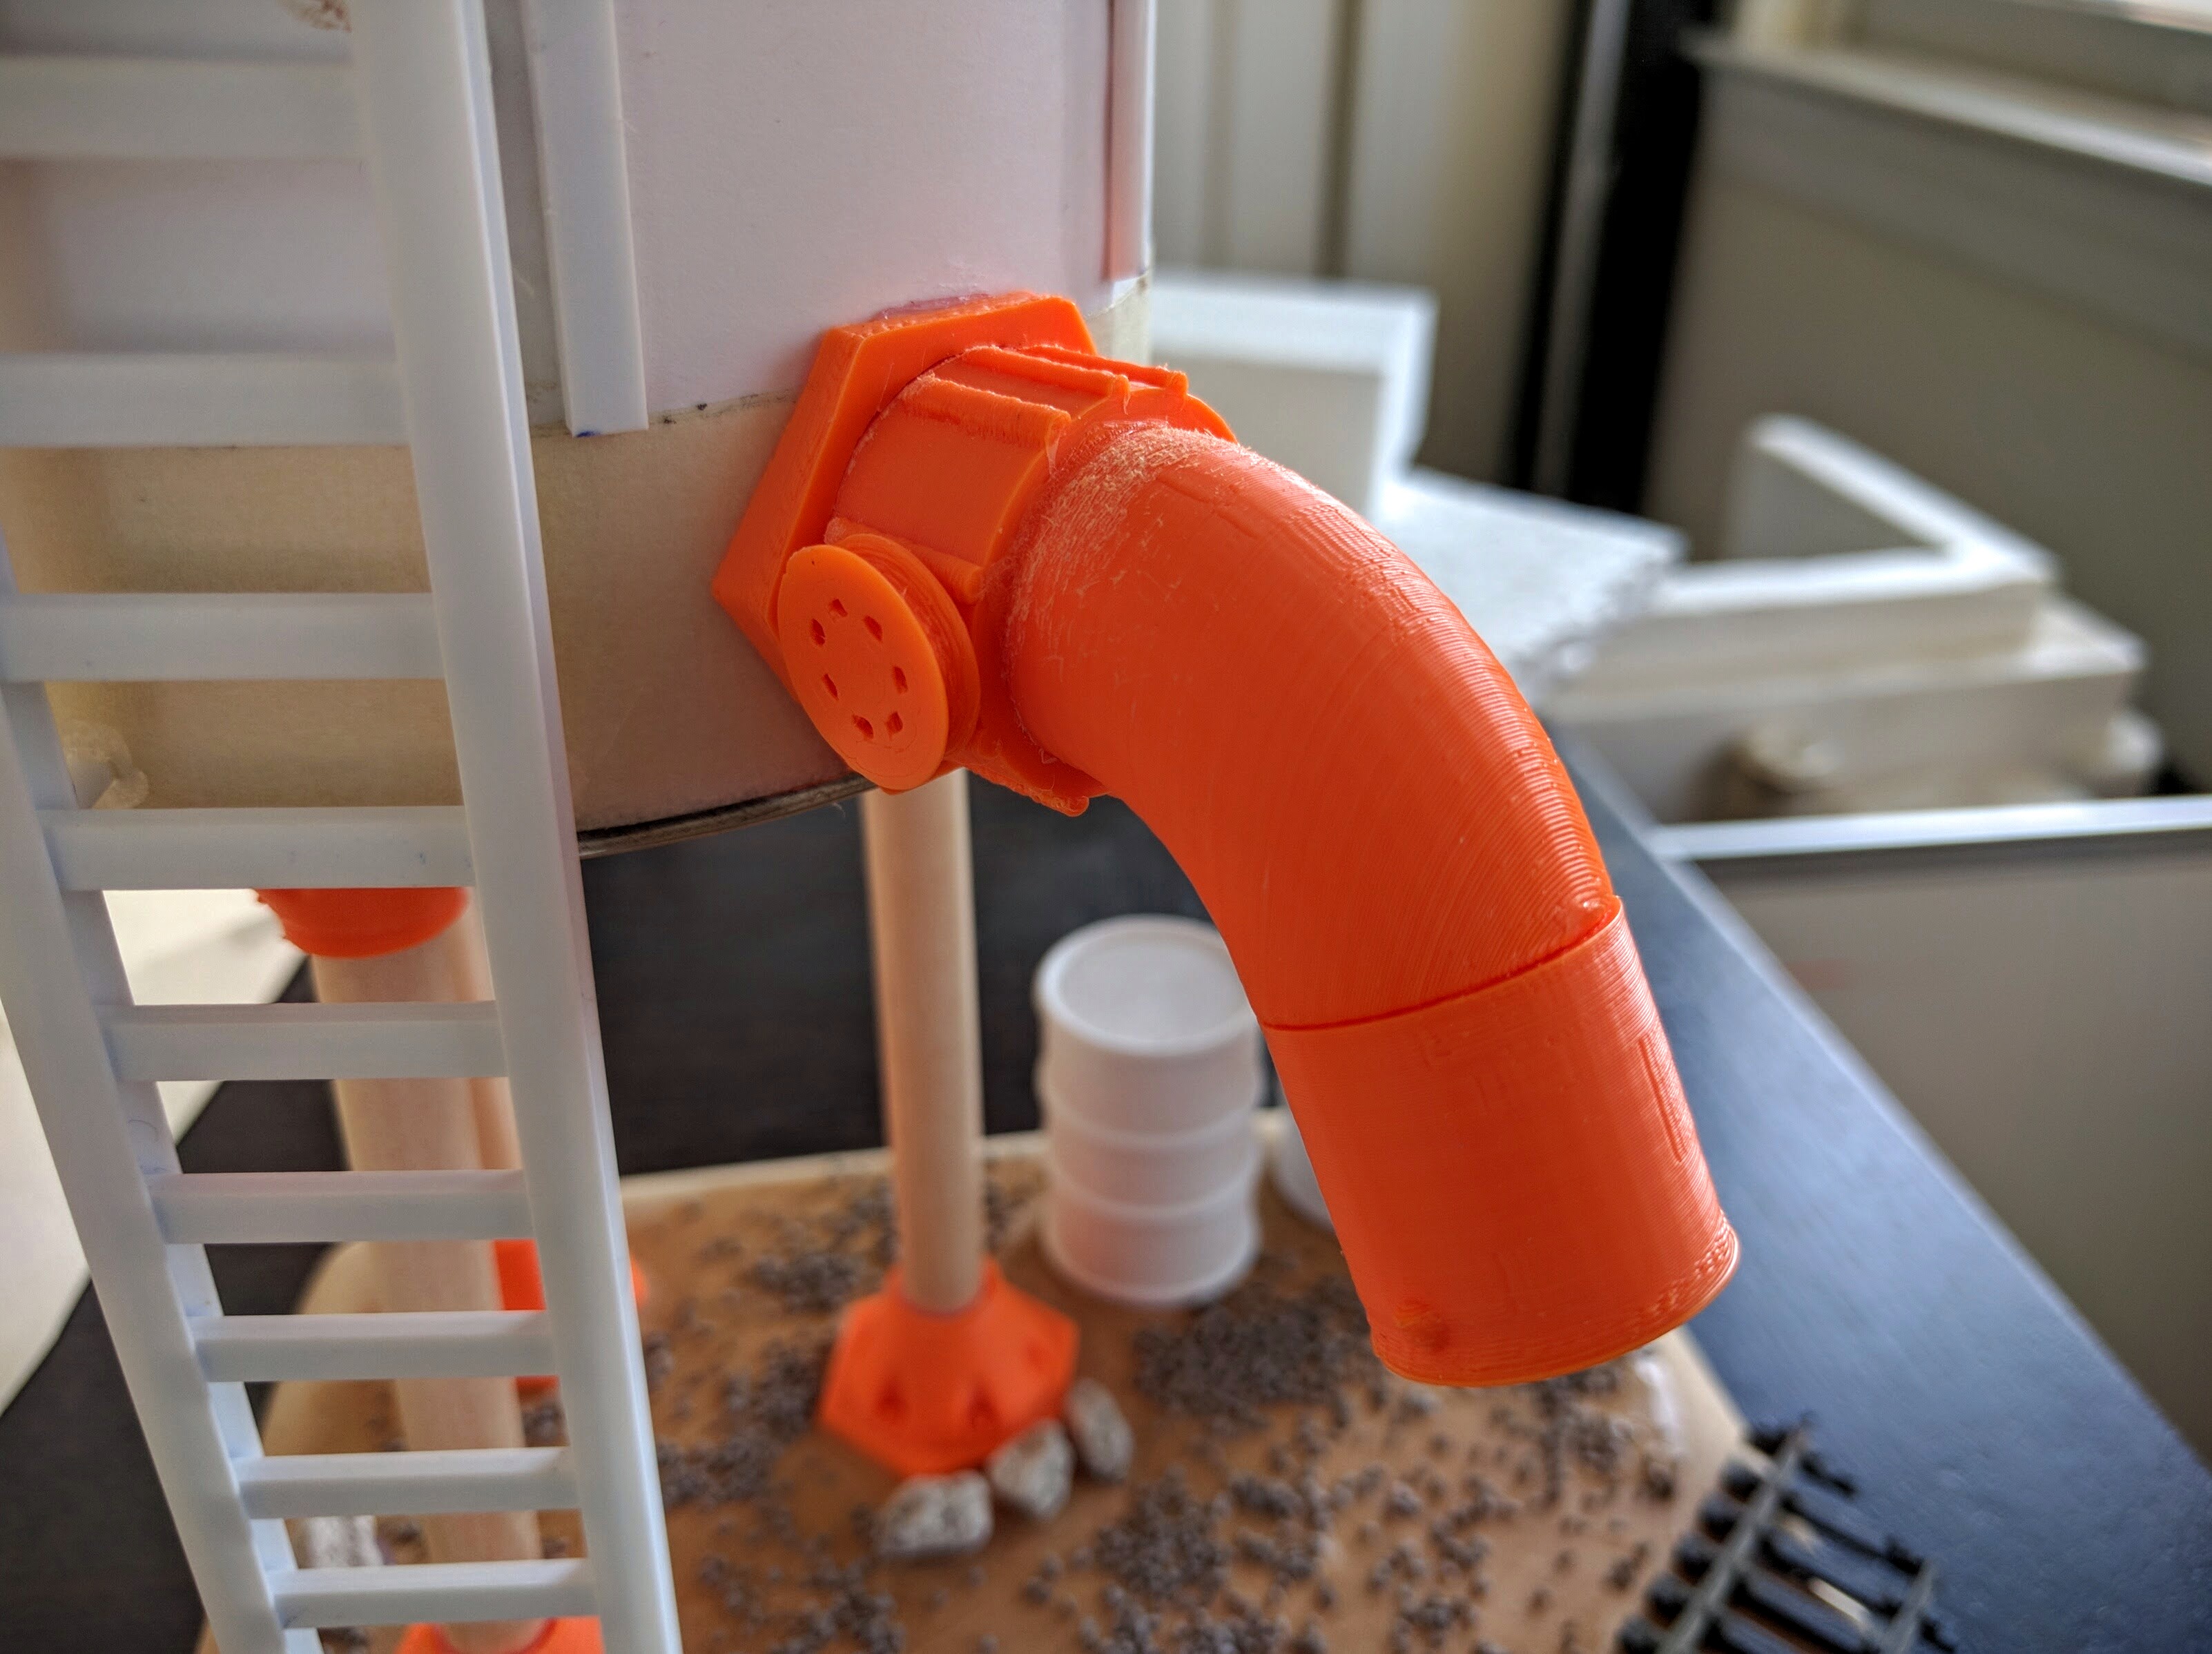
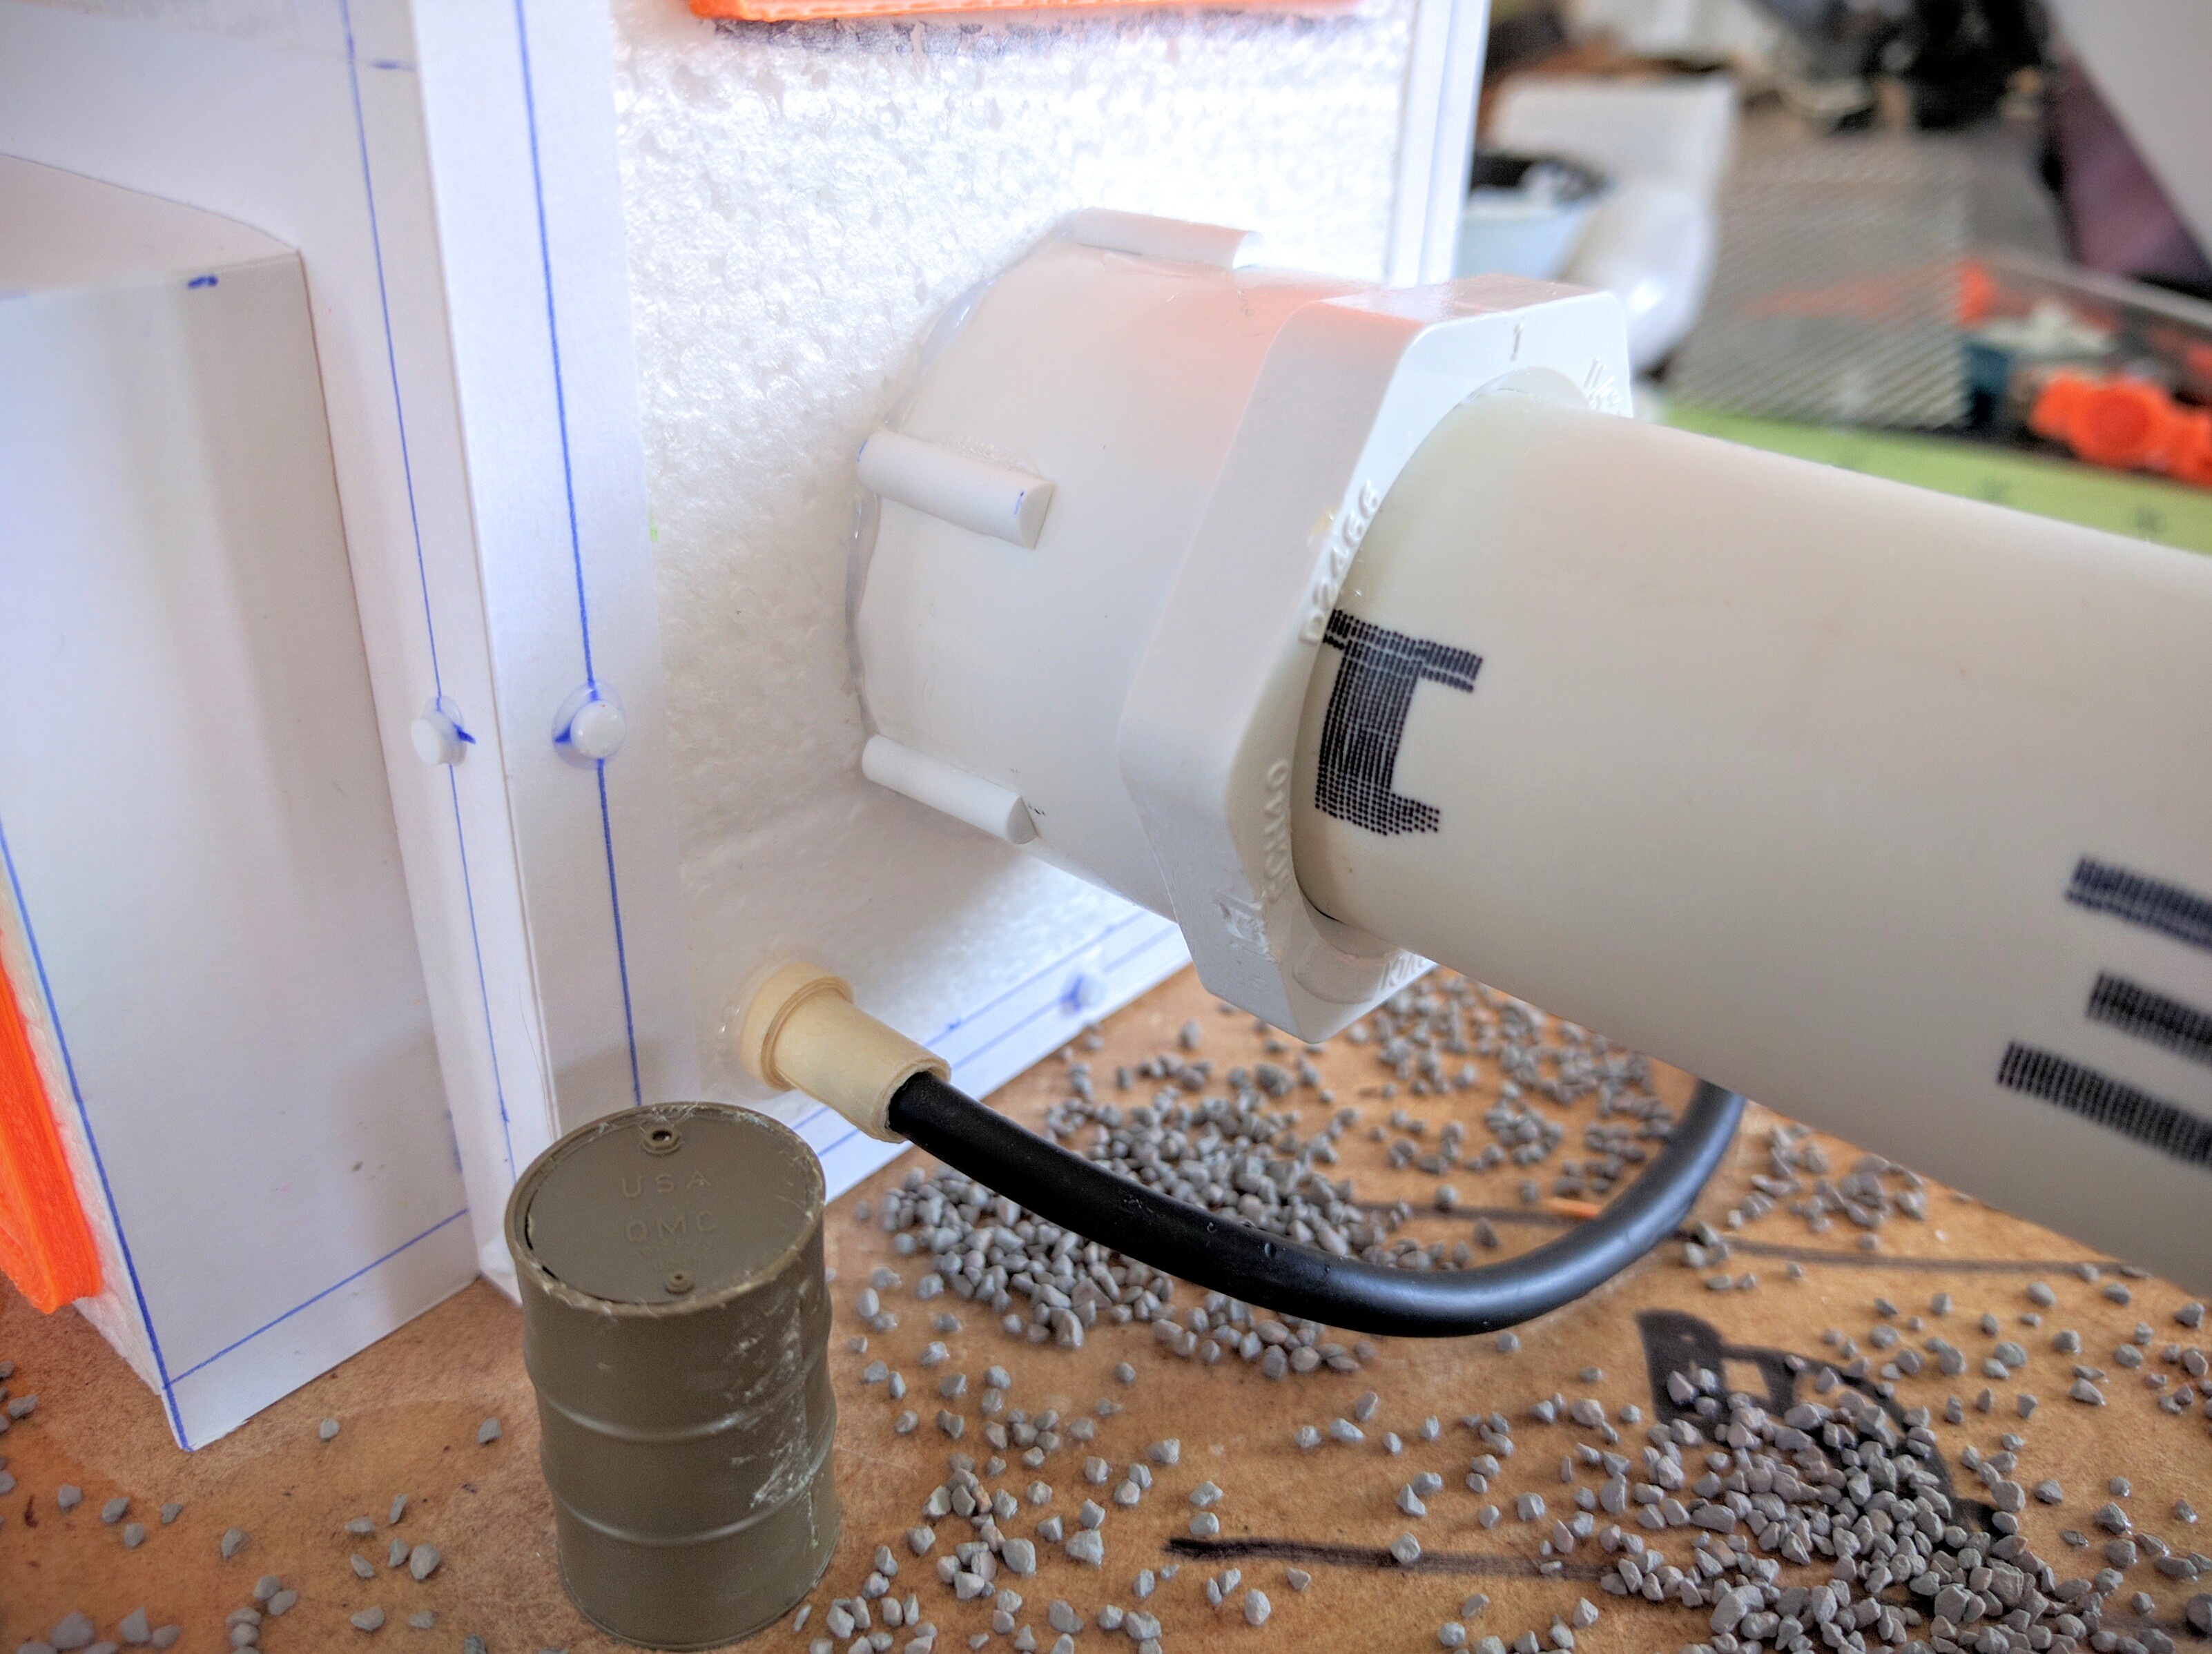
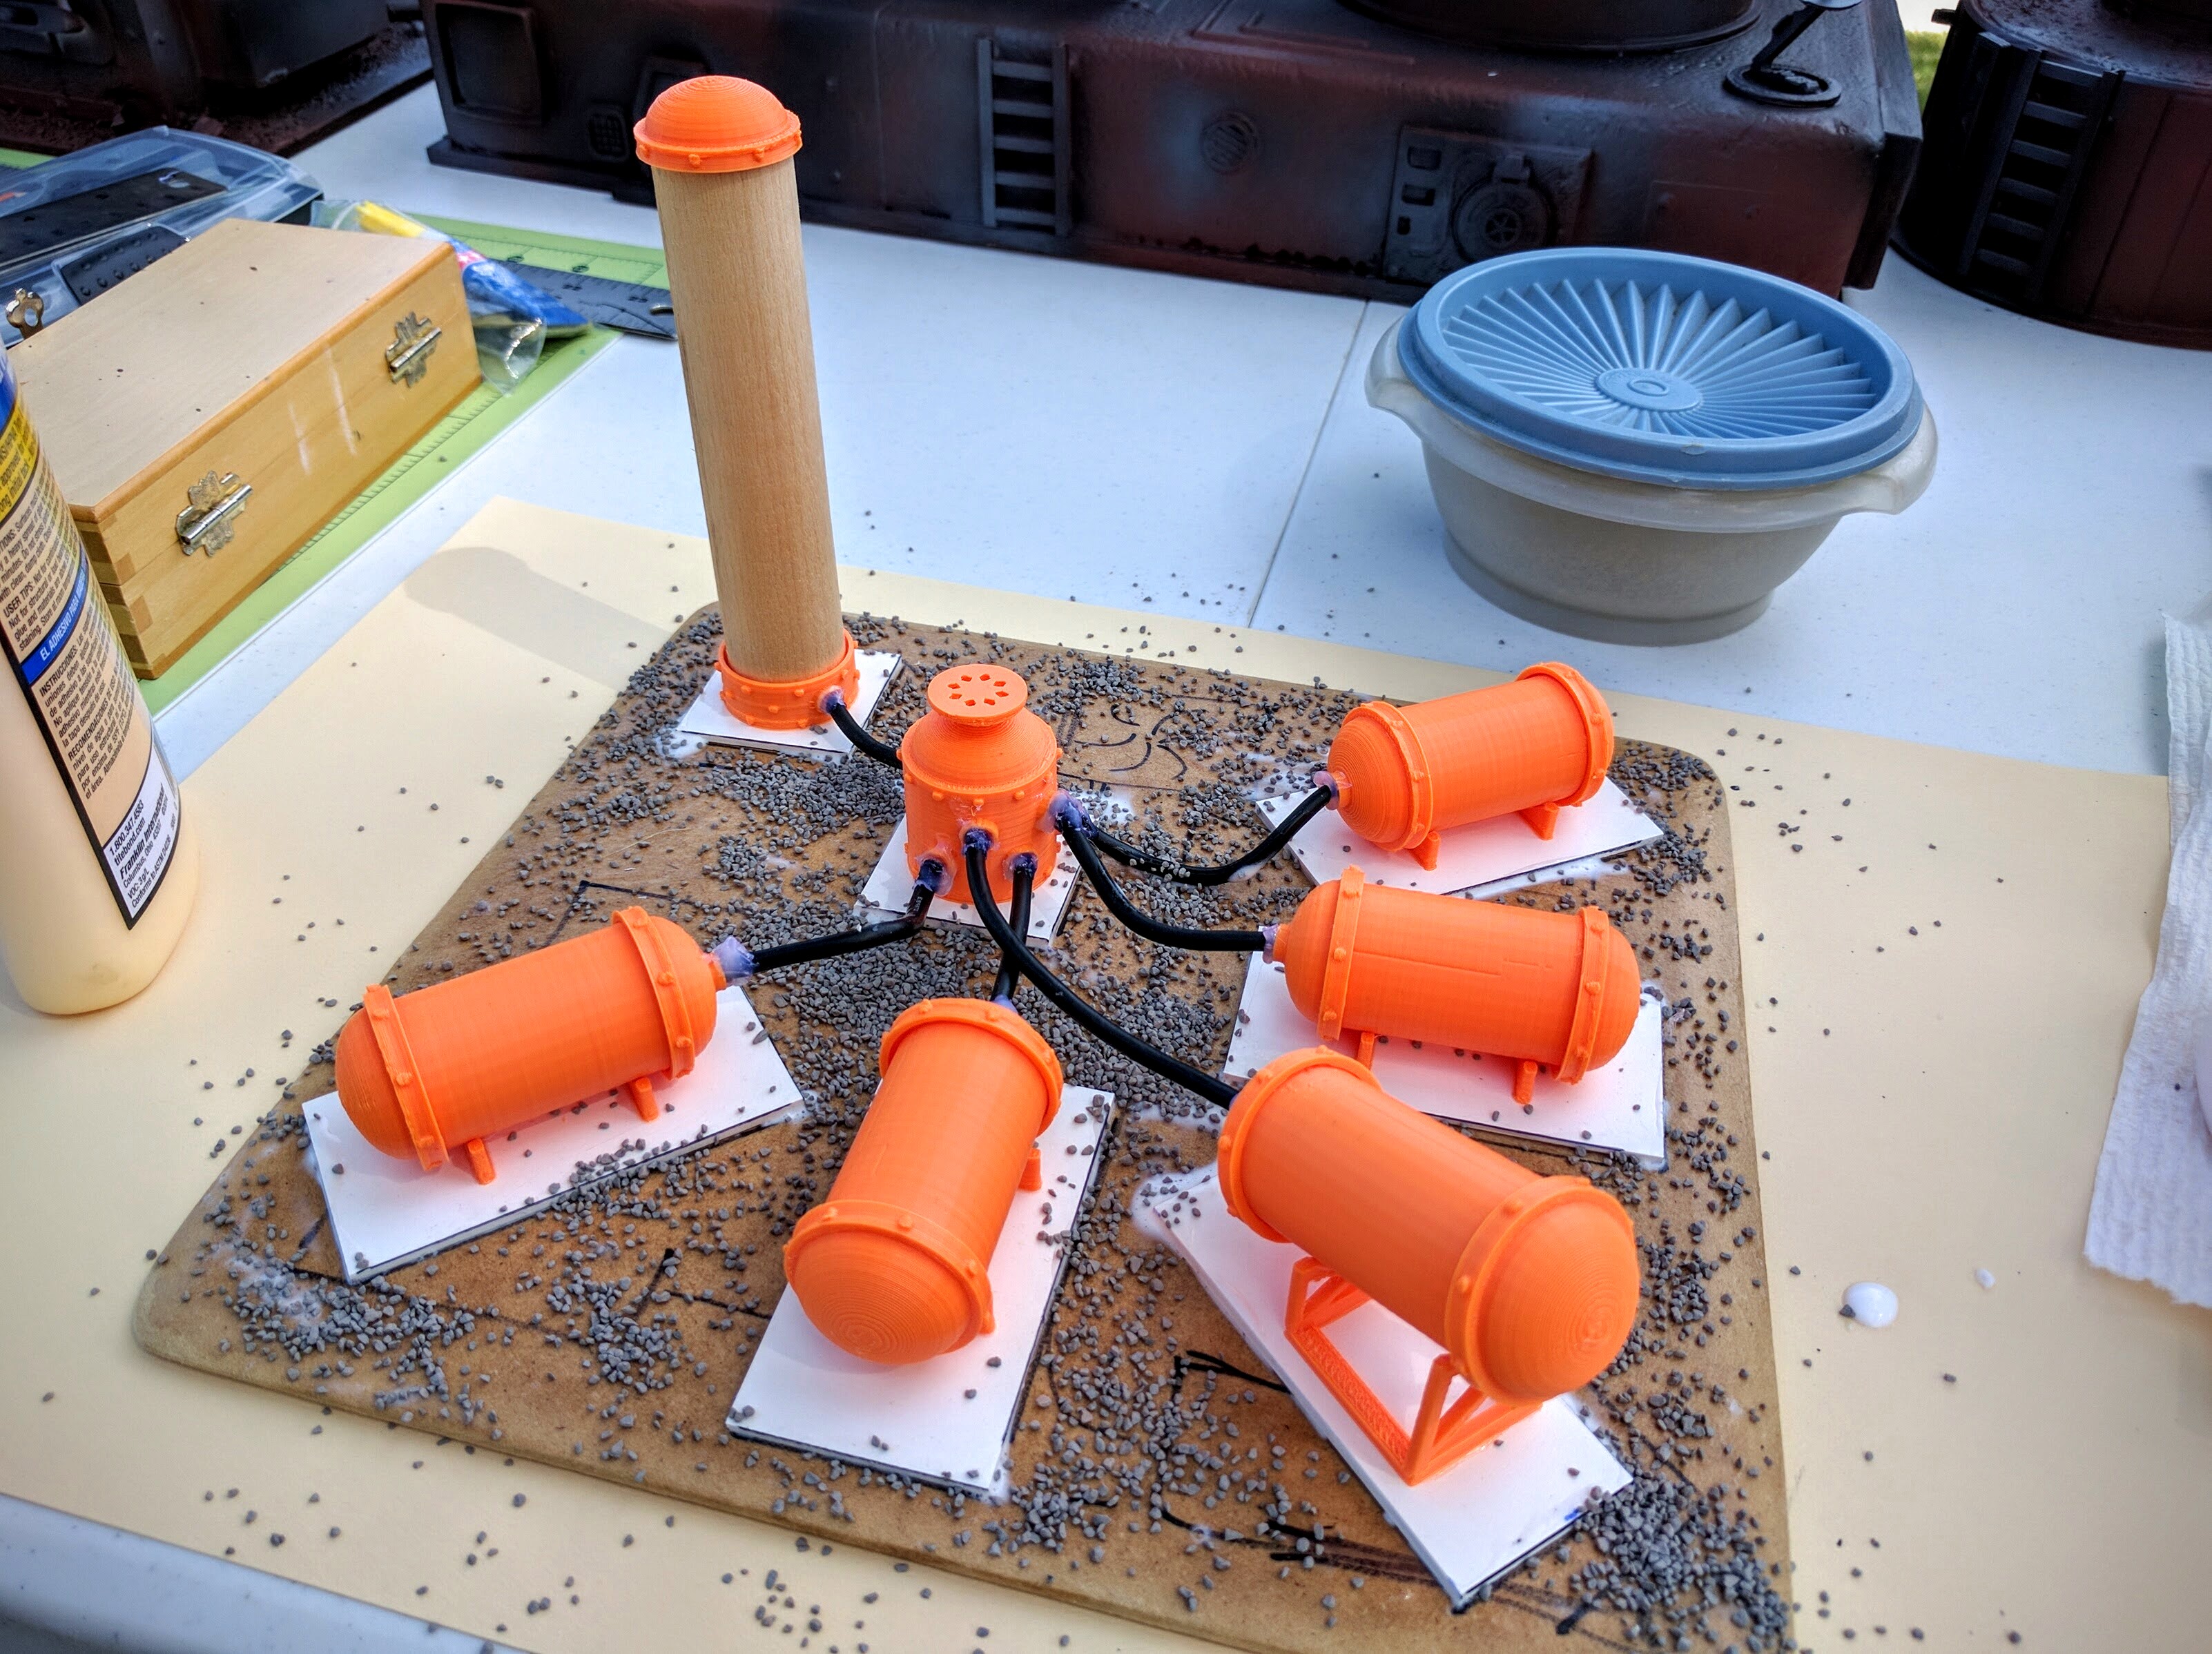
With some tanks in hand I played around a bunch with different layouts. Eventually I decided to make another component, some sort of mixer that they all feed into and then push out to a larger tank, or a splitter doing the opposite. In retrospect I wish I’d made the faux ports deeper so that the tubing had more length to sit in as it’s glued down, but I eventually managed to wrestle them into place.
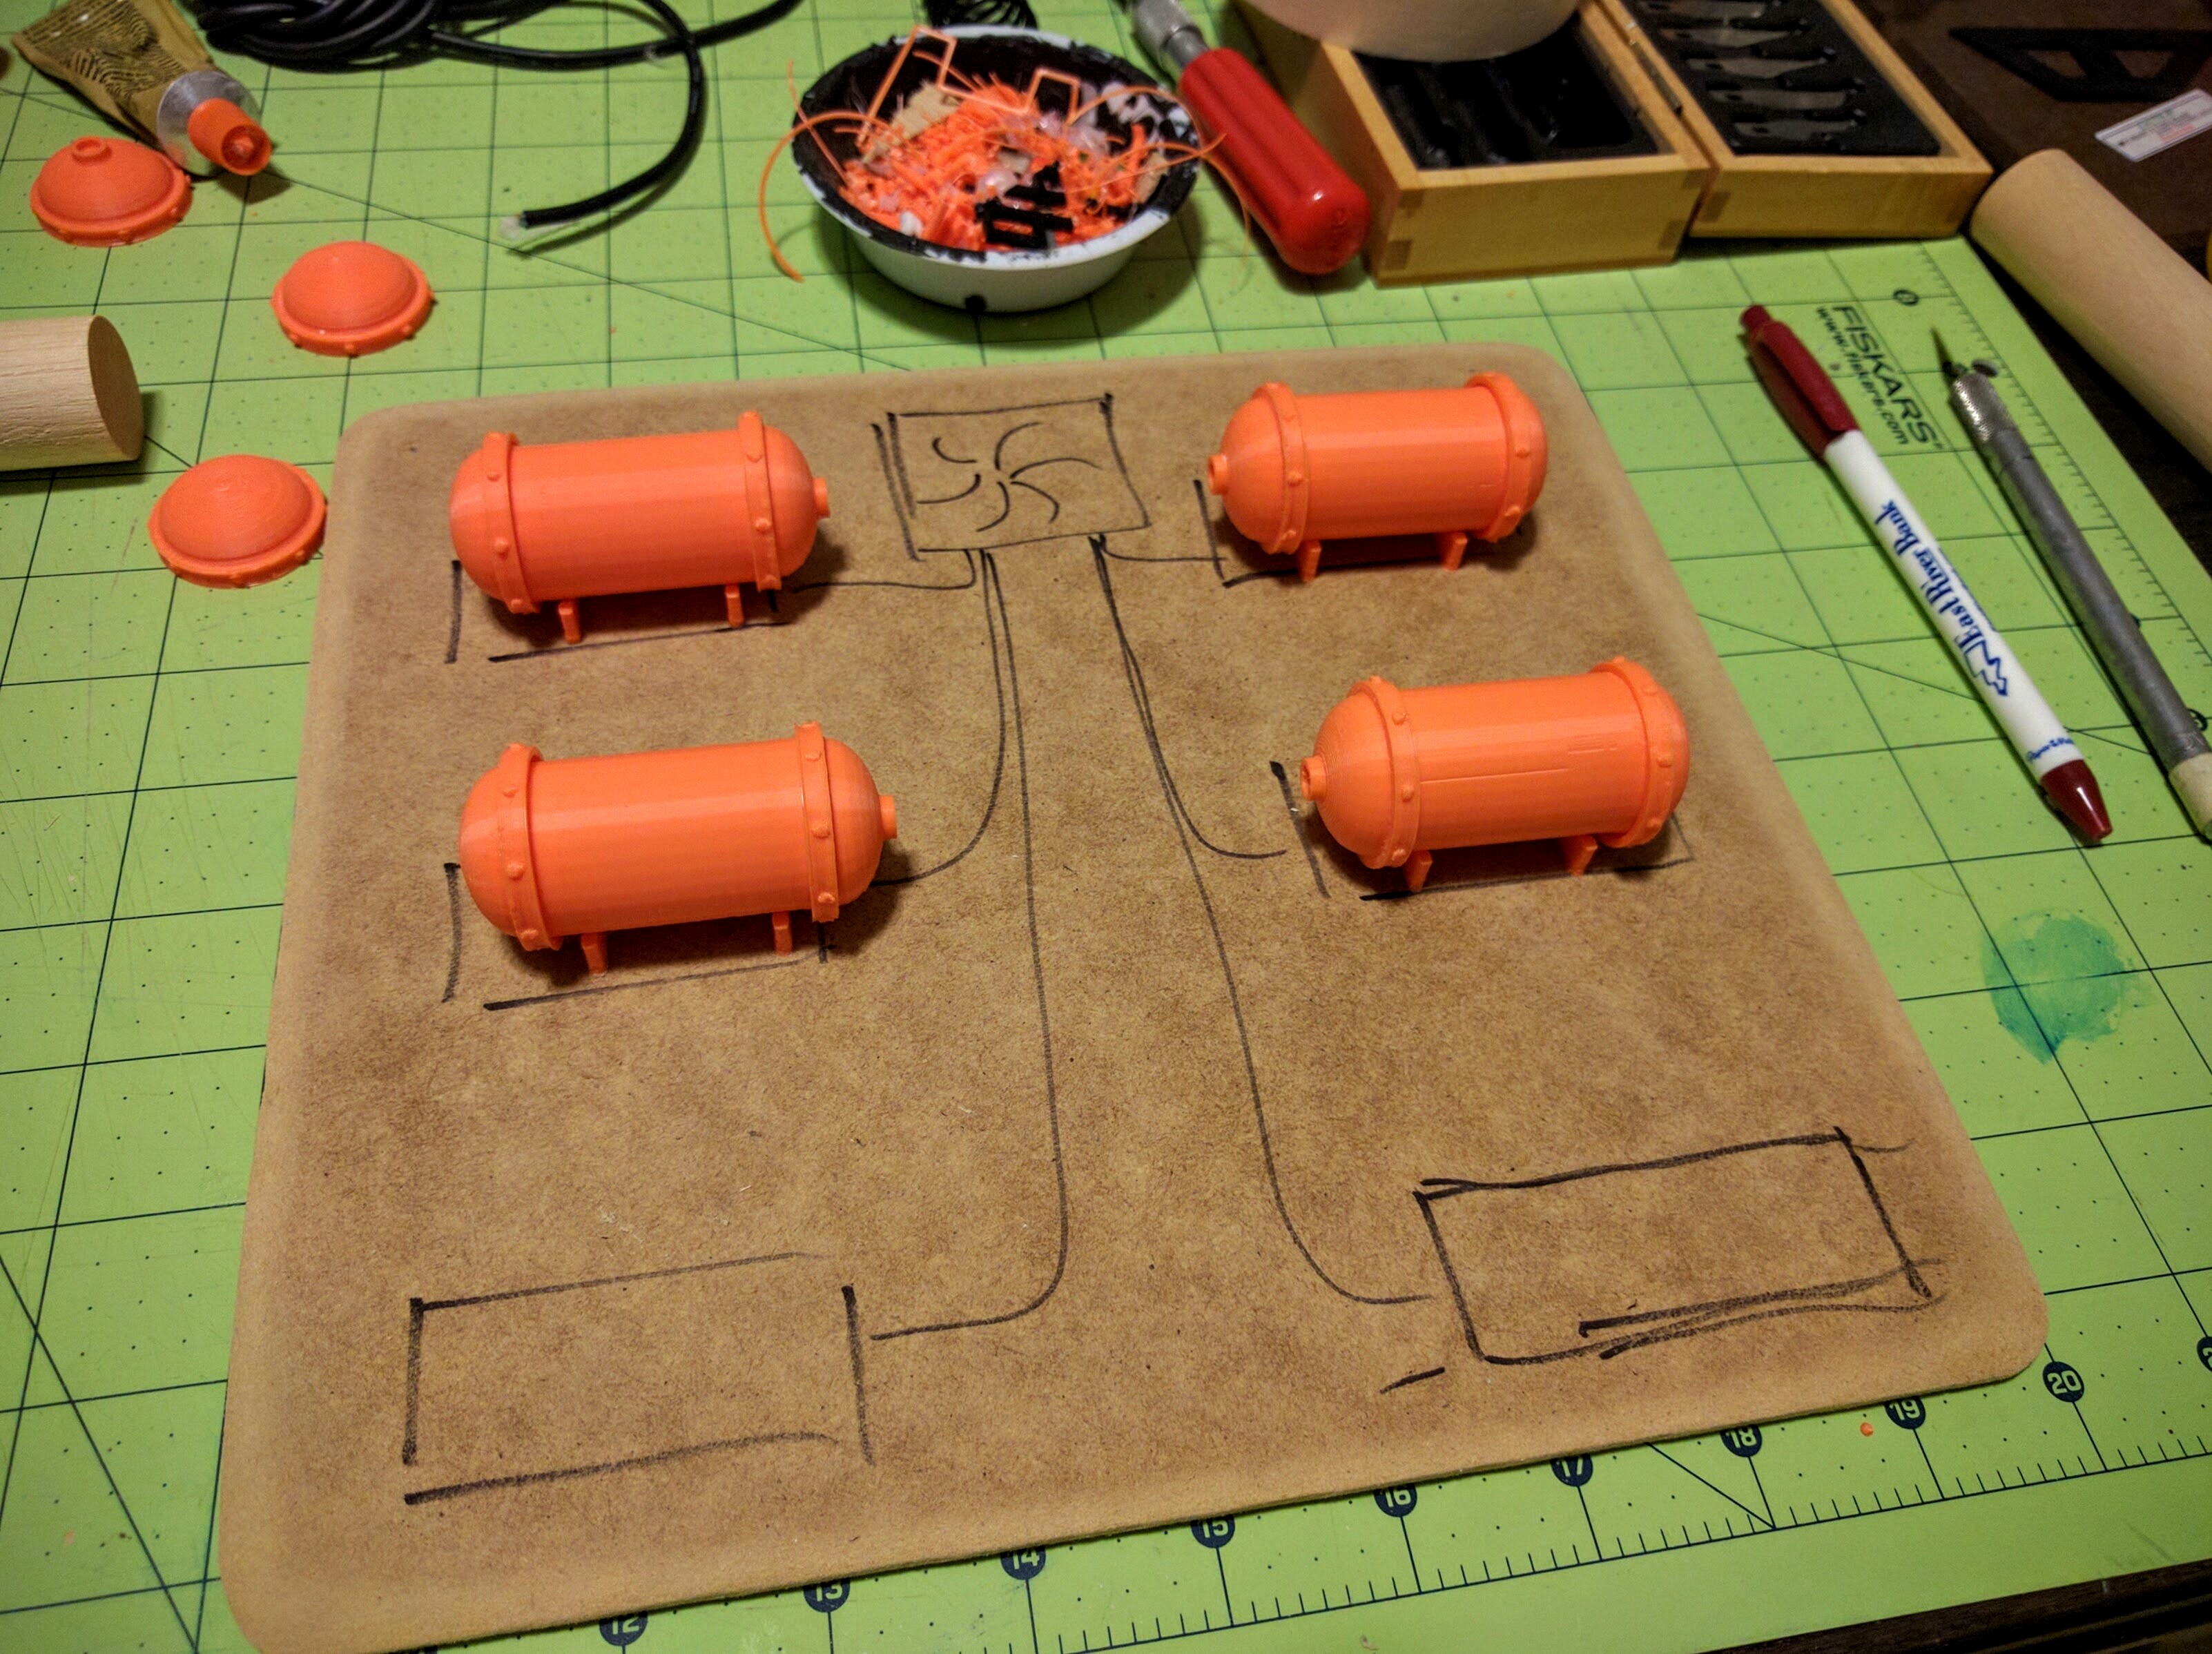
Initial layout sketch.
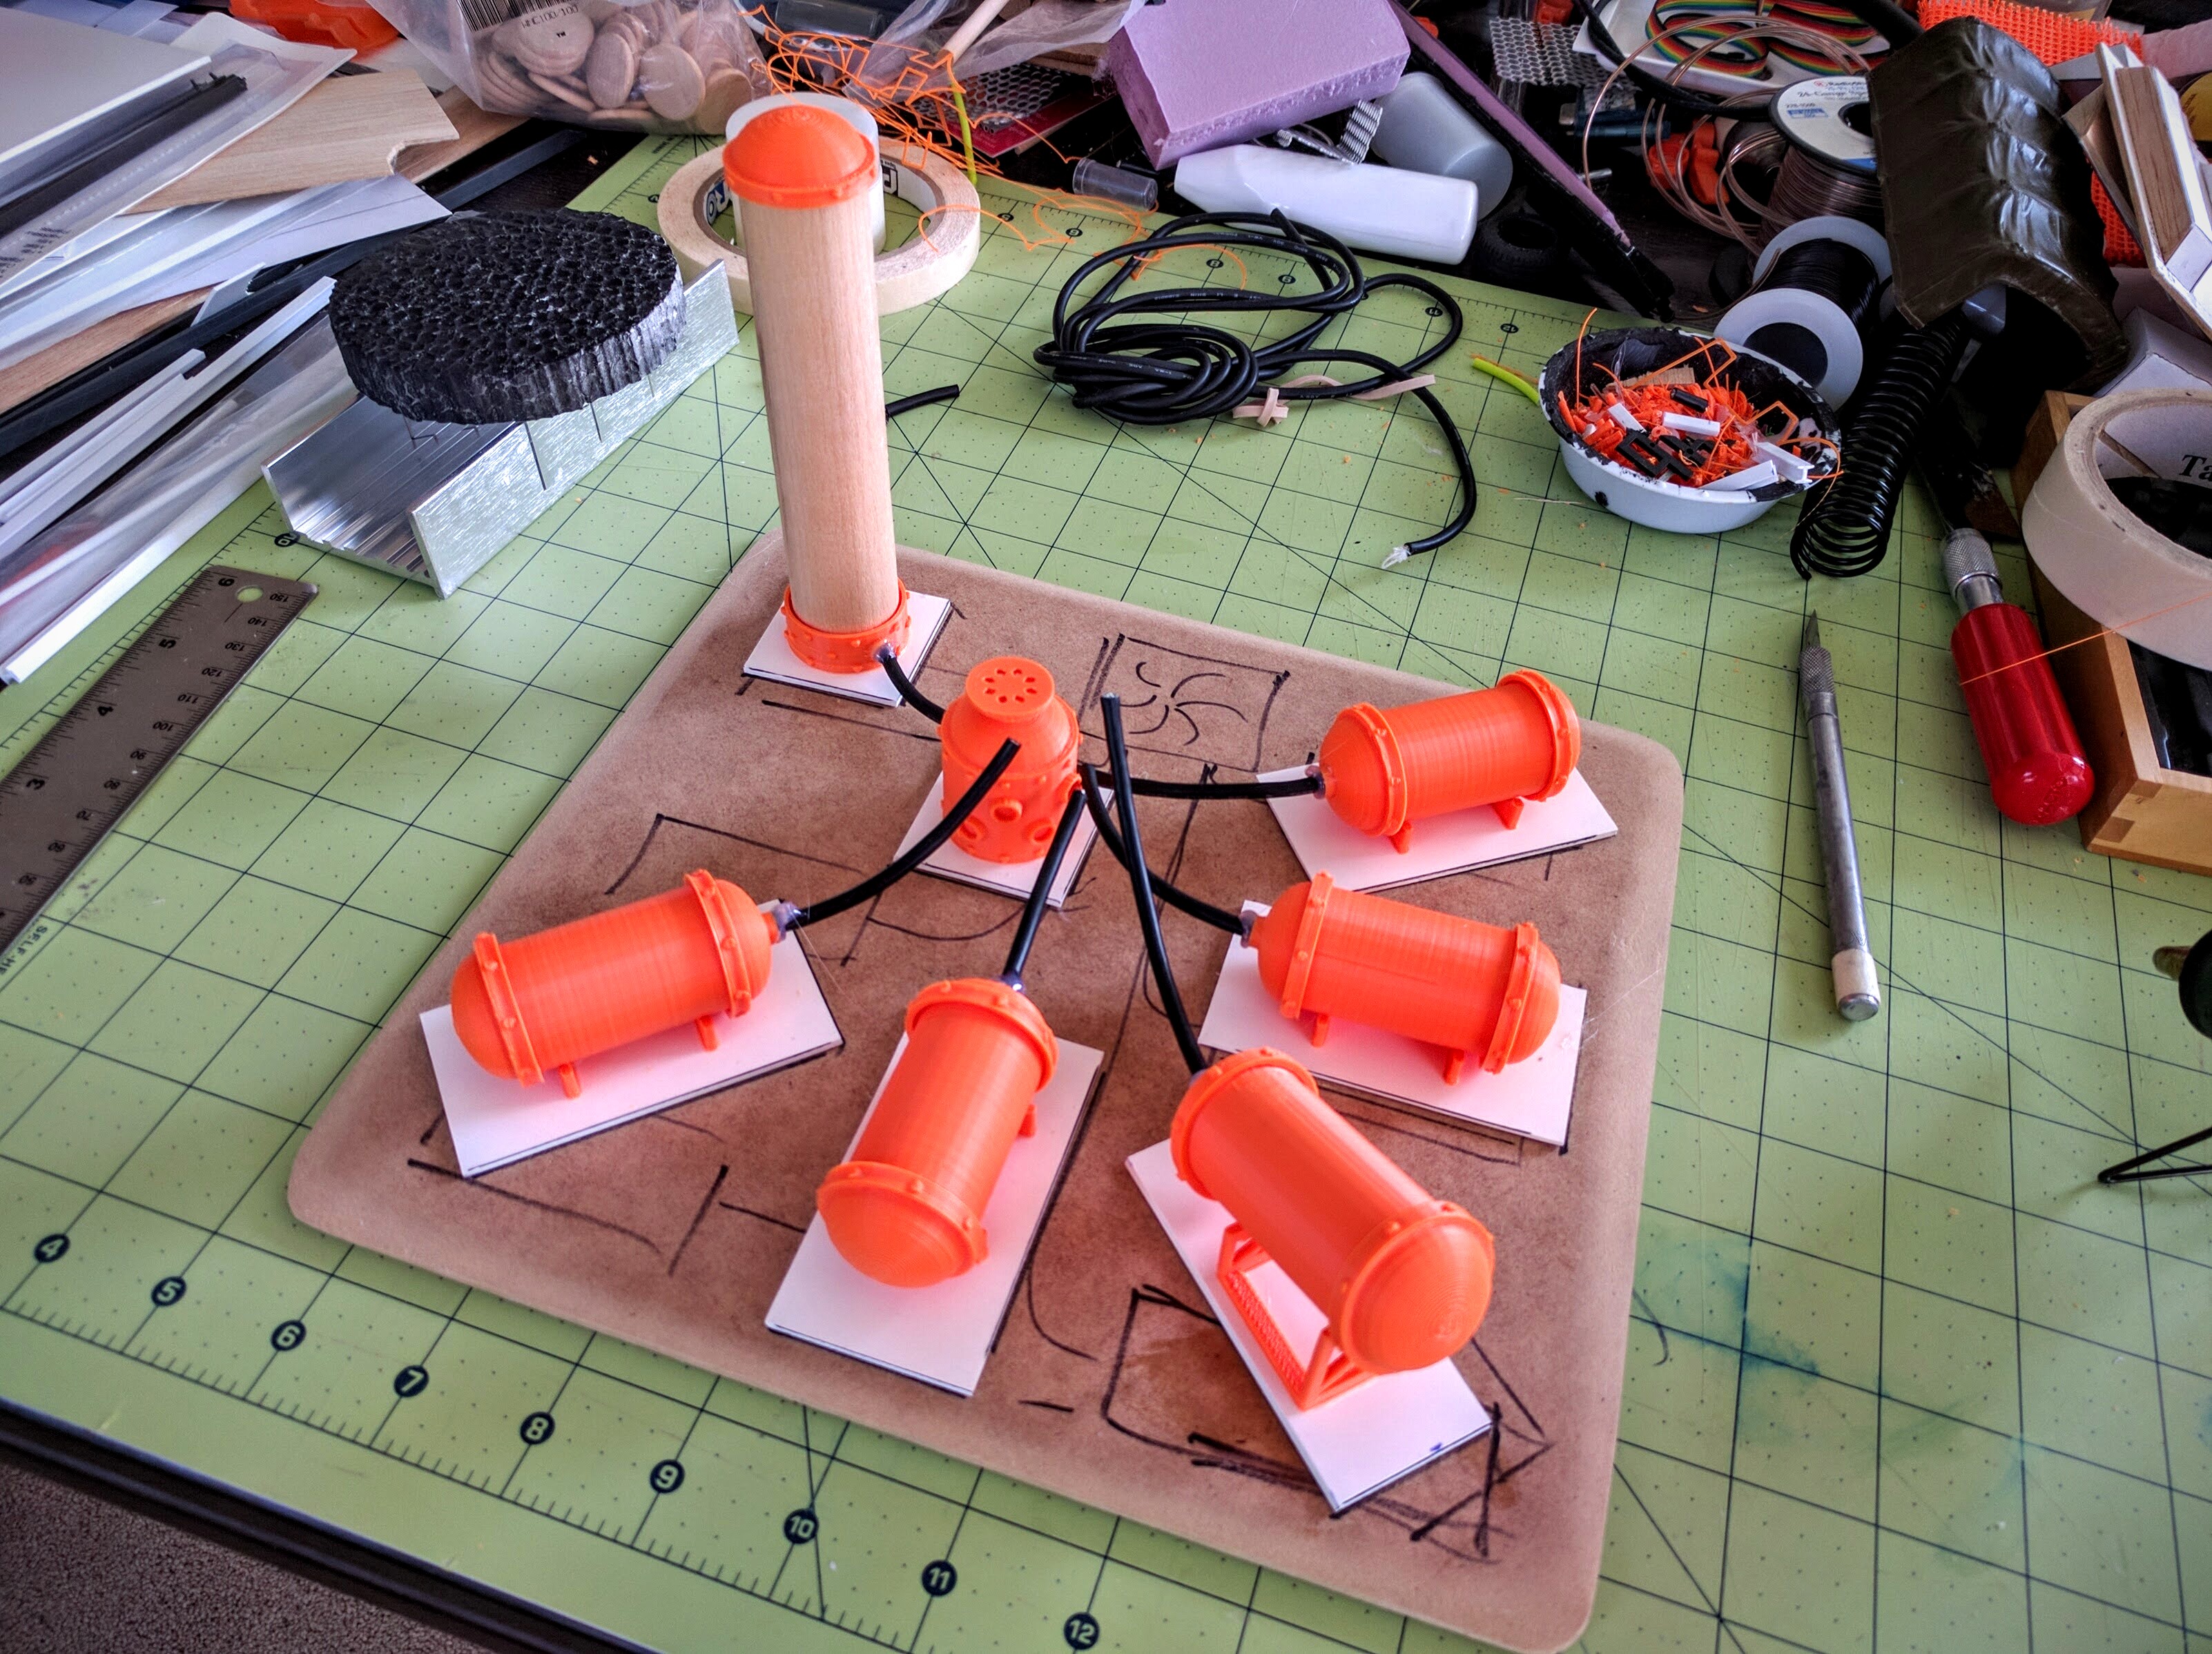
Gluing in the tubing.
Done
That’s it for the construction of the Medea Refinery! In fact, as I’m sitting here it’s actually already entirely done; we had a very successful group painting day to knock it out. Pictures from that will be up very soon. All of the printed models for the processing site are up for free download on Thingiverse.