I’m not actually sure whether I really like the new Space Marine Primaris Inceptor jump pack models or if they leave me kind of “Meh.” Some details I love, some I don’t. But I do know that I don’t like the flight stands at all. Unlike some of GW’s peg-and-socket designs in the past, these have to be affixed to the model. They don’t just slot in firmly or anything like that. Affixing them though means they take up a lot of transport space. The connection between stand and model also seems very very prone to breaking in transport or play. As a final insult, it’s also kind of finicky to glue.
I dealt with all this by magnetizing mine. Many people have of course suggested this but I don’t see any detailed notes around so this is a quick tutorial.
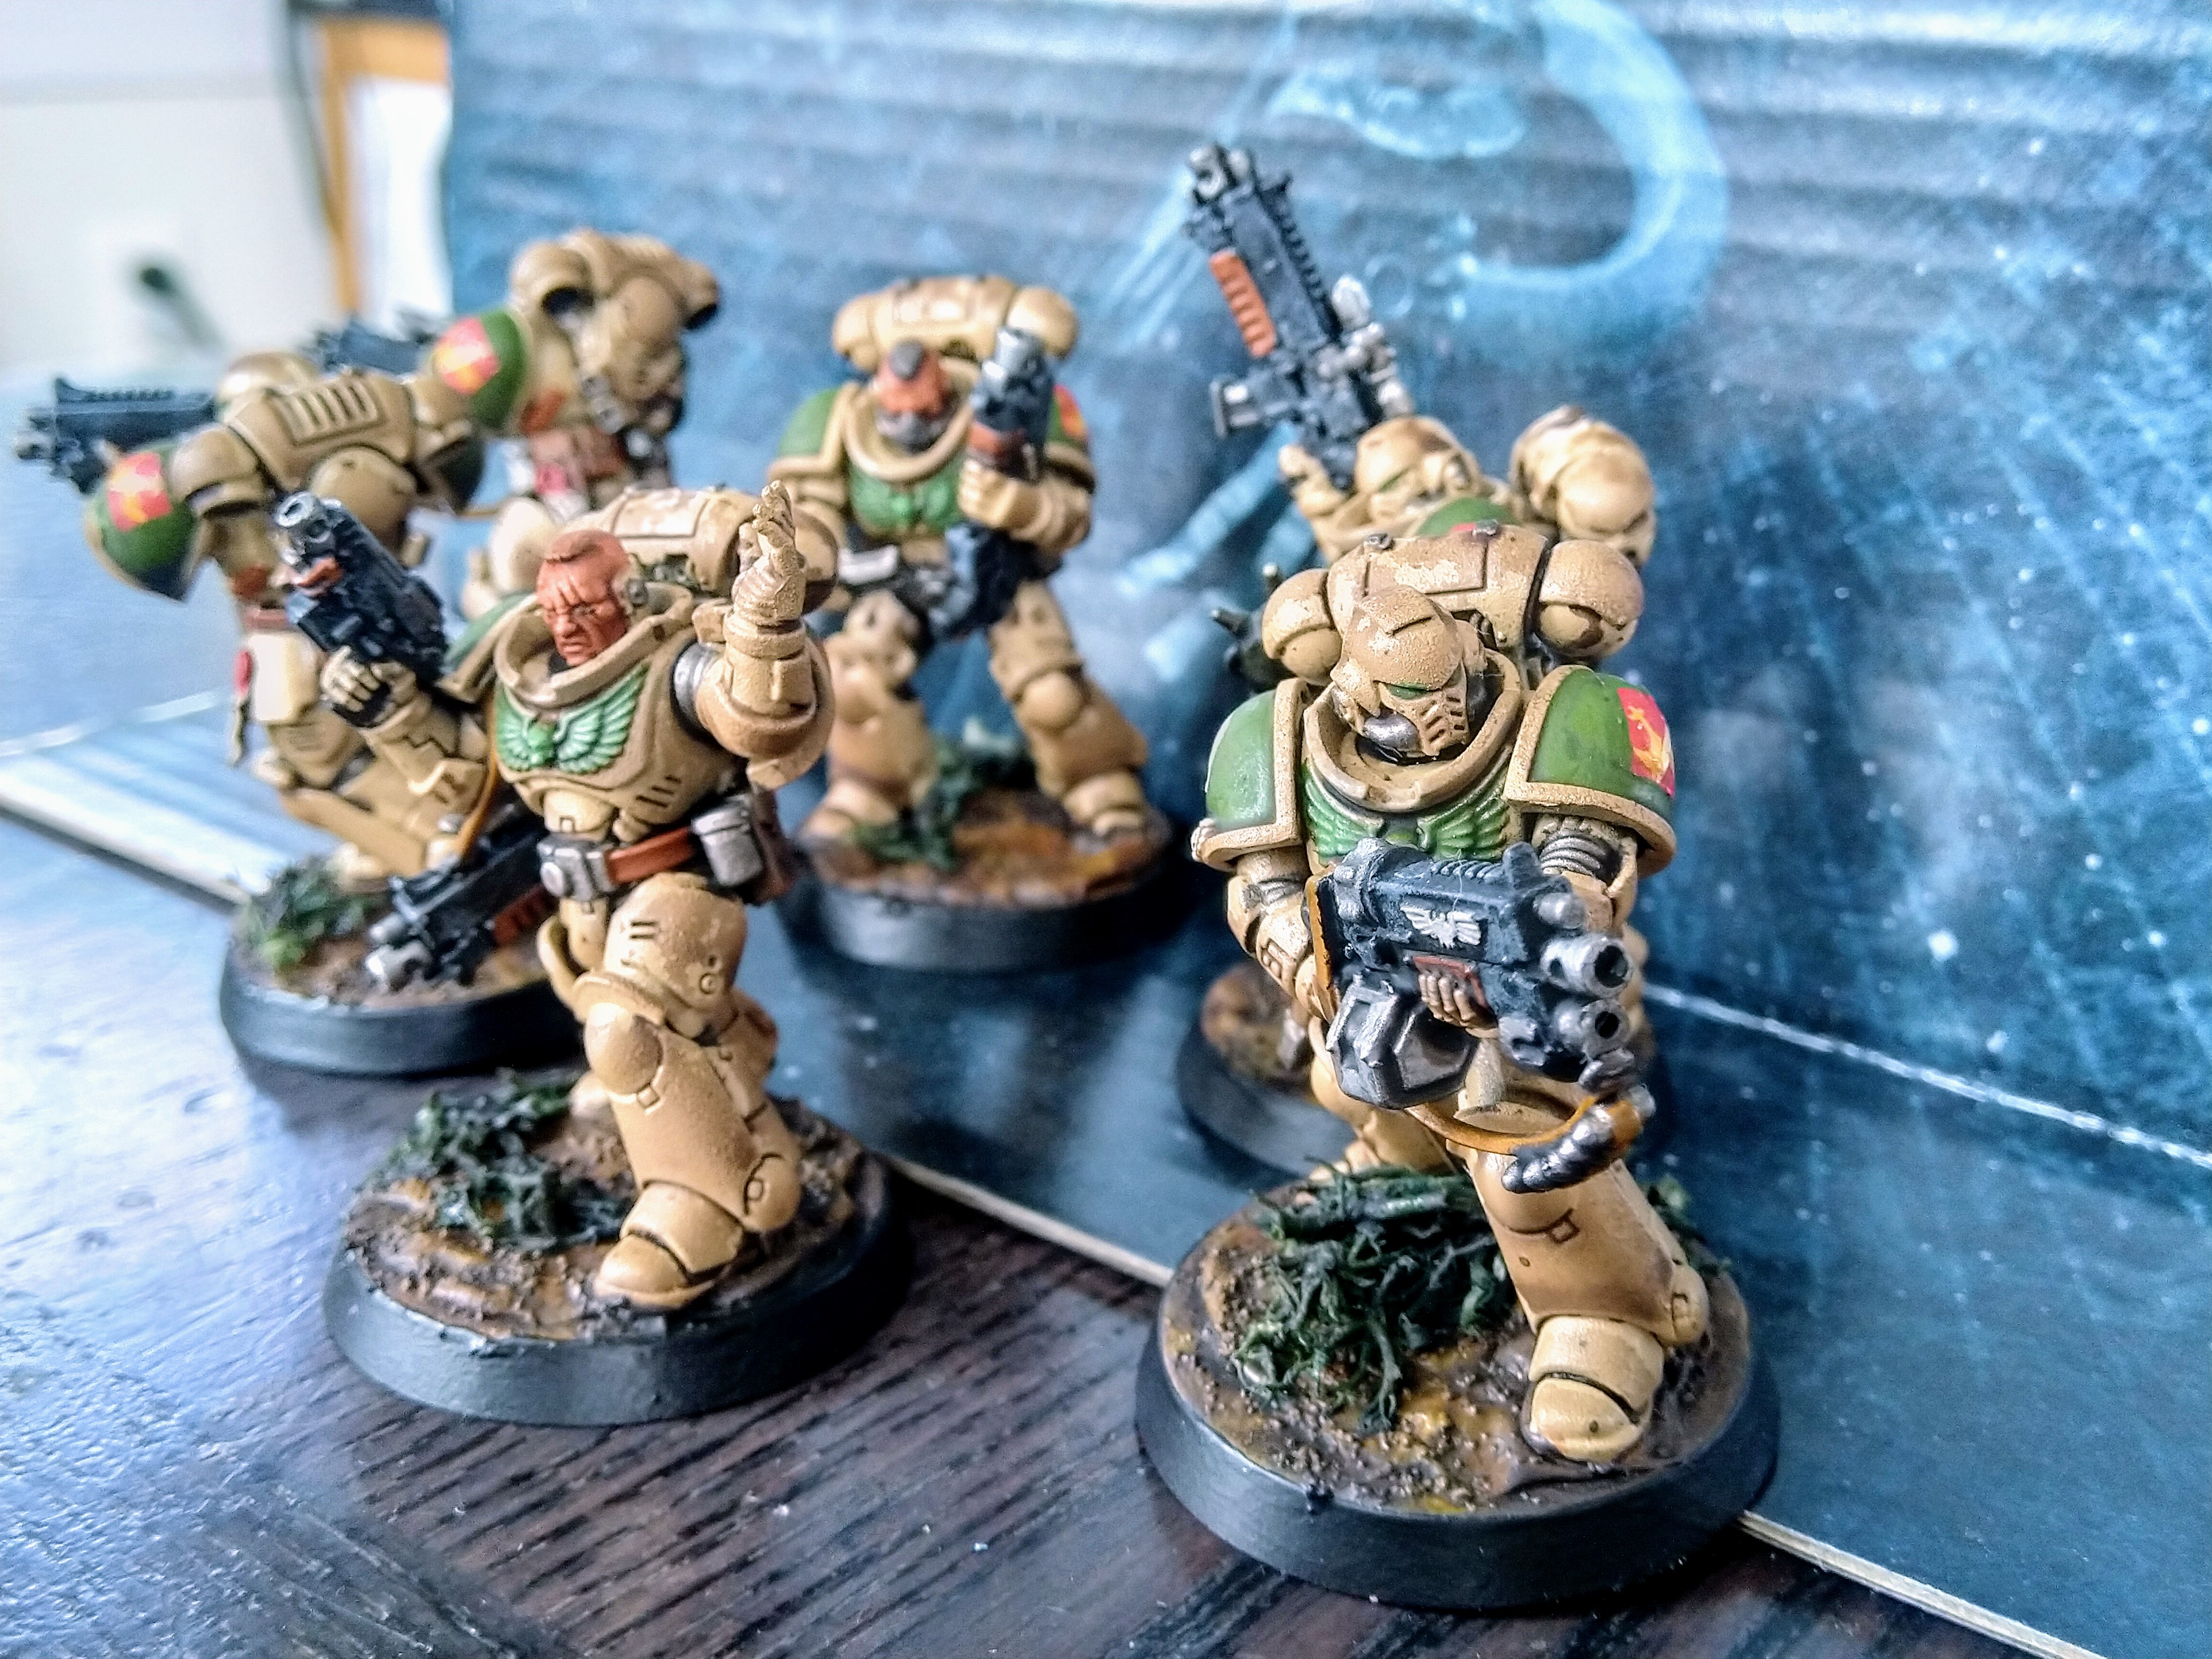
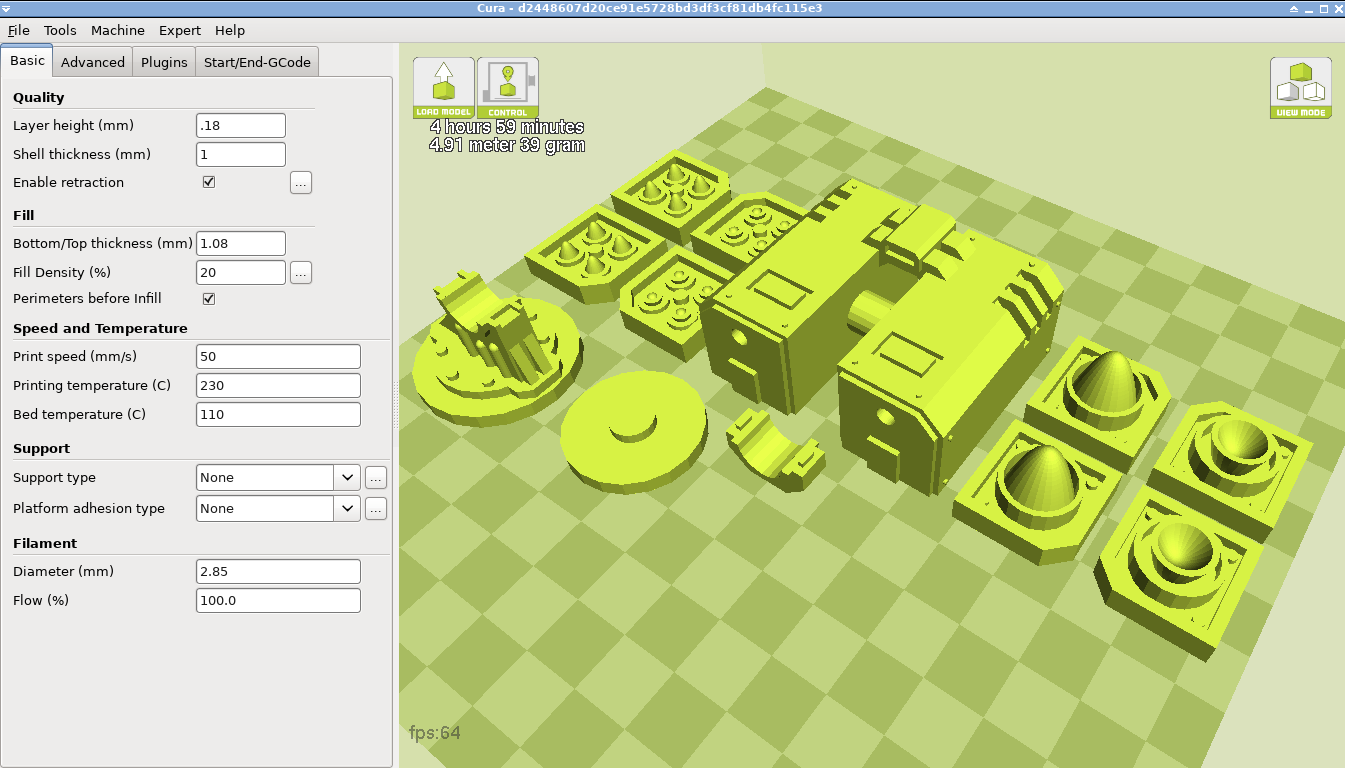
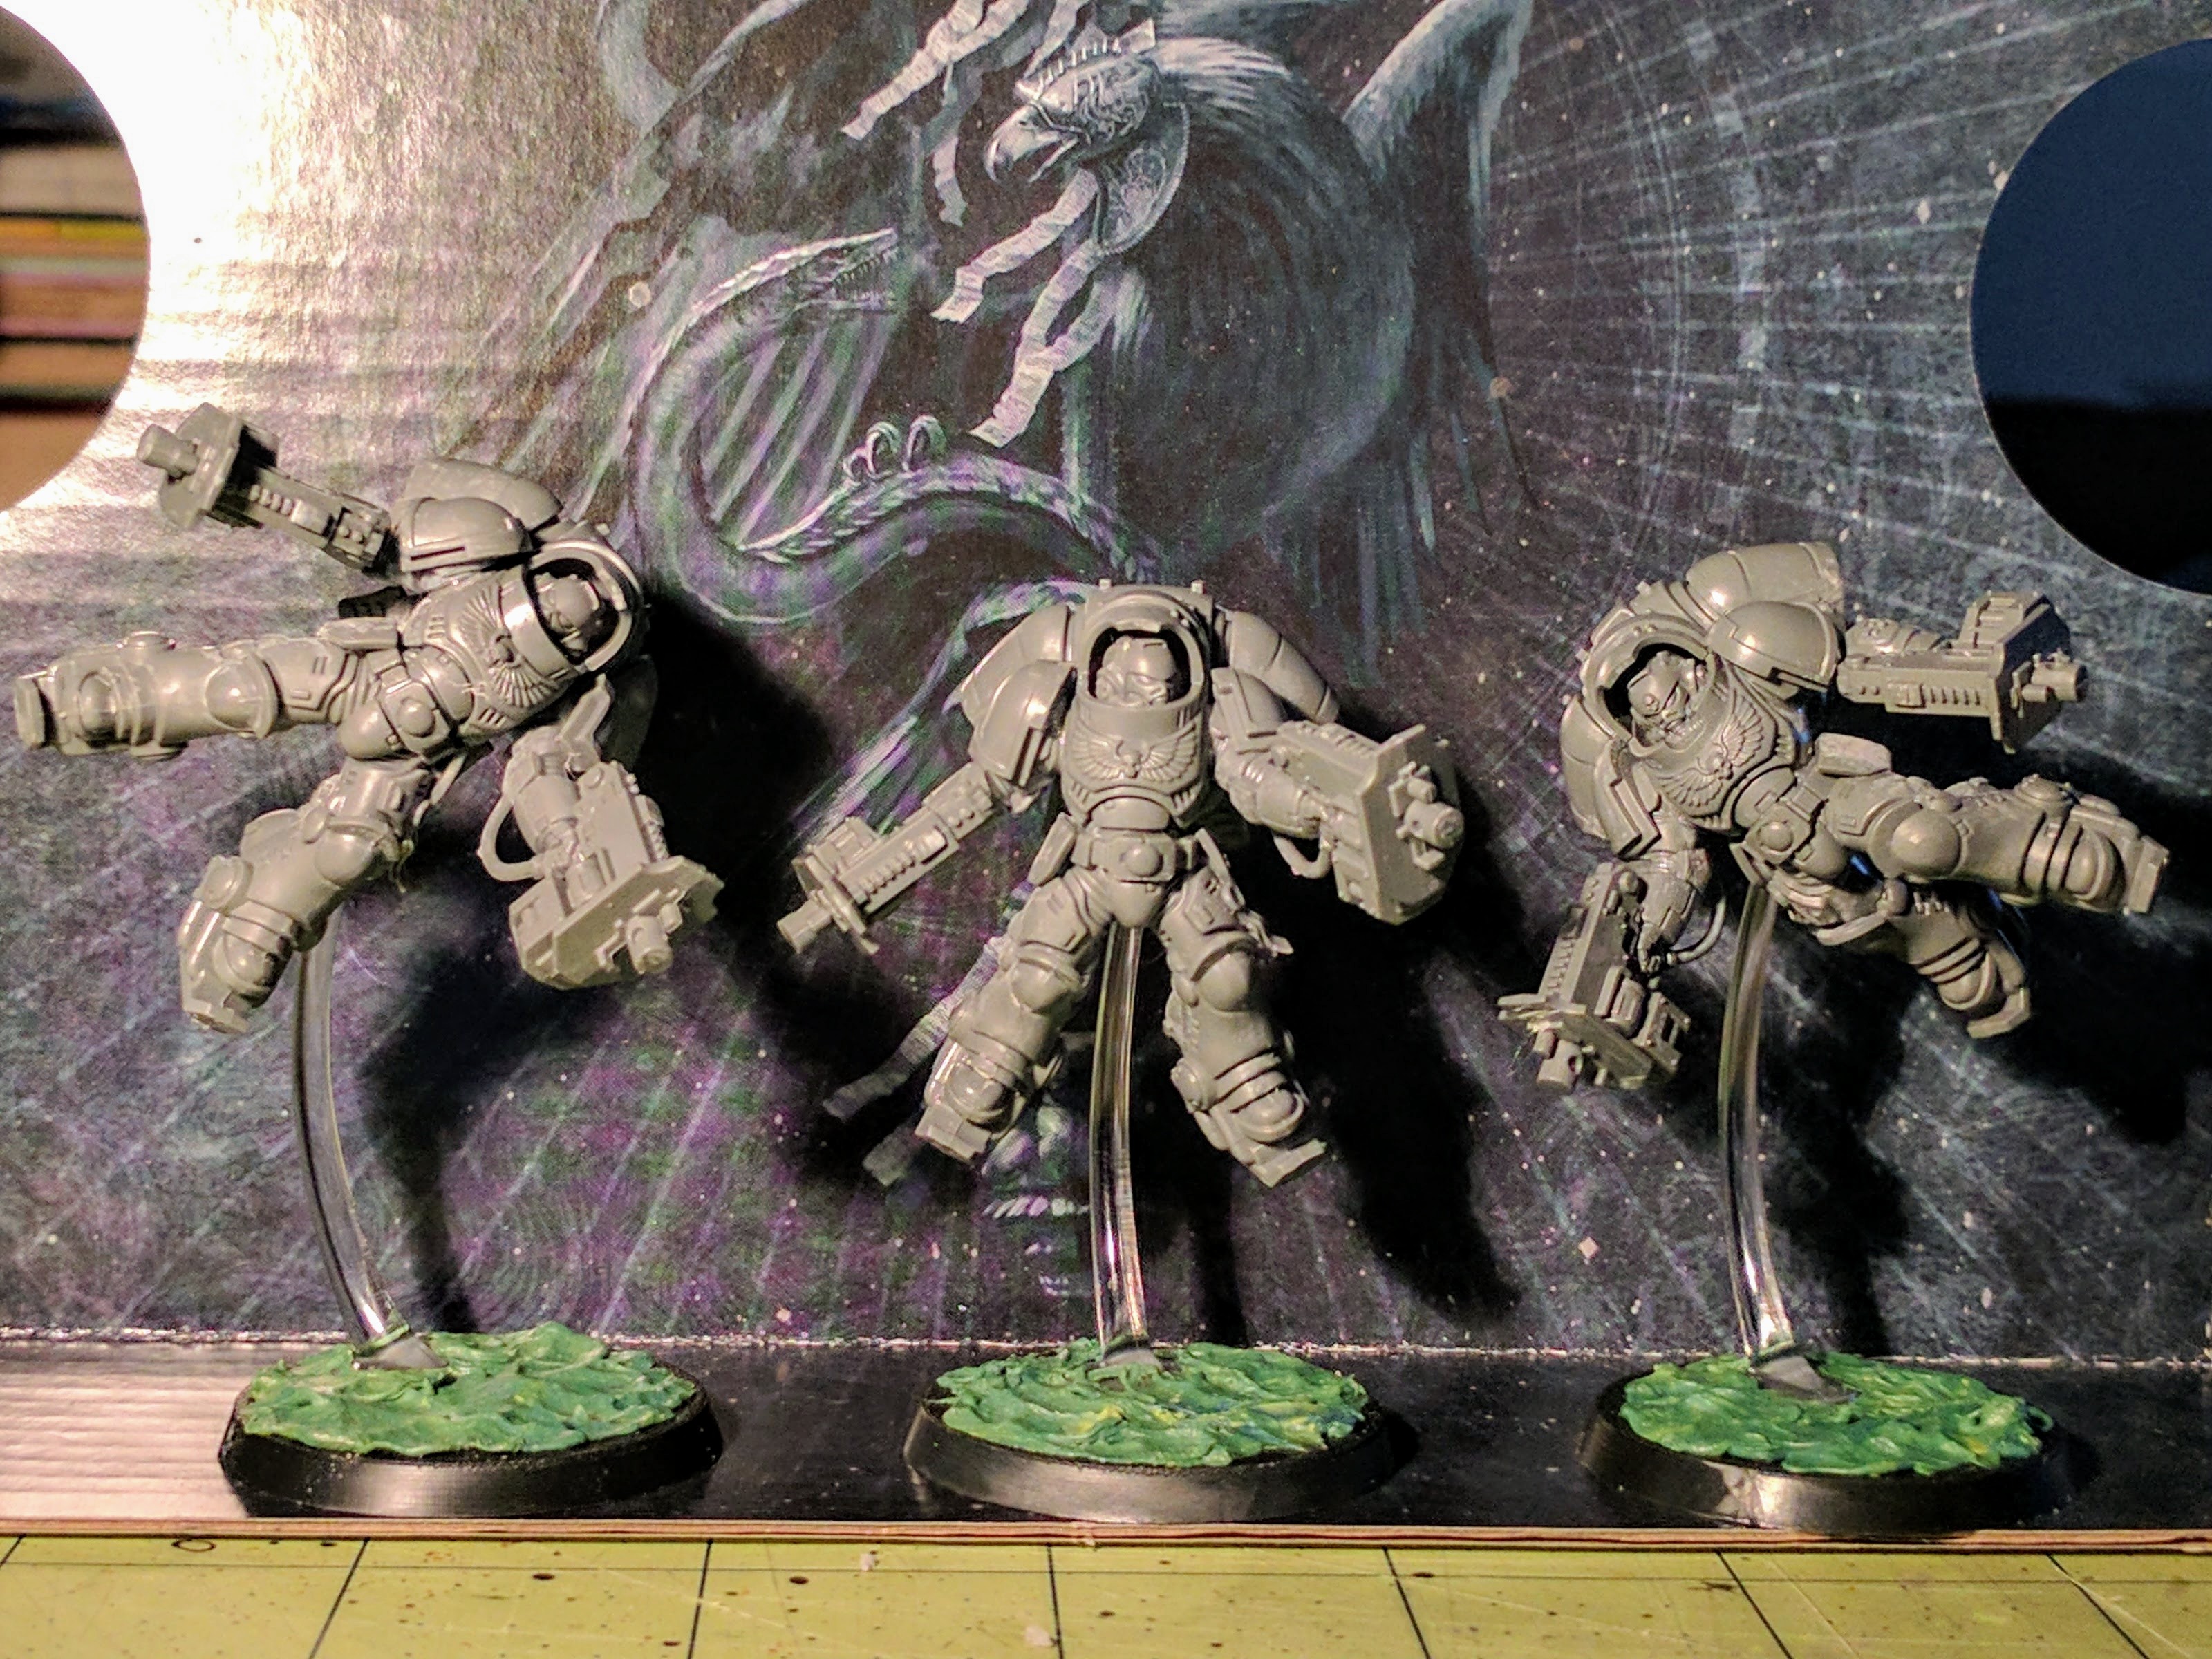
Assembled models.
Ball & Socket
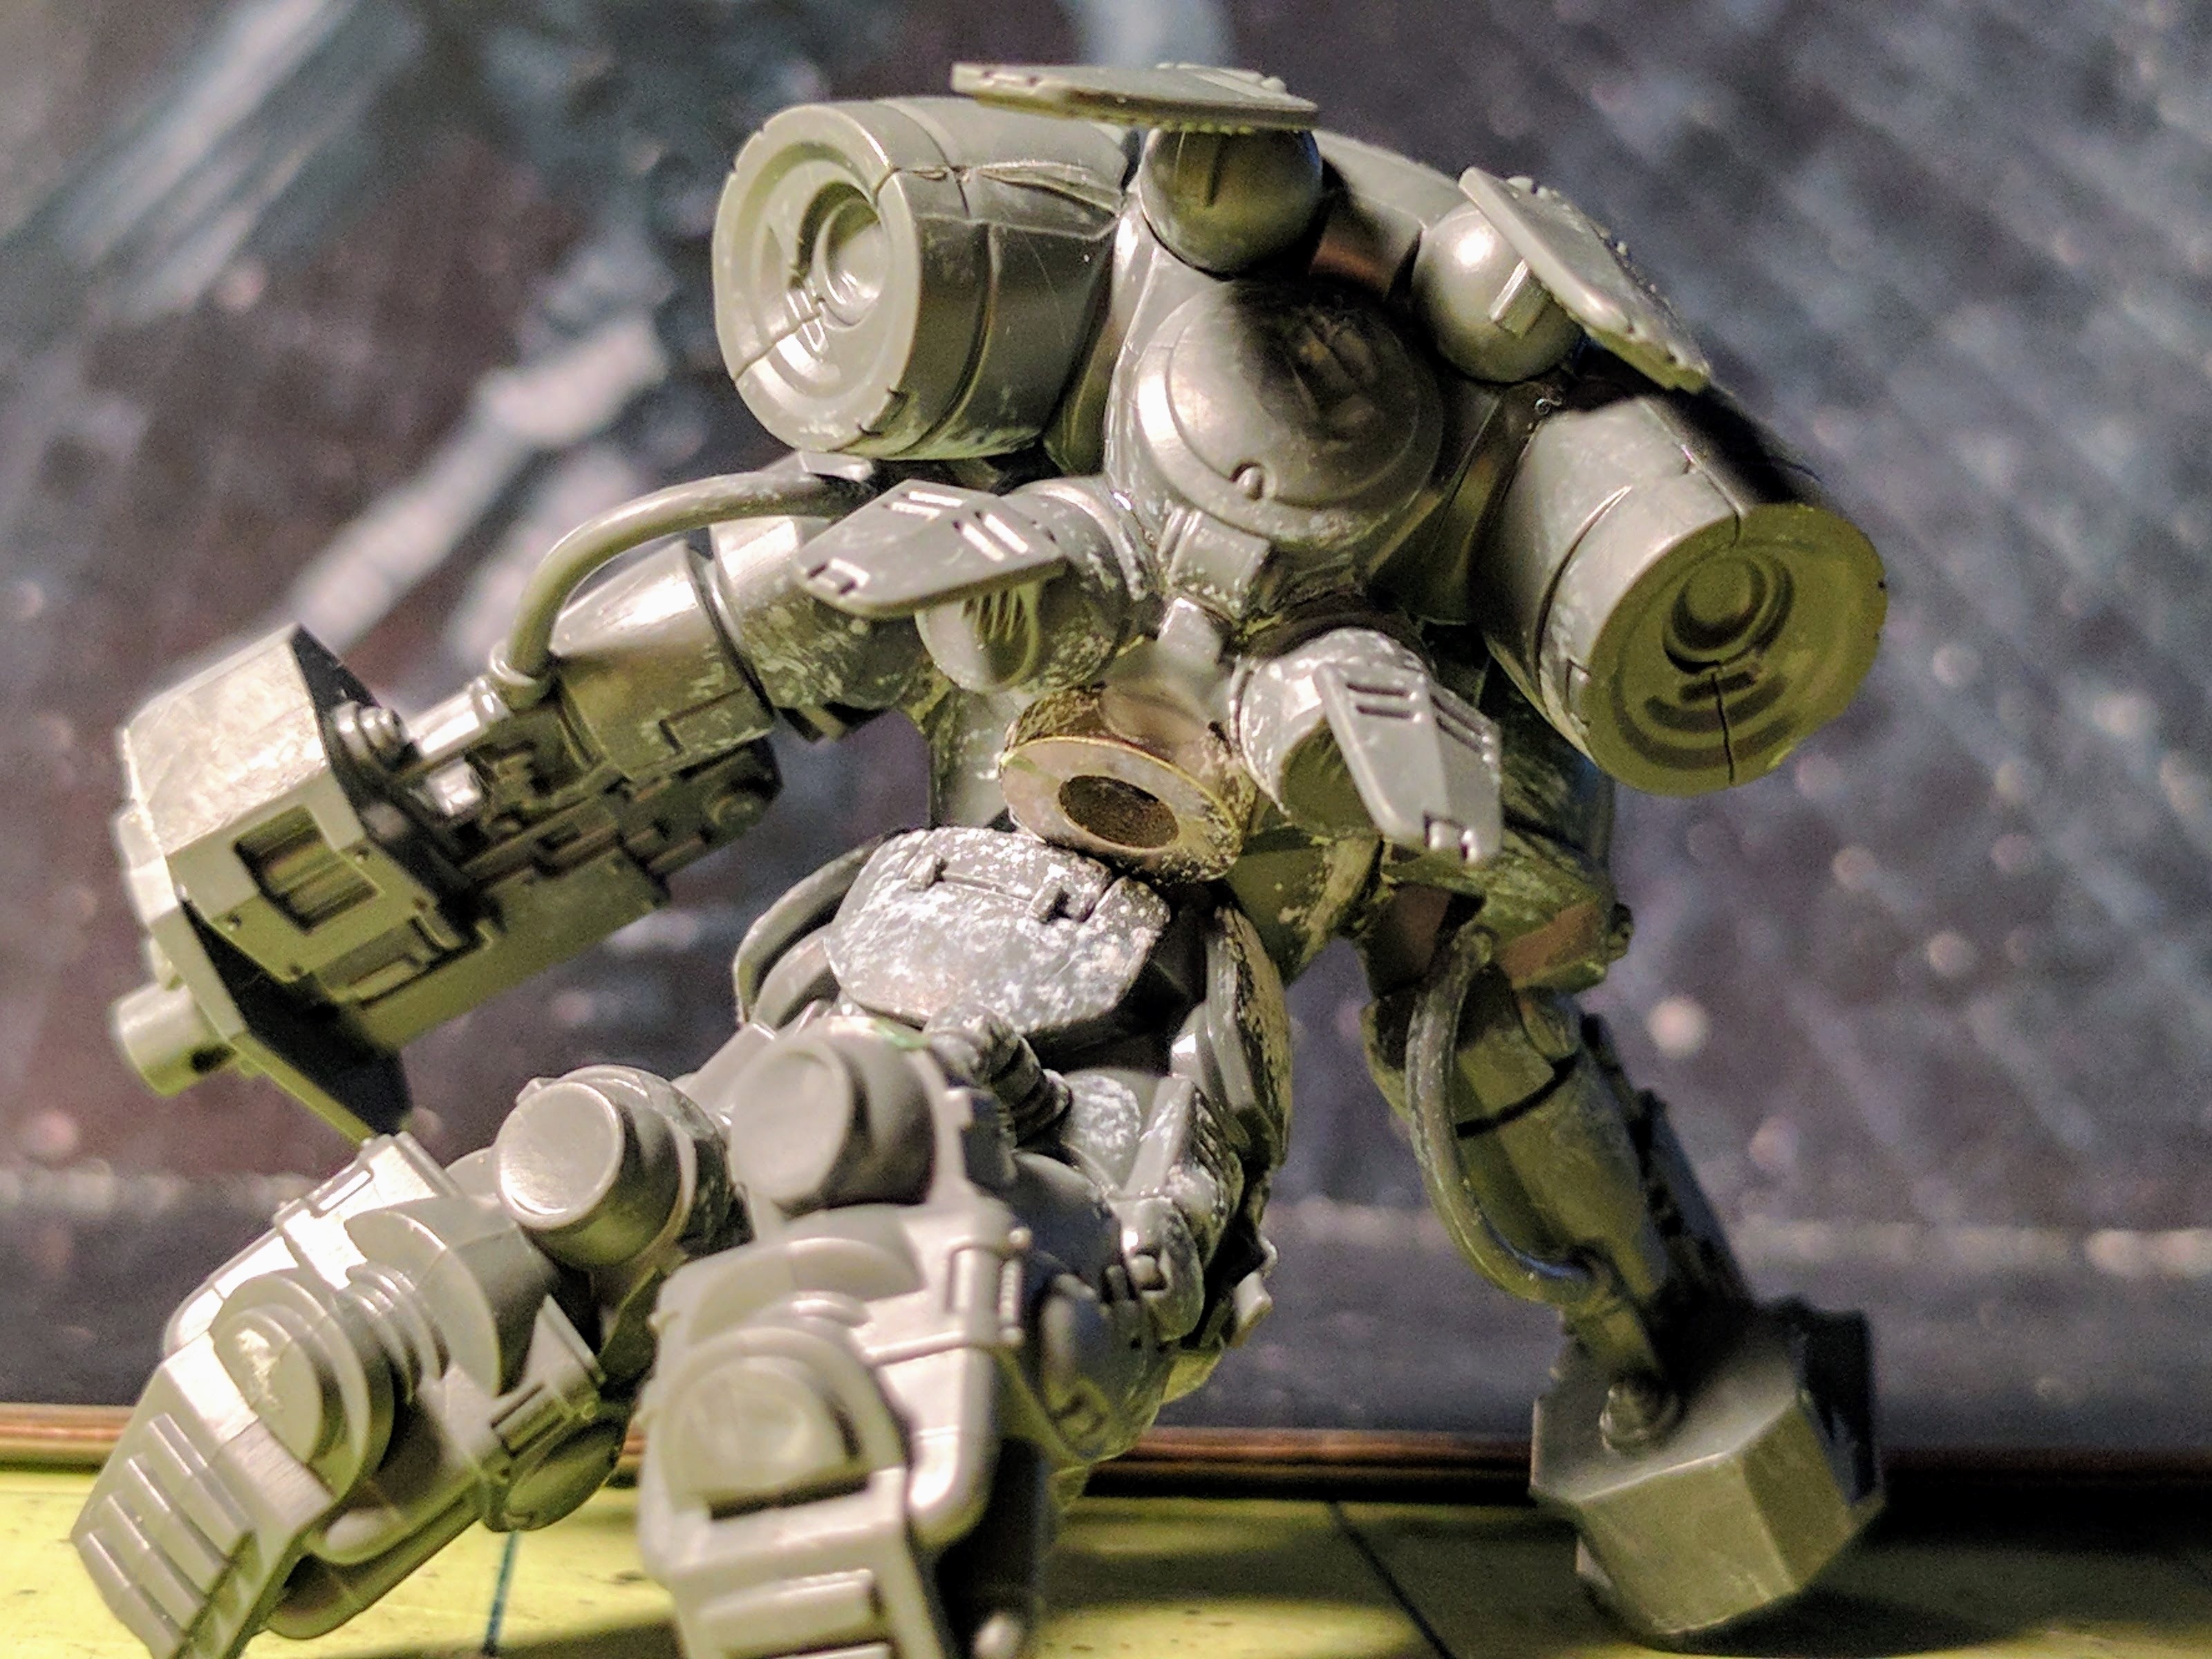
You could magnetize these guys in a couple ways. I’ve done it the way most people do X-Wing ships: A ball bearing on the end of the stand and a ring magnet somewhat hidden in the the underside of the jump pack.

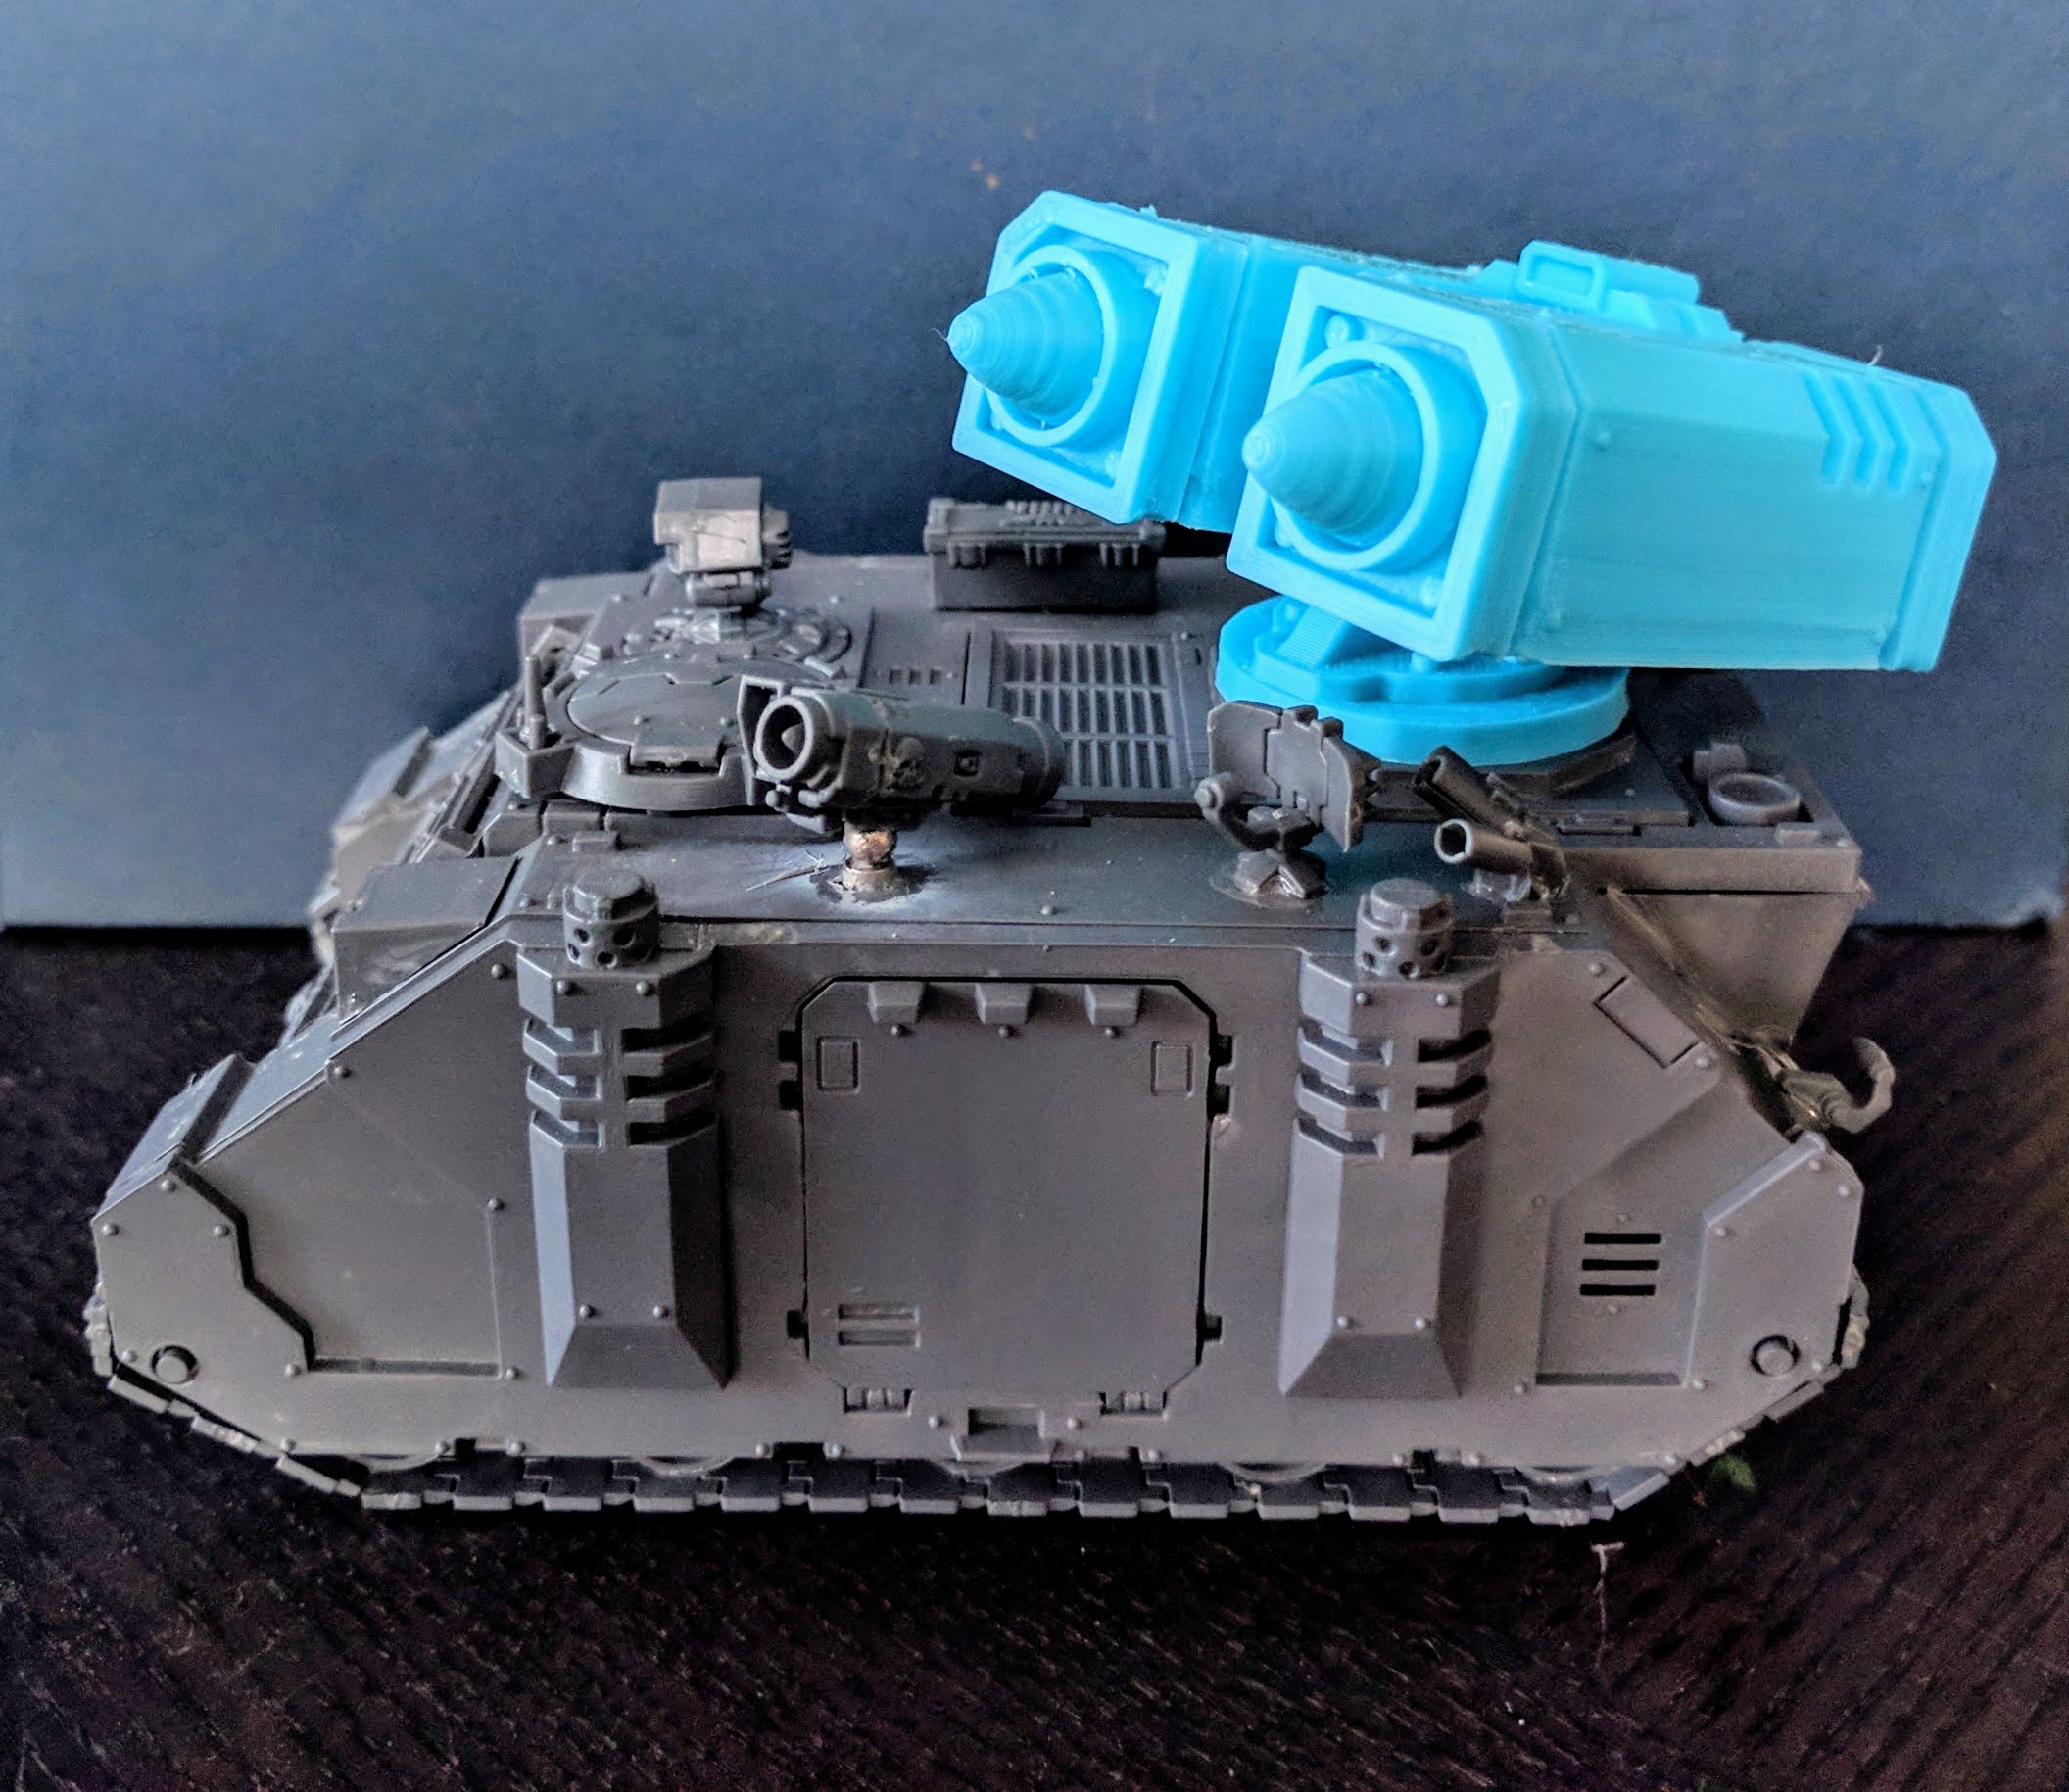
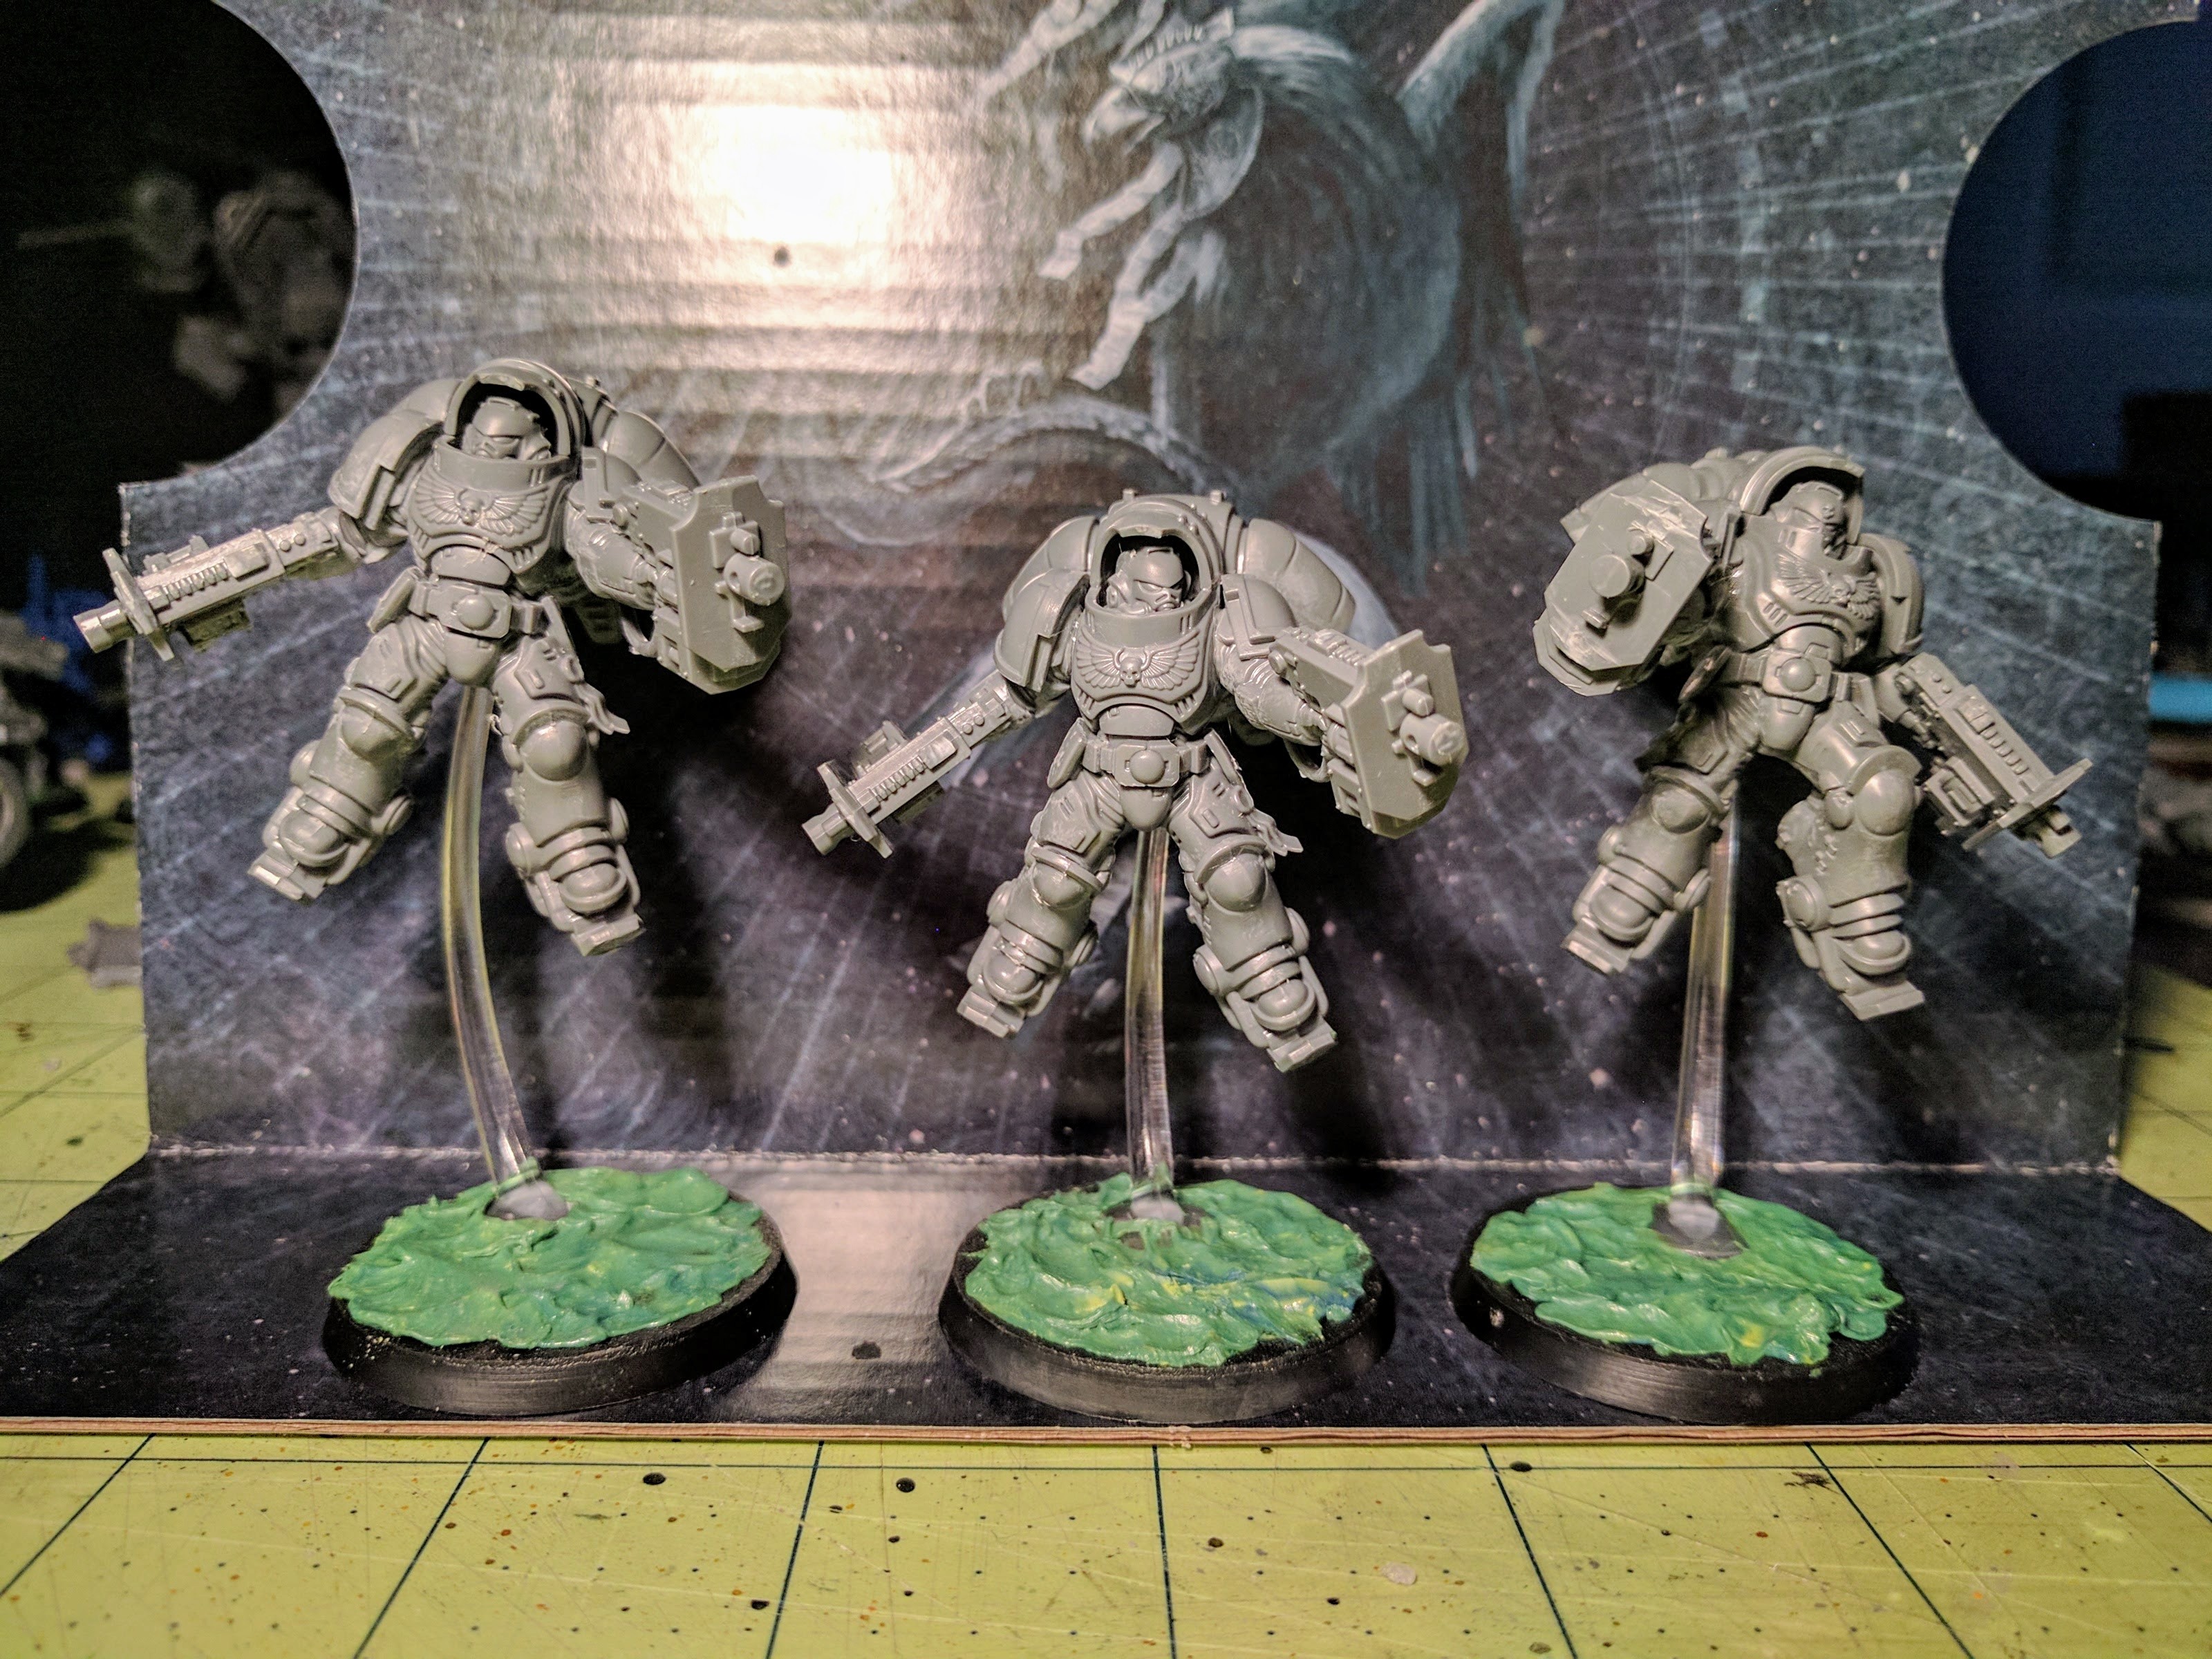
Side view in which you can see the ball & ring magnet connection.
There are several reasons for this approach.
Perhaps most important, in general you don’t want to use two magnets if you can avoid it. A pair of magnets makes a stronger connection but incurs a bunch of extra work. Obviously in that case you need to orient each pair of magnets properly, which can be difficult to get right for small magnets while affixing them in place. But then ideally they should be aligned the same way across all of the models so that you don’t have to worry about which stand goes with which model. That’s a hassle, especially when you add more models later. In contrast, the ball bearing is just a metal surface. There’s no polarity to get right and any model can use any stand without worrying at all about orientation for either any single pair or the squad/army.
Somewhat similarly in reducing fiddliness, using a ball bearing rather than a steel disk means the magnet doesn’t have to be set perfectly on the model. Even if it’s placed a bit crooked you’ll be able to rotate the ball bearing connection to orient the model however you want. Taking that further, if the connection is strong enough, you can rotate the model around into funky angles either for fun or to move it out of the way in tight spaces (a big help in X-Wing, less of an issue here).
A ball bearing and a plain disk magnet would probably also work if the latter was strong enough. However, by using an appropriately sized ring magnet, the ball bearing fits inside and it works like a socket. This lets more of the magnetic field pull on the bearing while at the same time making a bit of a pressure fit. It’s much much stronger than a bearing just sitting against a flat surface and only minimally reduces the angles at which you can position the model.
Finally, ball bearings and ring magnets are cheap and easy to come by, in contrast to cylinders or something like that. I order from K&J Magnetics in sufficient quantities to make shipping worthwhile, but they can be found other places as well.
Model
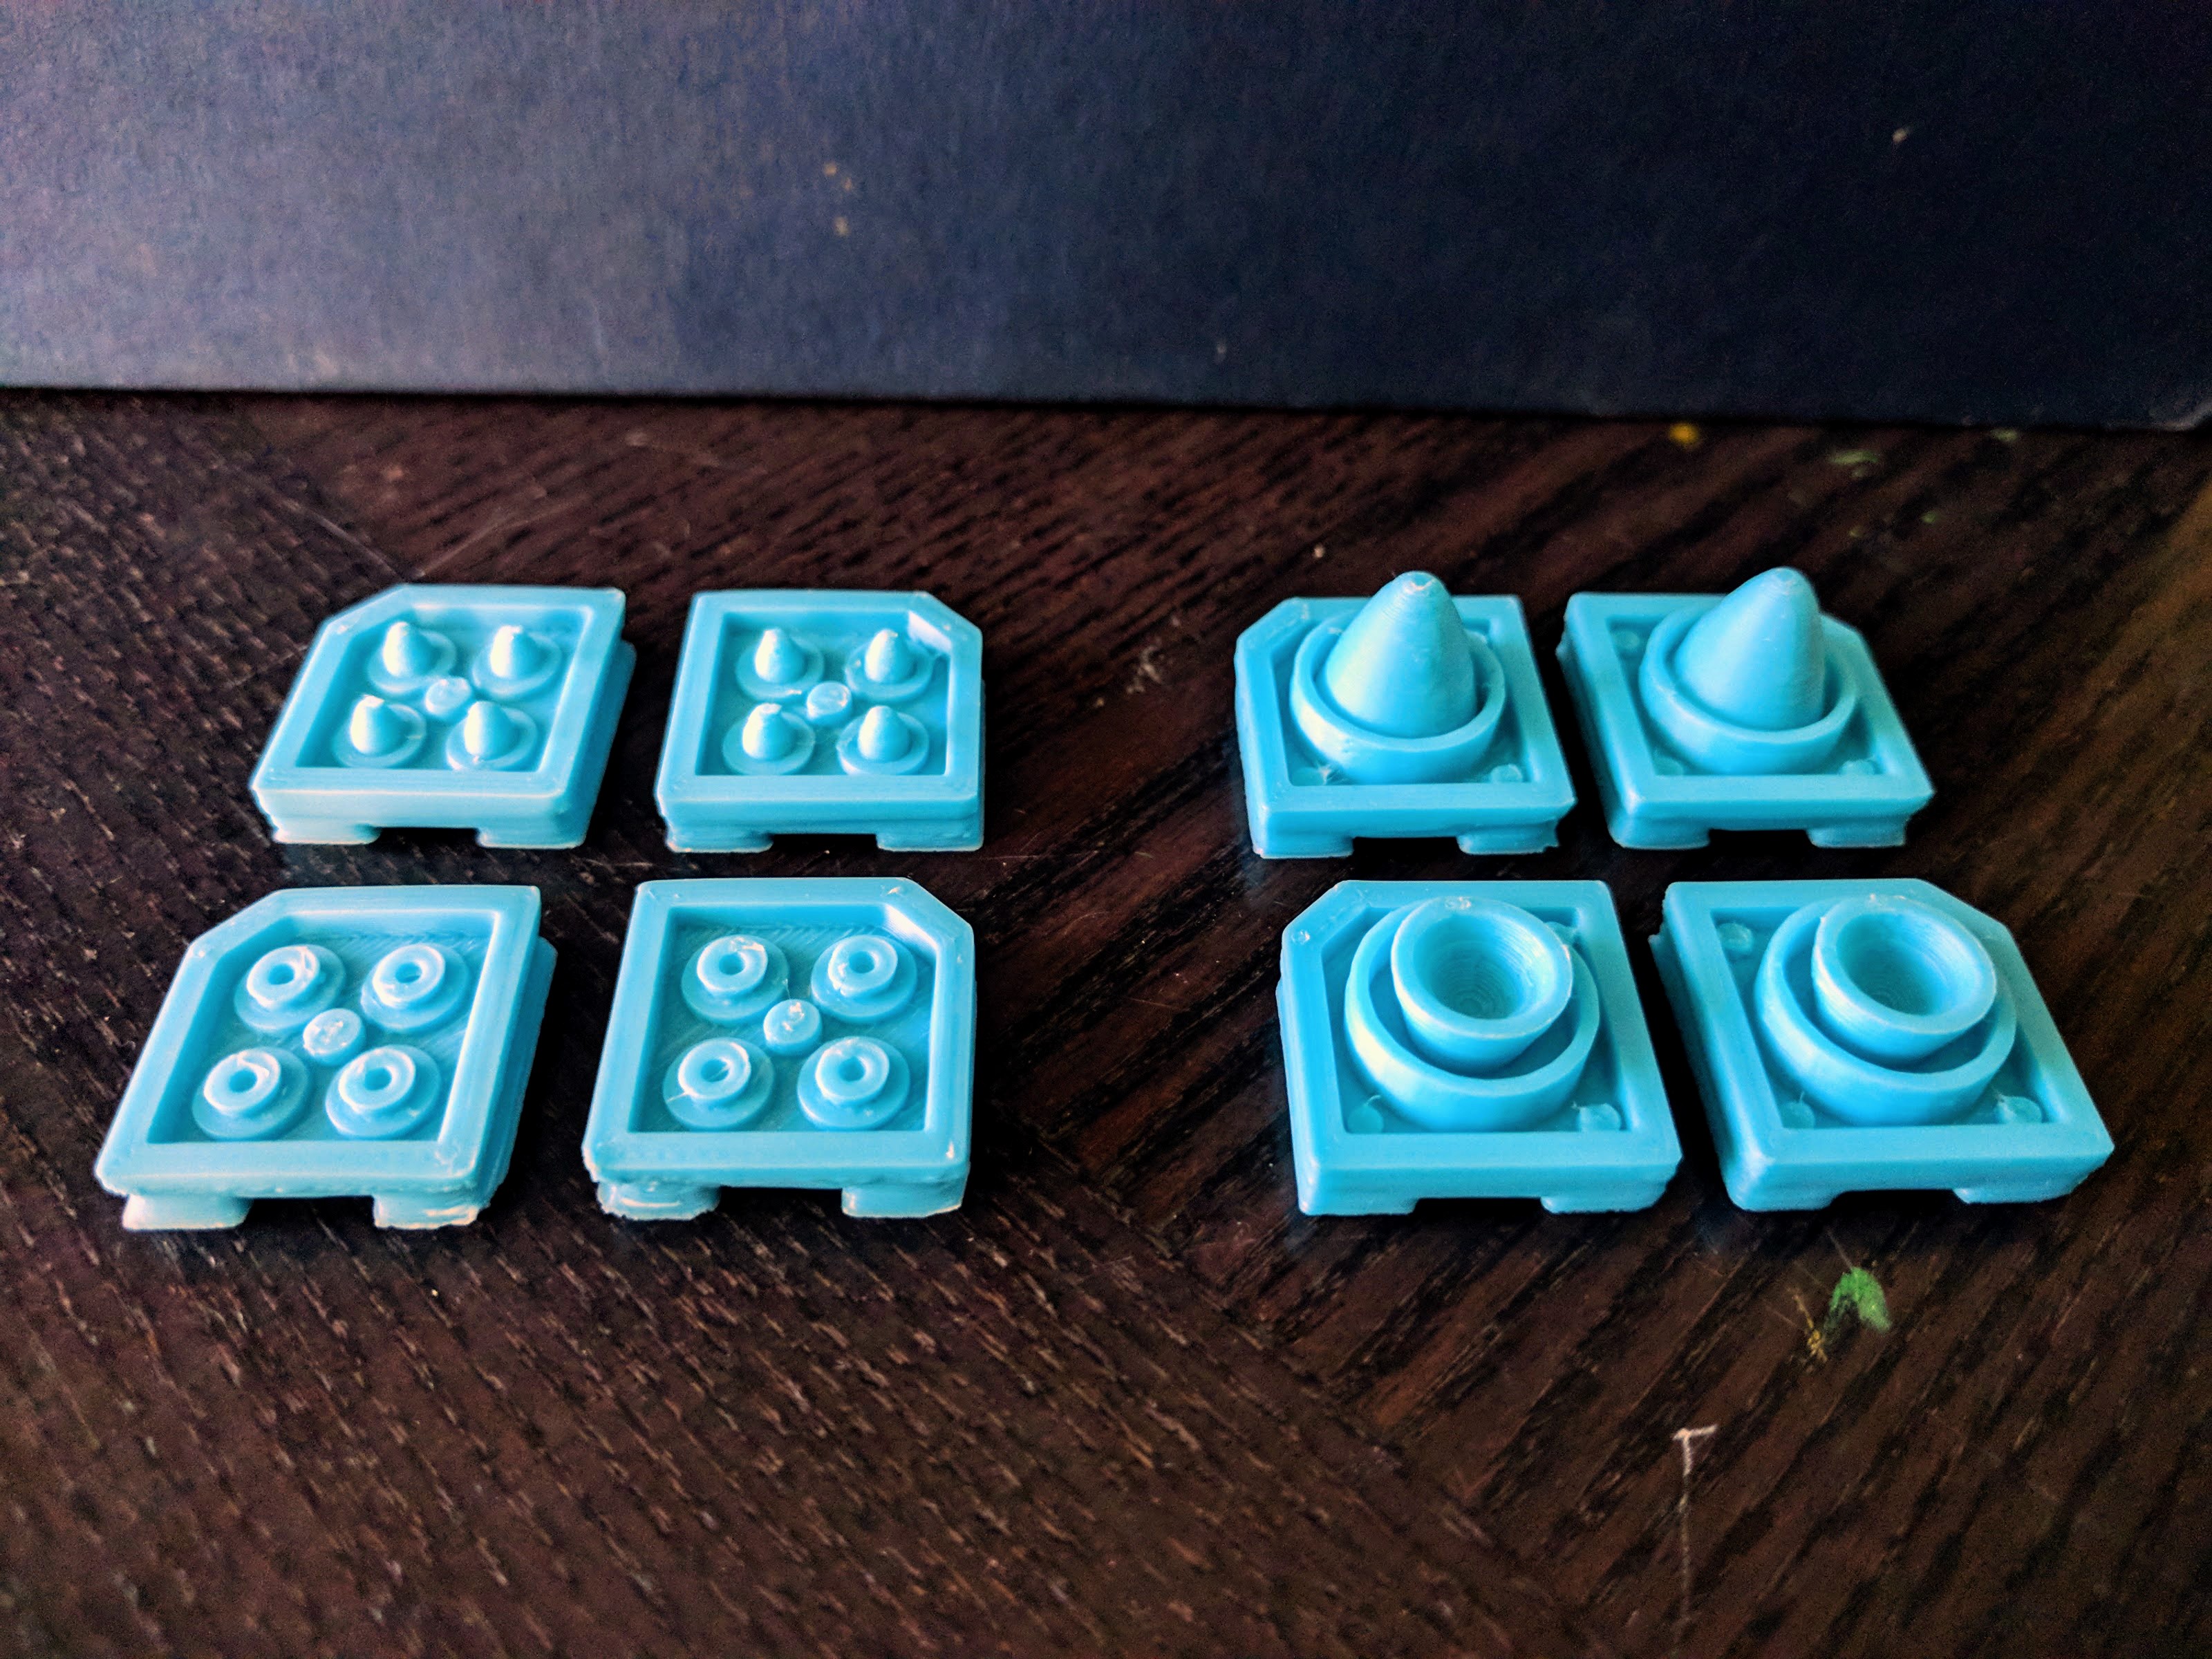
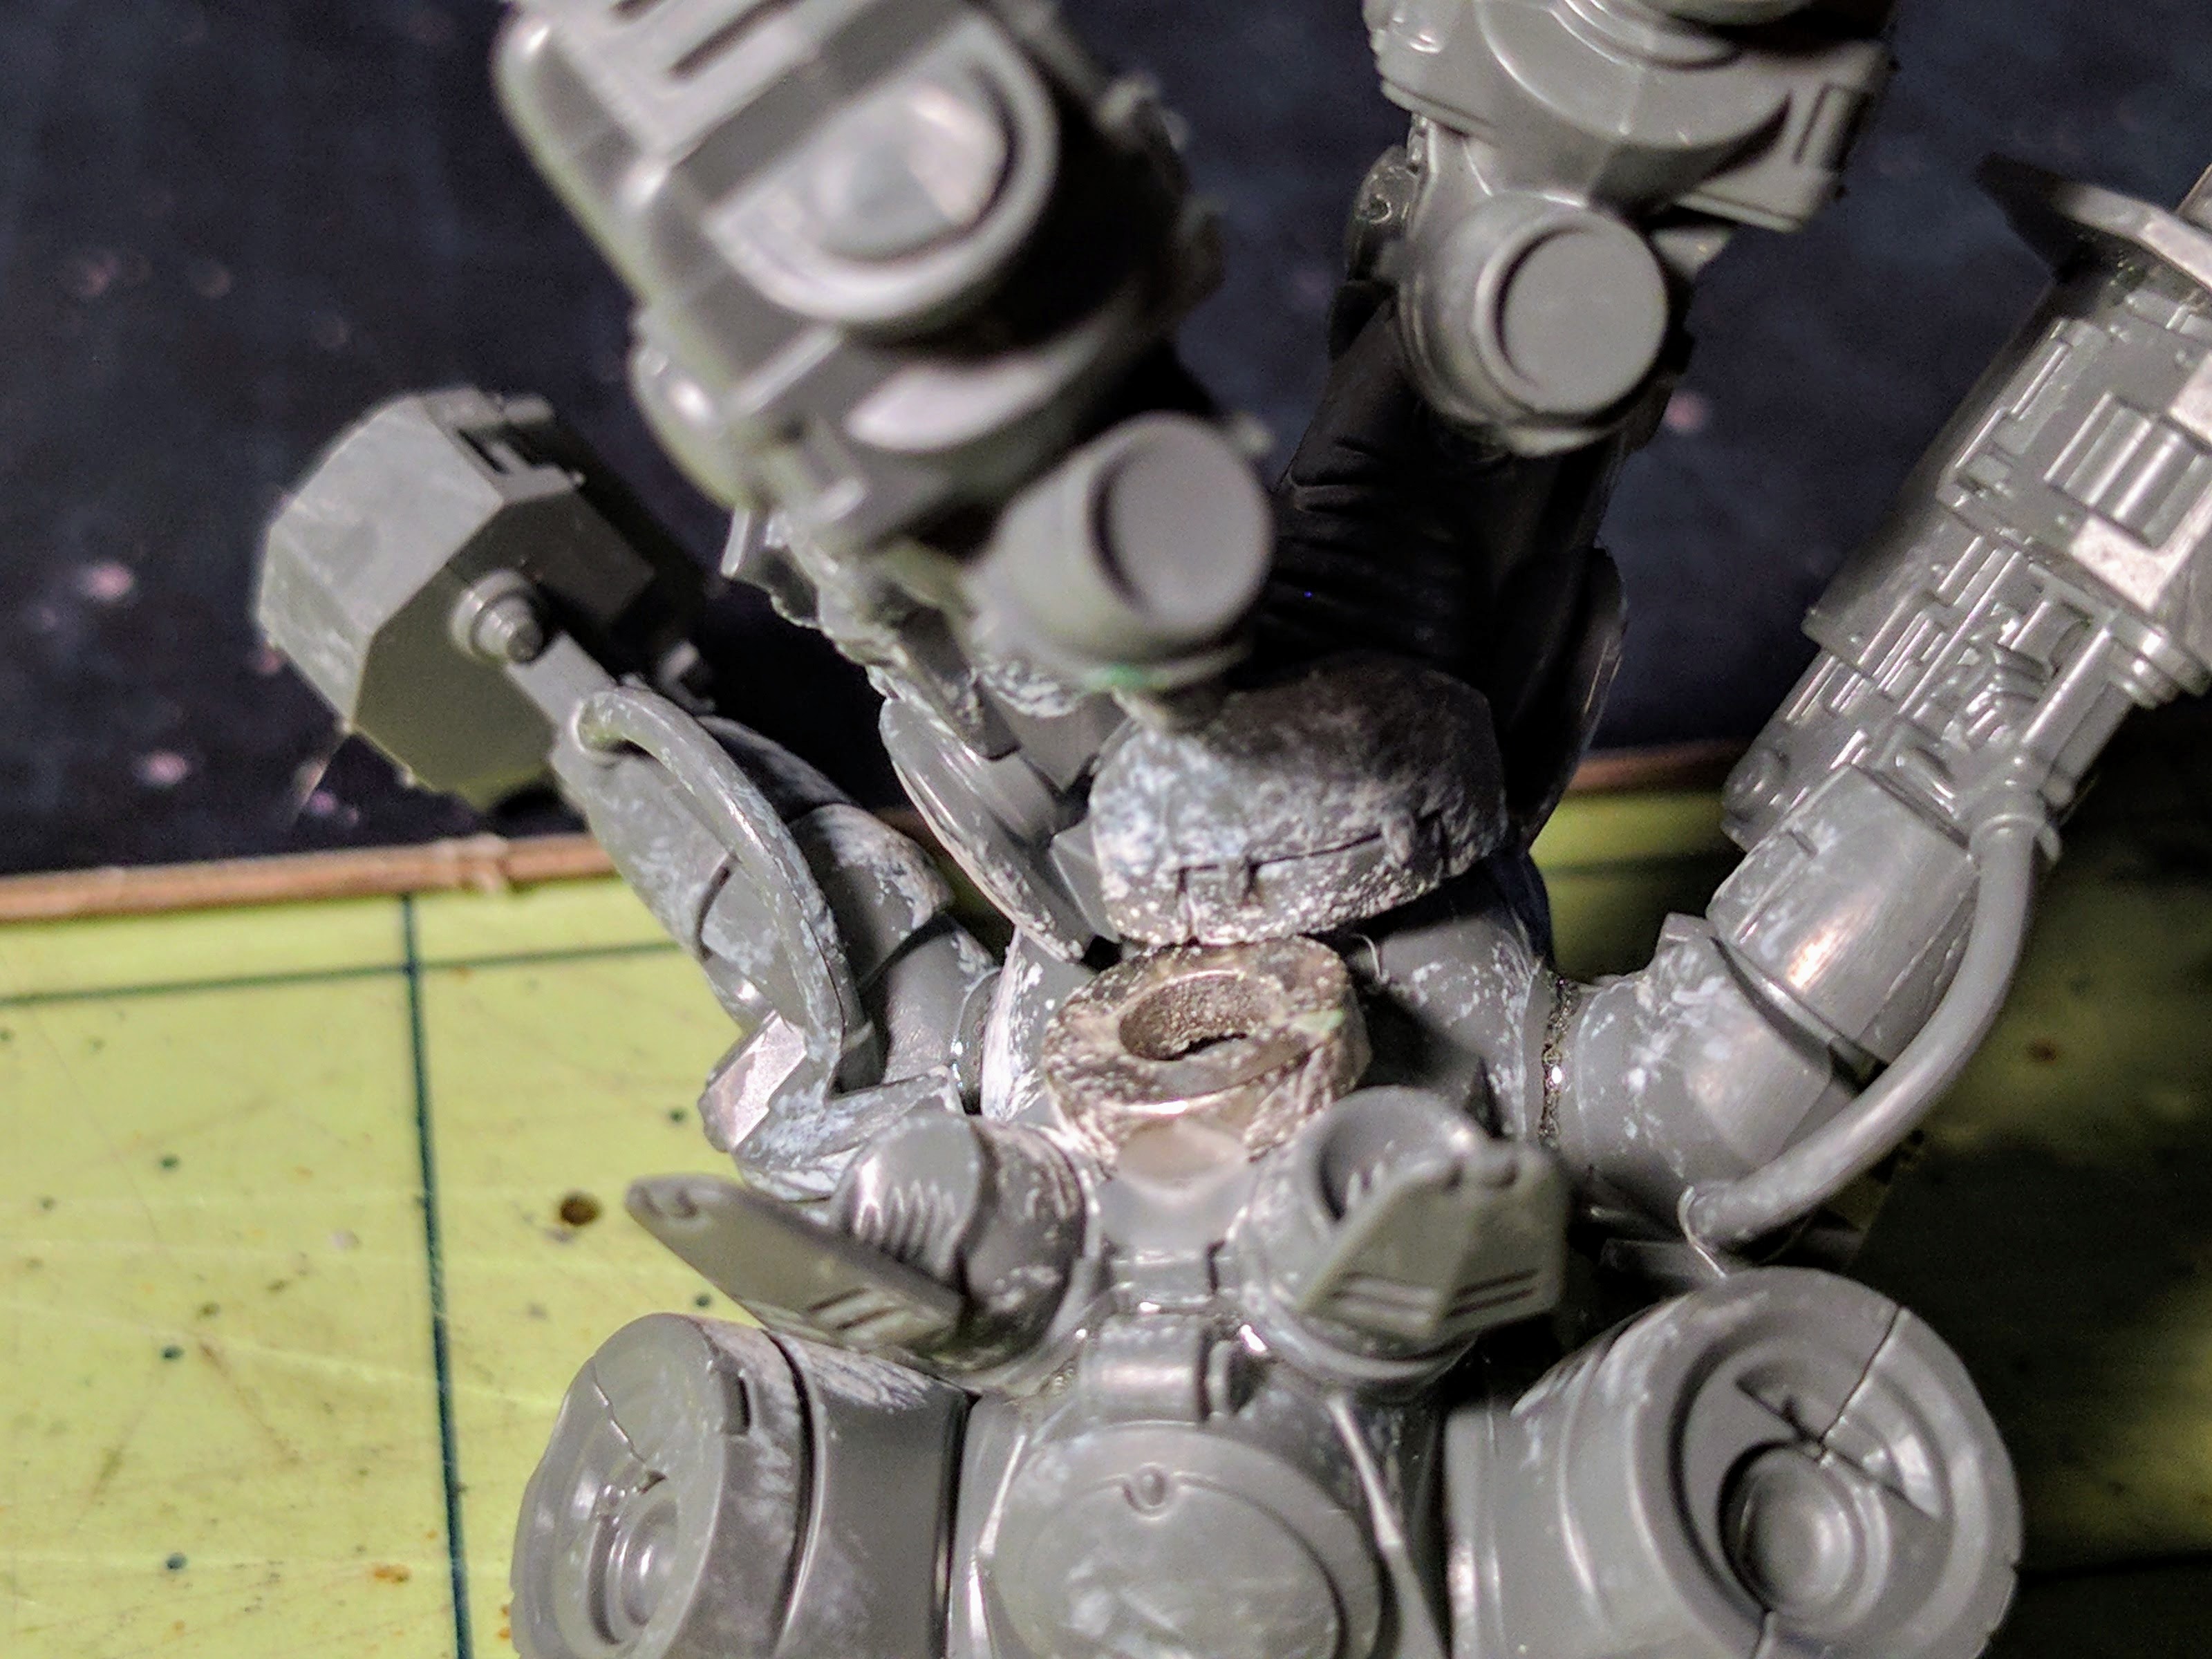
The ring magnets I used are 1/16″ thick, with 1/4″ outer diameter and 1/8″ inner diameter, specifically the R421 from K&J. Inner diameter needs to match the ball bearing. Outer diameter needs to fit the model, and these just happen to fit nicely on the underside of the jump pack between the secondary thrusters. A nice bonus of the ring magnet is that from a distance it arguably looks vaguely like just another thruster.
Attaching the magnet is straightforward. You could use either CA (superglue) or green stuff, putting a small amount in the cavity on the model and dropping the magnet on. Since polarity doesn’t matter, you can actually literally just drop it on with the model facedown on the table and let it sit there to cure. I used gel CA so I could easily form a small blob to sink the magnet into and fill up the tiny gaps between it and the model. Whatever you use though, be sure to not fill up the hole on the magnet.
Note in these pictures how the glue vapors frosted up the surrounding area a bit, which is a good reminder to never use superglue on painted models if at all avoidable.

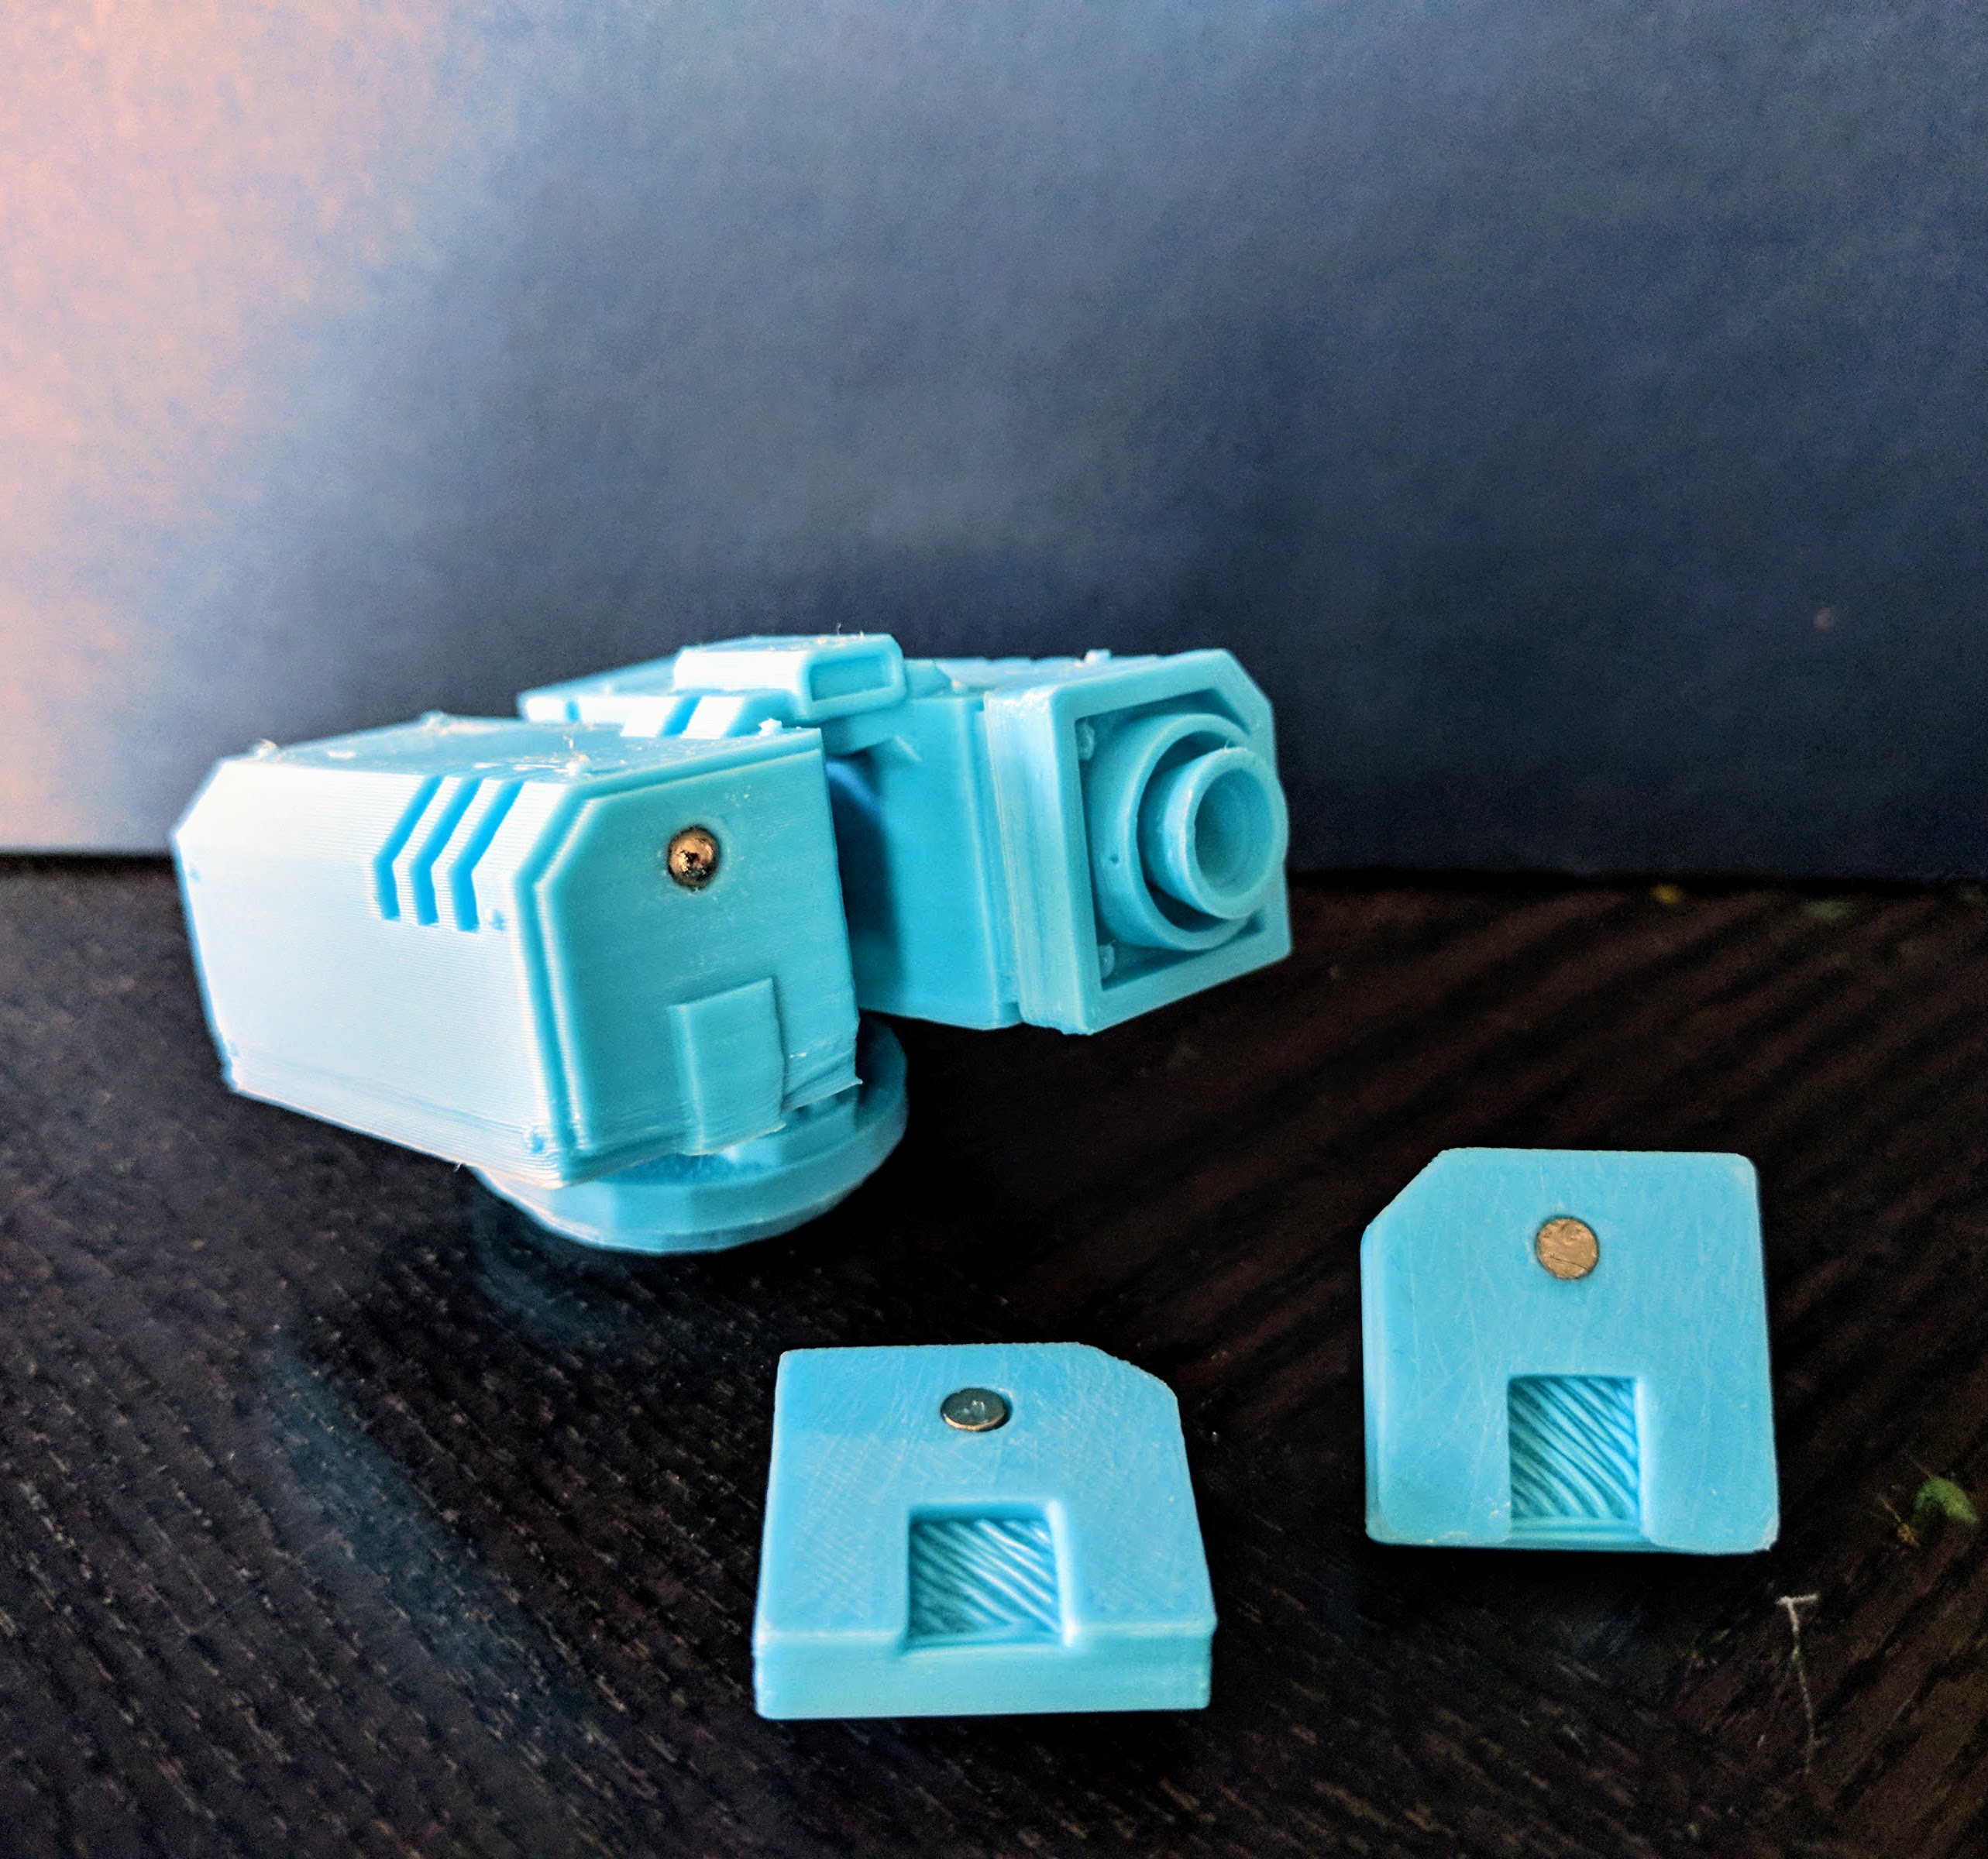
This size magnet fits perfectly in a slight cavity on the jump pack underside.

And it hardly stands out at all on the model amid the thrusters.
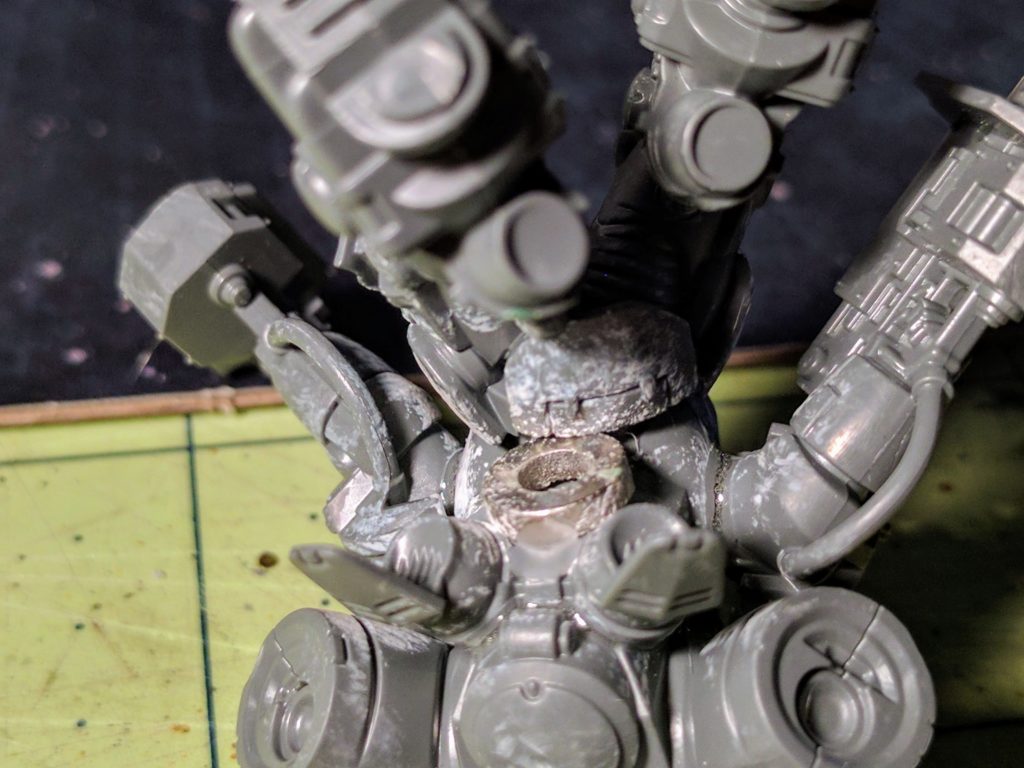
Attaching the ring magnet is a simple matter of putting the model face down and dropping it on.
Stand
Putting the ball bearing on the stand is just slightly more involved. The bearing I used is 1/8″, matching the inner diameter of the magnet, specifically the NSB2 from K&J but you can find similar tons of places.
The bearing fits well in the little hook on the flight stand. I attached it in three steps:
- Using gel CA so it doesn’t flow all over, put a dab in the hook and then drop in the ball bearing and let it cure.
- Pack a very small quantity of green stuff around the stand and bearing, being sure to leave most of the magnet exposed, essentially creating a tube around both to be a very strong connection.
- Once cured, file down any excess green stuff.
More talented greenstuffers could no doubt just pack it on in one step, but I found it helpful to glue on the bearing first to help keep it in place and wound up with just enough bulge to be worth filing down.
Some people have reported trouble gluing the stand to the base. I didn’t have any such problem using my usual plastic cement but it’s probably avoidable or fixable by roughing up the bottom surface of the stand and then rinsing both, creating more surface area and removing any release agent on the pieces.
However, the foundation of my bases is vaguely swampy greenstuffing. So with the stand glued on I also built up some greenstuff over the edges of it. This both obscures the bottom flare out of the stand and makes its connection to the base stronger.
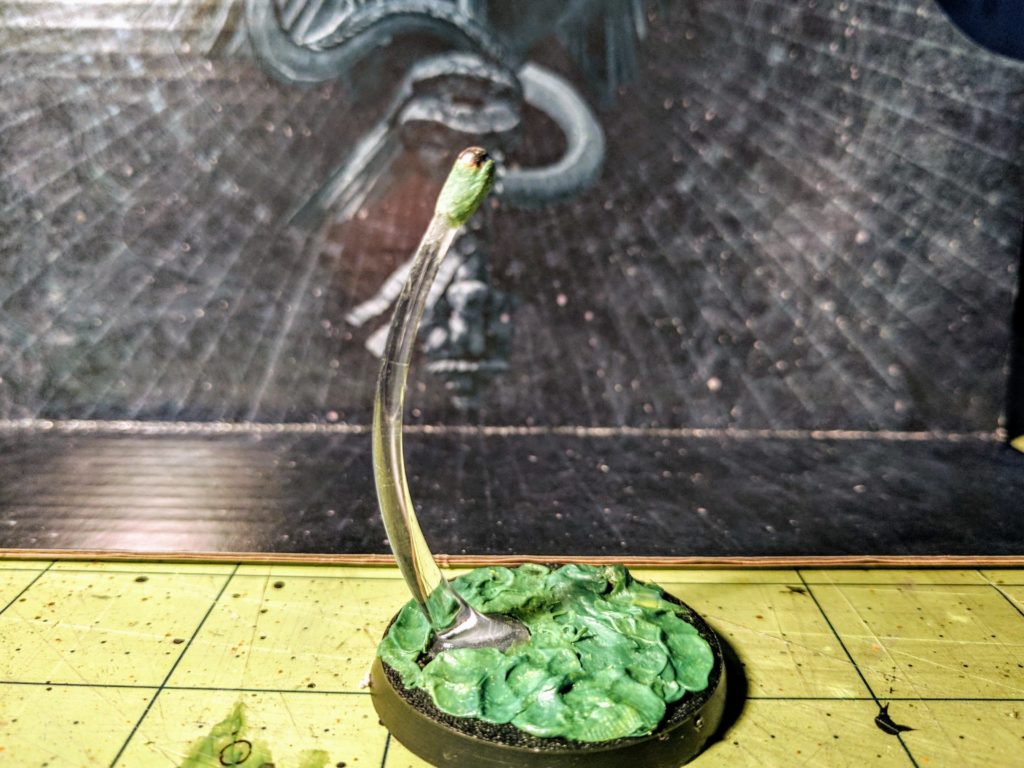
Stand with ball bearing affixed to the top.
Fly!
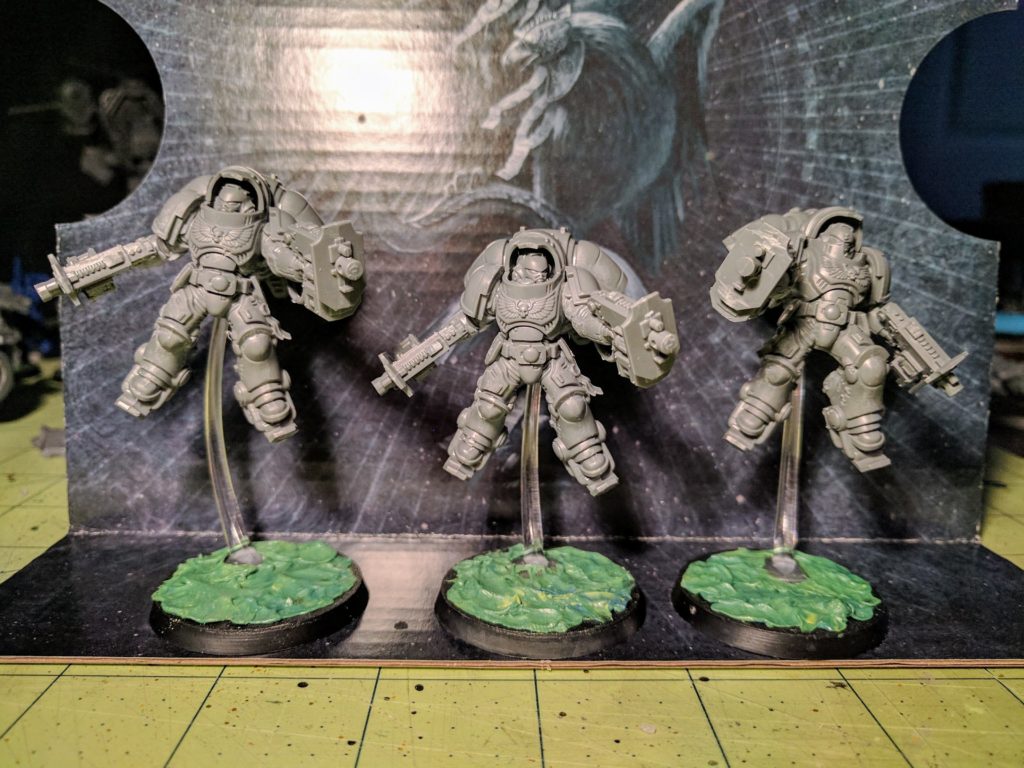
This process took literally a couple minutes, and now the transport and fragility hassles of these flight stands are almost entirely mitigated. With the bearing in the ring the connection is very strong, the models can be picked up and moved around with no fear at all of the base falling off. As a bonus, the Inceptors can fly around at kooky angles!
All that said, if I pick up another squad of these there’s a good chance I’ll simply mount them on the base. Done well I think they might actually look even better on the ground, it gives them extra visual bulk and intimidation.
But, if you want the flying look, a ball bearing & ring magnet is a good way to do it.
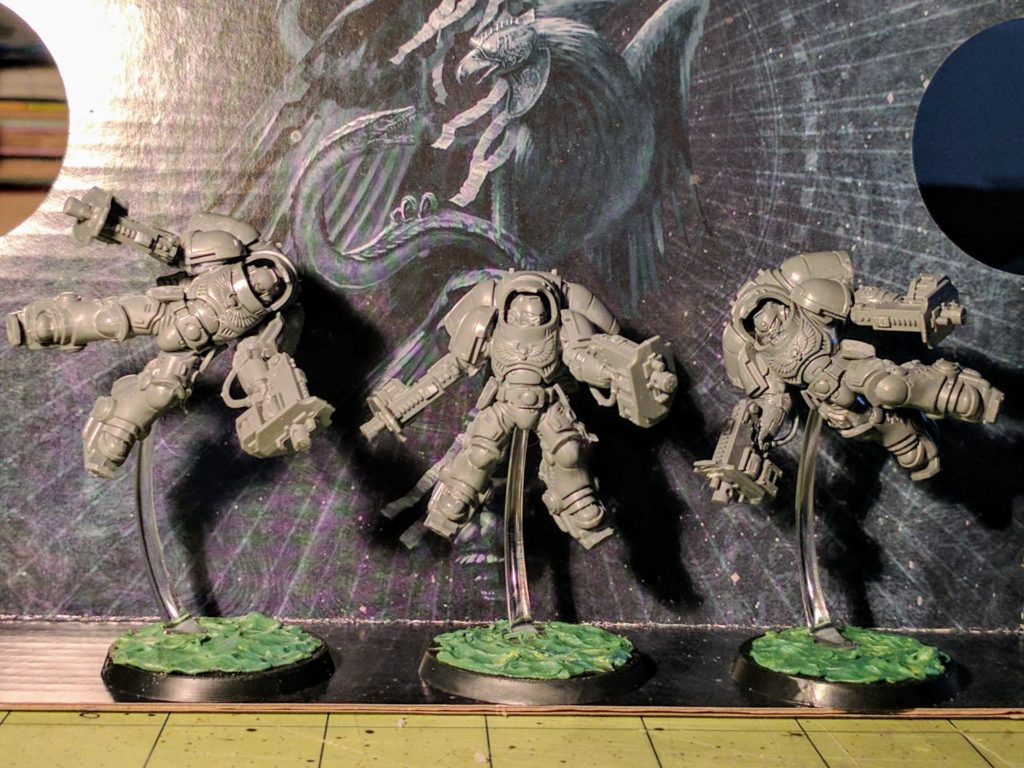
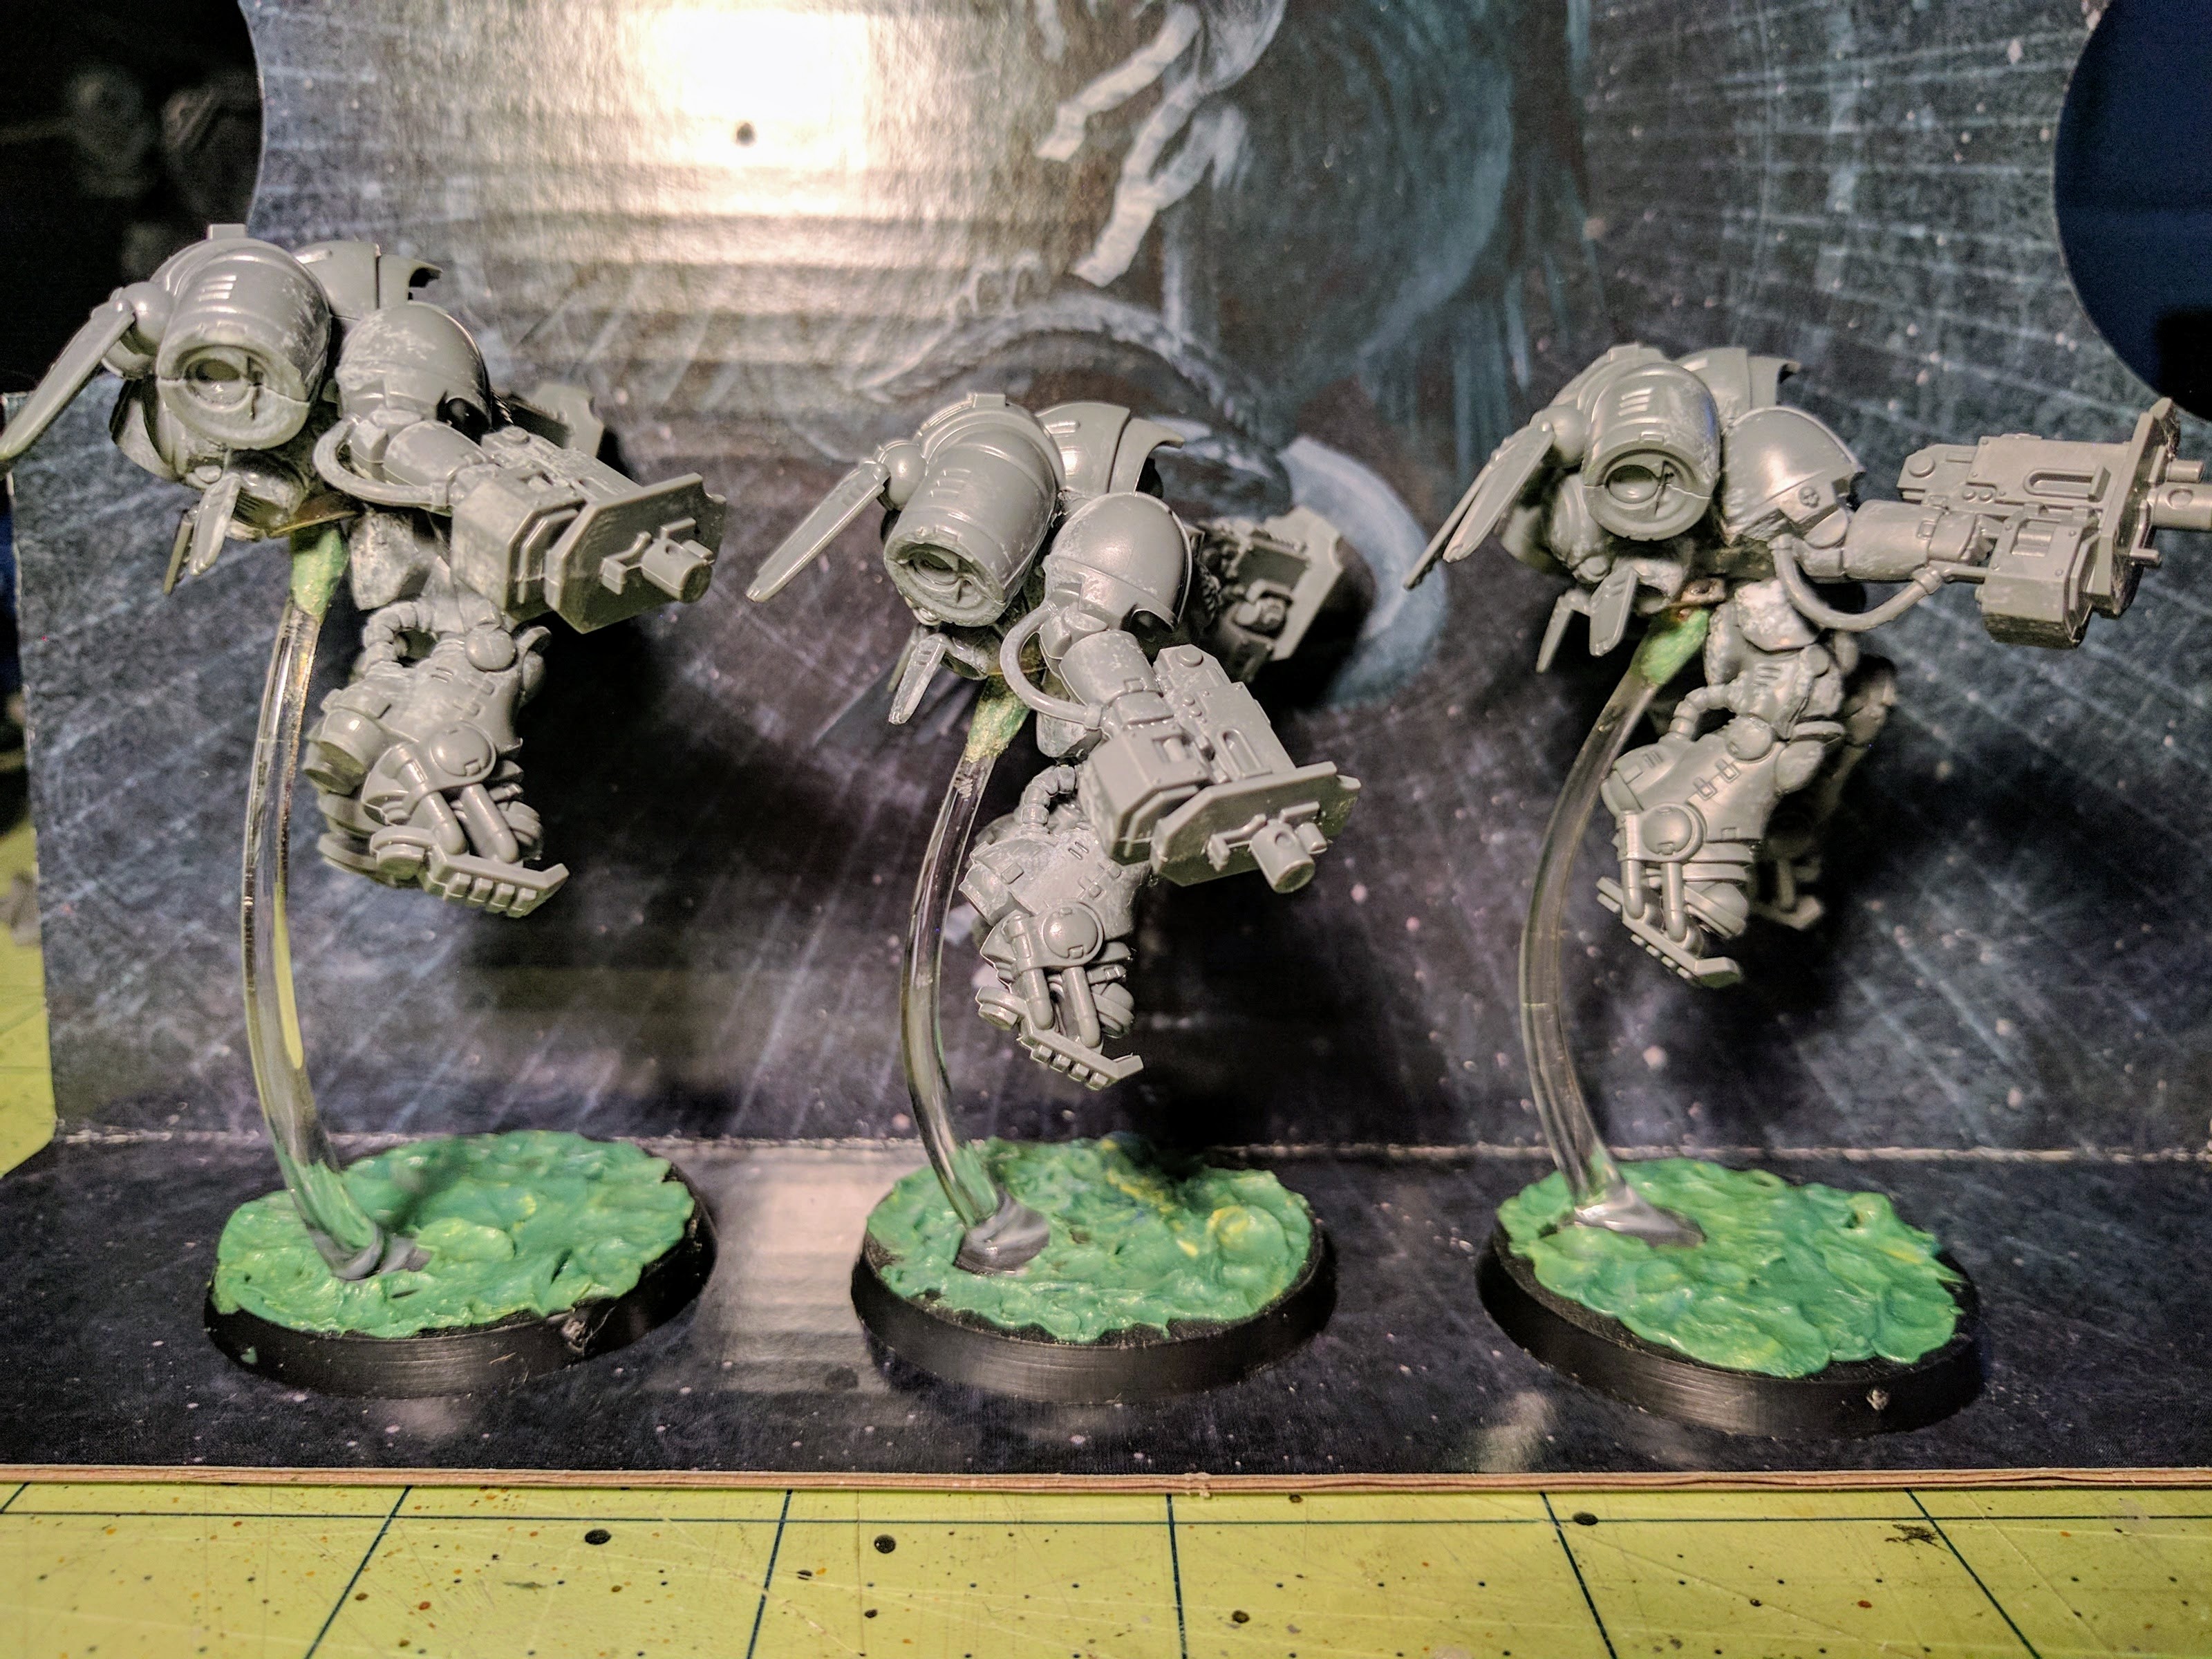
Inceptors flying around.