Late last week I picked up a WanHao Duplicator i3 Plus 3D printer. The cost is low enough that I could justify it as a backup and secondary printer, as well as just to have first hand experience with this popular model. These are some thoughts after a few days’ use and a number of prints, with a mind specifically toward miniatures terrain and similar hobby work. The upshot is that I think this is a great printer for the price, well suited for terrain production, and very accessible to newcomers to 3D printing provided they’re willing to look for and utilize other documentation.
I also have a walkthrough here for newcomers of some basic 3D printing concepts in the context of miniatures wargaming. A detailed tutorial on 3D modeling and printing using a miniatures wargaming example is here.

Wanhao Duplicator i3 Plus all set up and ready to go.
Cost & Availability
It’s stereotyping a bit to say, but in many respects the WanHao i3+ is typical of low cost but solid quality Chinese electronics. WanHao itself doesn’t produce retail products, at least for the US market, so there’s a confusing medley of rebranders under which the printer is actually sold. Monoprice is probably the most common; they sell their version as the Maker Select Plus on Amazon and elsewhere for $400. I bought a PowerSpec branded model from Micro Center for $350; it’s apparently sometimes offered on sale there for $250, a steal. I refuse to let it not be amazing that I can pop out to the store for under an hour, spend just a modest amount of cash, and come back with a robot that can make “anything.”
It’s worth taking some note of that availability. A big part of why I got this specific printer was because I could pick one up right away that evening when my main printer went down for non-trivial maintenance. Contrast that with Prusa Research, whose manufacturing is continually overwhelmed by their popularity and notoriously have backlogs of weeks or more. I produce a lot of prints for events and other deadlines, so it’s useful to know what I can likely grab with essentially no delay if/when necessary.
Tools
The PowerSpec edition, and I assume most rebrandings of the WanHao i3+, come with everything needed to get started. Included are the few tools necessary to assemble the printer and some extras for later maintenance; enough PLA filament for a a couple small prints; a spackle knife for removing pieces from the print plate; and an SD card with a few ready-to-print test designs preloaded. Including an SD card is a nice small touch, removing the need to hunt down or buy one to get started.
The spackle knife is a somewhat negative note among the included accessories. It’s useful, and more so than some other removal tools. But it has sharp corners that can easily gouge the print surface. I quickly switched back to the print removal tools I’ve been happily using for some time (especially the small tool).
A sidenote on the topic of tools to get started, I also use a simple pair of curved tweezers all the time. They’re handy for plucking at loose bits and threads of filament, or holding a cloth or paper towel to clean off a heated hotend.

Left to right: Spackle knife packaged with the i3+; knife that comes with Lulzbot printers; the Foreasy print removal tool I actually use; and curved tweezers for plucking filament threads.
Setup
Shipped in just a few major sub-assemblies, physically putting together the WanHao i3+ is intuitive and takes only a few minutes. Again typical of rebranded electronics though, PowerSpec’s documentation doesn’t quite track with the final product or packaging. The first indicator is that a description of the locations for the handful of bolts to be put in isn’t quite right. More problematic, the booklet doesn’t mention a cable you have to plug in (don’t miss cable E!). But it all makes simple sense: Bolt the gantry onto the platform; attach the filament holder on top; and plug in cables A through E. The cables & plugs in particular are very neatly and clearly labeled. The whole process is quick, the necessary hex wrench is included, and many good videos and writeups are available online to correct for the somewhat unclear documentation.
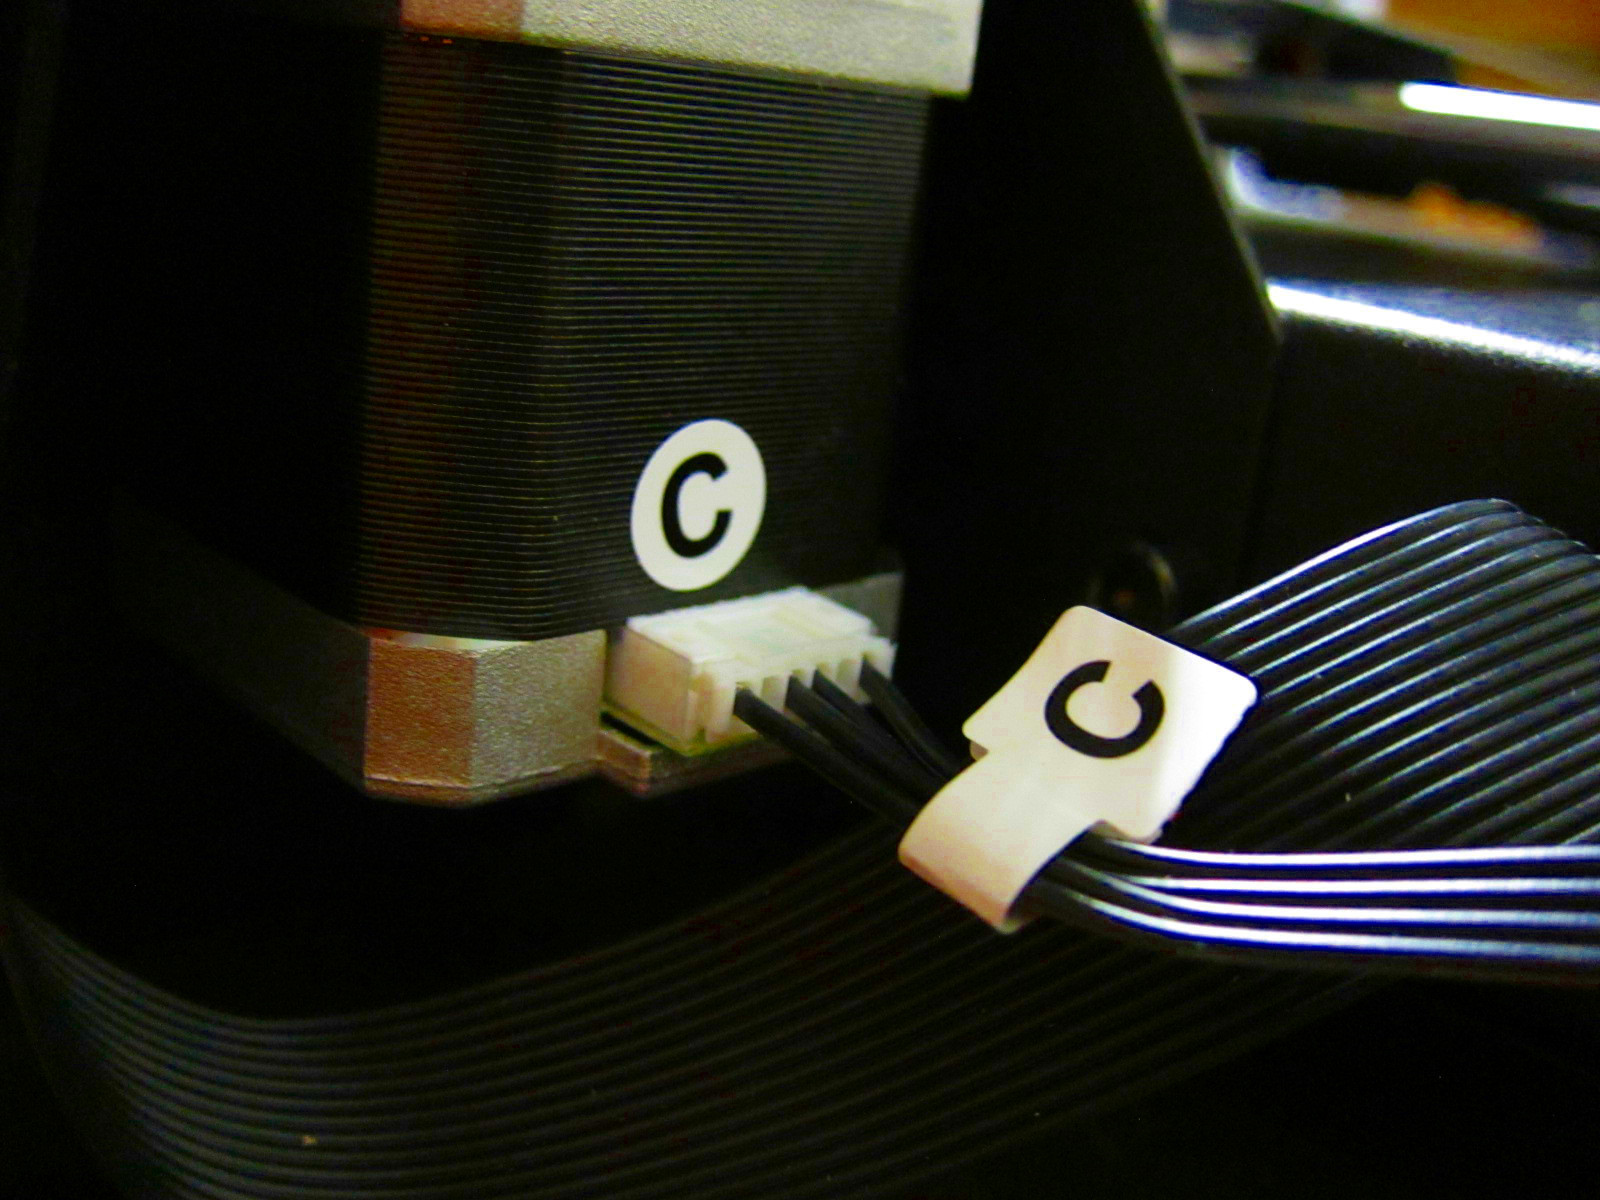
Plugging in well-labeled components.
Usage
Using the WanHao i3+ is also more or less straightforward, with the caveat again that the documentation is not great. Unfortunately this includes the touchscreen prompts. Sometimes these are just funny quirks and bugs, like the bed leveling procedure listing “x/4” steps when there are really 5.
Sometimes they’re less funny. Most notable are the instructions in both the documentation and the onscreen prompts for bed leveling to adjust the print plate to be “a millimeter away” from the hotend. That’s excessive, and even contradicted by more detailed notes in the booklet. Getting this distance right is where 3D printing starts to blend art and science, and there are tradeoffs: Too far and the first layer won’t adhere well and the print may fail; too close and the print’s first layer may blob up too much, or the hotend even potentially gouge the print plate. I’m still learning the best distance for the BuildTak print plate surfacing supplied with PowerSpec’s version of WanHao’s i3+ as I’ve found it to grip extremely well. That’s good in that prints adhere very well, achieving which is more commonly the challenge in 3D printing, but can make prints difficult to remove. I’m adapting by permitting a bit more gap in the bed leveling adjustments to compensate. A distance more like 1/3 of a millimeter seems appropriate, such that you can just barely push in a standard business card. For those just coming to 3D printing that might not seem like much of a difference from “a millimeter,” but it’s actually huge—under common settings each print layer is only 0.1–0.2 millimeters, and that first layer is the most critical in the whole print.
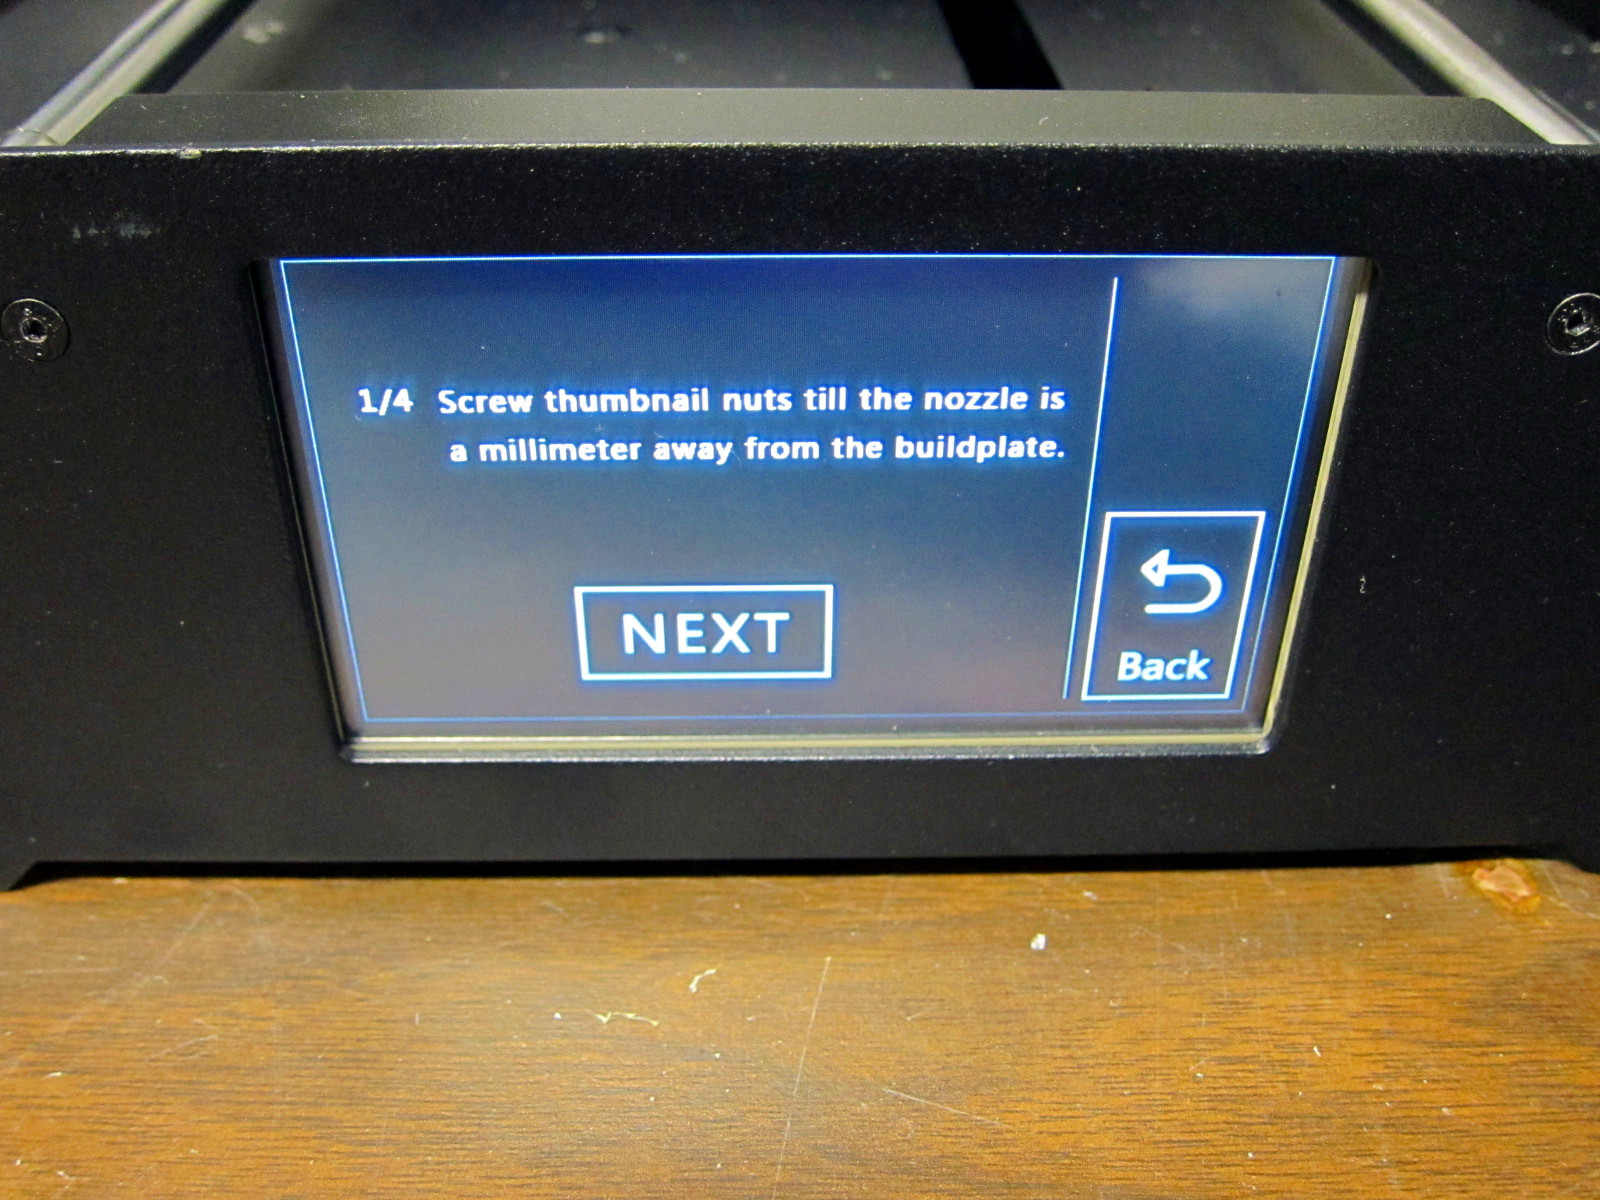
Misleading prompt for the bed leveling procedure.
Adjusting the bed leveling with a business card.

With the print plate pushing down just slightly to accommodate this business card under the hotend, for about 1/3 of a millimeter gap, prints seem to adhere very well and remove reasonably.
In general the touchscreen interface is workable but not great. I wish more or all screens had the hotend and print plate temperatures on them, e.g., to avoid having to go into subscreens to monitor cool down once a print completes. Some of the screen flow is not obvious or ideal, and there are some minor oddities or shortcomings like the limited number of visible characters in the file listing. But the control screen works and is ultimately straightforward once you learn the quirks. With the printer assembled and leveled, getting going just involves slapping in an SD card, hitting “Print,” and selecting a file. I’ll almost certainly set up an OctoPrint server on a Raspberry Pi to drive the printer, to have a better interface and remotely monitor progress, but it is nice to have a built-in SD card reader so the printer is ready to go on its own out of the box.
Fortunately, these issues with the documentation and limitations of the controls are mitigated by readily available resources. Since so many people have this printer, there are many guides online from which to learn the basic routines, and multiple active forums on which to ask questions. For those new to 3D printing, I strongly encourage watching a few videos or reading a few writeups about assembling and adjusting the printer before diving in. The aforementioned OctoPrint and similar open source projects can also supplant and improve the control interface if desired.
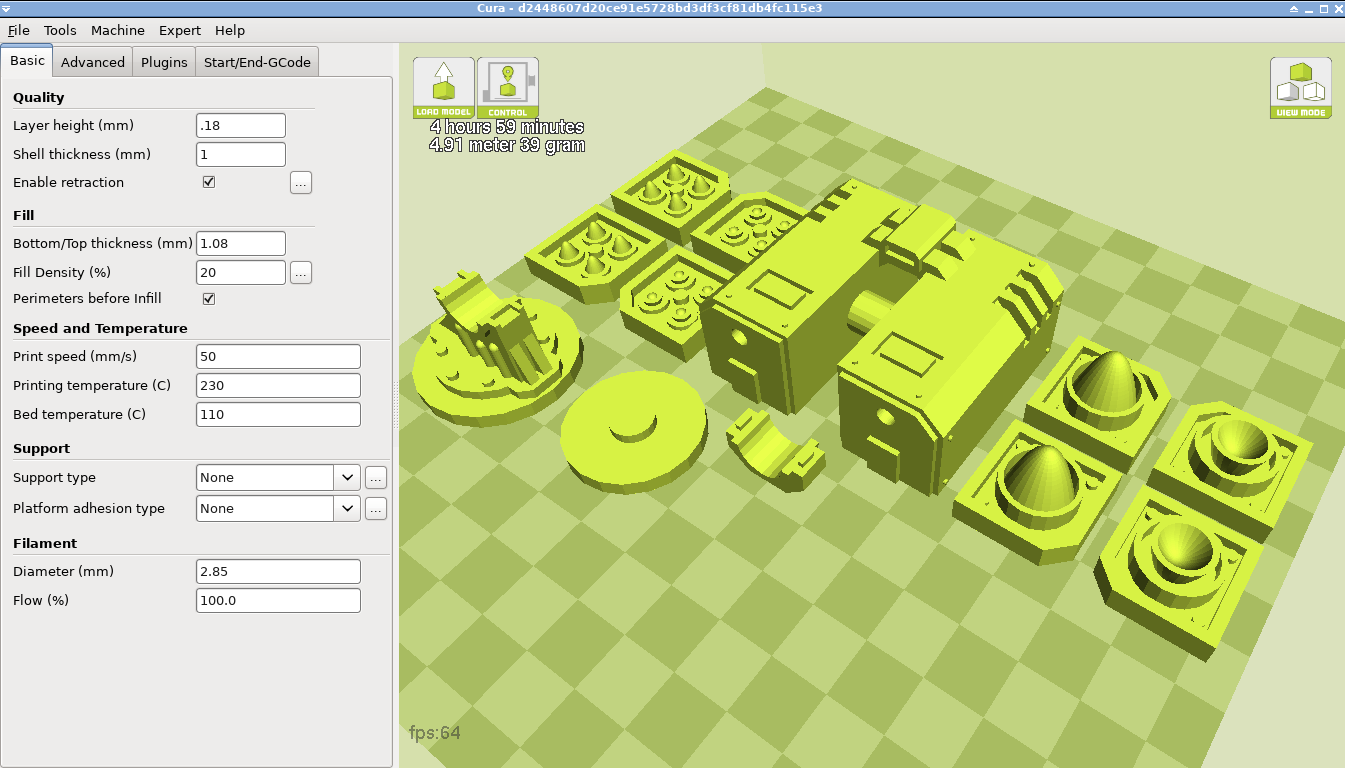
For slicing 3D models into G-code to drive the printer, I have been using the open source Cura and as expected had no problems. Several commercial and open source options exist. All of the settings needed to configure slicers for the WanHao i3+ are listed in the documentation, and many notes on the topic may be found online.
Although probably not the quietest available, I find WanHao’s i3+ to be very quiet. Certainly not a problem to run in a den or home office and not be noticeable elsewhere.
Print Quality
Straight out of the box, with no adjustment or tuning beyond basic bed leveling, I think WanHao’s i3+ produces very good prints given its price. Certainly they meet my expectations for tabletop ready miniatures terrain with which I’m happy to play games.
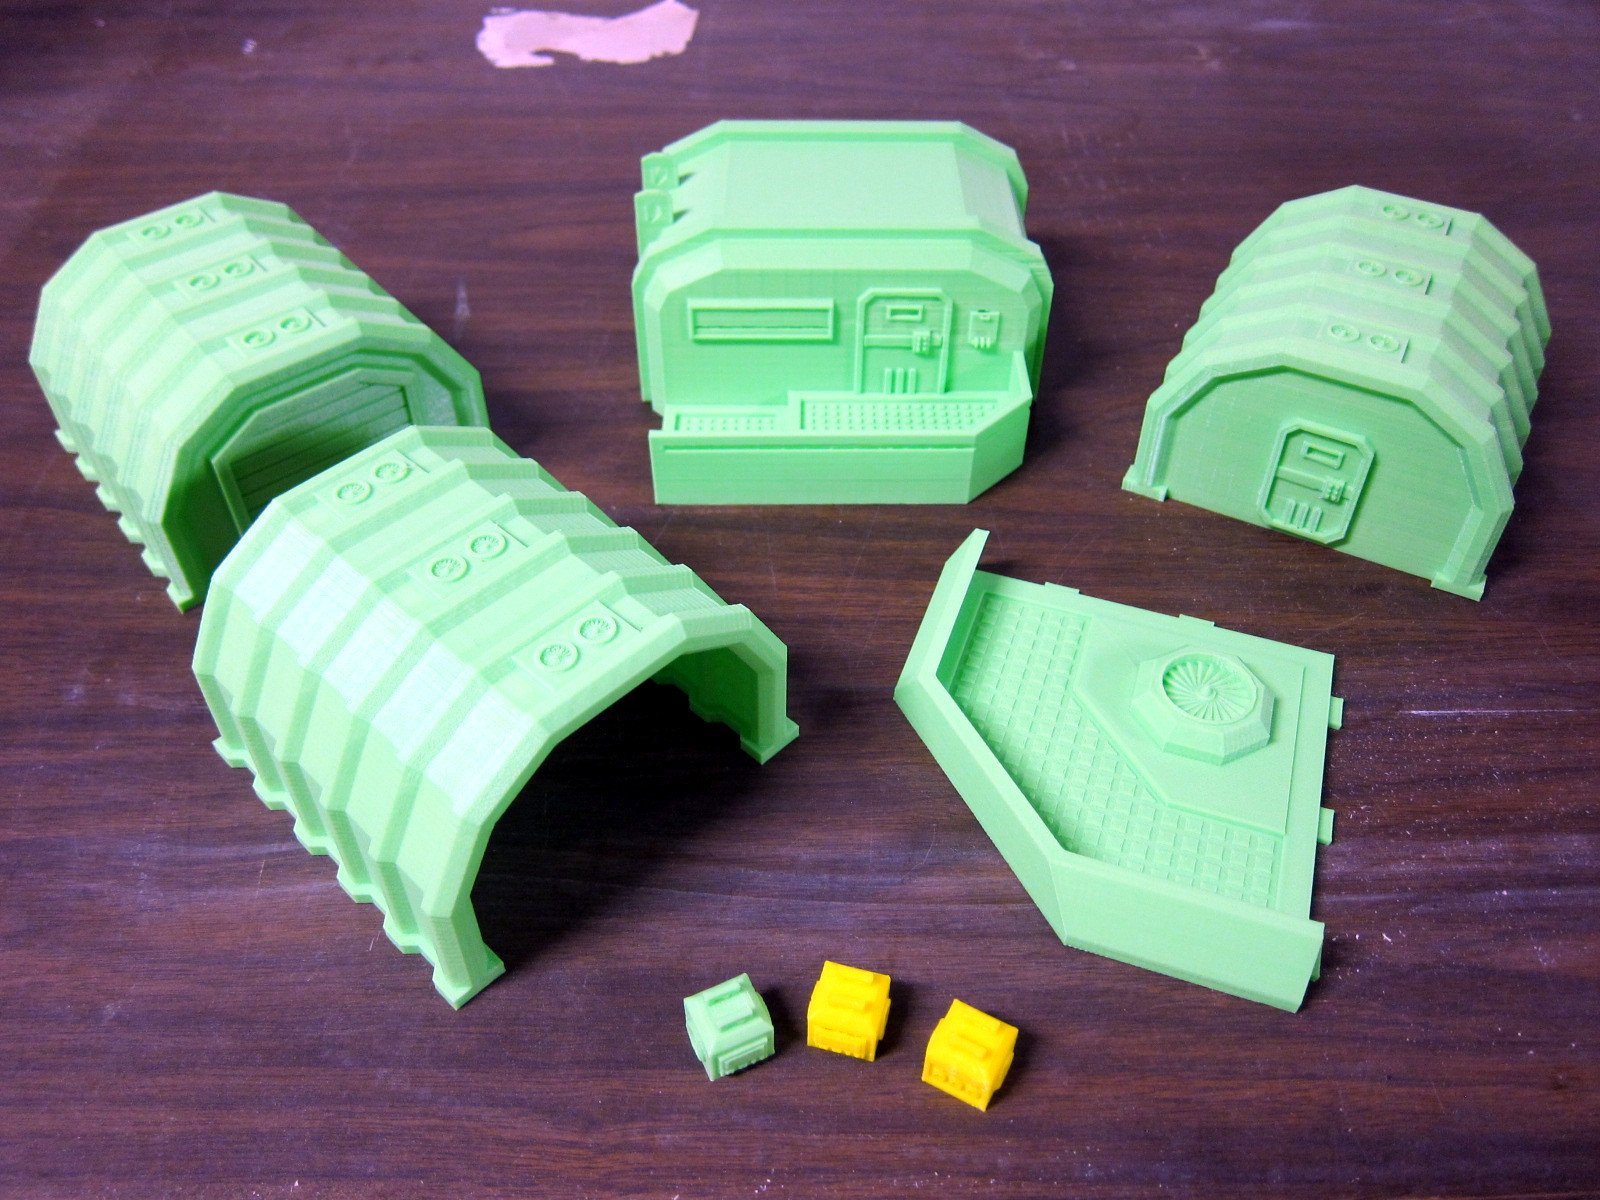
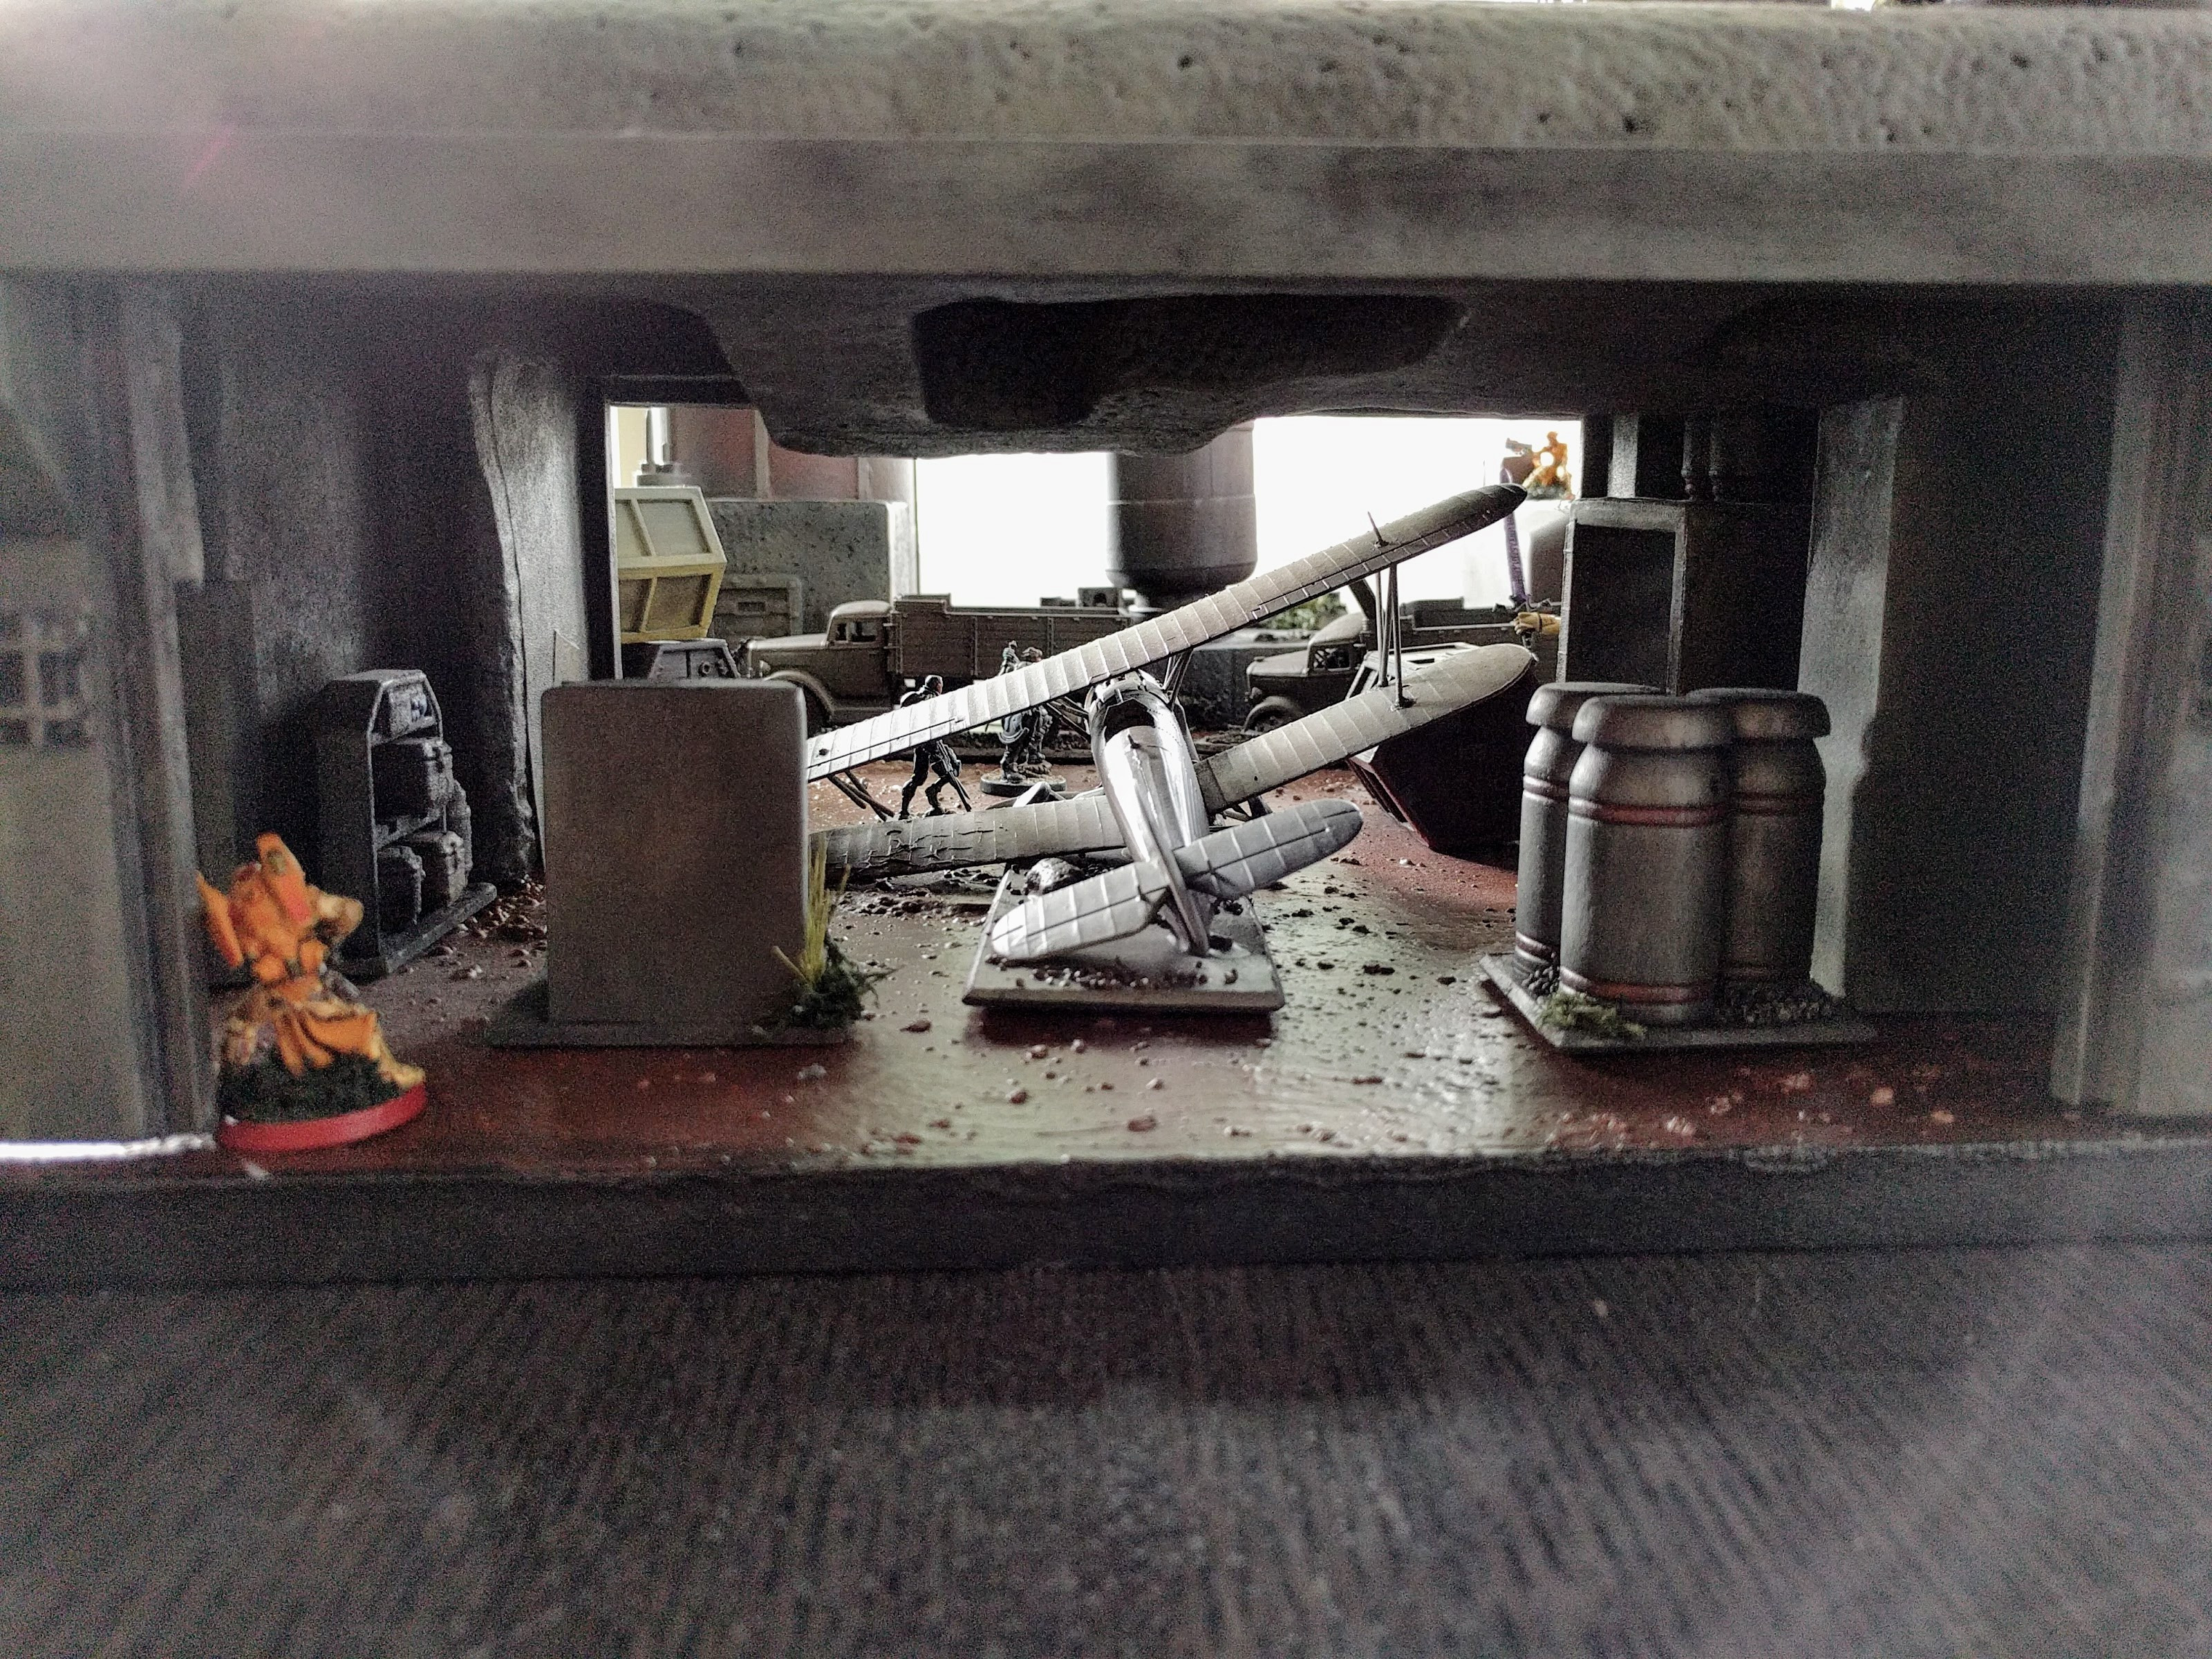
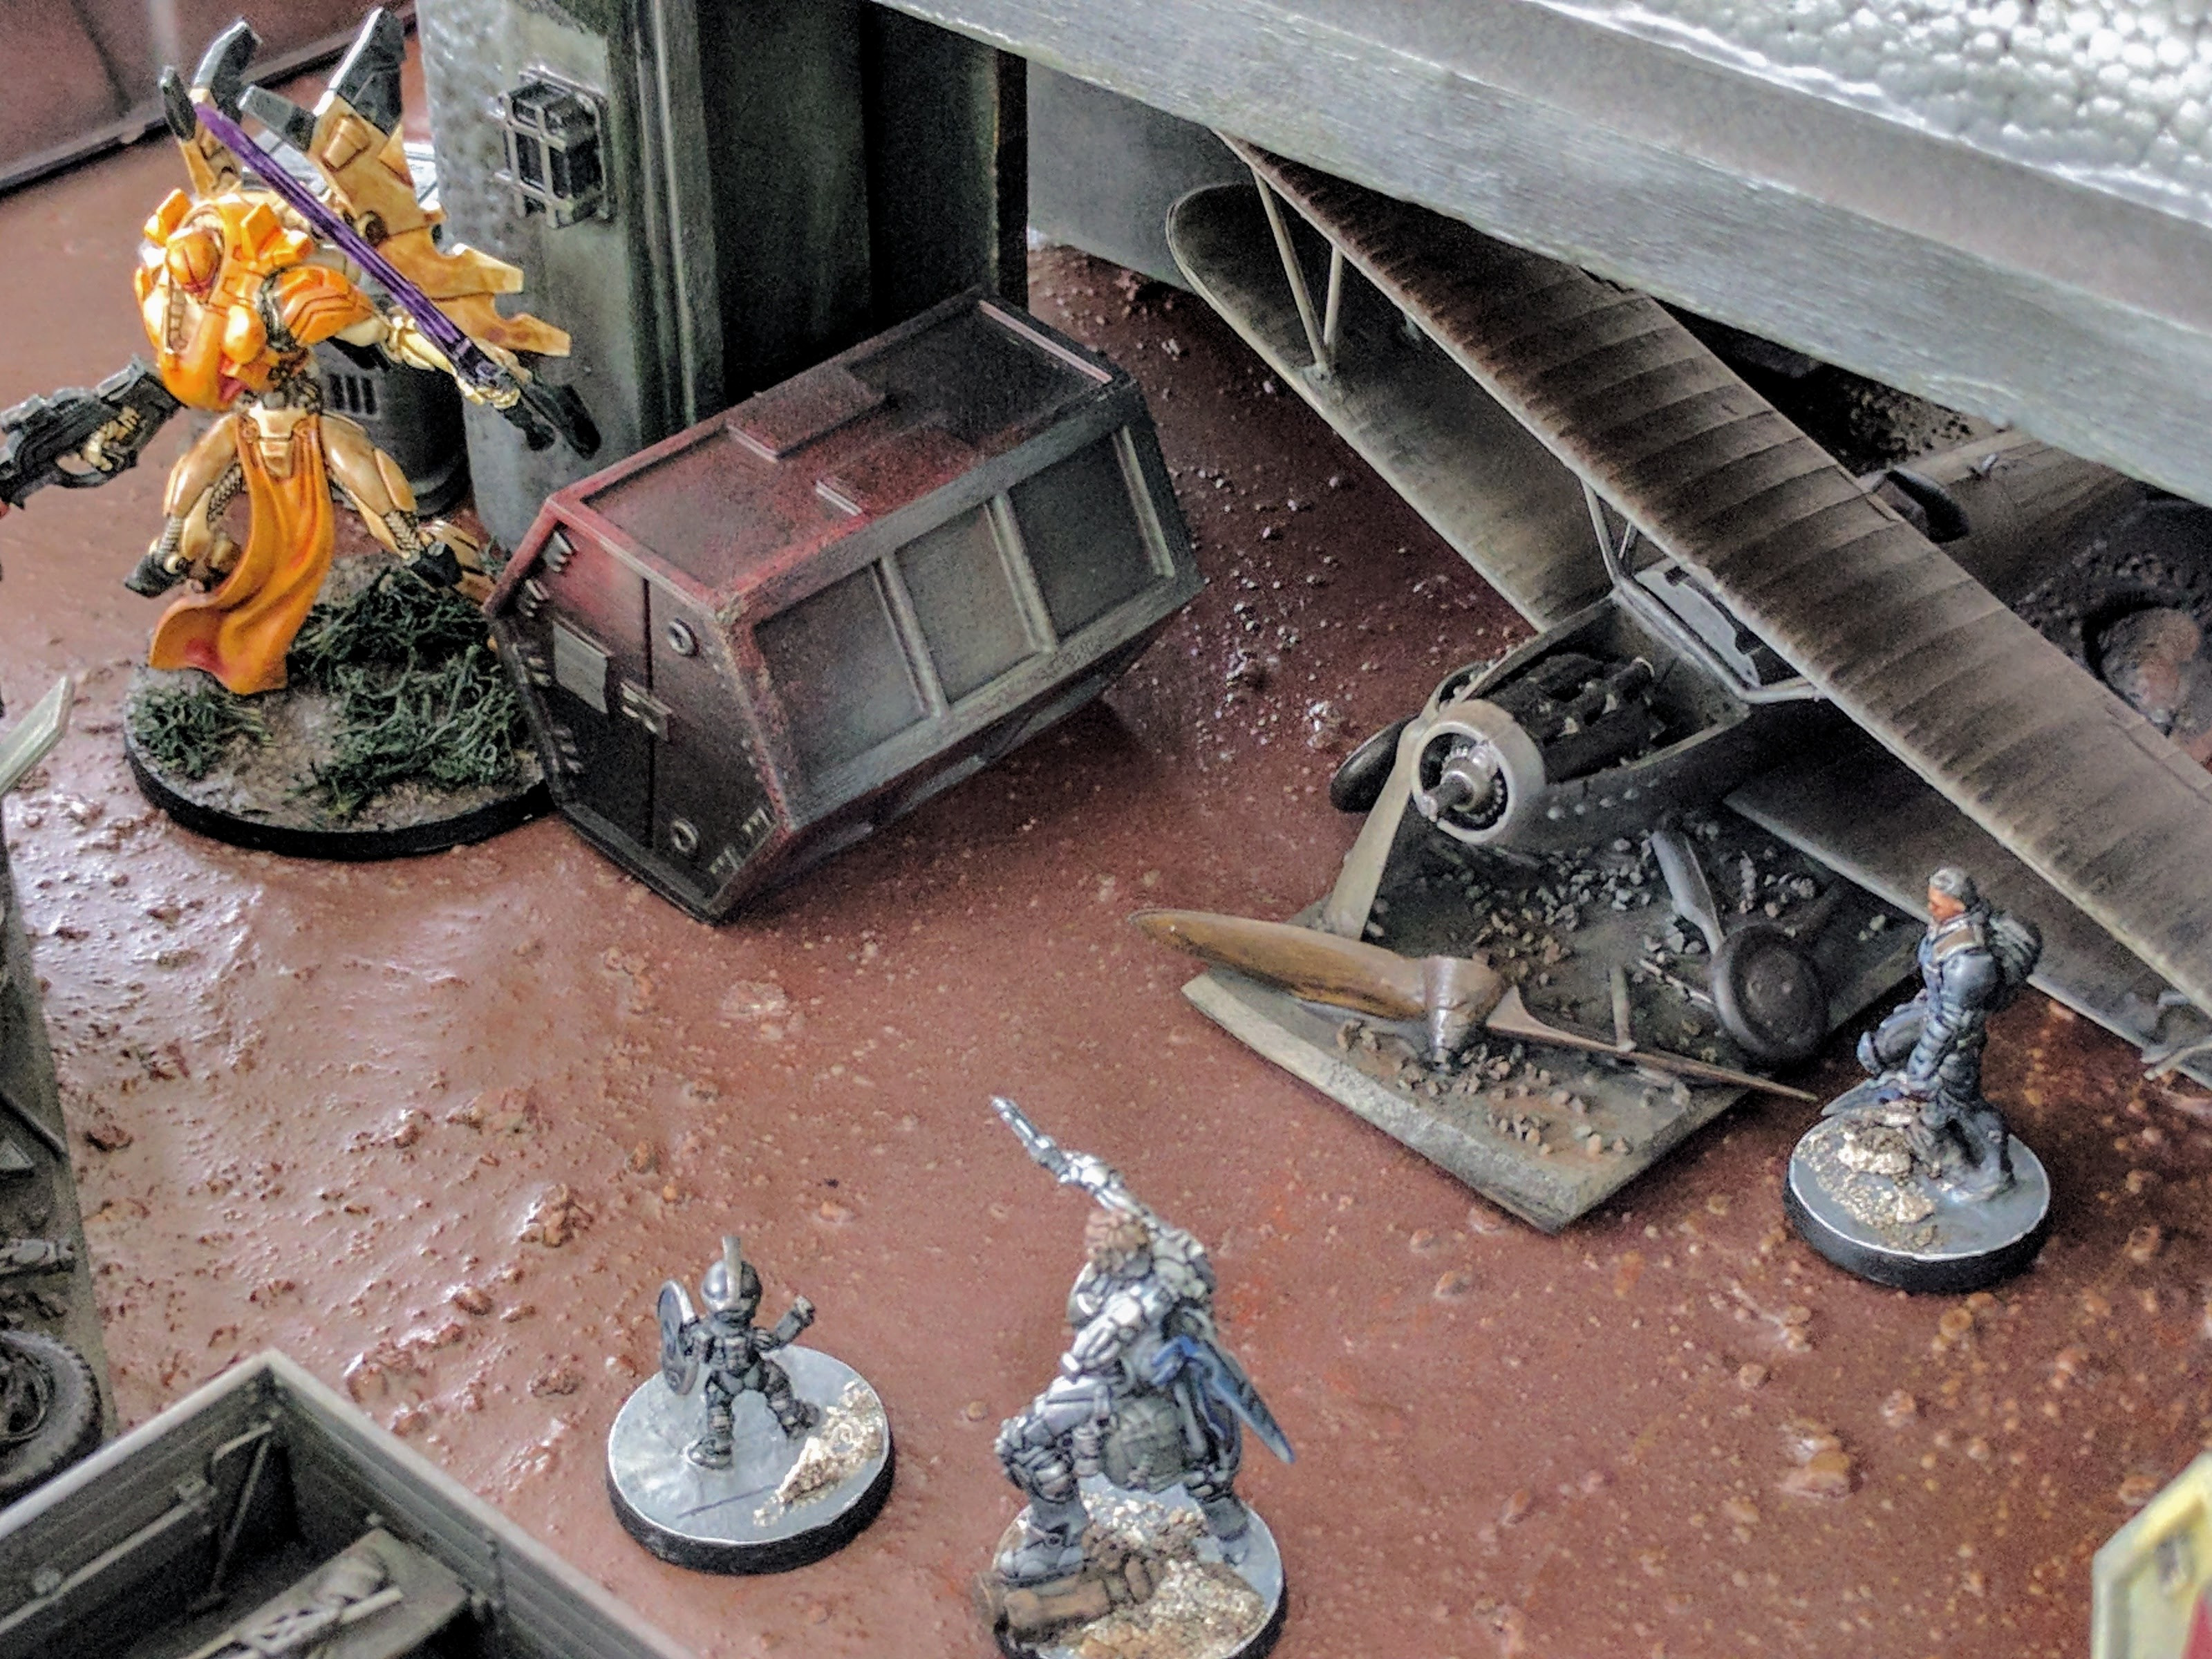
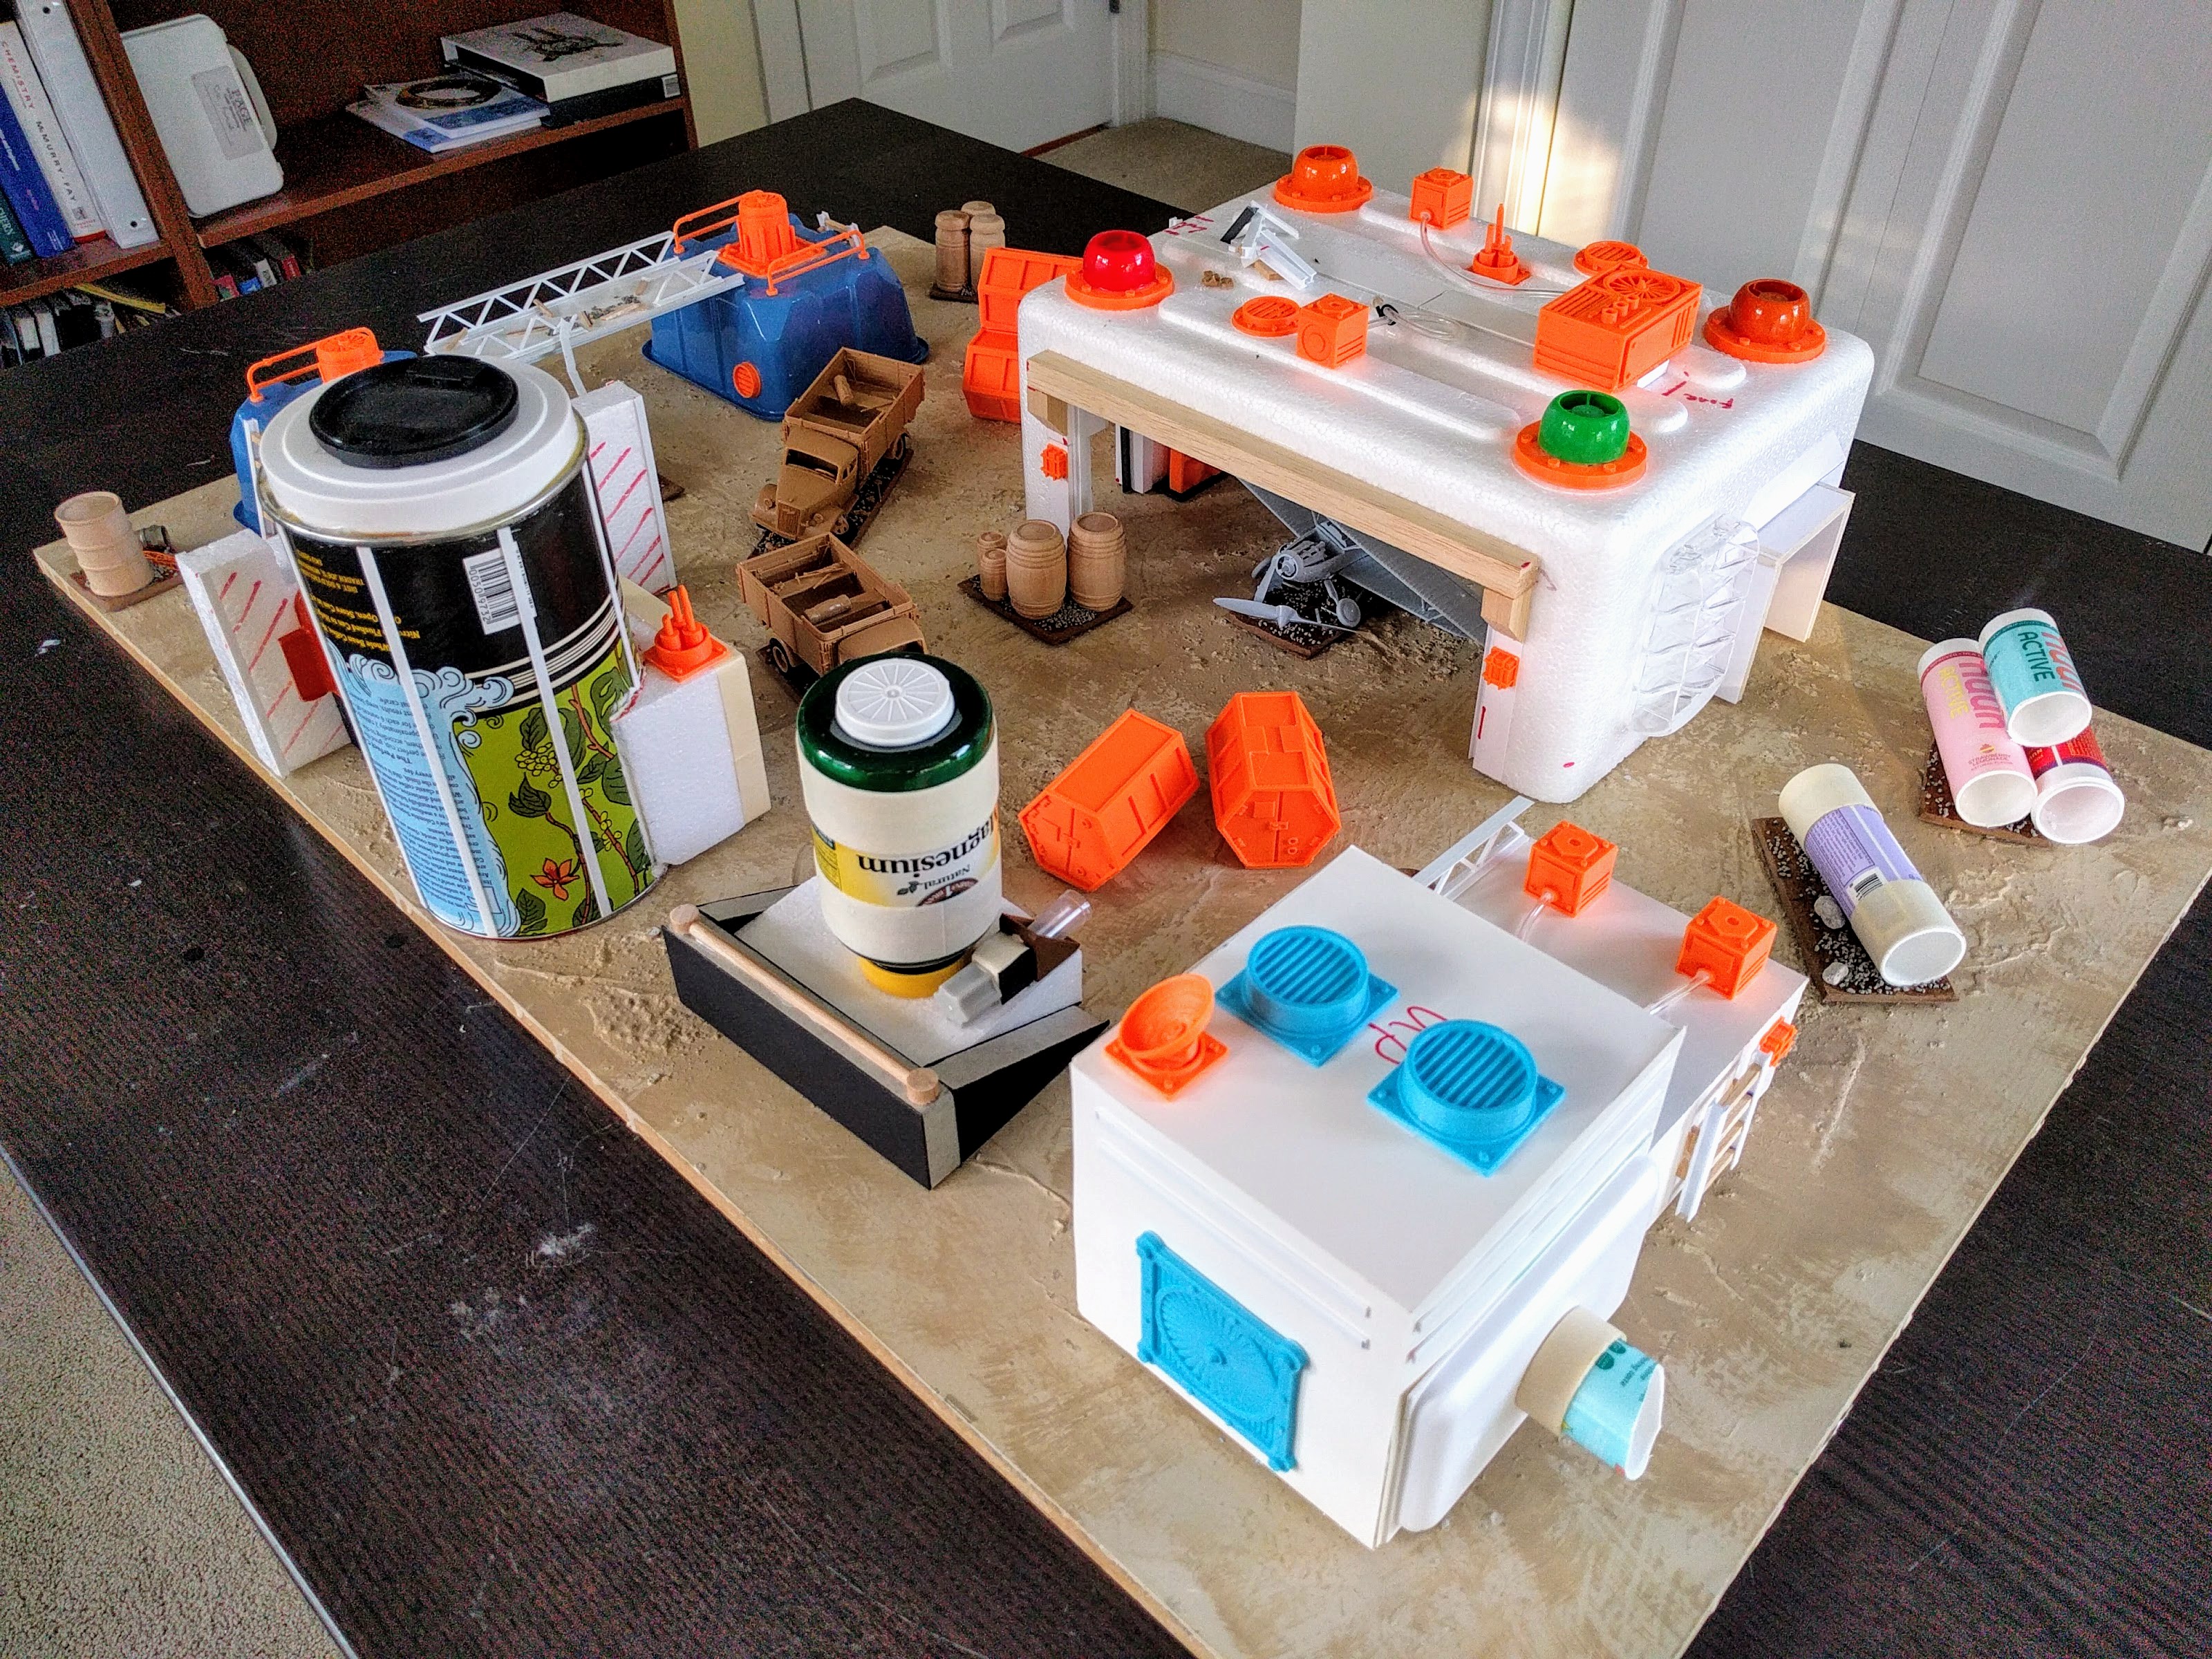
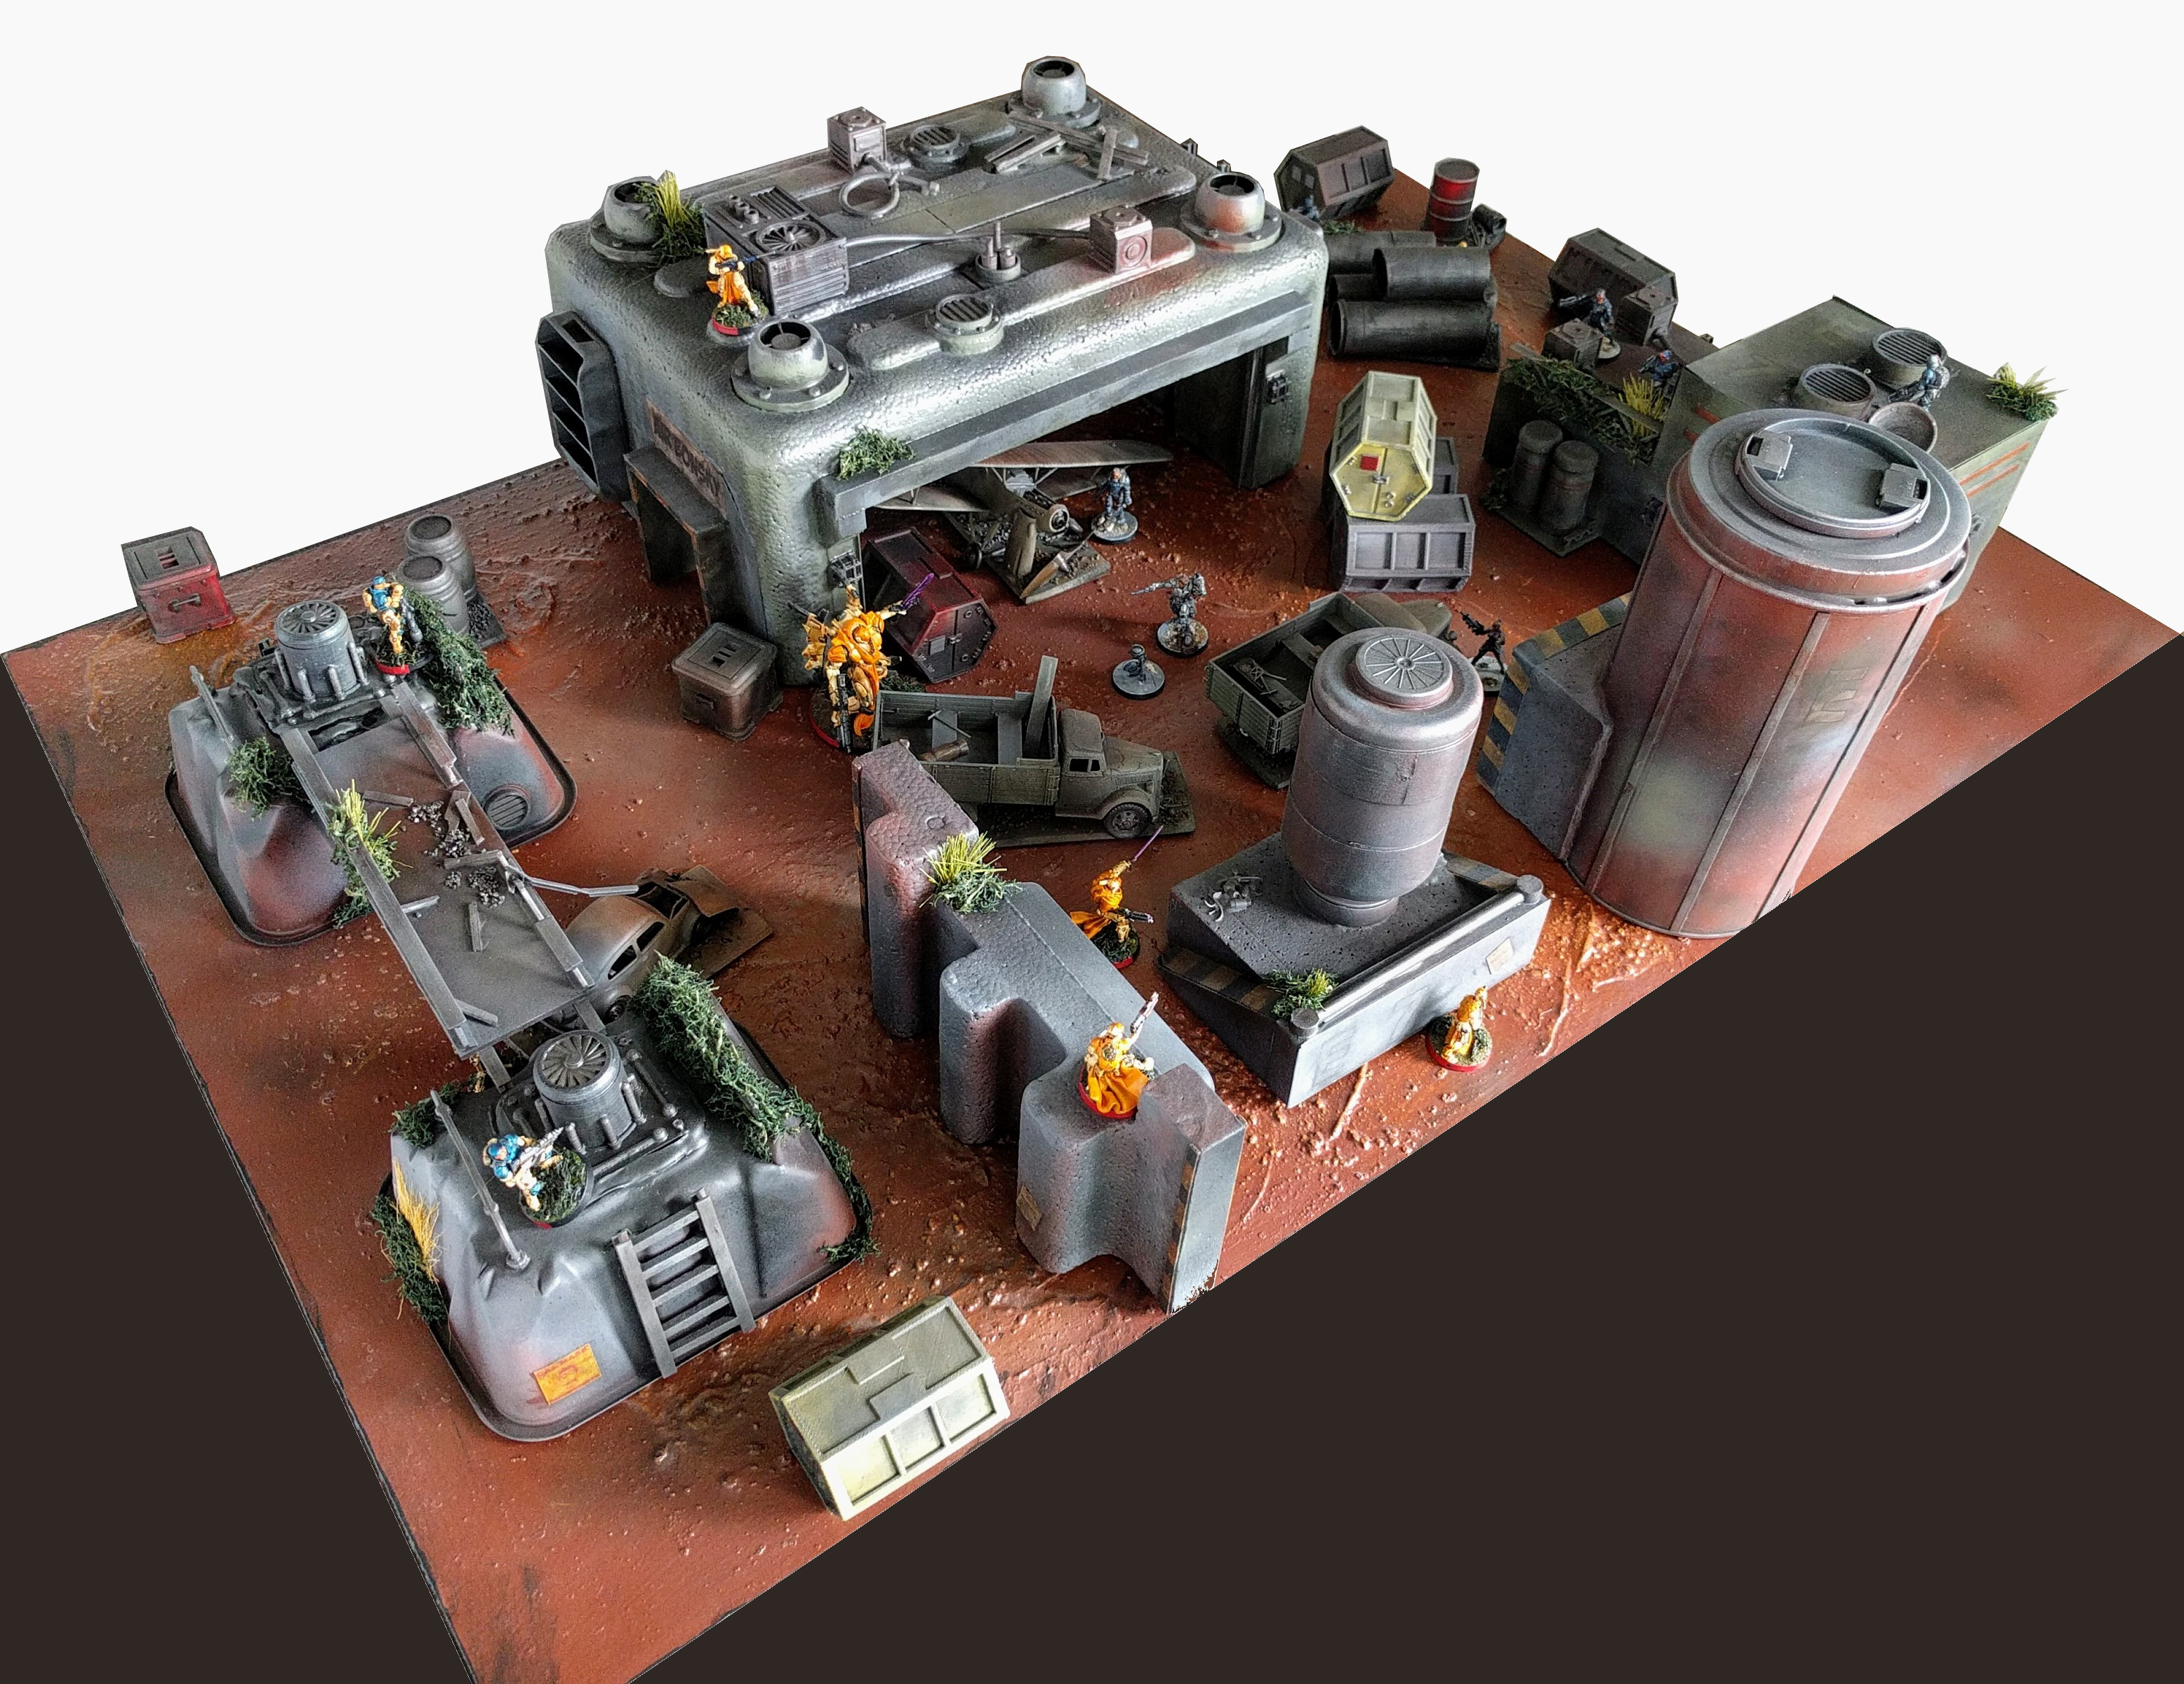
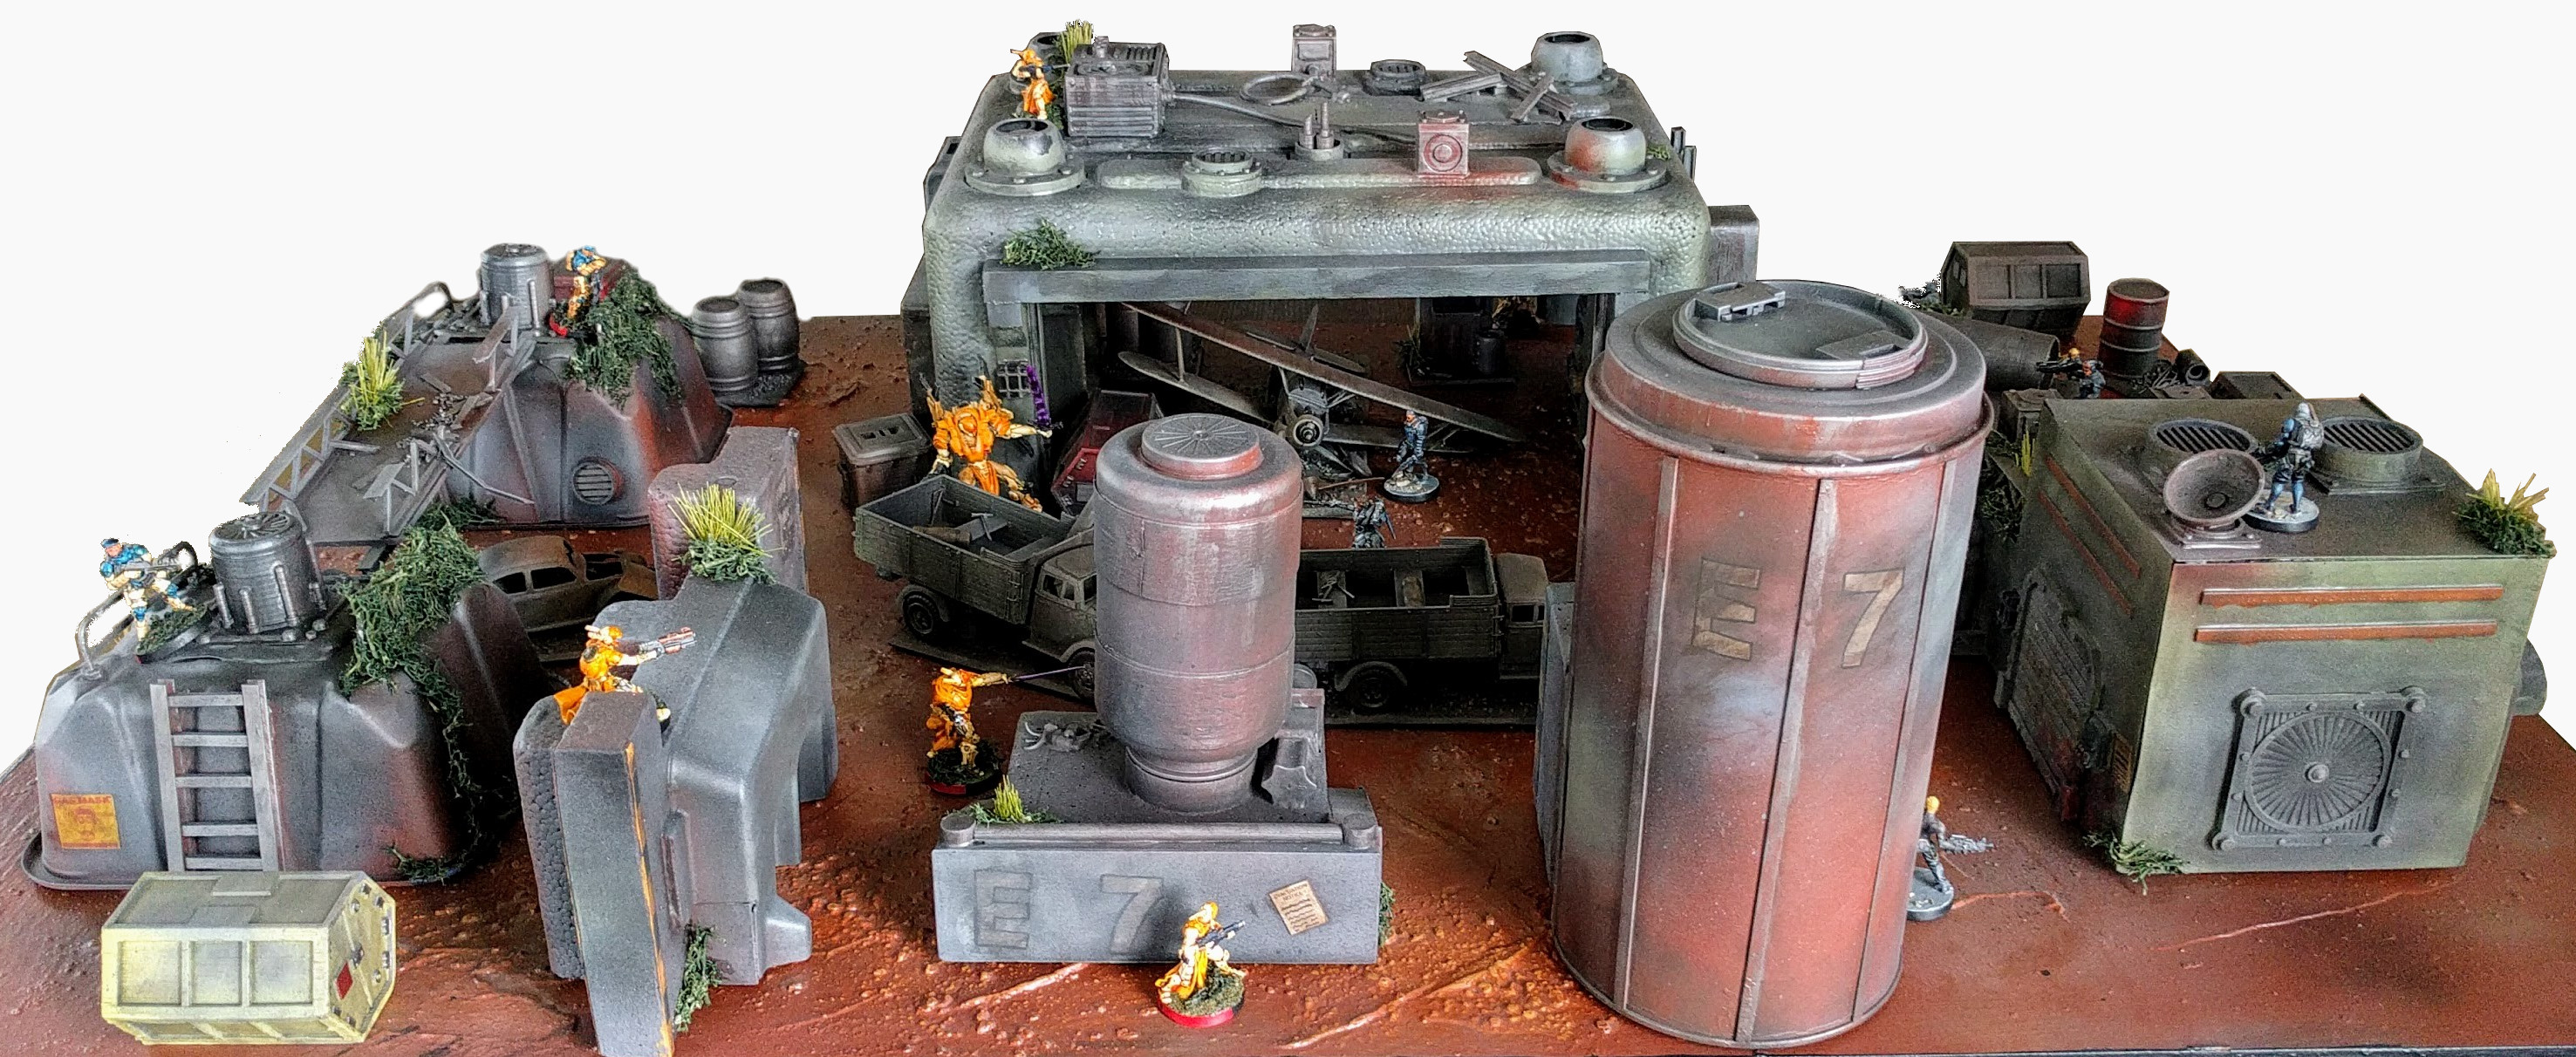
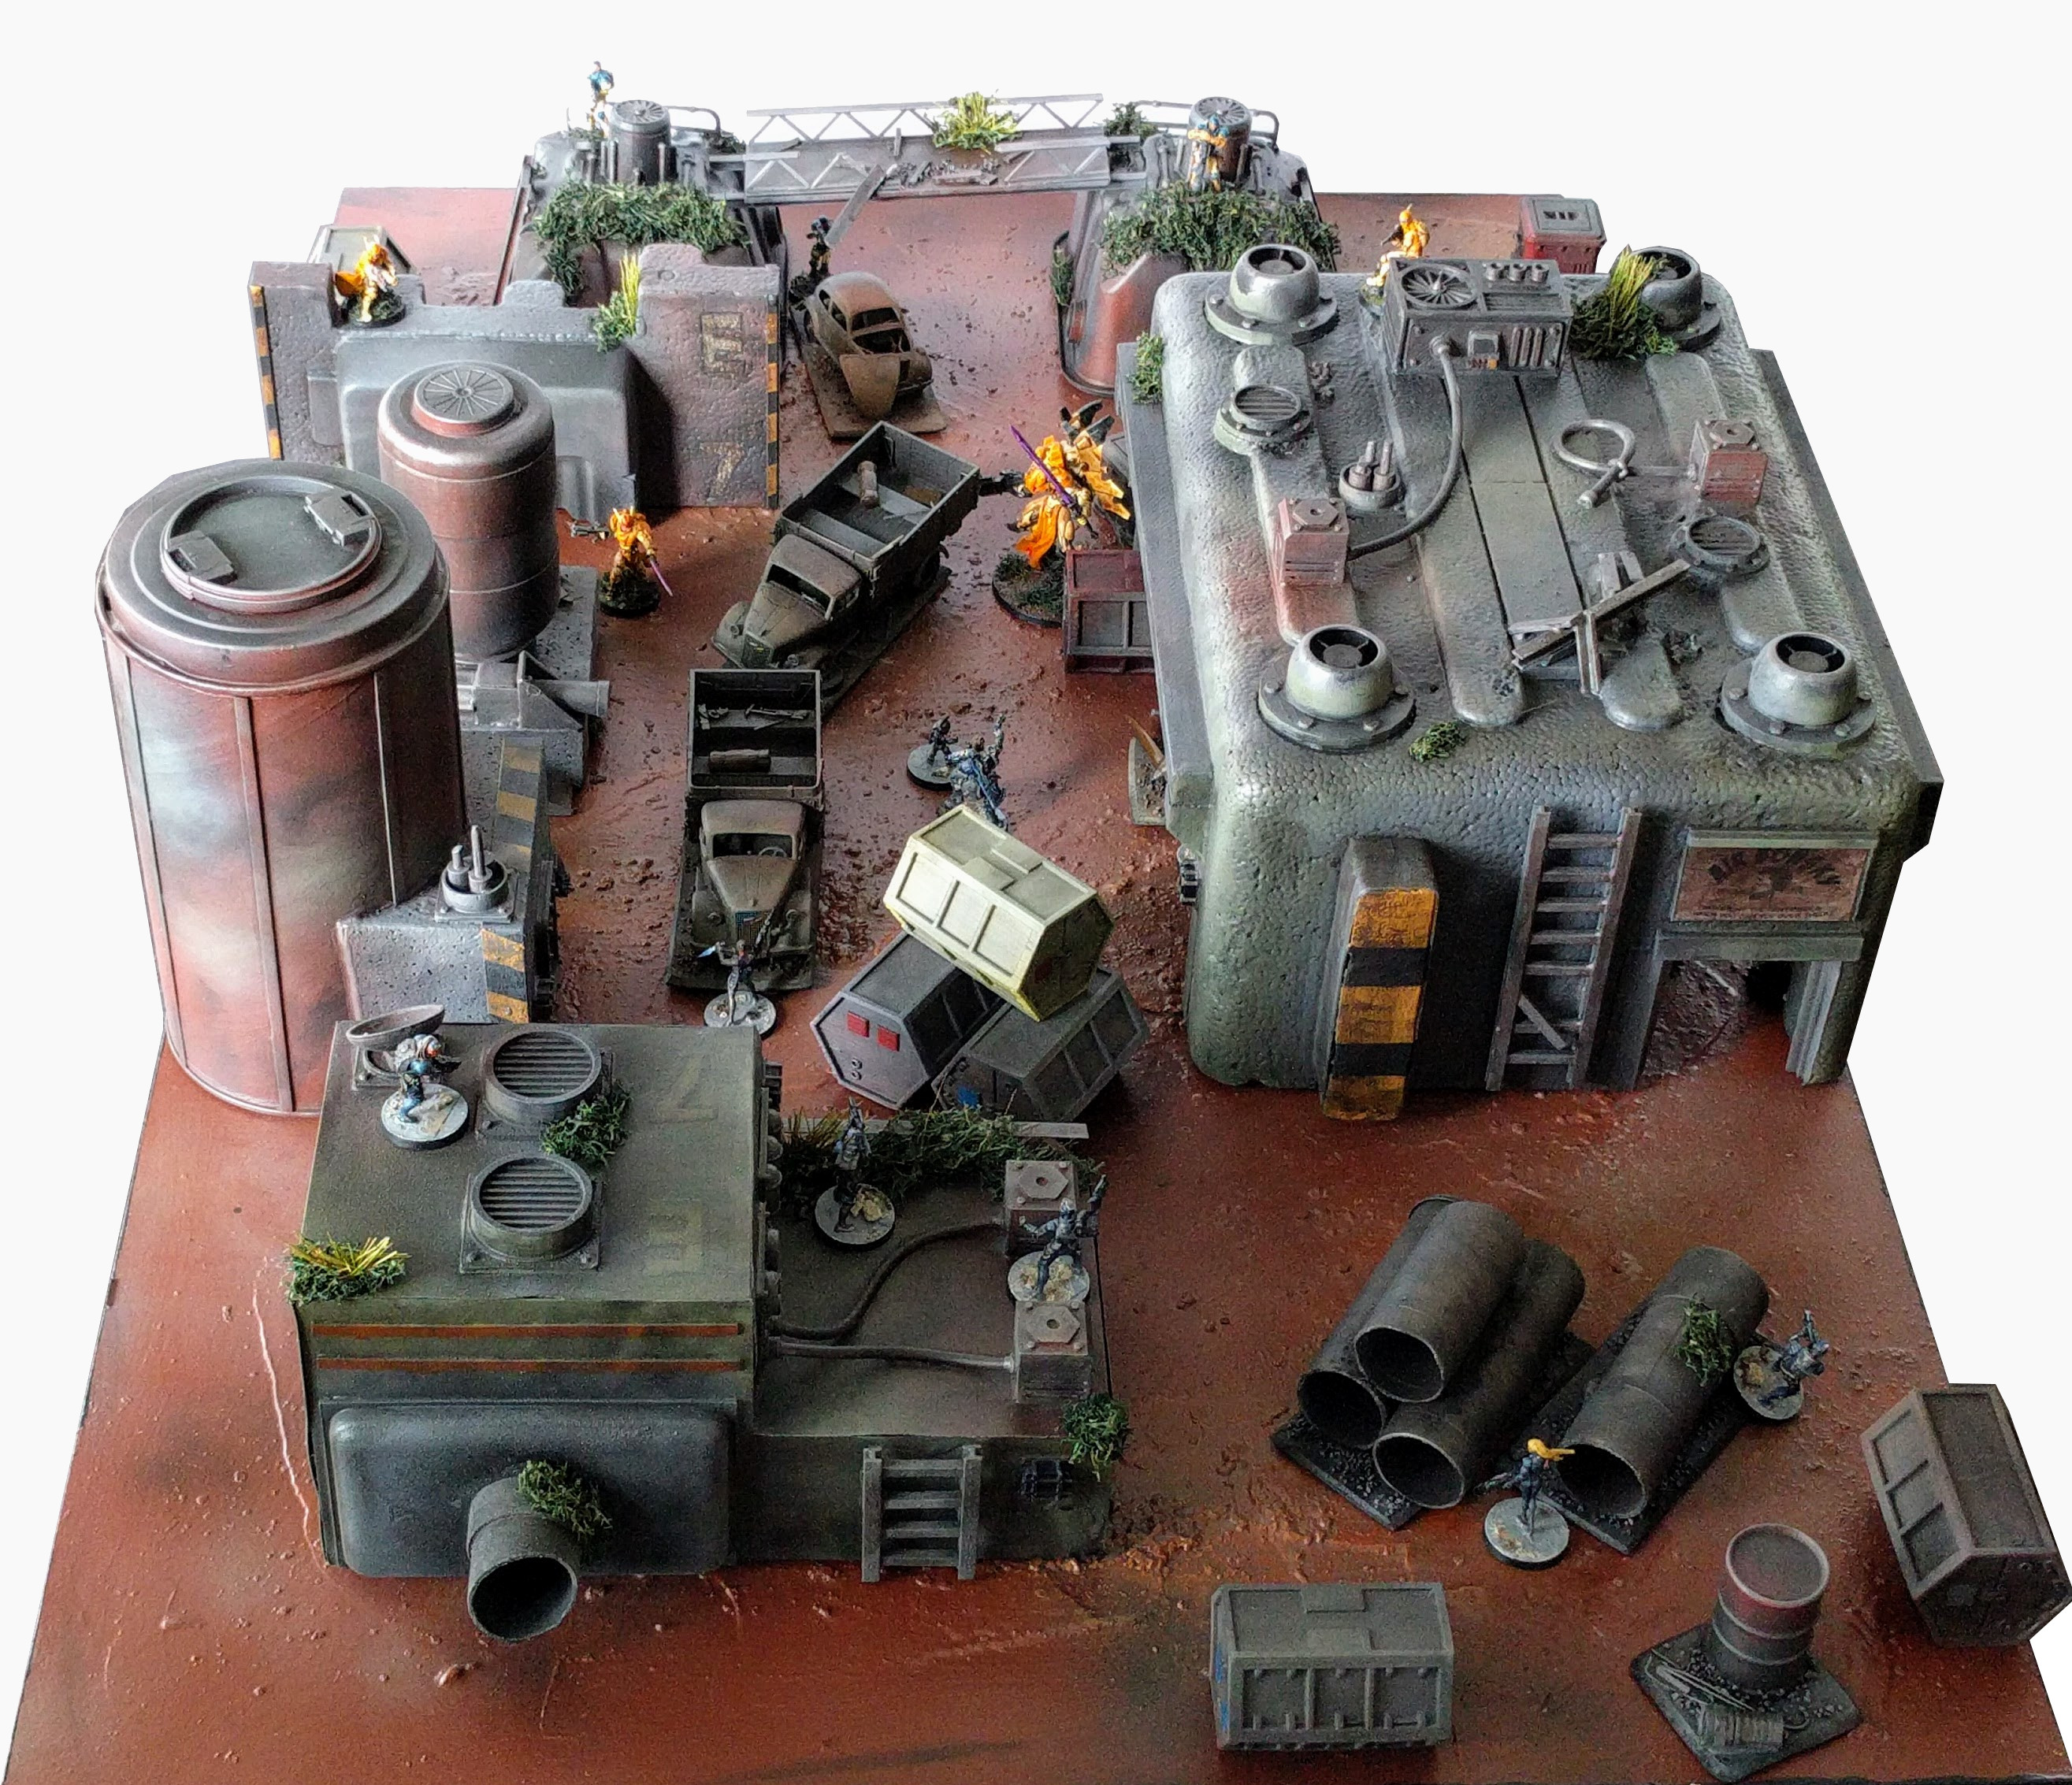
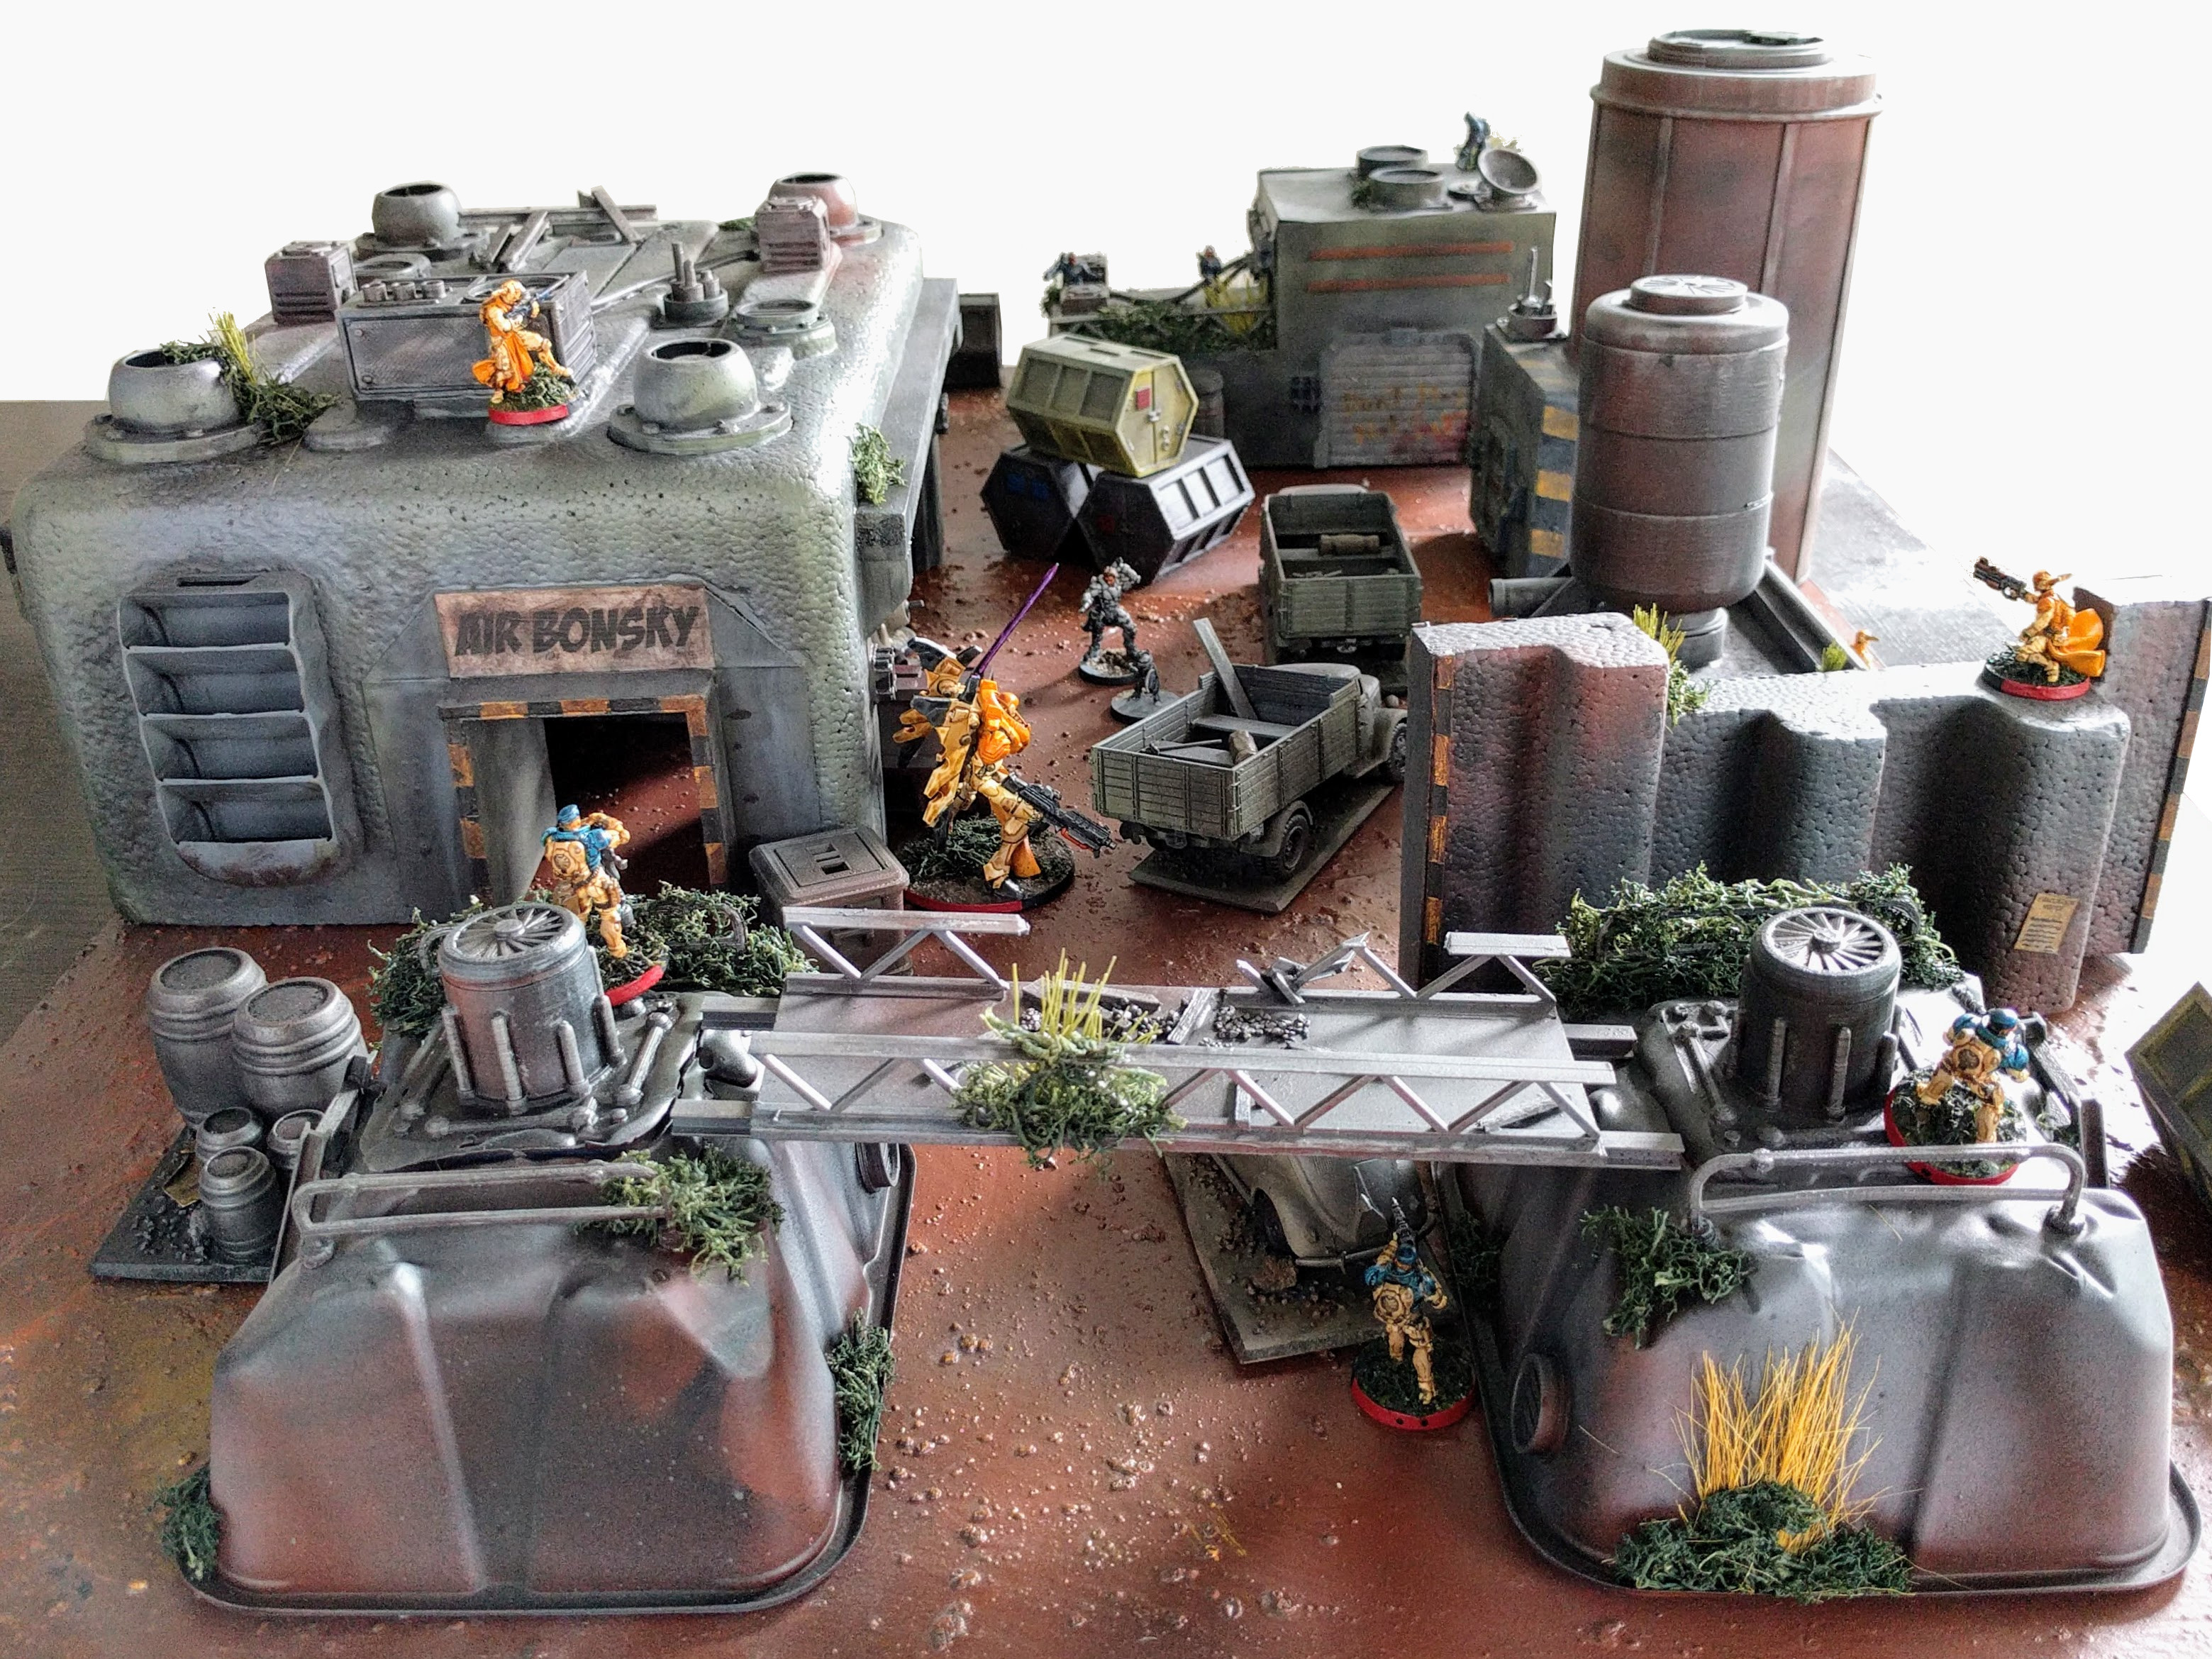
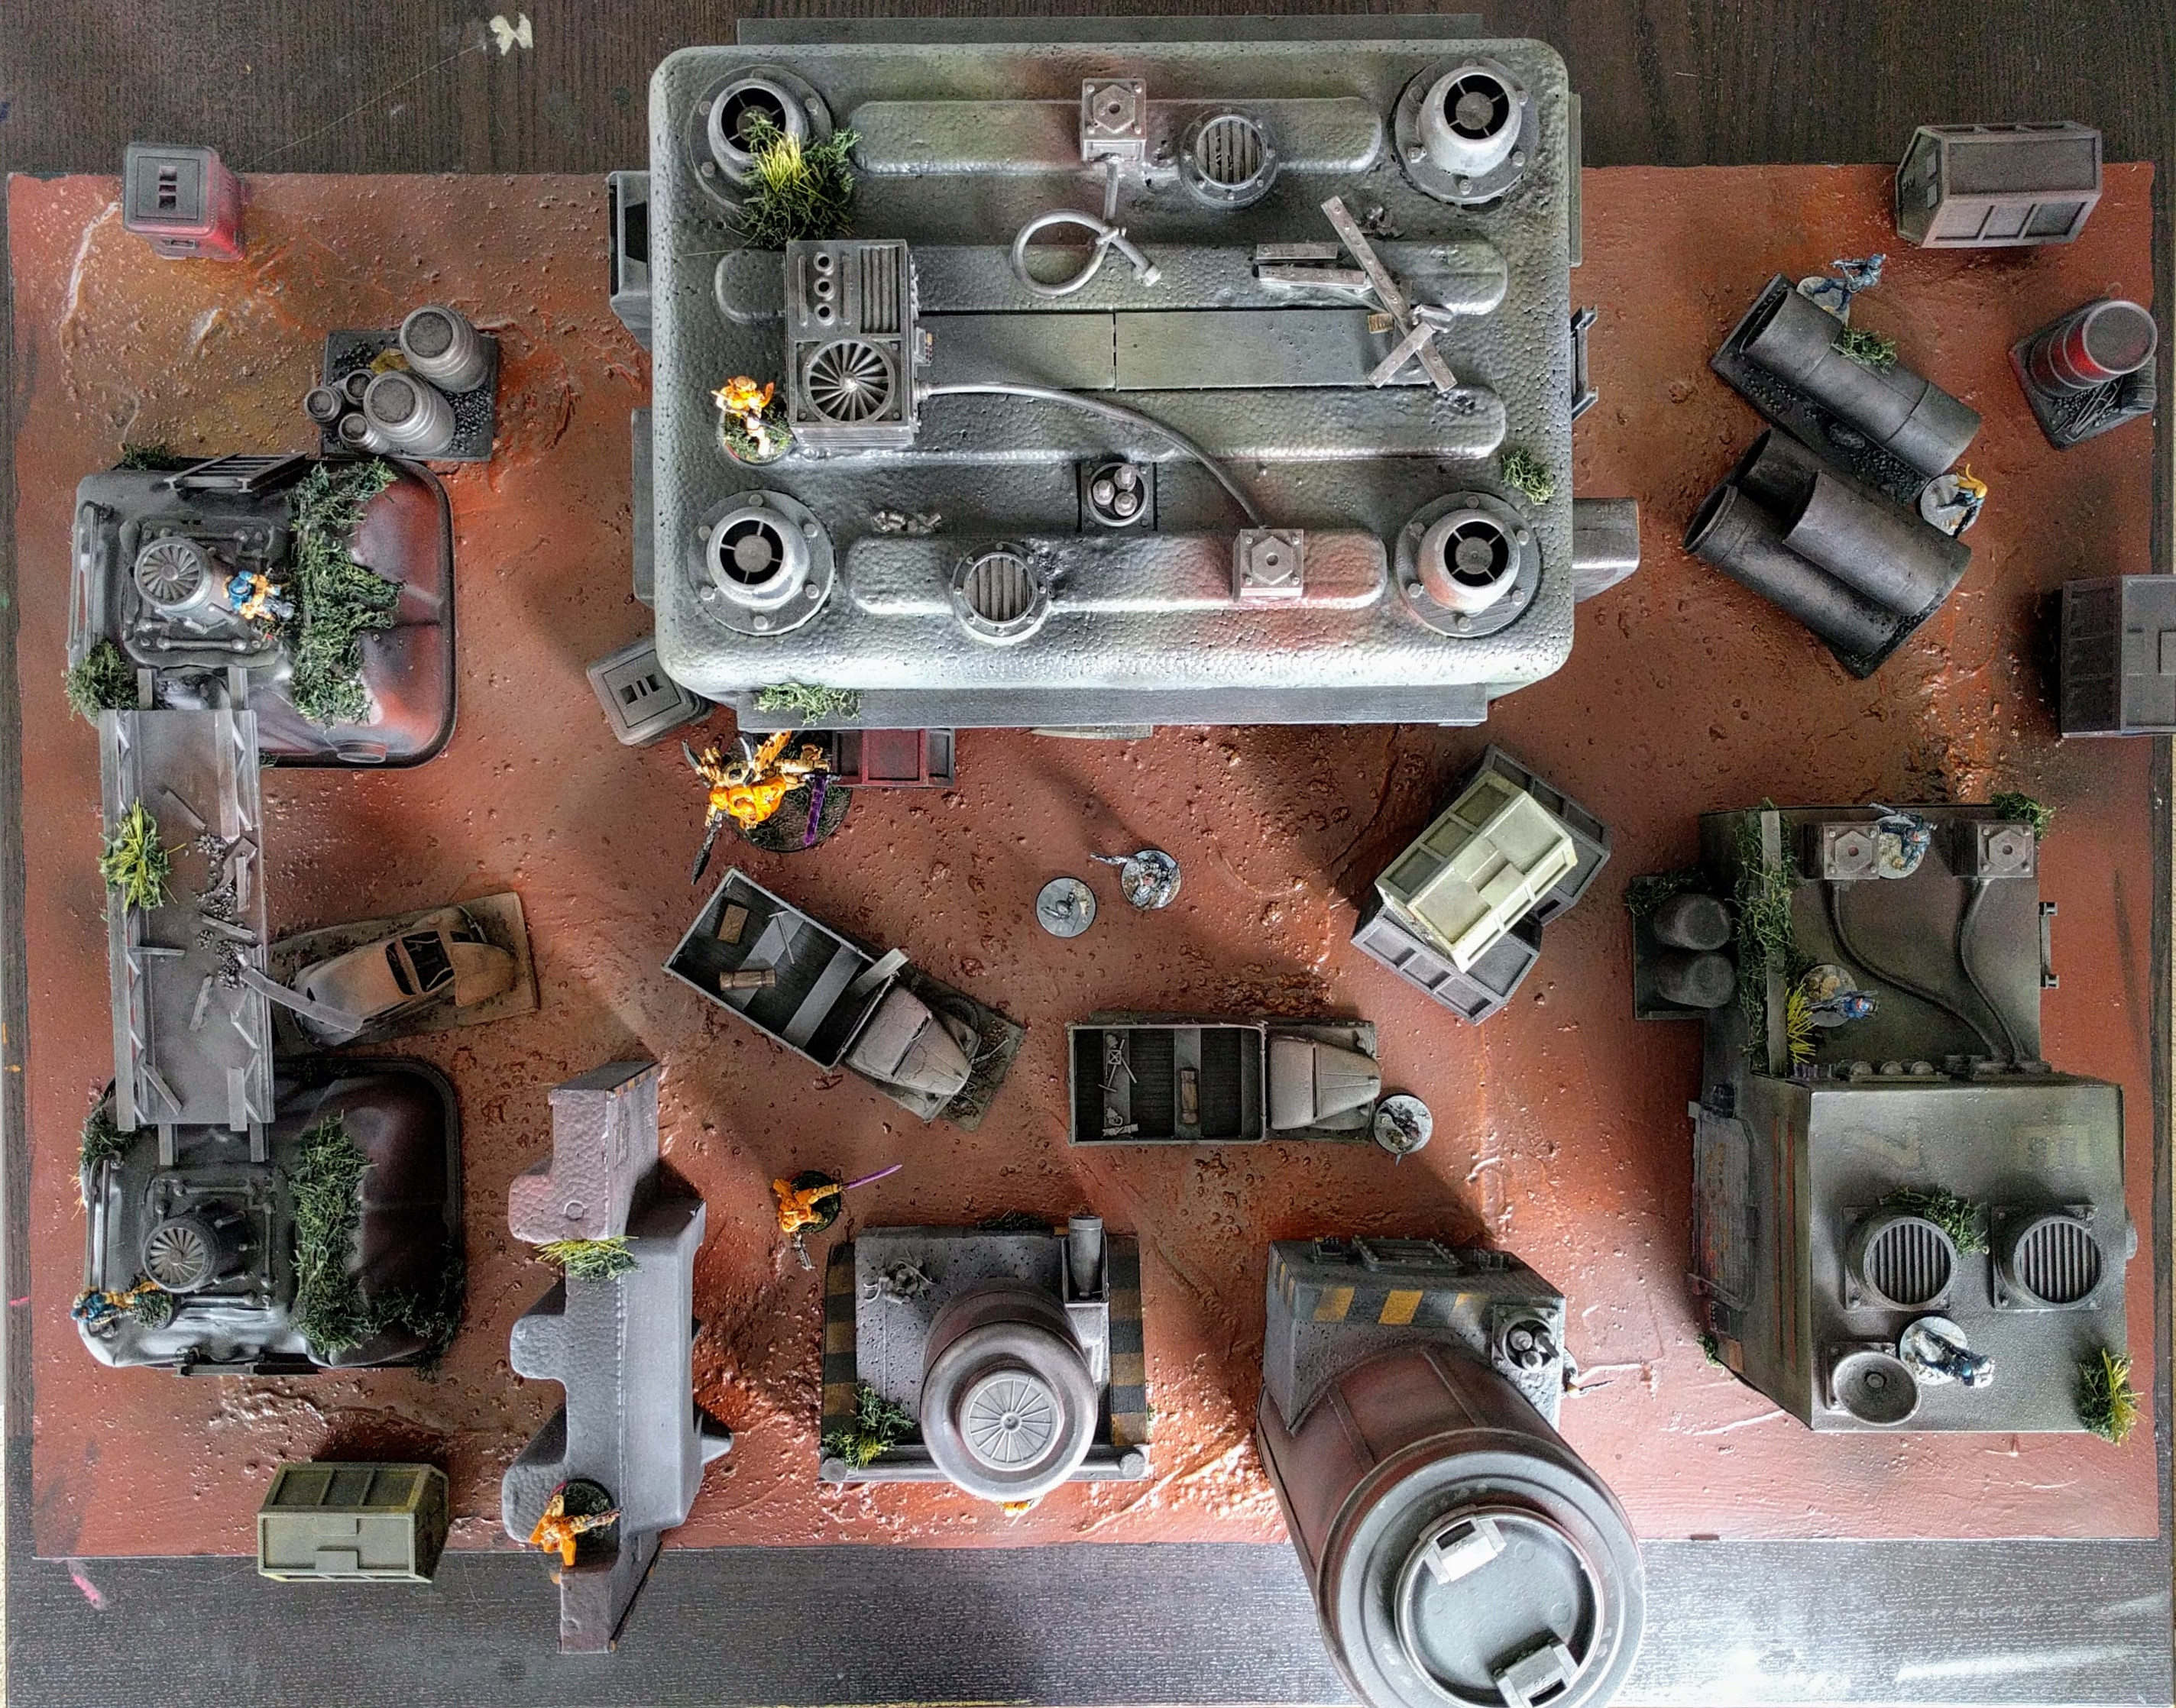
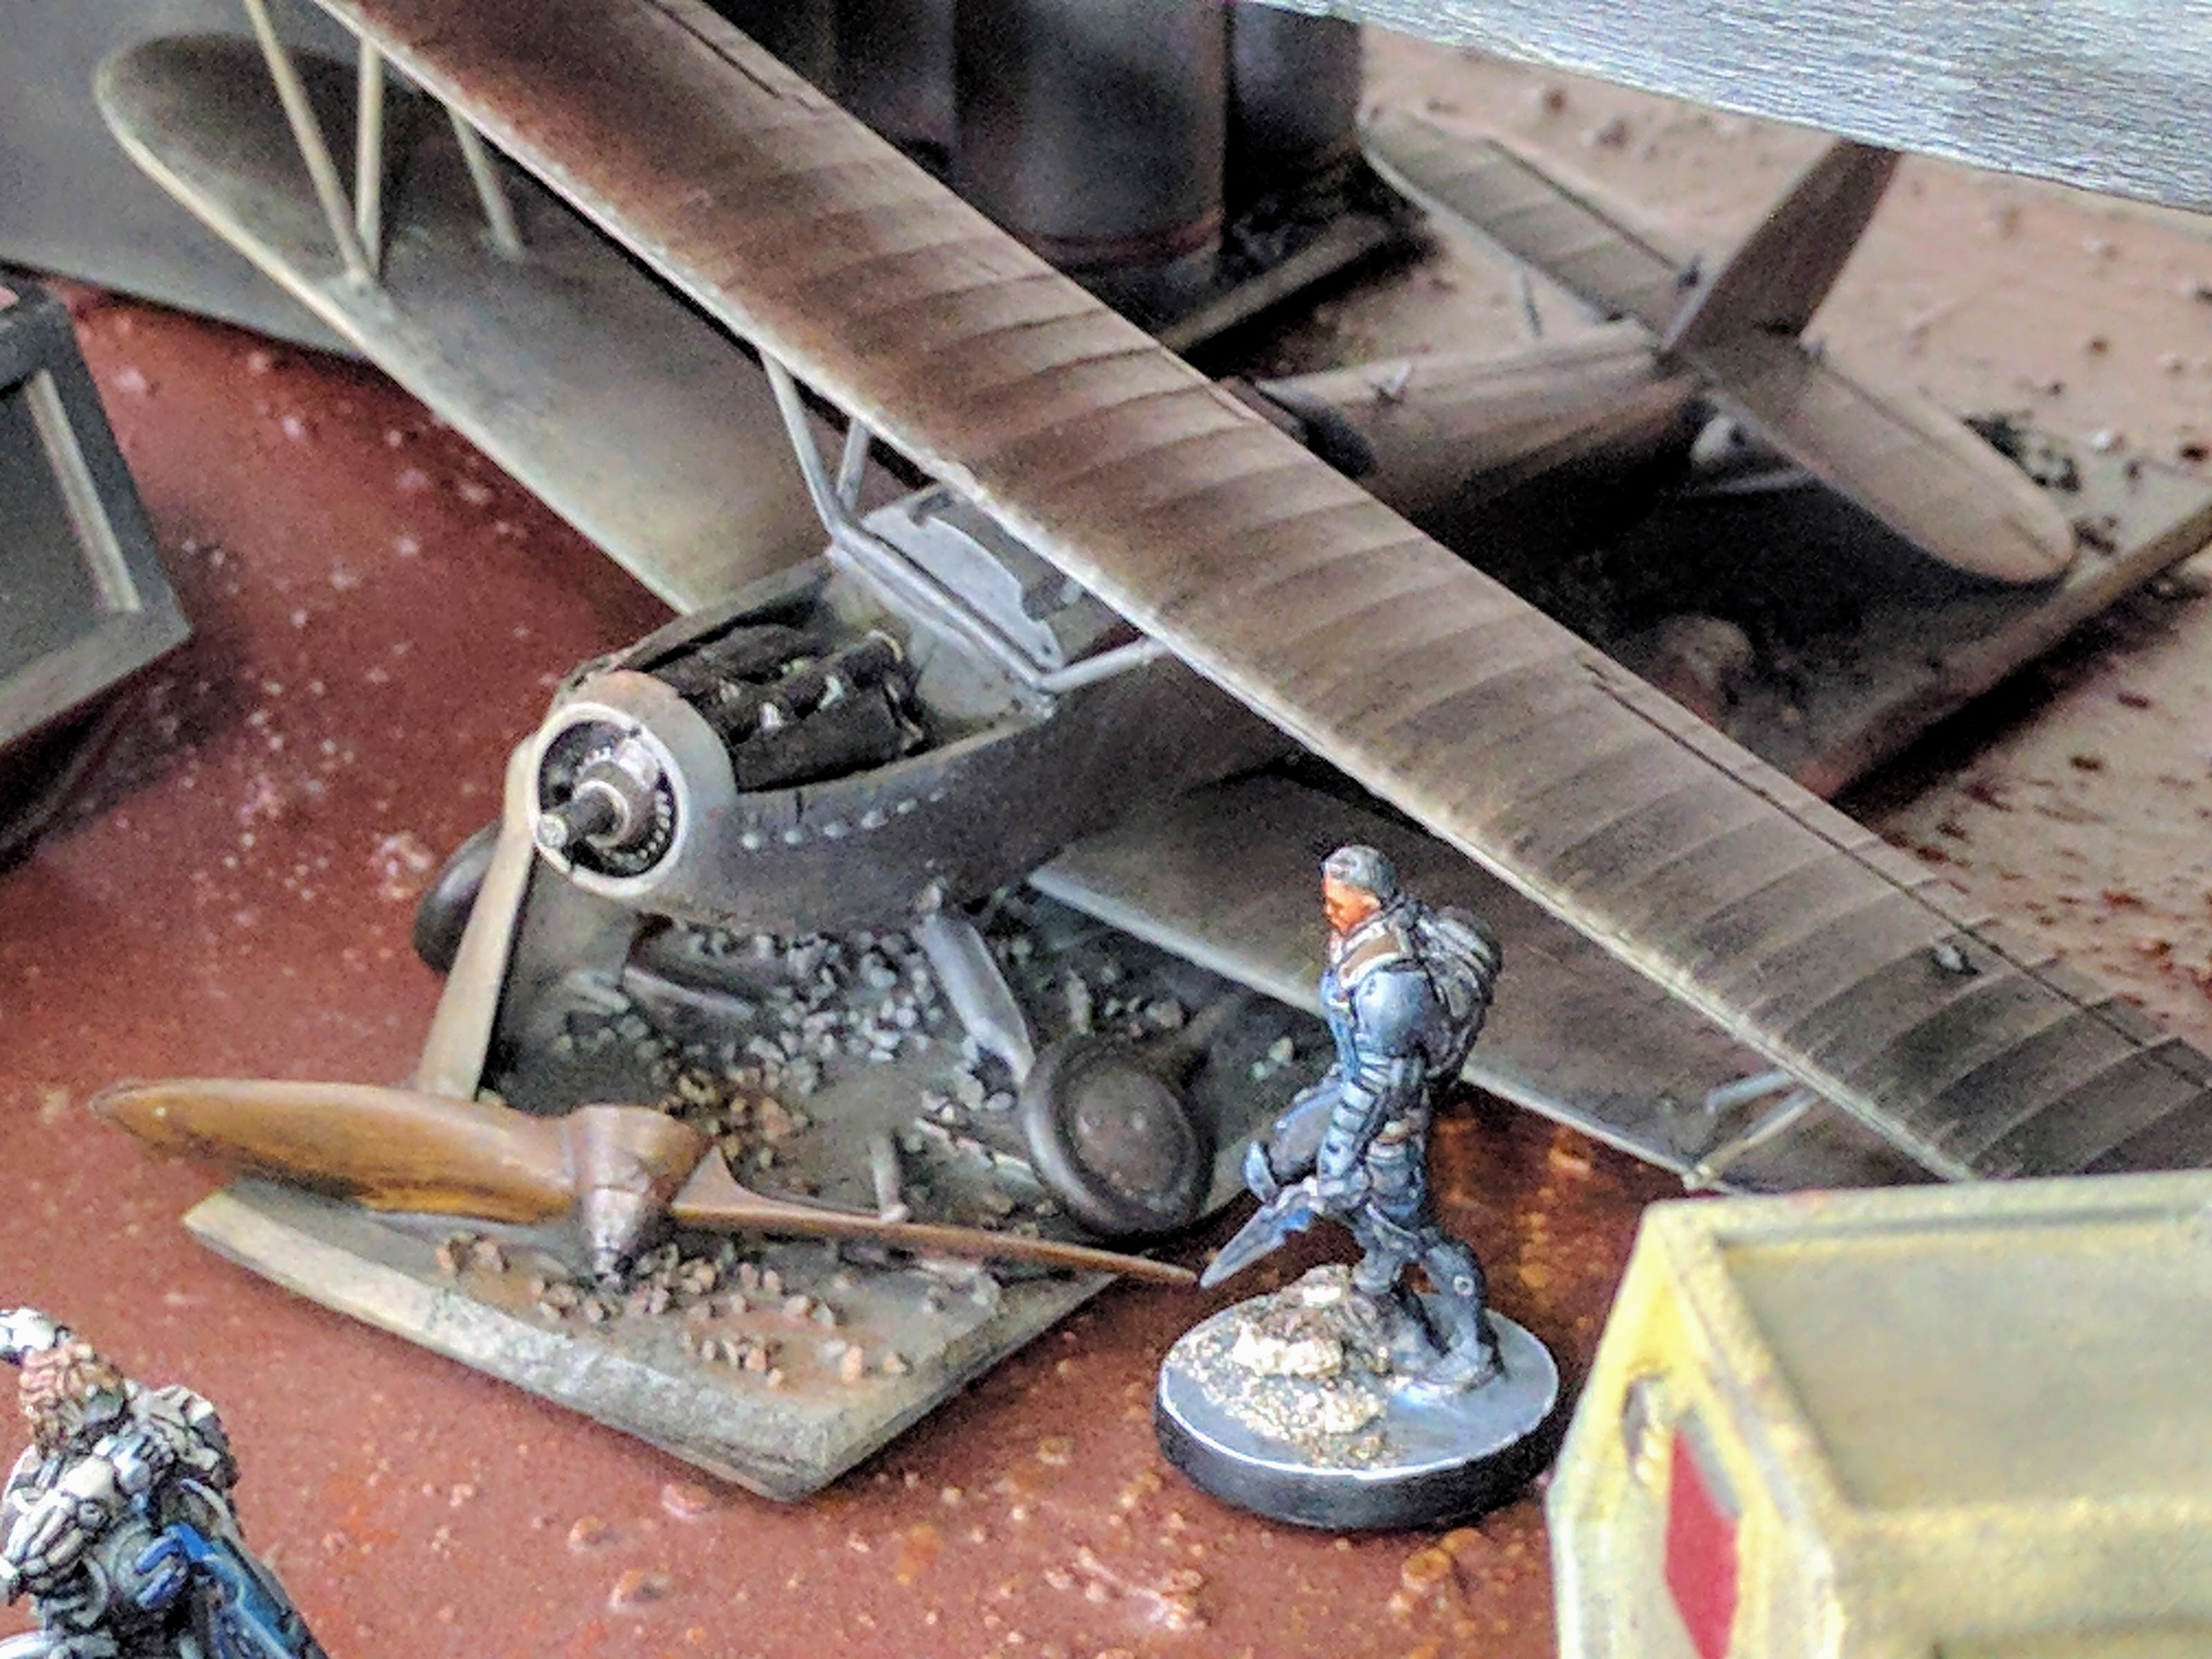
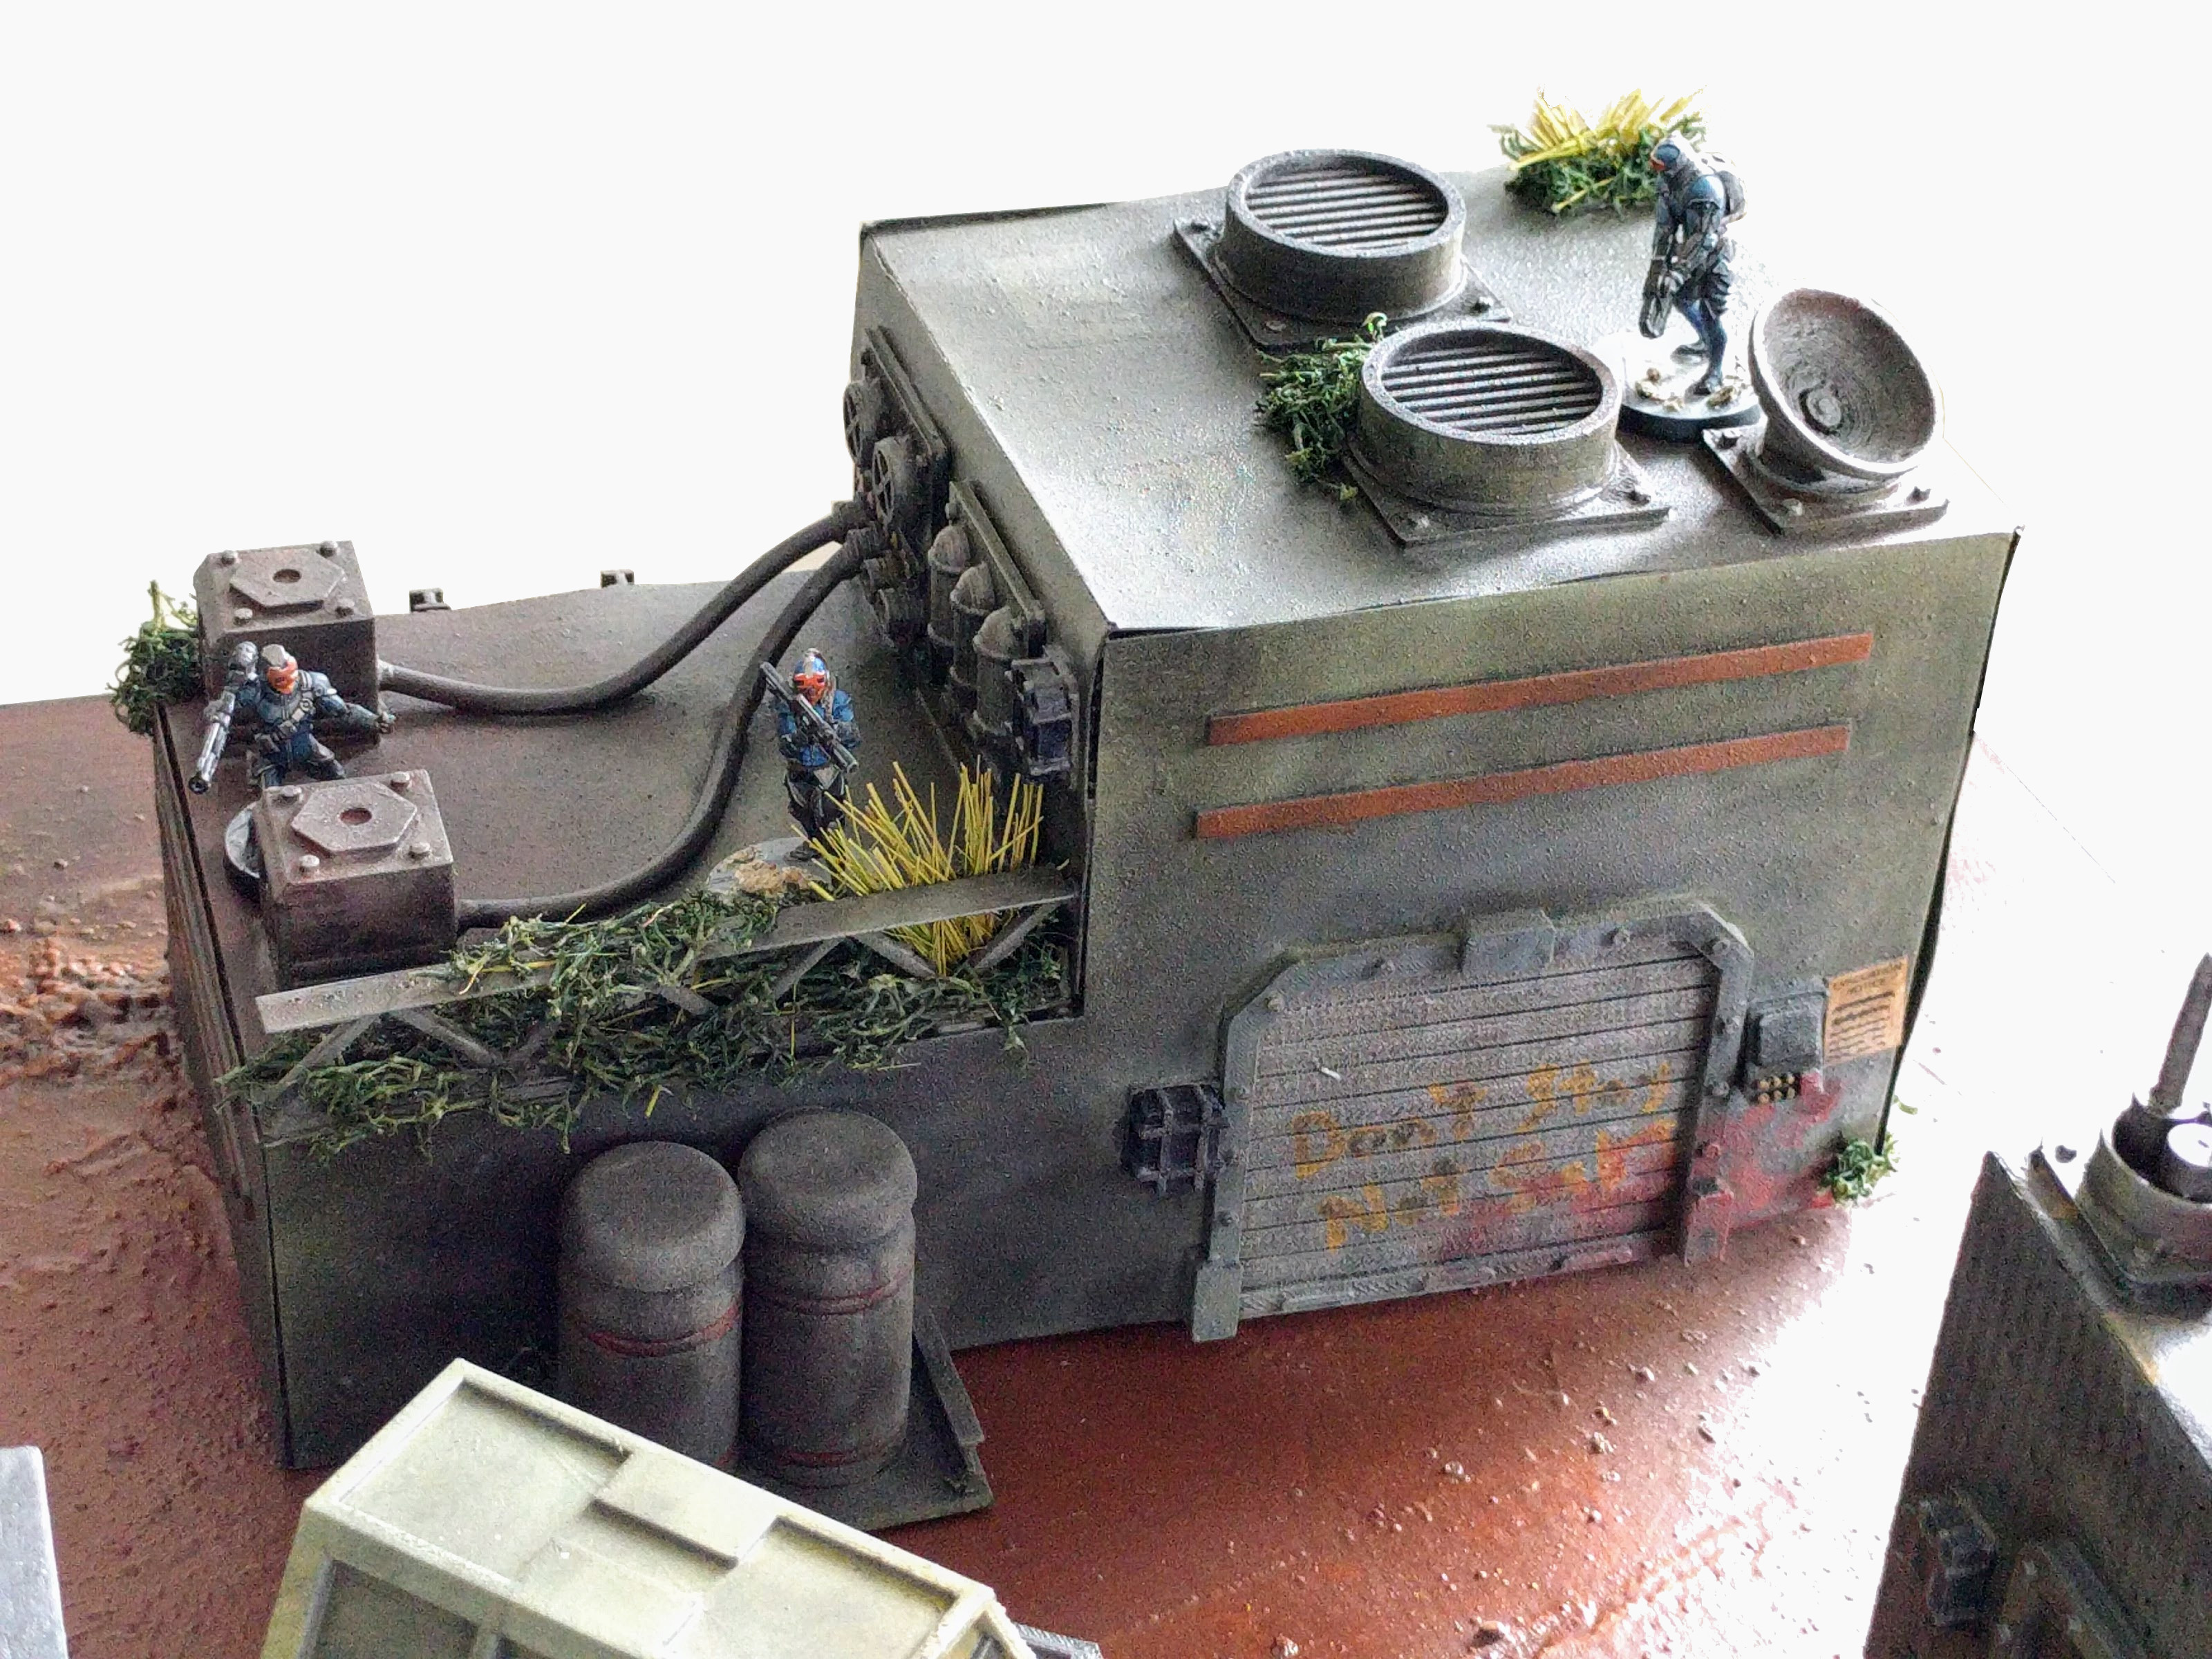
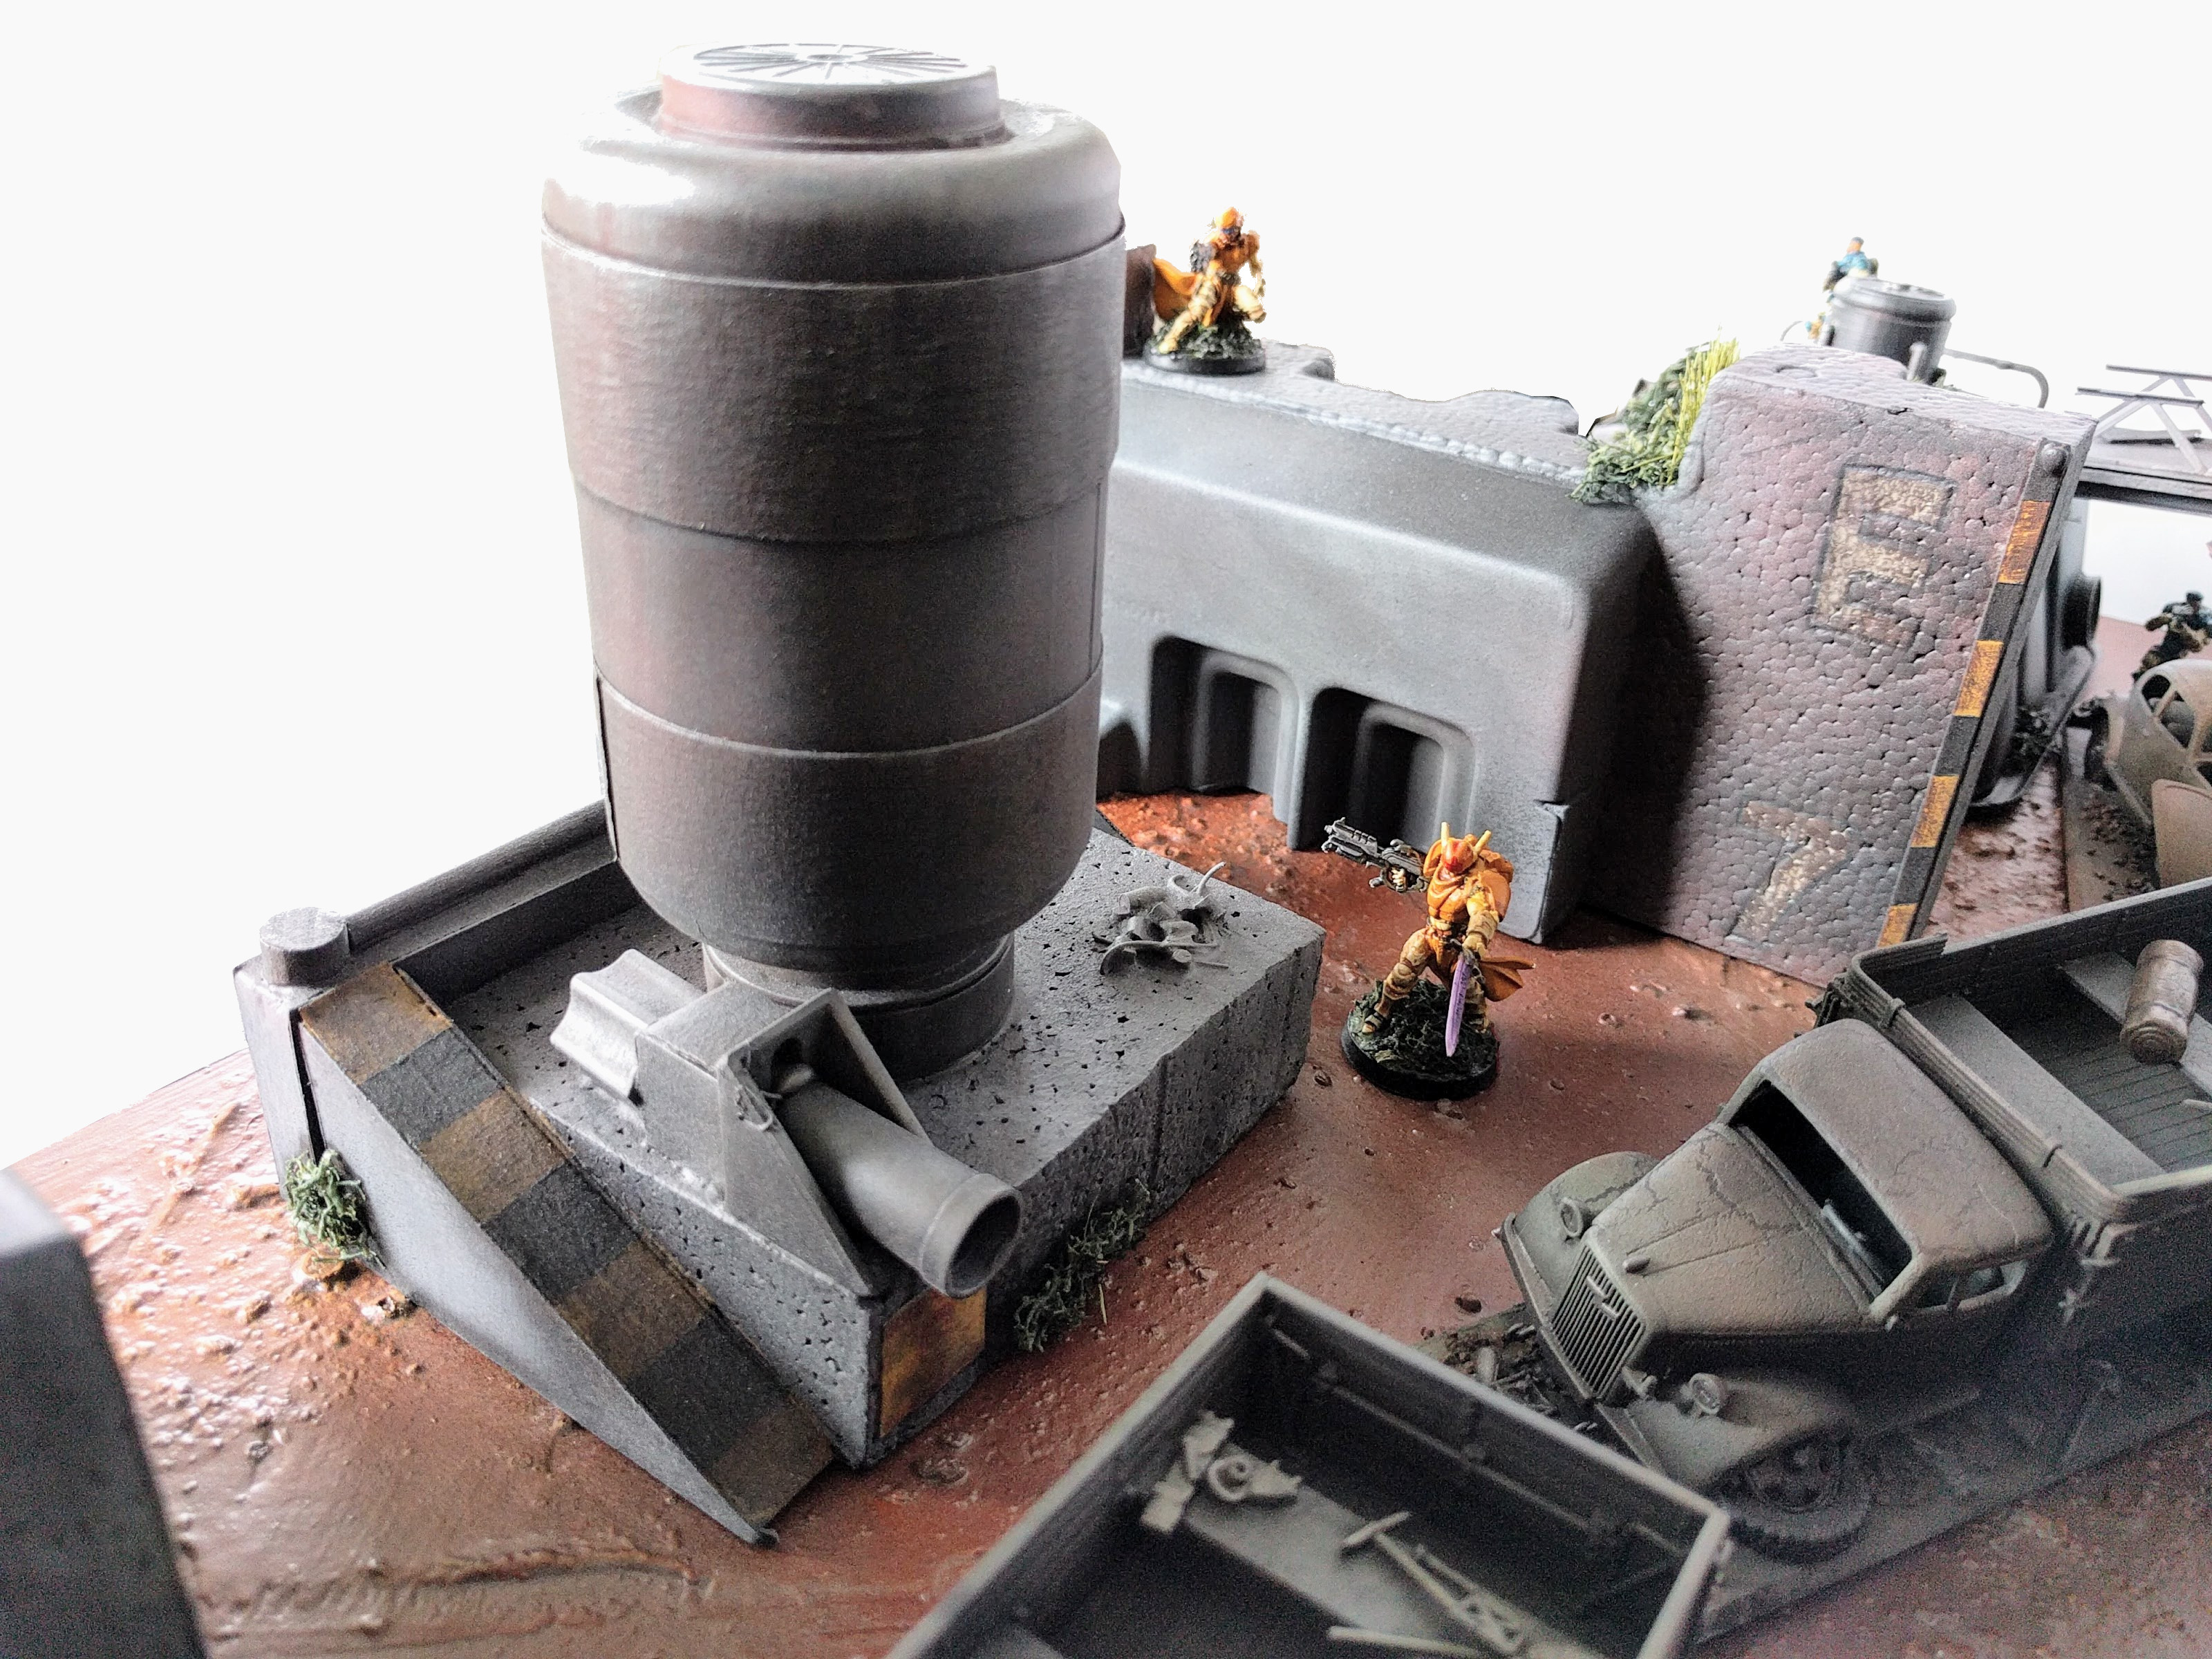
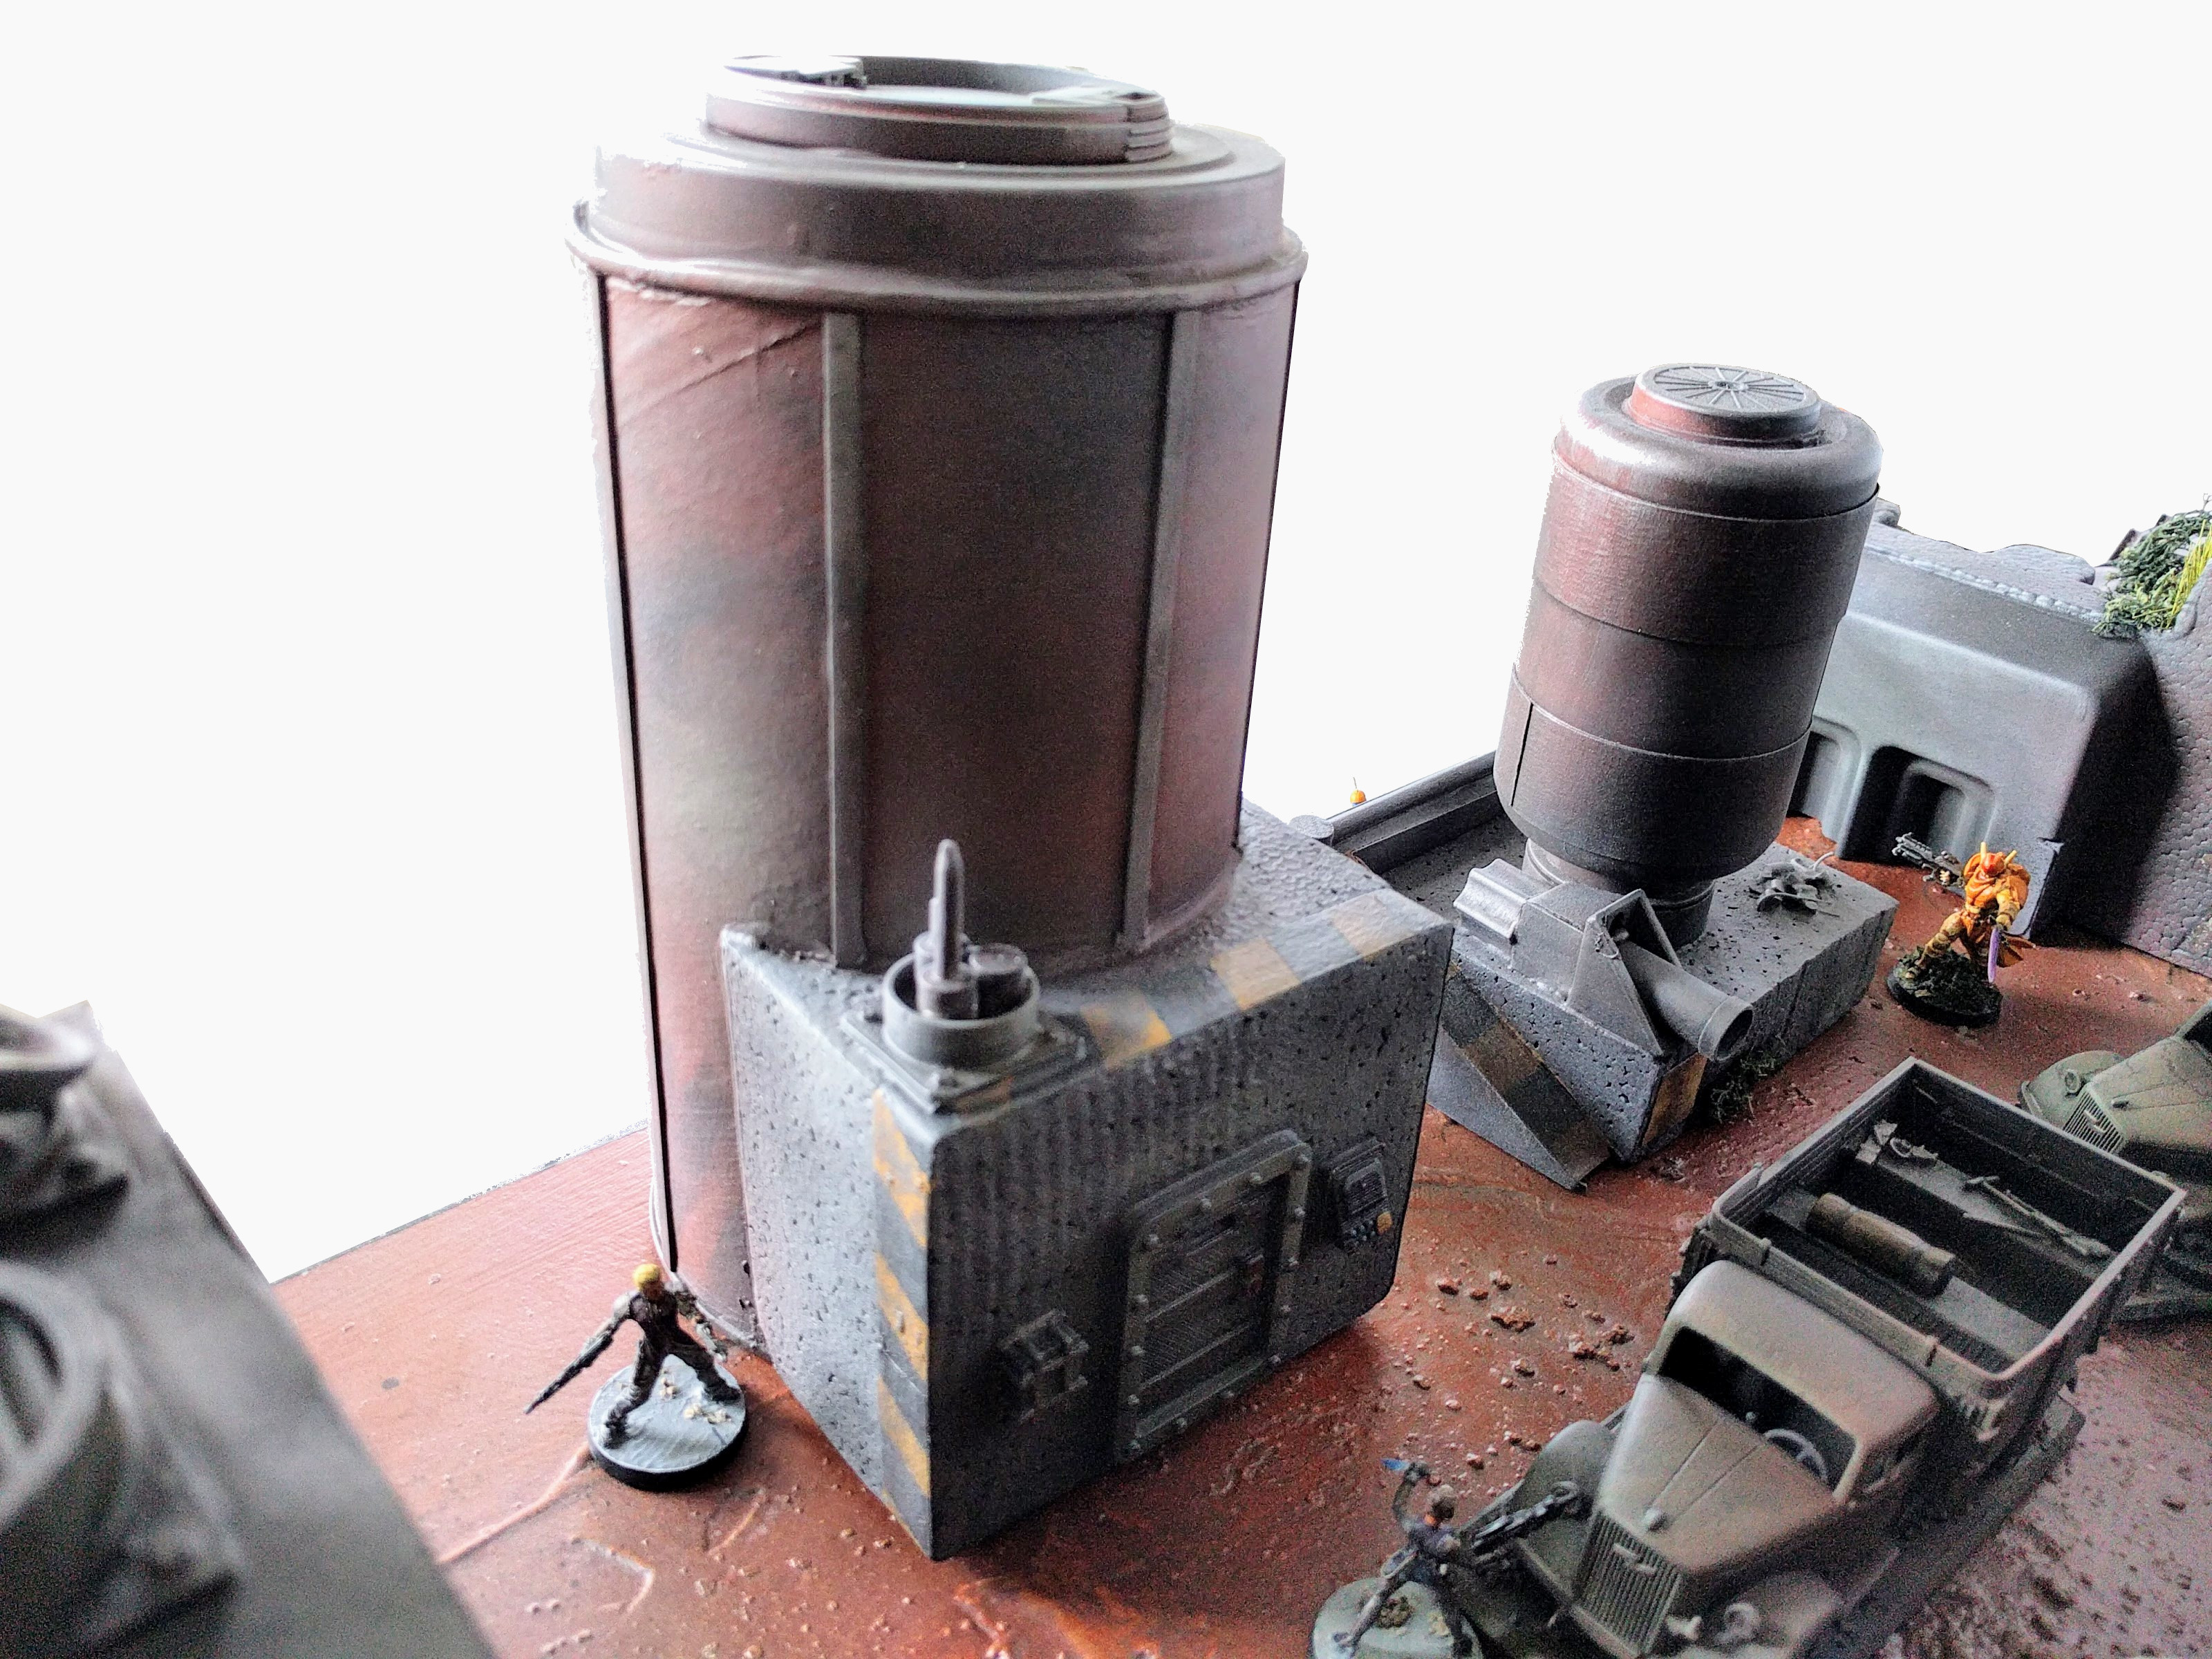
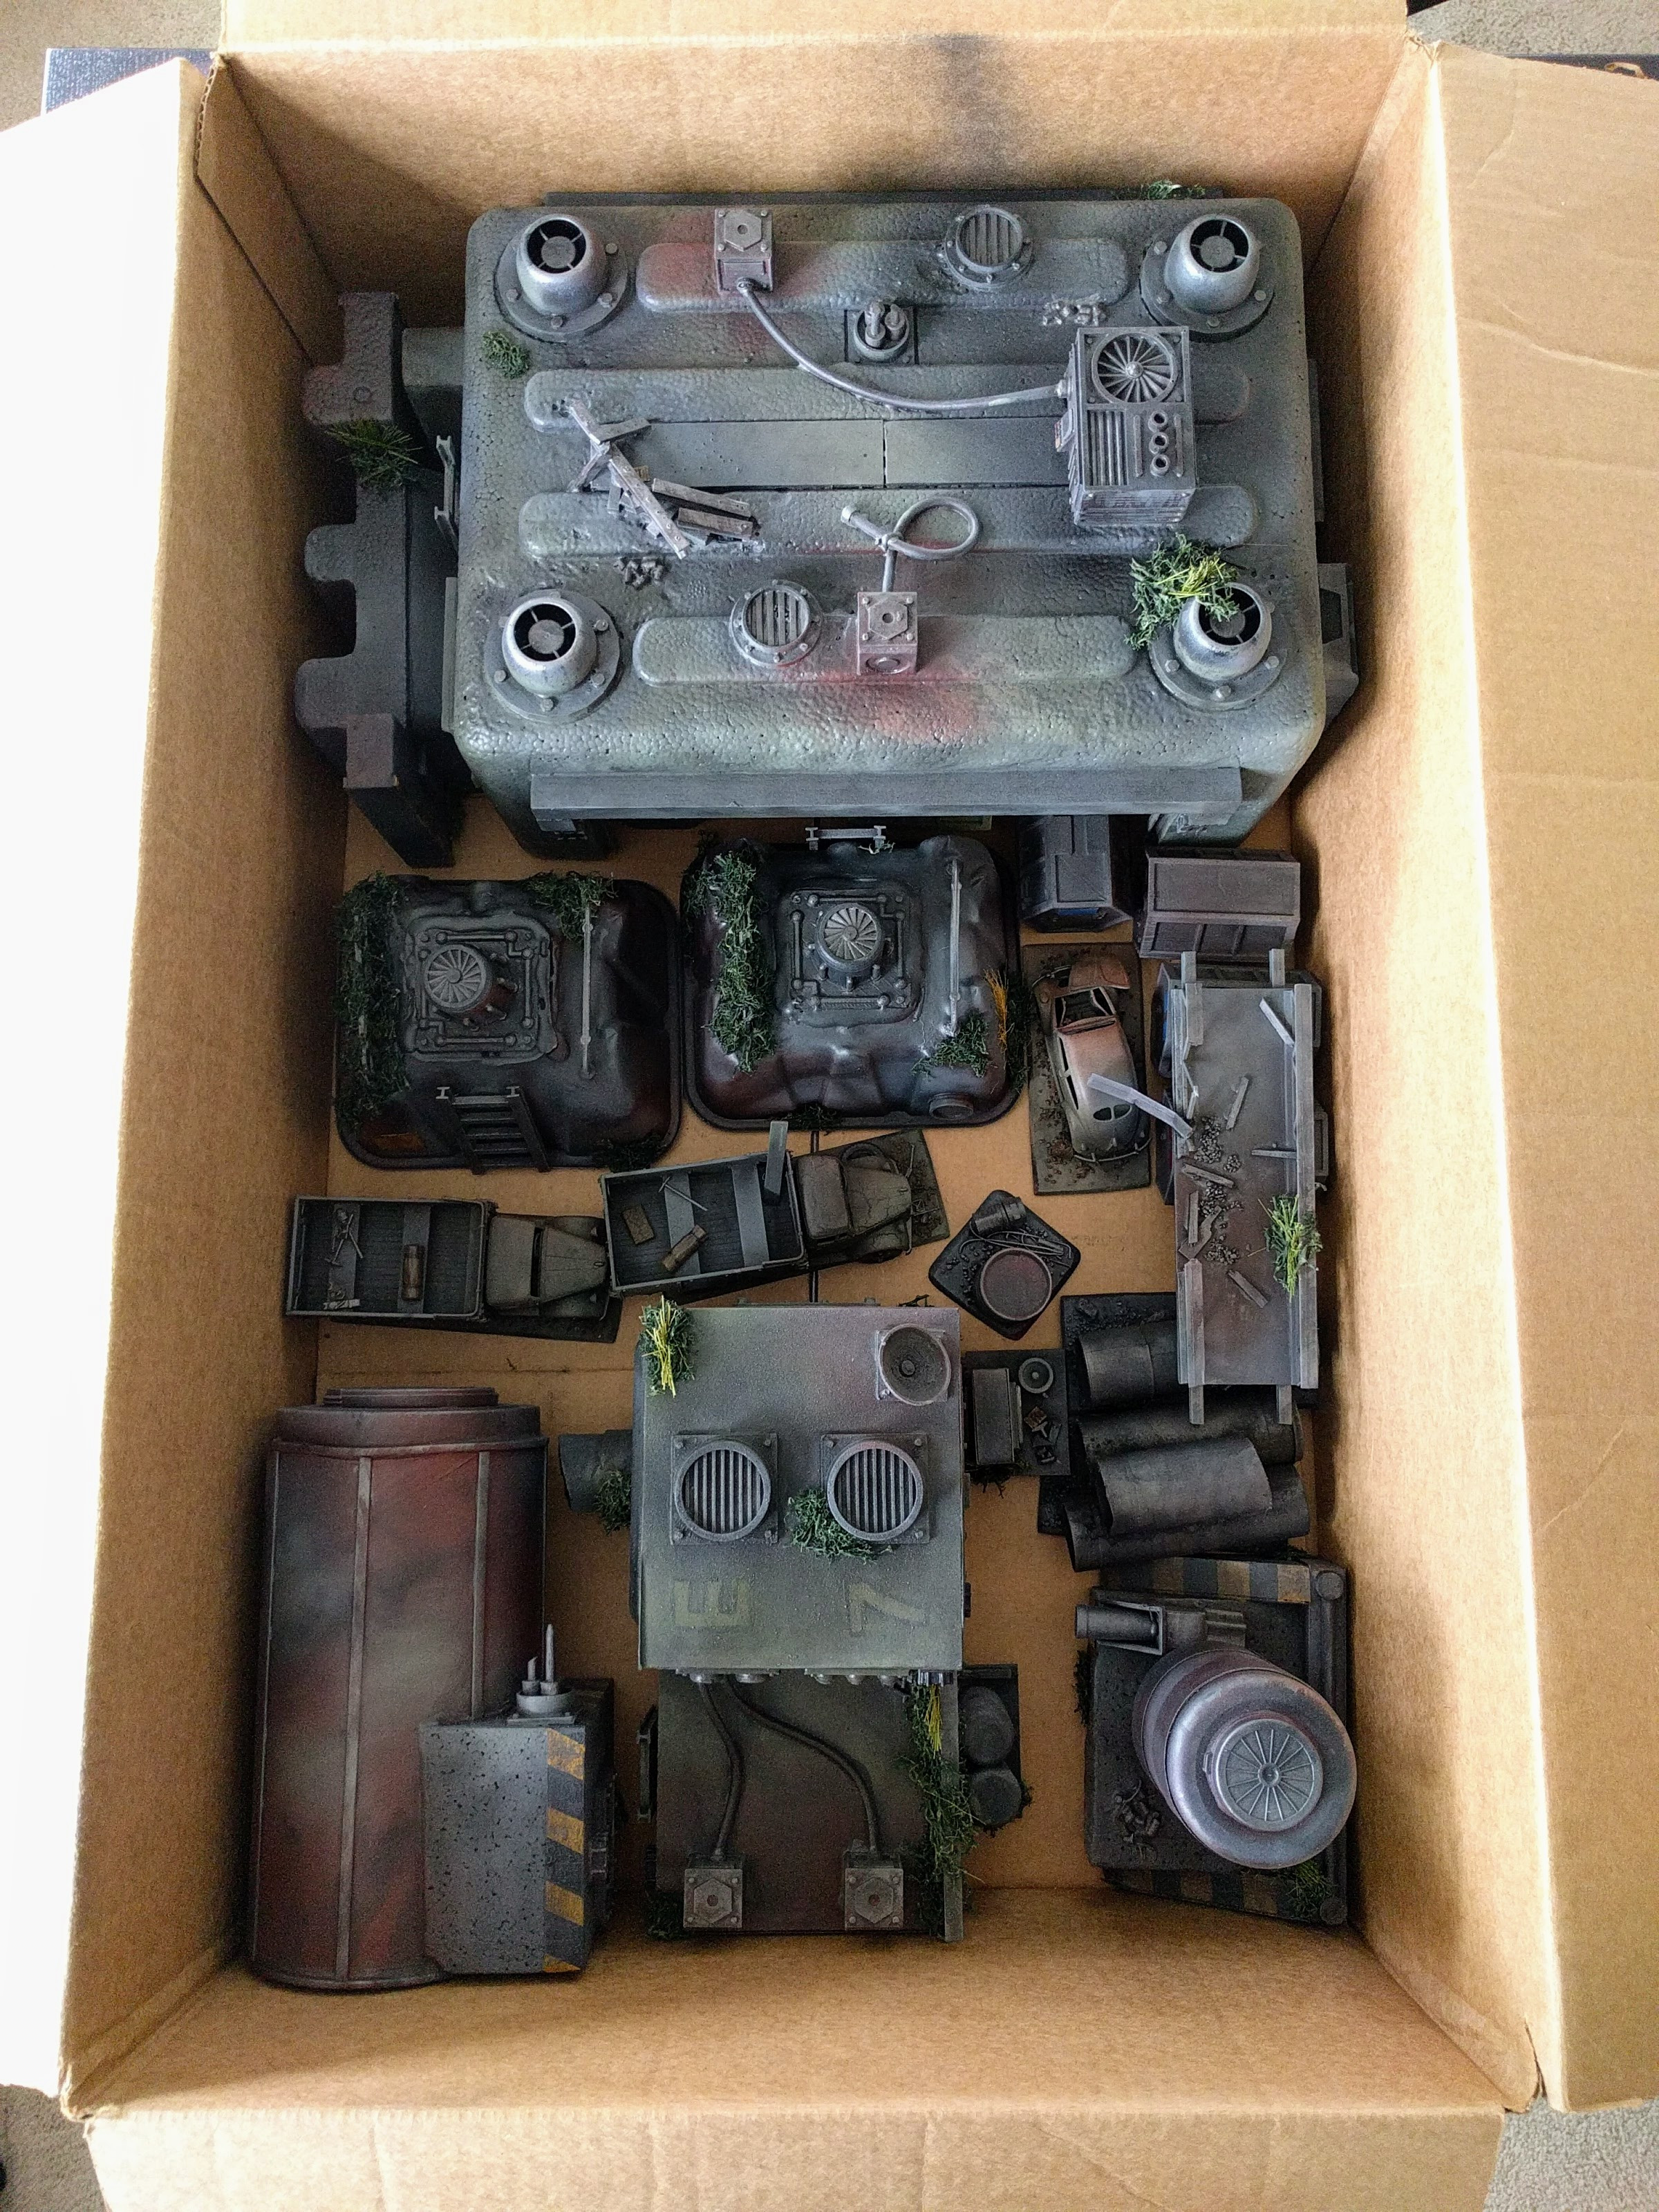
Some first prints on the WanHao i3+, from my Kolony designs.
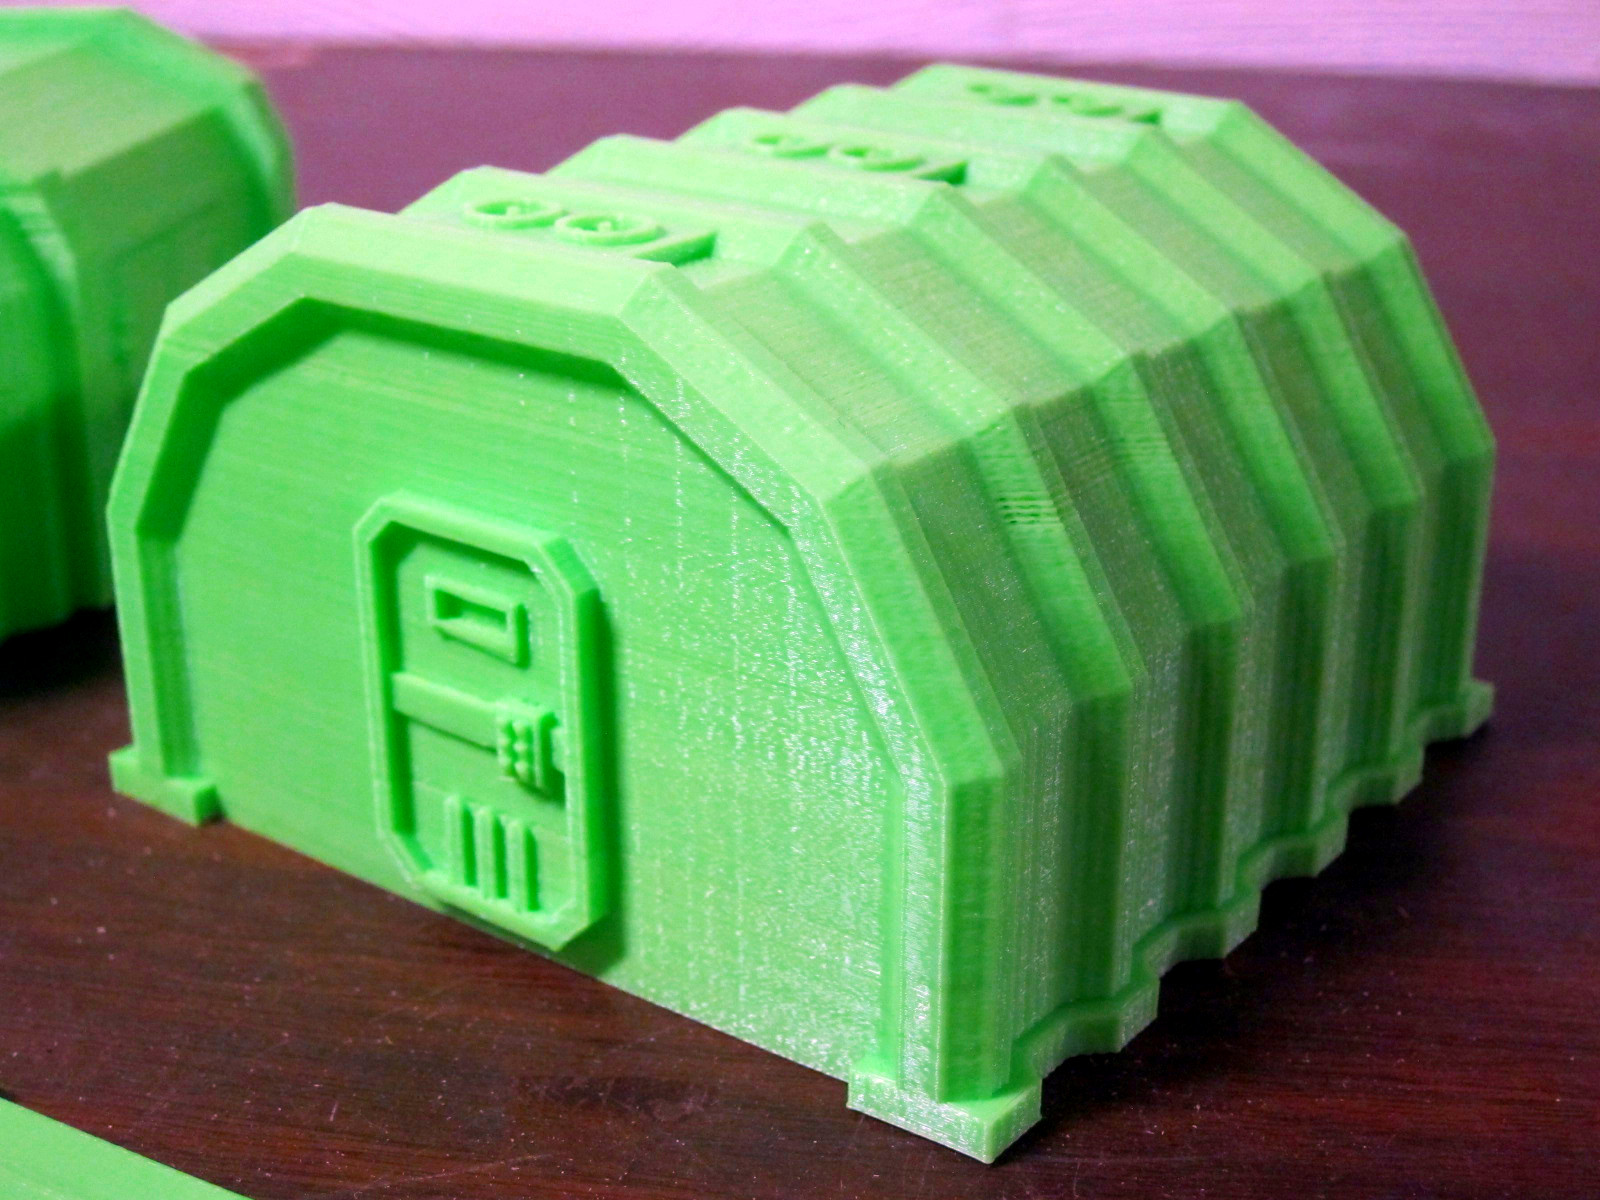
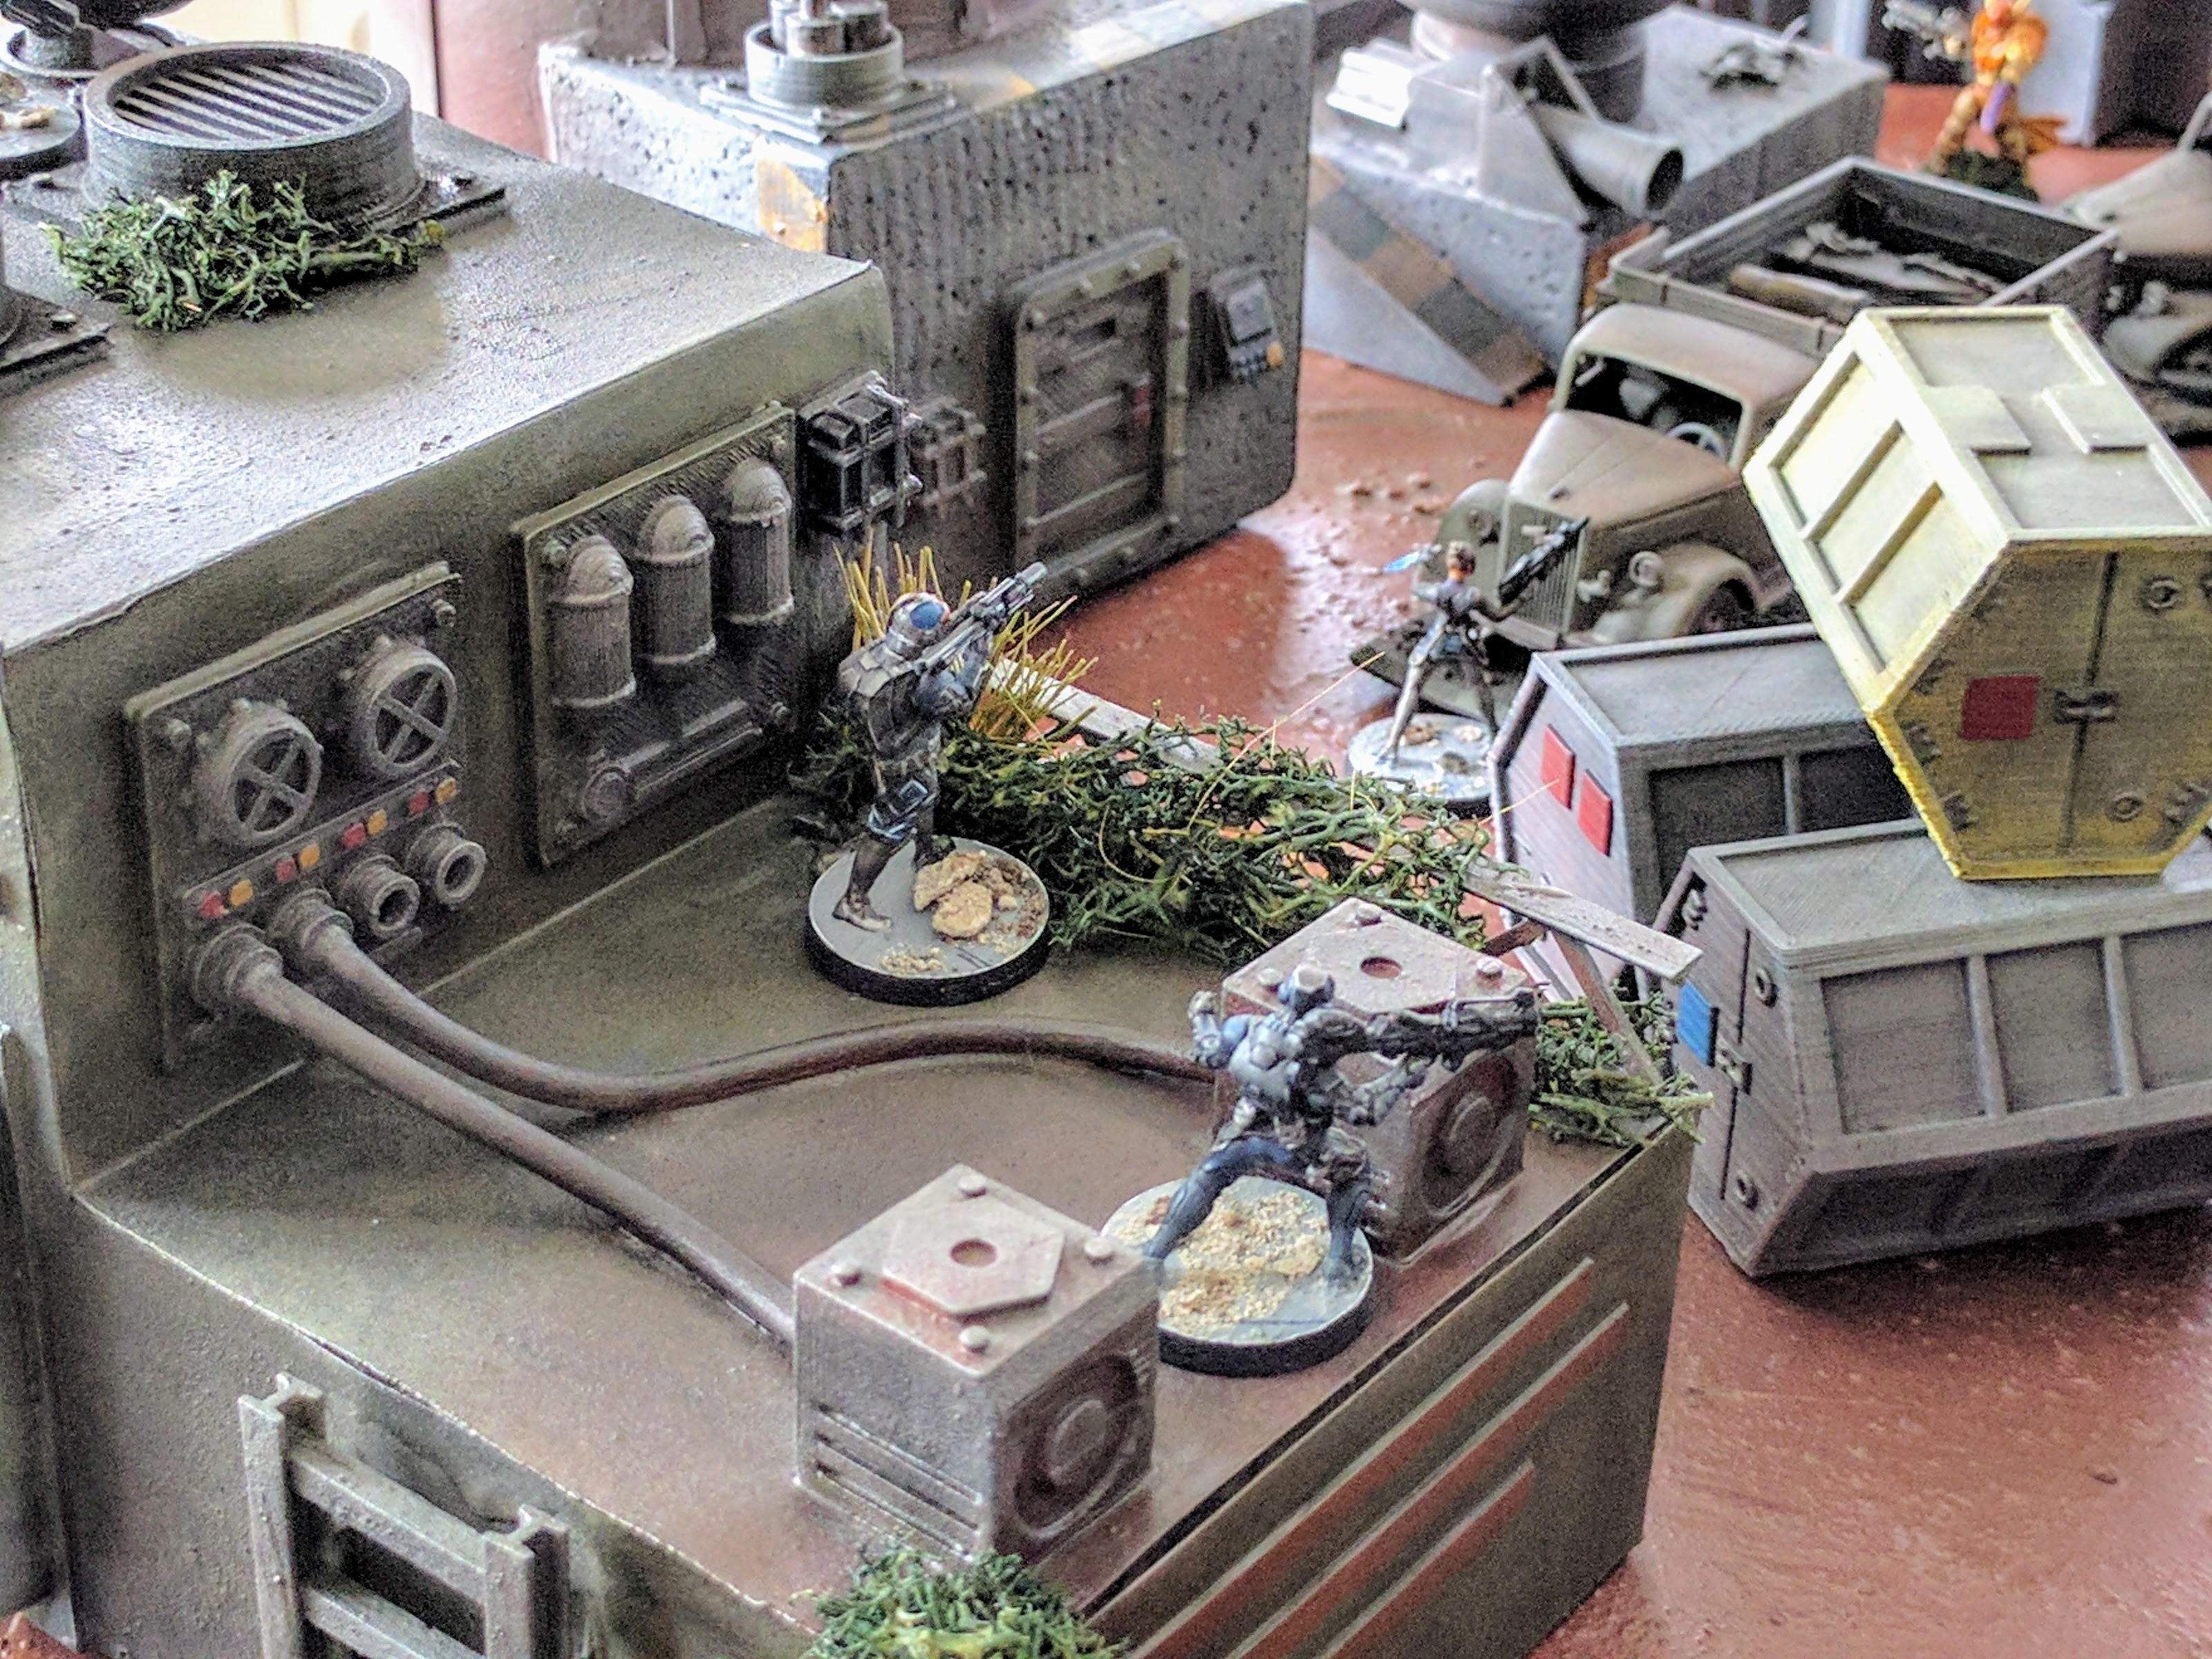
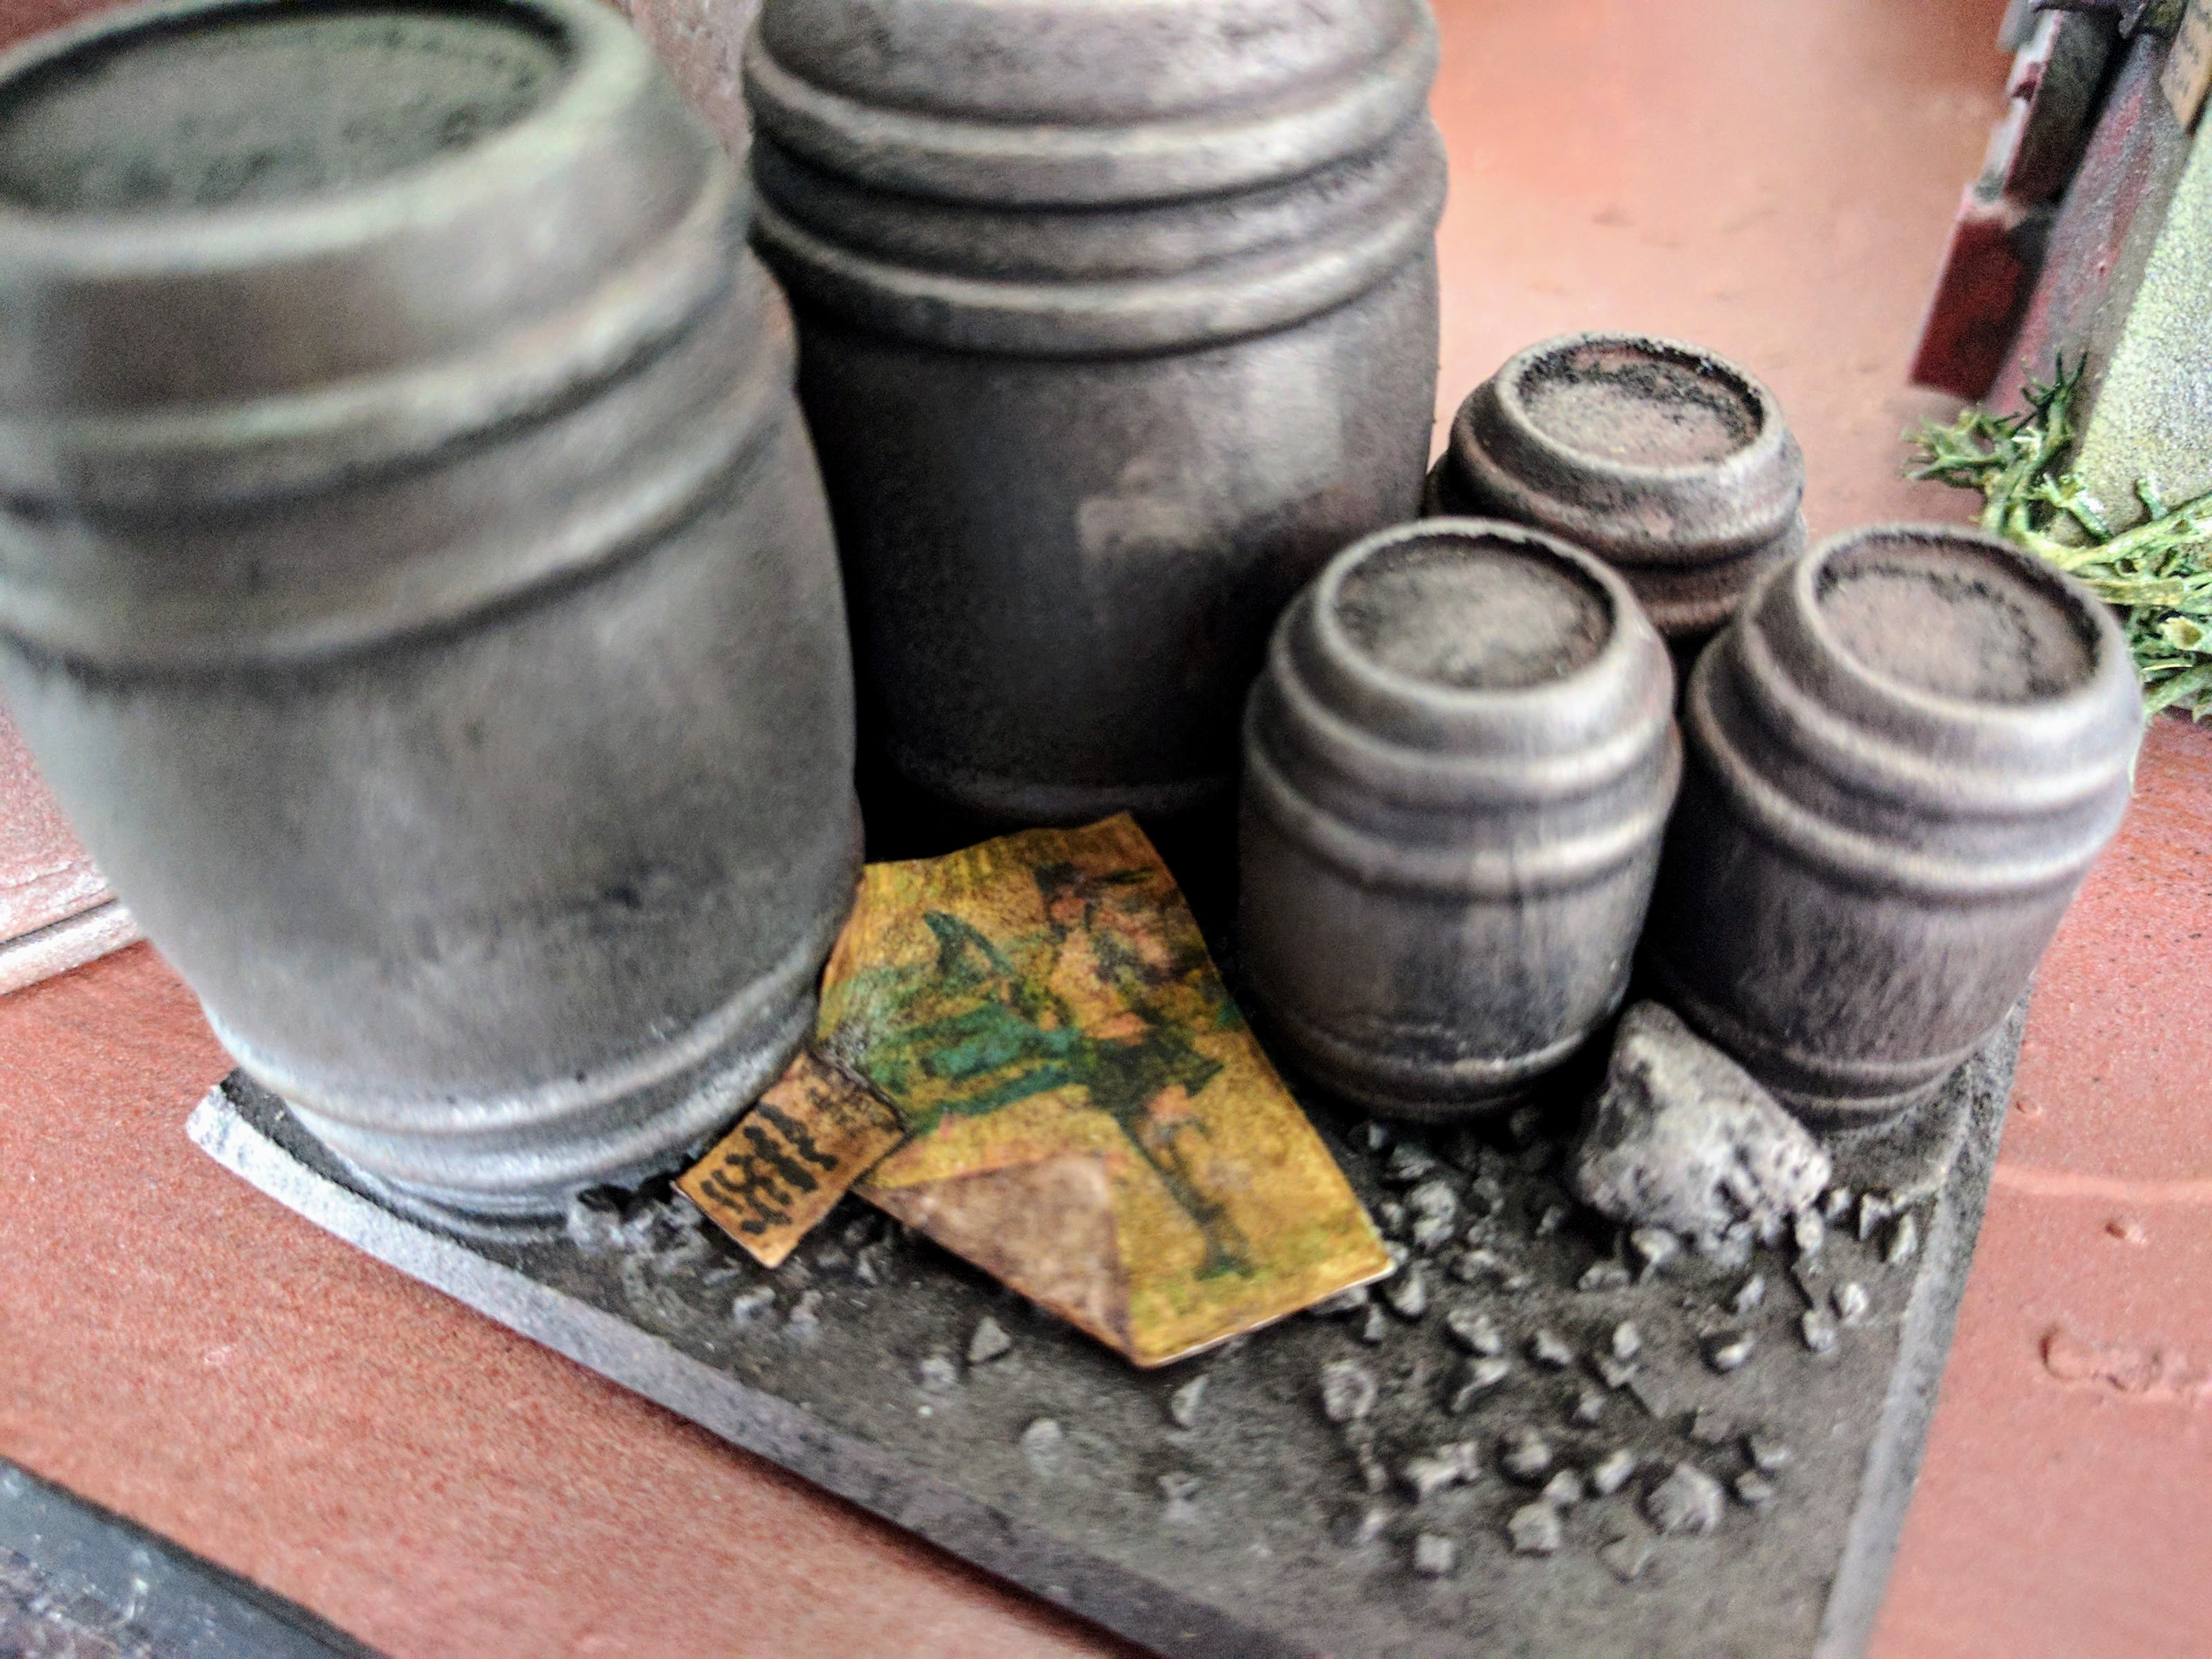
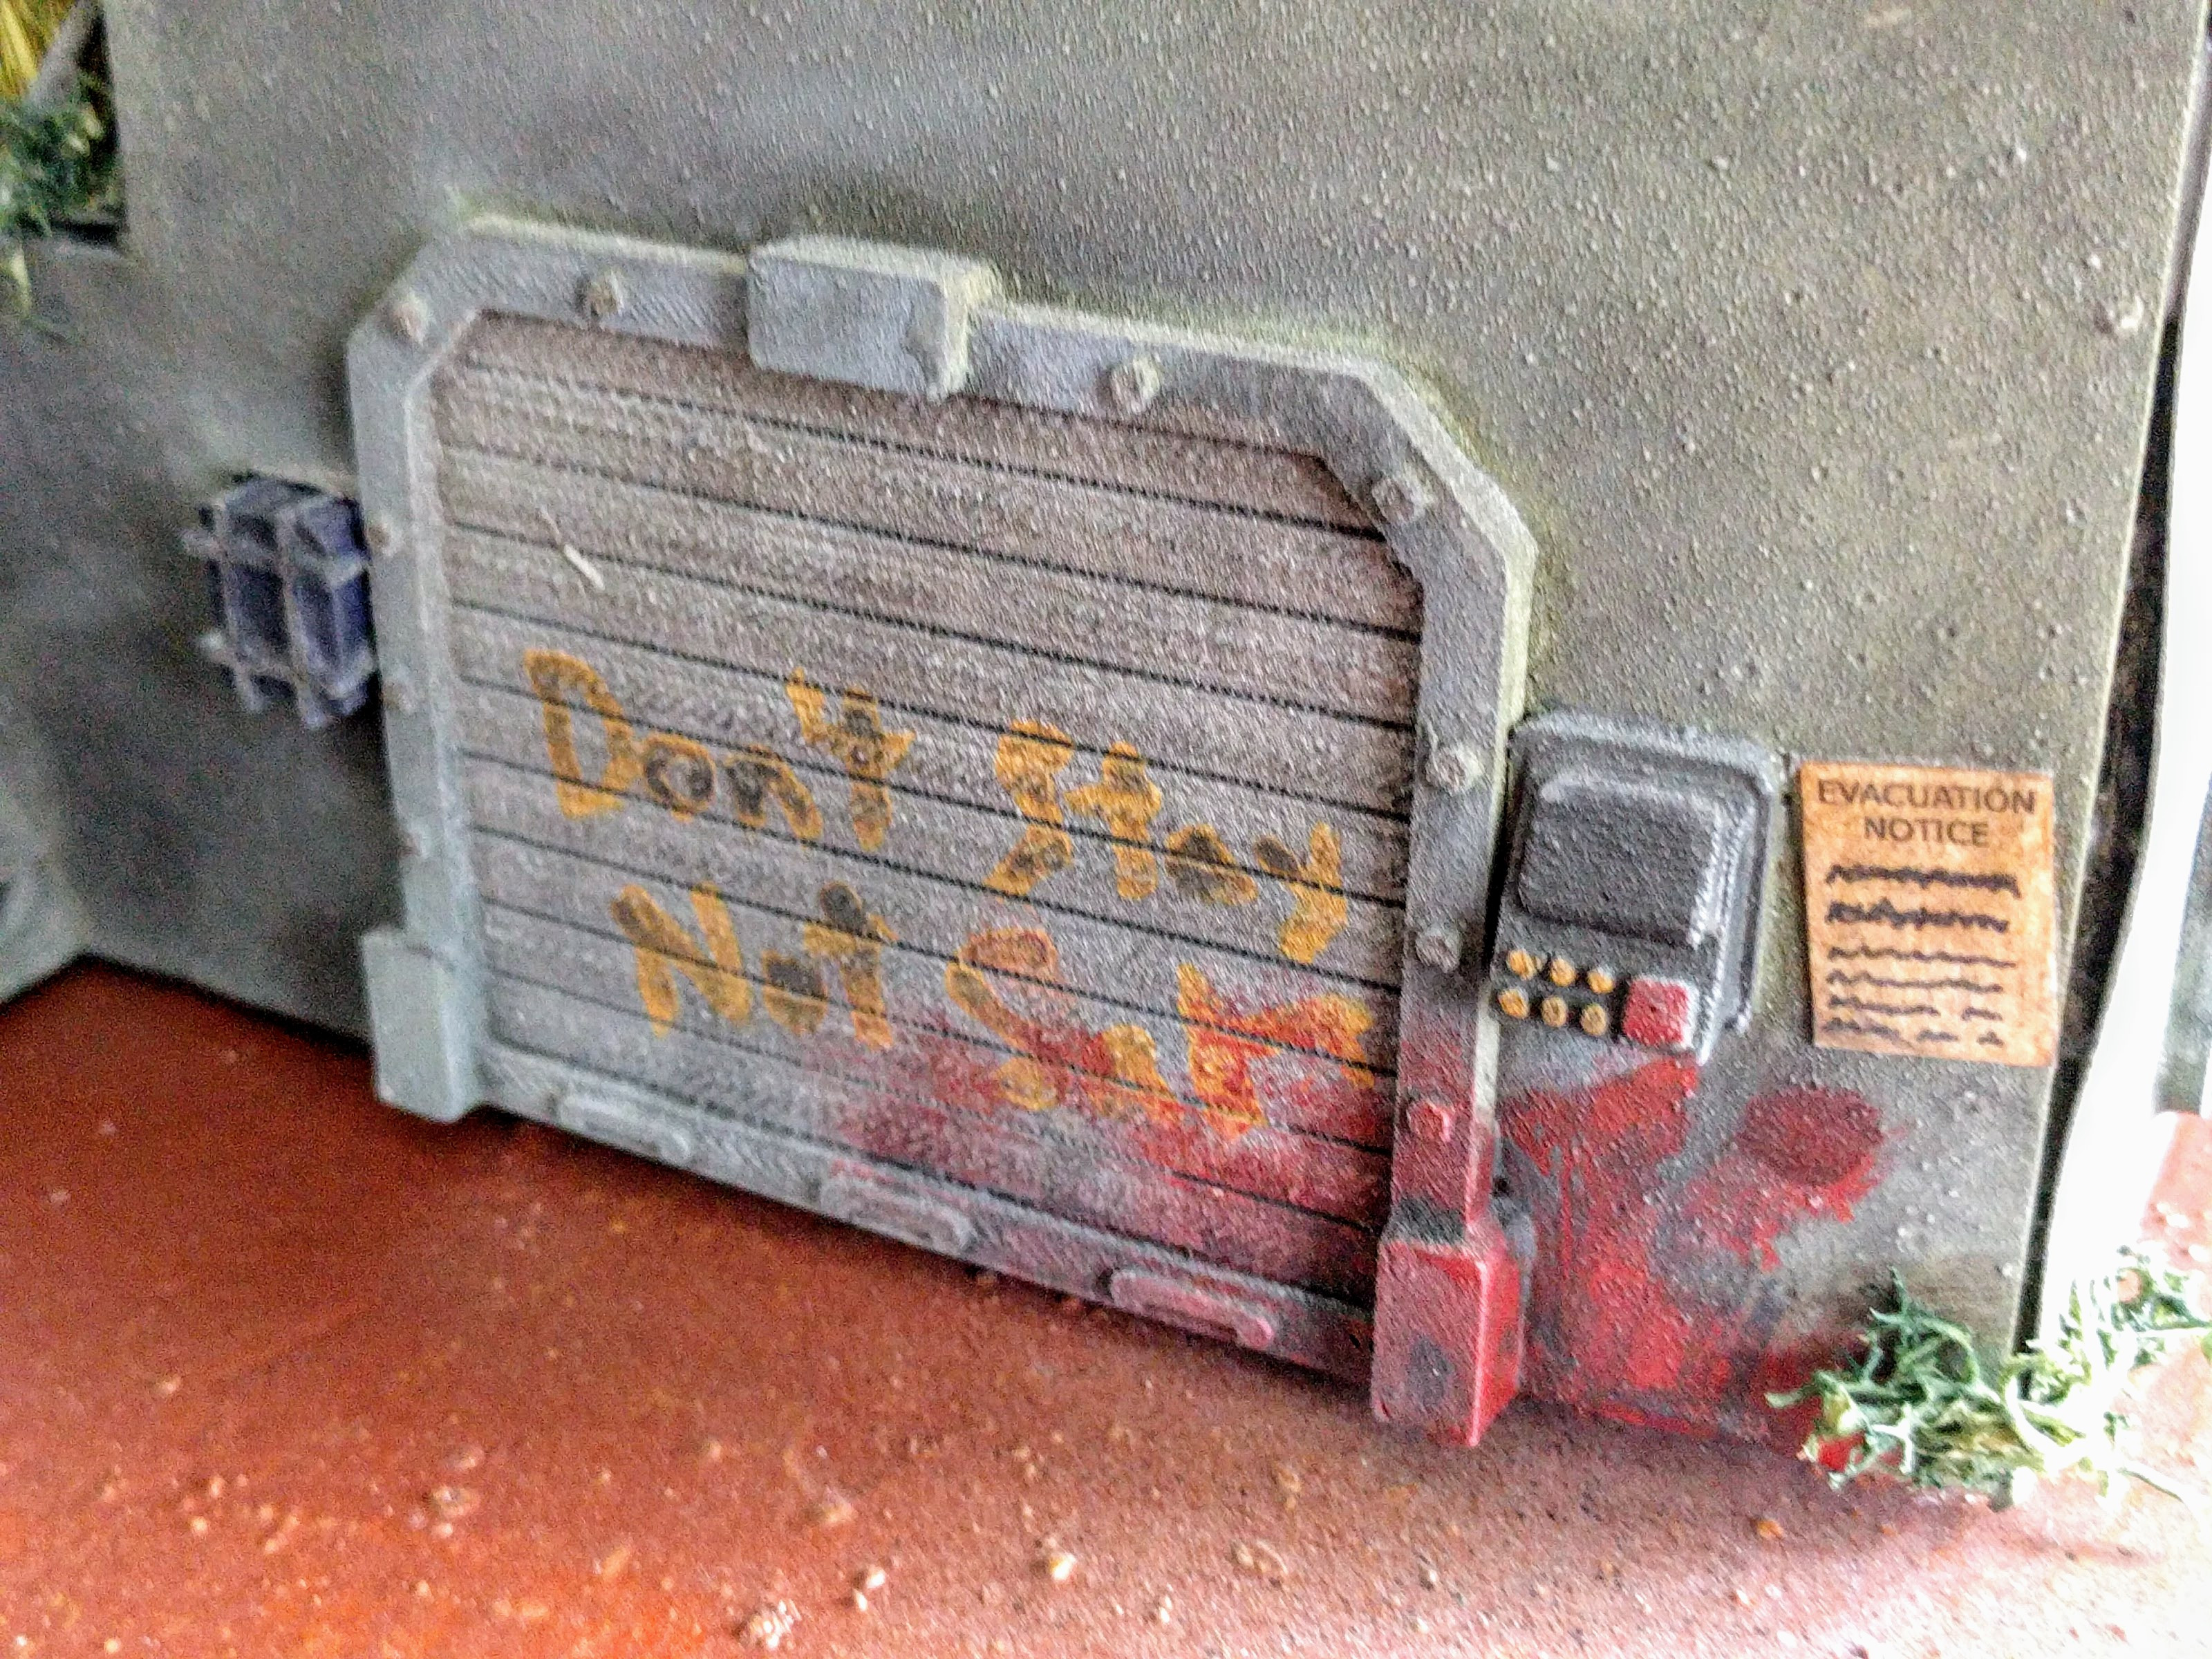
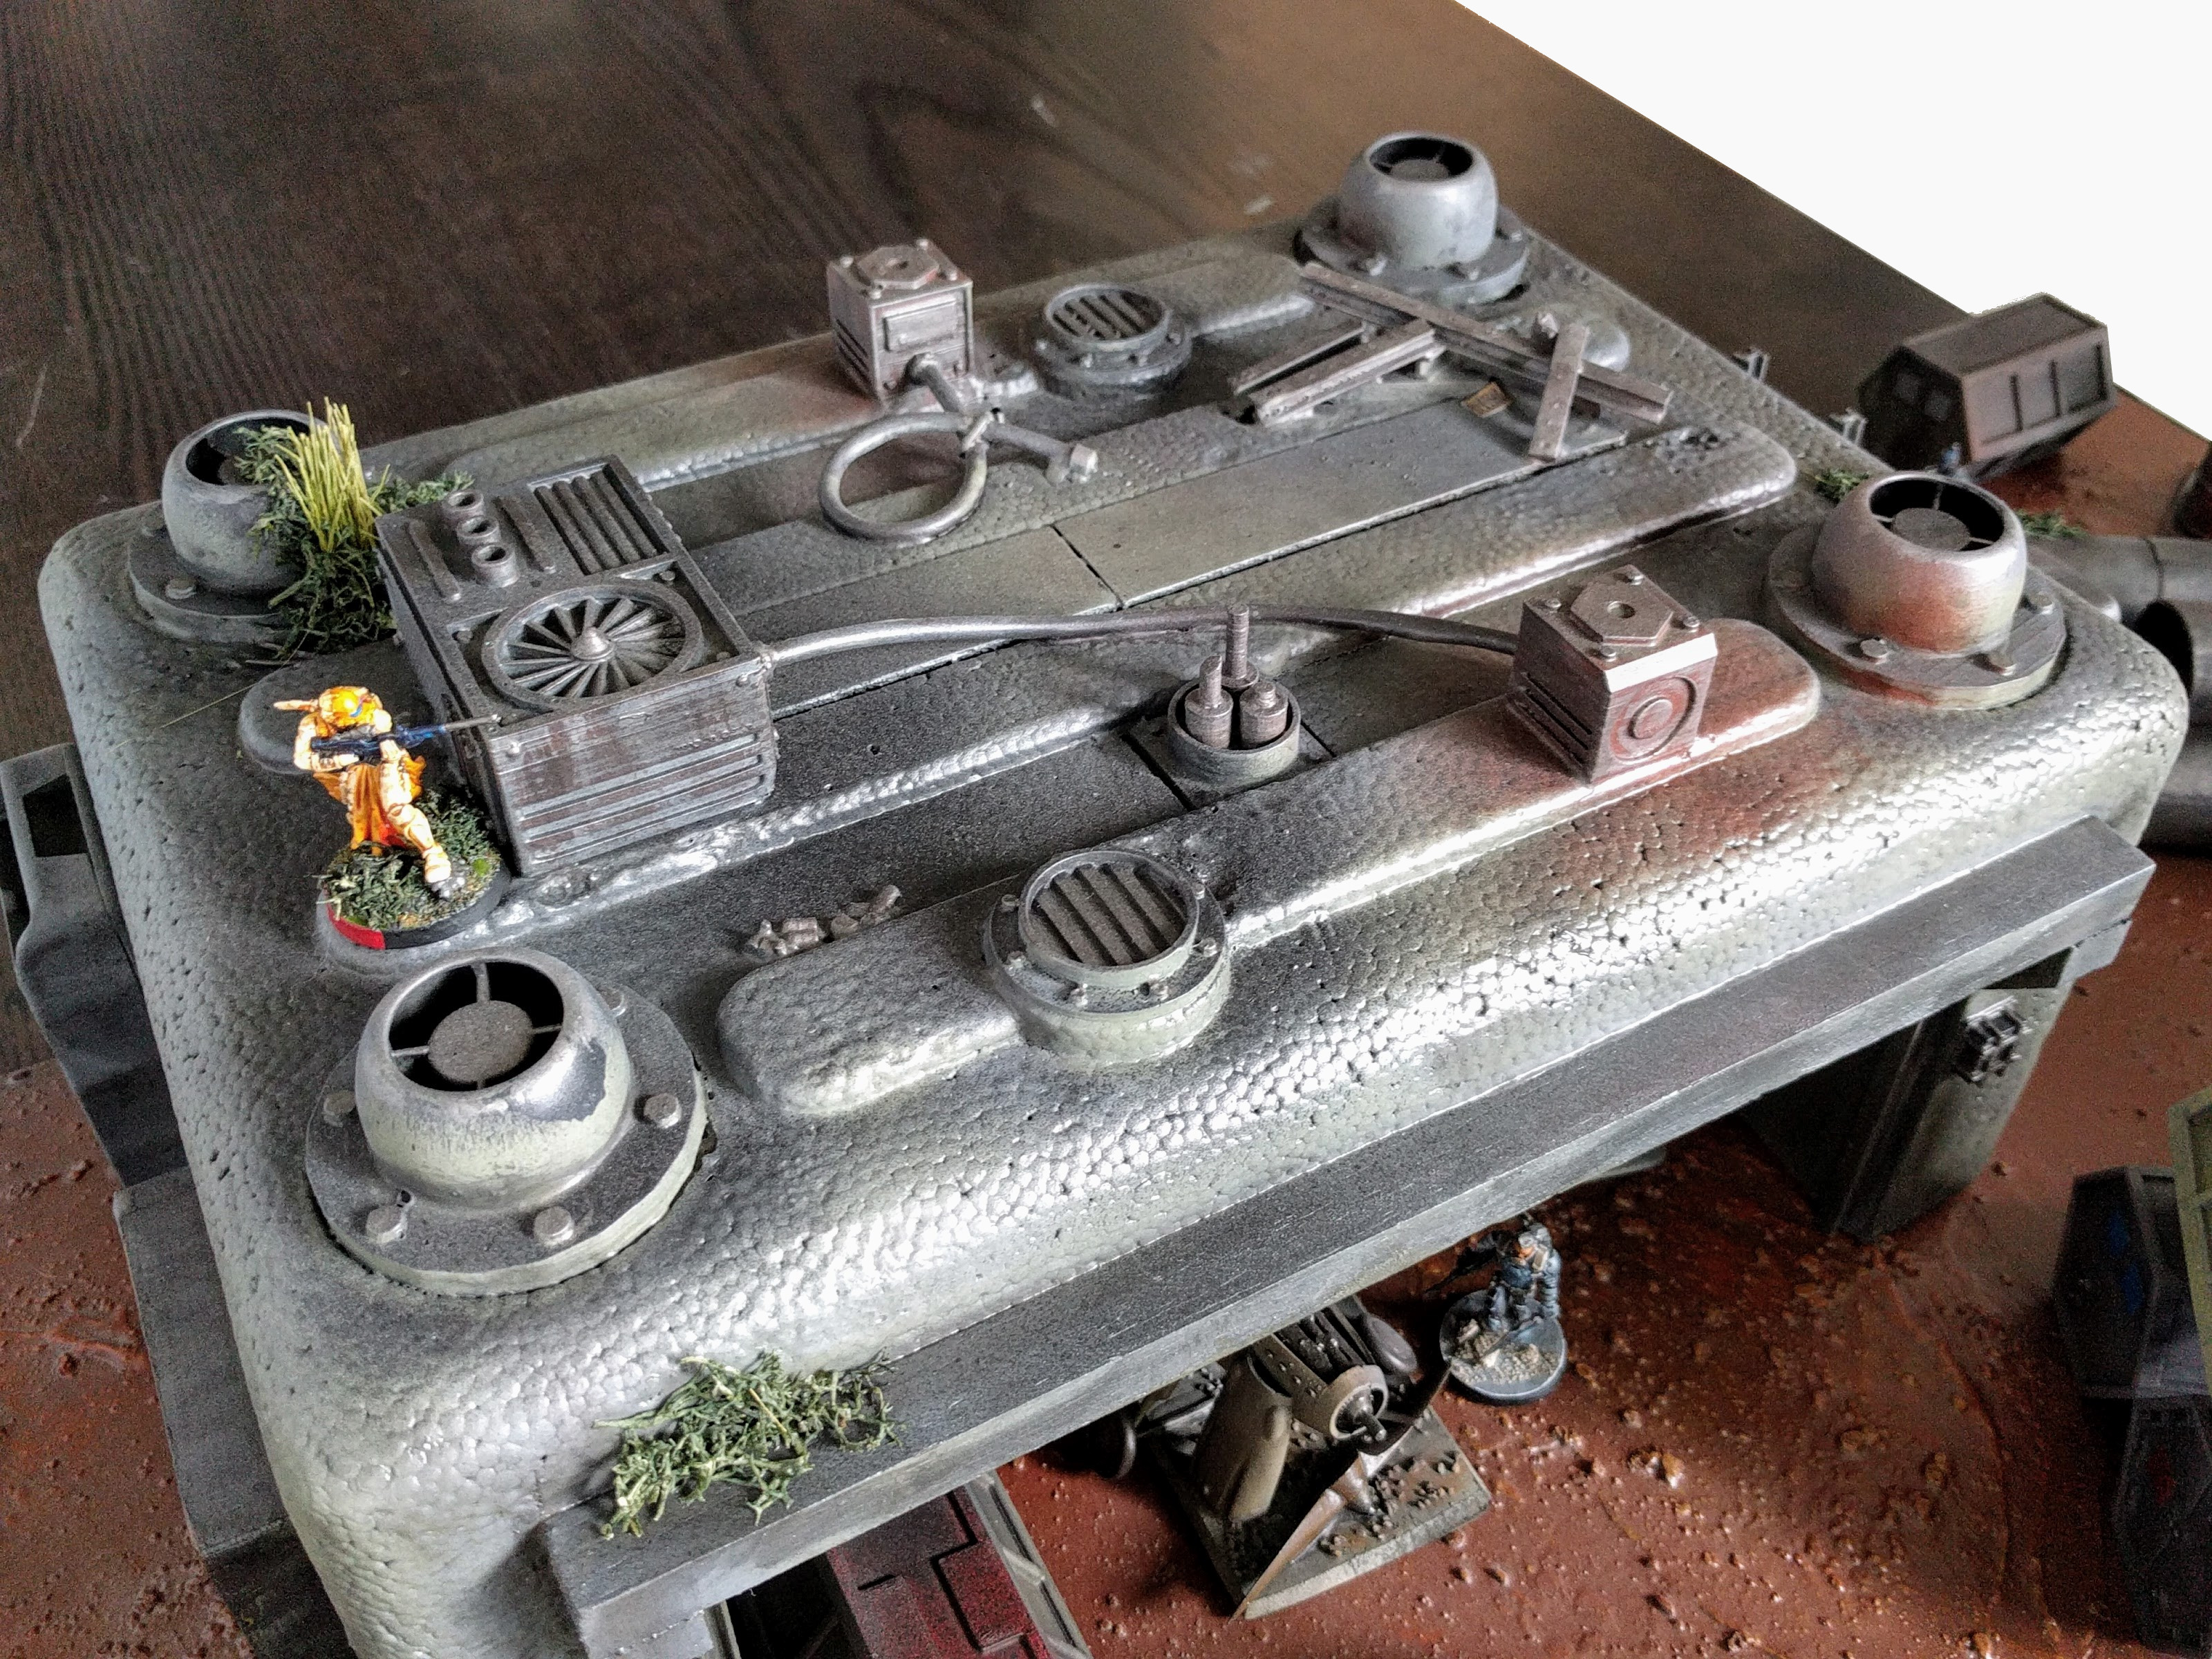
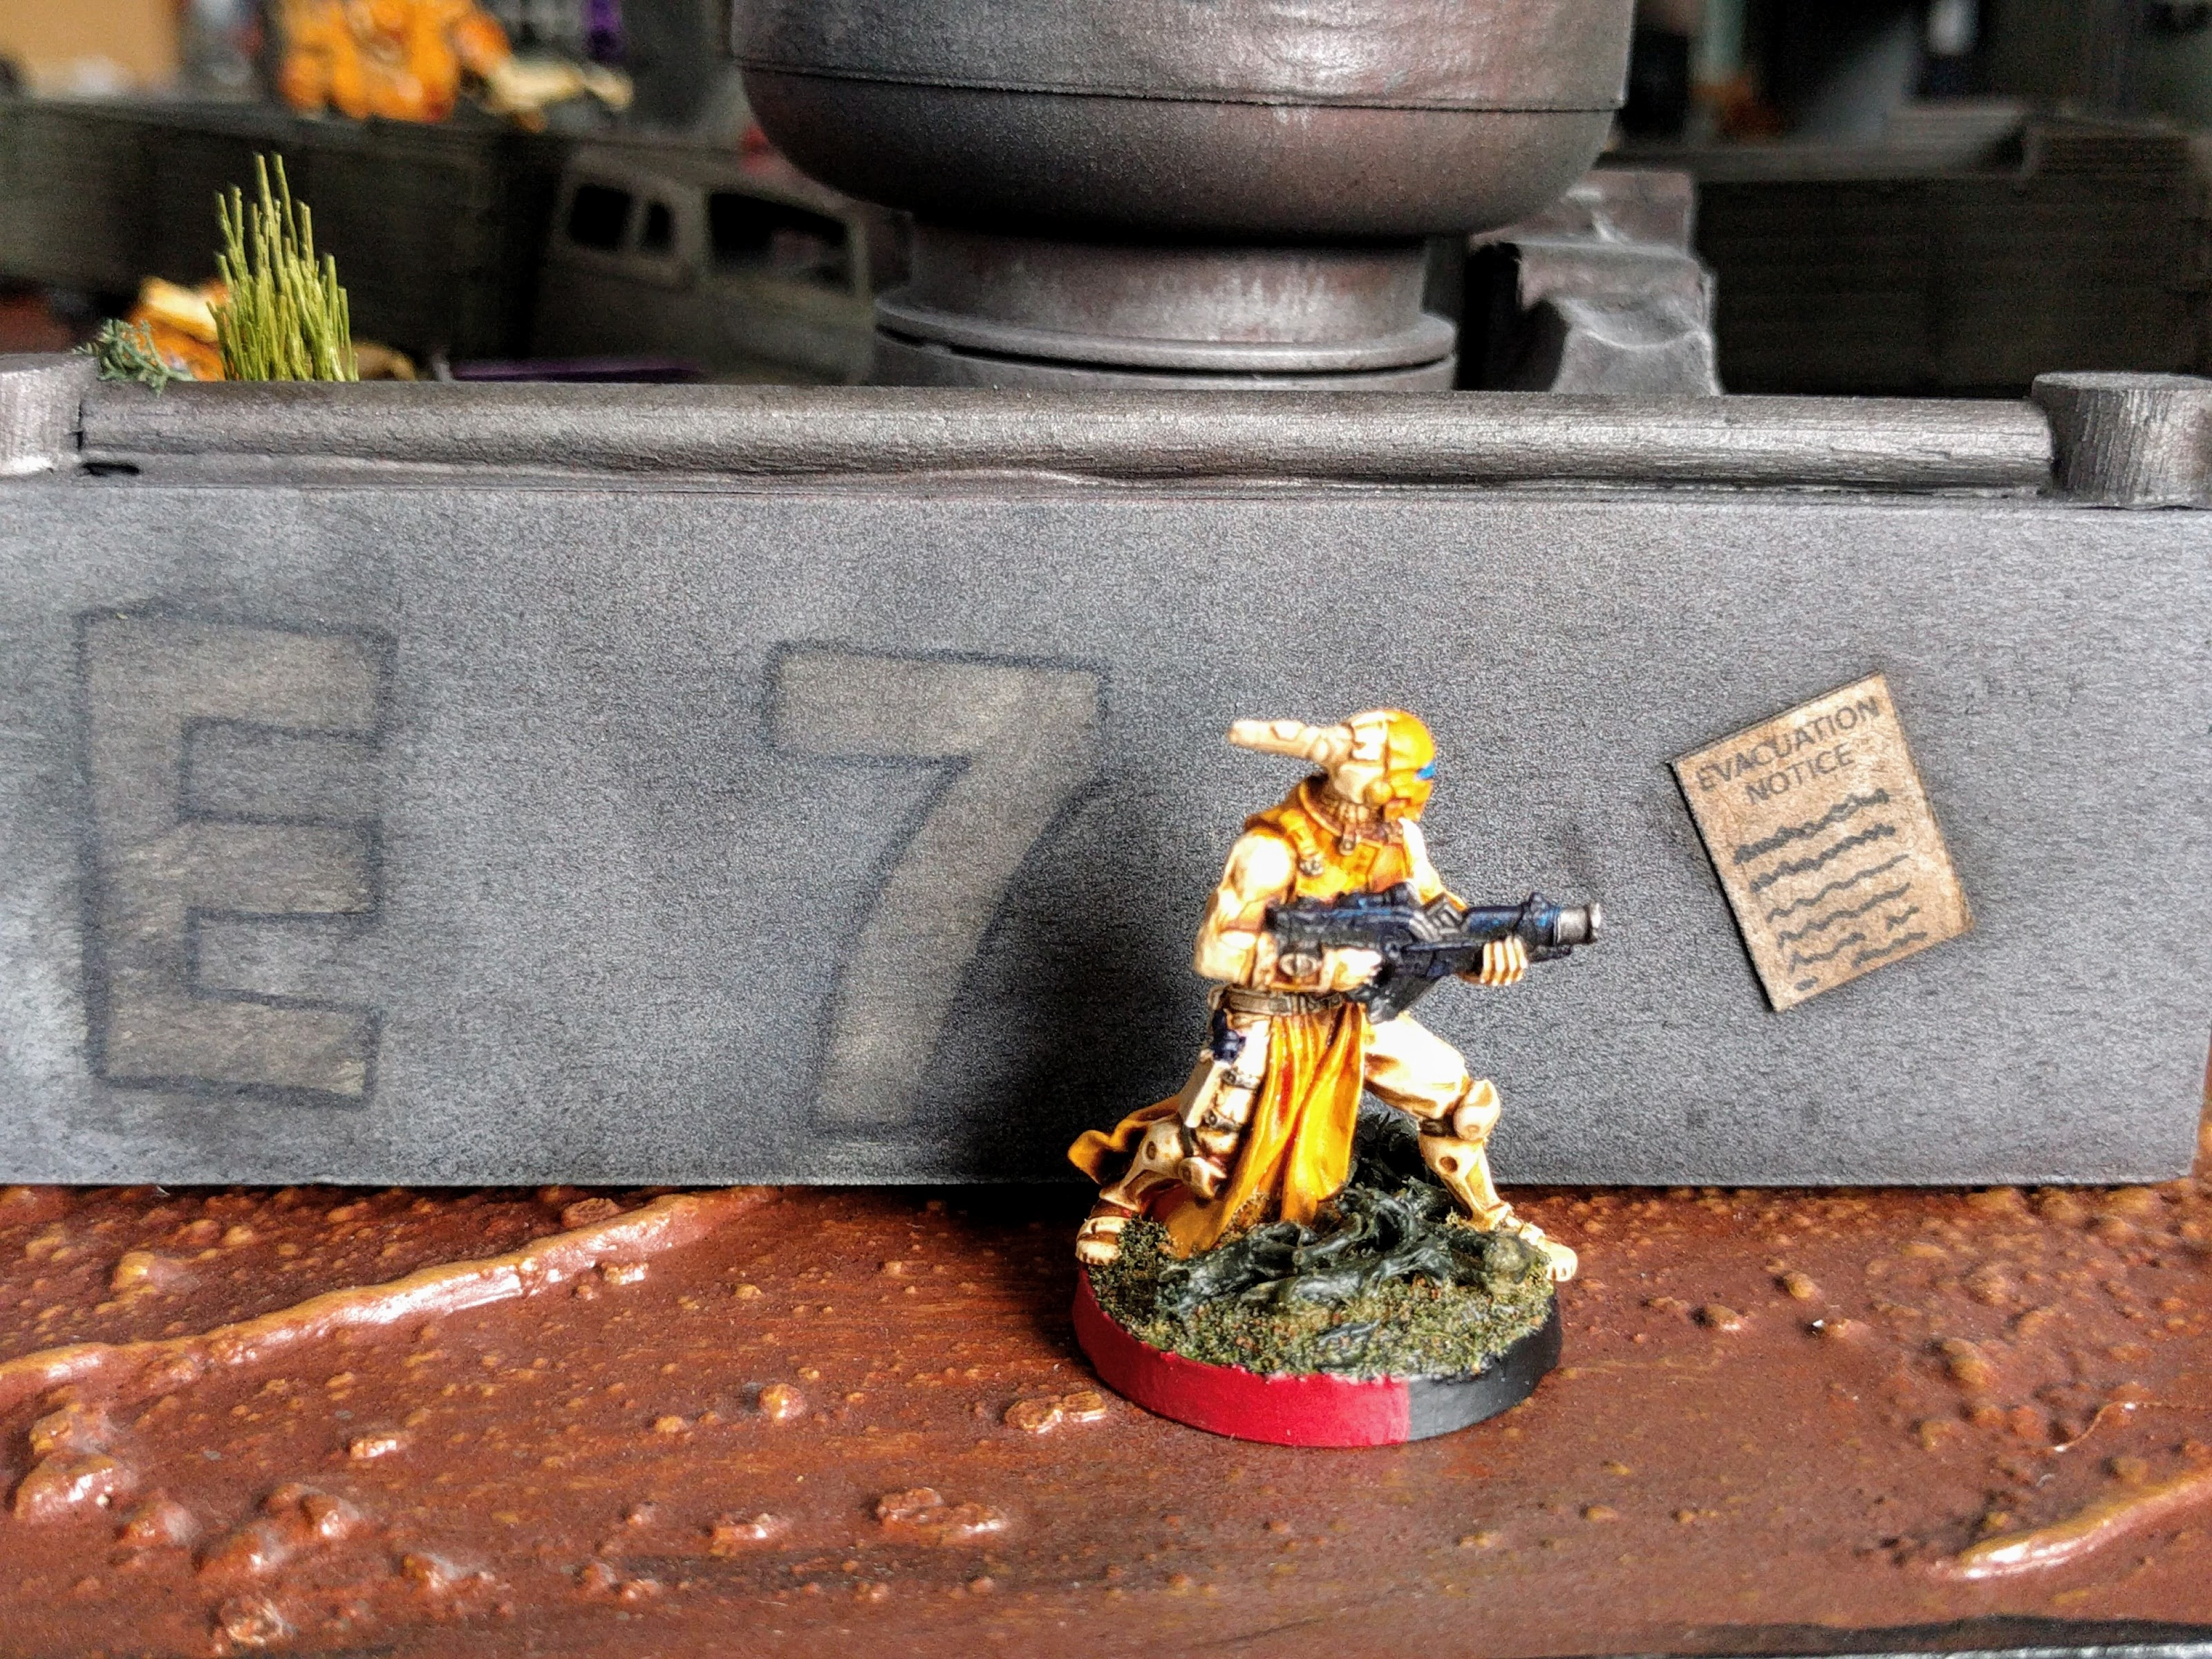
Closeup on a building.
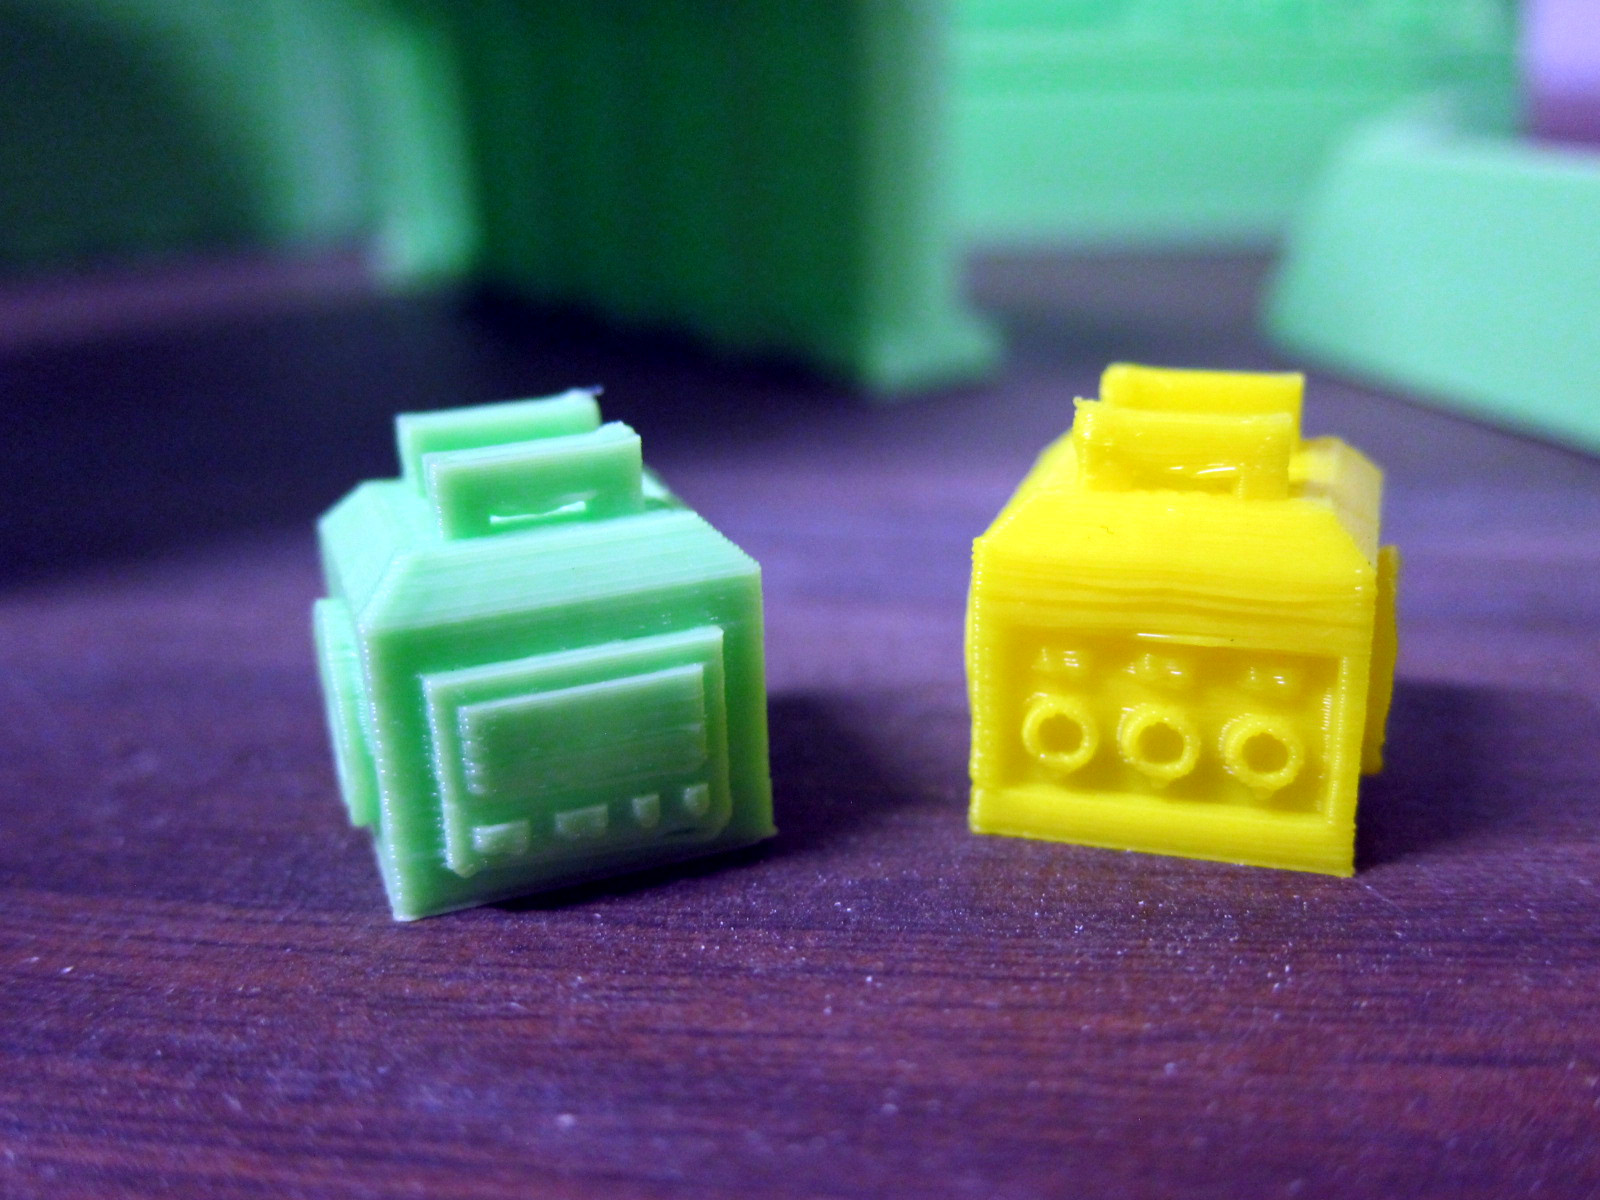
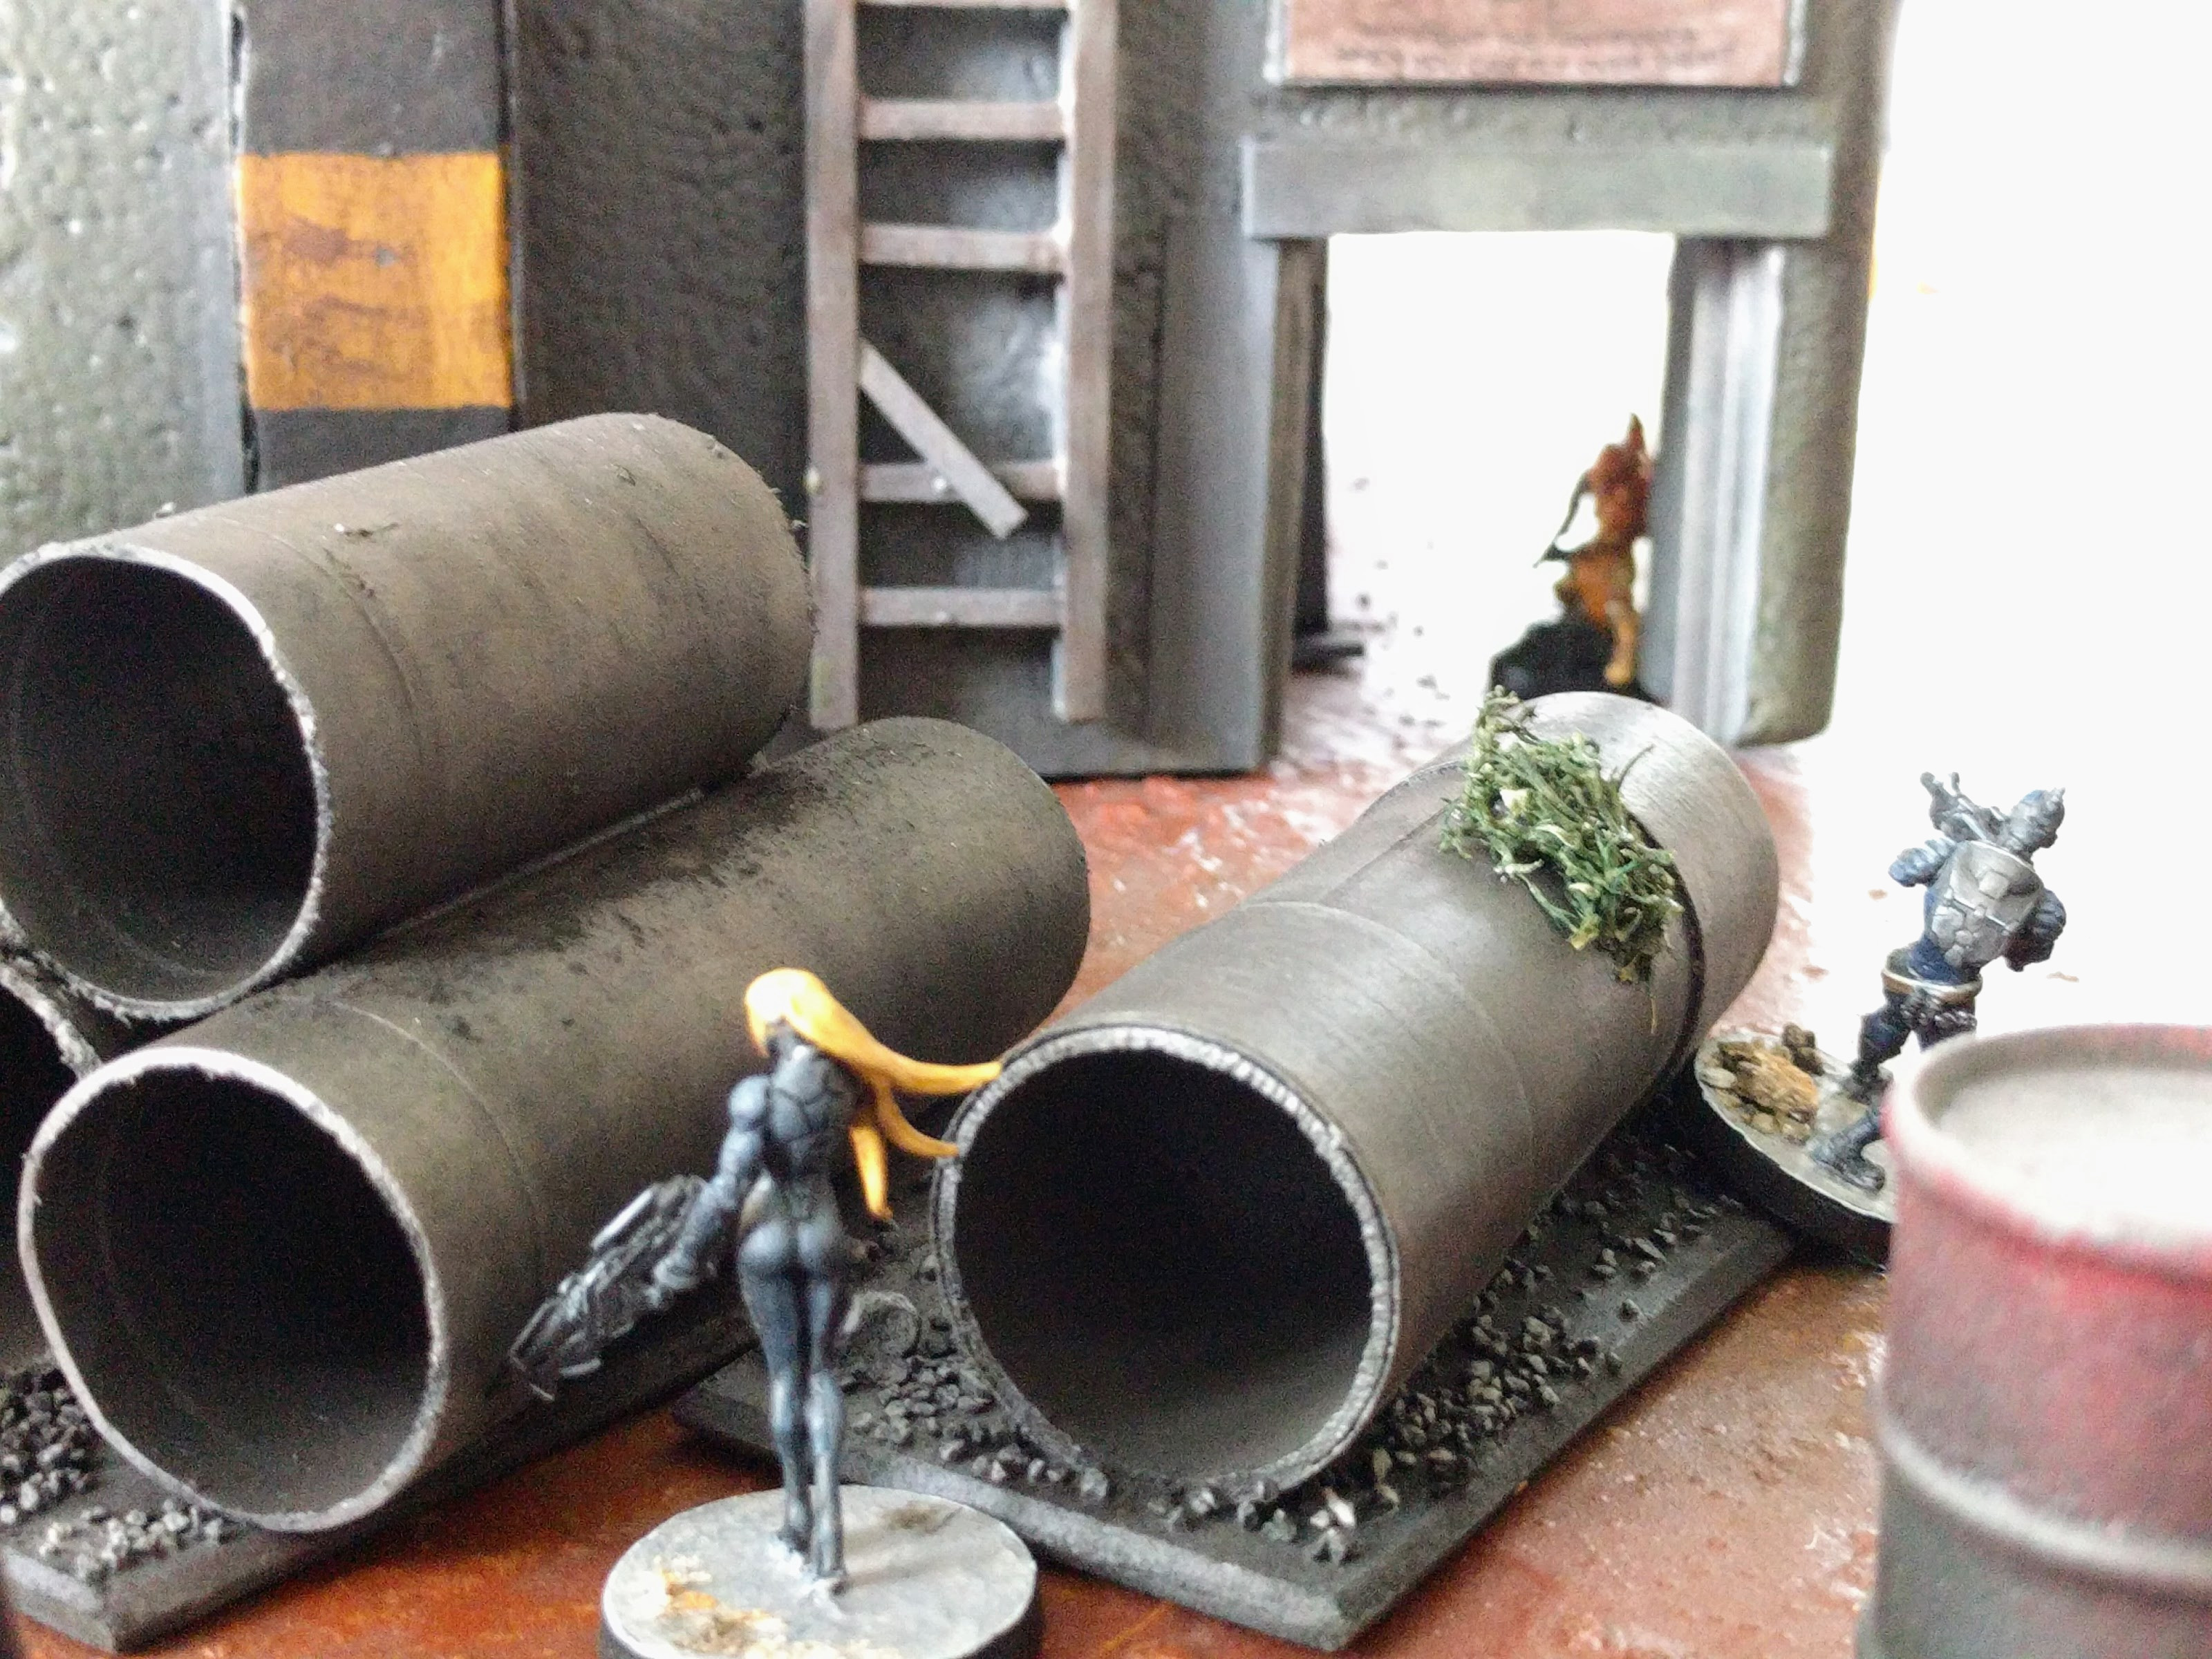
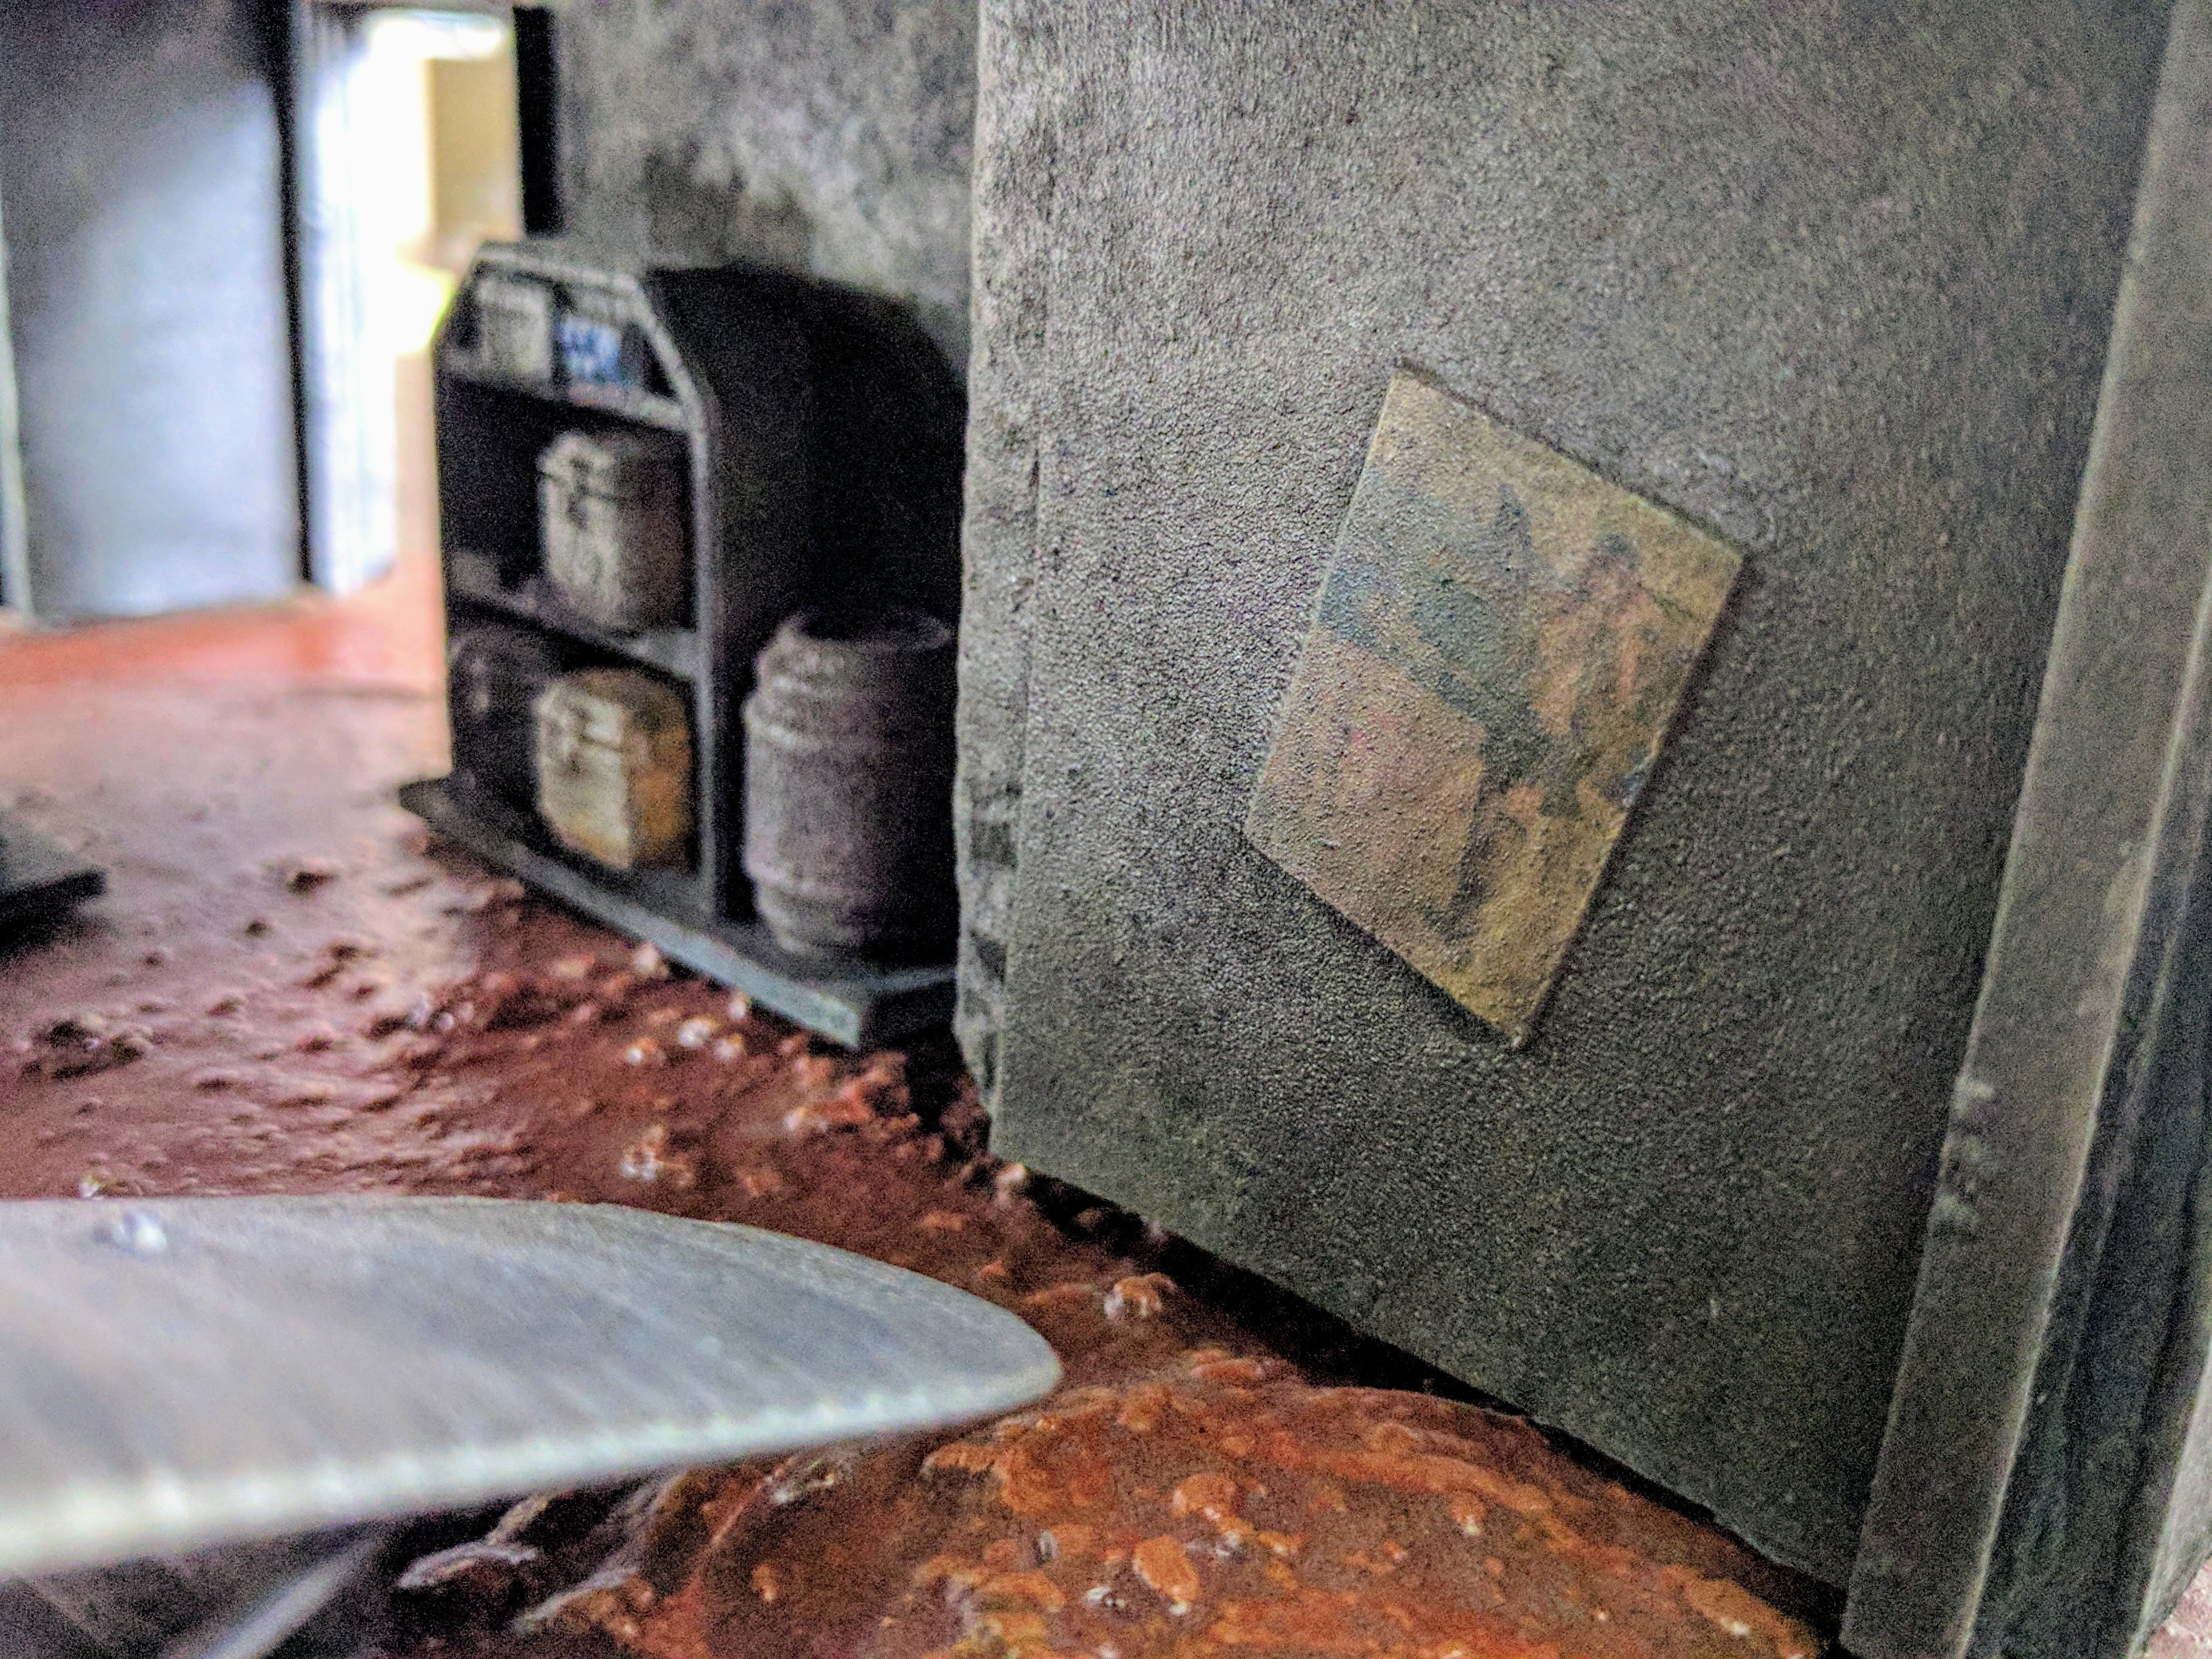
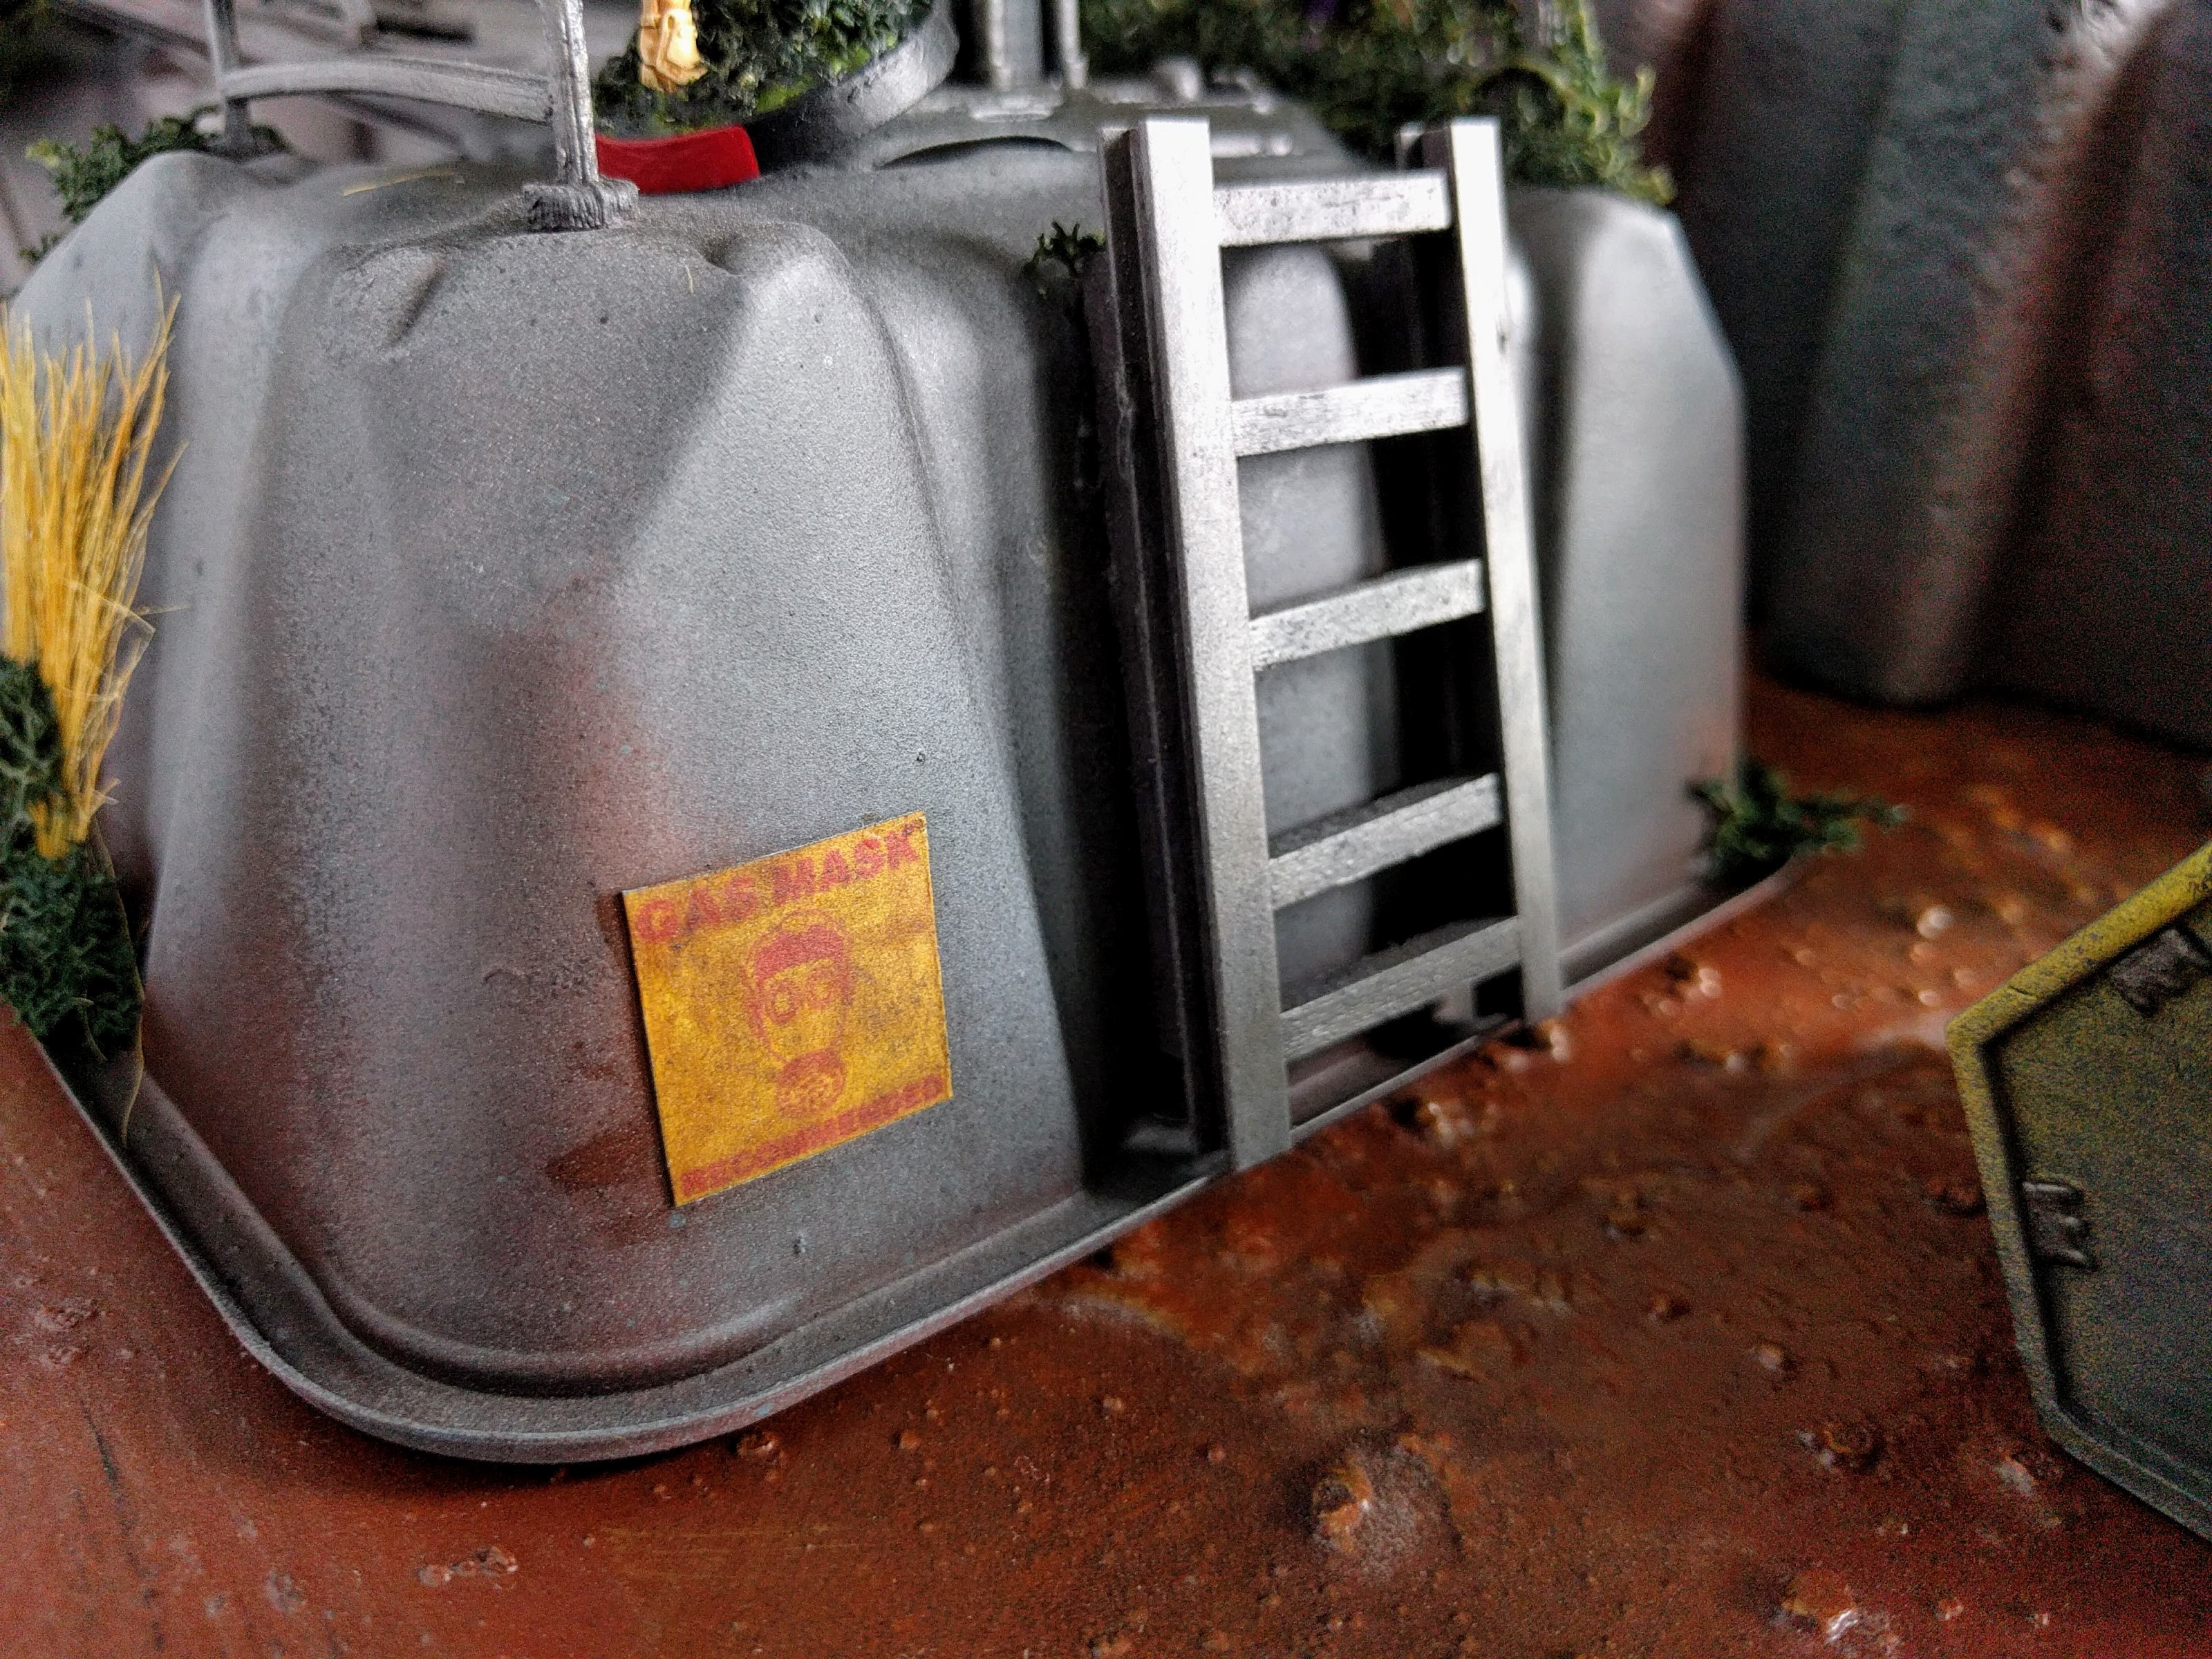
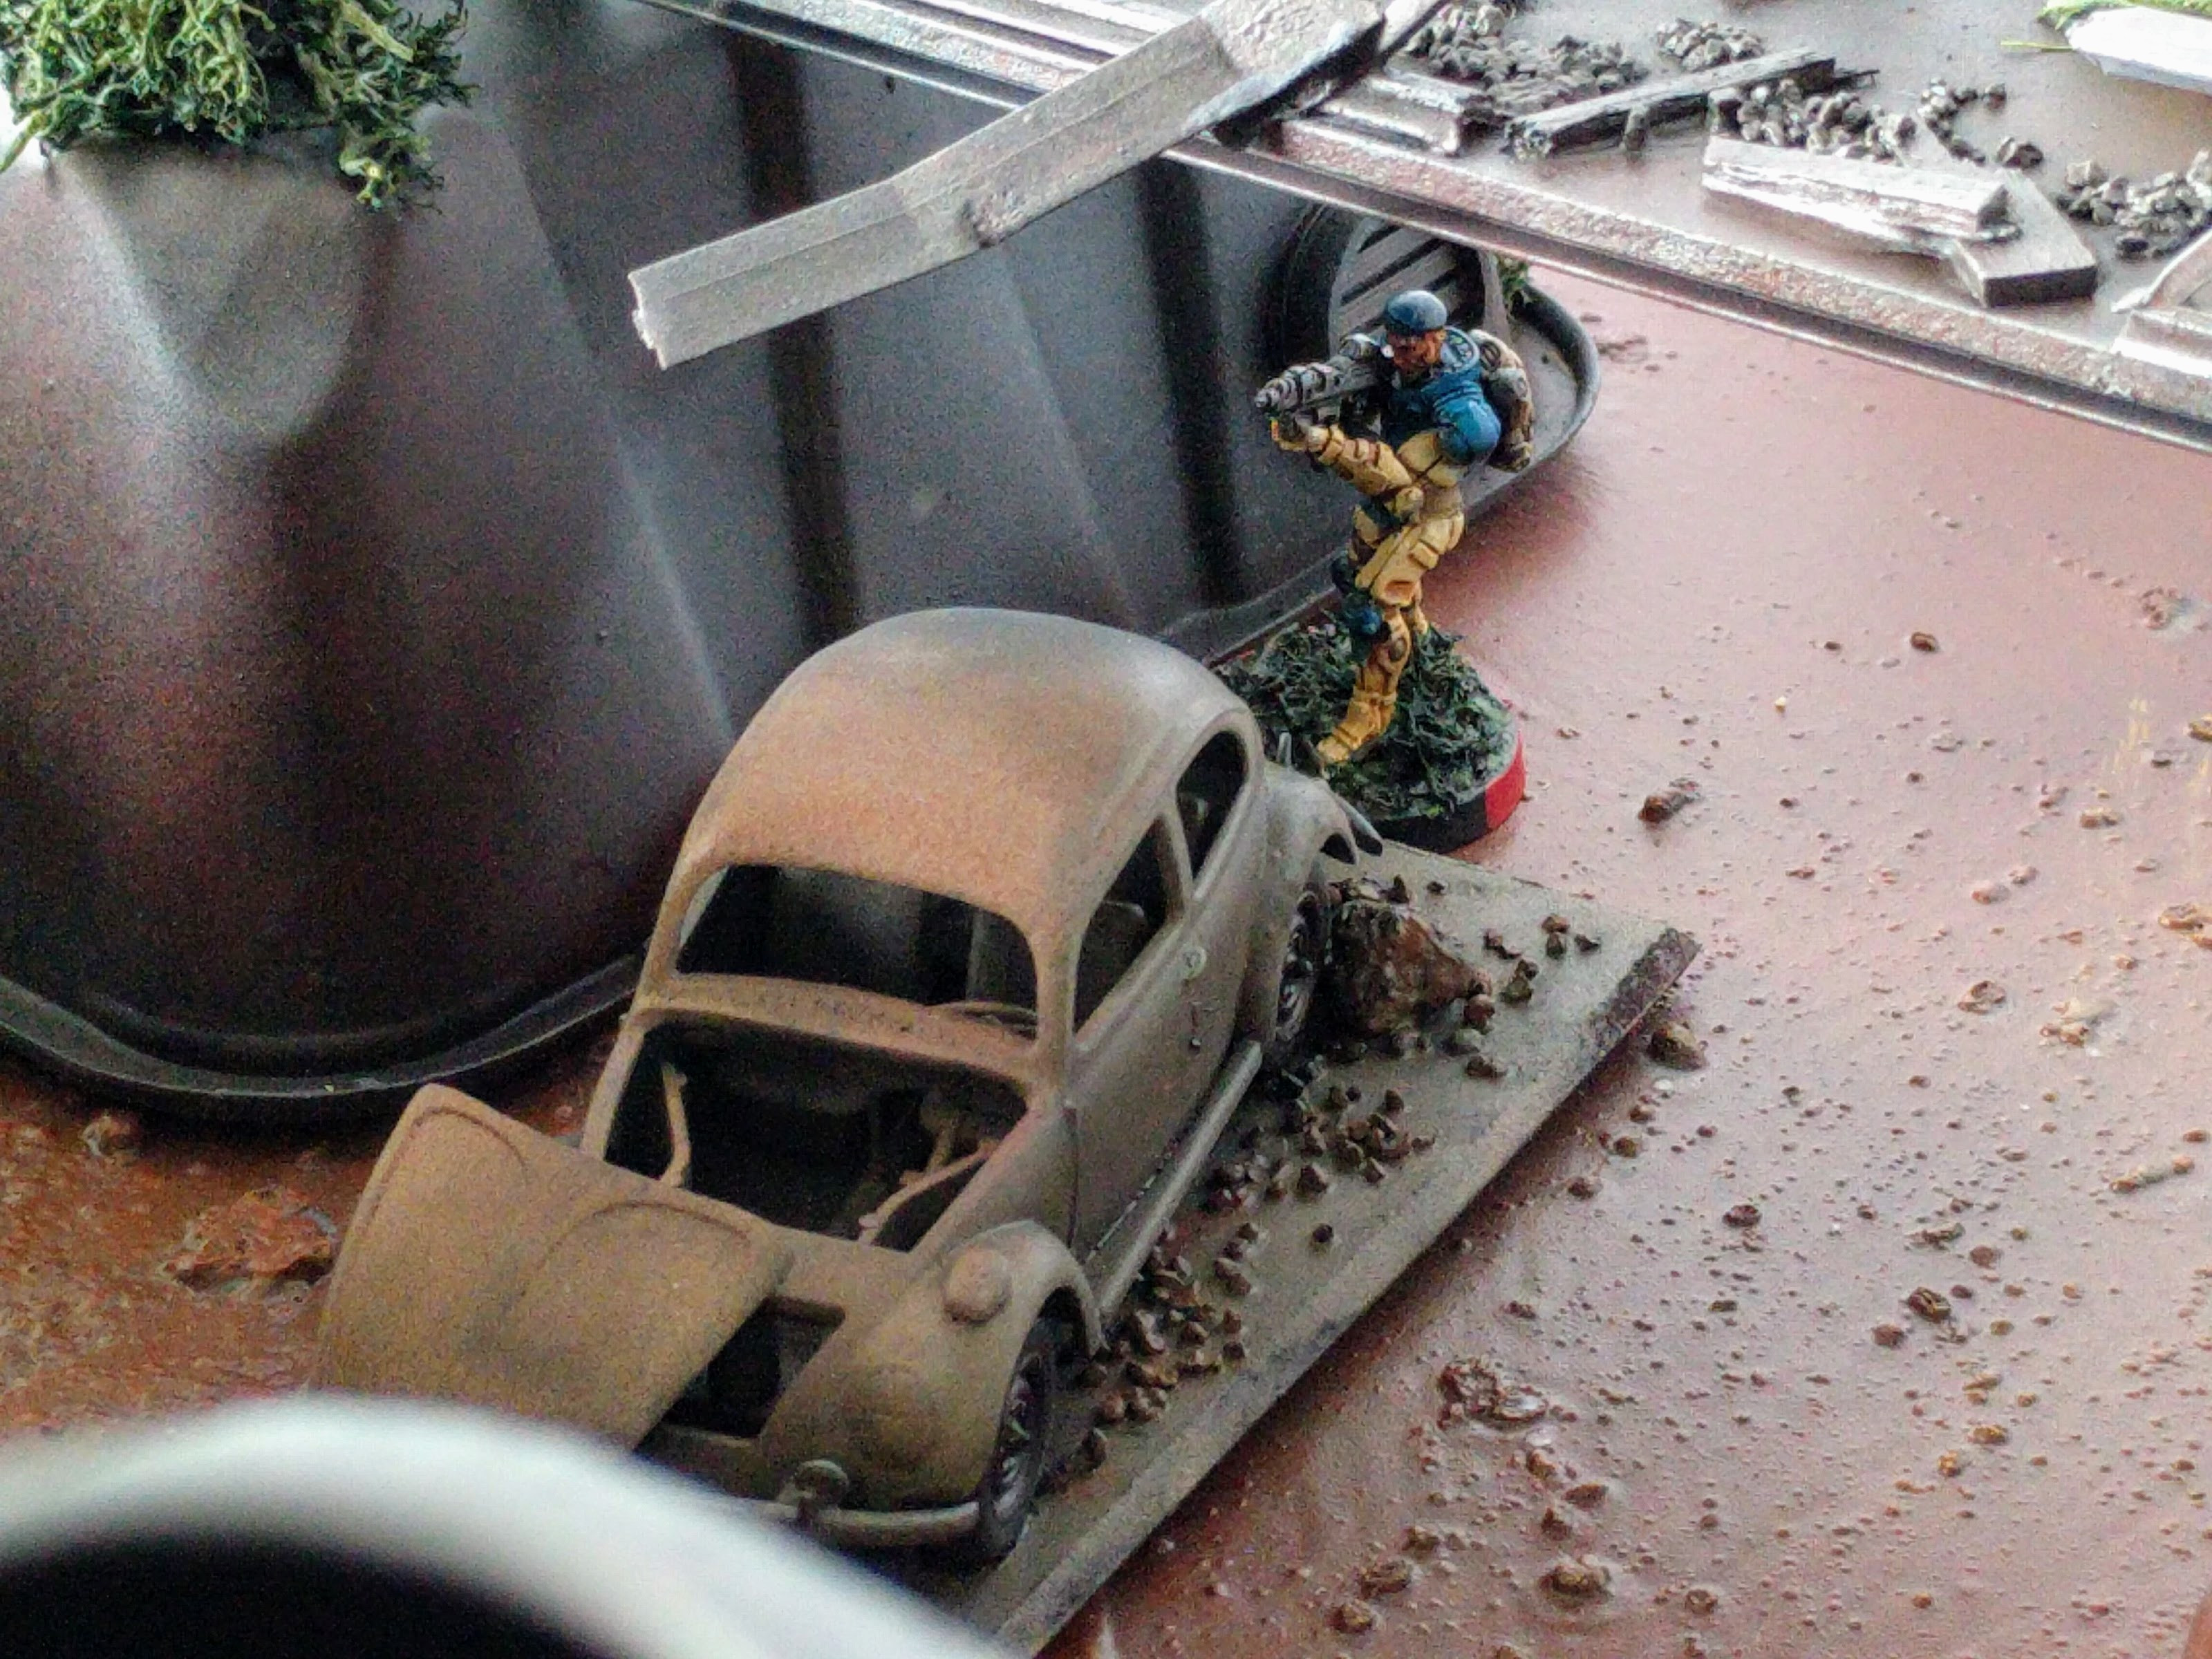
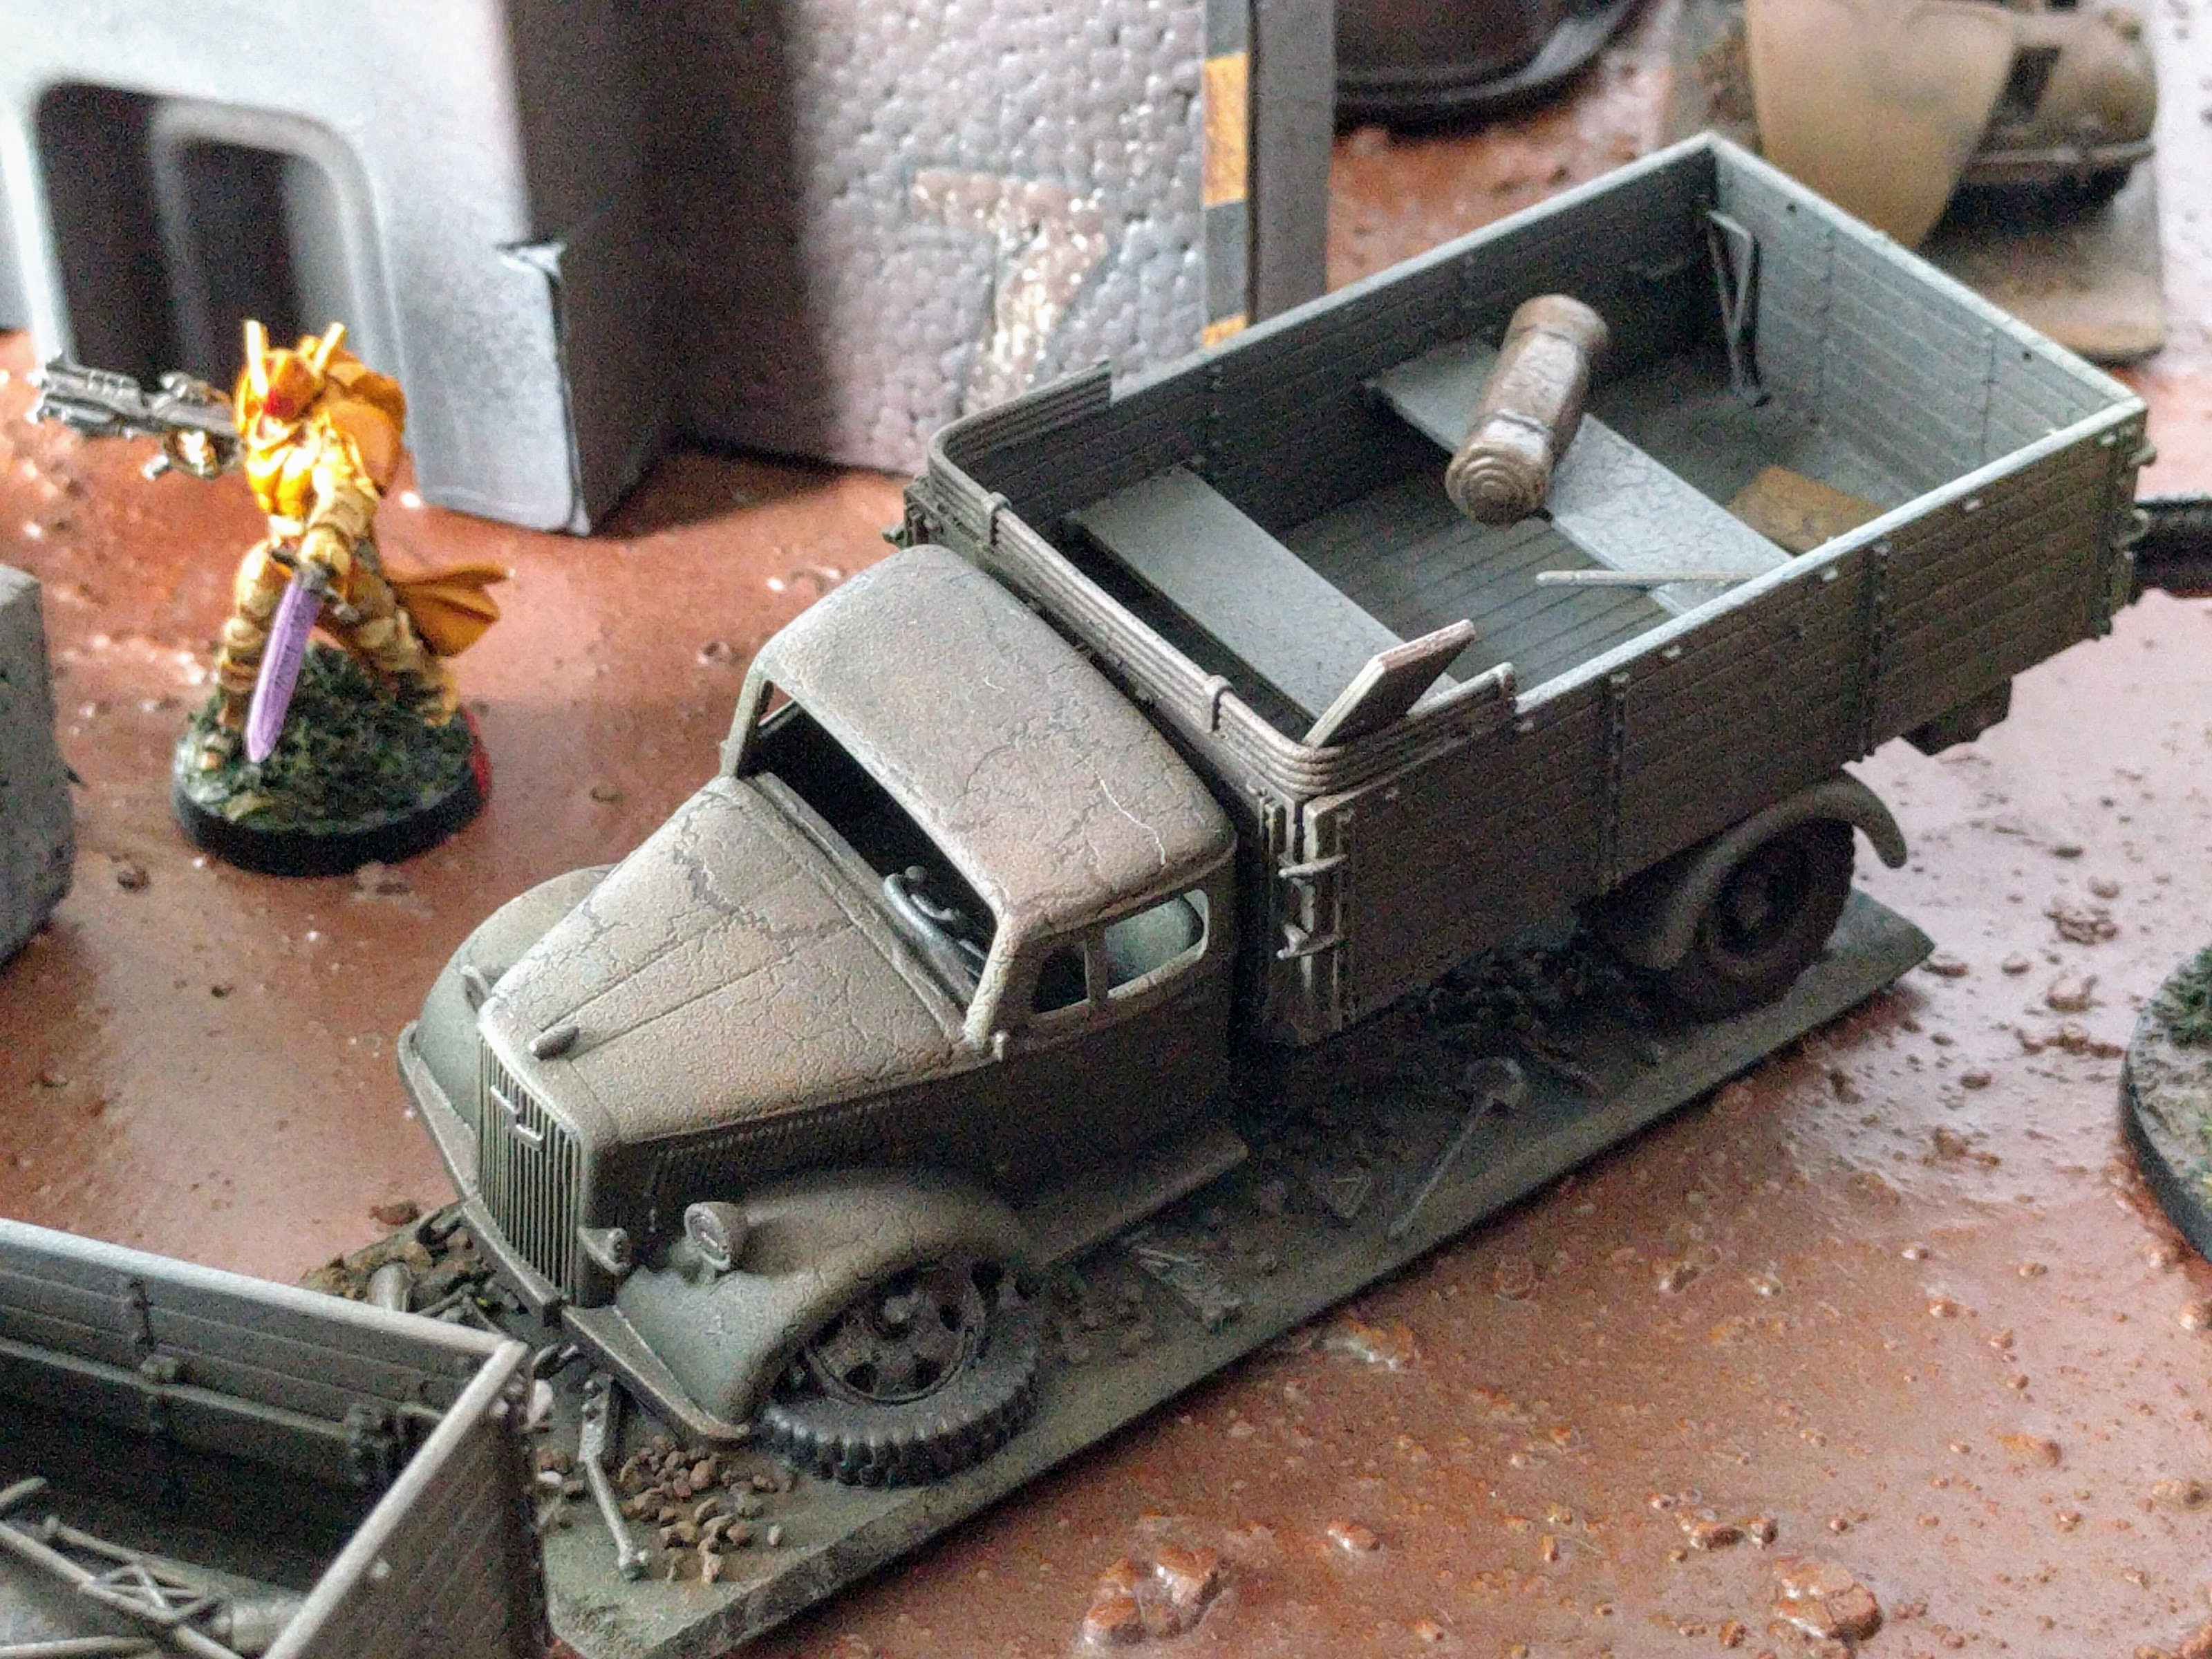
Fine details on small scatter terrain pieces.
With some tuning of settings I’m sure the quality can get even better, and no doubt some will be required for more challenging designs featuring tough retractions and bridging. Physical modifications of varying expense and difficulty to improve the printer can also be made and are extensively discussed online. An easy one for which I’ve already ordered parts is adding a brace to the gantry to further reduce unwanted motions. Thicker print plate chassis are also available and seem simple to install, reducing bed warping and making leveling easier and less frequently required. However, I think this printer is more than suitable for miniatures terrain out of the box.
Filament
WanHao’s i3+ uses 1.75mm filament, probably the most common size these days. Unlike some other popular entry level printers it isn’t restricted to proprietary spools, a huge boon for better availability and lower costs. Just as with the printer itself, it’s nice to know that in a pinch I can run to any of several nearby stores and grab more filament. A kilogram of PLA, almost certainly the most commonly used filament type for miniatures terrain, runs about $15 to $23 for typical quality without any shopping around for a better price and is enough to print quite a pile of models.
Cost and Longevity
From a filament price we can do some rough calculations on the cost efficiency and longevity of the printer. Obviously the value of a 3D printer can be hard to quantify. If you do custom design work it could be invaluable in expanding your capabilities. Just being able to acquire and build niche models is similarly hard to put numbers on. But we can do some basic calculations as a value floor. In particular, presumably one of the tradeoffs of a low cost printer is some reduction in expected lifetime. As a baseline, how long does this low cost printer have to last to make sense under the minimal use case of just printing existing designs? In considering miniatures terrain of the styles in which I am most interested (i.e., buildings, not interior tiles), we can put some numbers to that through comparison to buying MDF terrain.
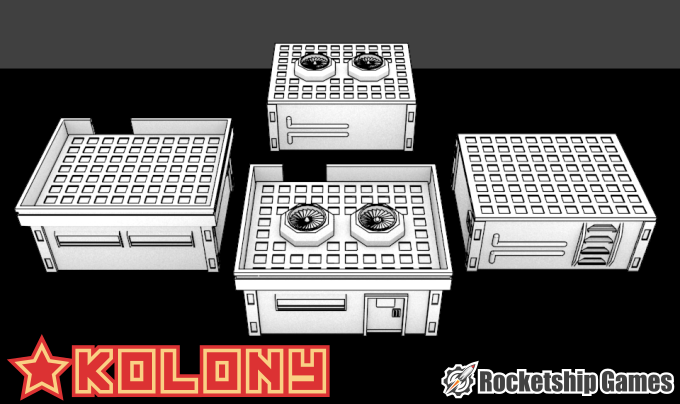
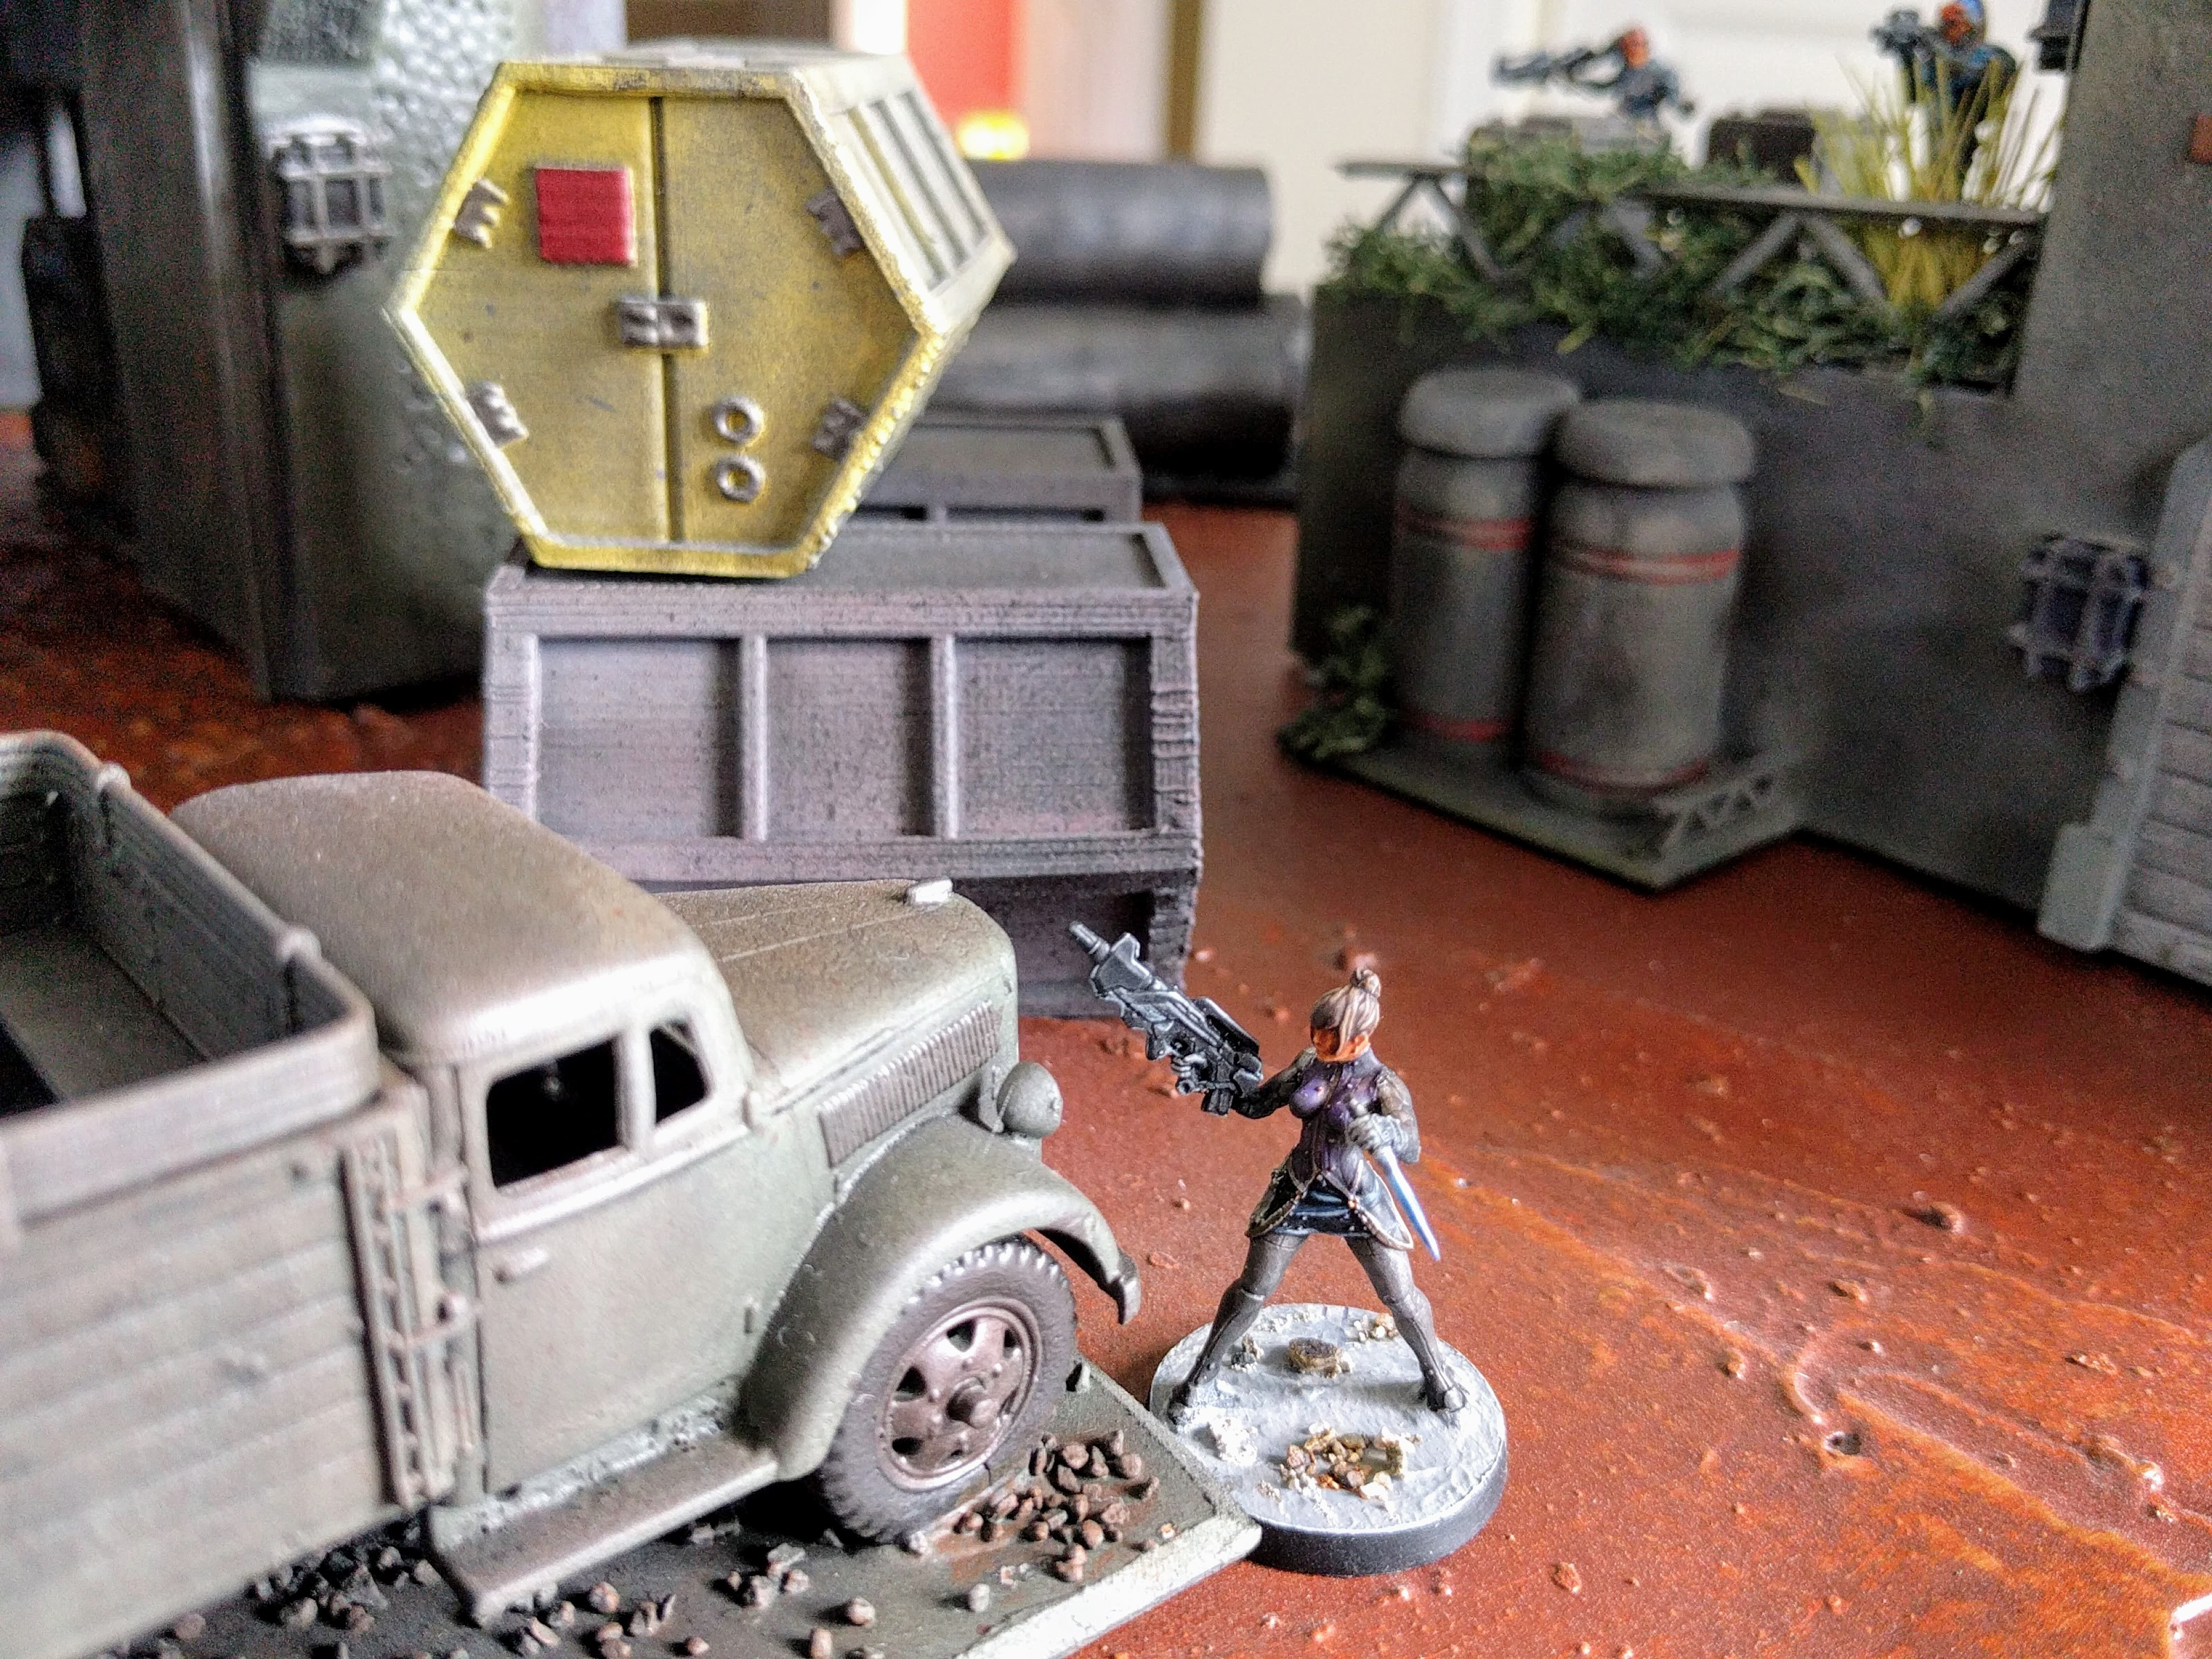
Kolony 4×5 Habitats
A Kolony 4×5 Habitat, rendered above, is arguably a bit more detailed but fairly directly comparable to a simple MDF building commonly used for Infinity and other ~28mm games. It consumes ~120–150 grams of filament depending on whether or not it’s printed with a floor (the roof is also designed to be optional and easily made with foamcore or styrene instead to save print time, and burns about 1/3 of the filament, but is included here to fairly compare to similar MDF buildings). So a standard 1kg spool for $15 will produce 6–10 of these buildings for $1.50 to $2.25 each in direct filament costs. Electricity consumption is negligible for home use (i.e., not mass production).
Compare that to about $8–$9 for a comparably sized simple MDF small building (e.g., from Shark Mounted Lasers or Black Sheep Industries, both of which I play on often and like a lot). With the printer factored in at retail pricing, the 3D printed buildings using $15 spools become cheaper at about 50–60 small buildings [e.g.: 54*$1.5+$350=431 while 54*$8=$432]. Using $23 spools the crossover is higher, but not considerably.
So, as a very raw measure of pure economic sense, will this low cost printer produce at least 50 small buildings before additional costs are incurred, such as its semi-consumables needing replacement (like the print plate surface), or more serious repairs becoming necessary? I don’t myself know yet for sure. But I’m fairly confident it will.
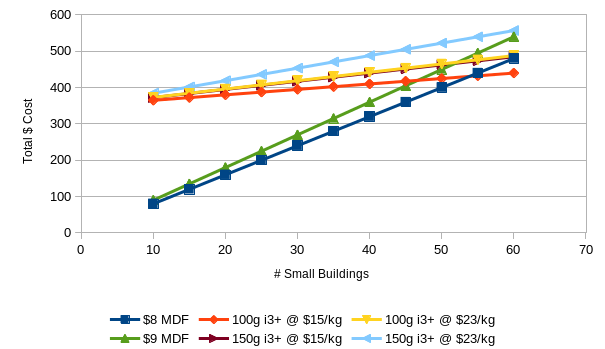
Total costs for collections of small buildings for MDF versus 3D printing.
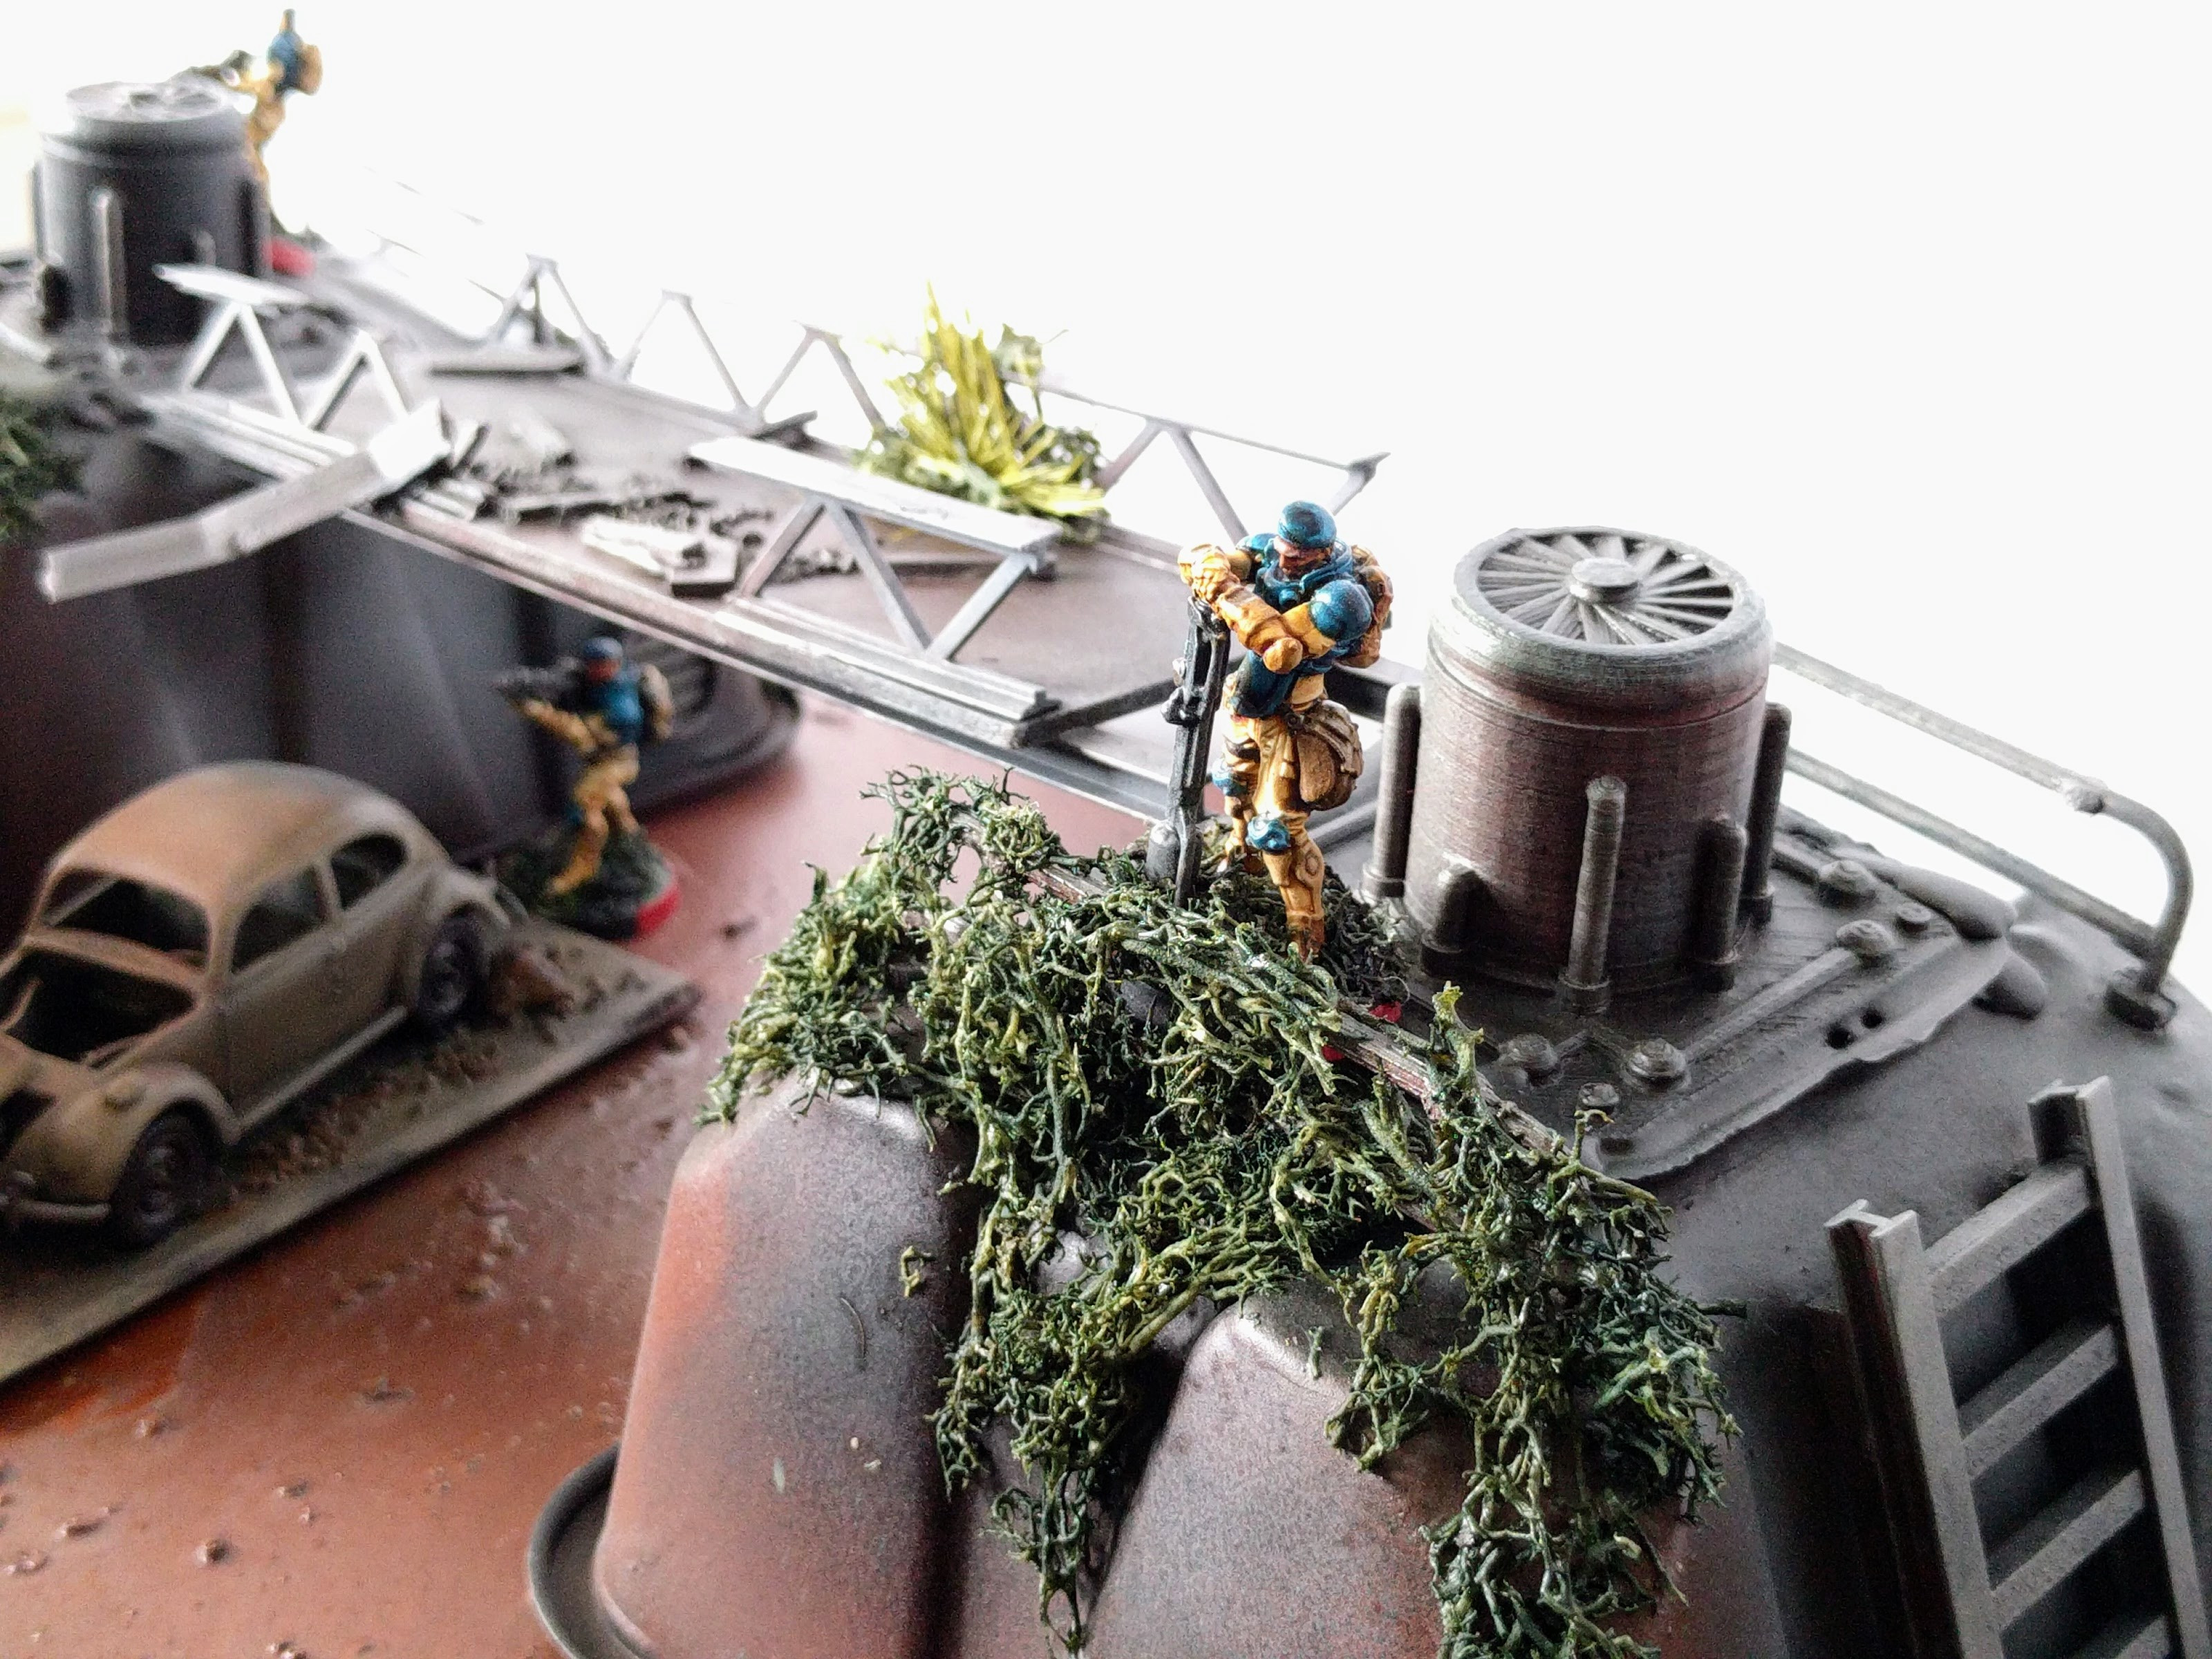
From that simple evaluation the capabilities scale very differently. 3D printing simply takes a long time and as such isn’t well suited to producing large terrain. It’s much better applied to producing small pieces to augment and detail larger constructions. On the other hand, 3D printing scales well with increasing model complexity. Even simple structures like the Kolony Outpost and Storage Shelters, the prints pictured earlier in this post, would be somewhat more complex and costly MDF models, but still only use about 100–150g/$1.50–$2.50 of filament with typical settings and take similar or less time to print. The Kolony BioDome, pictured below, also only consumes about 108g/$1.62 in filament and similar print time. But an MDF version would be very complex with numerous parts and almost certainly sold at a good bit more than $9.

Kolony BioDome (printed in HIPS on a Lulzbot Mini).
What these very rough calculations indicate is that if you’re producing a non-trivial but modest amount of terrain (a couple tables’ worth, figuring a typical generic layout is equivalent to ~15 small buildings in the analysis here), then there’s some reason to believe that this low cost printer will last long enough to make basic economic sense: Provided it does last that long, it’ll be similar or better in terms of pure dollar outlay relative to prices for reasonably comparable market offerings.
This isn’t to say 3D printing terrain like this makes sense for everybody. Maybe the finish quality isn’t acceptable, you feel it simply takes too long to print, or printers are just too much hassle to work with and maintain—these are all reasonable viewpoints to hold! Further, maybe you simply don’t envision printing enough to make it worthwhile. Alternatively, maybe printing is extremely valuable to you because you love a niche game for which models are really only available through 3D printing, or you have grand plans for crafting many boards full of bespoke, personalized terrain. I’m just arguing that under some plausible assumptions, parameters, and requirements (such as acceptable quality level), the per-piece cost using this printer is reasonable.
Newcomers
For people coming to 3D printing new, the WanHao i3+ seems a very reasonable option for those willing to put just a little effort into researching, thinking about, and using the printer. It’s affordable, prints well, and is ultimately pretty straightforward. My only hesitations for true beginners stem from issues like the touchscreen prompts and documentation. You have to know just enough to realize those are a bit off and then either figure out or track down better information. Light searching will also yield a number of improvements that are easily made but come built into some other, more costly, products, such as better G-code boilerplate to plug into your slicer to make printing more convenient by moving the hotend entirely out of the way when done.
A more subtle example is that the printer’s design essentially has three points of contact along the Y axis: Front, back, and the gantry. If they or the underlying surface (i.e., the table or shelf) are not level, it can rock a bit. So, for example, I assembled mine on one table and then moved it to another as its current home. A very slight difference in these surfaces led to the printer rocking just a bit front-to-back on the latter. So I loosened the gantry bolts, re-settled it in place, tightened the bolts back up, and the problem was solved. Anybody could do this very easily. But you’d have to be paying just a bit of attention to notice the rocking is possible, realize it could be a problem, and be just the tiniest bit mechanically minded to resolve it. This particular issue doesn’t come up with some other common printer configurations, so it’s an example of a small potential issue that could trip up an unwary user.
All of this is to say that, despite Micro Center’s questionable shelving decisions, 3D printing and especially this printer are not as thought-free as a typical 2D inkjet printer or similar appliance. If you’re happy going into it with just a hint of a hobbying and tinkering mindset, then WanHao’s Duplicator i3 Plus is probably a great option. Otherwise it might be worth looking elsewhere.
Summary
Long story short, my early impressions of WanHao’s Duplicator i3 Plus, and specifically the PowerSpec version from Micro Center, are very good. It and its filament are affordable and easy to find. Installation and usage is fairly straightforward. The output is good enough for ~28mm miniatures terrain, my main interest, even before any significant tuning. A tremendous number of people have one of these or a closely related model, so there are many tutorials and notes online. Numerous modifications are also possible and available to improve it even further. As a low cost printer I think this is a good option, and newcomers willing to put just a bit of thought toward the process will get a lot out of it for the money. Good luck!

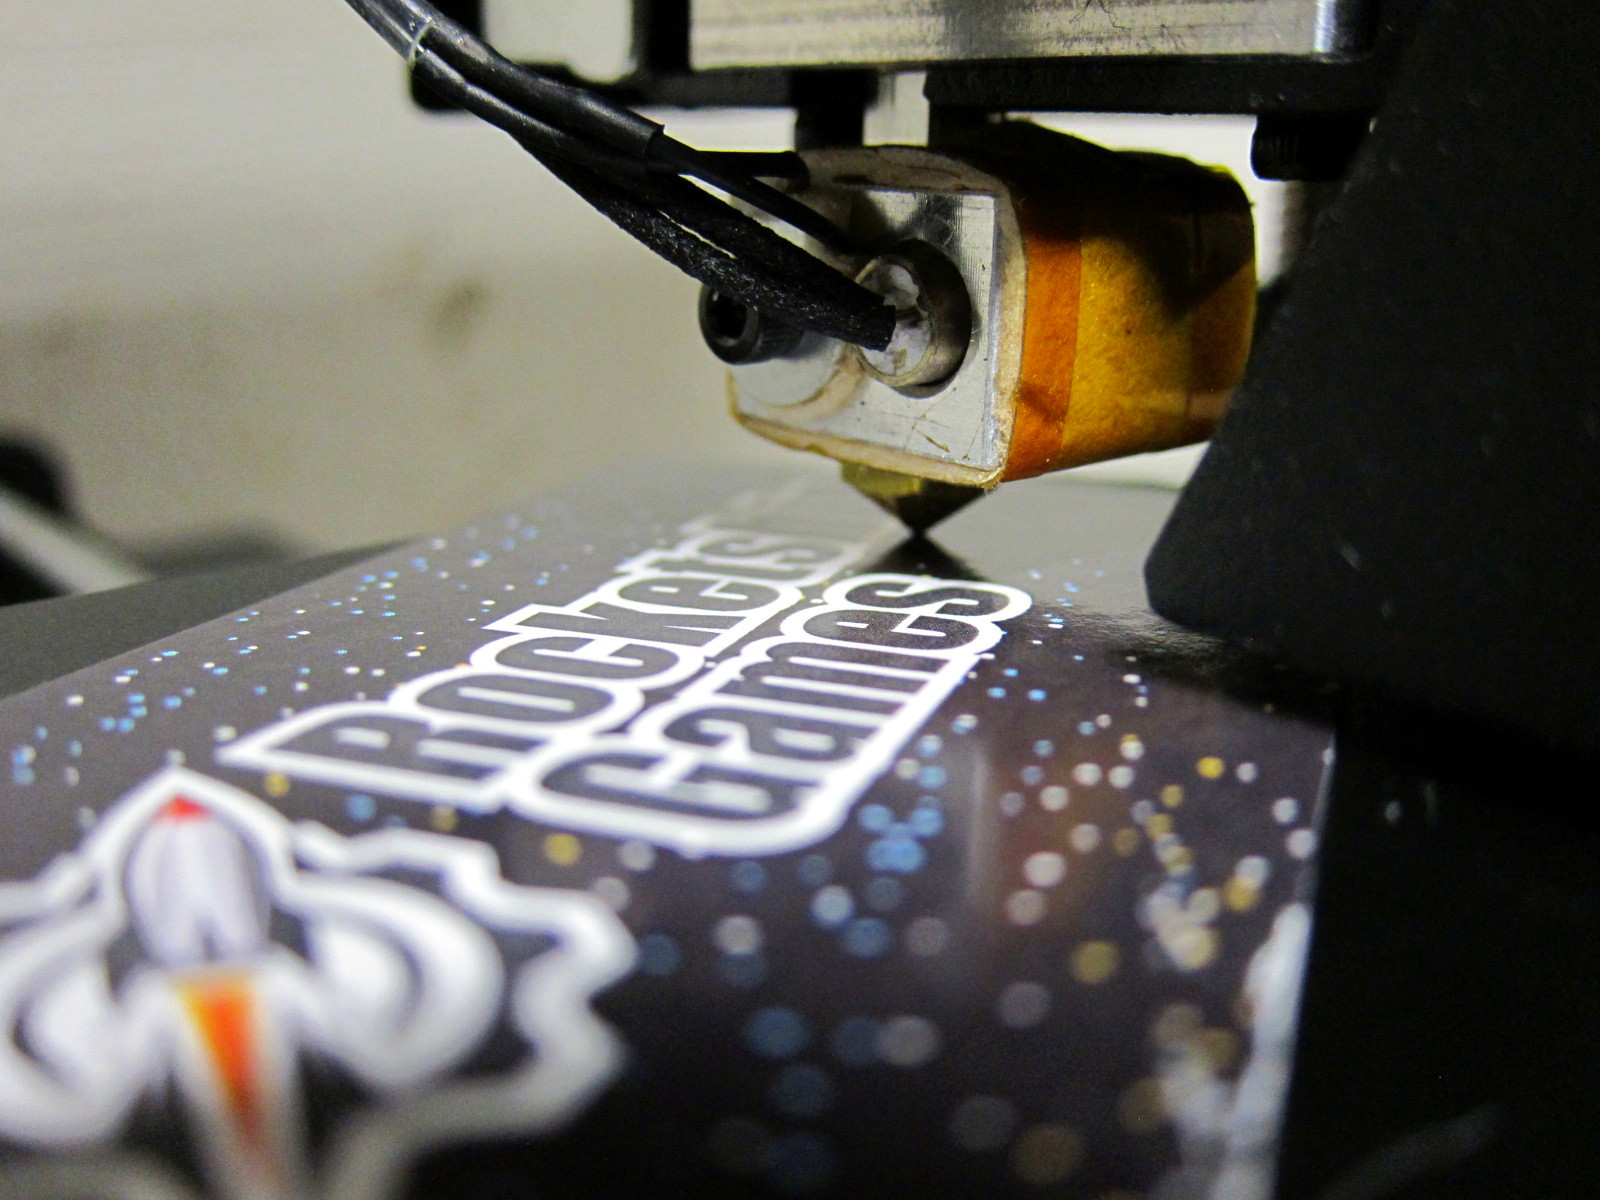
WanHao Duplicator i3 Plus, hard at work!