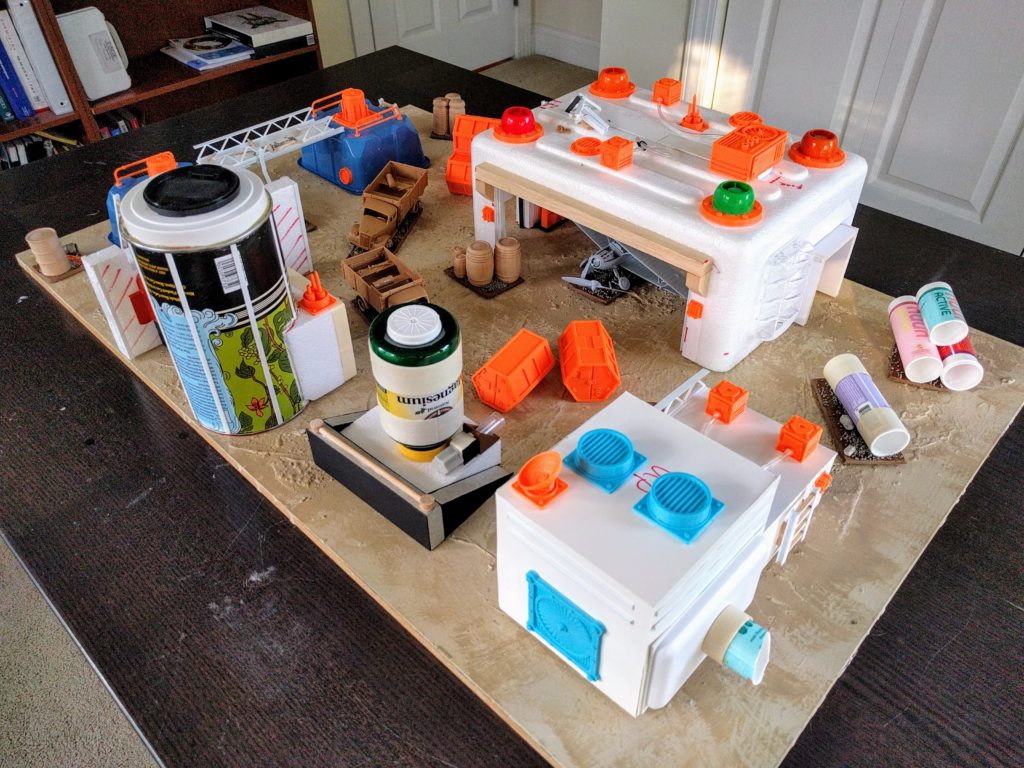
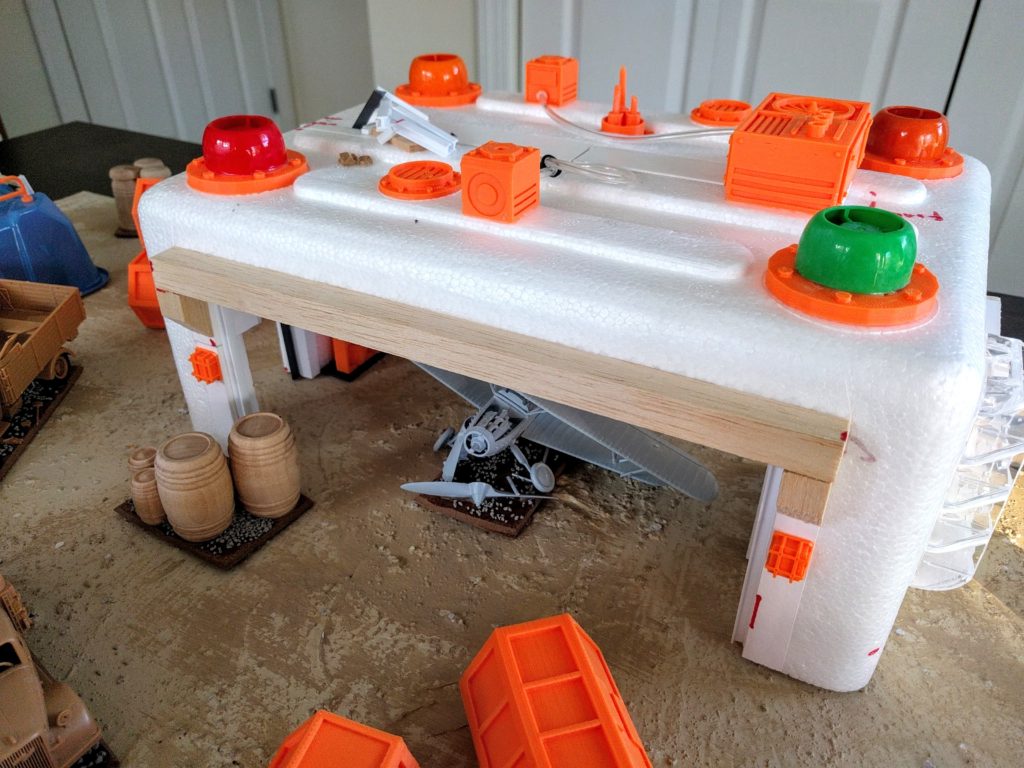
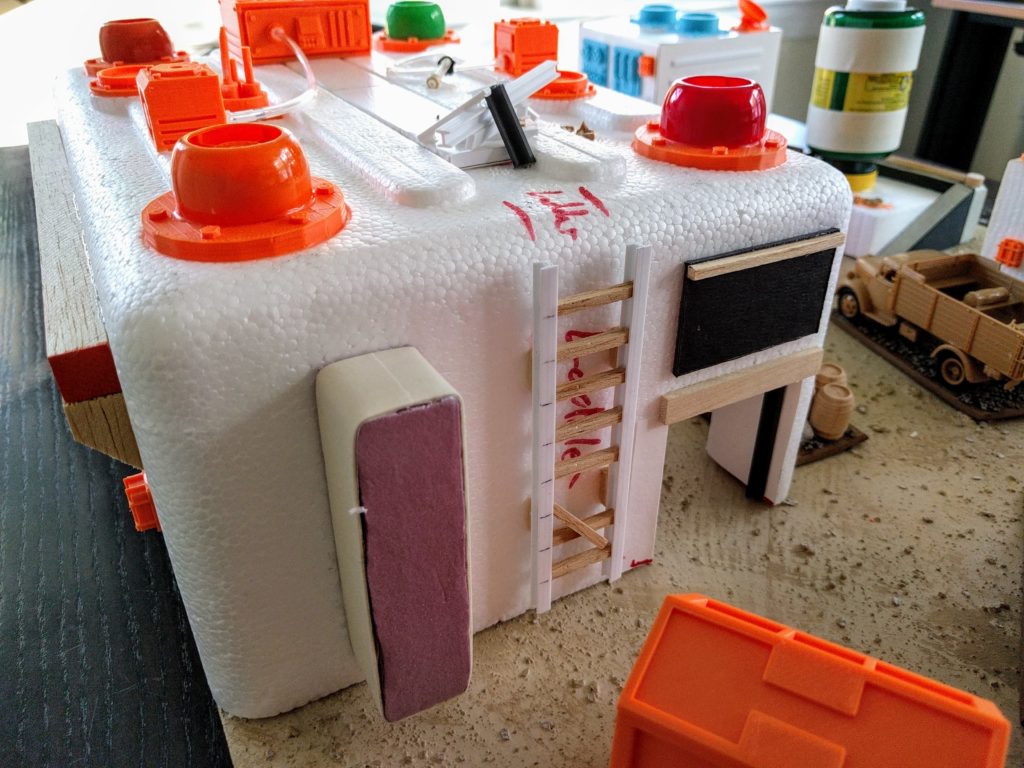
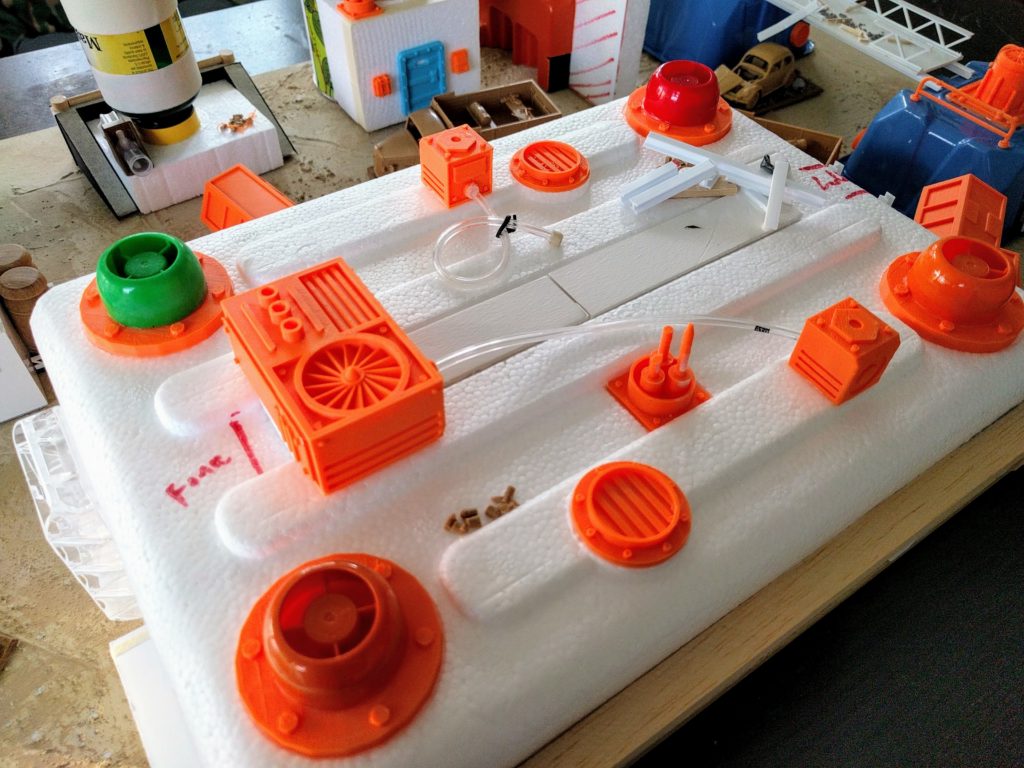
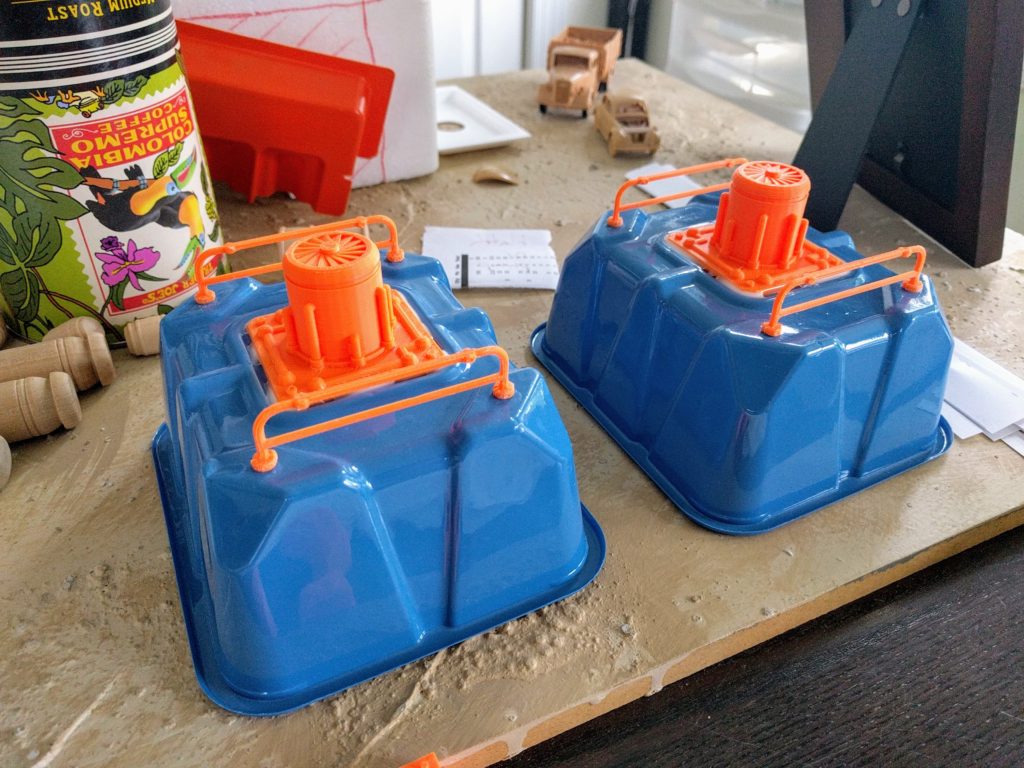
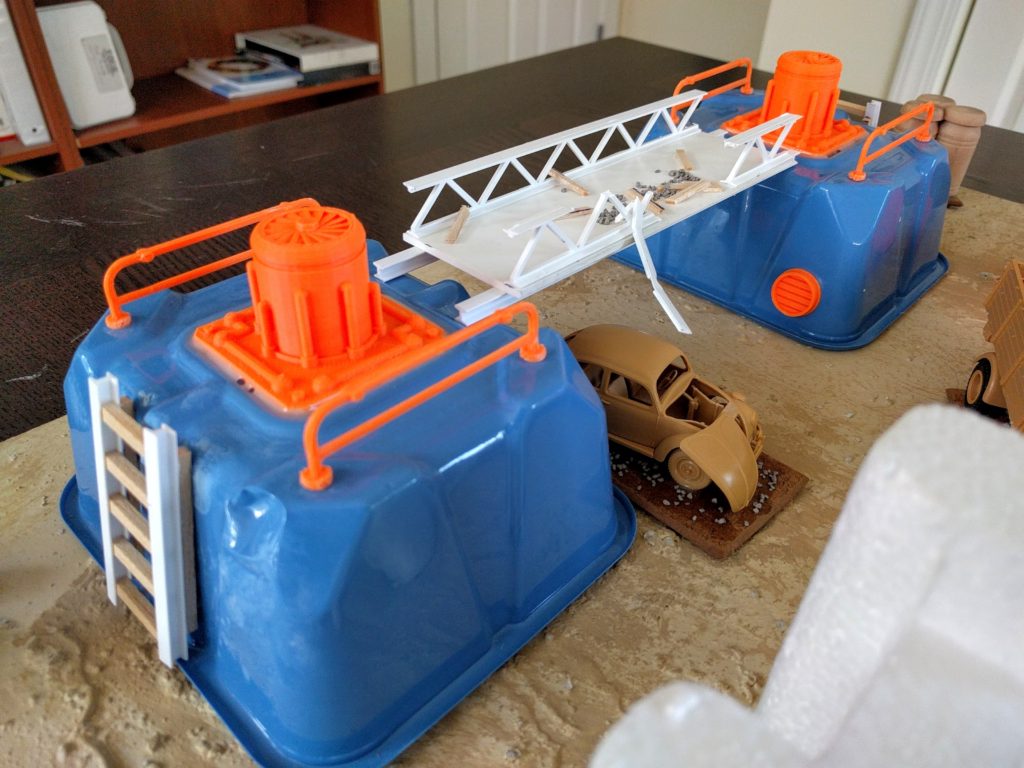
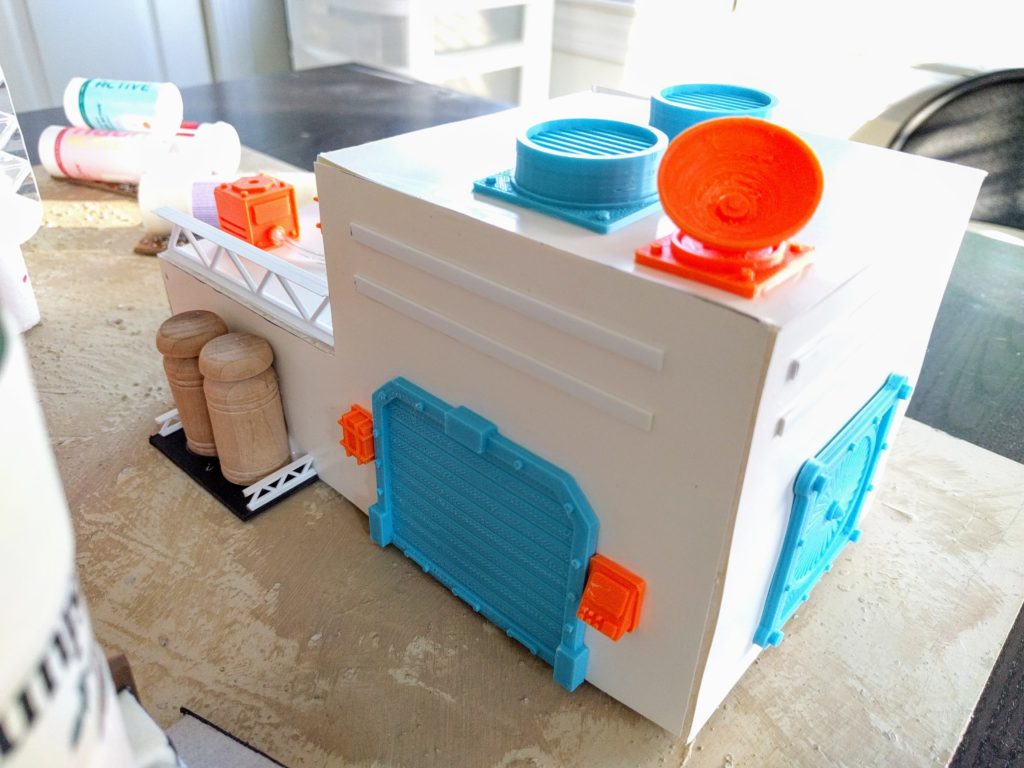
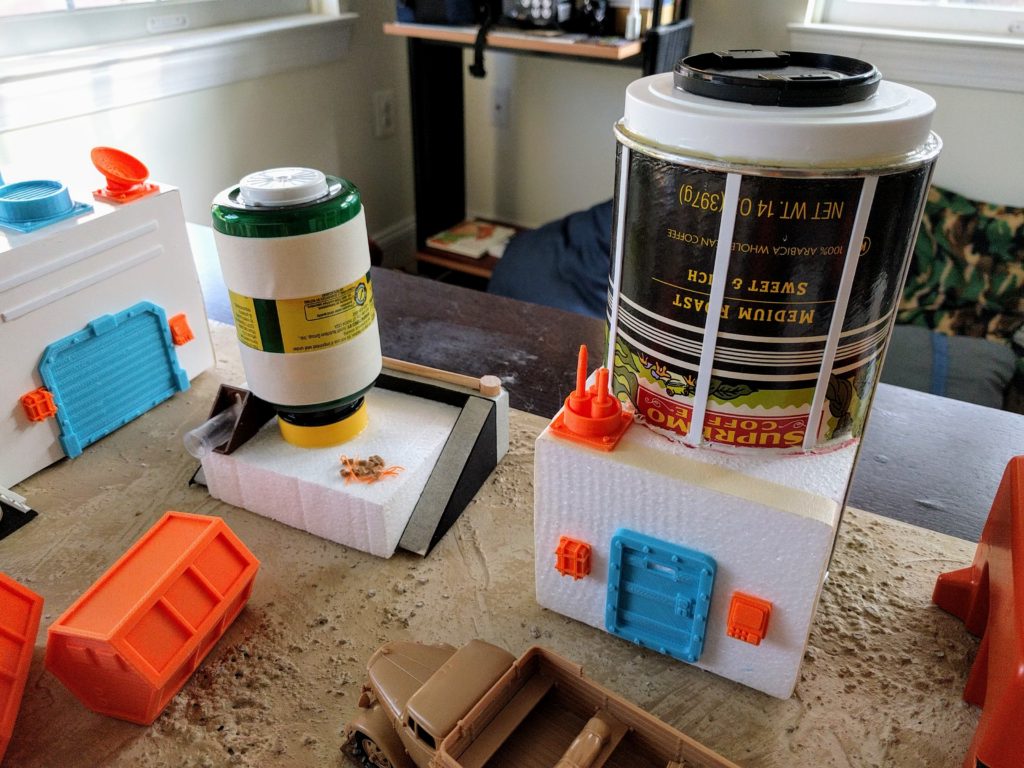
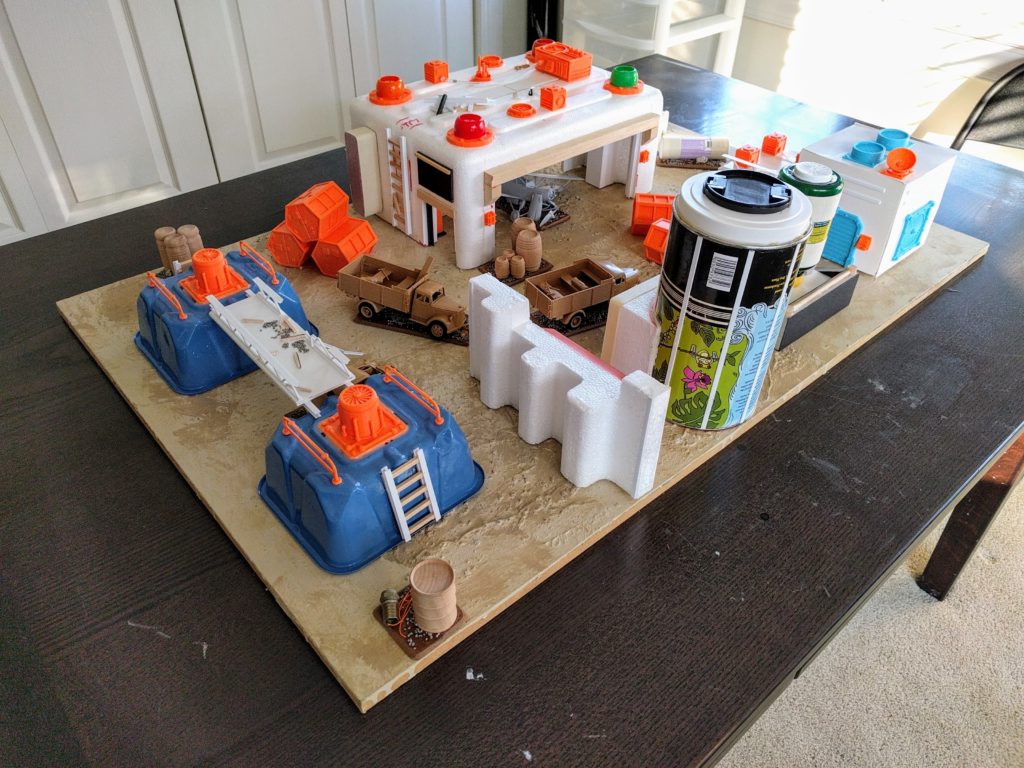
A few weekends ago I got to painting my Derelict Depot, a mix of scratchbuilding, model kits, and 3D printing as described in the construction walkthrough:

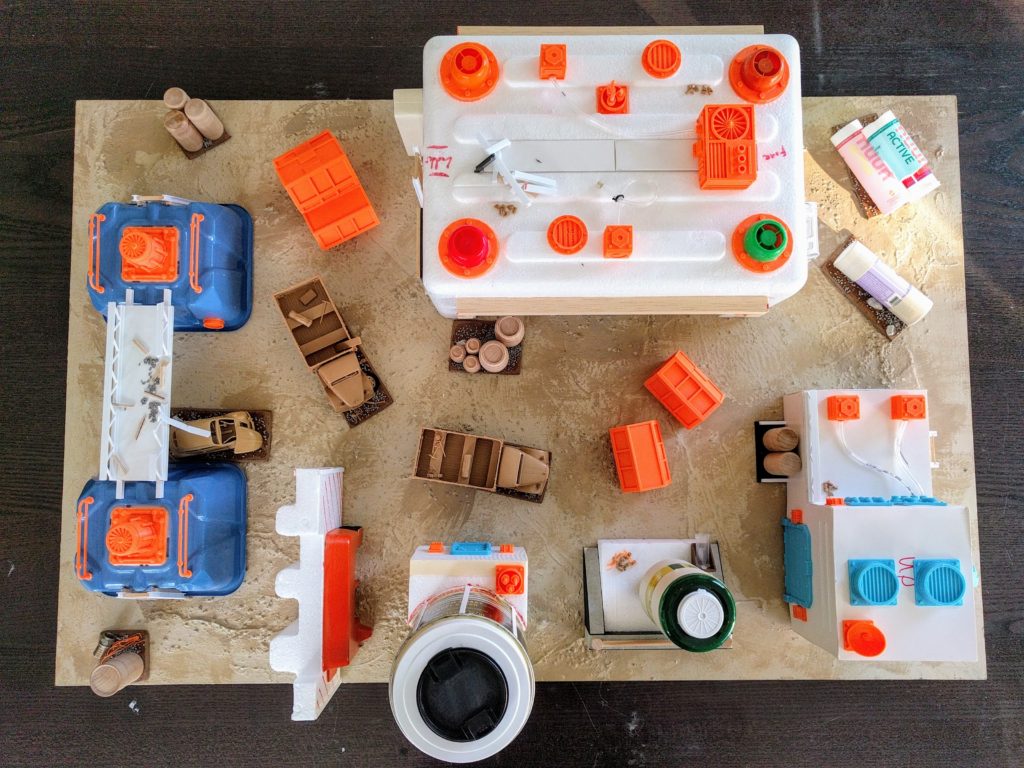
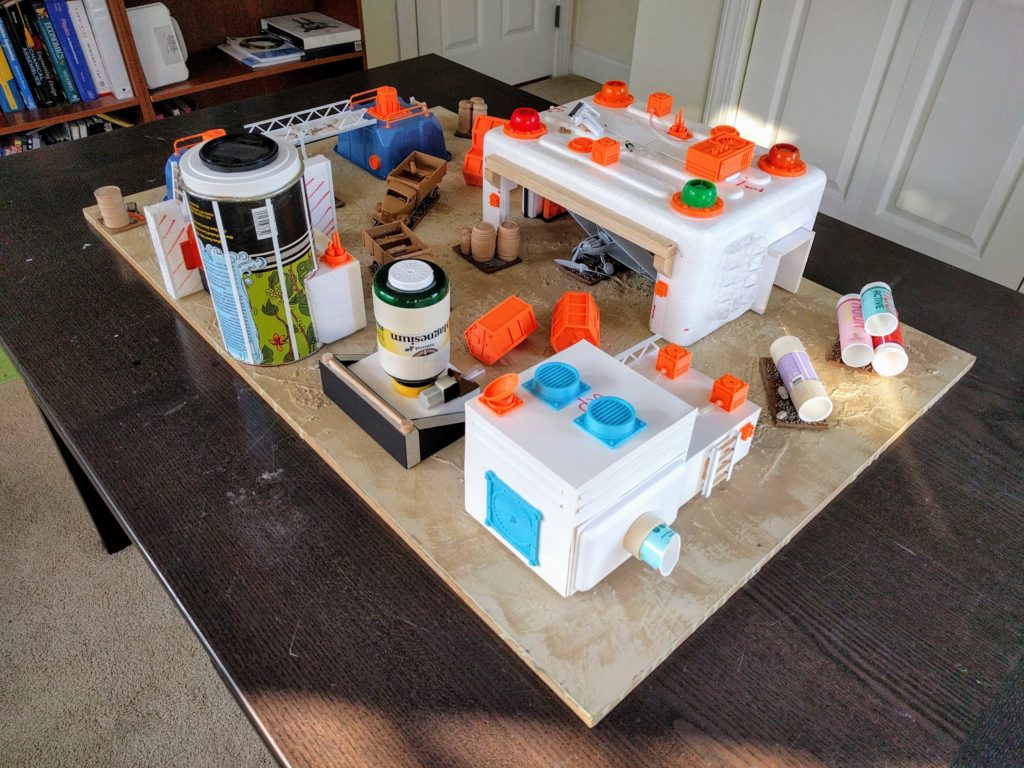
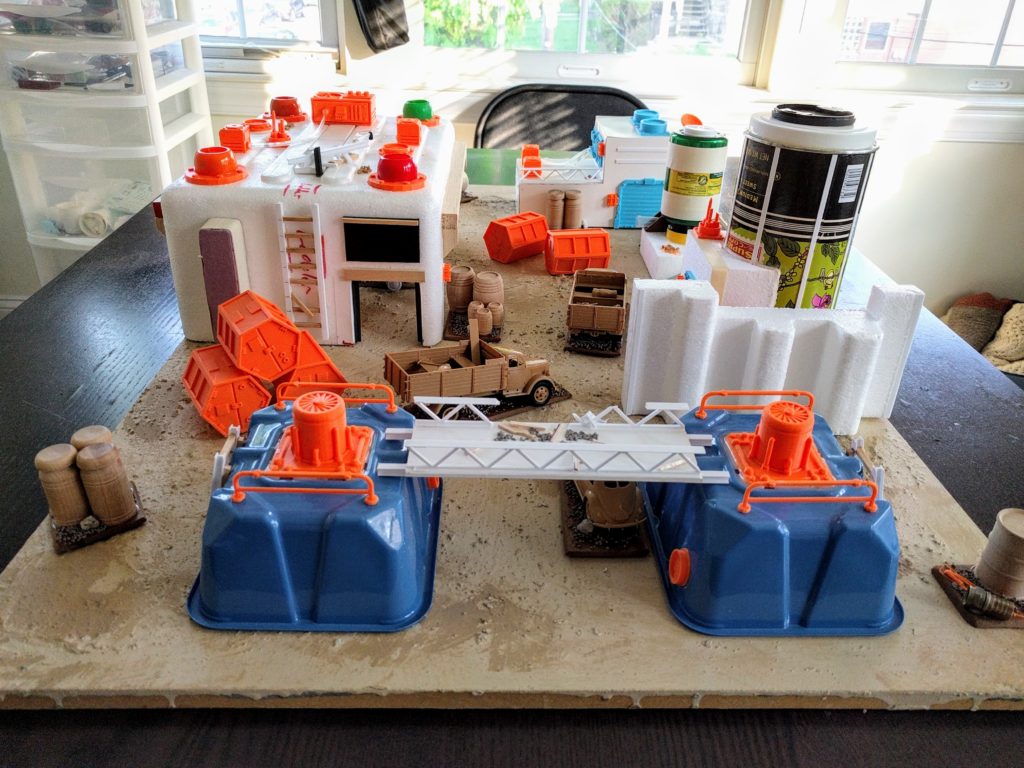
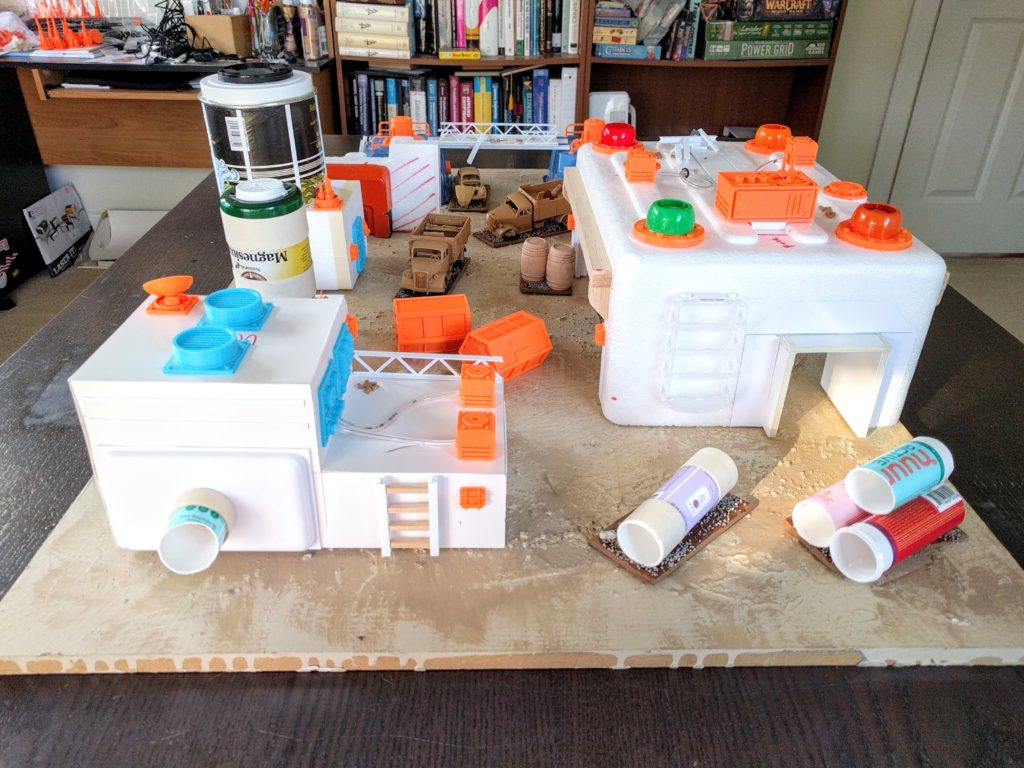
The assembled Derelict Depot.
Colors
In choosing colors for the set I started with dark red and grey, mostly because I had spray cans of those laying around. But using those also meant these pieces would fit right in with my Medea Refinery board, adding a bunch of LOS blockers and scatter terrain to that collection. To add variety though I opted to do the big buildings here in olive green and some of the containers in red and yellow.
I used a lot of leftover white foam packaging in constructing this set, which some spray paints will melt. Generally I haven’t had a problem with that, but have had a couple cans that did eat such foam, so always test on a scrap piece first. To reduce the amount of spray painting on the white foam though, I brush primed those areas with two coats of black. All the other pieces got a good coat of spray black to start. Often you can just go straight to the base colors if you’re spraying, but the black coats better, adds another layer to help mitigate chipping, and if you spray the colors lighter and from a slight angle it creates some natural shading in the corners and recesses.
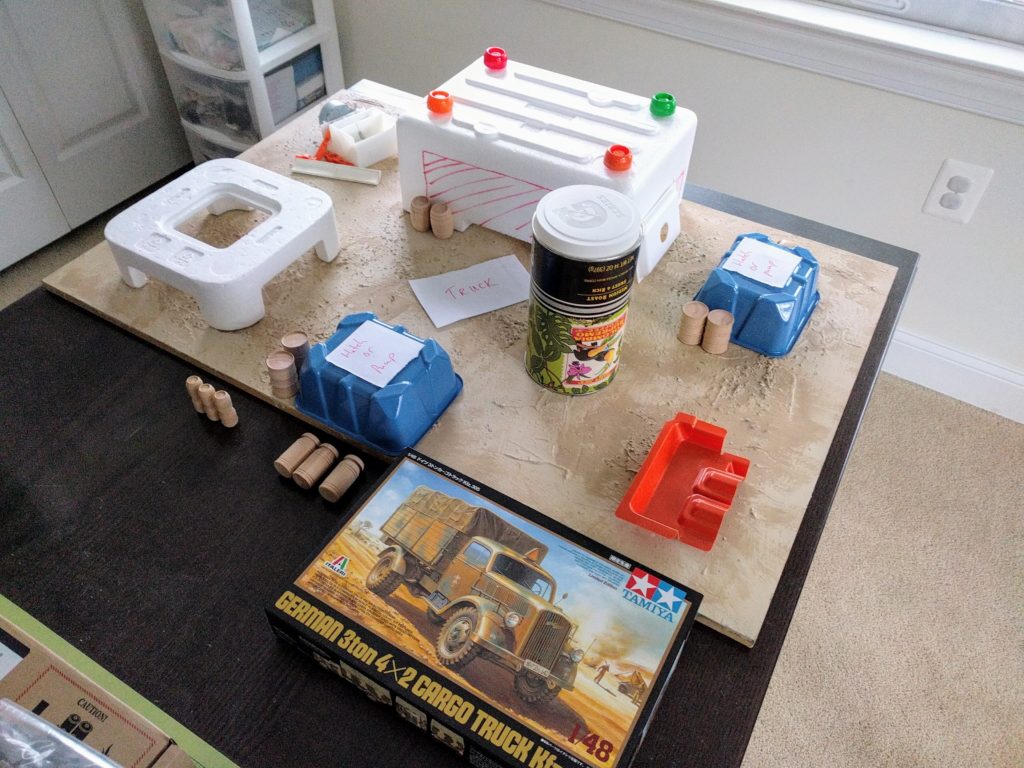
Unfortunately I had not previously used the olive green I picked up and it reacted badly with either the temperature on the day I was doing this, or the materials. On the trucks it cracked and broke, which would have been devastating on a normal model but worked great with the derelict theme. On the buildings though it fuzzed up a bit and became crumbly. Still not really a problem with the theme, but it made them feel funny and the paint a bit fragile to the touch.
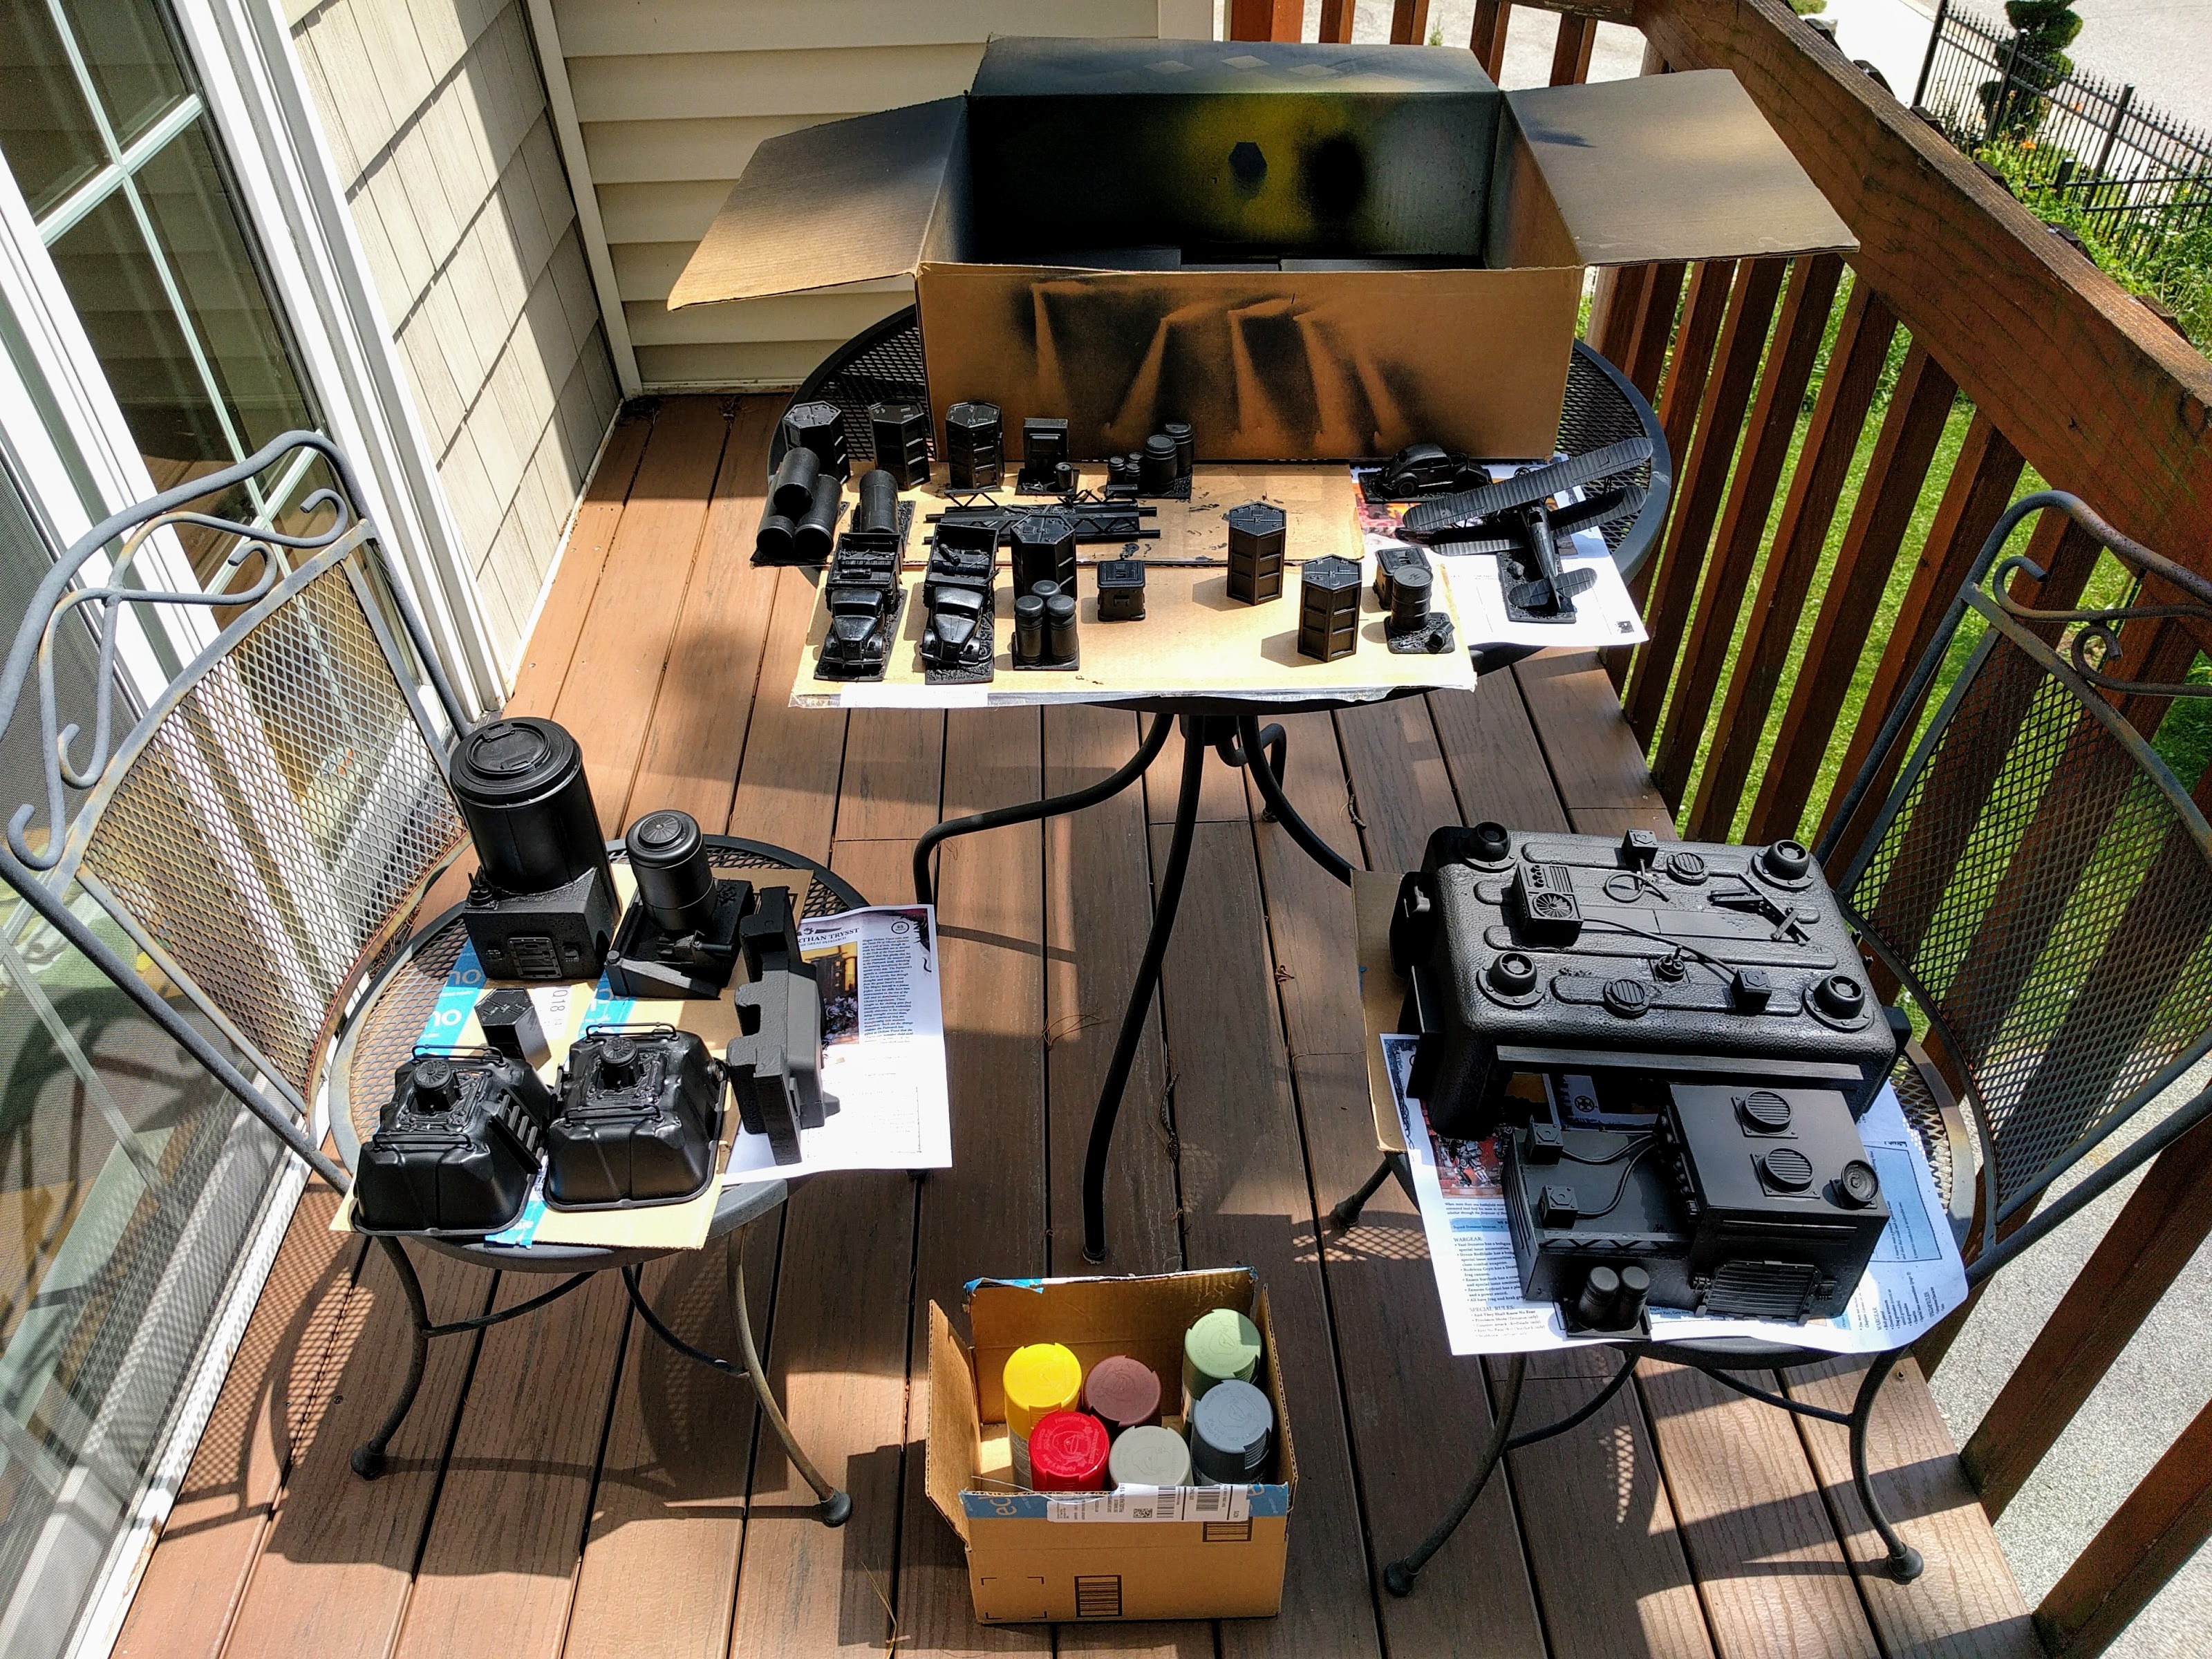
Priming everything black.
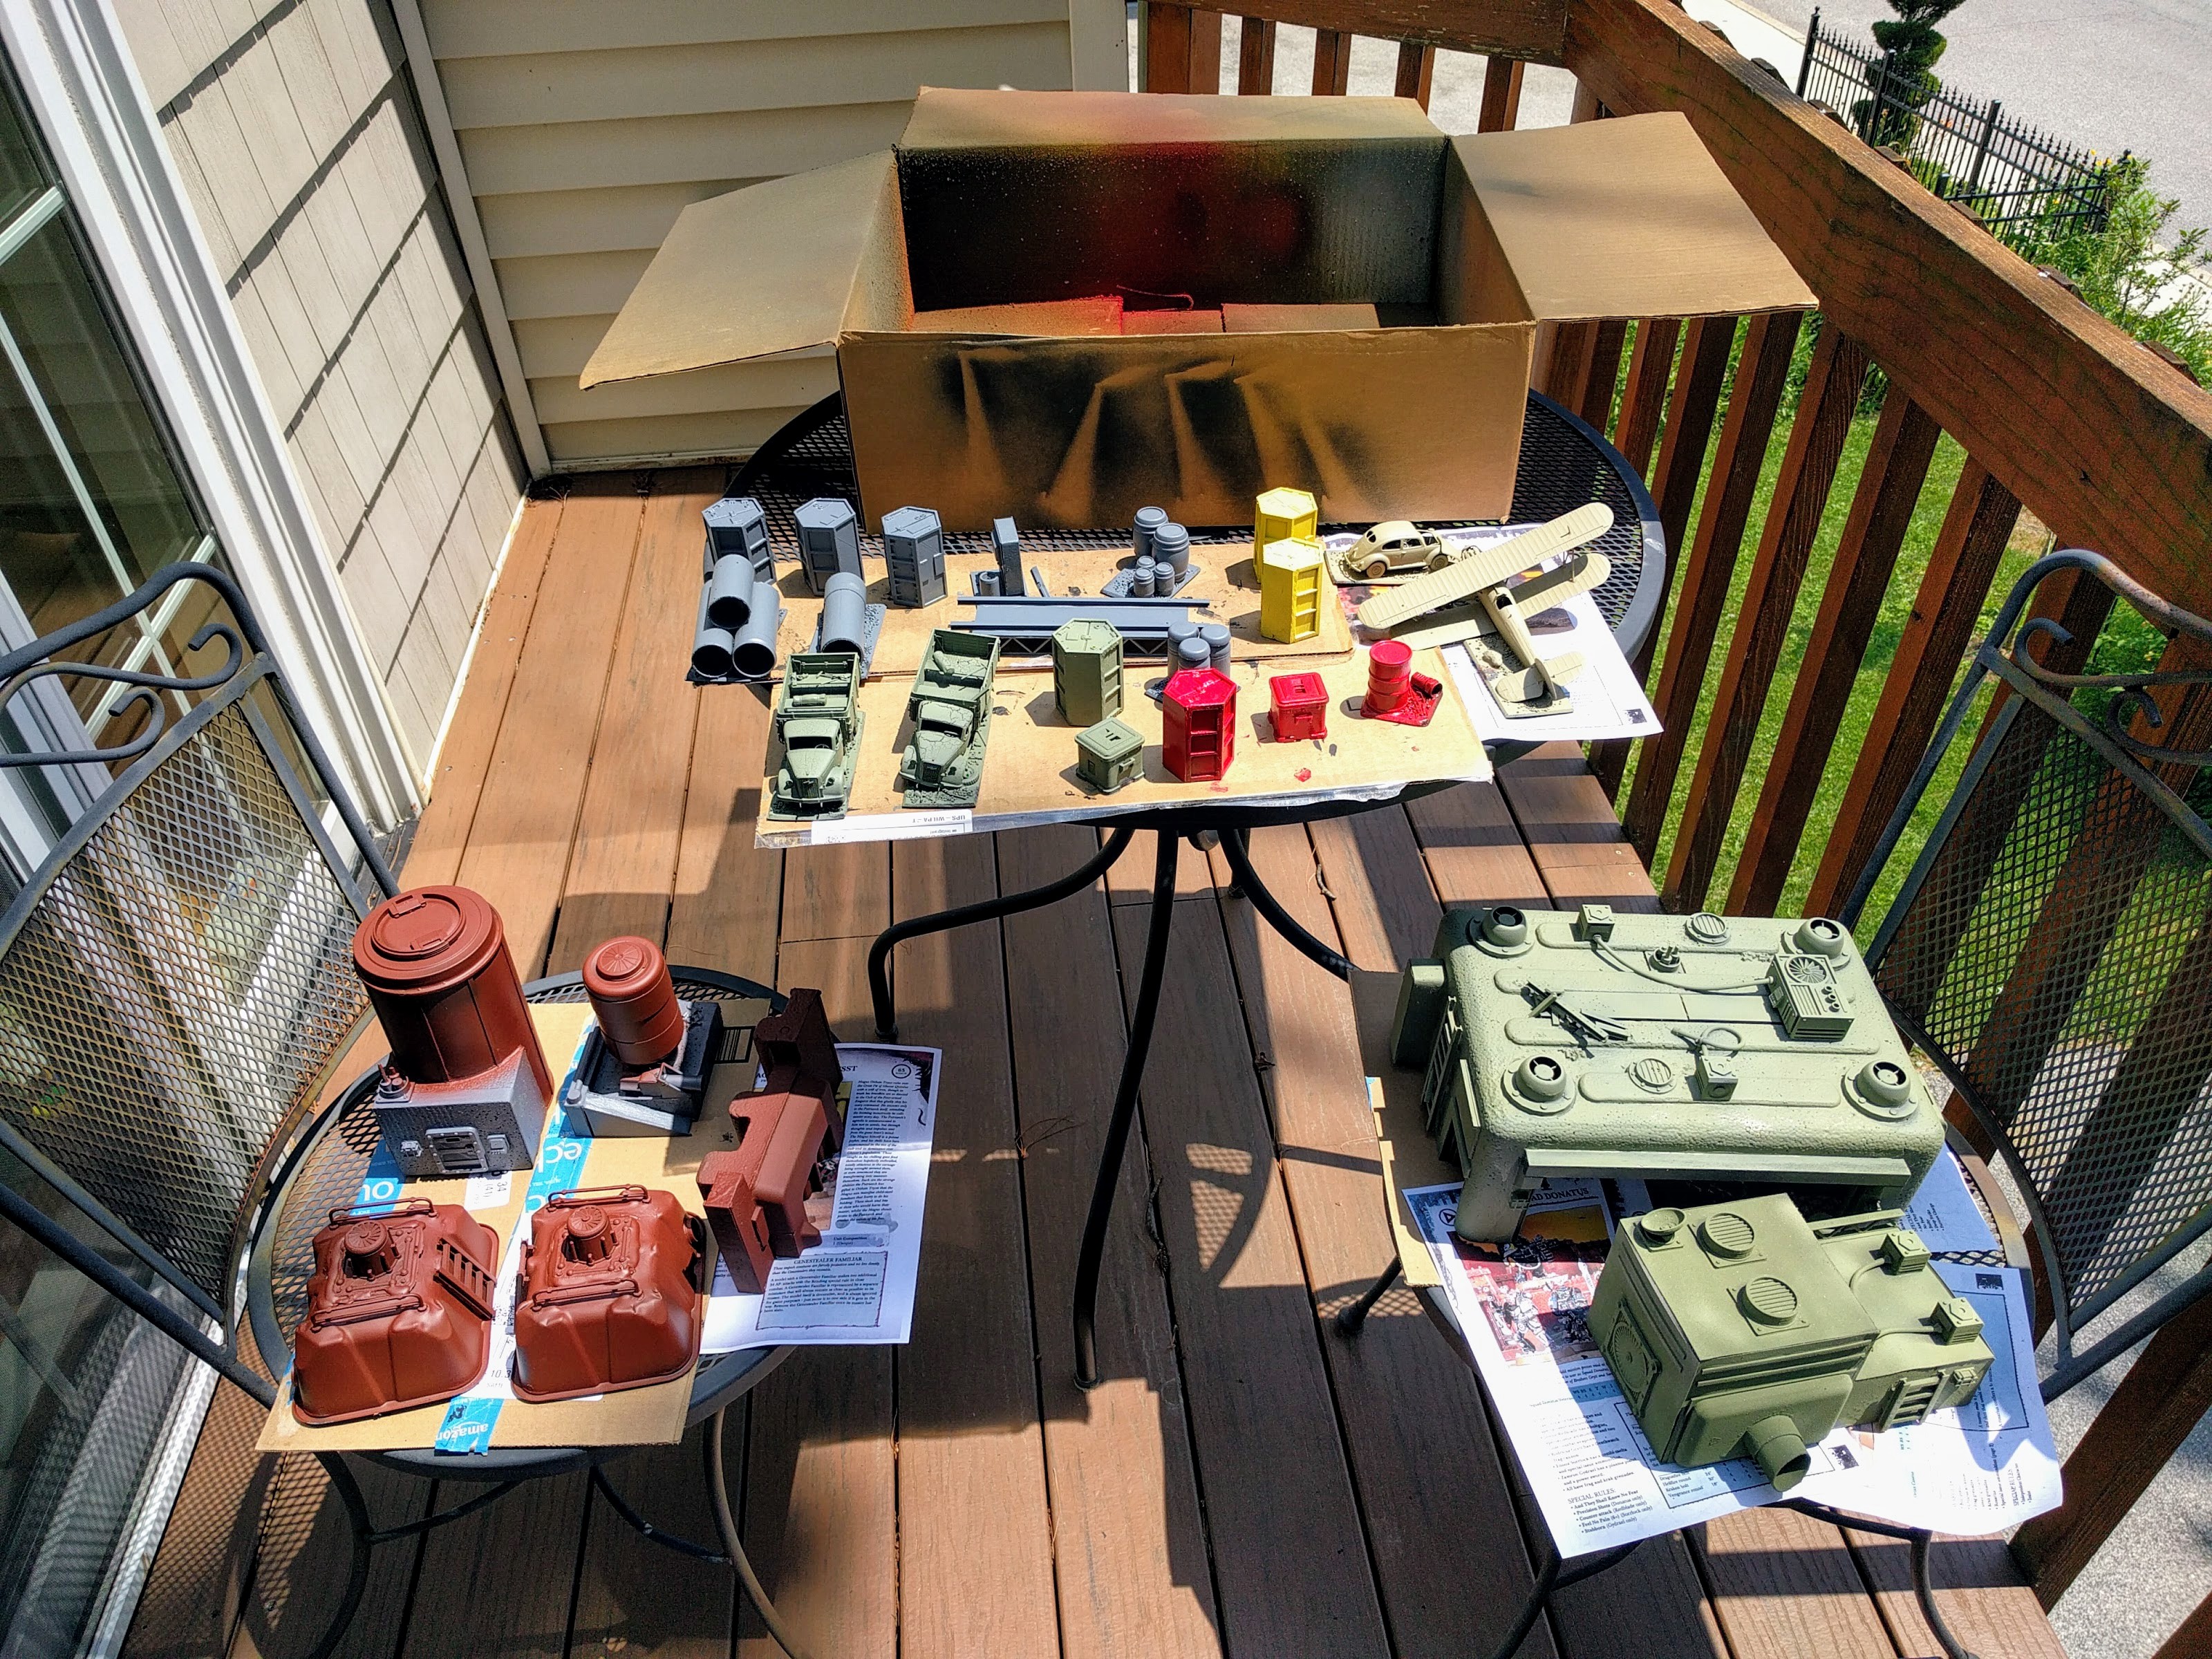
Colored base coats.
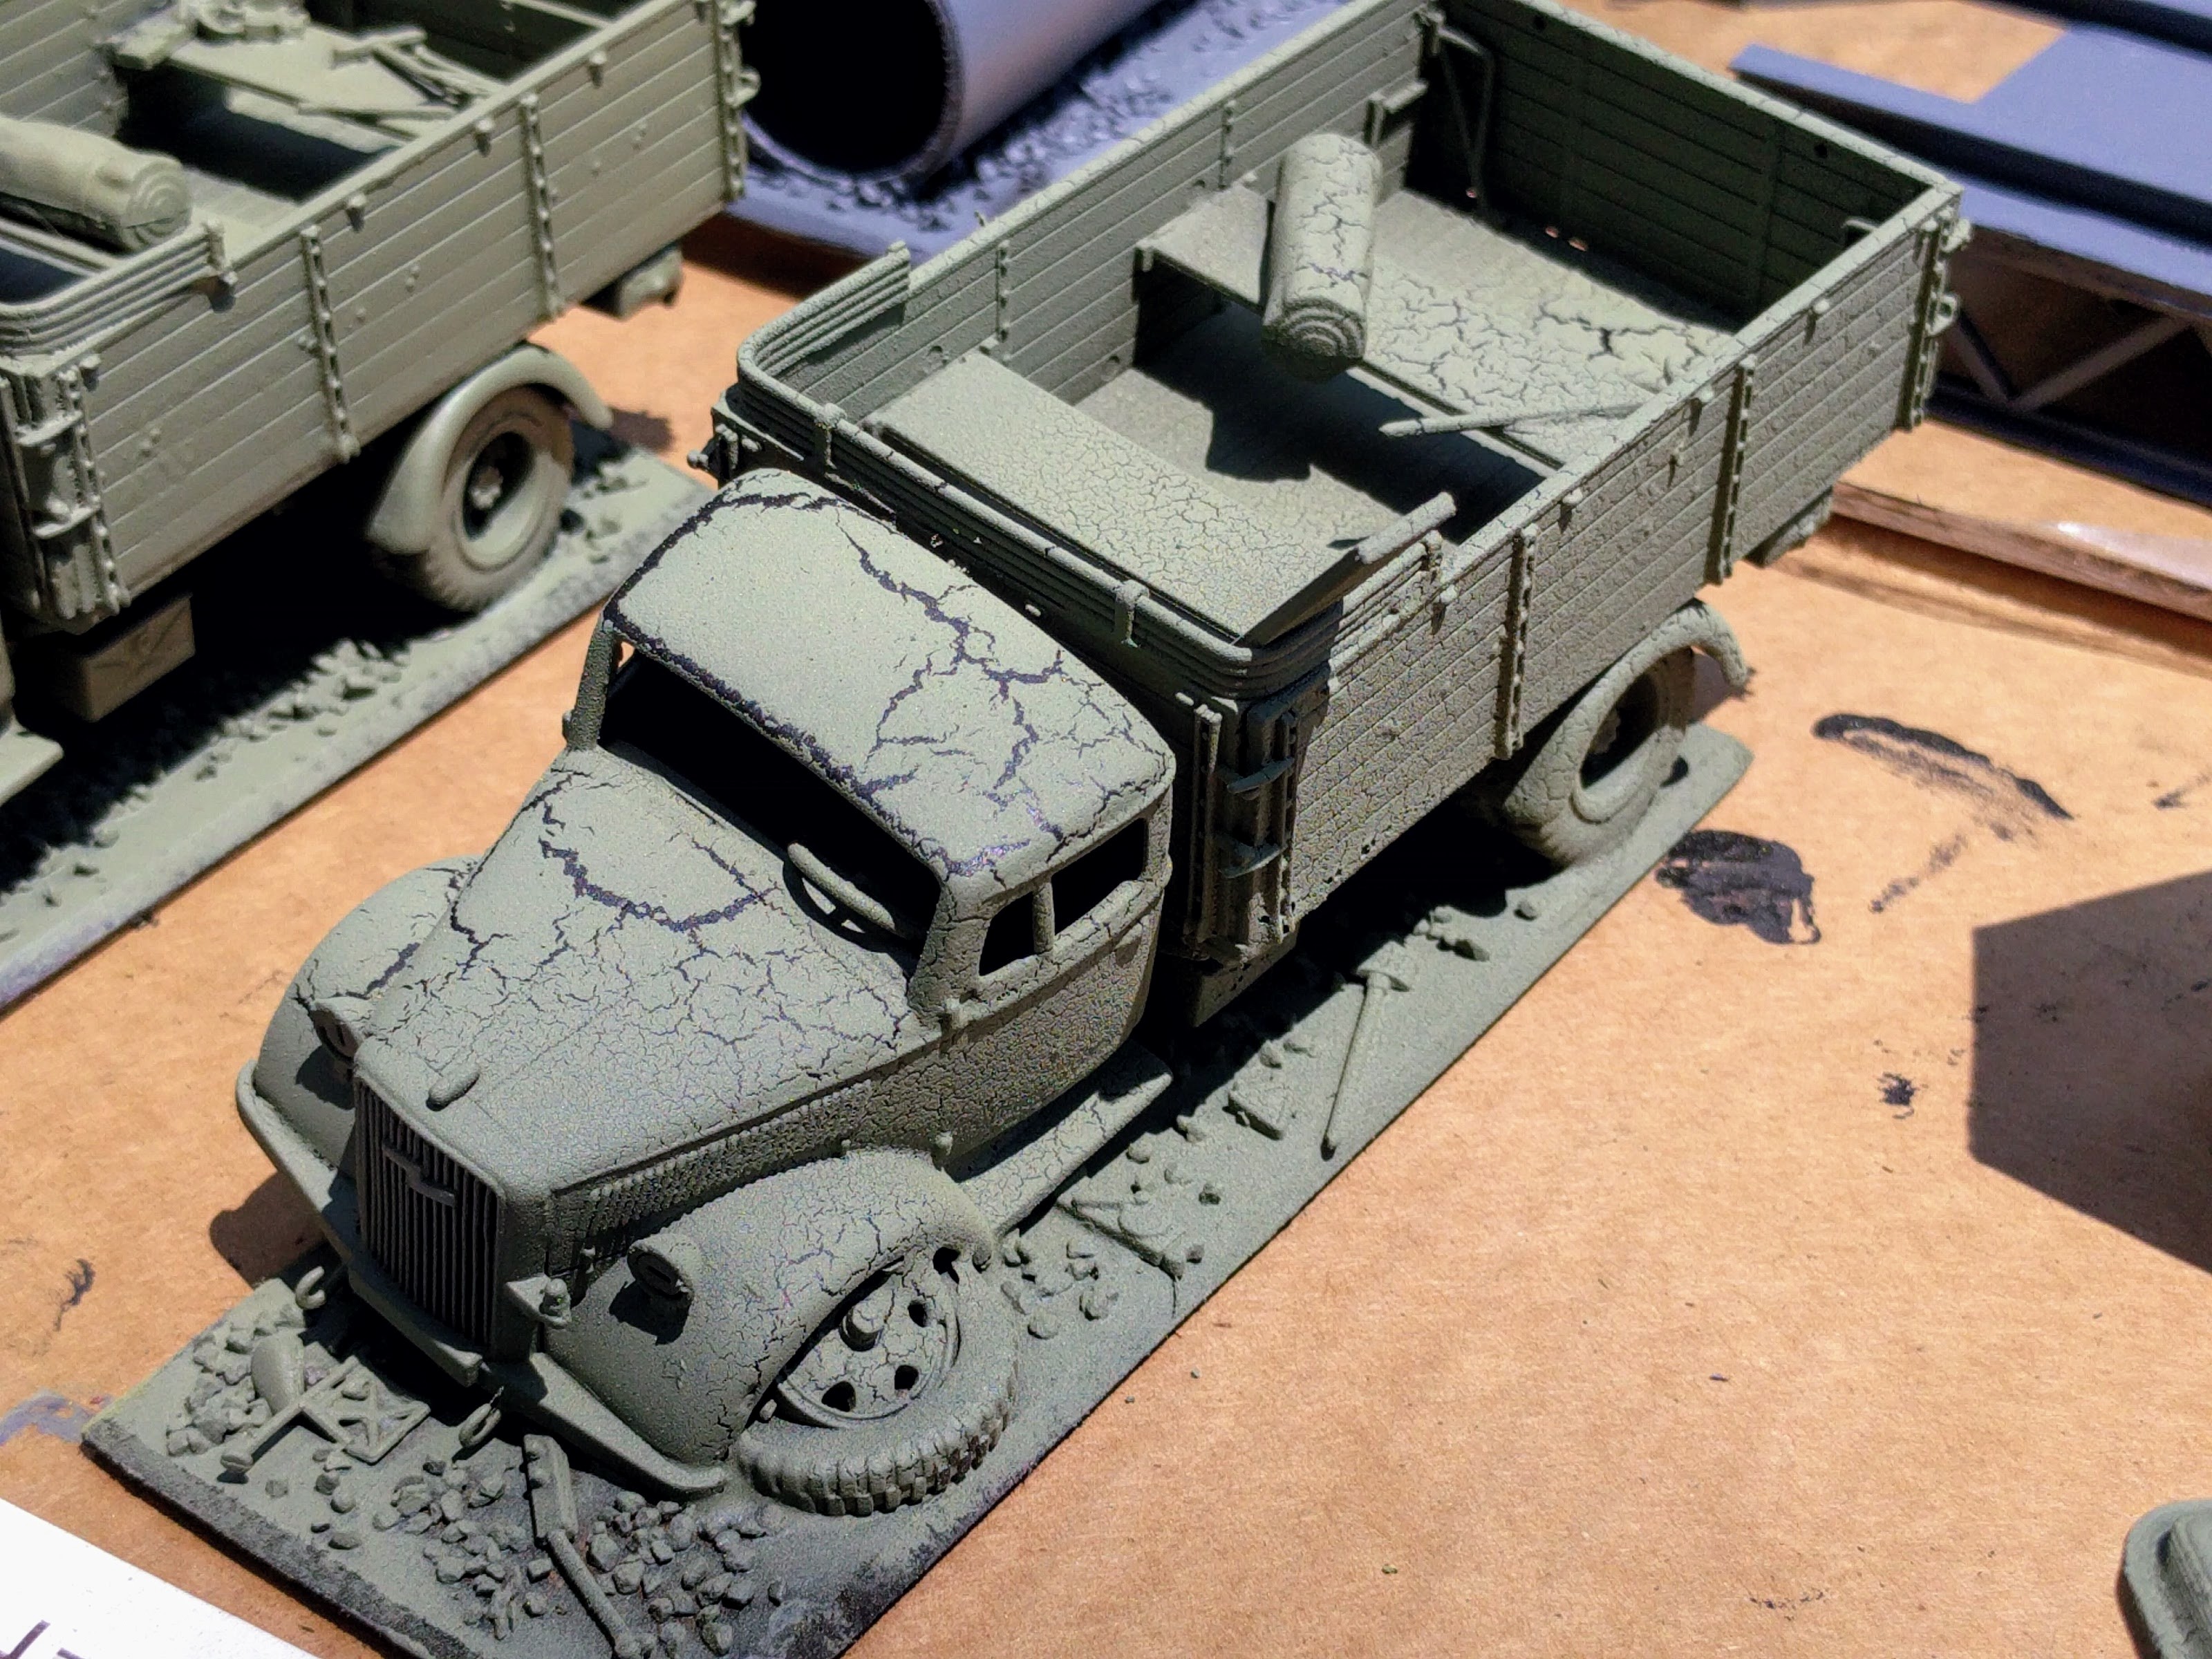
Cracking on one of the trucks.
More Color
Following the base coating I wasn’t sure how much more time I’d get to work on these again before I wanted to use them. So I went with a technique I picked up watching my friend Sascha help paint the Medea Refinery, basically spray painting a bunch of details rather than brushing them. So mechanical boxes, doors, ladders, etc., all got sprayed in various colors without worrying too much about overspray—quite an affront to my OCD tendencies! Definitely wouldn’t work for all styles of terrain and isn’t to everyone’s taste, but it’s fast and I like the look of it for these kind of pieces. All the overspray just looks like rust, wear, etc., and ties everything together.
From there, still concerned about getting more time for this and feeling overeager with the spray paints, I went on and lightly oversprayed various colors across all the pieces. Having hints of the whole palette on each piece helps tie it all together visually, and lightly spraying this particular selection of colors also makes it all look weathered. Although I’d started off with a board previously painted, I felt it didn’t match this color scheme well so it got spray painted similarly. At this point I felt the pieces were all interesting and playable as-is even if I didn’t get back to them.
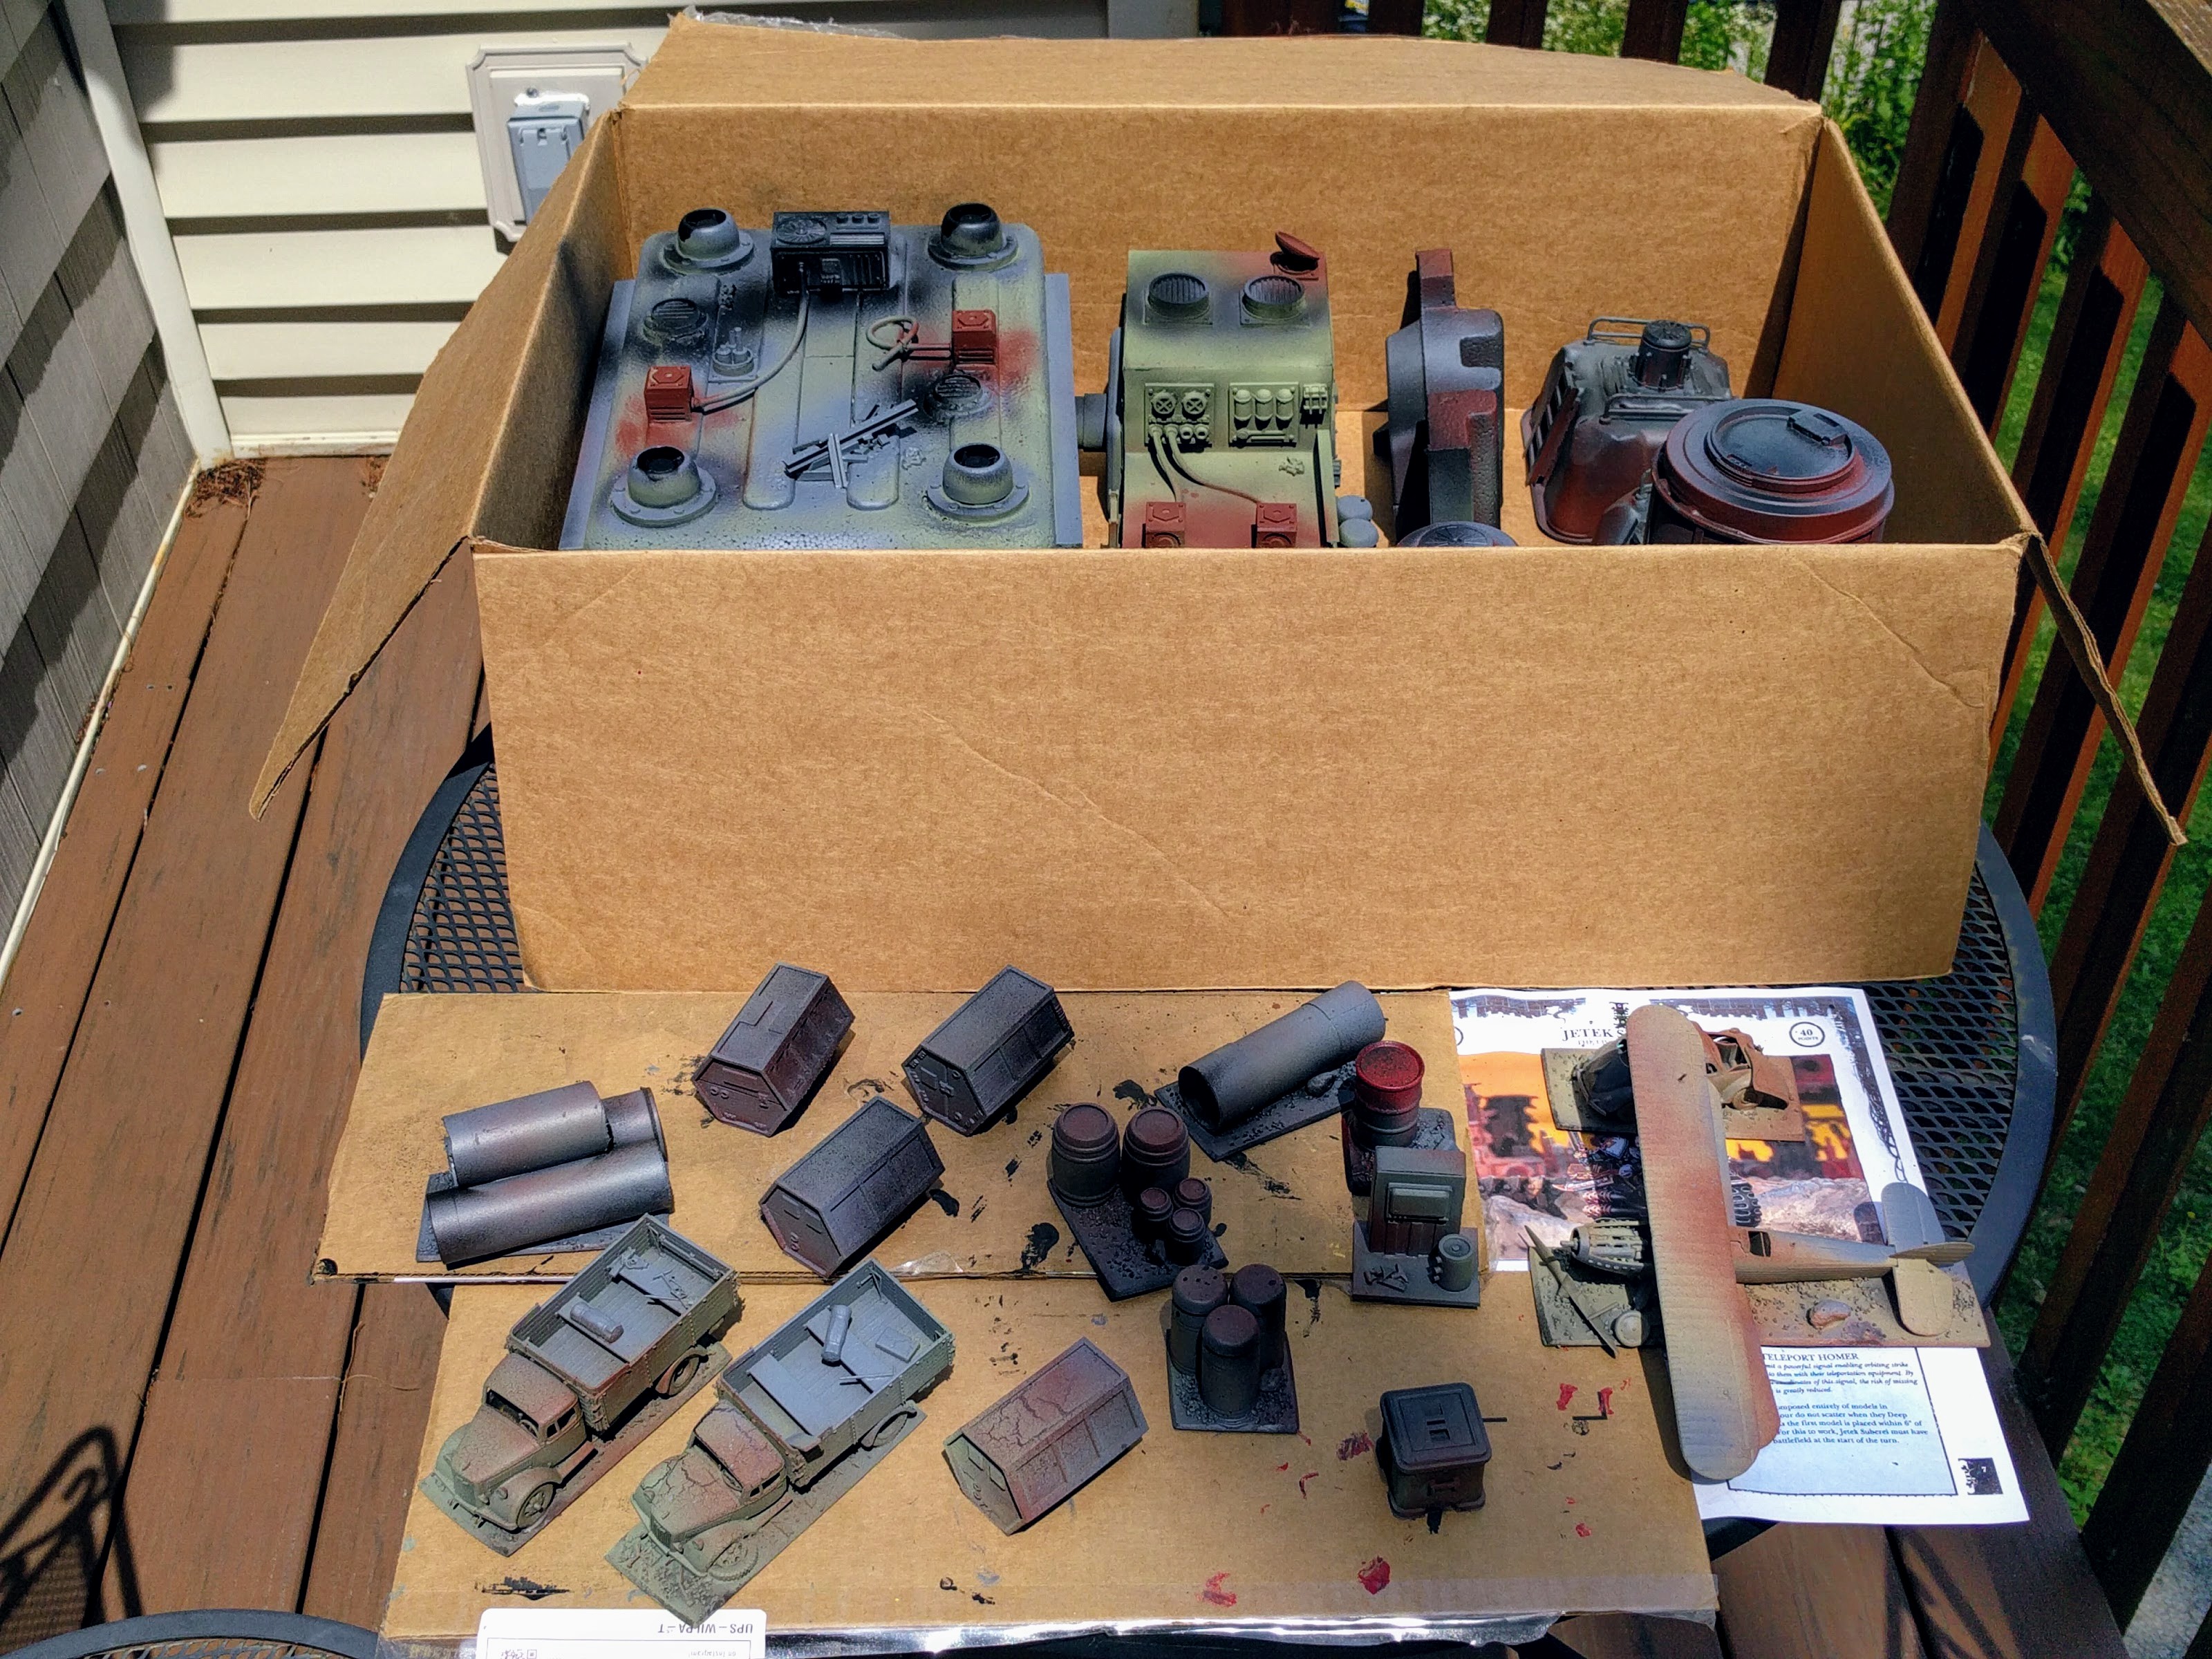
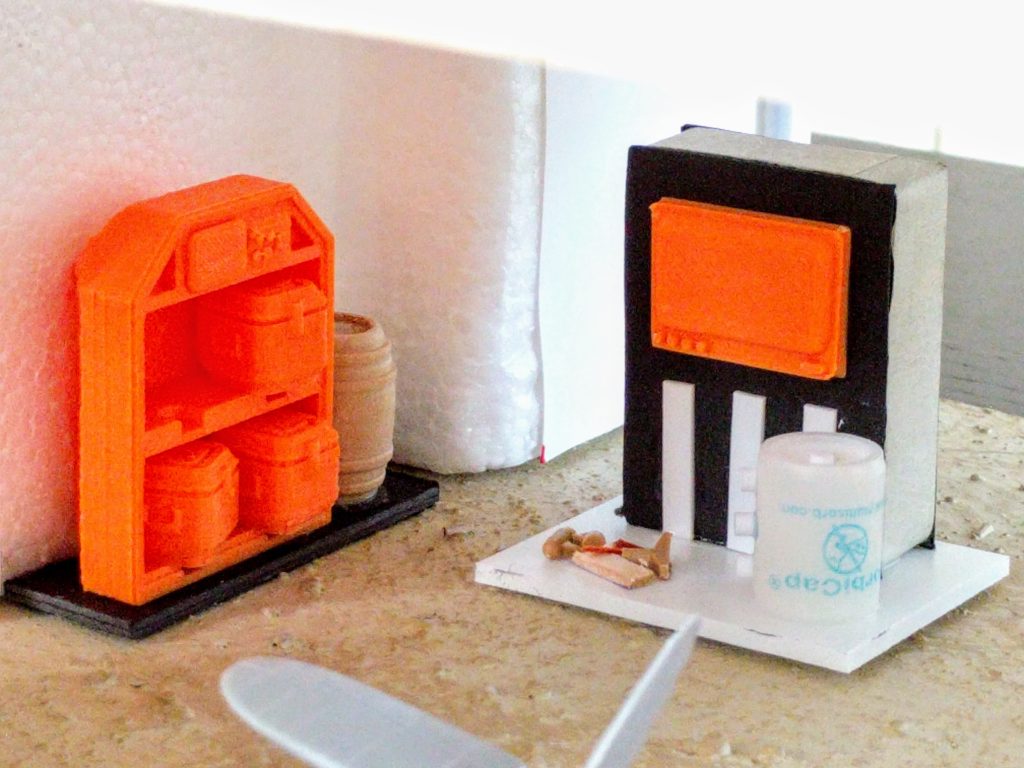
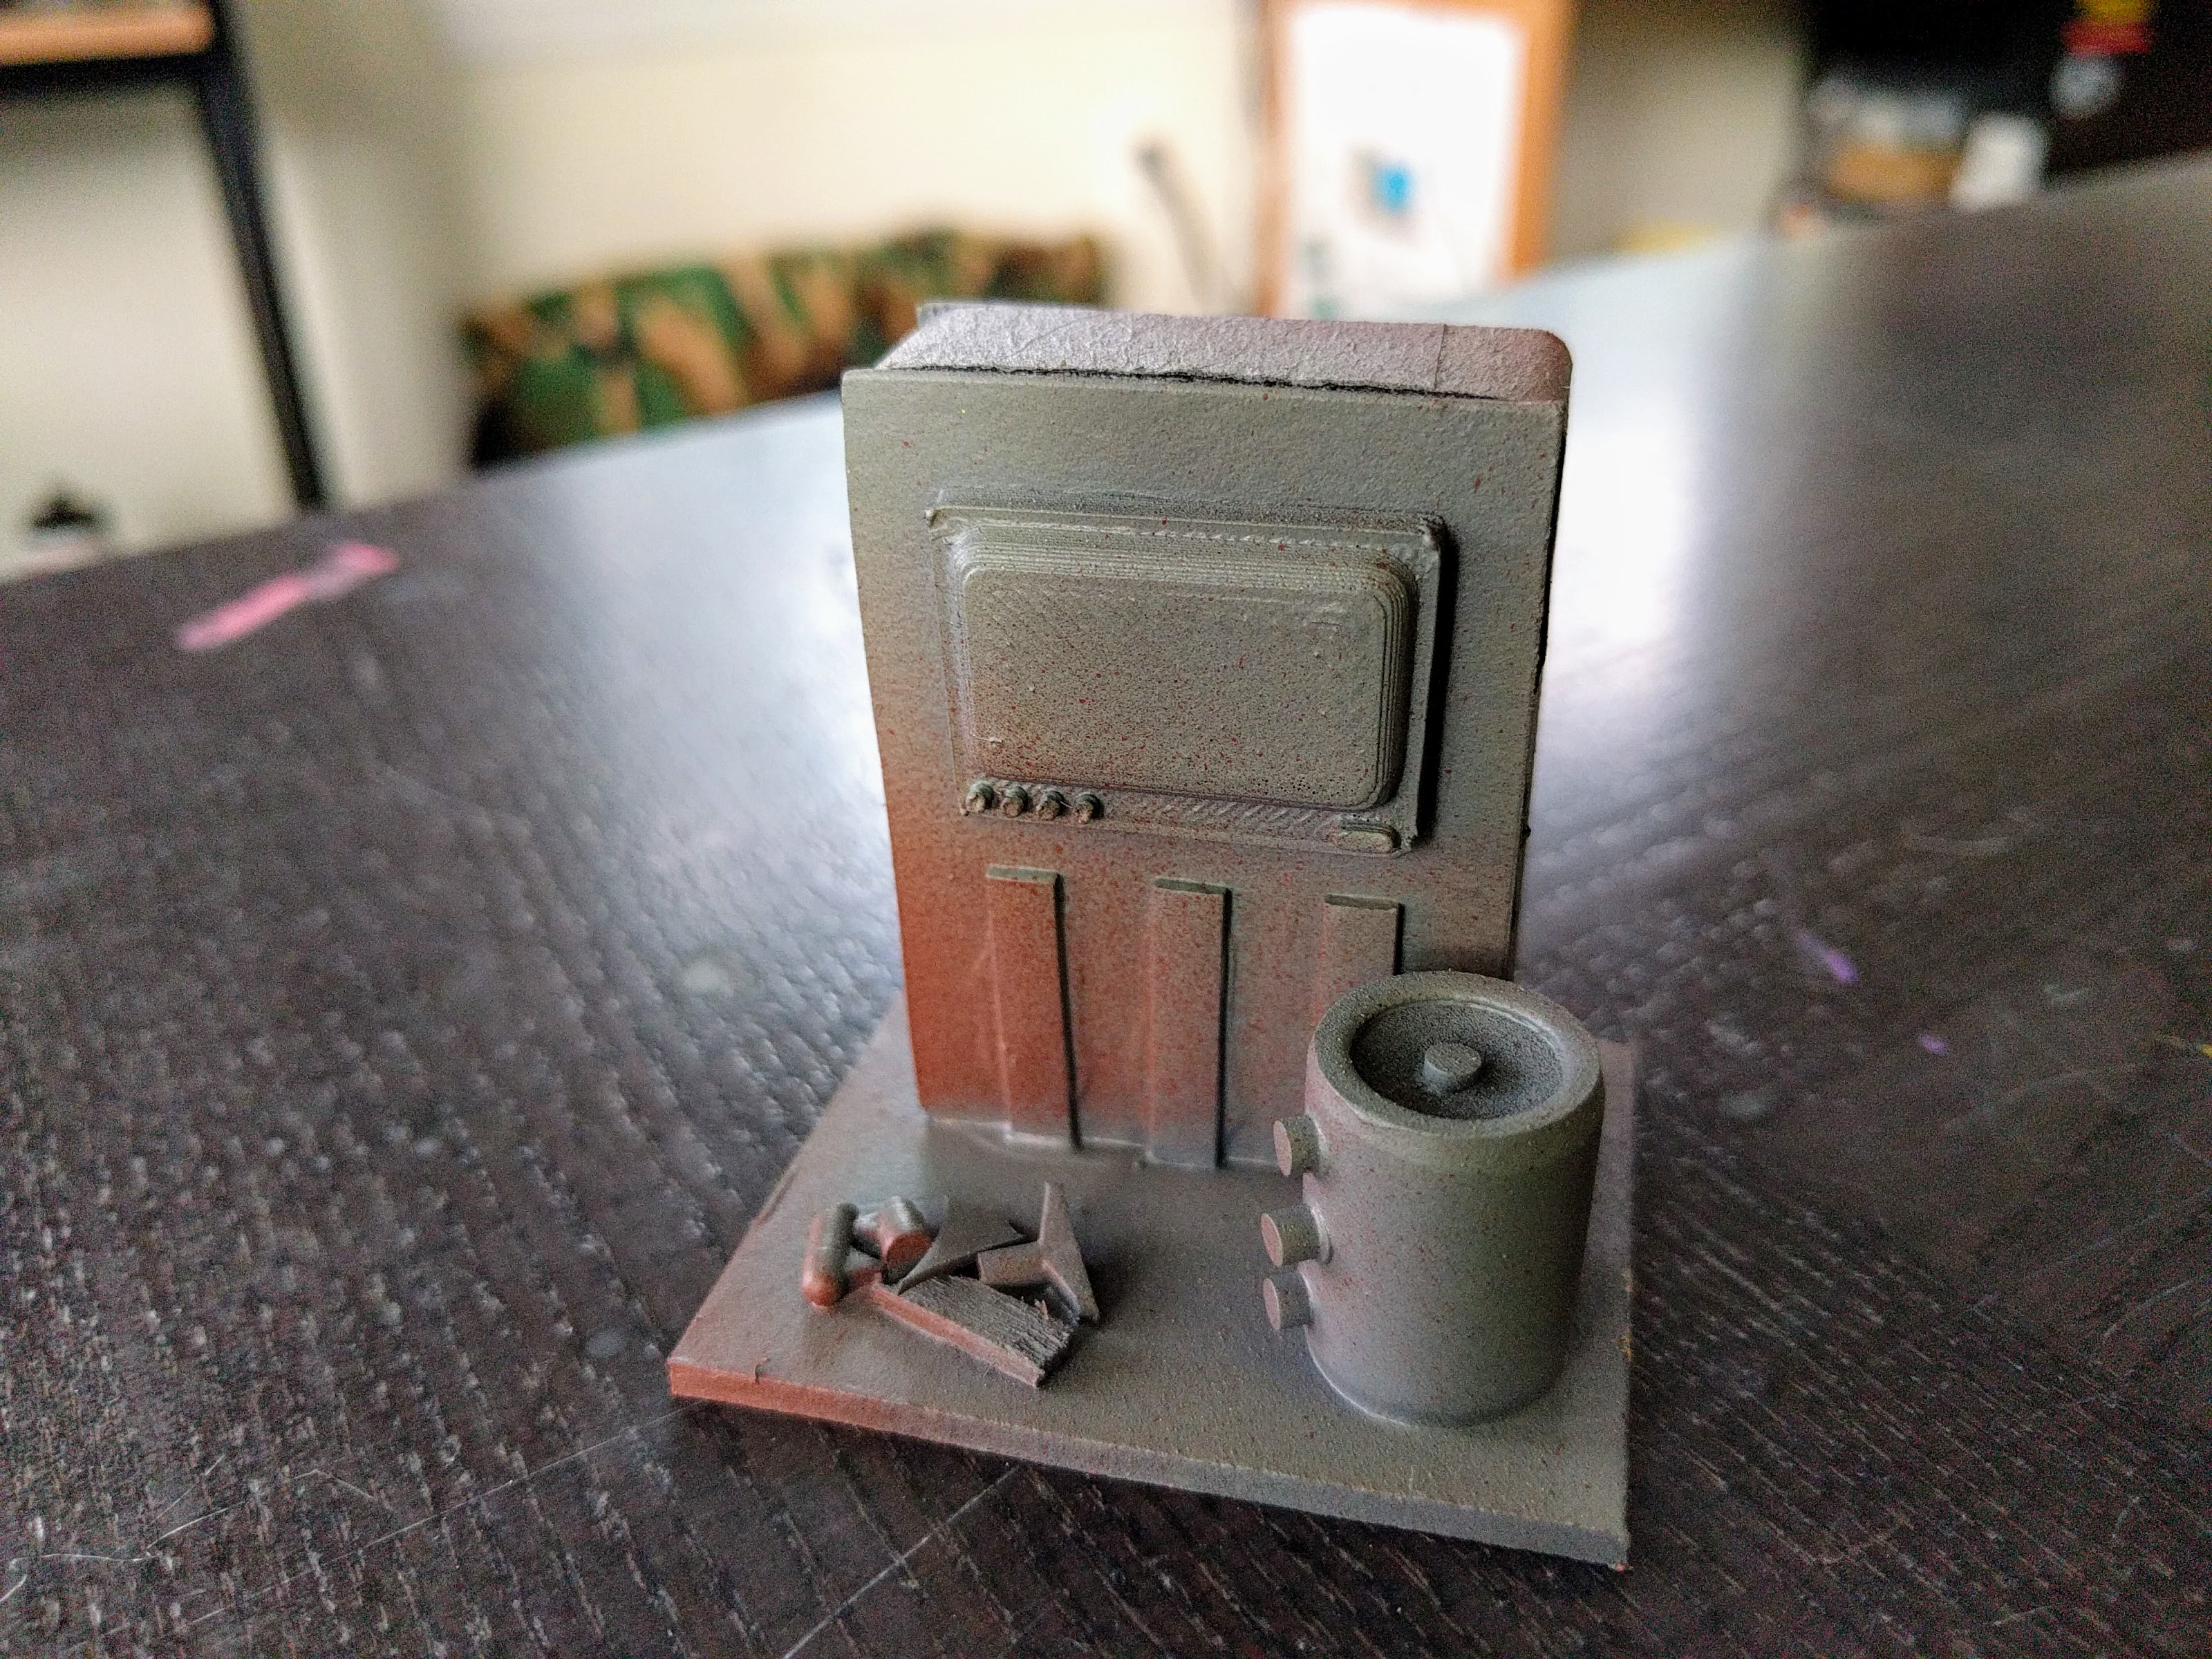
Multi-colored and somewhat weathered pieces.
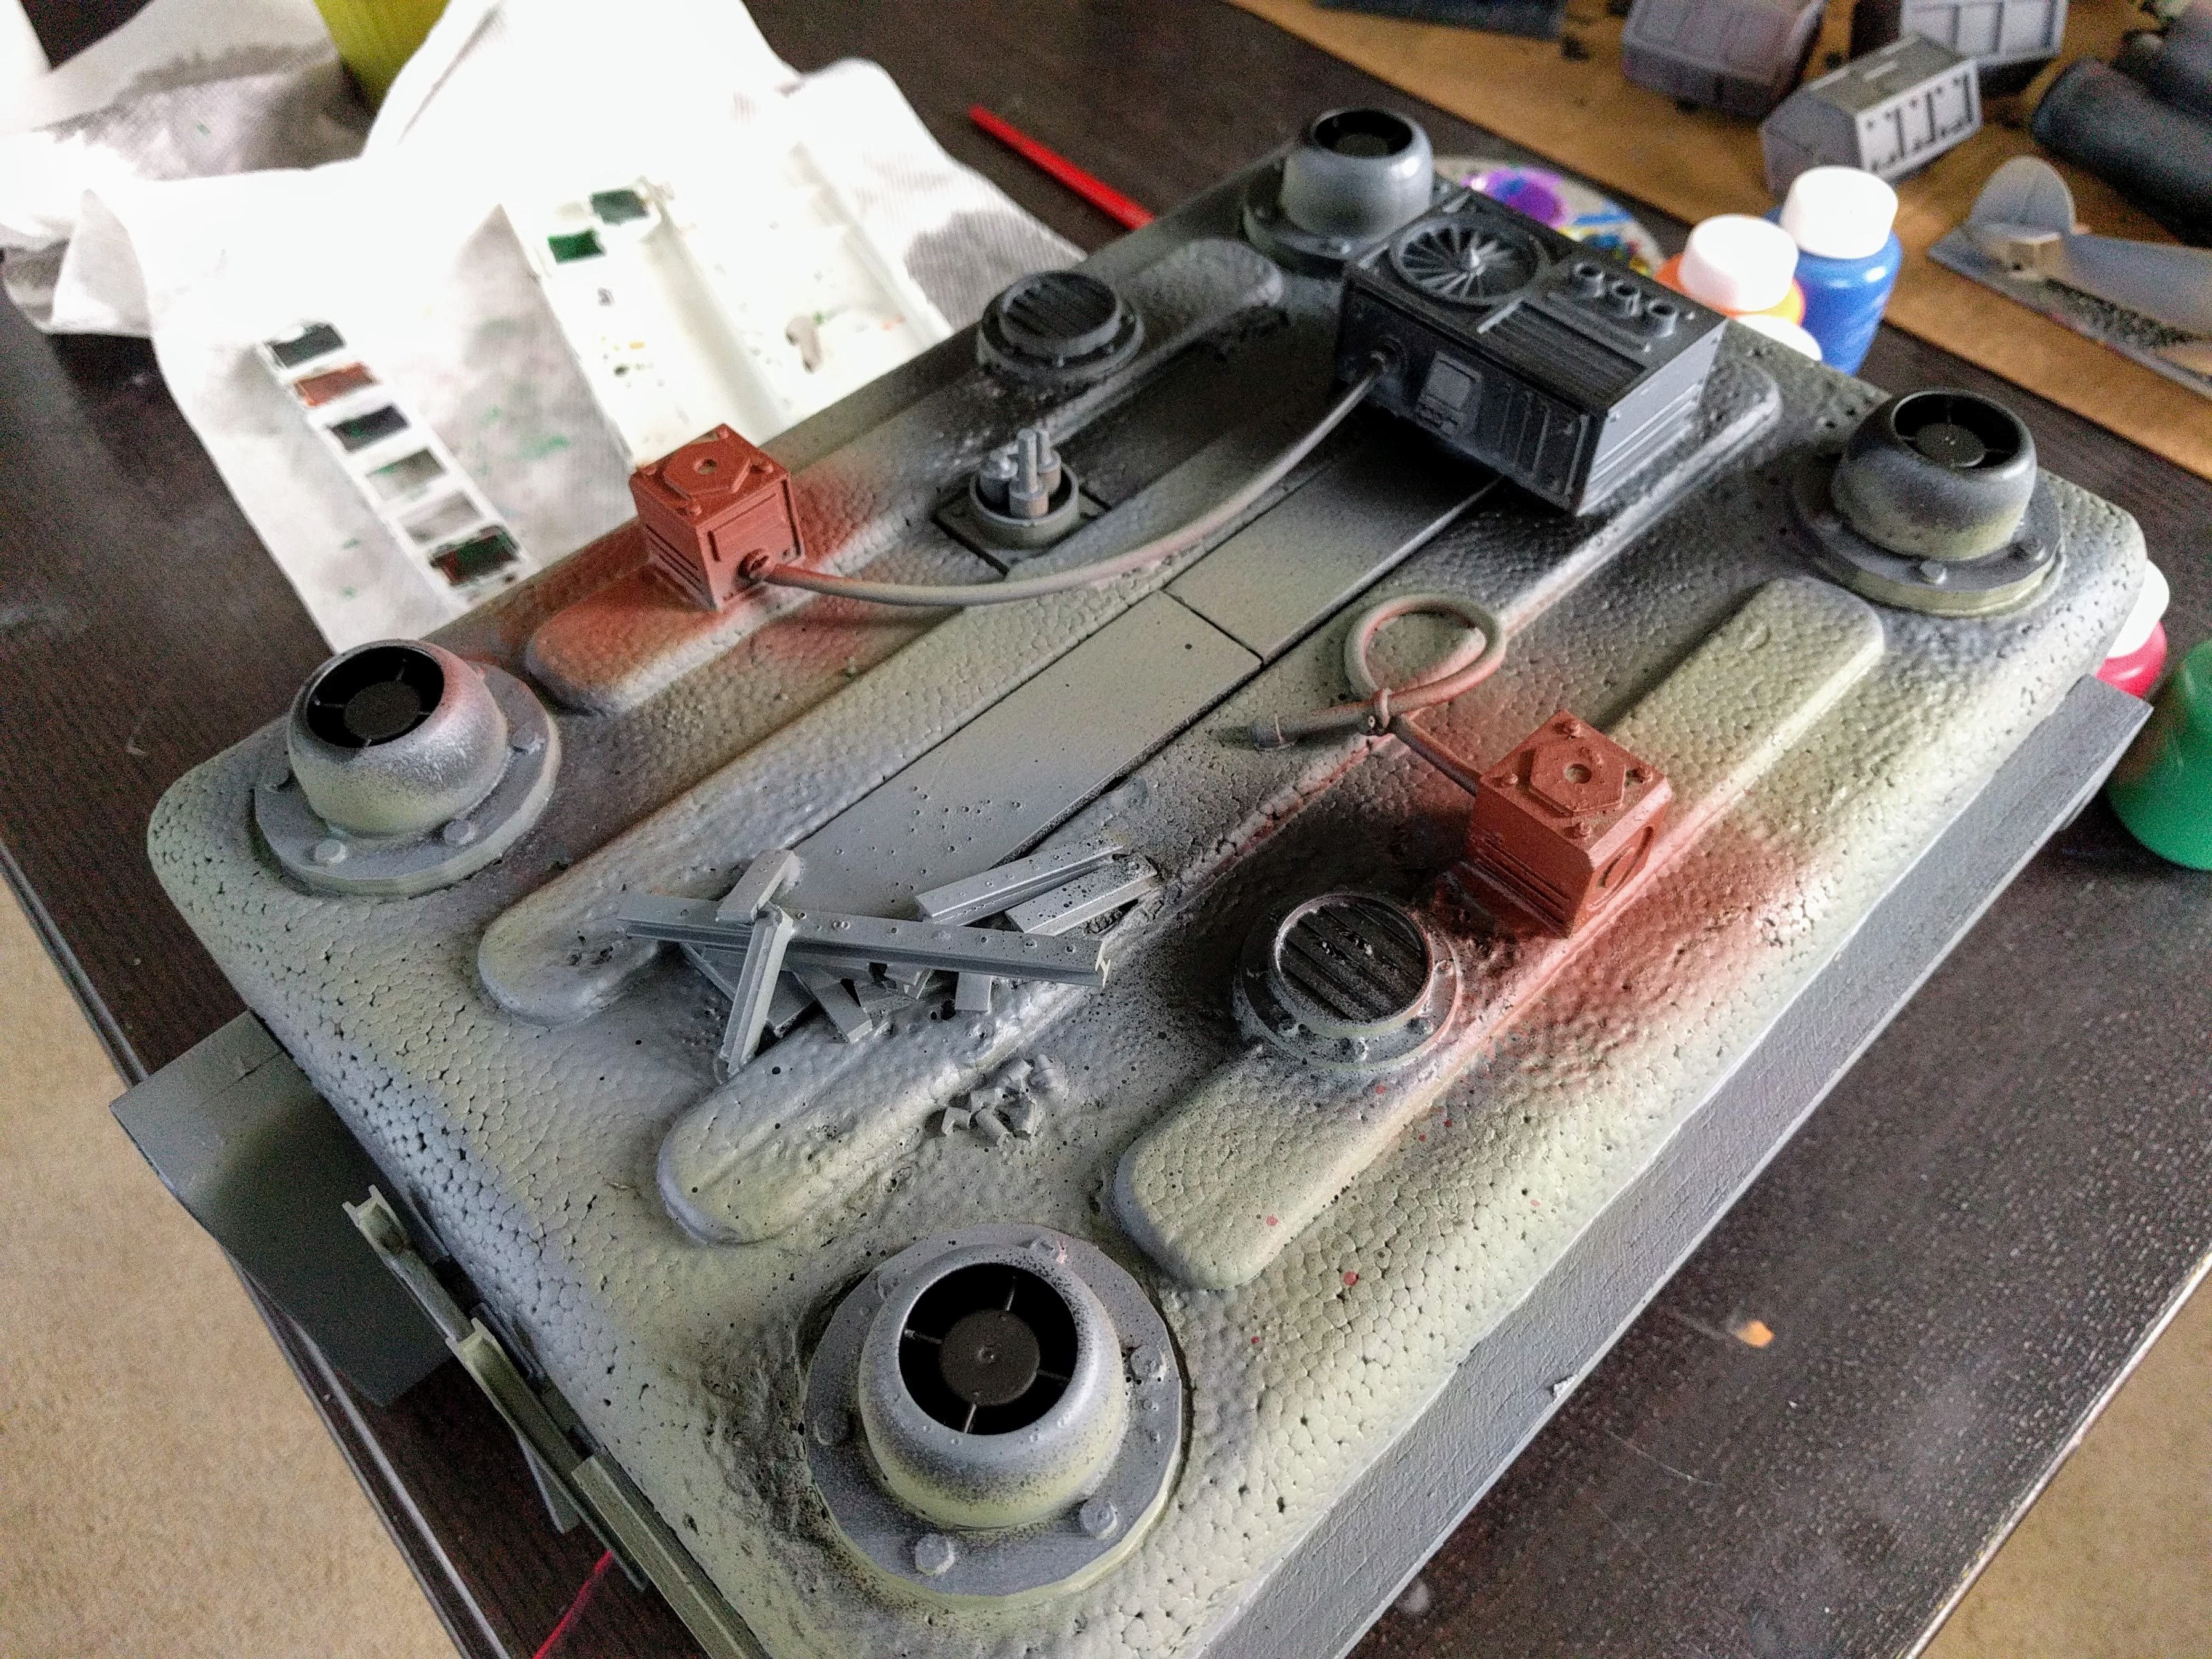
Top of the garage.
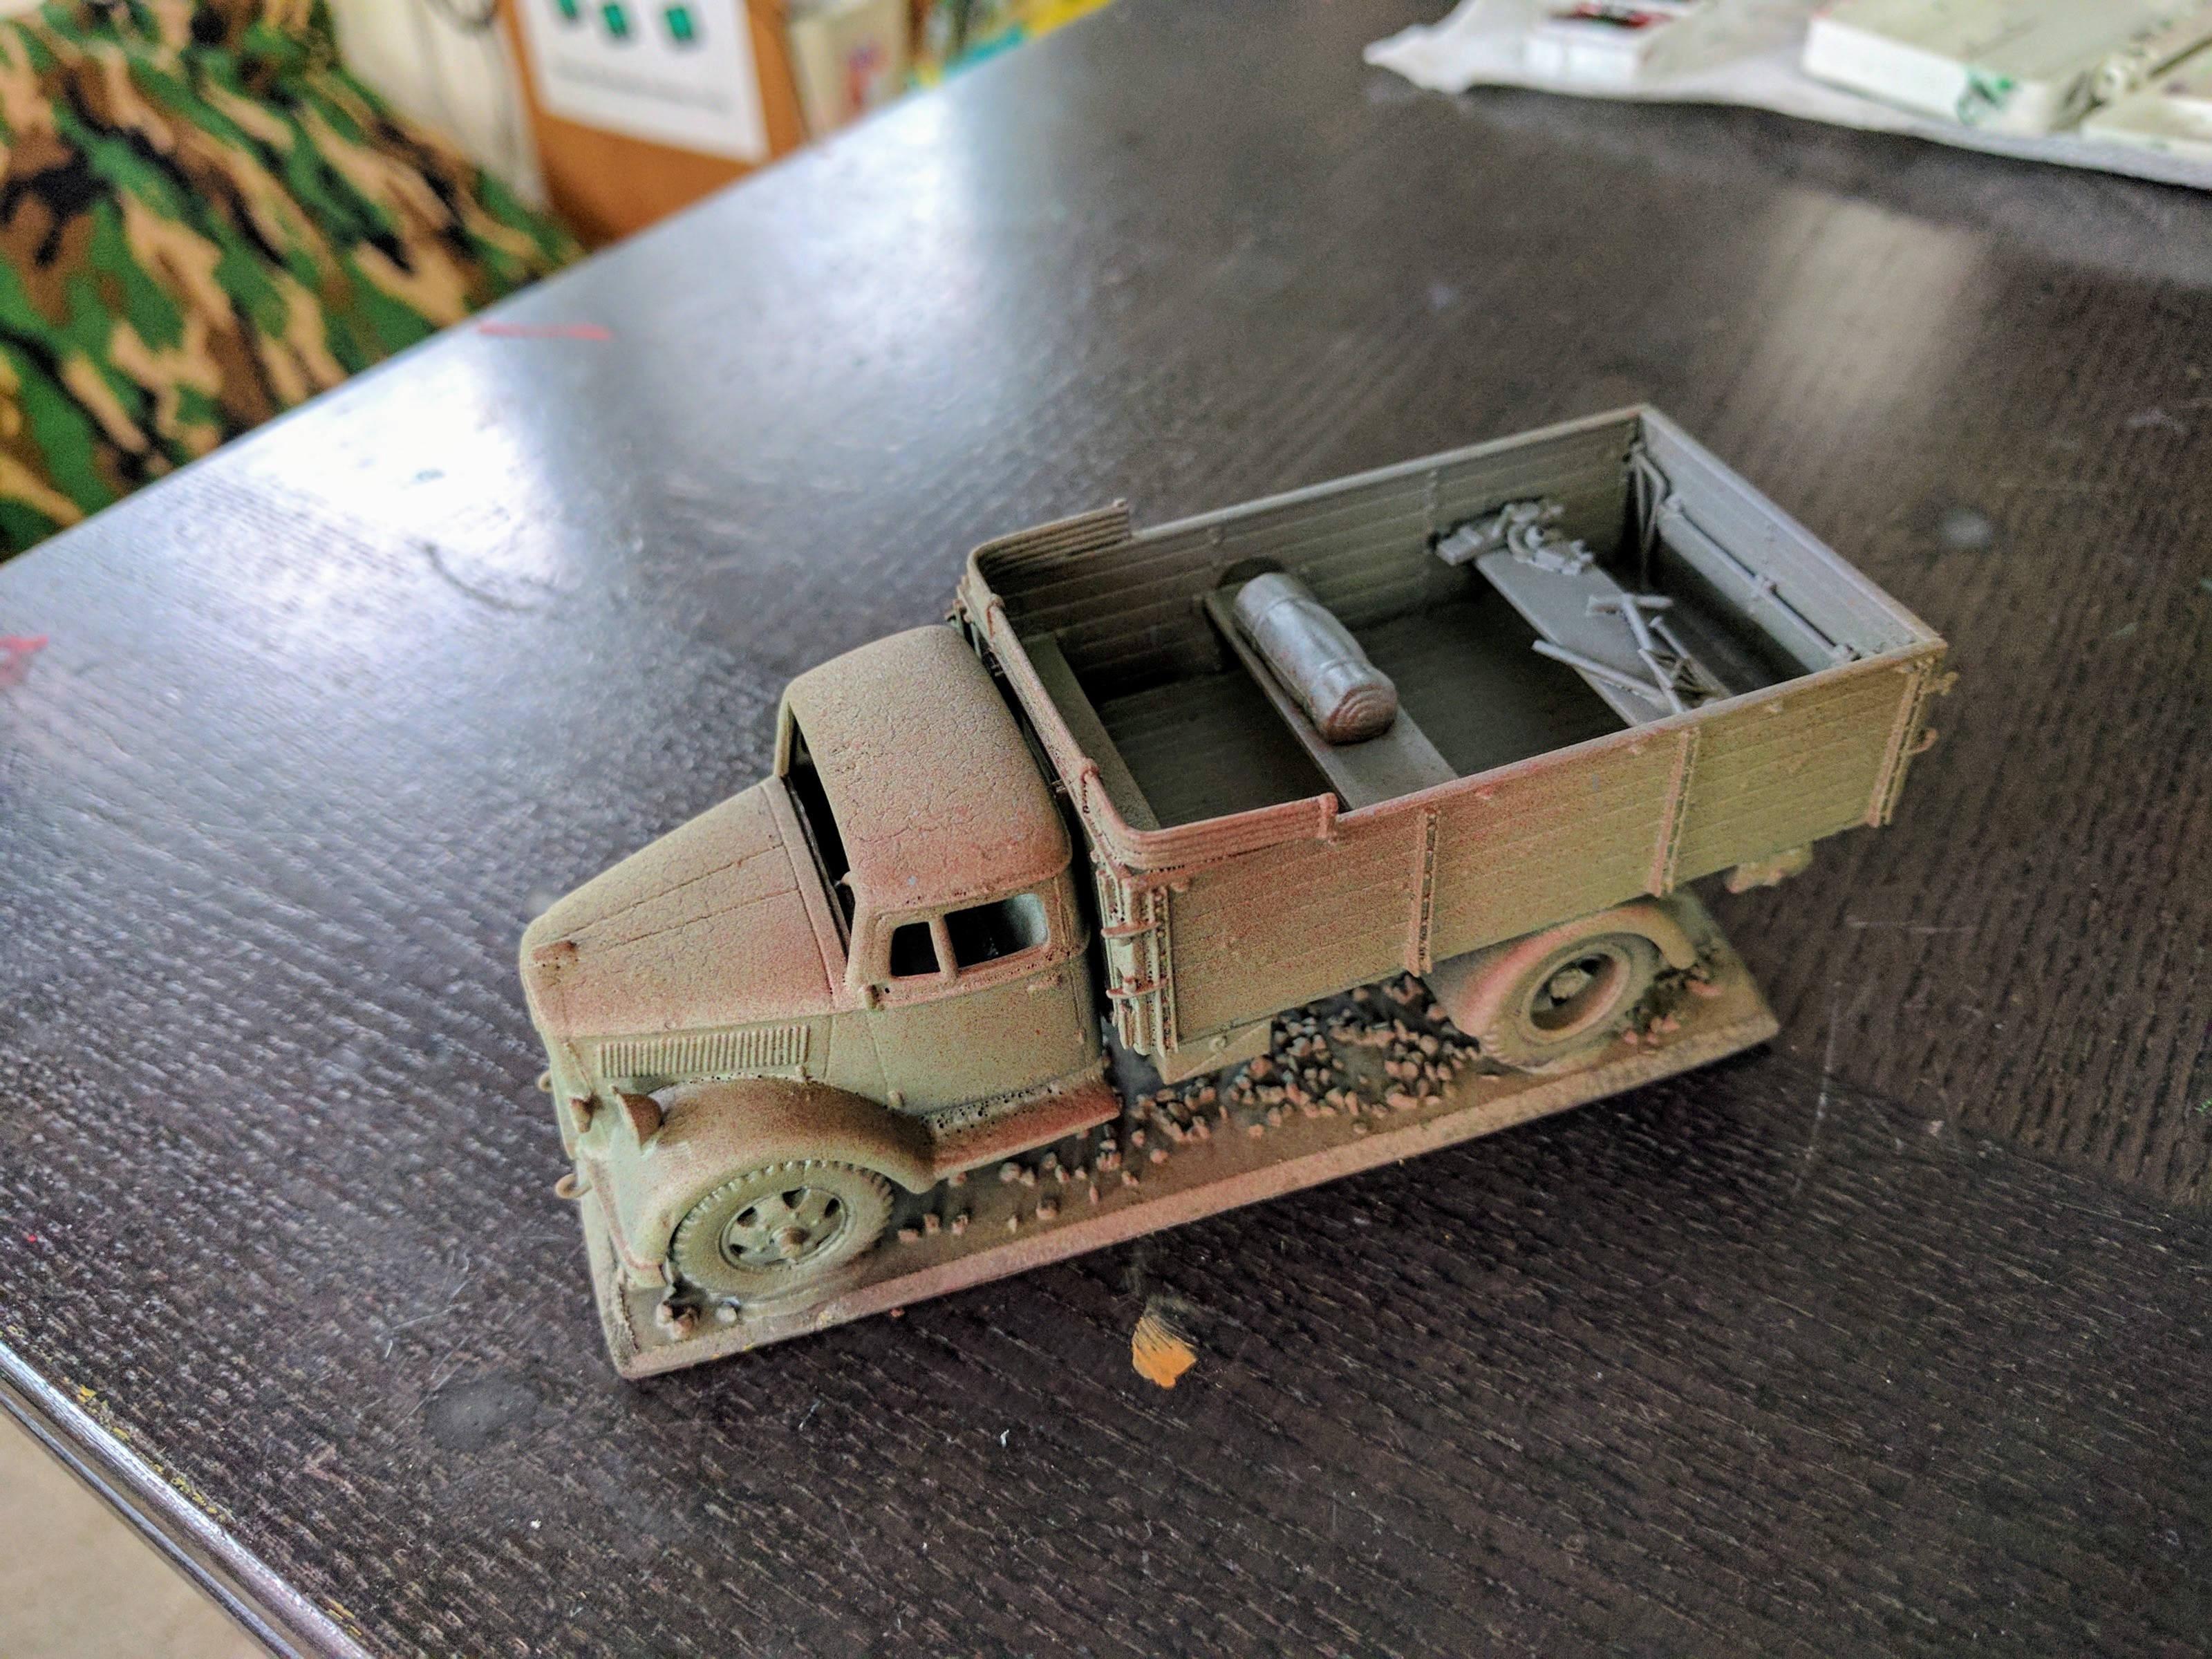
Weathered truck.
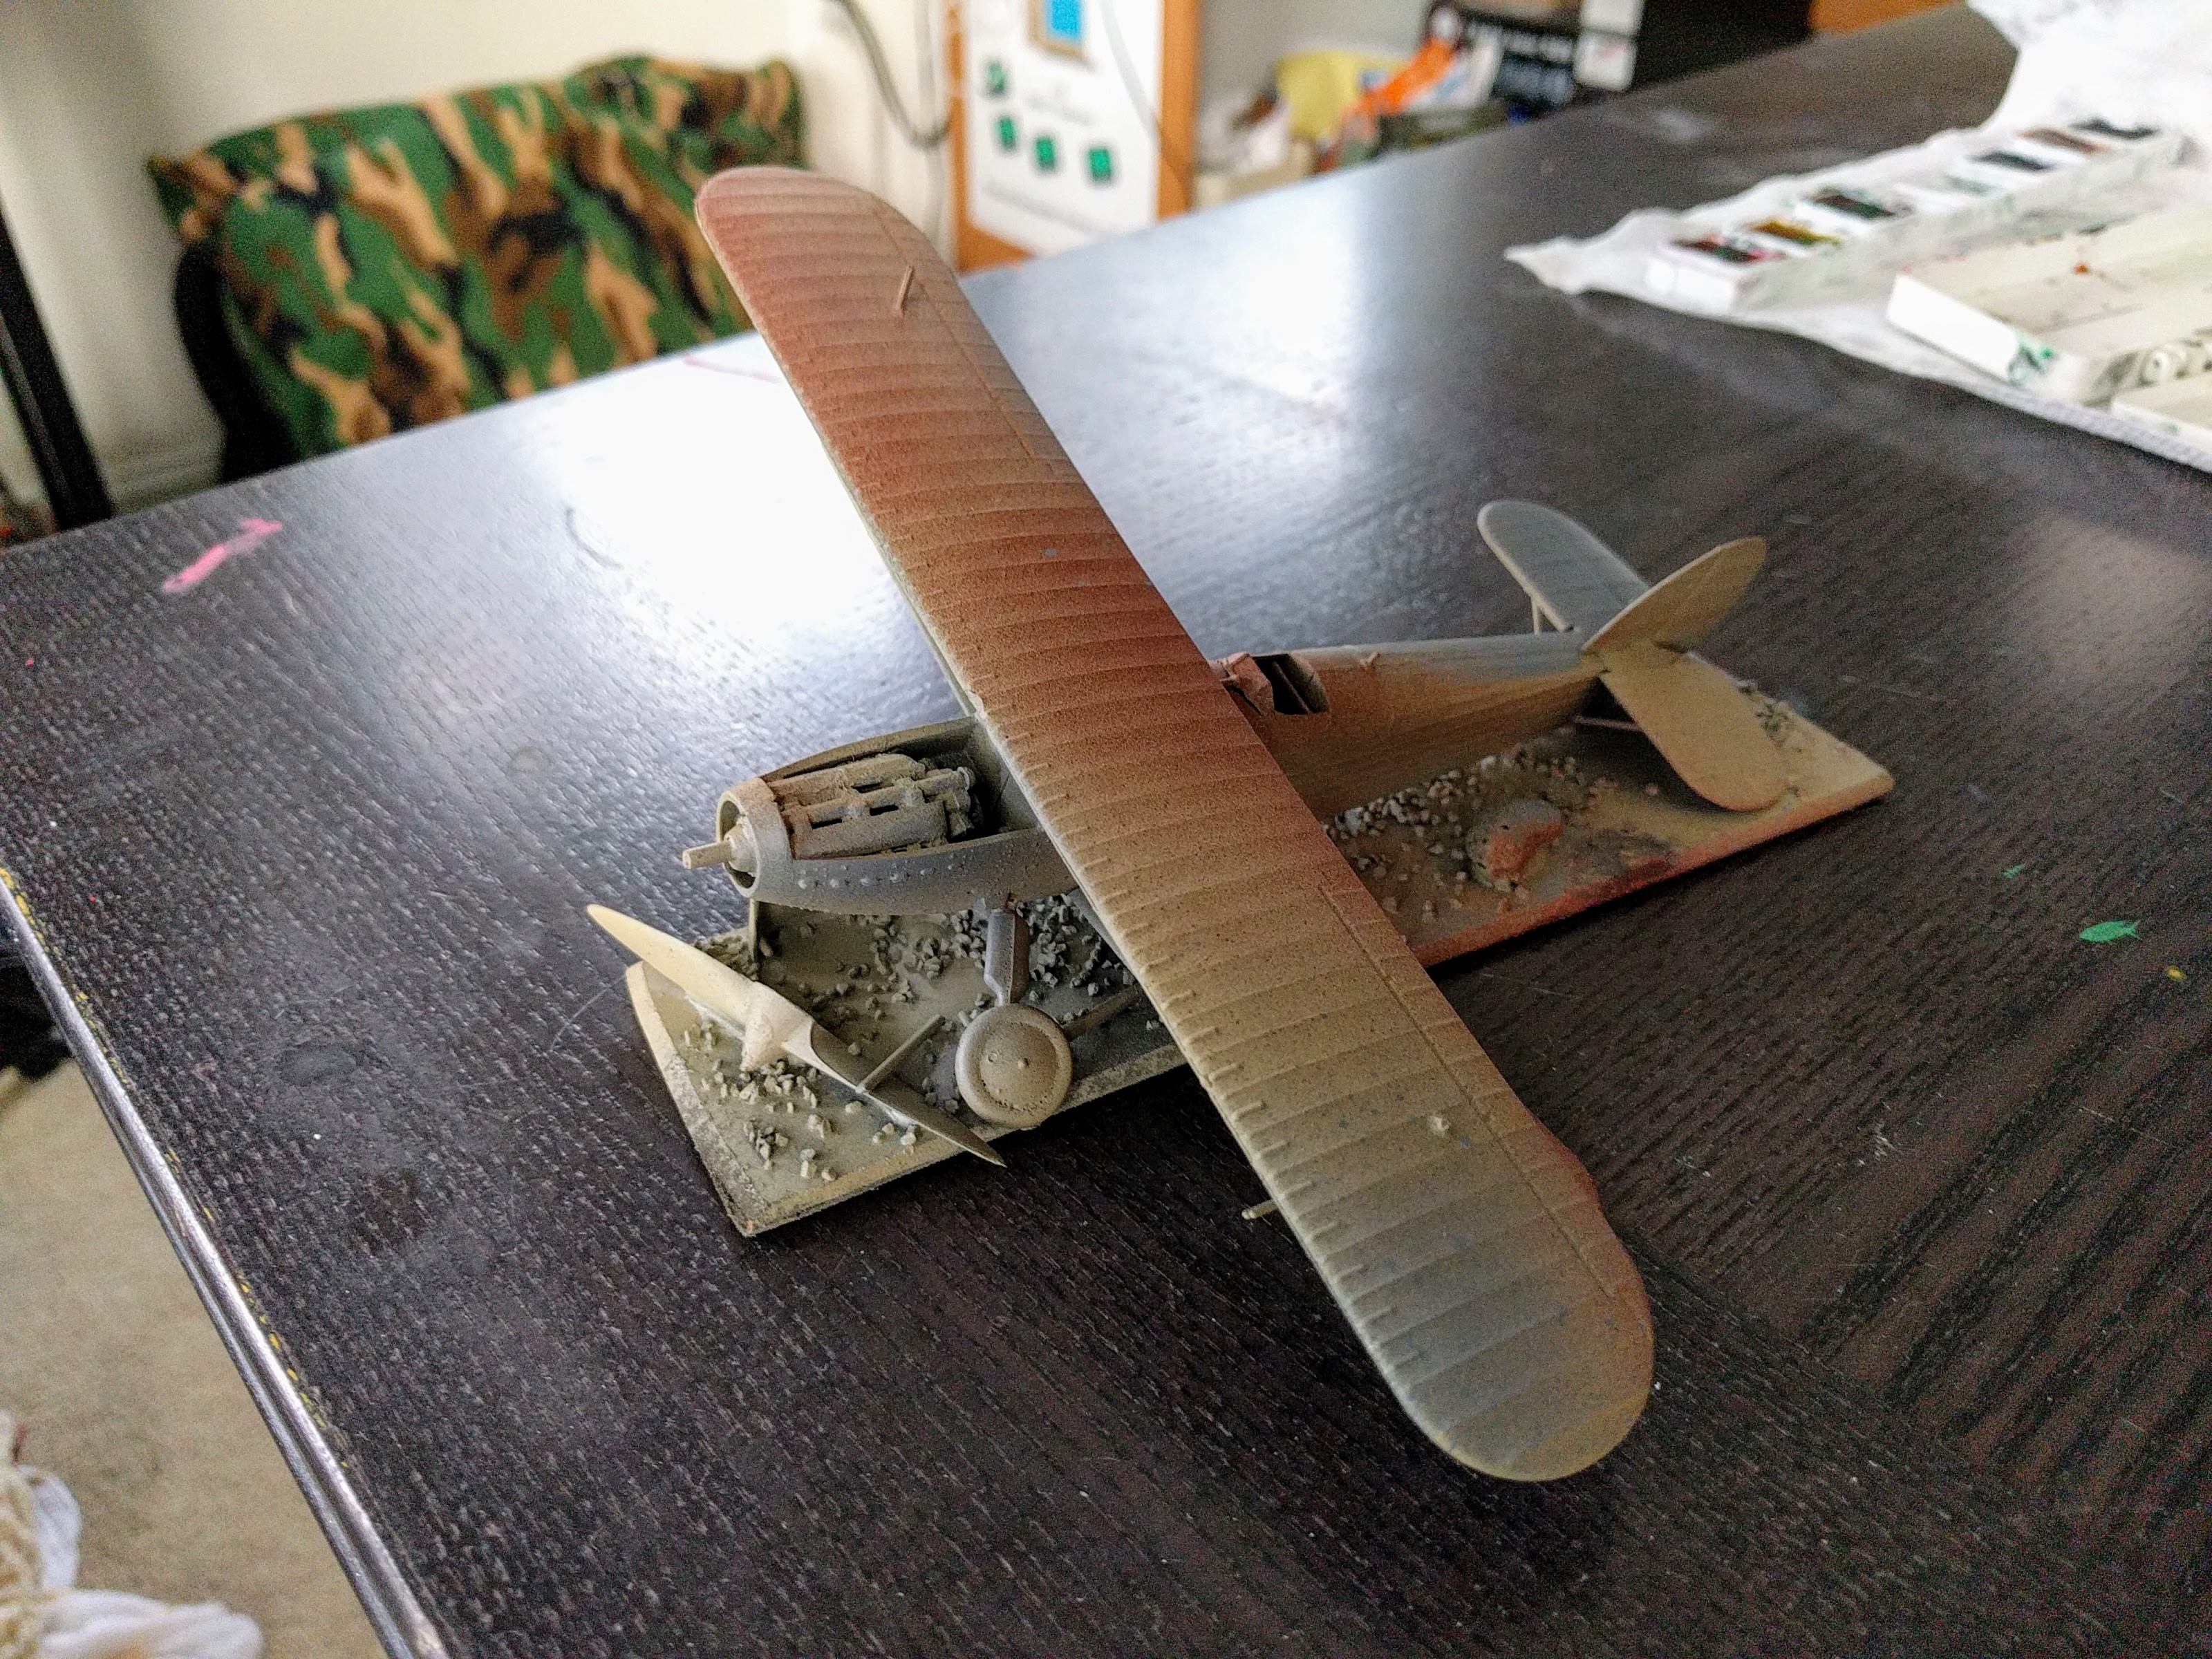
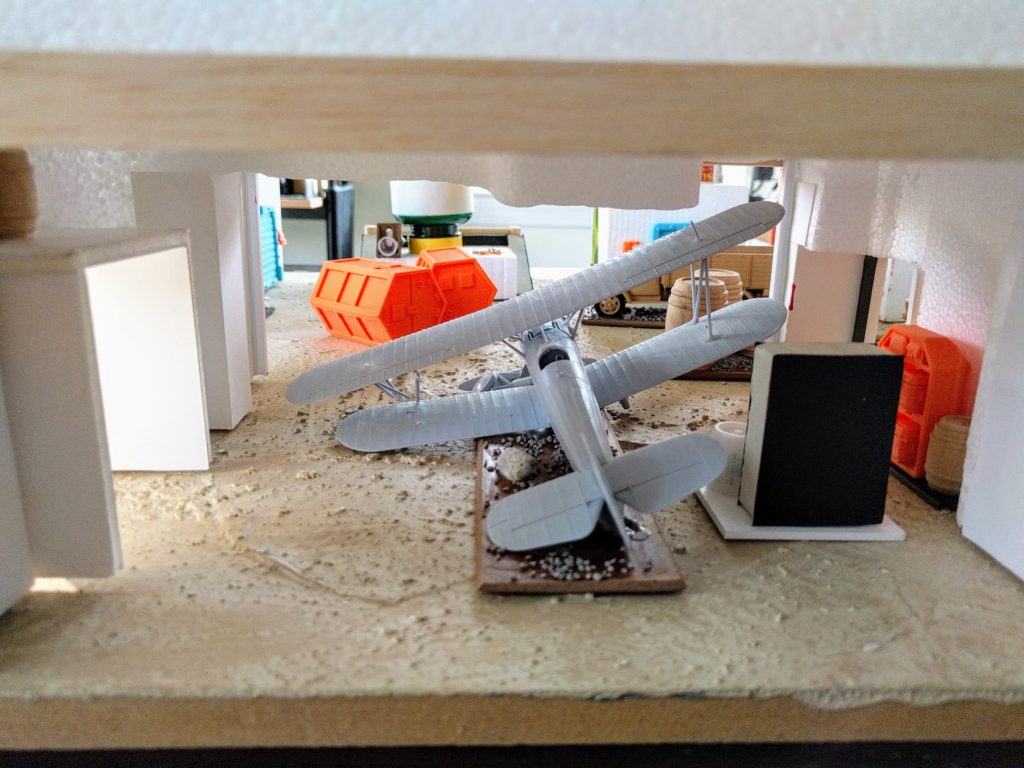
Weathered plane.
Weathered console.
Site Designations
Fortunately I did wind up with more time to work on the set. So I sat down for a marathon overnight session of detailing and finishing. A key theme throughout this though was still facing a time crunch, trying to add a bunch of visual appeal under tight time constraints before hopefully using it in an event the next day.
So, thinking about quickly adding color and detail, first I added some site designations. Using some cardboard alphanumeric stencils, I spray painted “E 7” on a bunch of the buildings. A medium tip ink pen then let me quickly outline the lettering with thin, clean black lines. Of course the new lettering stood out against the weathering sprays, so it then got drybrushed appropriately to wear it back into the pieces.
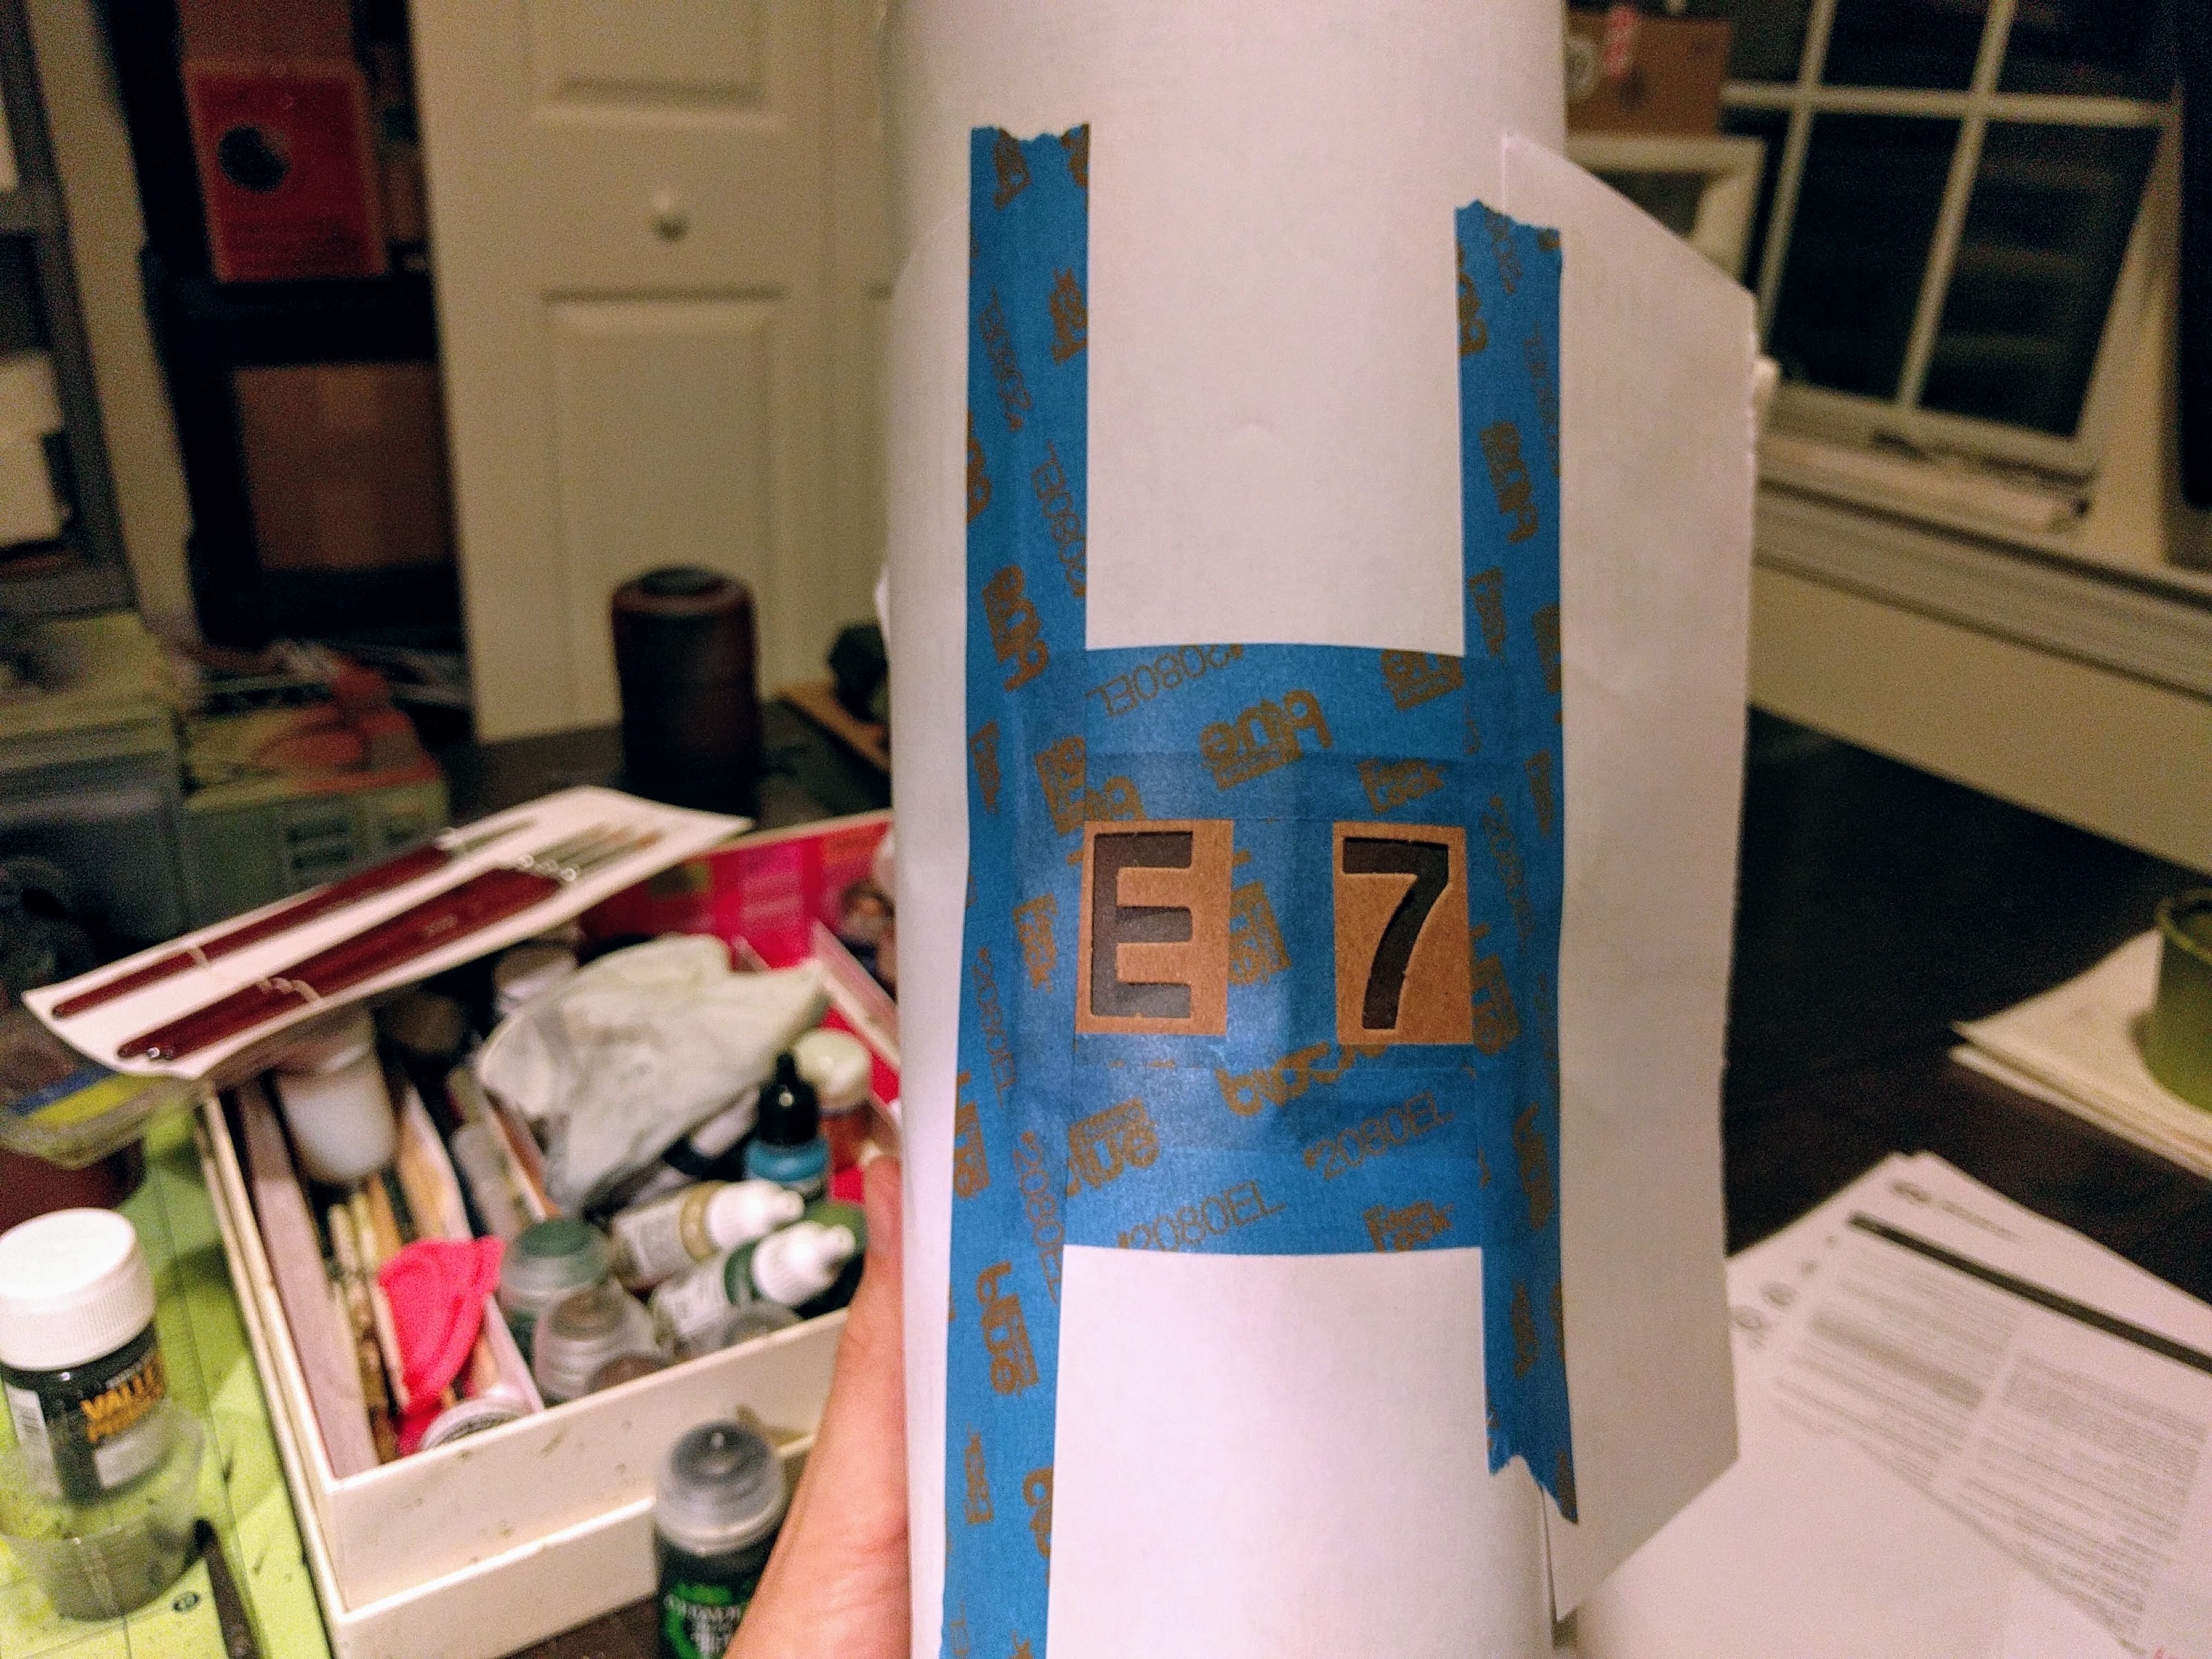
Stencil masking the site designation on the silo.
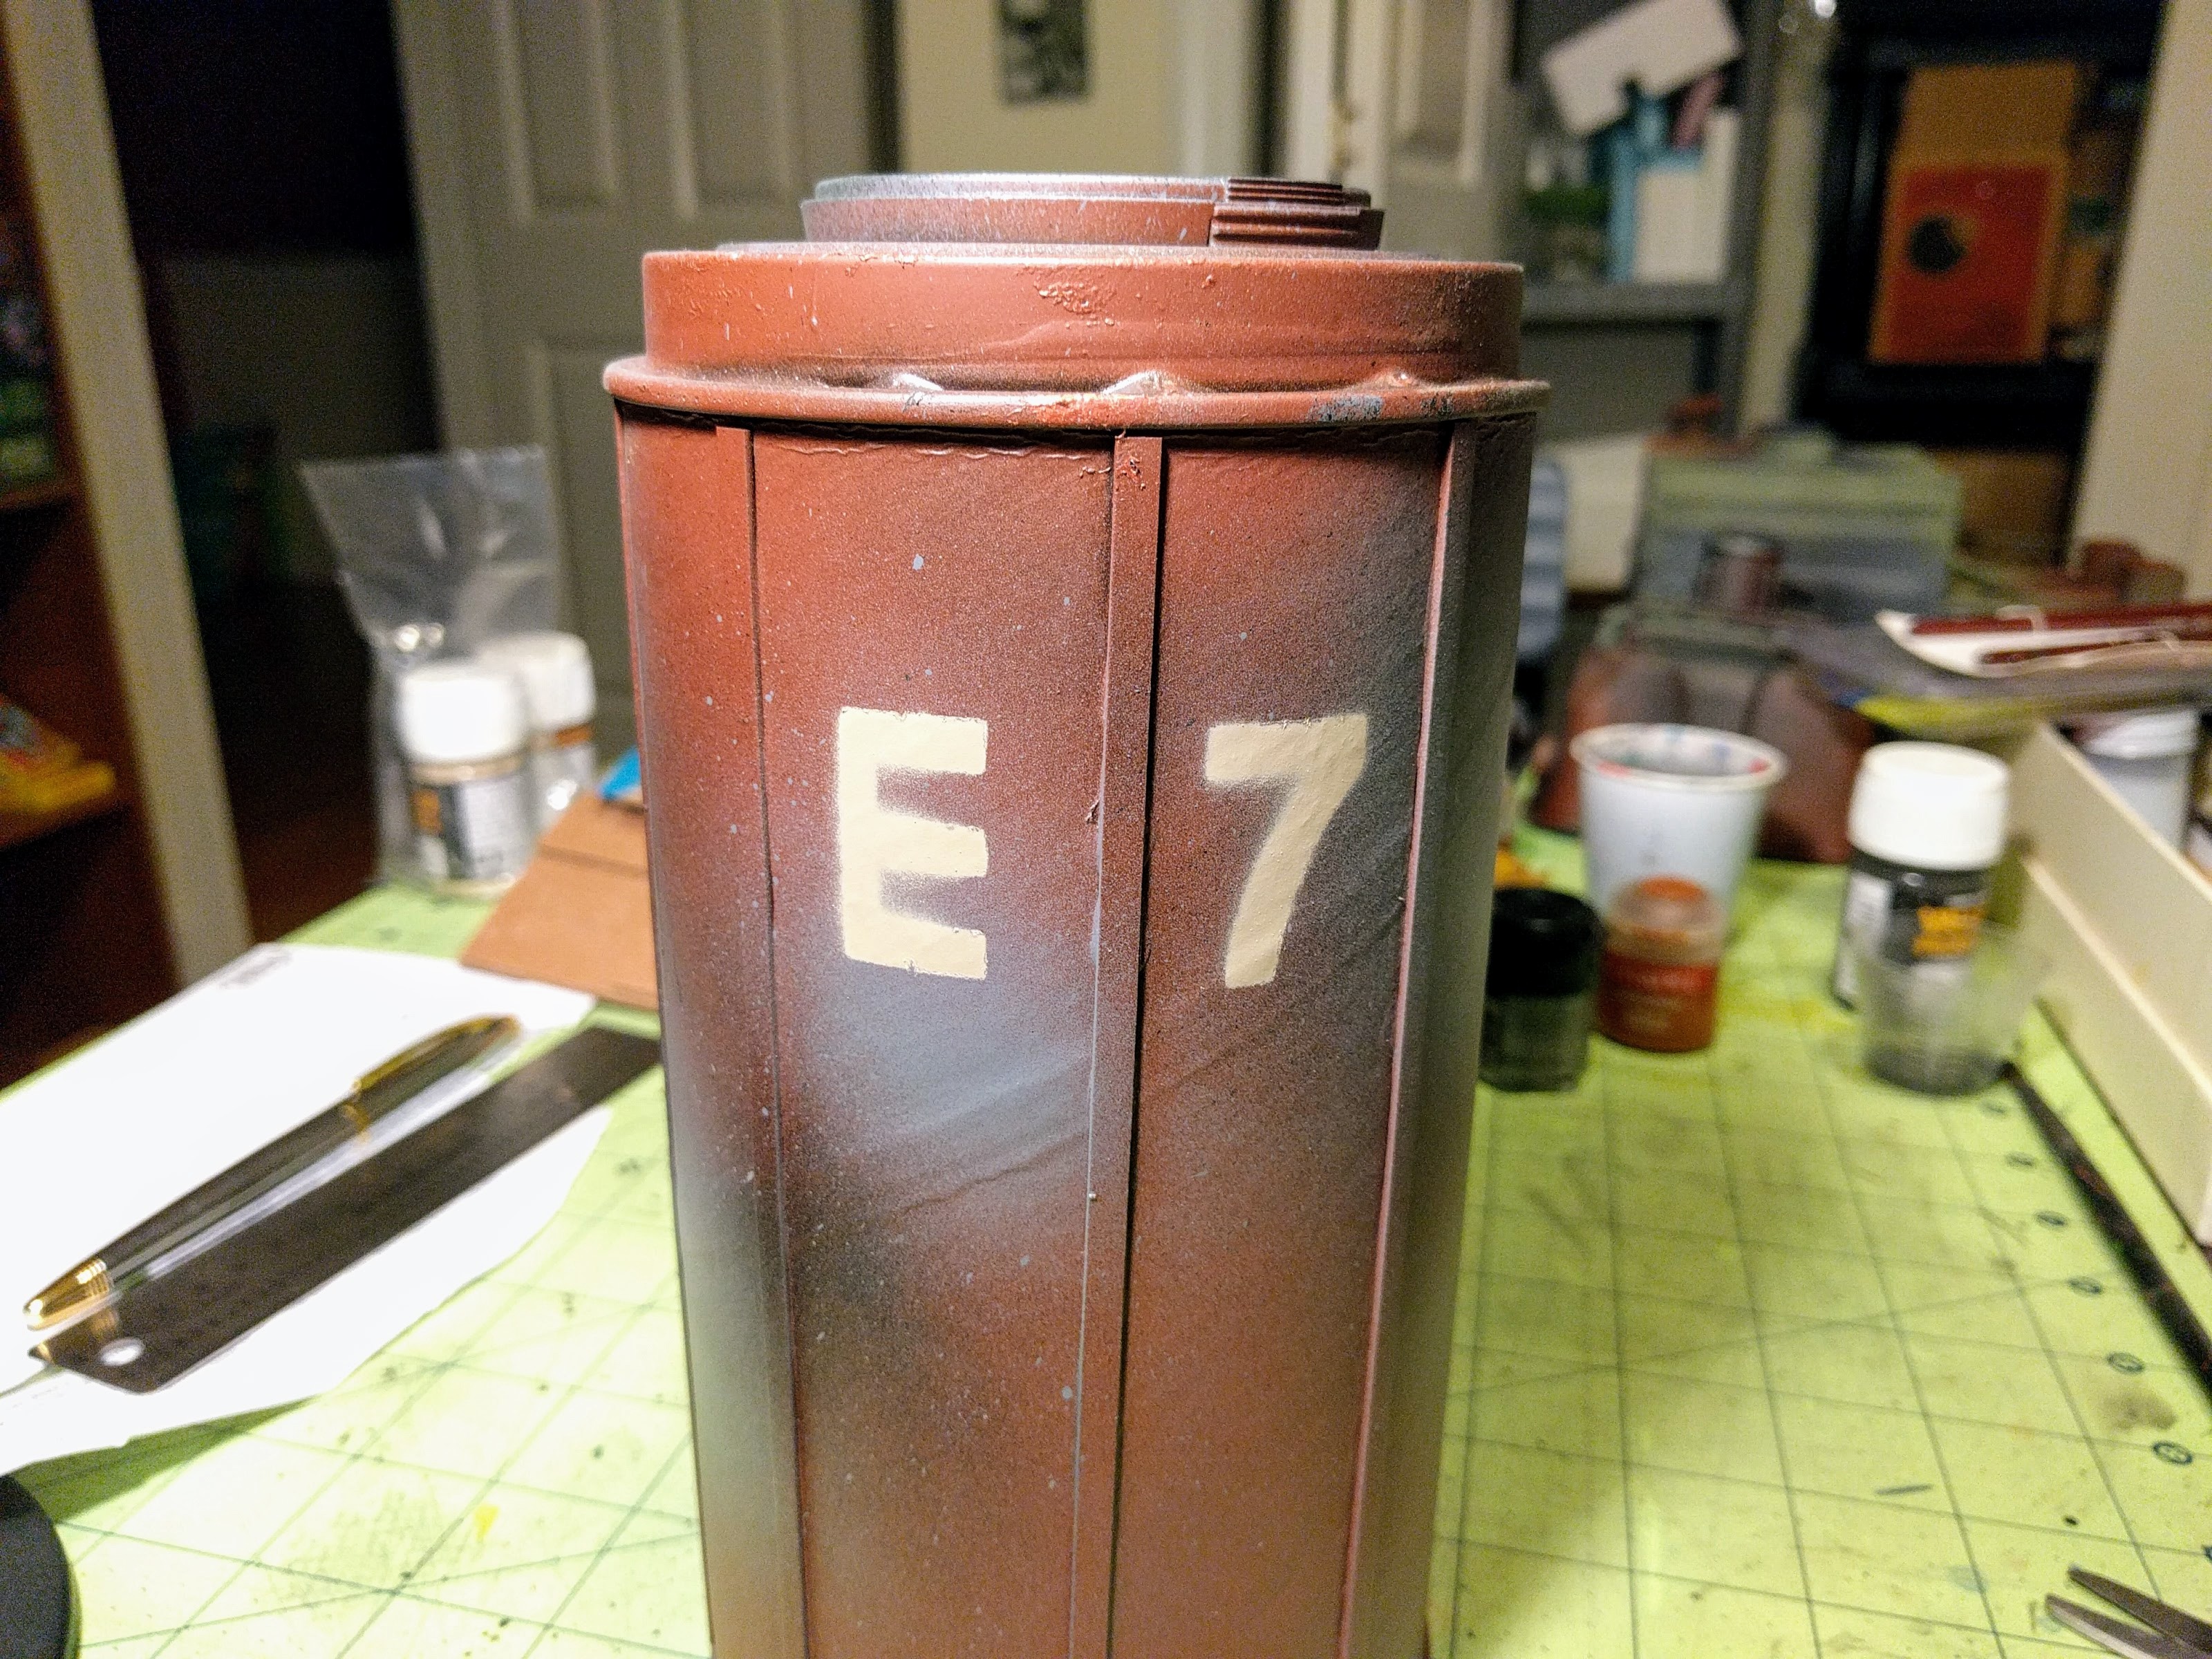
Site designation after removing the stencil.
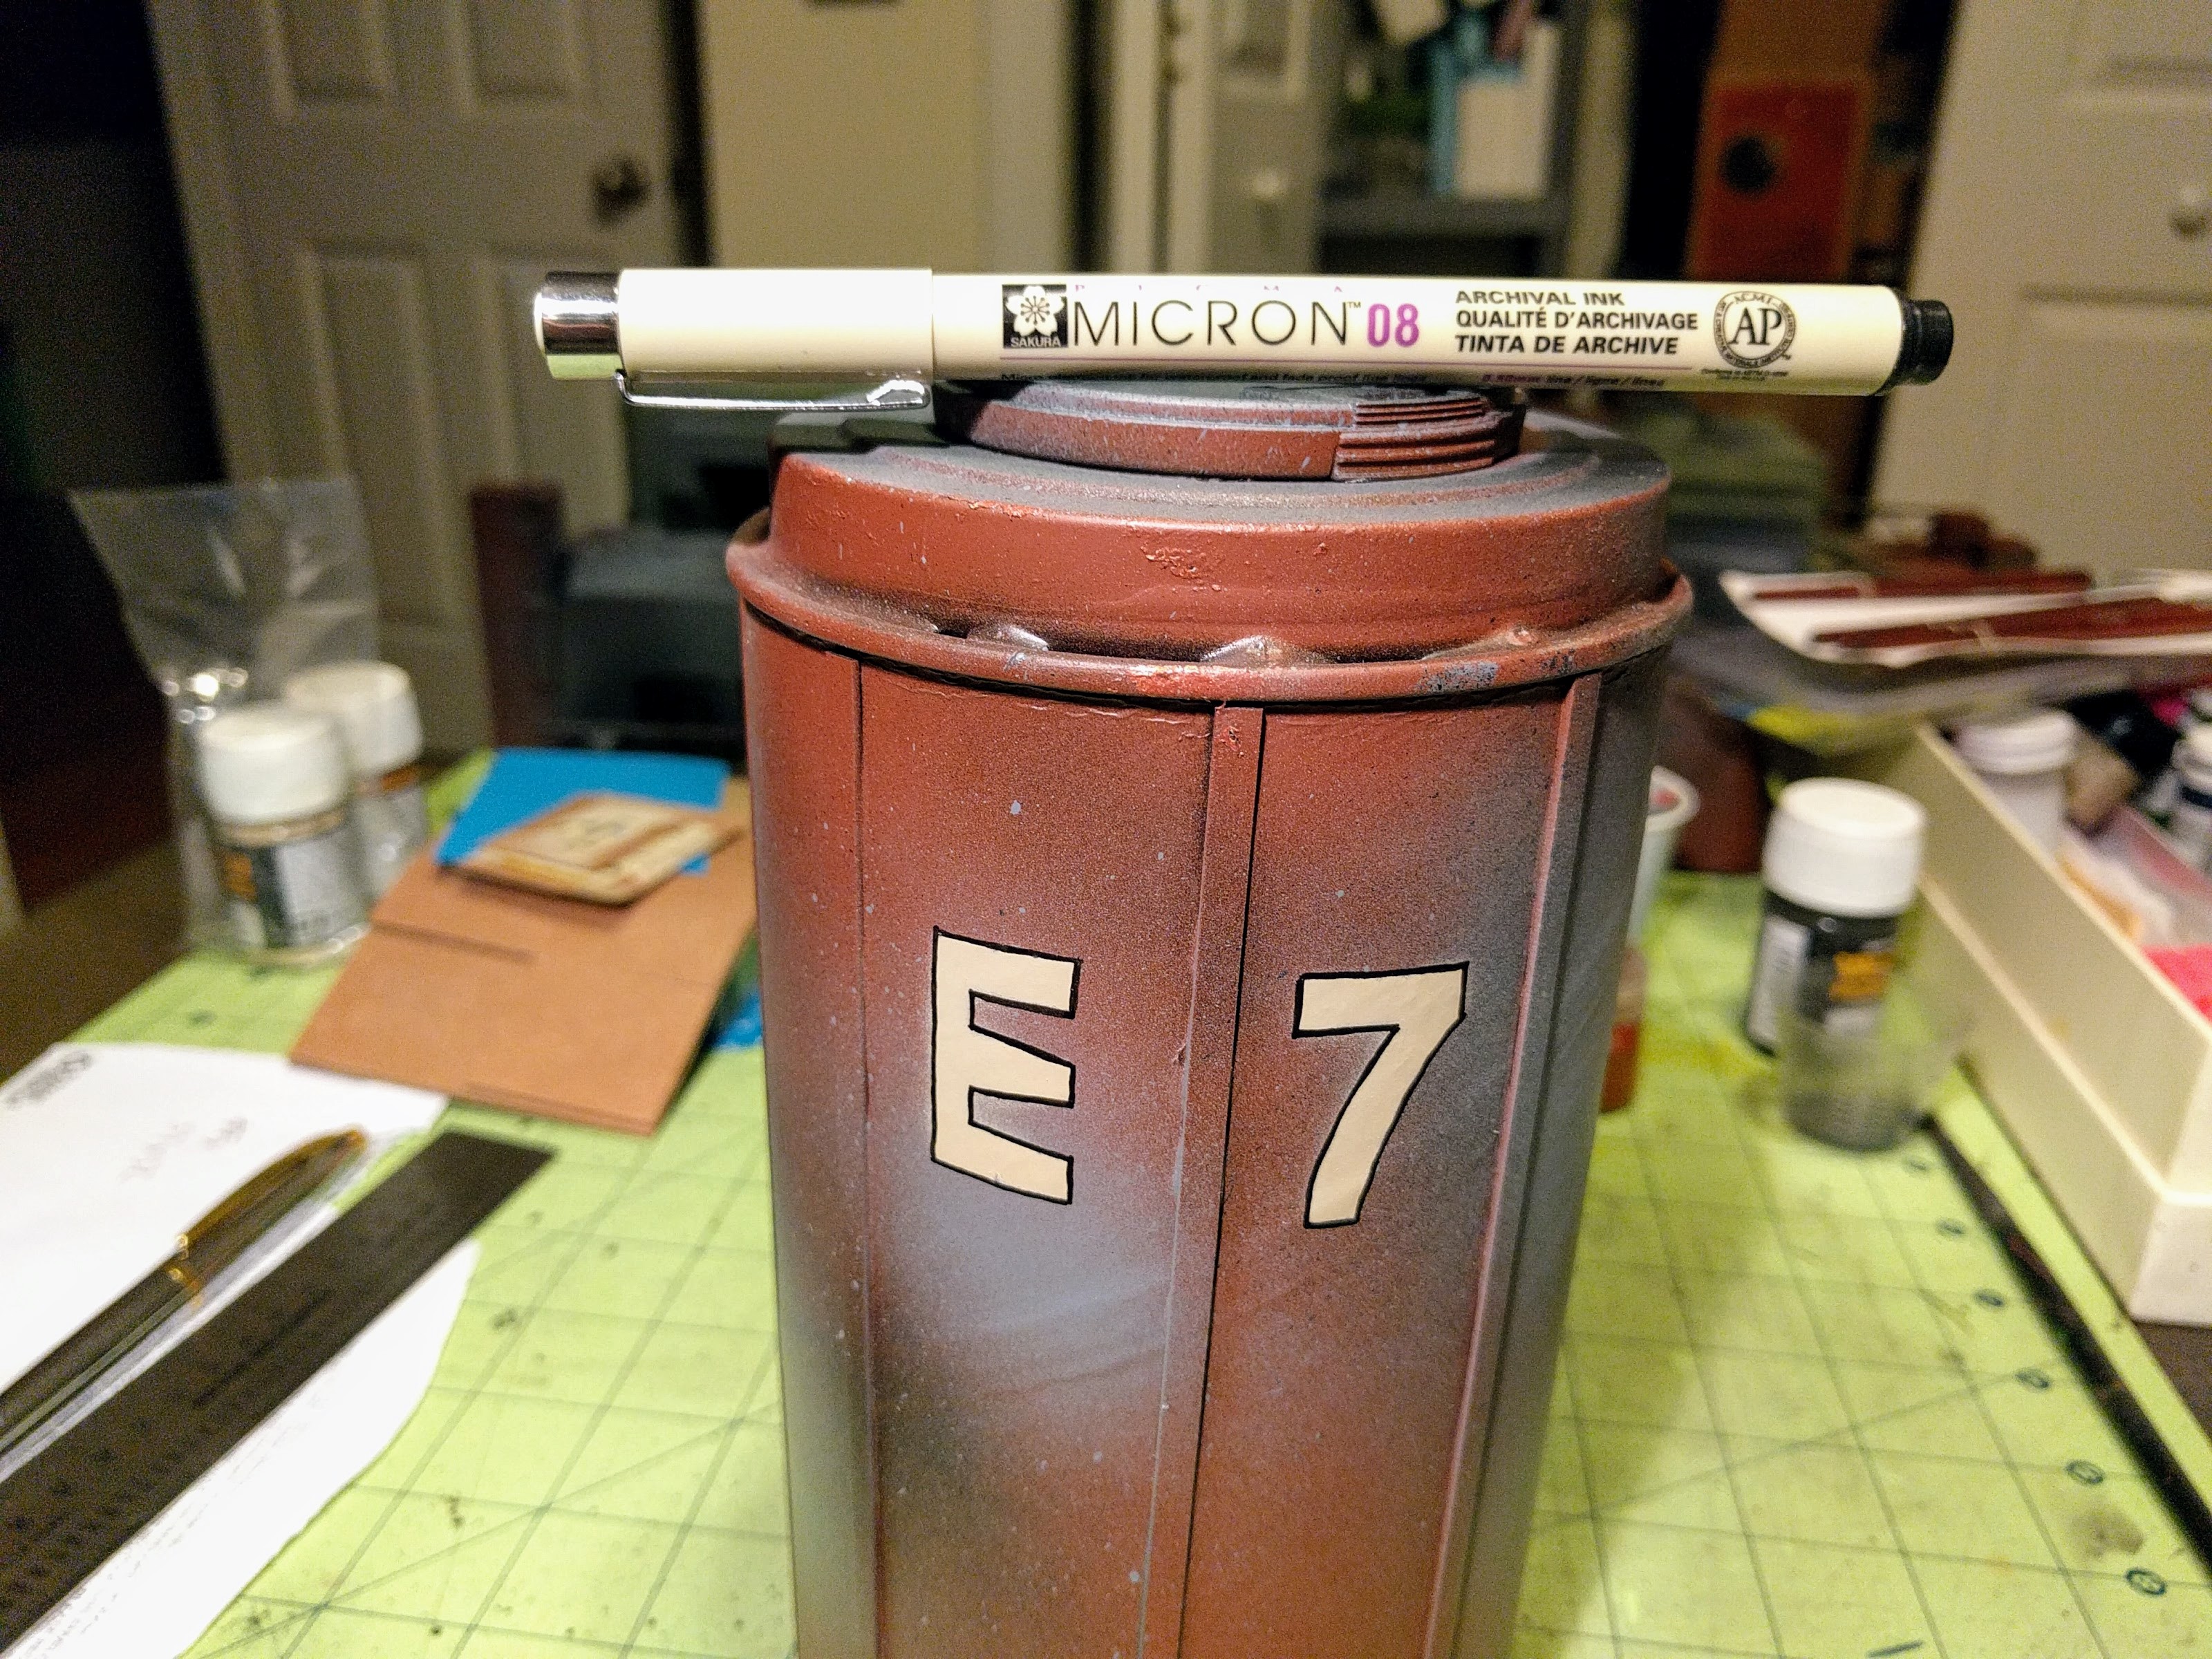
Outlining the lettering with an ink pen.
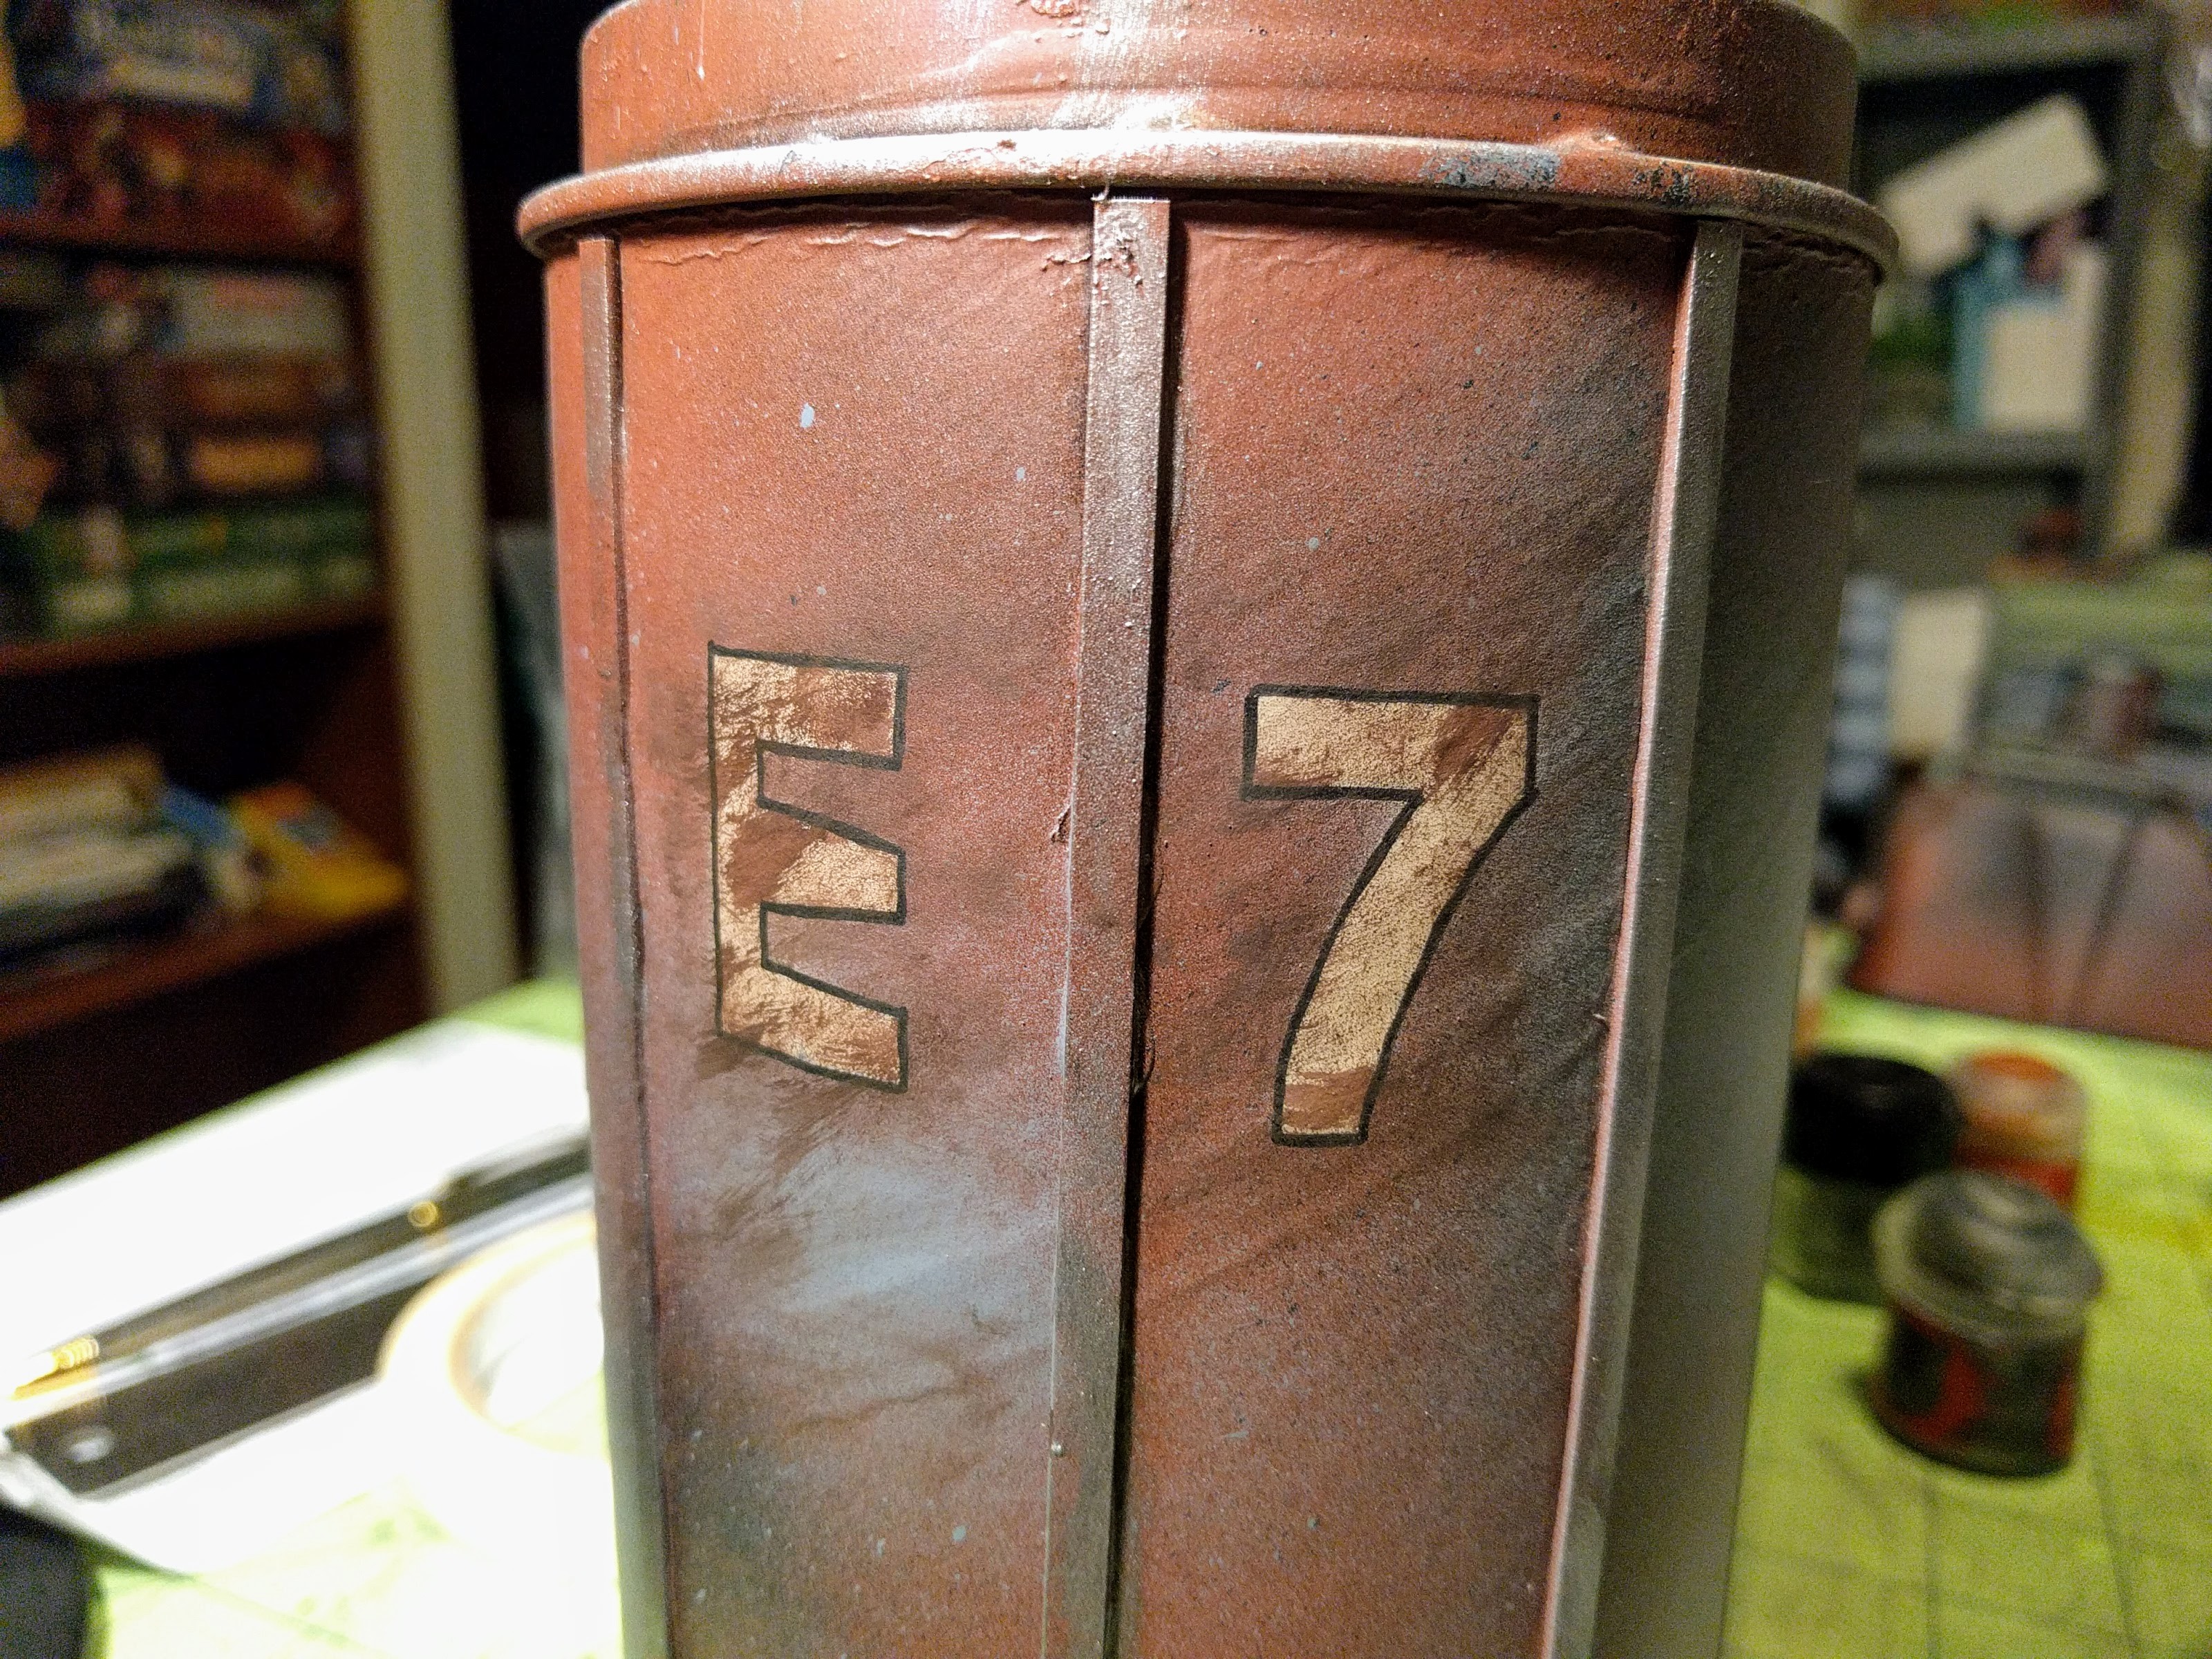
Drybrushing over the site designation to blend it into the weathered paint.
Hazard Stripes
Another quick way to add color and life to the scene was to throw a bunch of hazard stripes on various pieces. These were done real quickly by brushing on several coats of dark yellow, taping off the yellow stripes, brushing on black, and then drybrushing the whole stripe appropriately to weather and blend it into the piece.
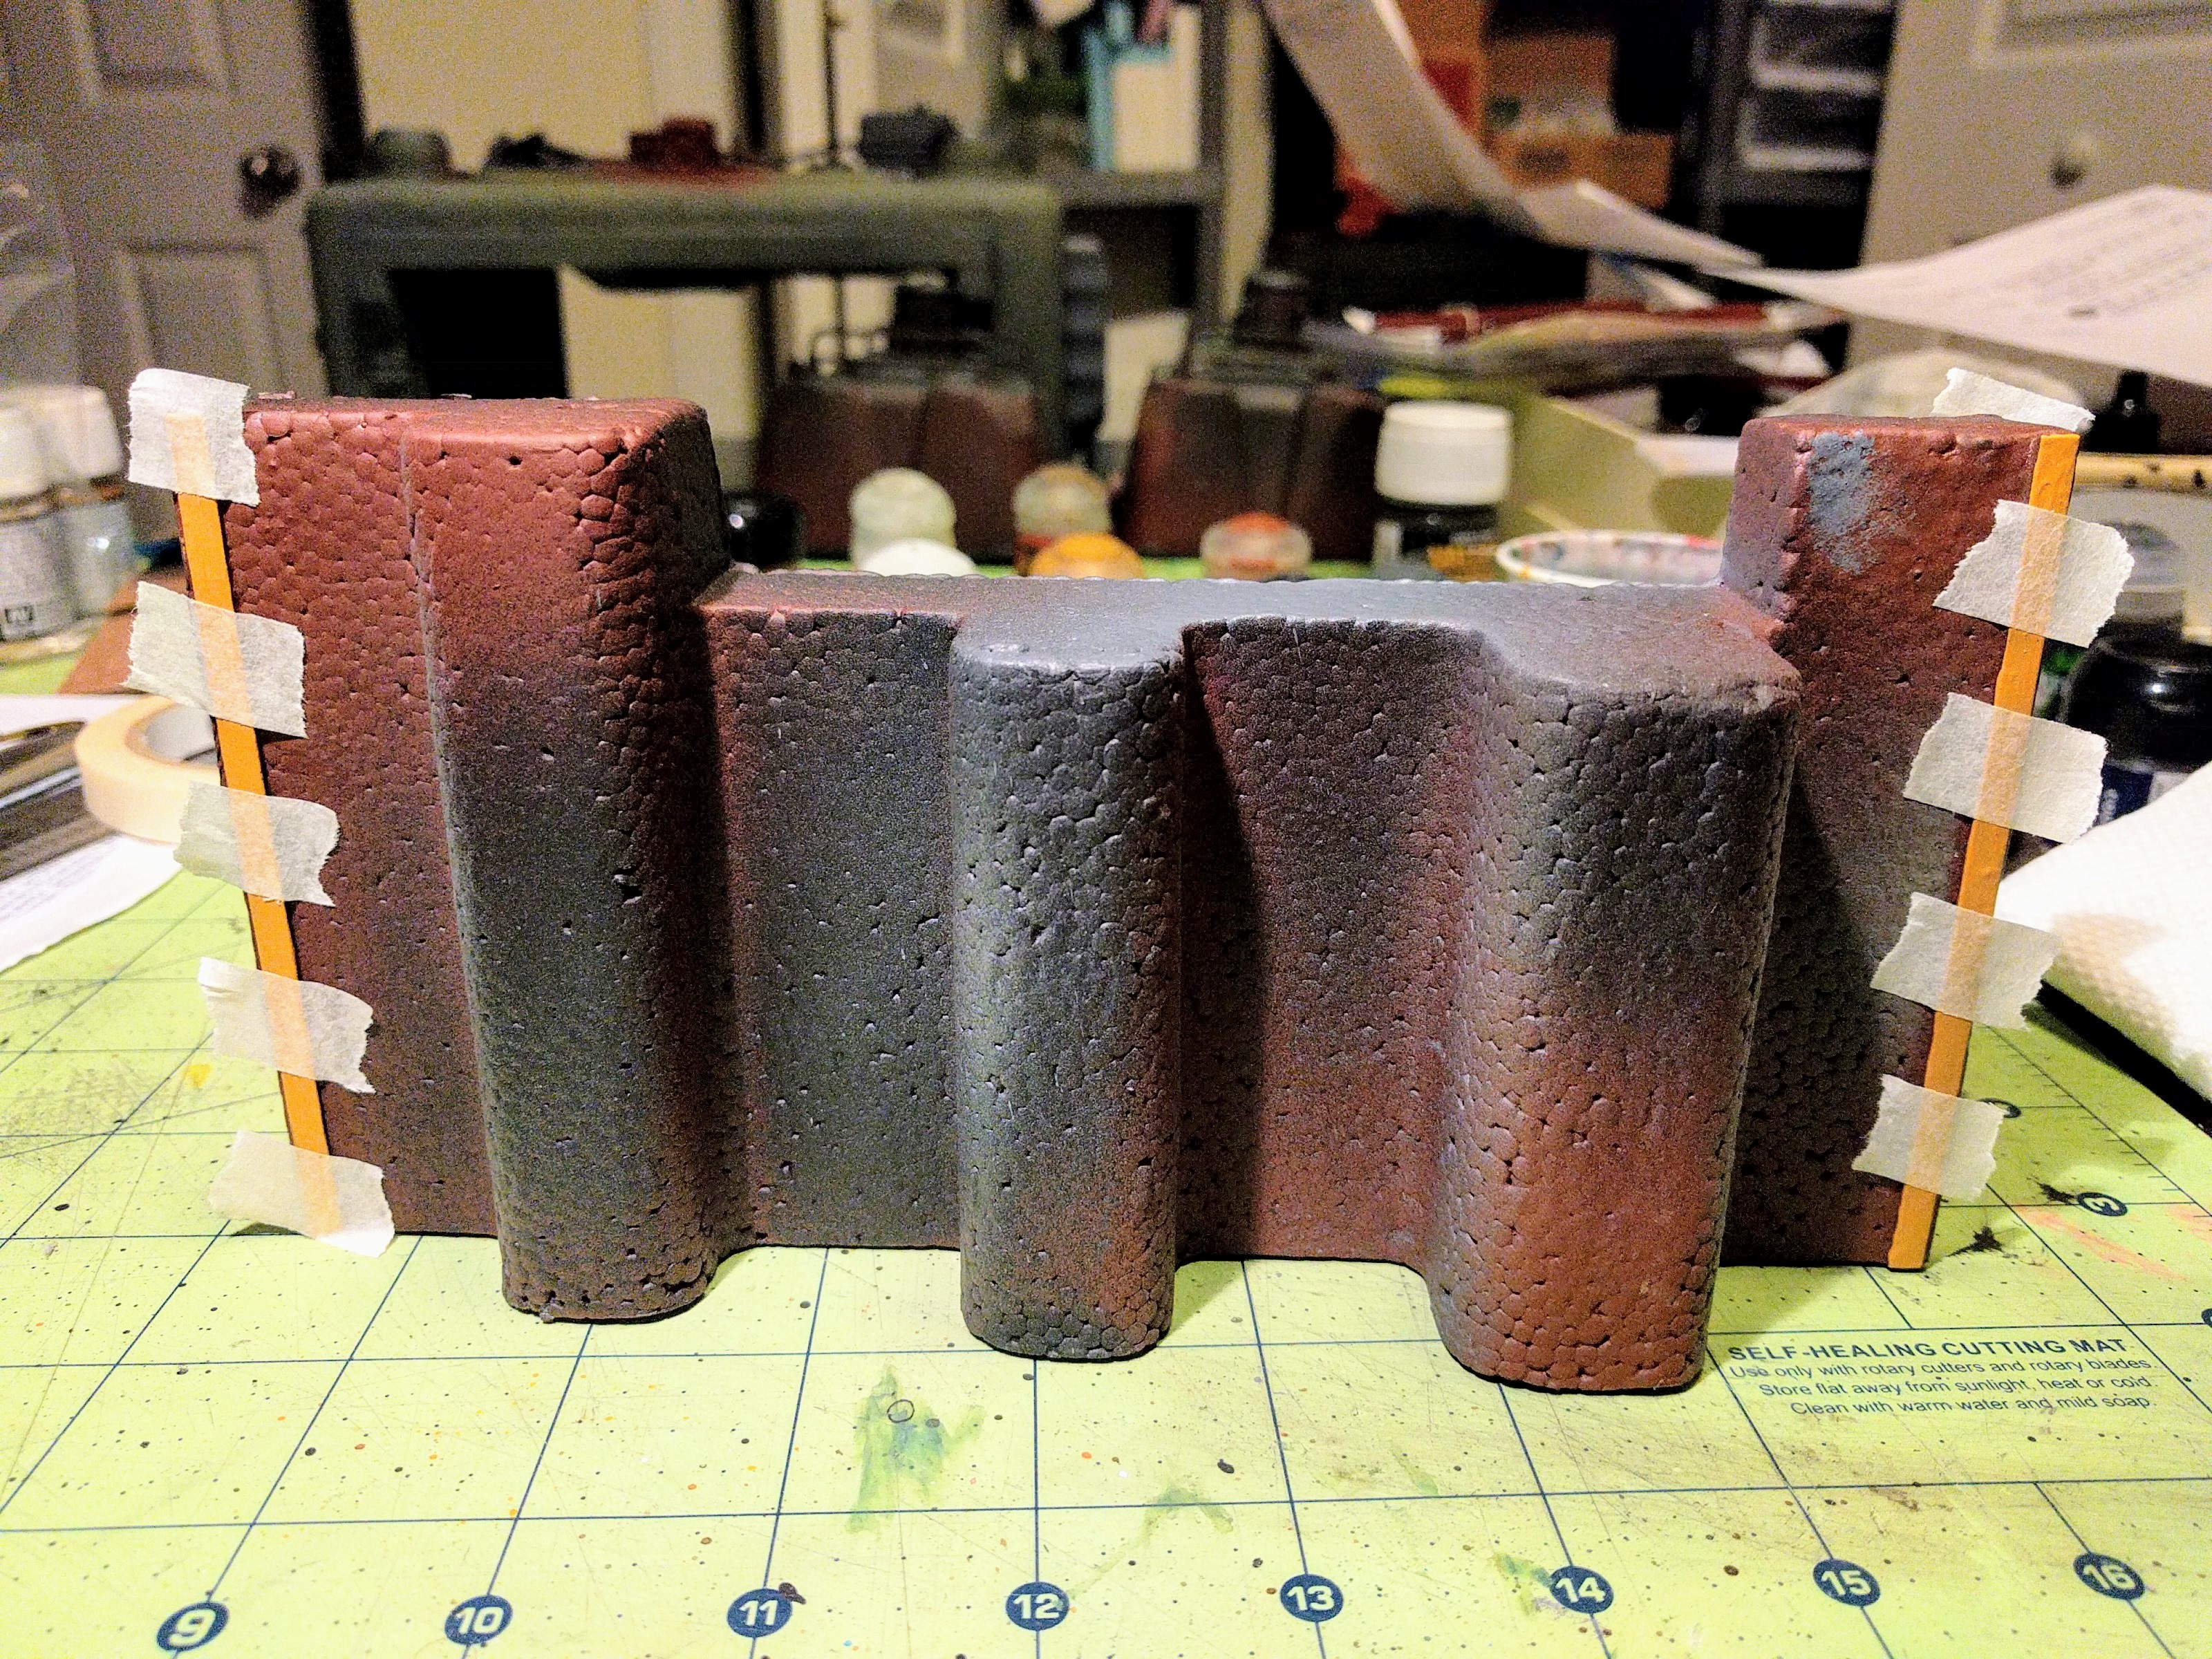
Hazard stripes inverse masked on a solid yellow base.
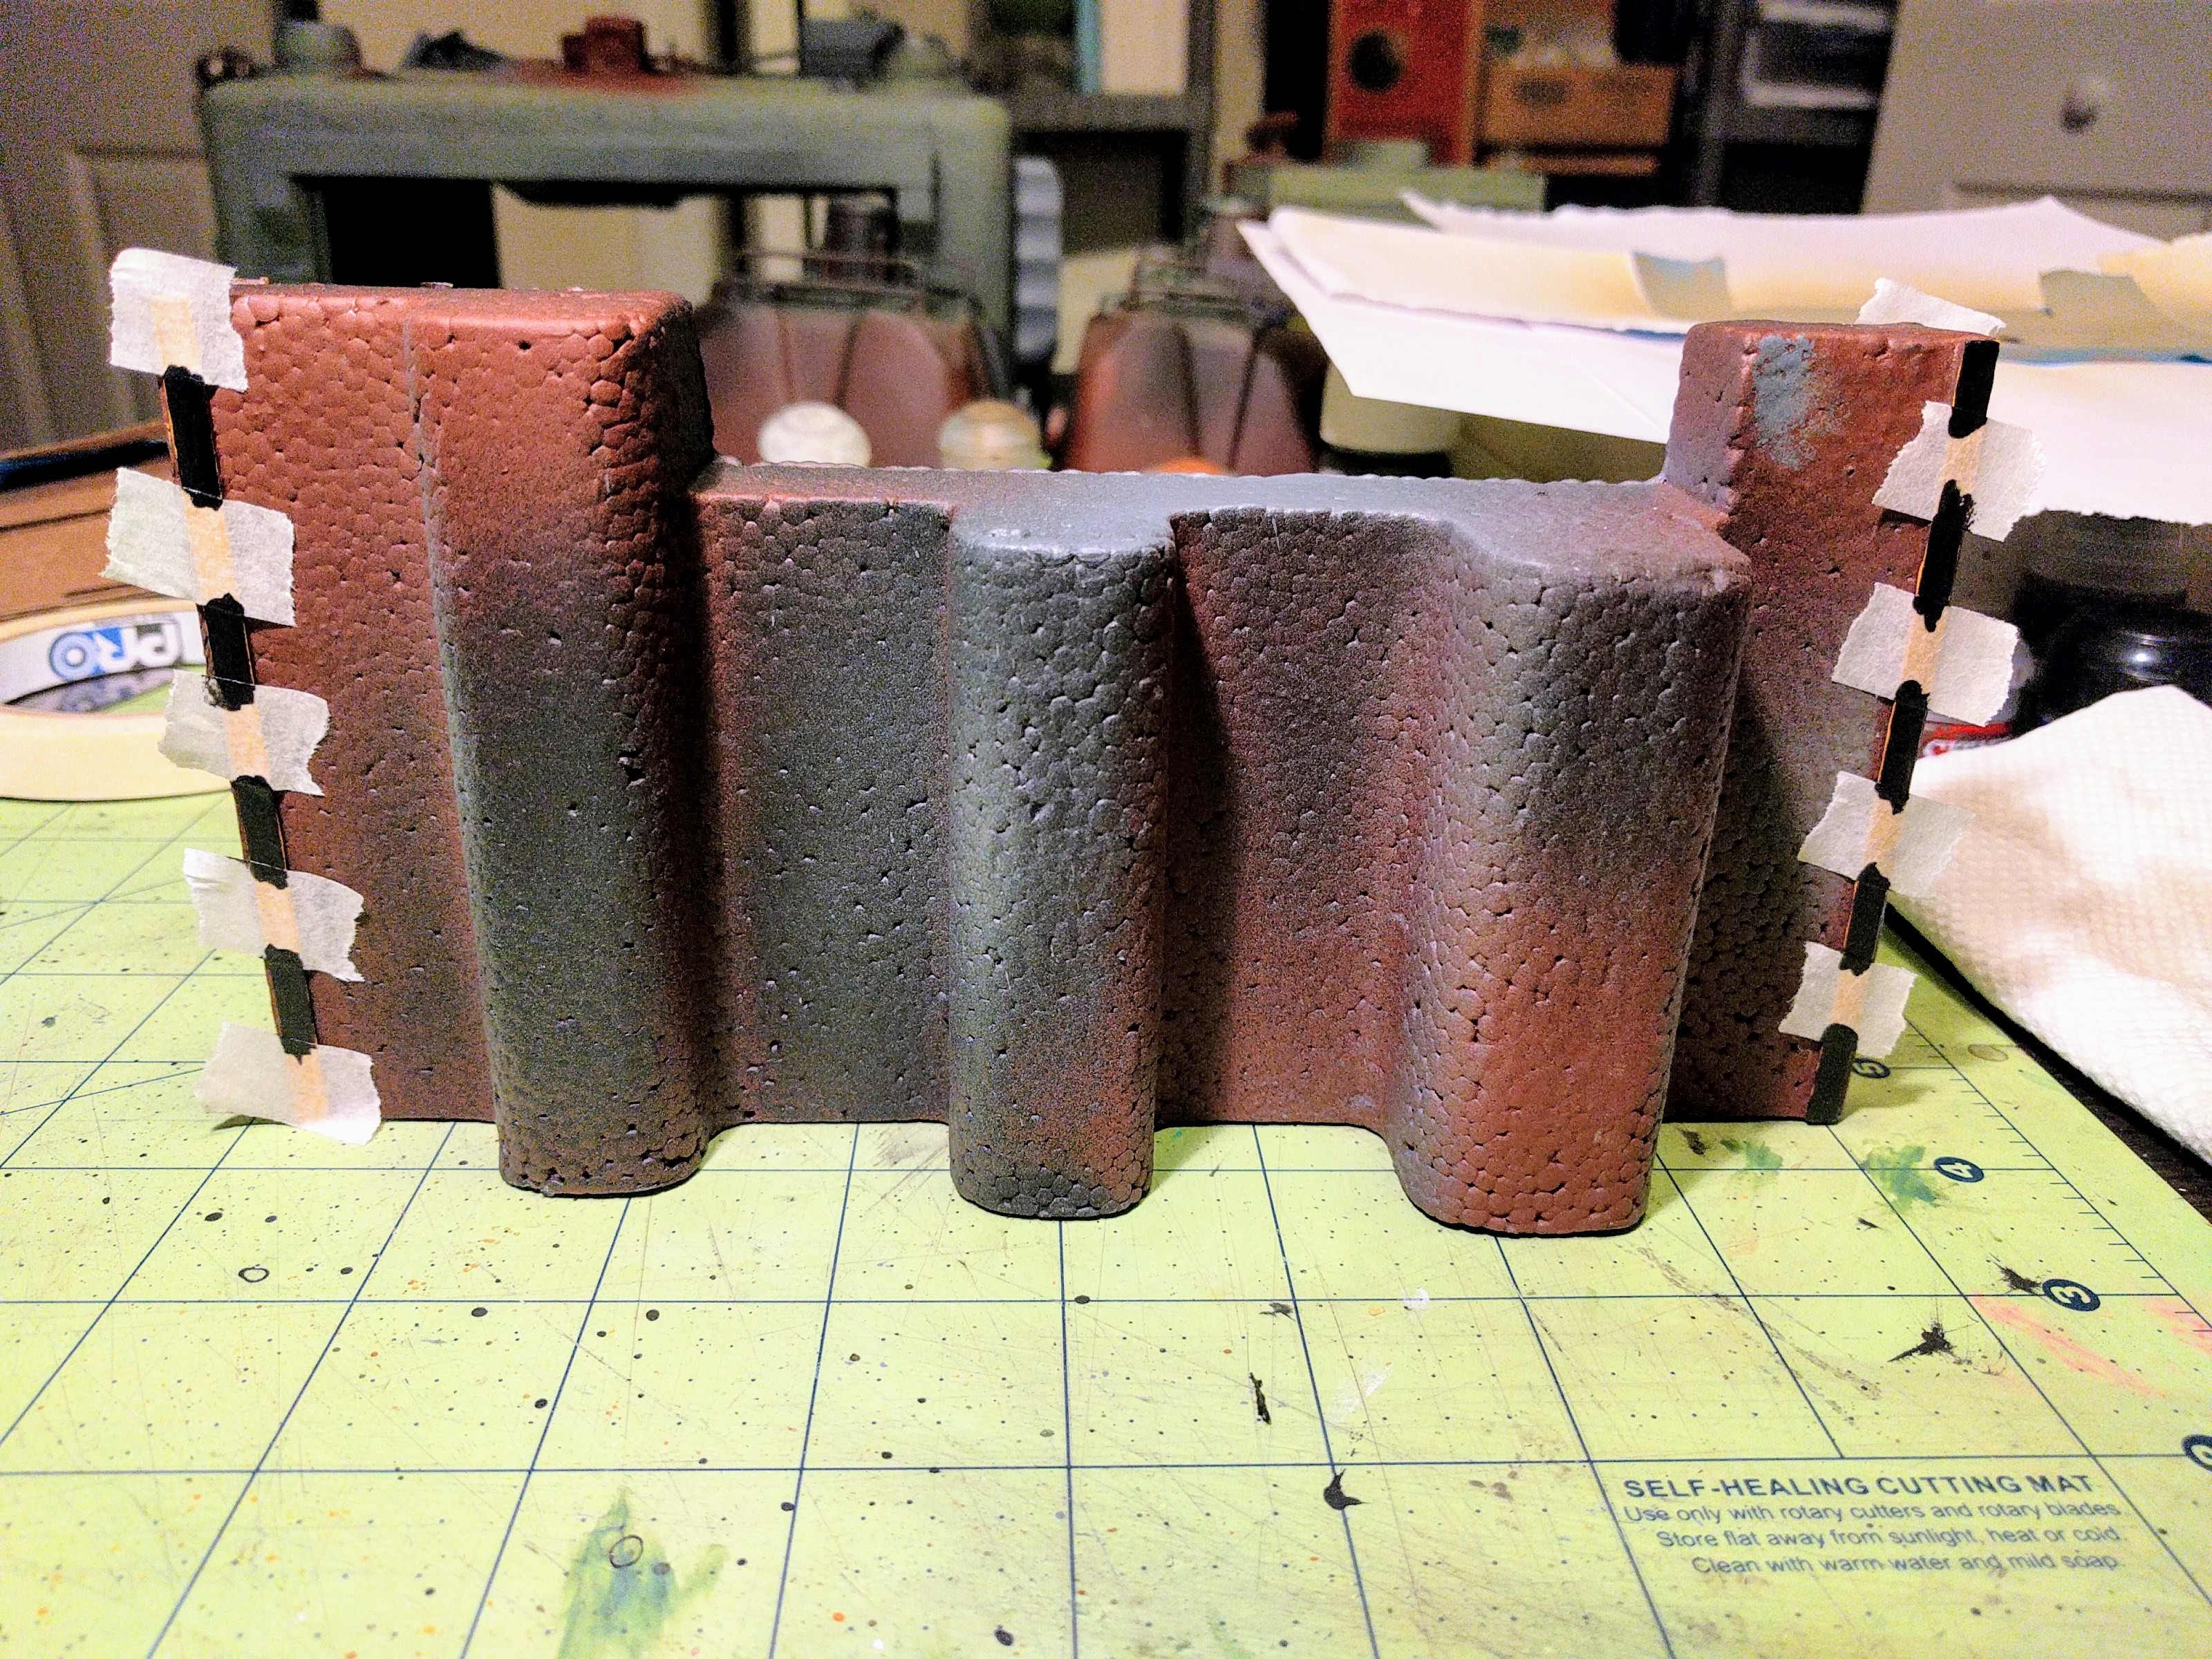
Black part of hazard stripes painted on.
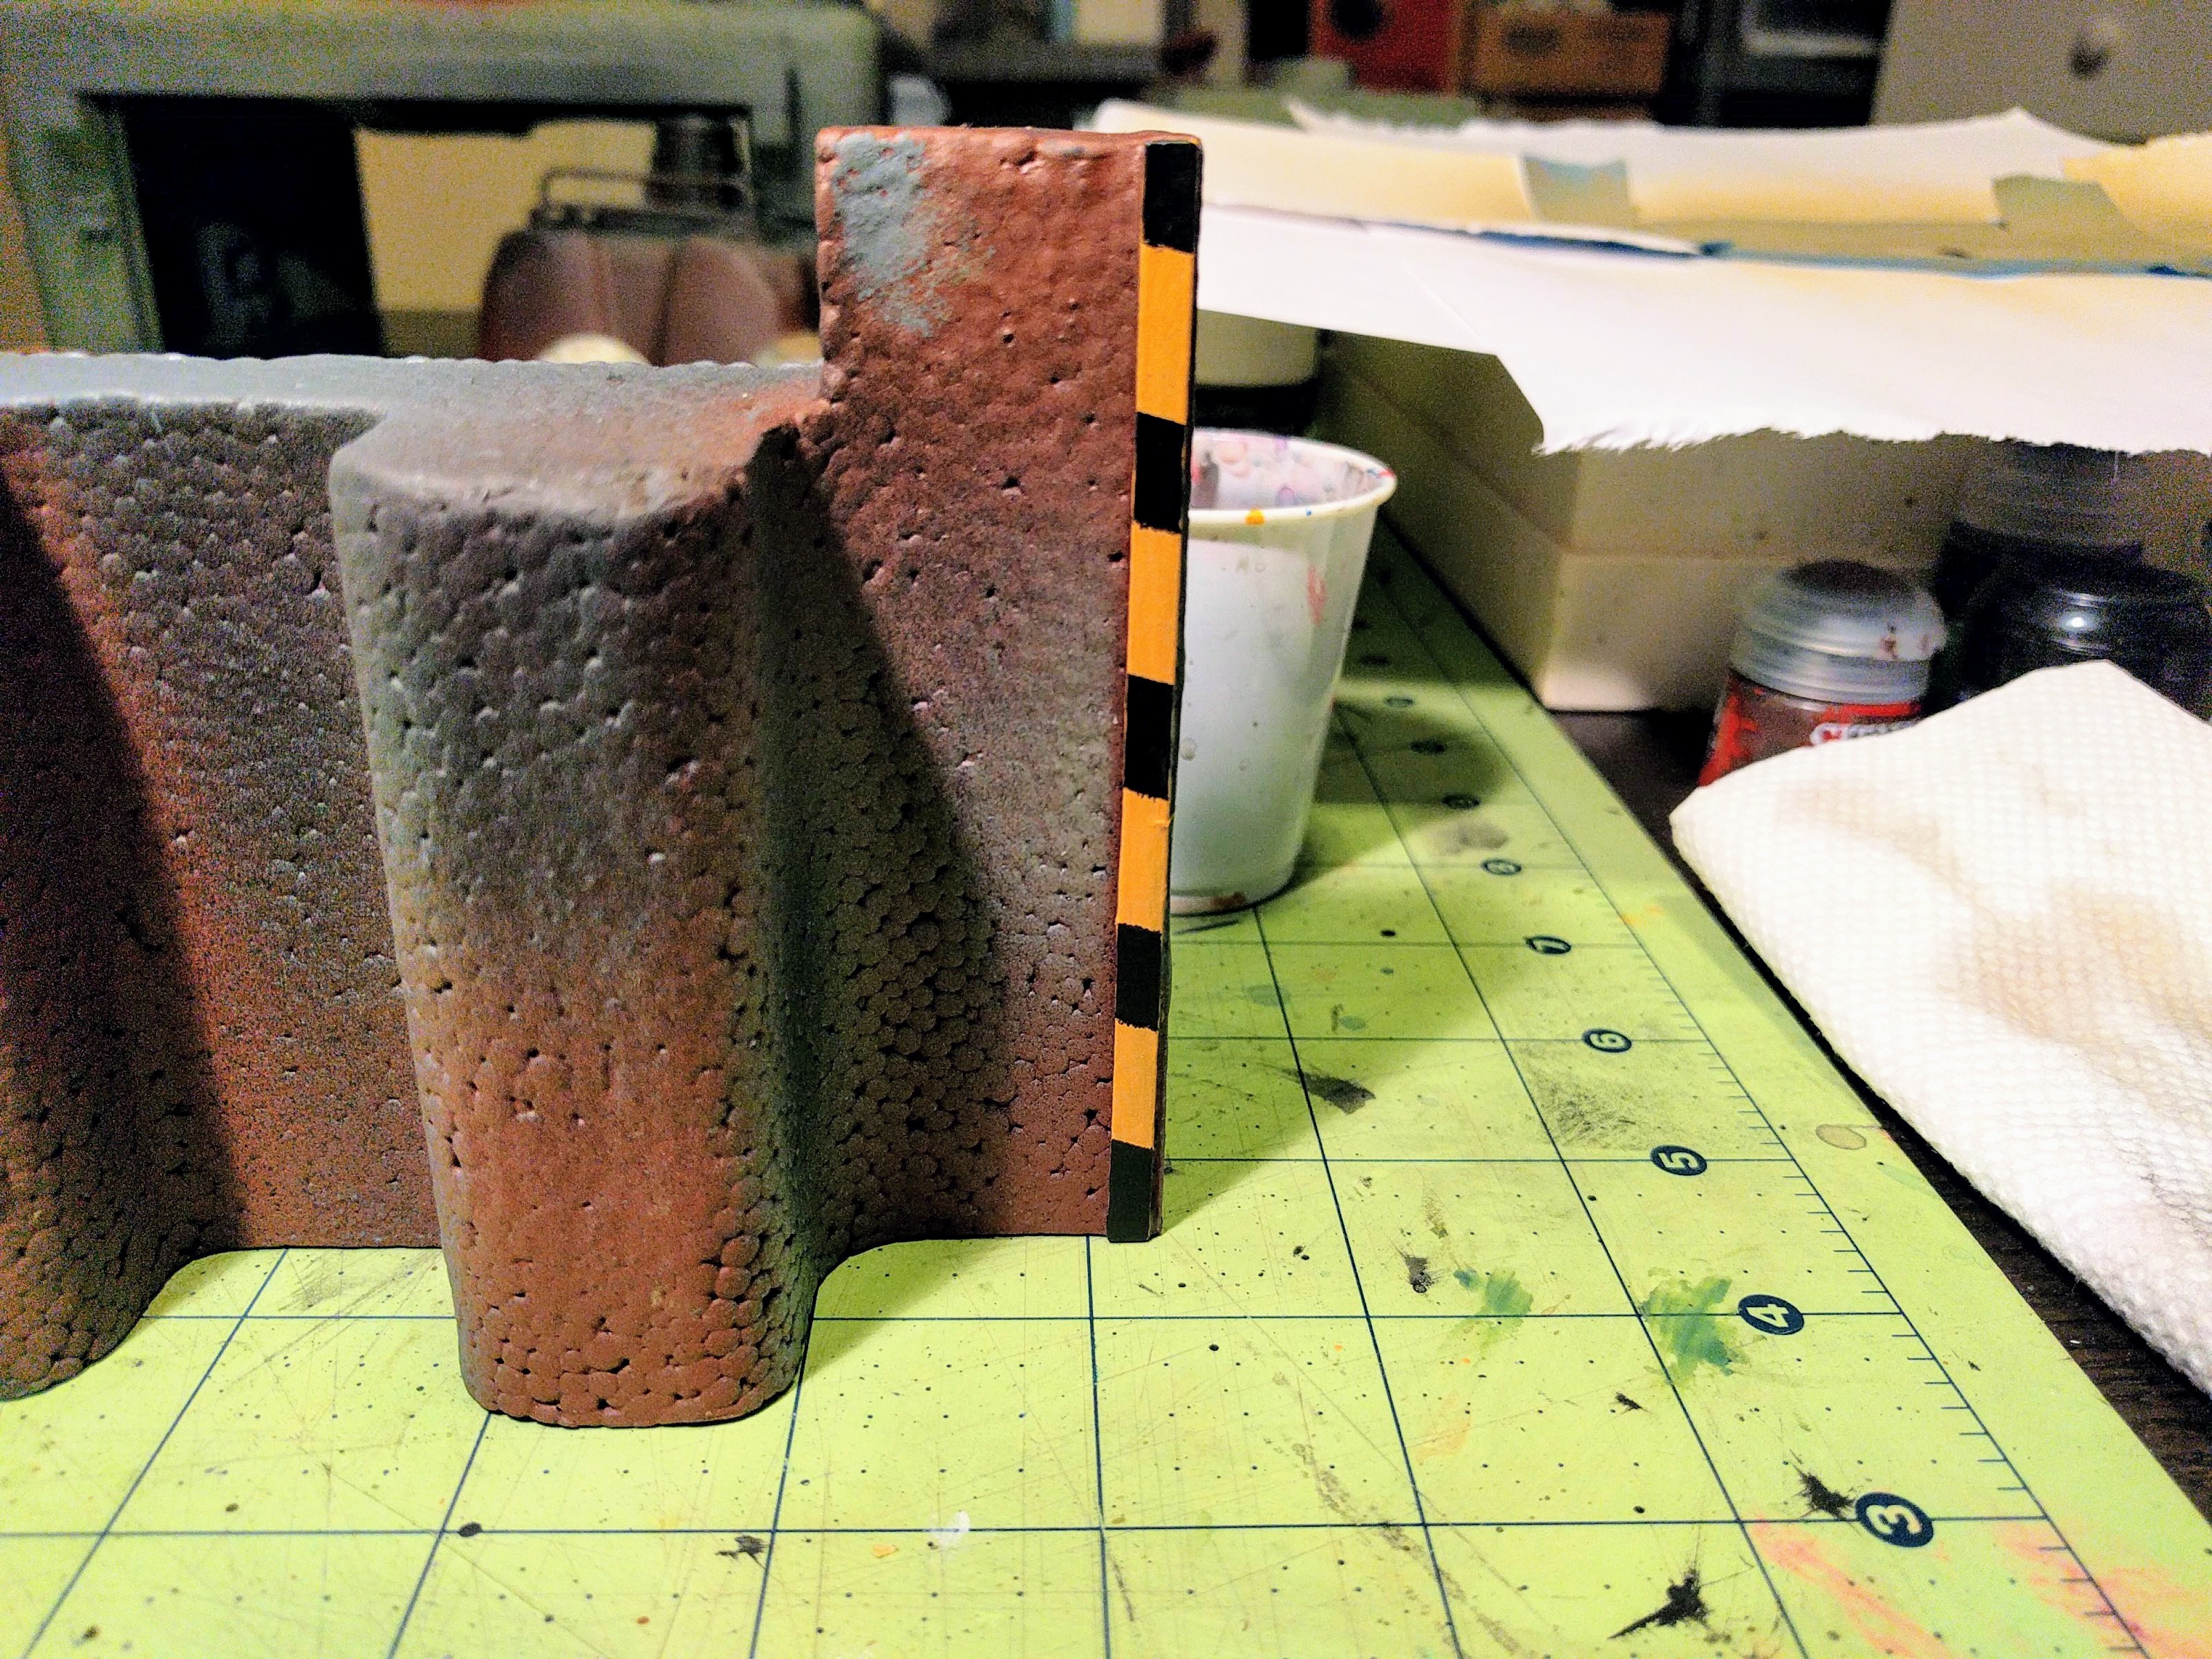
Finished hazard stripe.
Details
Still good to go on time, I set about with a brush picking out details. Some things were painted as normal and then drybrushed to blend and weather them into the existing paint job. For example, the tires and rims on the vehicles were painted black and silver and then drybrushed rust brown. The few organic elements around, like the duffel bags on the trucks, got painted a leather brown and then washed a dirt brown. Various dead light fixtures and computer consoles were painted black or dark purple and washed with the same. Other features were done solely with heavy drybrushing to add color and distinguish the feature but not break it out too much from the background, e.g., drybrushing a dark brown on the cabling or steel on the various scrap laying around. All the gravel and texture on the bases and the board itself also got drybrushed appropriately. Some metal edges and so on then got a hint of silver drybrushing to seem worn or jagged, like on the ends of the roughly cut scrap pipes.
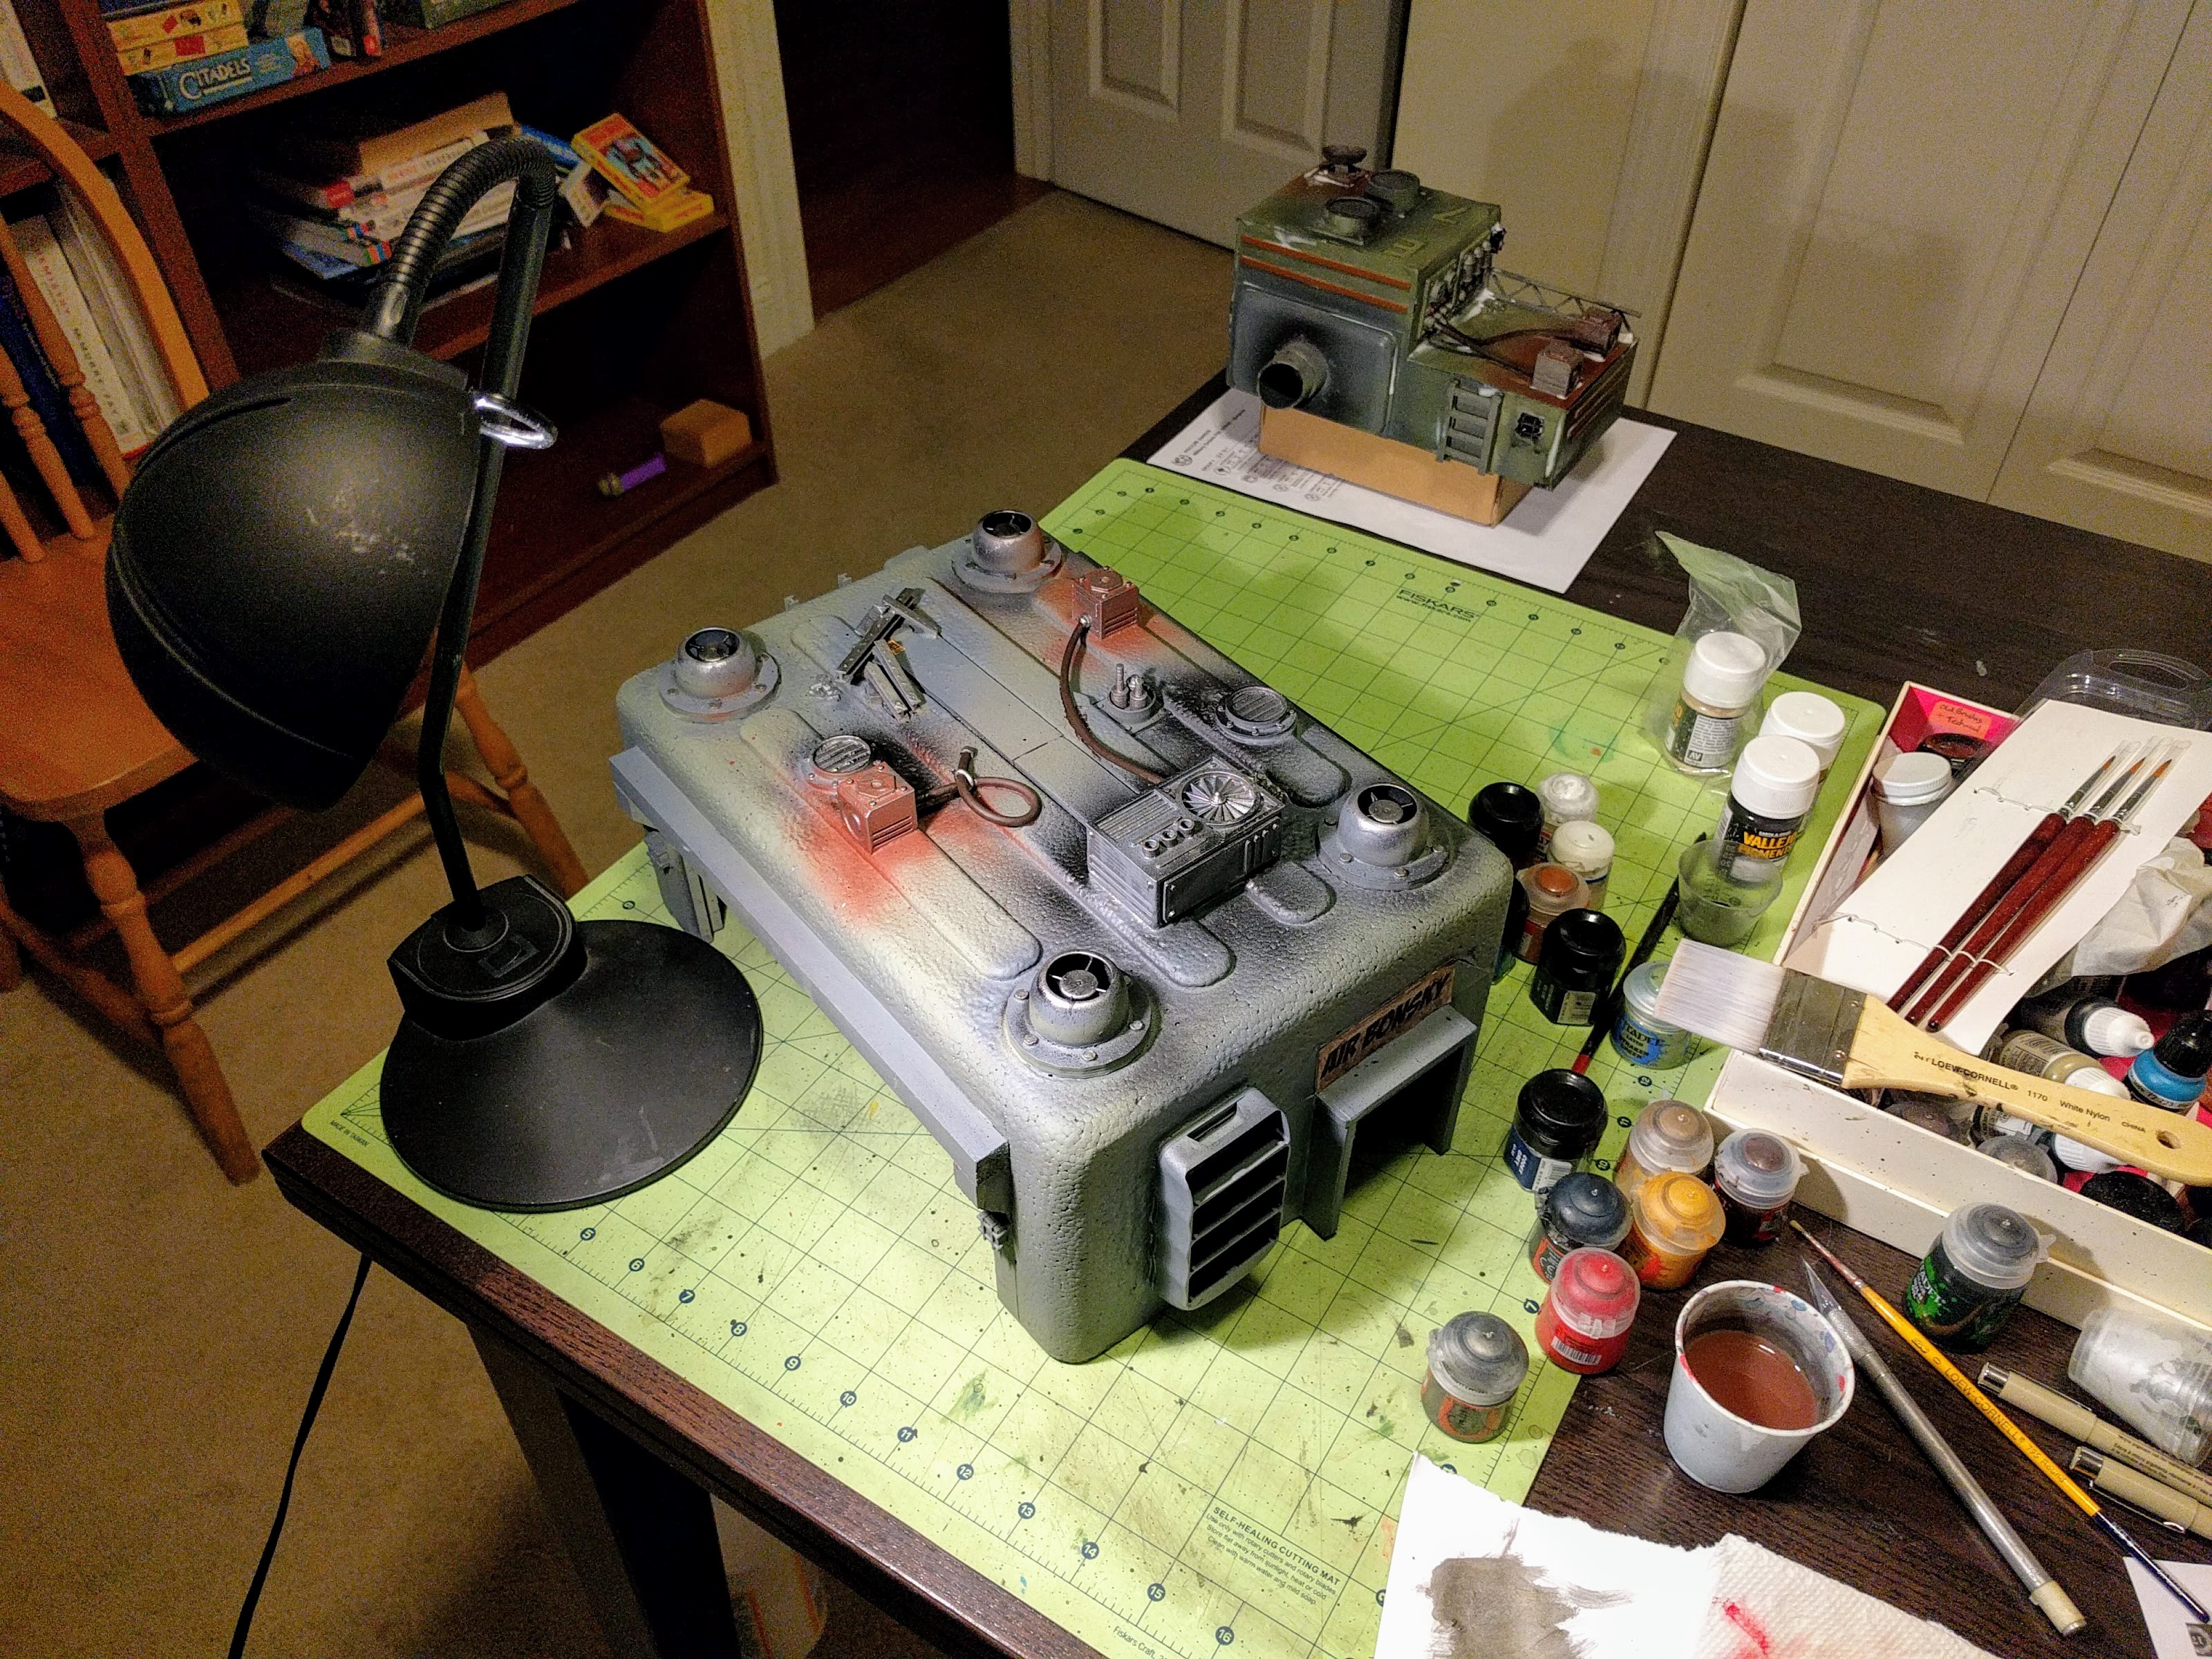
Painting details on the garage. A layer of Modge Podge cures on the mechanical building in the background.
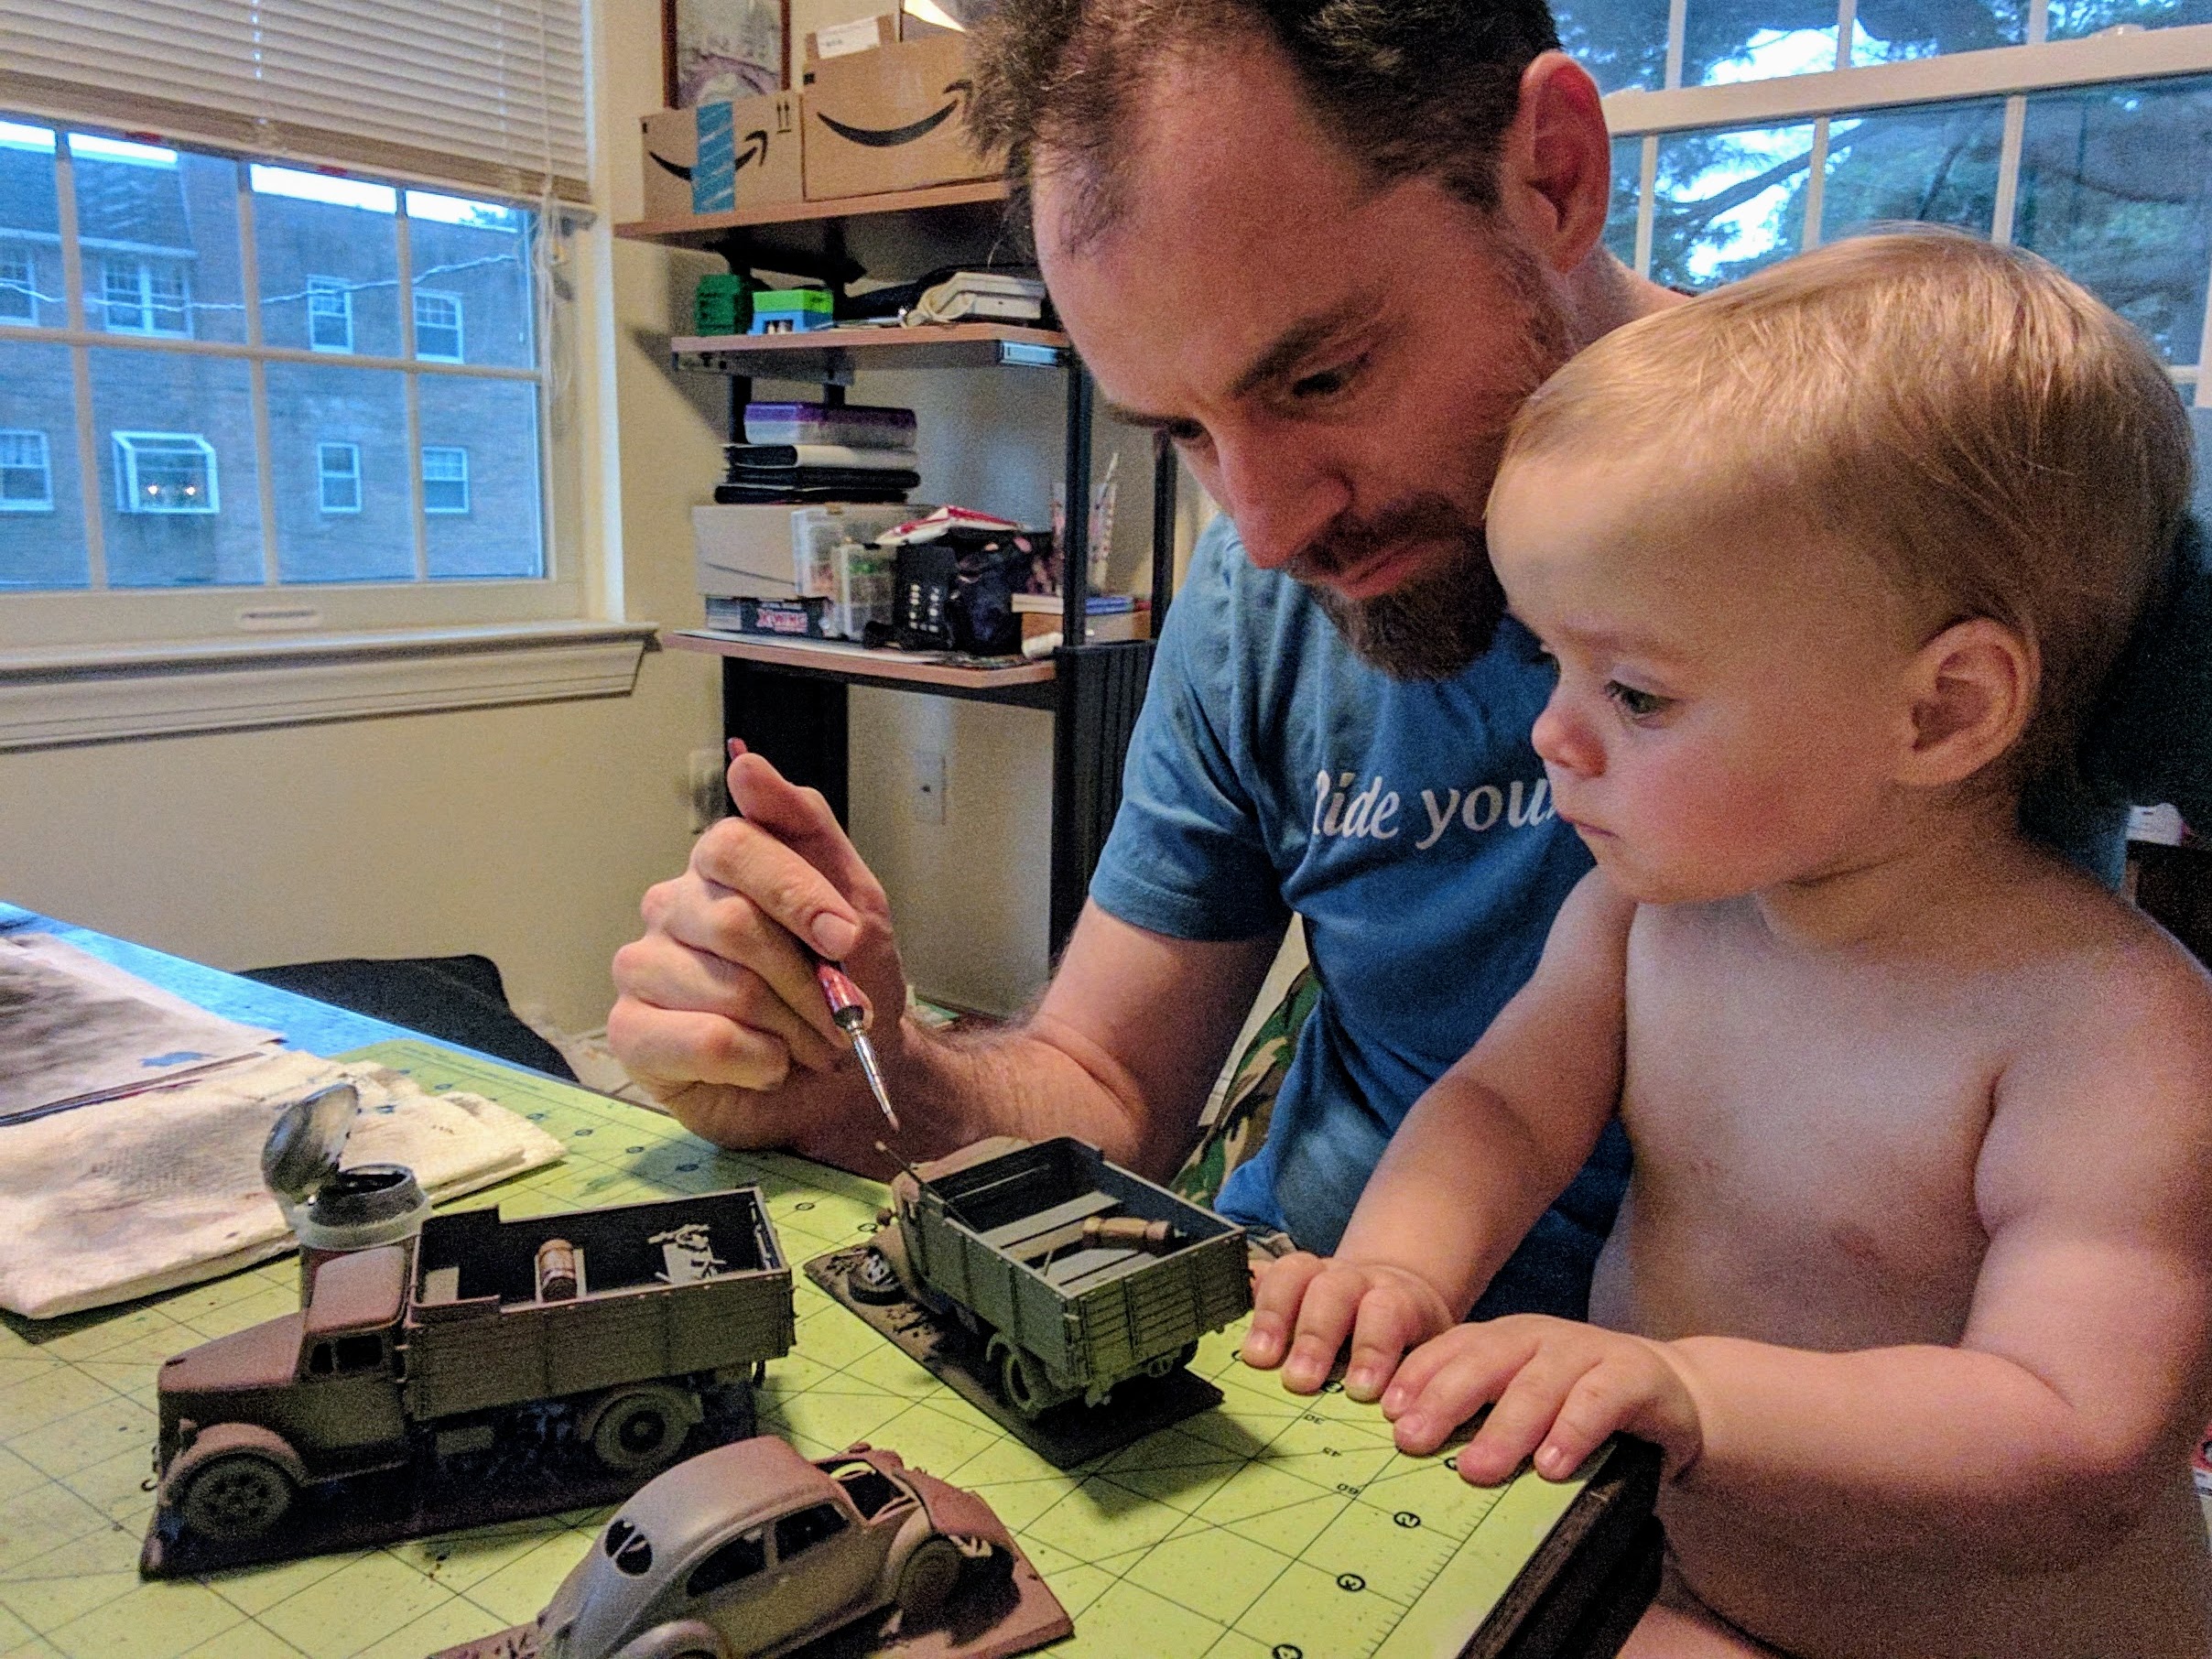
Painting details on the vehicles with my helper as dawn approaches.
Posters
I still had some minutes for detail work, so the finishing touch was to print up some signage and posters on cardstock. These were cut up, in some cases further filled out with ink pen scribblings, glued to various pieces either on the walls or crumpled up as litter on the ground, and then washed brown to age and grime them heavily.
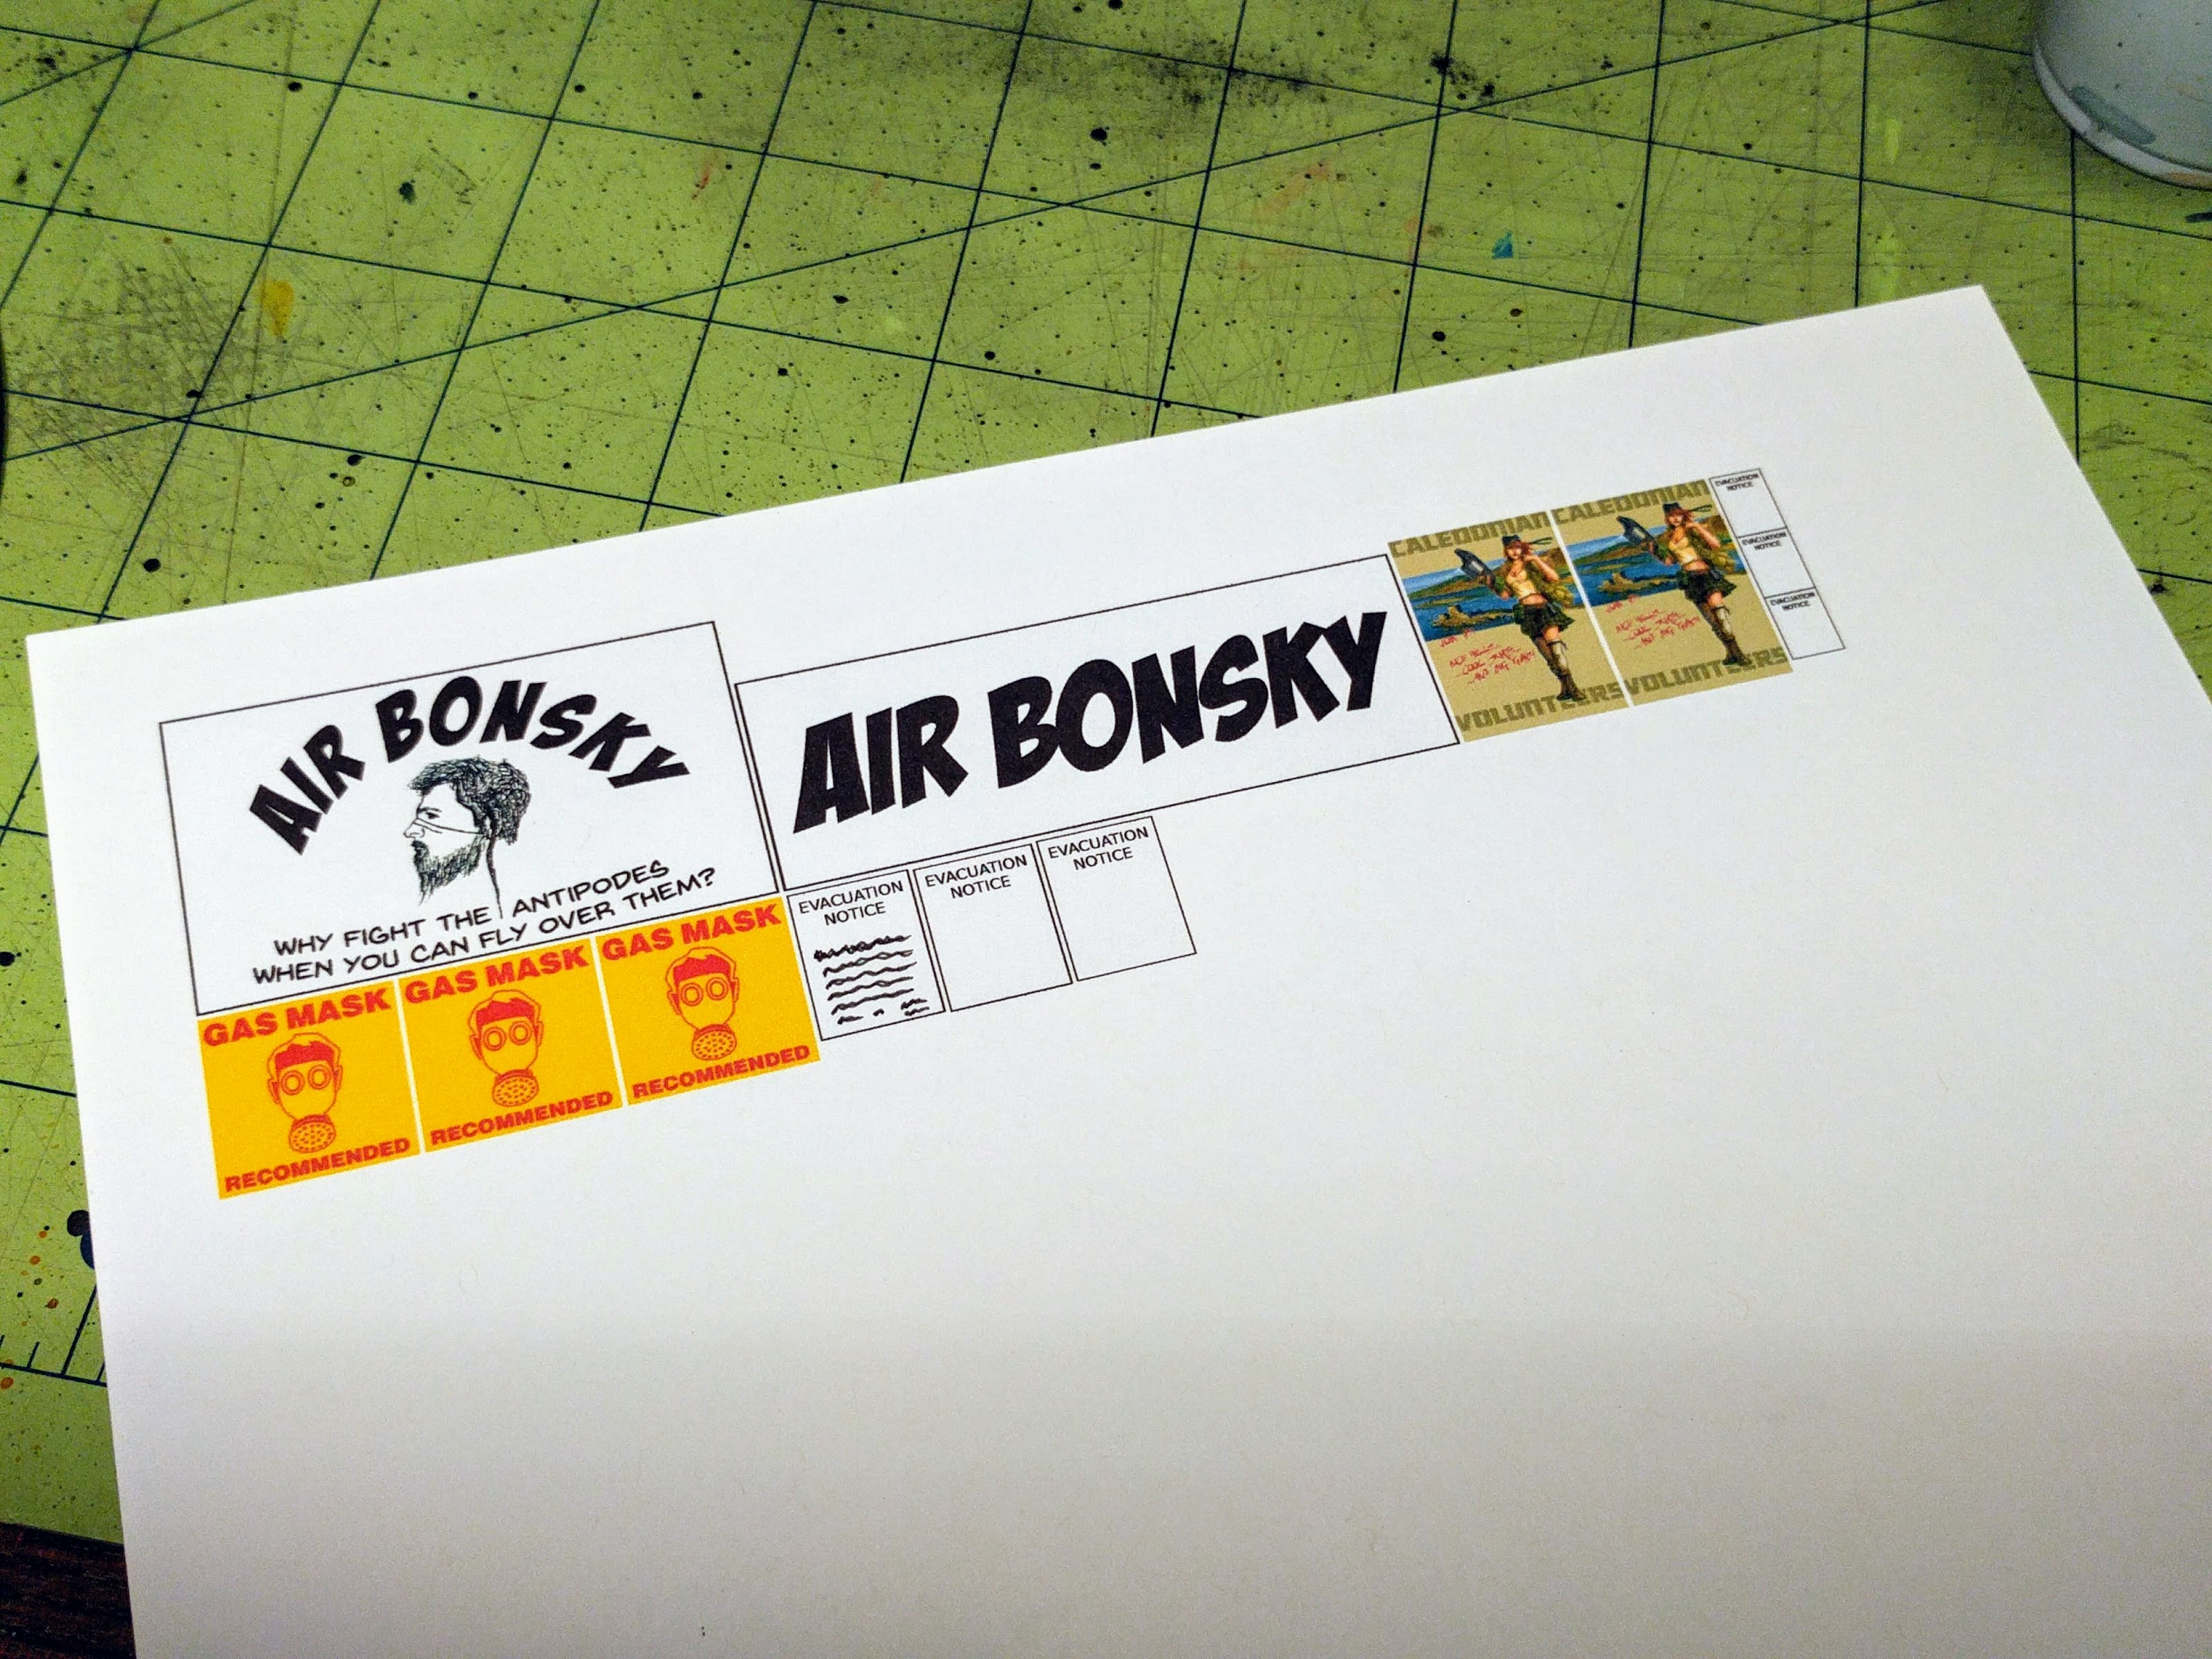
Printed signage, posters, and litter.
Sealing
All these pieces are intended for public use in my local shop’s tournaments and such, so even if they’re not out all the time they still need to stand up to some abuse. The board and all the foam and cardstock surfaces therefore got coated in Modge Podge to seal them with a protective layer. This also resolved the problem mentioned above with the olive green paint having fuzzed up in the heat and feeling crumbly. Modge Podge can add a bit of a gloss sheen, but I knew the final steps would take care of that…
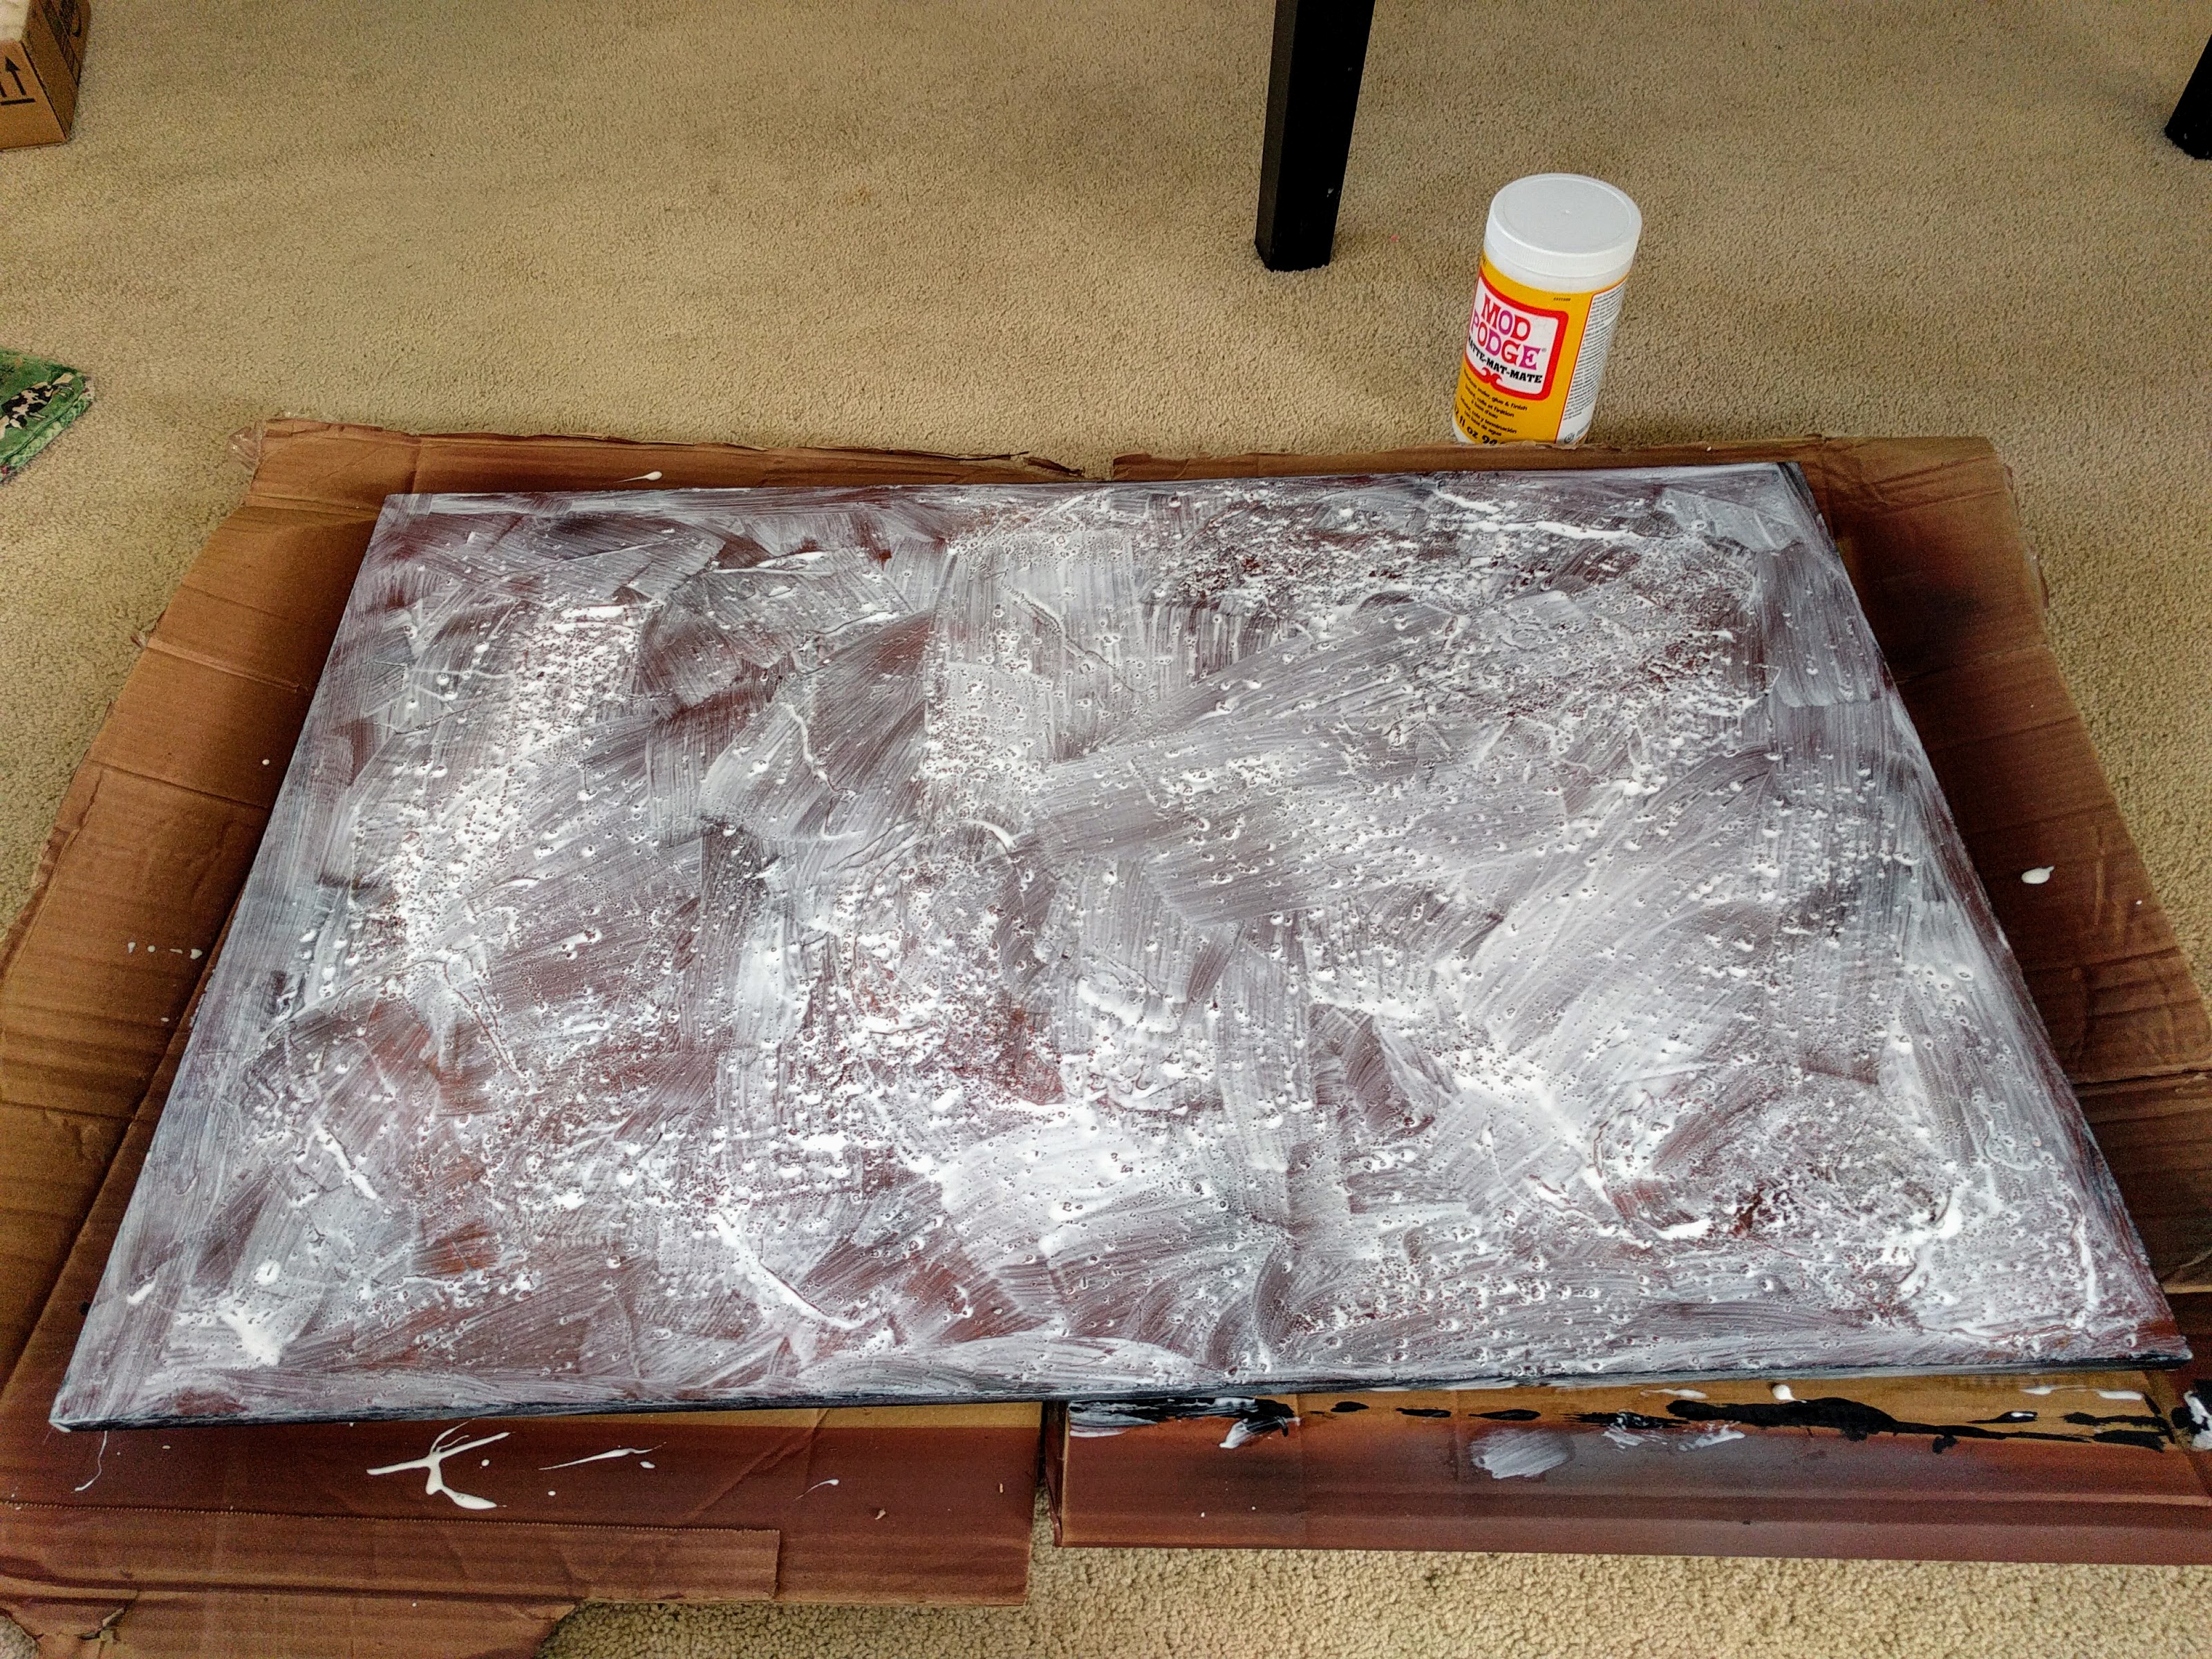
Covering the board in Modge Podge.
Carbon
Last up, I wanted to knock down the brighter colors and better blend the brushed details in with the sprayed “weathering.” So everything got quickly “washed” in carbon black pigment. Out of time, I didn’t try to do any real weathering here, caveat being sure to generally throw on the pigment low and then brush it upward so that it tended to collect and be heaviest toward the bottom of pieces. In some cases this “wash” dimmed the colors a bit more than I would have wanted, but overall I thought it really made the pieces feel more lifelike without hardly any effort. It also definitely made the sprayed and brushed details feel uniformly worn.
Once the pigment was on I just sealed it in place with dull coat spray. That’s not really sufficient to secure thick applications of pigment, but for a wash like this and even with some thin accumulation on the tops of a few pieces it was fine.

Fully painted tank.
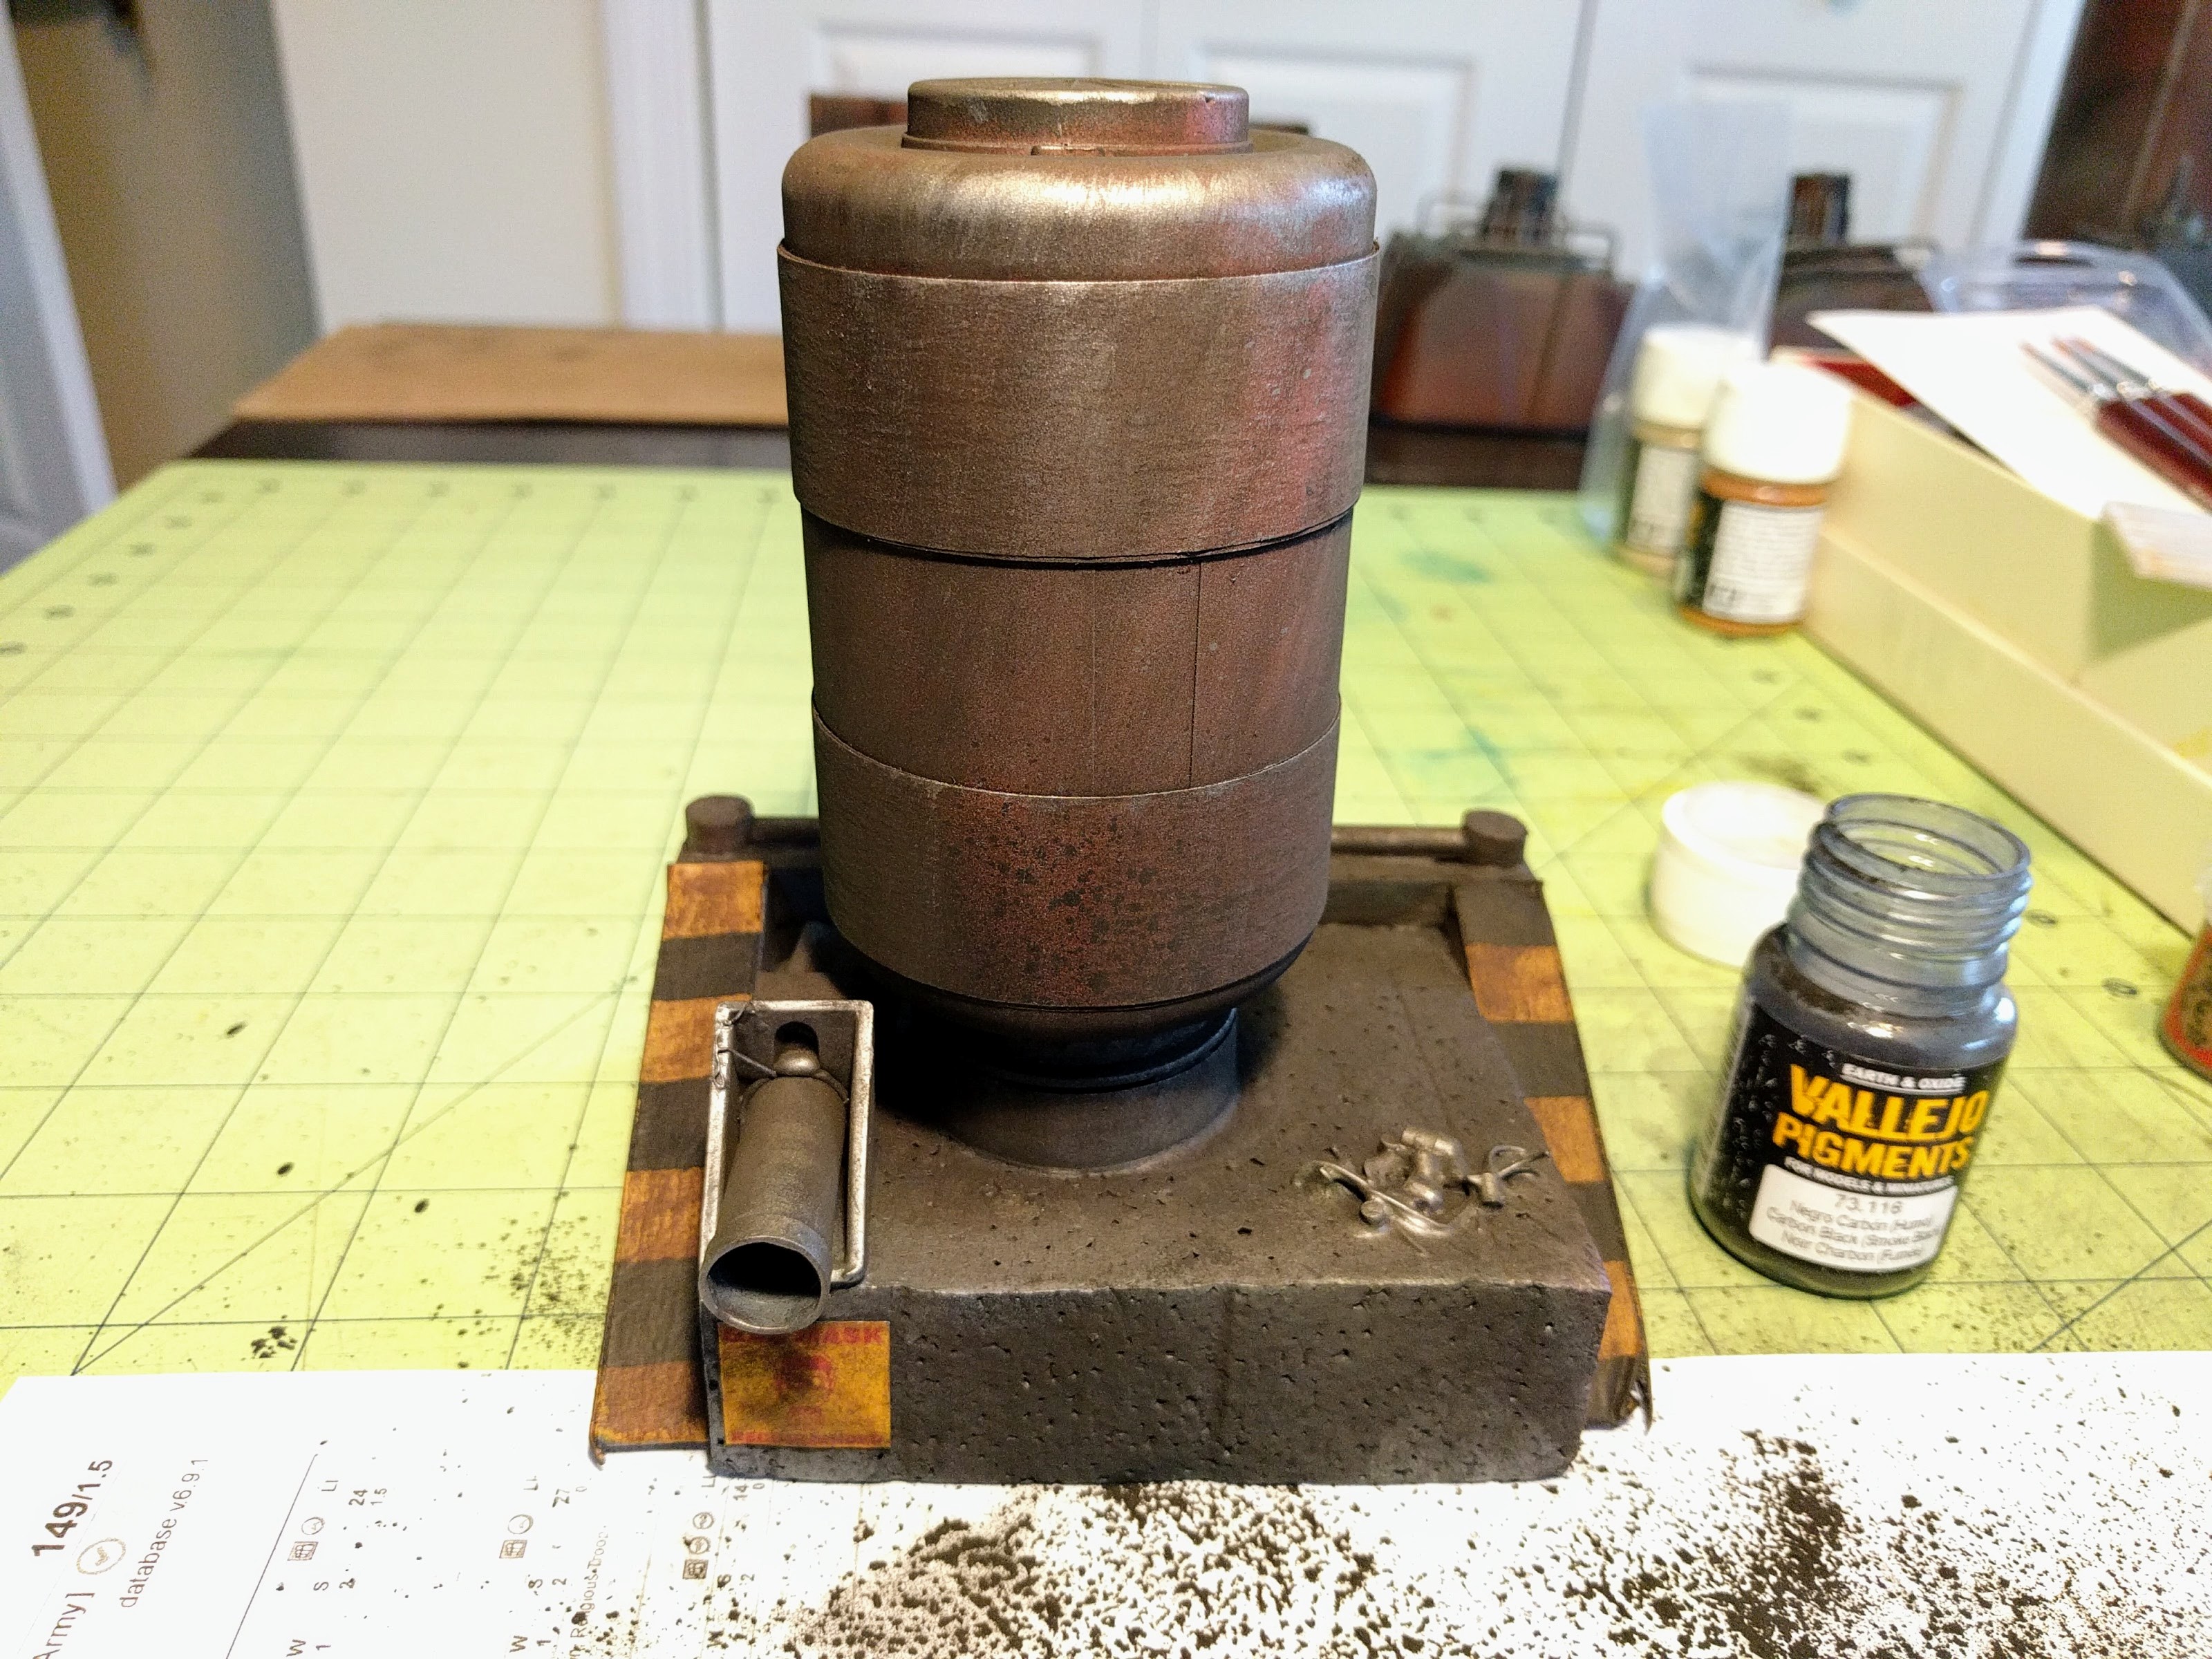
Tank “washed” in pigment.
Play!
In the end, after working all through the night, at just about exactly noon I did the last batch of dull coat spraying, took a shower, and jumped in the car to head to the shop and get the board set up just in time for a 1pm Infinity tournament—success!
Critical to this was carefully staging all the various tasks so that I didn’t have any downtime. The ordering above is just notional, in reality the various steps were mixed up and interleaved across all the pieces so I was never just sitting around waiting. A prime example was doing the buildings first so I could Modge Podge the fragile parts and then work on painting the vehicles while that dried. All told this whole board got painted in about 16 hours of work: 2+ hours spraying one day and the rest leading directly up to the debut event. In hindsight I wished I had done the detail brush work and then gone back to do the weathering sprays, but it worked out fine in the end between drybrushing and pigment washing so this was an acceptable strategy to ensure I had pieces ready even if I didn’t get to work on them more.
A few of us played games in the newly built Derelict Depot in that tournament and it worked well. One modification needed was that it was immediately clear I needed to add some vegetation and such to make the railings and such provide overt partial cover, as planned in the construction writeup but not completed beforehand, so I did that afterward. The board definitely isn’t going to be loved by everybody, it’s more oriented toward narrative and aethestics than pure gameplay. Some of the details and unique shapes make placing figures, especially in cover, a bit more fiddly in a few places than standard MDF terrain. It’s also super dense if you put on all the pieces—very challenging for my own airborne-oriented squads! Realistically you could probably make two boards out of the collection with a more typical level of density.
But, it looked great, has a lot of unique details both mechanically and visually, and turned out very well. Gallery photos of the final product to come!
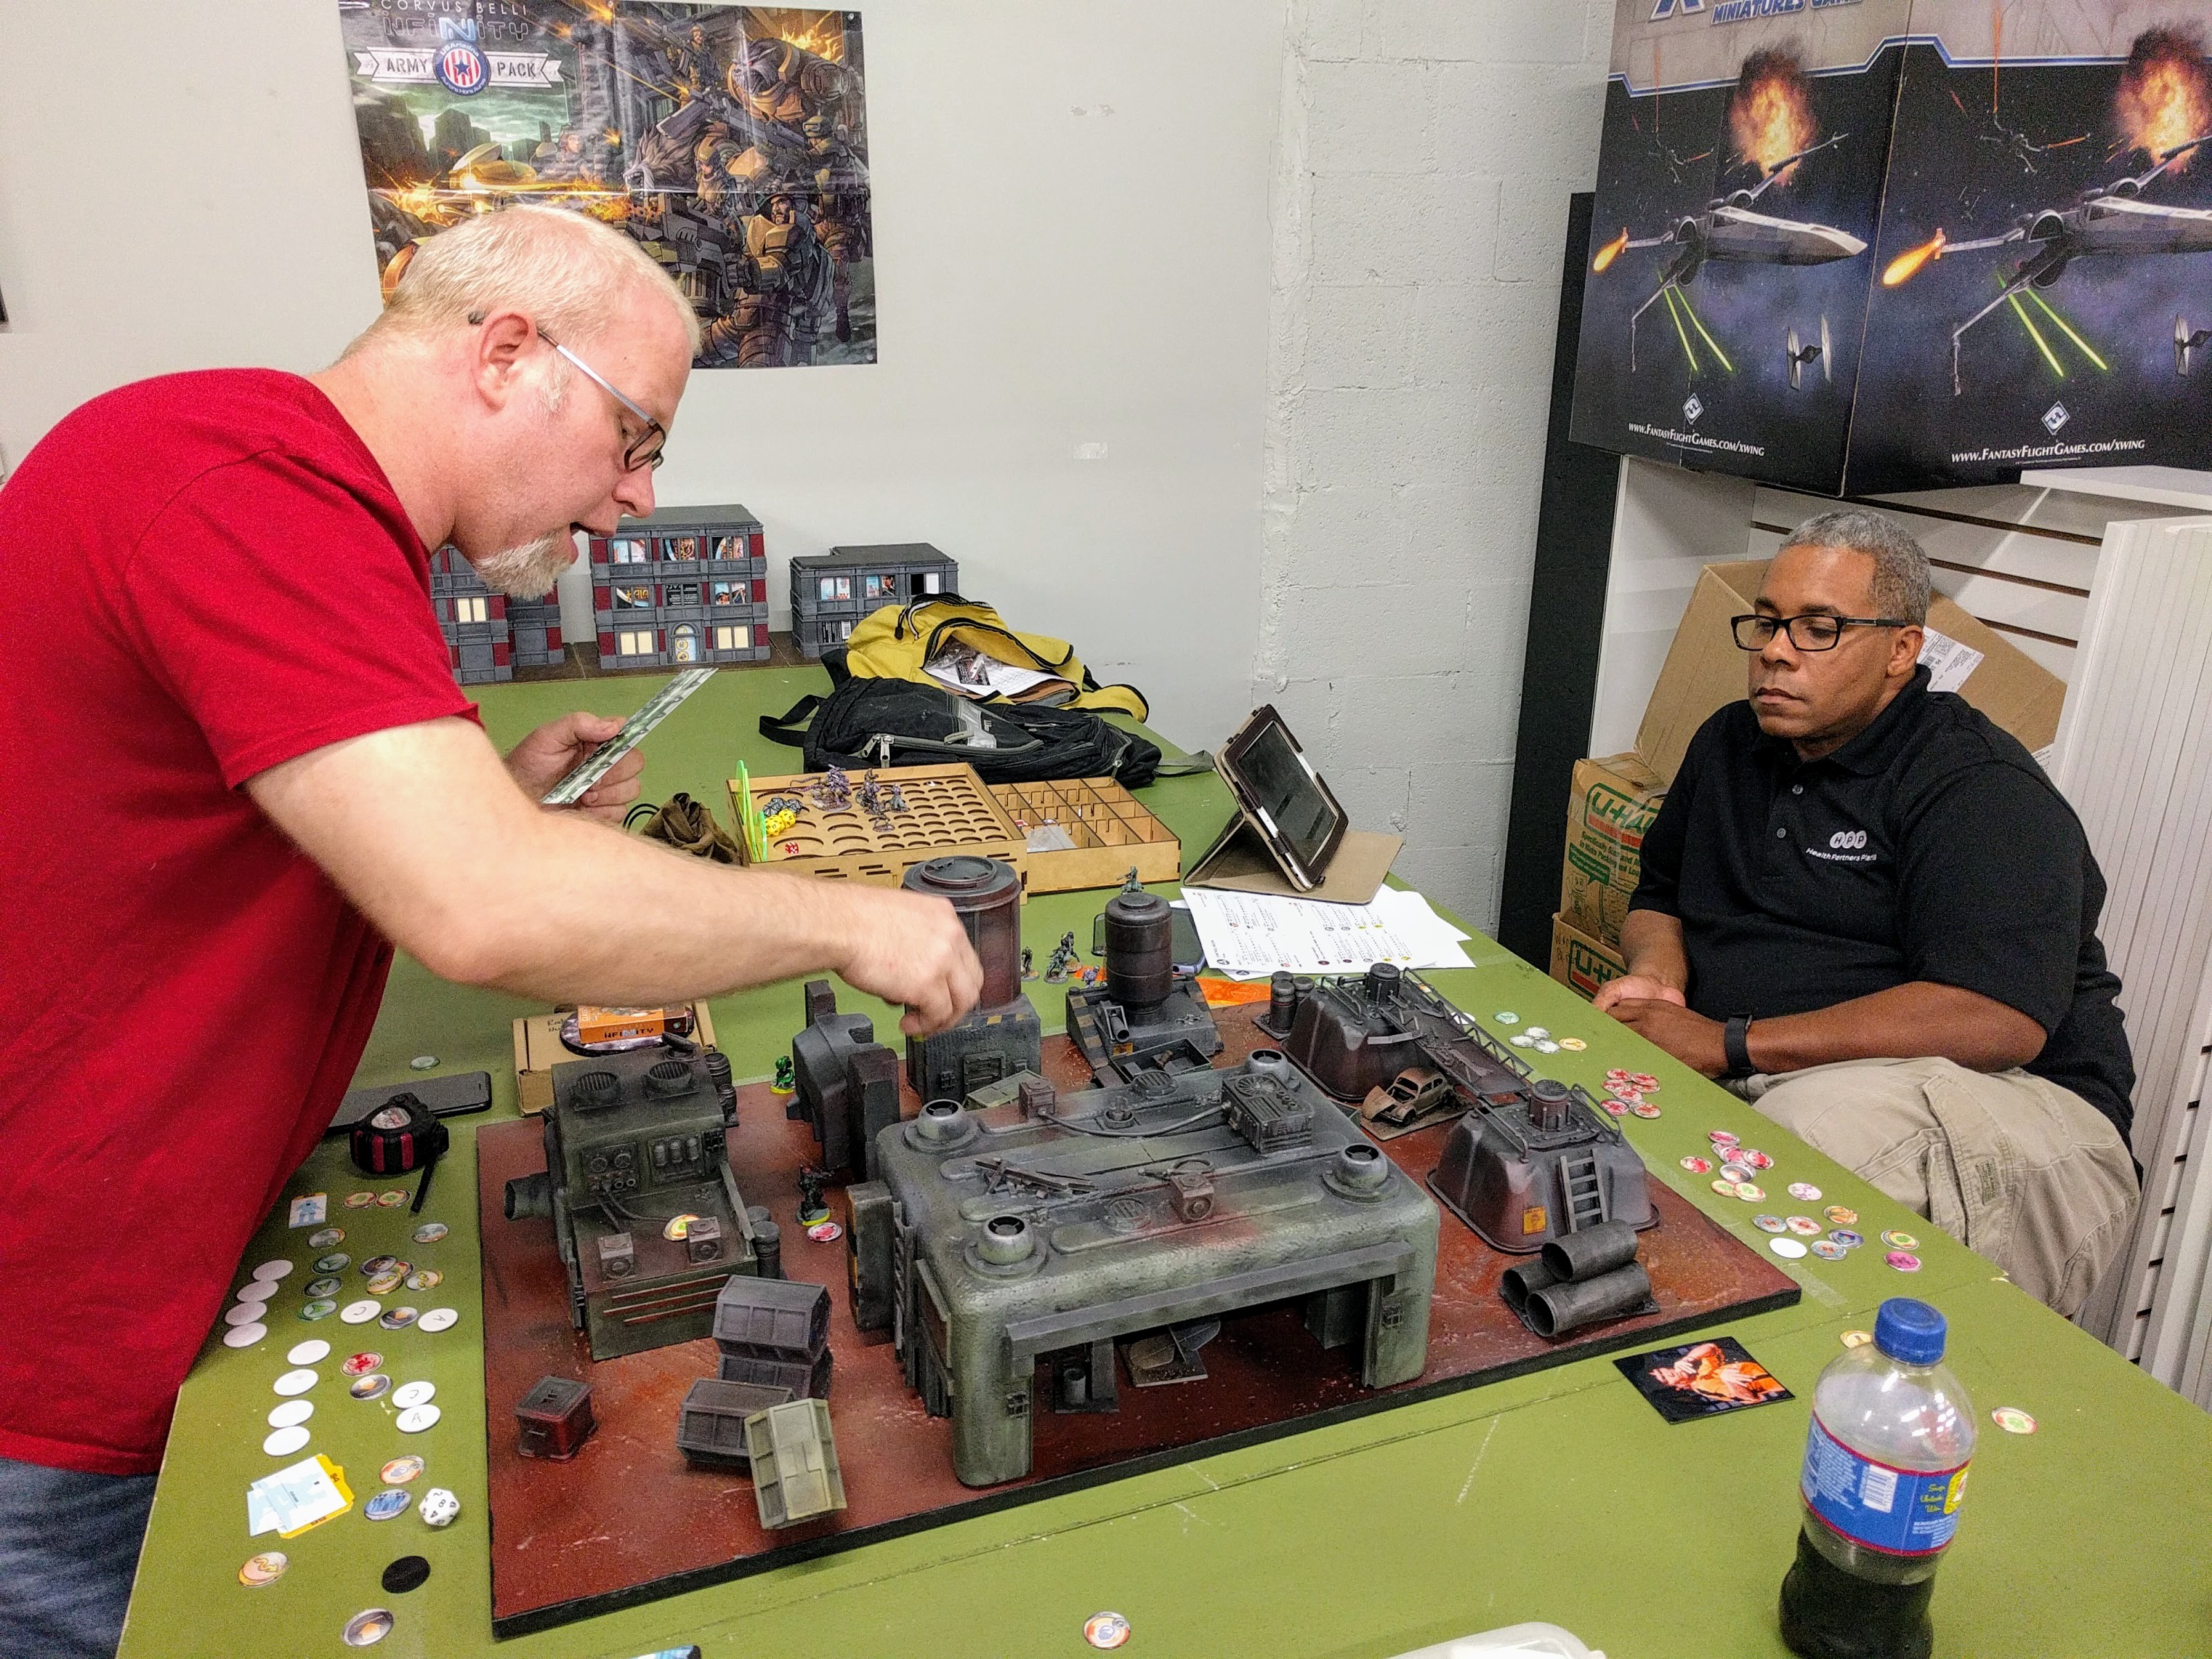
Don and Lovell fighting it out on the brand new board.
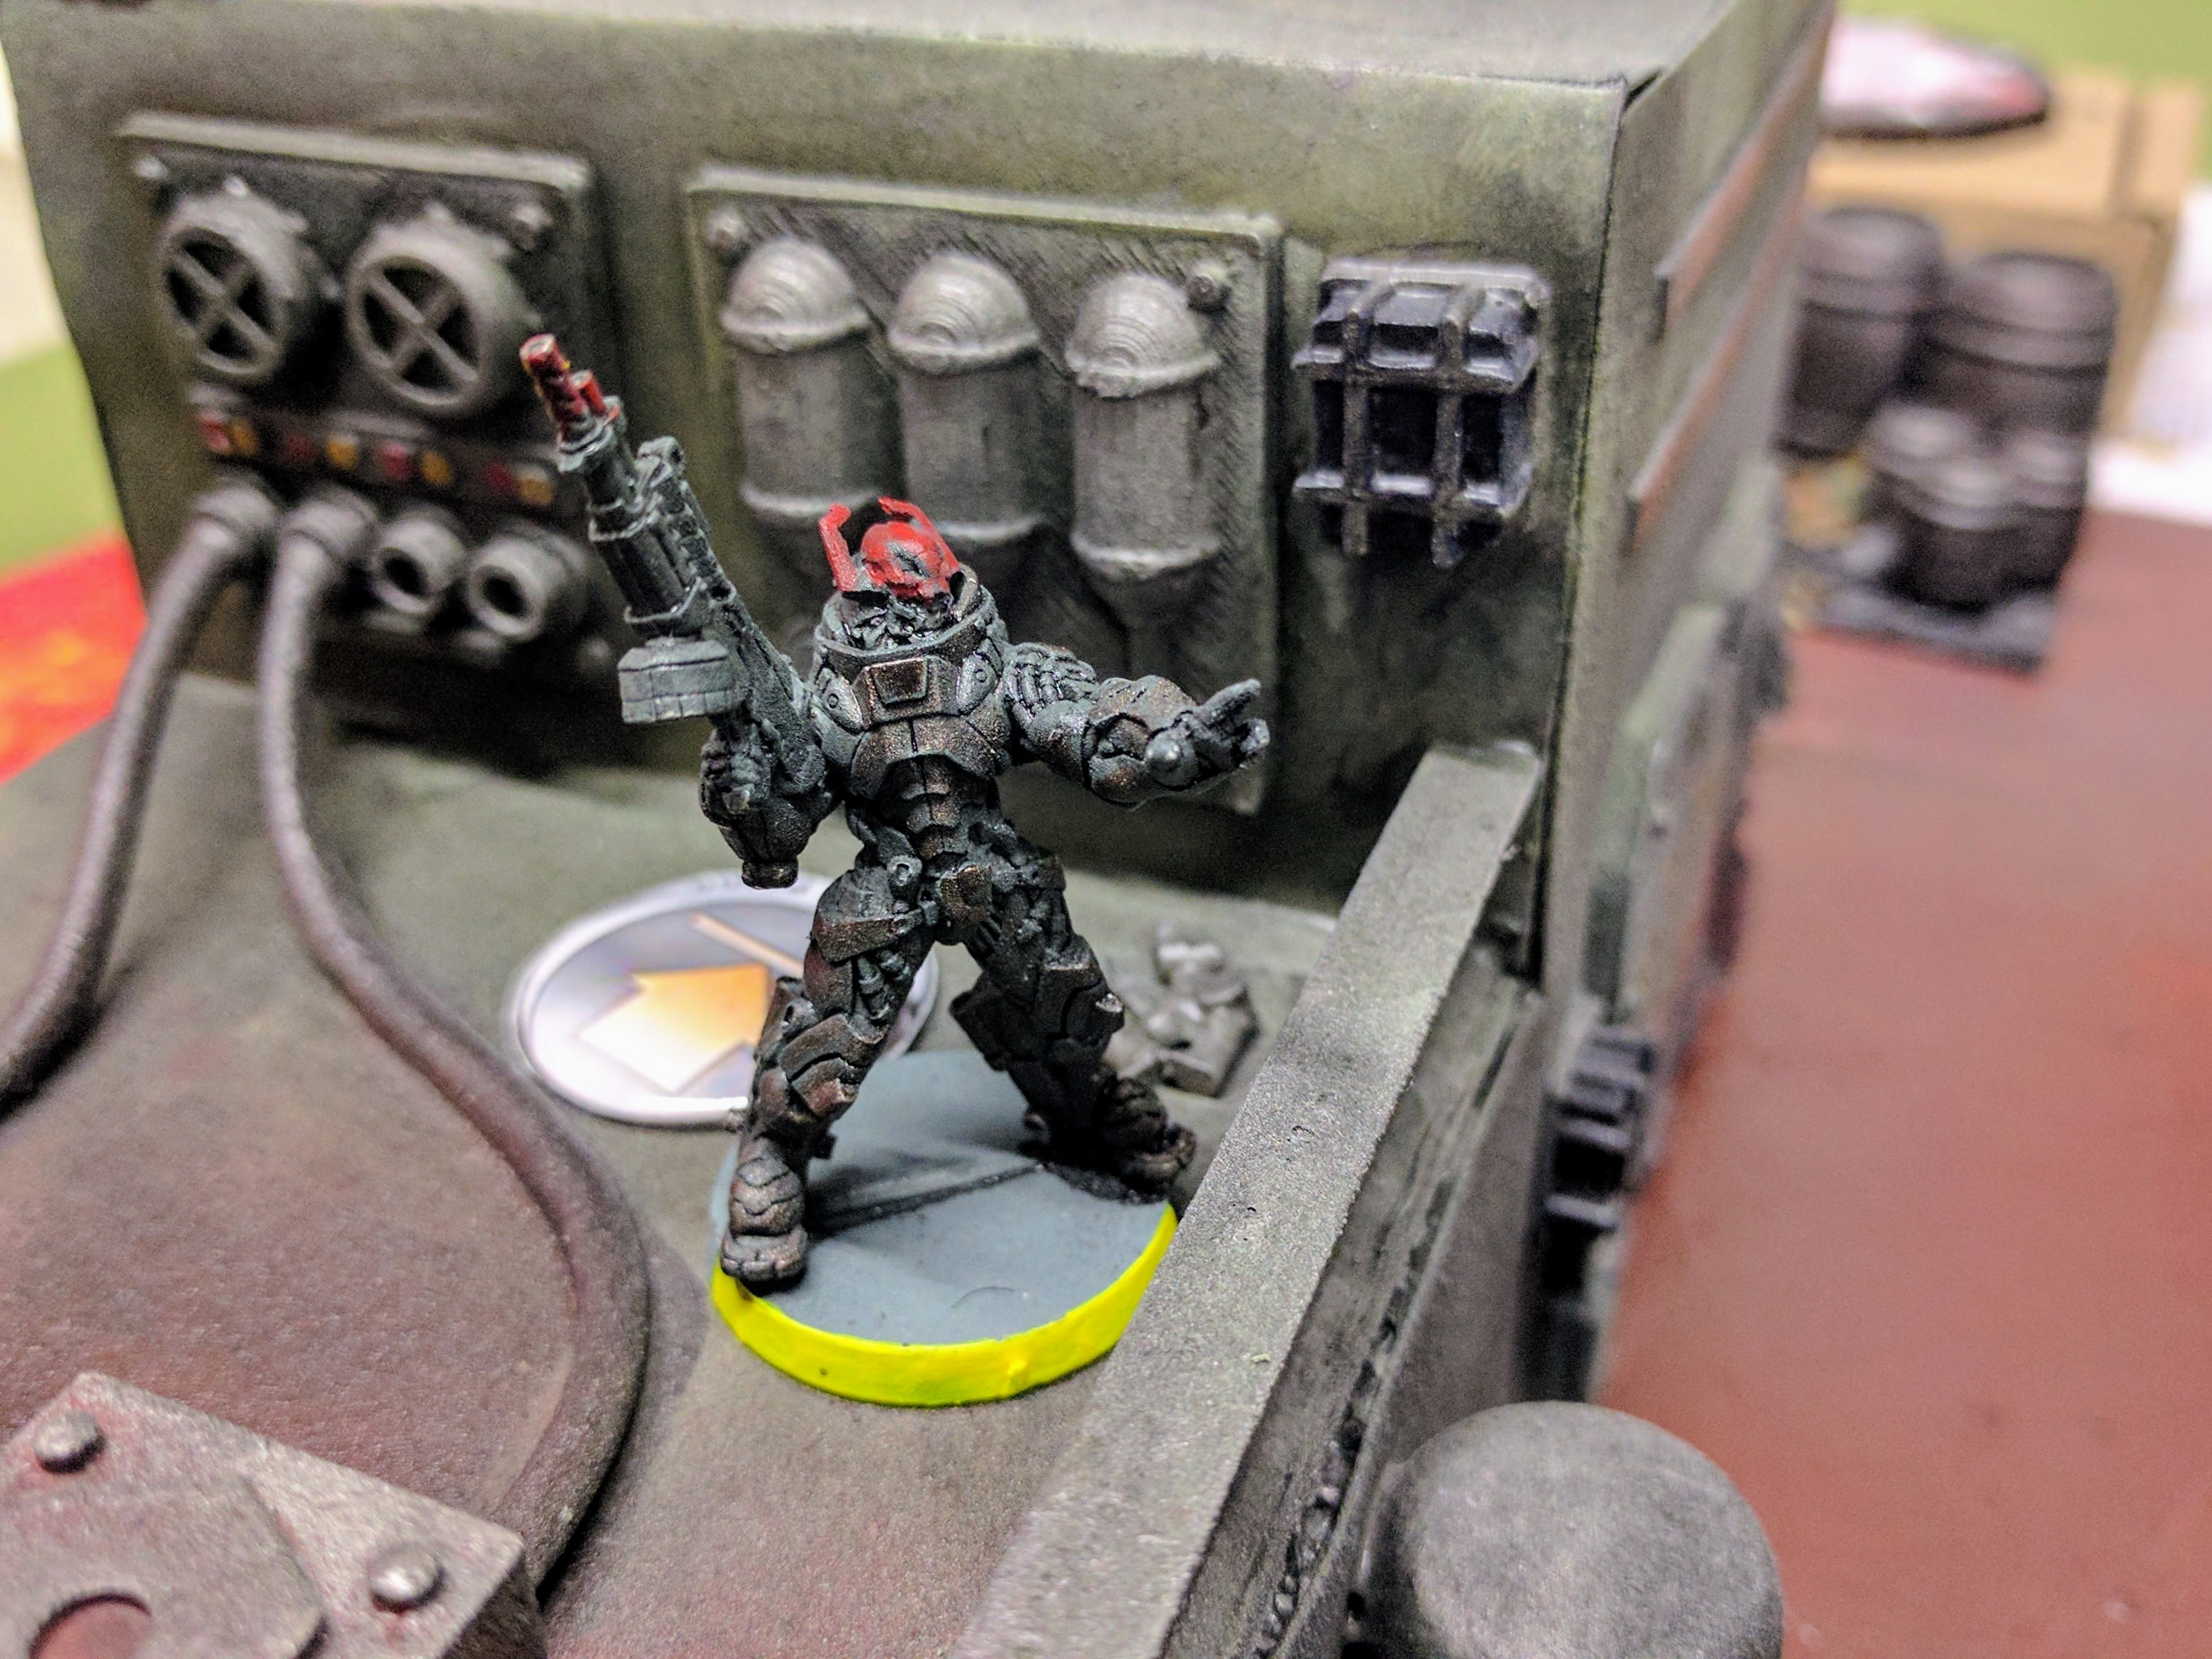
A Morat commands their troops from the mechanical building.