This post discusses the challenge of first round pairings for wargaming (and boardgaming) tournaments, and an idea for improving them in larger events. My primary interest at the moment is organizing narrative events for Warhammer 40,000 (40k), but the discussion is largely not specific to that game or style.
Clubbing Baby Seals
One of the great virtues I see of tournaments, even and perhaps especially for fairly casual game players, is that if they’re well designed and run then they more or less ensure that by the end of the event everyone will be playing competitors of similar skill and/or equipment (army list, deck, etc.). However, the opening round presents a challenge. In wargaming and similar there’s typically no information to go on, no meaningful persistent rankings from which to seed the initial matches. High level chess, checkers, go, Magic, and other tabletop gaming tournaments that can do so are by far the exception rather than the rule. In nearly all events players are just paired randomly in the first round.
Random pairings can obviously lead to highly mismatched games between a very skilled and well equipped player and a much less skilled or well equipped opponent. In scoring systems where points earned go directly toward overall rankings that’s an unfair advantage for the better player versus other potential top competitors who faced more even competition and weren’t able to run up the score. That issue can be lessened, though not eliminated, by awarding separate normalized points for major win/win/draw/loss/major loss or similar. But much more importantly, getting clobbered by a random mismatch in the opening round is a terrible first experience for newcomers and discouraging even for veterans, lessening their enjoyment of the event and potentially the hobby as a whole.
In some settings this may not matter or may be unavoidable. If the goal of the event is establishing who is actually the best player, then a pure tournament bracket or other mechanism will work fine from a random seeding. In fact, if you do have the necessary information via a qualifying run or such to properly seed the bracket, then first round pairs should be in reverse order, with the best entrants competing against the worst. The entrants for such an event should also understand that it’s quite possible they’ll be clobbered. Part of the appeal for many tournament-goers is in fact gauging exactly where they stand—though in the moment it’s always tough to lose.
Nearly all gaming events though are not this clinical. Most cannot be simply due to the time involved in running enough rounds for a mathematical tournament, let alone other factors such as randomness. The NOVA GT is one of the few exceptions in 40k especially and wargaming generally, running an actual elimination bracket over a grueling 3 days of matches for the eventual winner. Instead, most gaming tournaments approximate a bracket through variations of Swiss pairings and accumulated scores rather than straight win/loss elimination.
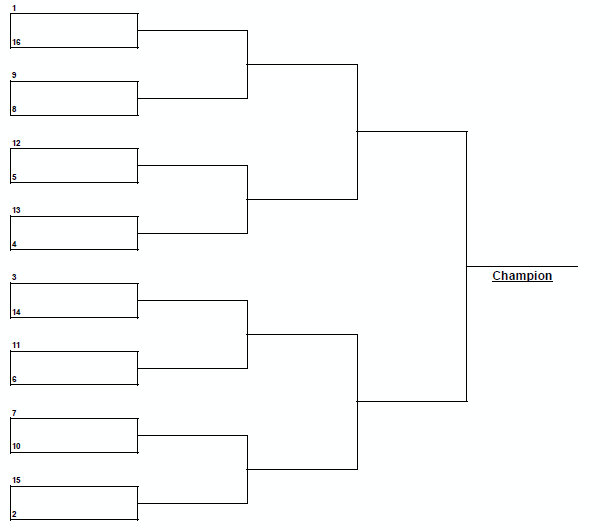
A single-elimination tournament bracket, which most gaming tournaments more or less try to approximate and a few implement.
Clubbing Baby Seals… But With A Story!
More fundamentally though, most gaming events are trying to balance being a competition with also being fun. I as an event organizer am particularly interested in fun, thematic narrative tournaments and campaigns rather than pure competitions. Surprisingly to many people, these also face the mismatch problem. I argue it’s actually an even worse issue than in a straight tournament: Many casual and fluff oriented players will come out for these events that would stay well away from highly competitive events, but, conversely, many competitive players will also come out for these events. That sets up a clash of expectations and styles than must be addressed mechanically.
Unfortunately, the mechanics of many narrative oriented events actually permit players to be repeatedly clobbered by stronger competitors. For example, this is a frequent inherent design limitation of classic map-based campaigns run outside of small, reasonably matched, friendly groups: There’s no guarantee that the adjacent or encountered players are not simply much better and will win every round.
Addressing this is a big part of why my narrative events are usually fairly abstract, permitting control mechanisms to be applied. For example, most of my narrative events arrange match pairings in a strategic, team-oriented fashion such as one team puts forward a player and a mission, and the other team responds with an opponent and a board/table. By restricting that response to being within the same win/loss bracket, teams are prevented from consciously or unconsciously throwing a newbie at a hardened vet or vice versa. Otherwise teams frequently apply logic such as “Well, that opponent has a lot of tanks, so we should send this player who has anti-tank specialists,” without accounting for one player or the other simply being vastly stronger overall and dominating that logic into irrelevancy. In my events we’ve also tried to address the issue by having team commanders chosen or coached to guide the decision making to account for the whole spectrum of considerations, including player experience. But then there’s still that challenge of opening round mismatches and how to prevent them without yet having any information about the players and their relative abilities.
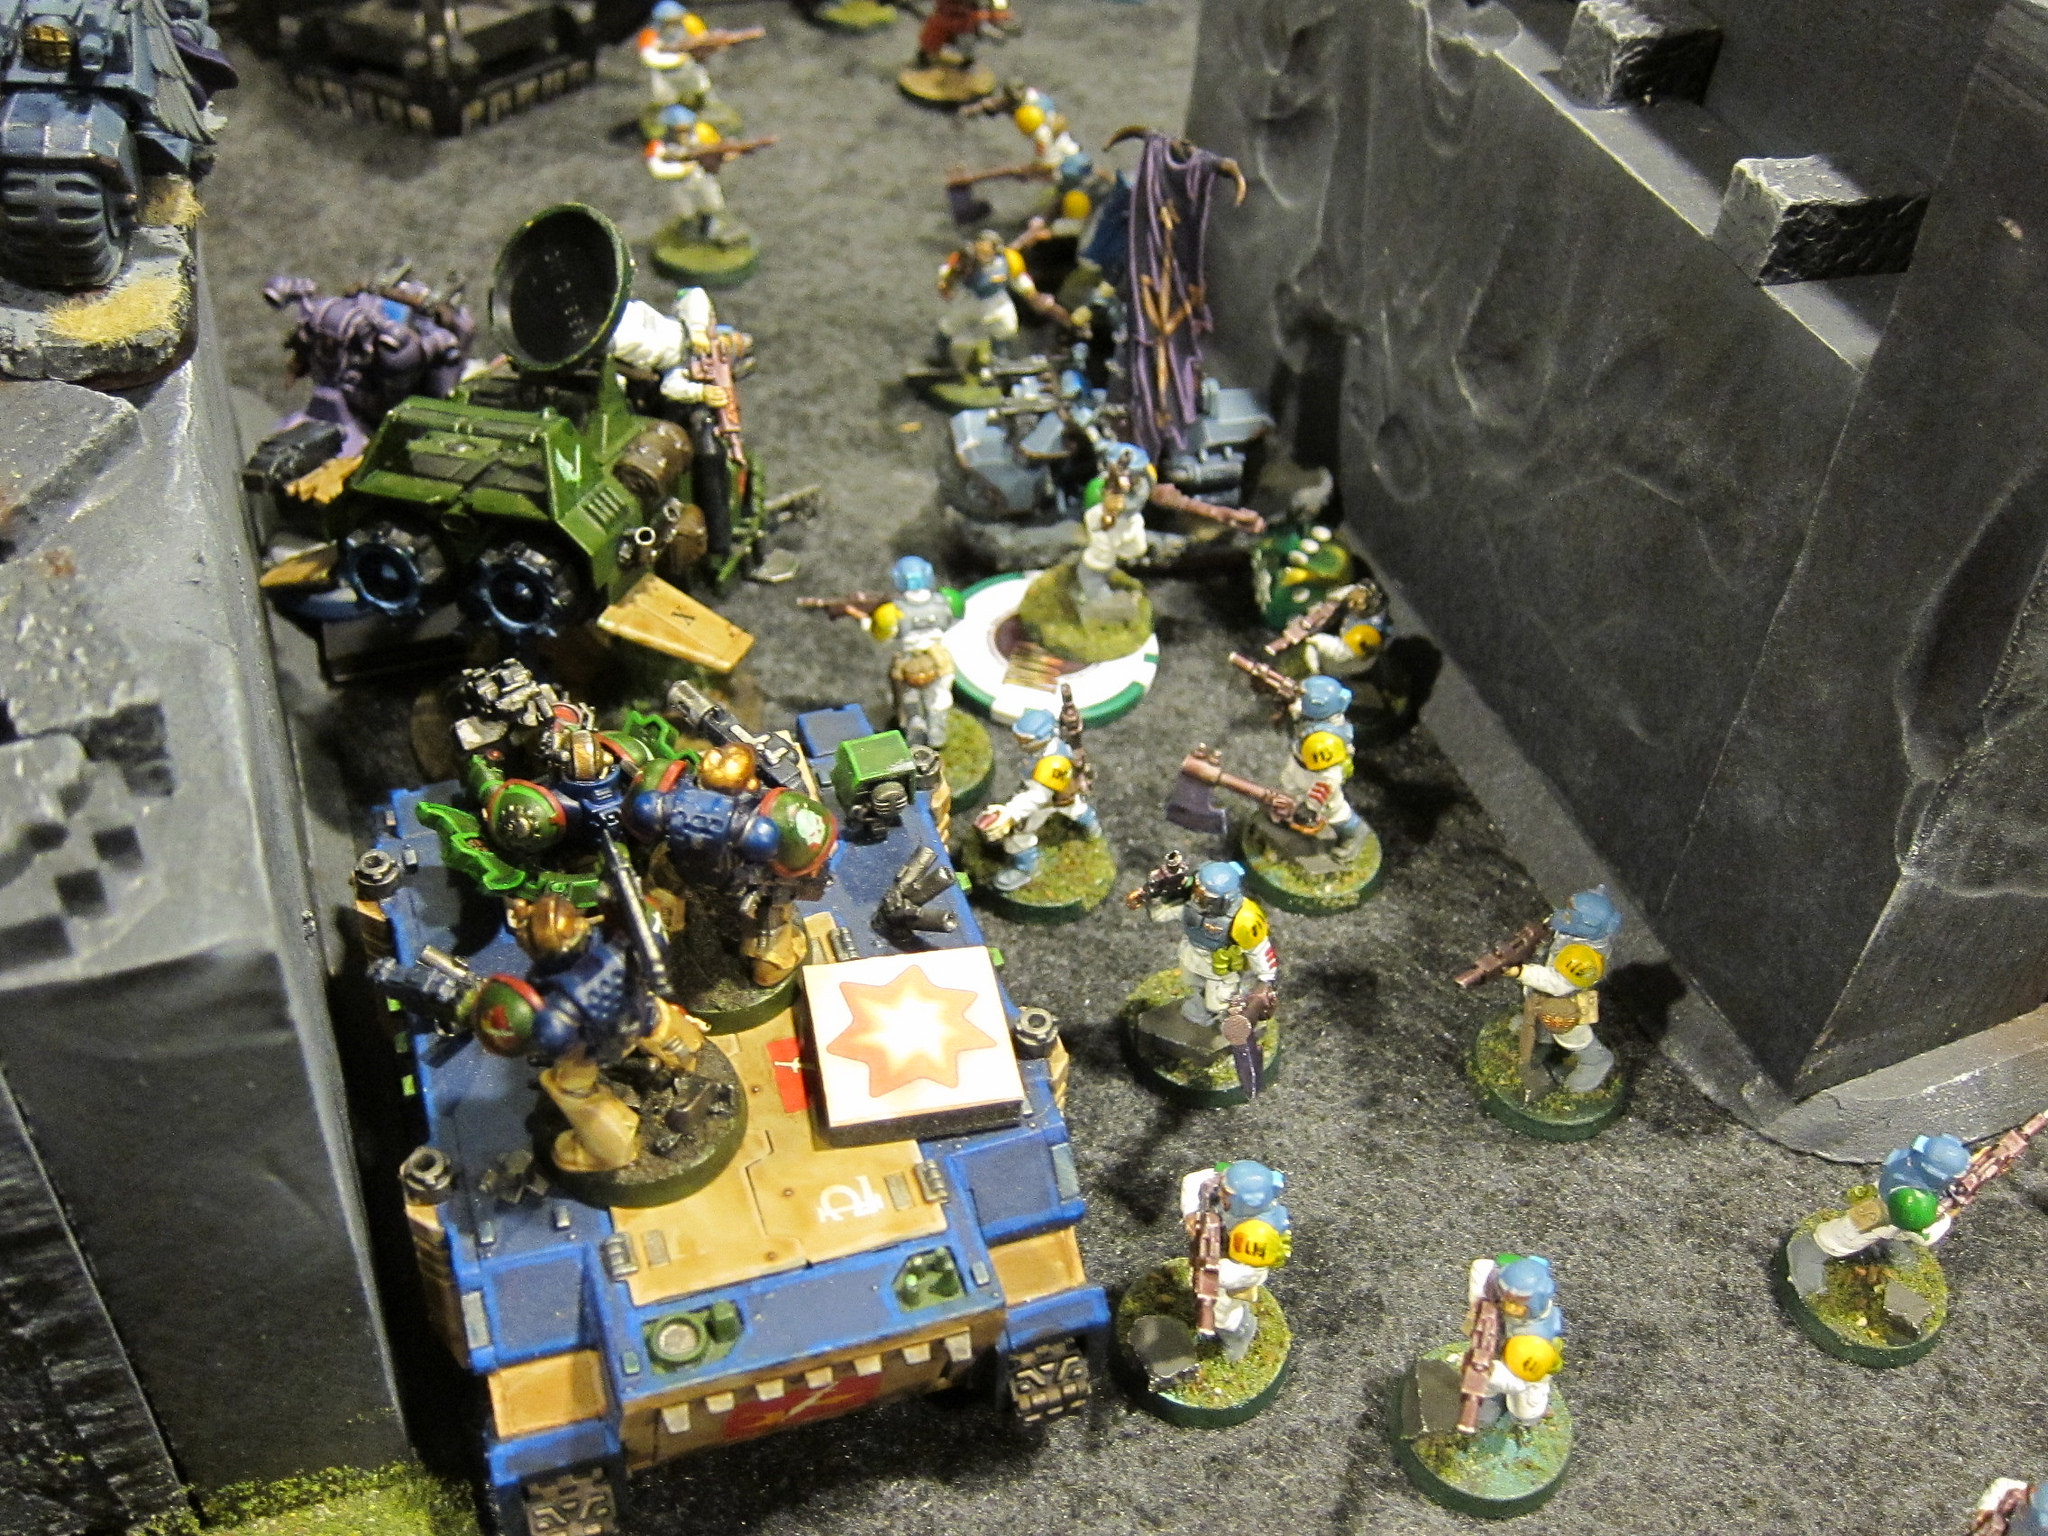
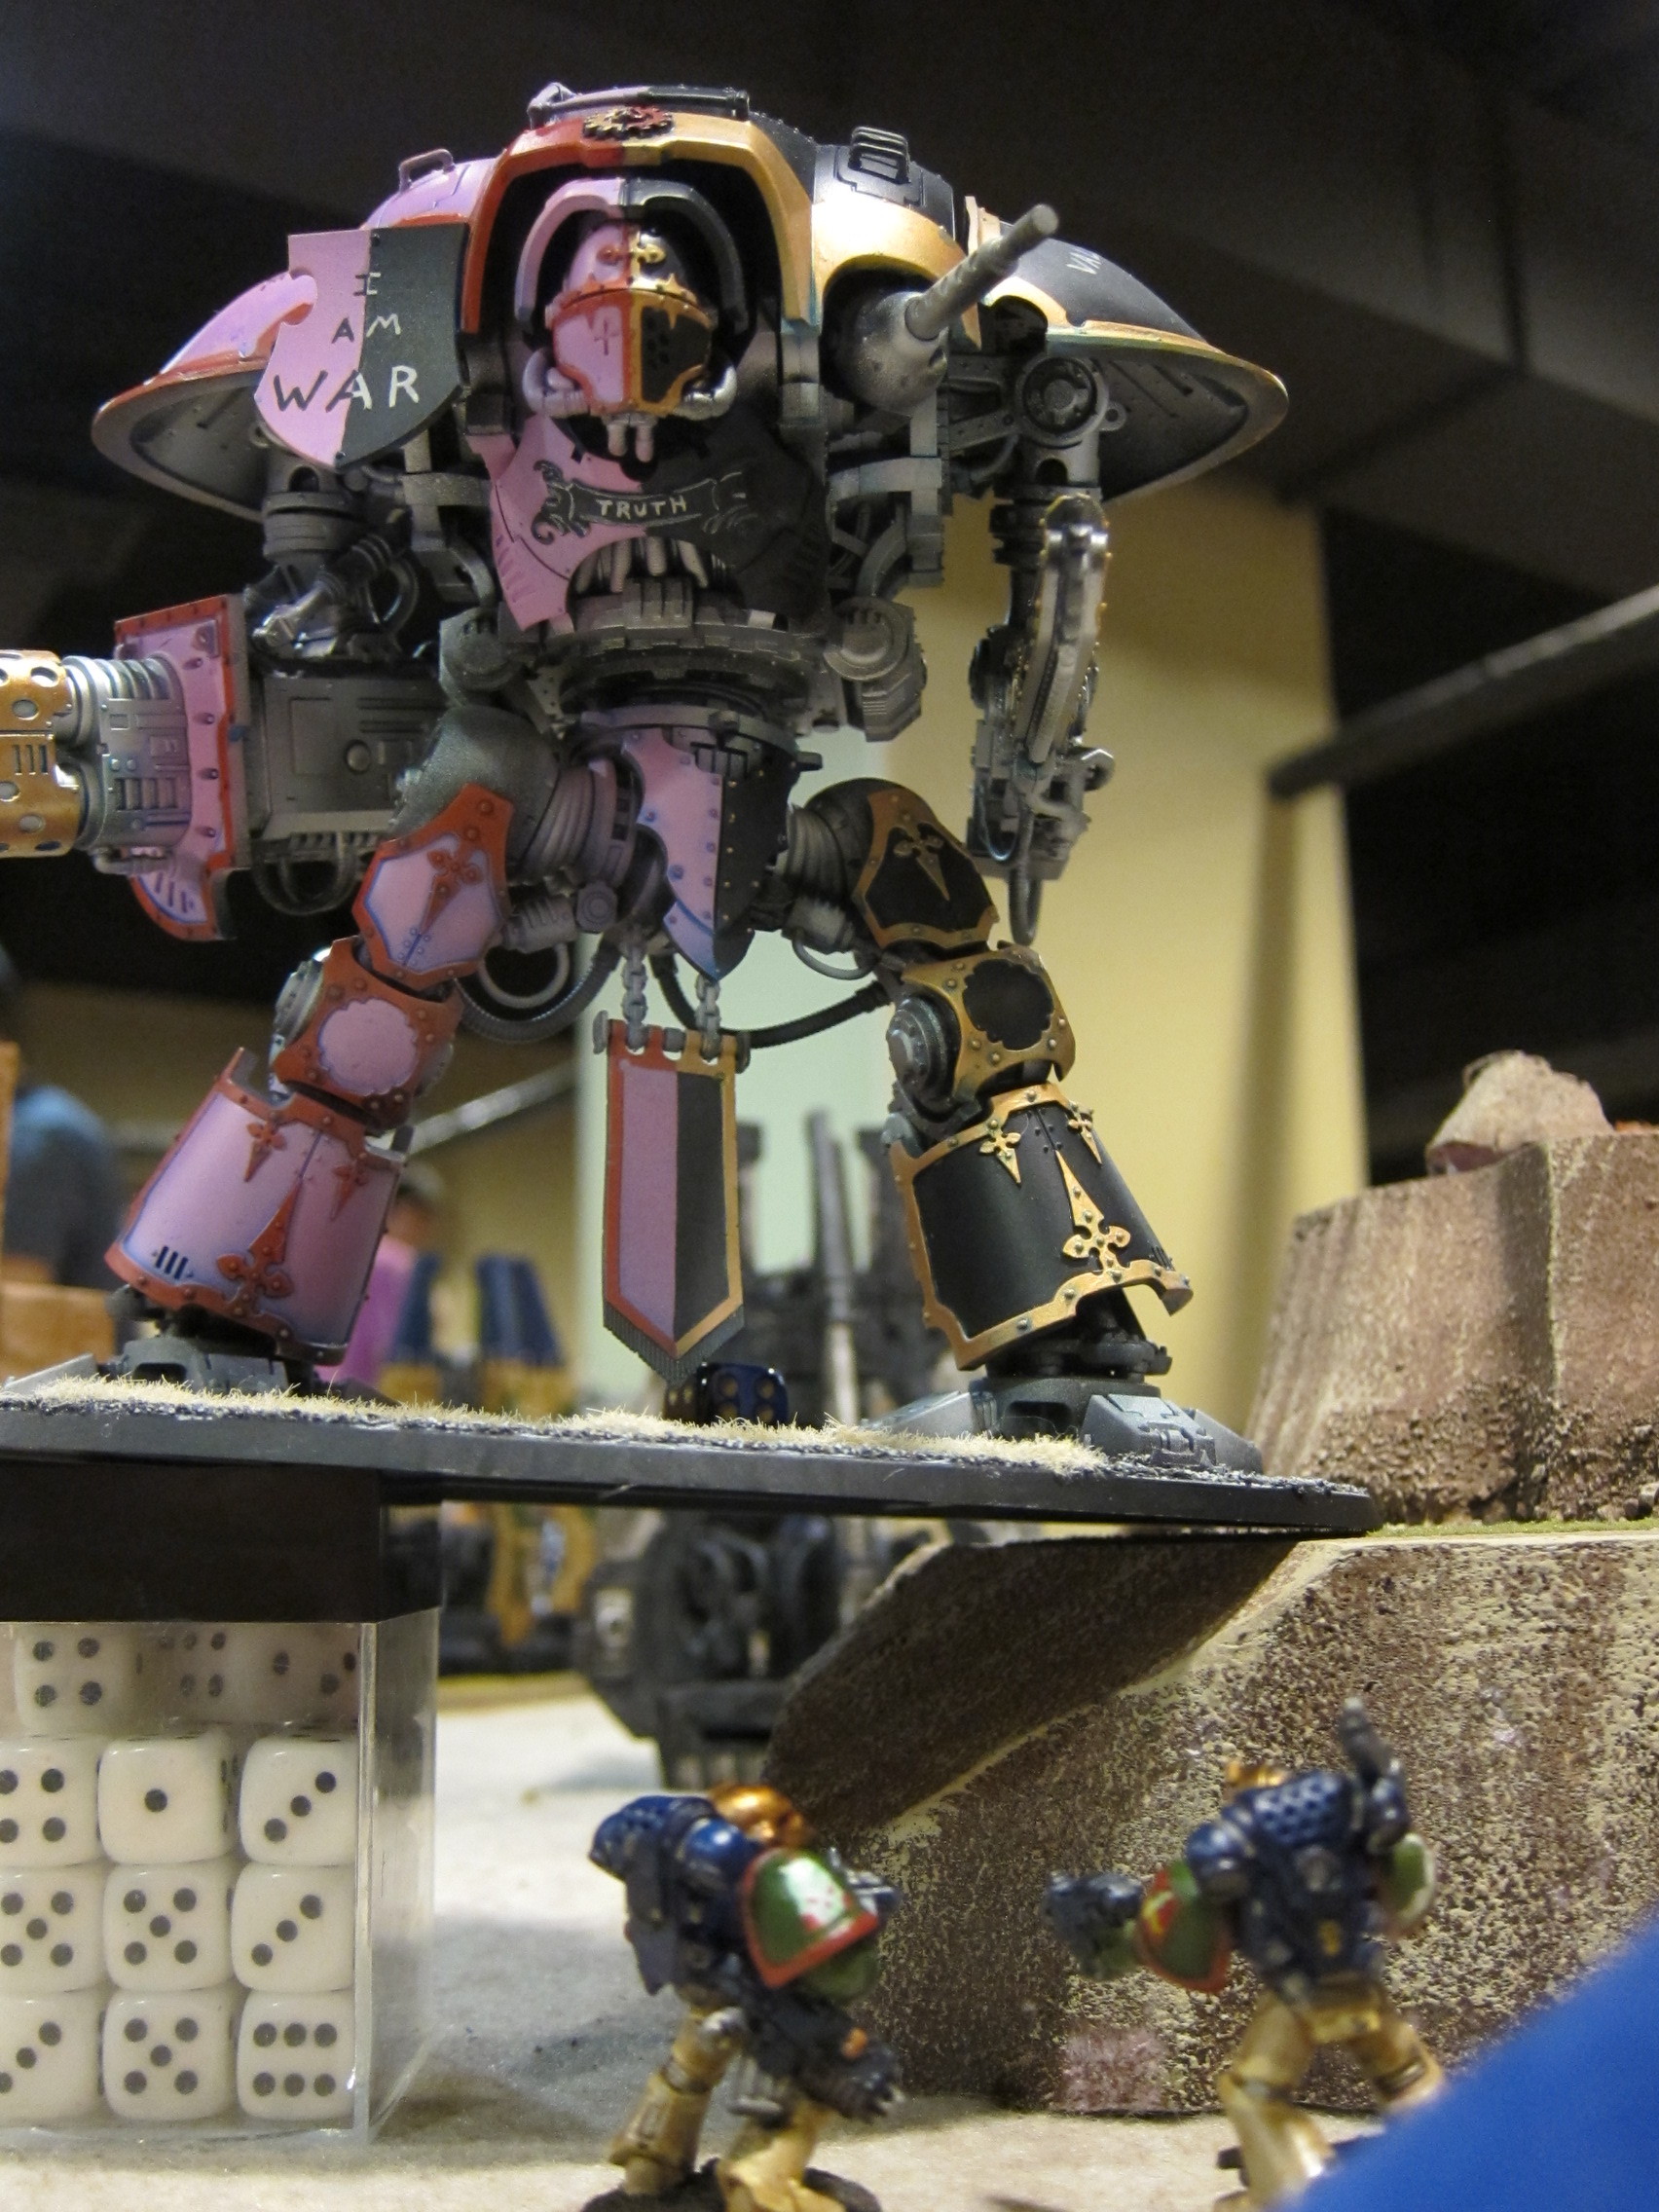
First round, NOVA Narrative 2014, I am about to get crushed by Eric, who just minutes before had finished competing in NOVA’s GT Invitational…
Questionnaires
One clear response then is to get some information about the players. Some time ago, a friend and I were talking about similar challenges in bicycle races, which I also organize, and he mentioned a scheme he’s seen in martial arts. There they have the additional challenge of many cross-discipline competitors, i.e., somebody that has a high rank or belt in one form of the sport that may or may not have real bearing in other forms. So some events begin by having a panel of experts quickly interview competitors and seed them into initial groupings based on the panel’s judgement of their experience level and skills applicable to the current event.
I have no idea how common or successful that is in martial arts. But it seems like a reasonable idea, and I’ve been thinking a fair bit about how to apply it to miniatures wargaming (and boardgaming). In particular, later this year I’m leading two (hopefully) large-ish events, the new LibertyHammer narrative event, and the popular NOVA 40k Narrative track. In both cases I will have no usable a priori knowledge of the vast majority of the players, but I’d really like to roughly seed them so that the first round pairings can be constrained and mismatches reduced.

To do so, I’m thinking of giving a short questionnaire to players as they check in. Those will then be used to roughly correlate players and constrain initial pairs.
Both events will use something like the propose/respond mechanism above. Especially for NOVA though, there are enough players (~100 total in that event if we sell out) that we can’t do that across everybody in a reasonable amount of time. So the players will be dividing into groups of about 12 and pairing up within groups simultaneously. In later rounds those groups will be determined by win/loss brackets, mitigating clubbings.
Going into the first round though we could use a questionnaire to populate the groups. If it’s a short list of yes/no answers all phrased toward a positive answer being a sign of a more competition-oriented, skillful, experienced, or better equipped player, then for each player we can count the number of “yes” answers, sort everybody by their counts, and then split that sorted list into groups and arrange pairs within them.
Probing Questions
This is a very rough first draft of such a questionnaire:
Please check off the following “yes” or “no” regarding your participation in 40k events. PLEASE NOTE: None of these are in any way to be construed as negatives and your answers will not affect your ranking or options throughout the event. They are simply a survey of our players that will be used to group like-minded and similarly experienced players together in forming the first round pairings.
- Are you more focused on gameplay than on hobby aspects?
- Do you read frequently online about tactics and army construction?
- Do you consider yourself a strong player?
- Do you play in tournaments more than once or twice a year?
- Have you played in any Grand Tournament (GT) or similar regional or national level competitive event at any point in the past two years?
- Is your primary faction Eldar, Chaos Daemons, Necrons, or Space Marines (generic codex)?
- Is your army comprised of more than a single detachment or formation?
- Does your army use more than one source (codex, campaign book, supplement, etc.)?
- Does your army include any single unit type more than three times?
- Does your army include more than one superheavy vehicle or gargantuan creature?
General Questions
The first five questions above are fairly general and get at the inclinations of the player. The intent here is that the more “yes” answers someone gives, the more likely they are to be at least more competition-oriented, if not indeed a stronger player. I don’t want the total newbie to get crushed in a bad mismatch. I also don’t want the fluff bunny who’s been playing for years but is primarily in the hobby to go pew-pew with his lovingly converted and painted toy soldiers to happen to be paired in the first round with someone fielding a barely prepared clone of the Internet’s latest and greatest all-conquering army list. I don’t though have a problem if someone regularly playing competitively or convinced they’re the Blood God’s gift to 40k goes up against a tough match, they can take it.
In addition to being ok with that outcome, it would also just be hard to ask quantifiable, objective questions about ability given hugely varied participant pools. So the questions ask more about mindset and participation rather than results. It wouldn’t mean much to ask “Have you won a tournament in the past year?” because events are so varied. But I think it does say something for someone to have played in a Grand Tournament recently.
Army Questions
The last four questions are more specific to 40k and what the player is fielding. These questions are intended to be very rough indicators of stronger armies, or at least armies coming from a similar mindset. For example, having more than one superheavy/gargantuan, detachment, or source book is by no means at all necessarily an indicator of a stronger army. But it is a good indicator that you’re not still playing from a 2nd, 3rd, 4th, or even 5th edition mentality and set of expectations as many players arguably are. There’s nothing wrong with that, but ideally as the organizer I’d like those players’ first taste of the event to not be facing someone coming from a radically different take on the game. Obviously a lot can be said on the topic of superheavies/gargantuans and their balance and appropriateness for 40k. Although we’re permitting them in this year’s NOVA Narrative (LibertyHammer’s points levels are too low), we are doing a fair bit with our mission design and rules to counter some of the issues that do exist while still allowing the freedom to play full 7th edition. Regardless, despite that inclusion, I don’t think it’s unreasonable to hedge my bets on players’ initial experience by attempting to group similar mindsets together. Potentially it would be better to ask about player’s support for those elements being in the game rather than using them theirselves, but I don’t have good wording for that at the moment.
Your weapons are useless, fleshlings!
Similarly, the question about having more than three units of a single type may not mean much at all. But I would guess that having four or more of any particular unit tends to be more common in competition-oriented lists. Here I’m not making any value judgement on that whatsoever. We set up the rules, and people should design armies under those rules to be as strong as they wish. Hopefully our rules, missions, comprehensive scoring, limited prizes, and other mechanisms mitigate against whatever issues 40k may or may not have with overpowered units and armies. However, I think it’s worthwhile in the first round pairings to try to group armies that are more likely to be designed for competition with other armies coming from a similar mindset.
The question about the specific factions is incorporating into the seeding some notion of the currently strongest factions in the game. Those particular four I think would be largely conceded as such by most players. But I cite as specific objective evidence for those four as the distinct top tier—and not also a few additional armies that might be commonly opined as such—the statistical analysis done by Variance Hammer of this year’s LVO results. Obviously this question isn’t dispositive, any given player could field a weak army for any of those codexes. There will in particular be a lot of weak Space Marine armies, just because they’re such a huge portion of the player pool. But the question is just one point among eight in what is only a very rough seeding function anyway.
Logistics
An important note is that any scheme for mitigating first round mismatches has to be practical. In this case, potentially the two classes of questions should be separated in some way, to more independently gauge players’ inclination toward competitive play and their take on the current makeup of 40k. But ultimately this has to be fast to execute; we have tight time constraints between checking everybody in, preparing the data, and turning around first round pairings. The questionnaire can’t be that complex for players to fill out nor for us to tabulate and use. Any other mechanism would have to be similarly simple and fast.
Conclusion & Other Ideas?
Player mismatches are an issue that many narrative events don’t adequately address. First round mismatches in particular are a general issue that many gaming tournaments could improve. Here I’ve sketched one idea to do so: Players fill out a quick questionnaire to check in, and organizers sum up the “Yes” responses and seed the first round pairings by sorting on those counts.
Does that seem reasonable? Are there other good alternative or complementary mechanisms to reduce first round mismatches? For this questionnaire method, are there better questions to ask? This is just a rough draft and some thoughts, and my fellow organizers and I would really appreciate feedback and other ideas. Reach us in the comments below or the various forums where this has been linked. Thanks!
Update: There is now a discussion on Reddit about this that makes a bunch of additional points.