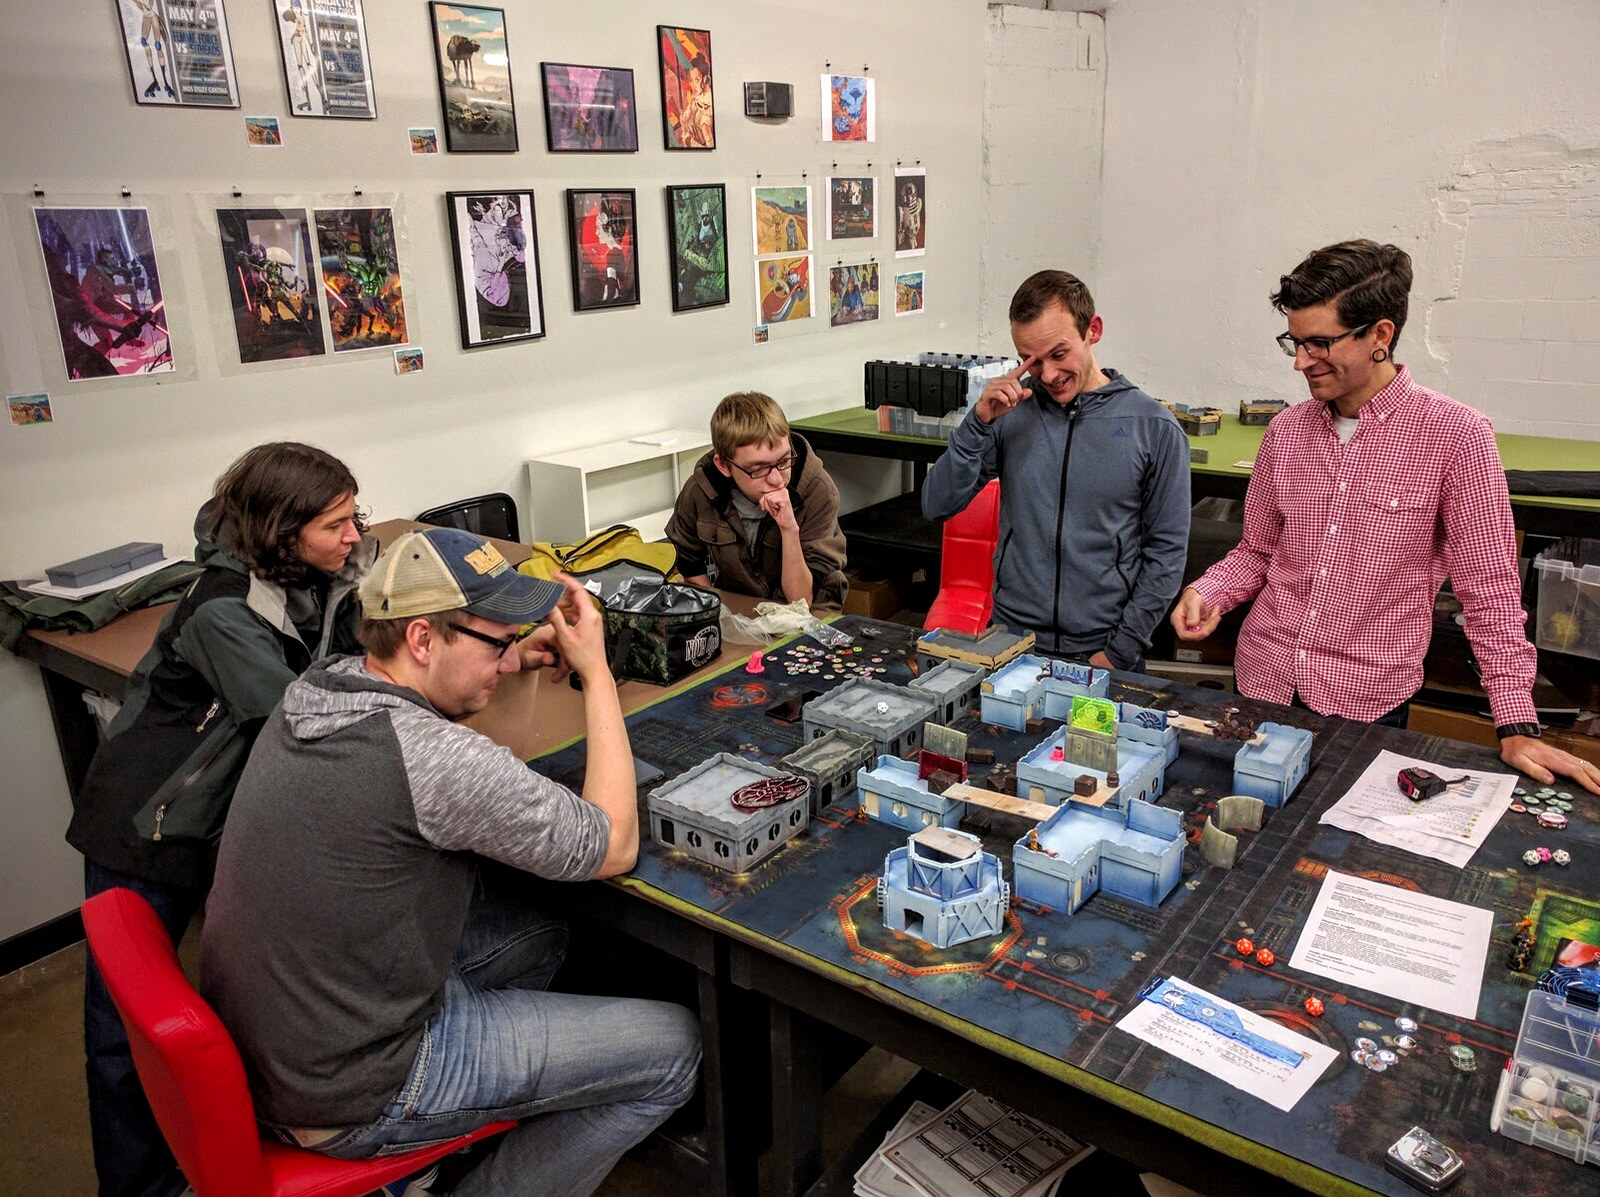
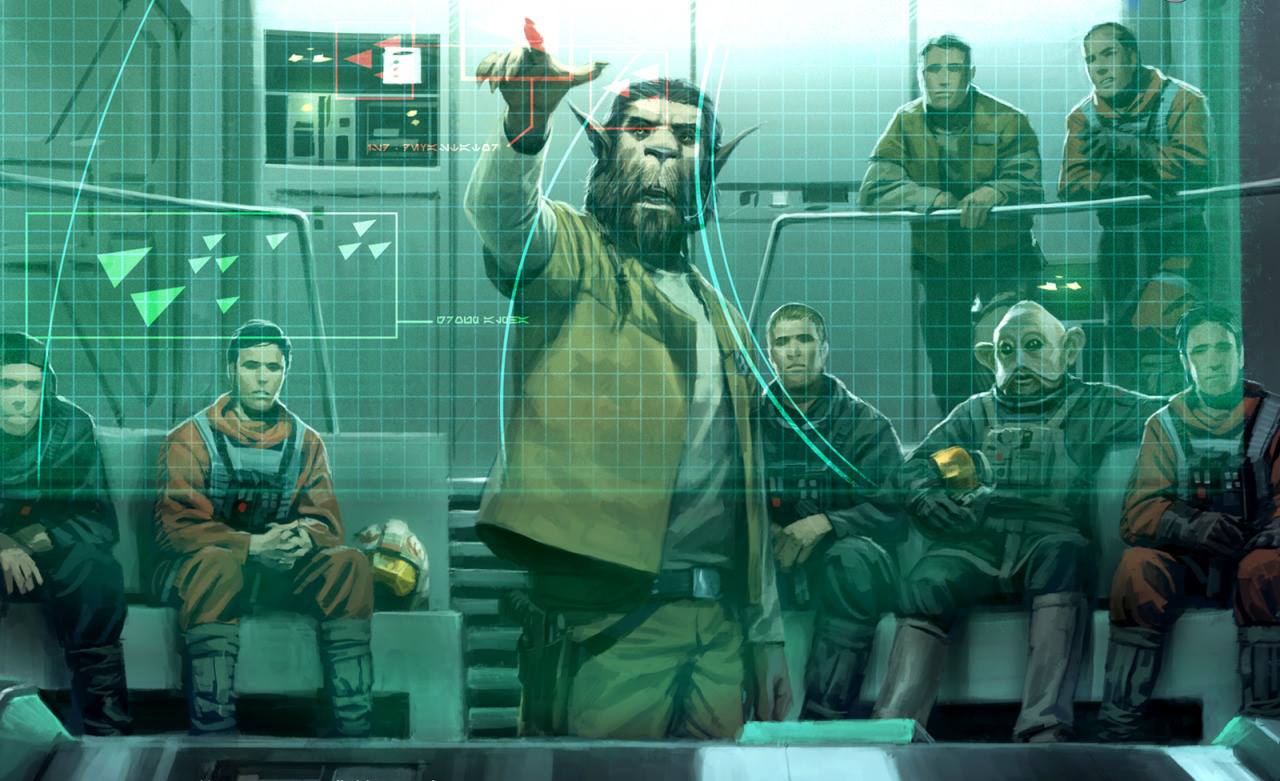
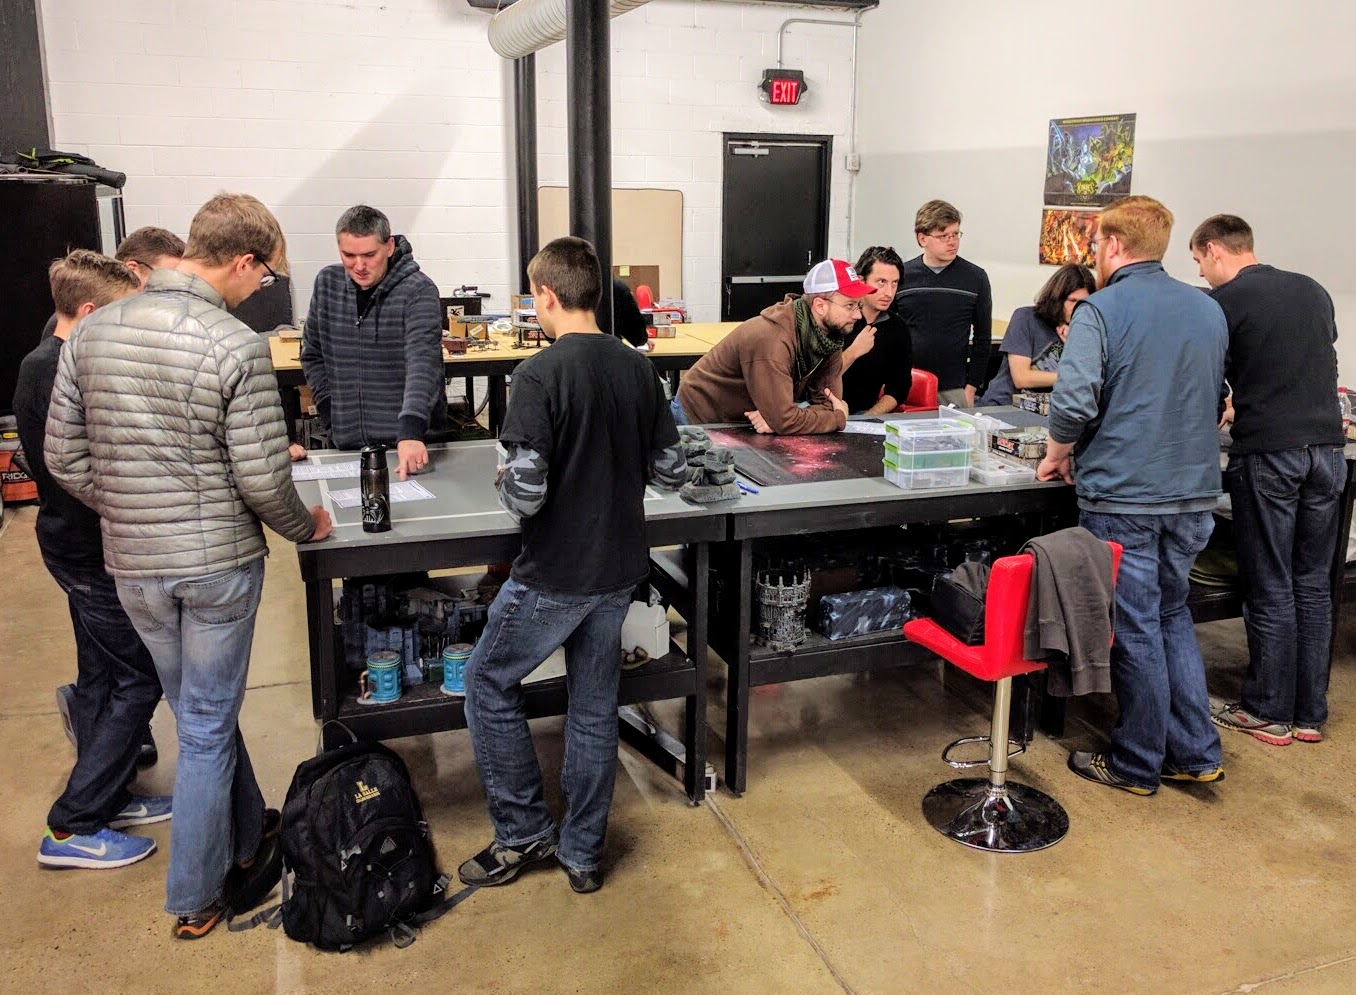
Saturday PAGE hosted its first X-Wing event: We did our first full playthrough of The Molokh Gambit, a new lightweight narrative campaign for X-Wing. Fourteen people played, twelve in the missions and six in the concluding epic battle, graciously hosted as usual by Redcap’s Corner in West Philly. This is a quick recap to post some photos and introduce the campaign. In the next couple weeks we’ll be cleaning up the packet, collating links to all the necessary supporting materials (ships, cards, dials, etc), and posting it for the public much like my other unofficial game supplements for 40k.
Many more photos than those here are in the Flickr gallery.
Prep
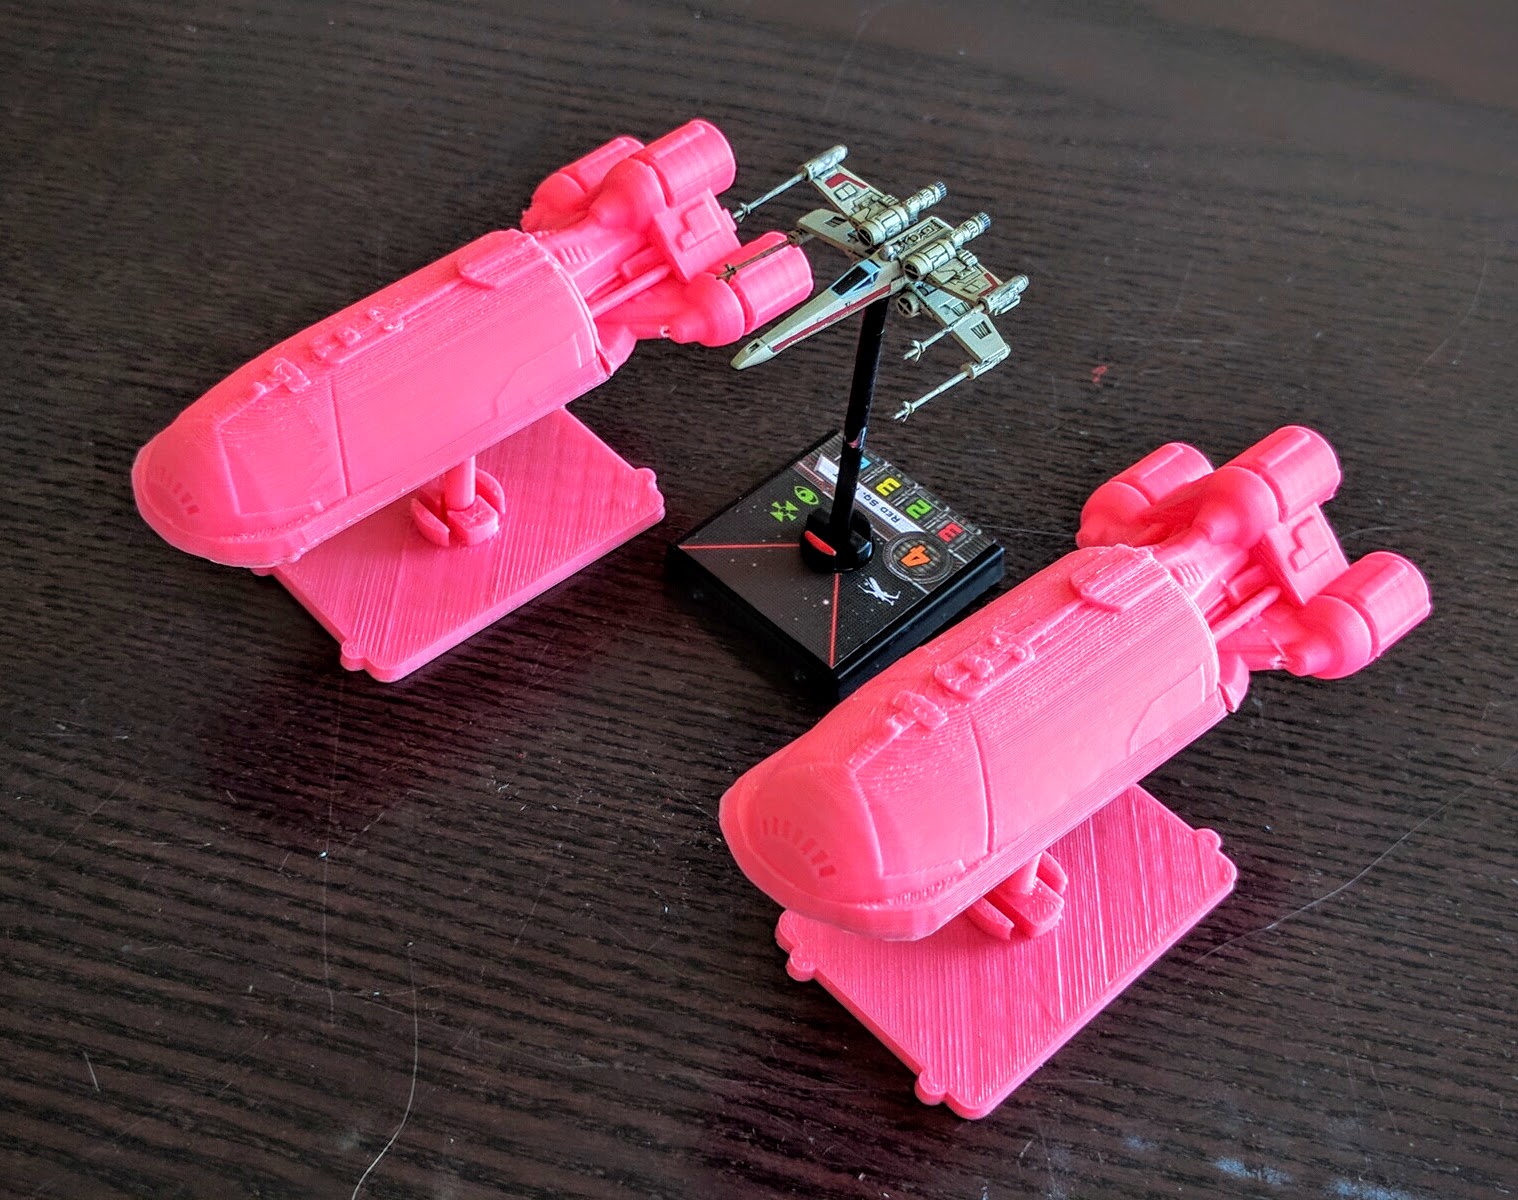
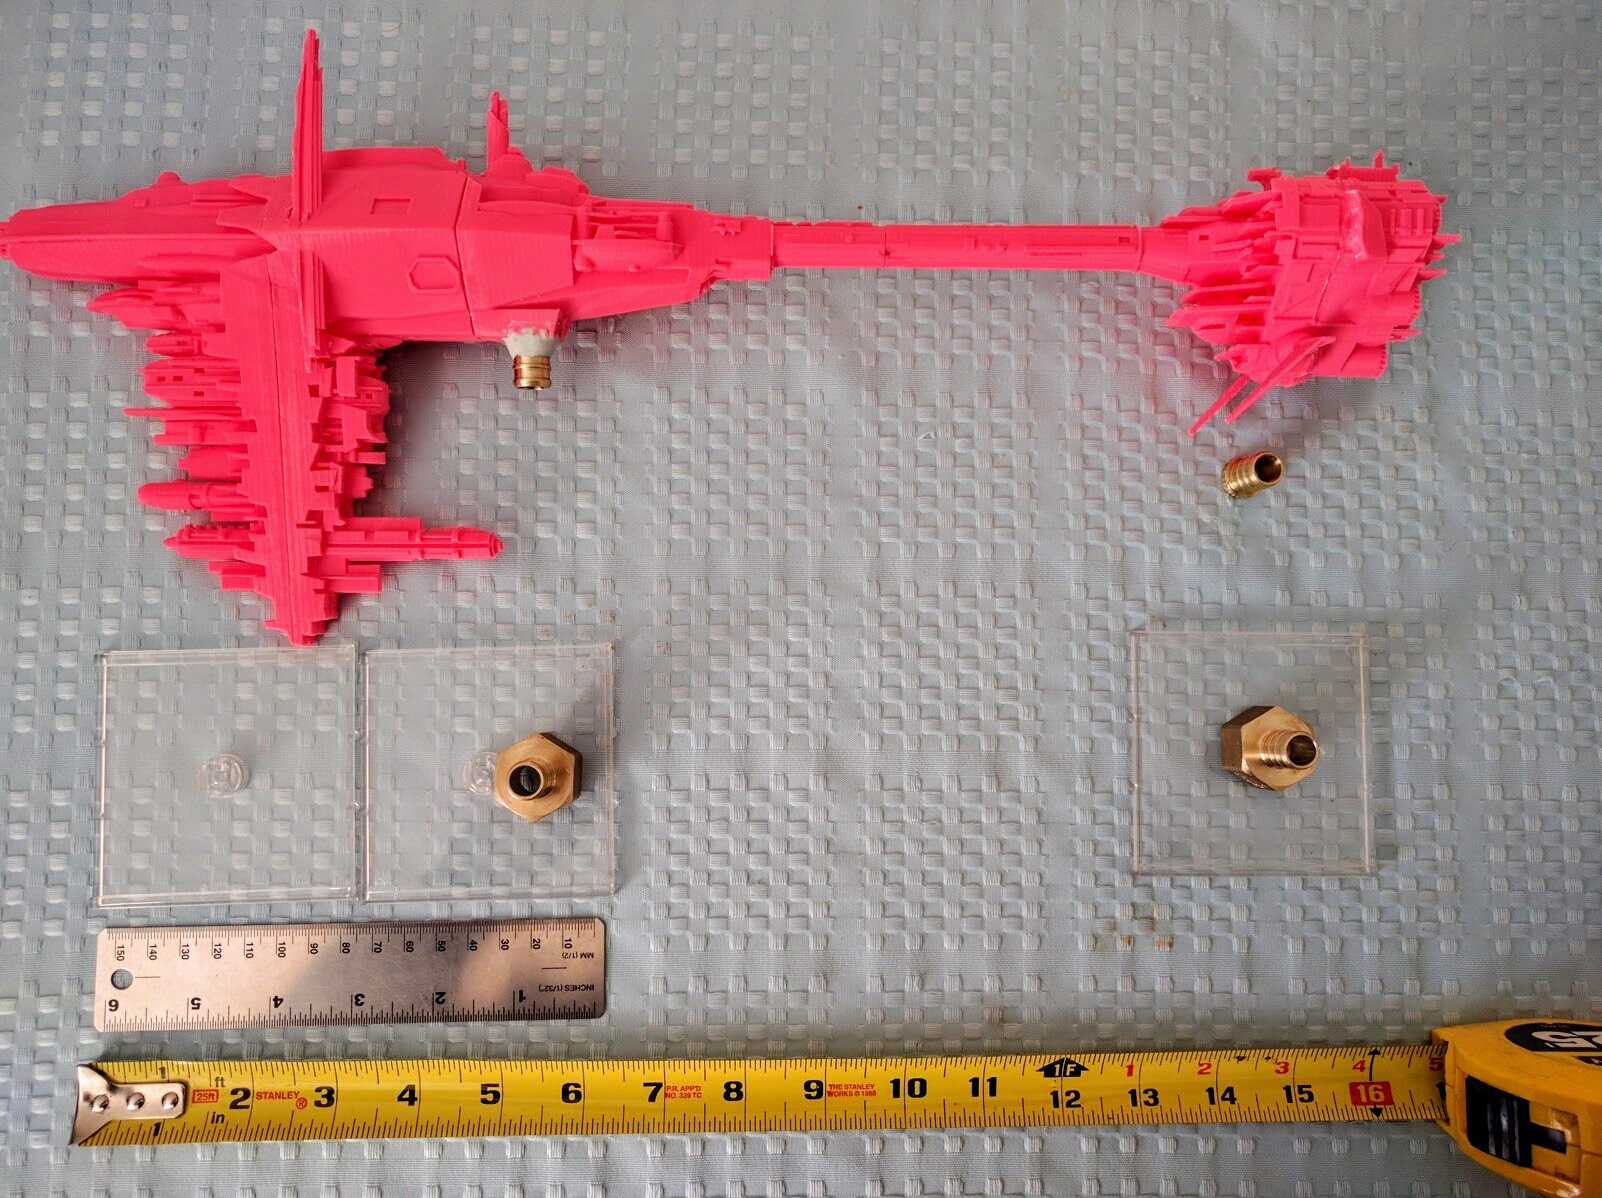
The campaign is built around a mess of toys, including Senator’s Shuttles, Cargo Pods, Crawlers, Stormtrooper Transports, Satellites, a whole bunch of custom tokens and cards to go with them, a collection of official huge ships, and a giant Nebulon B frigate.
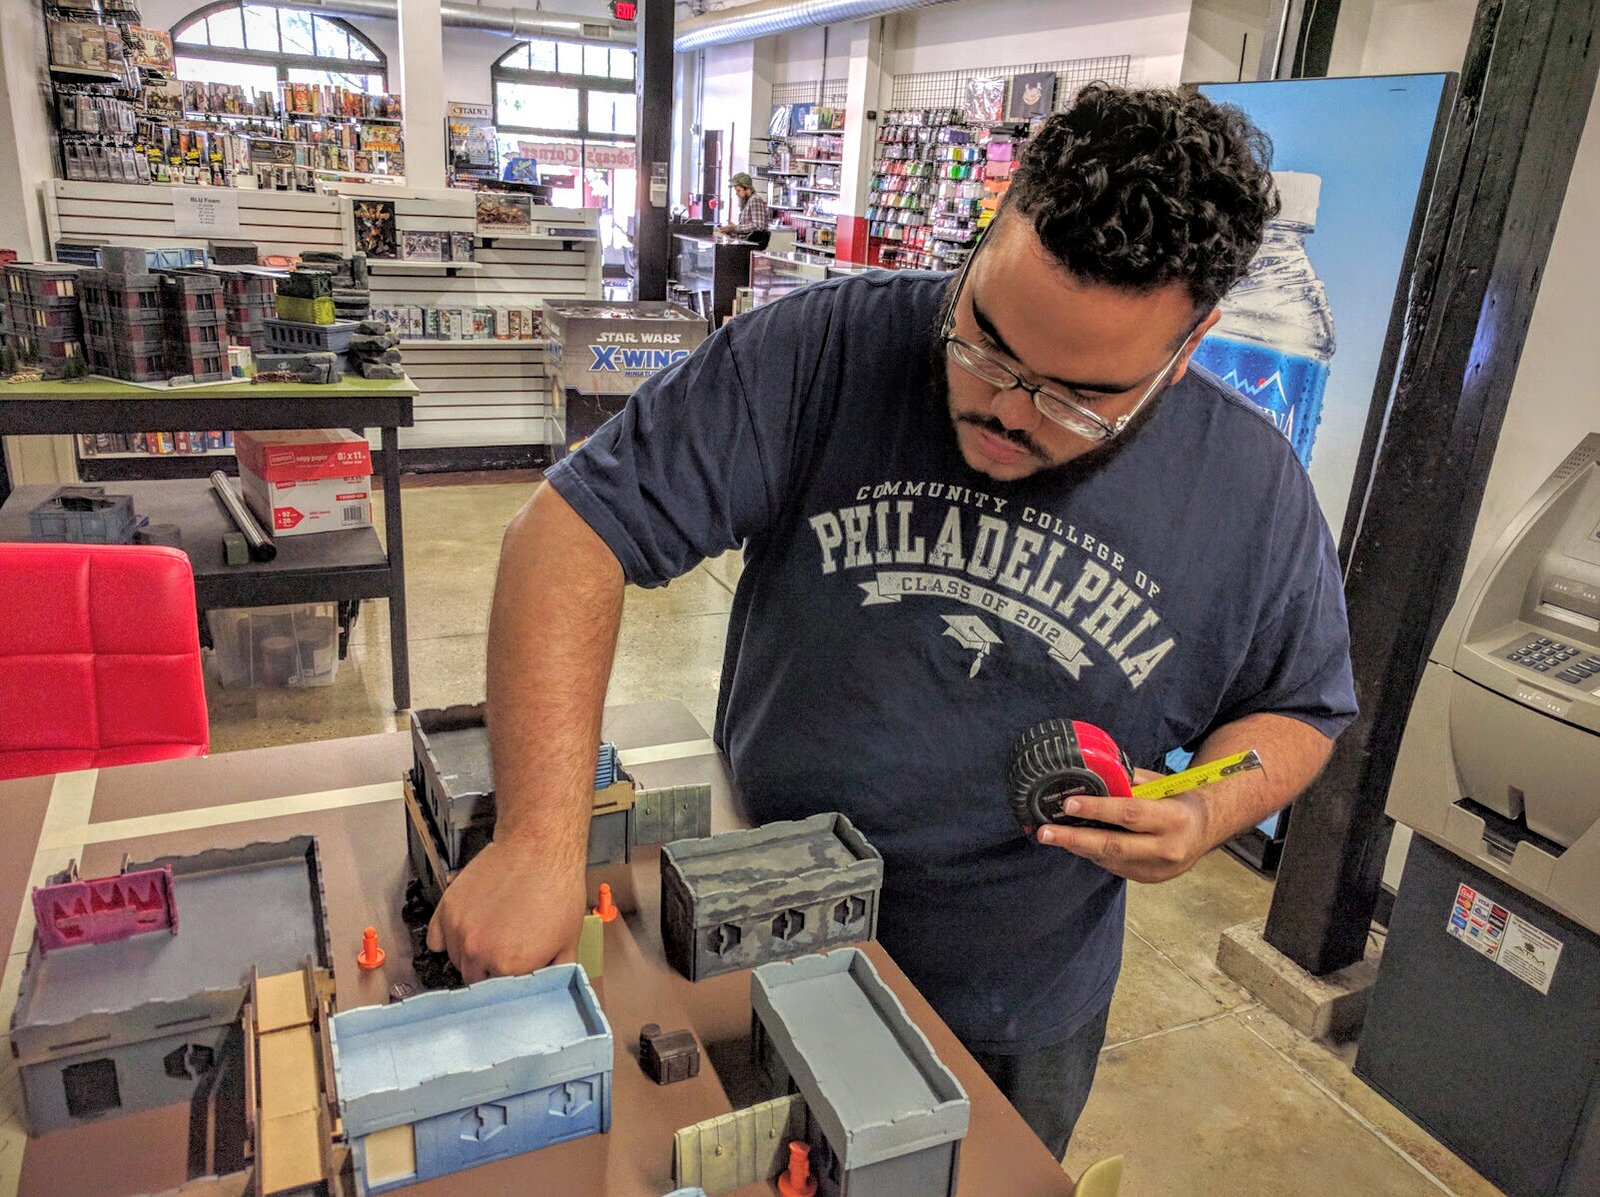
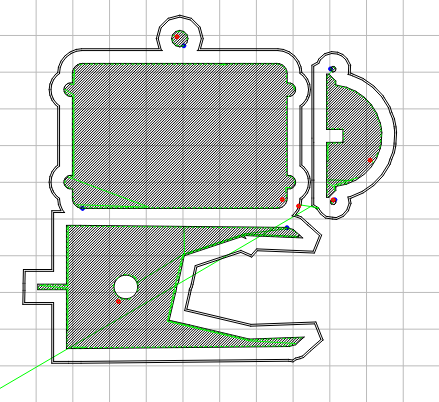
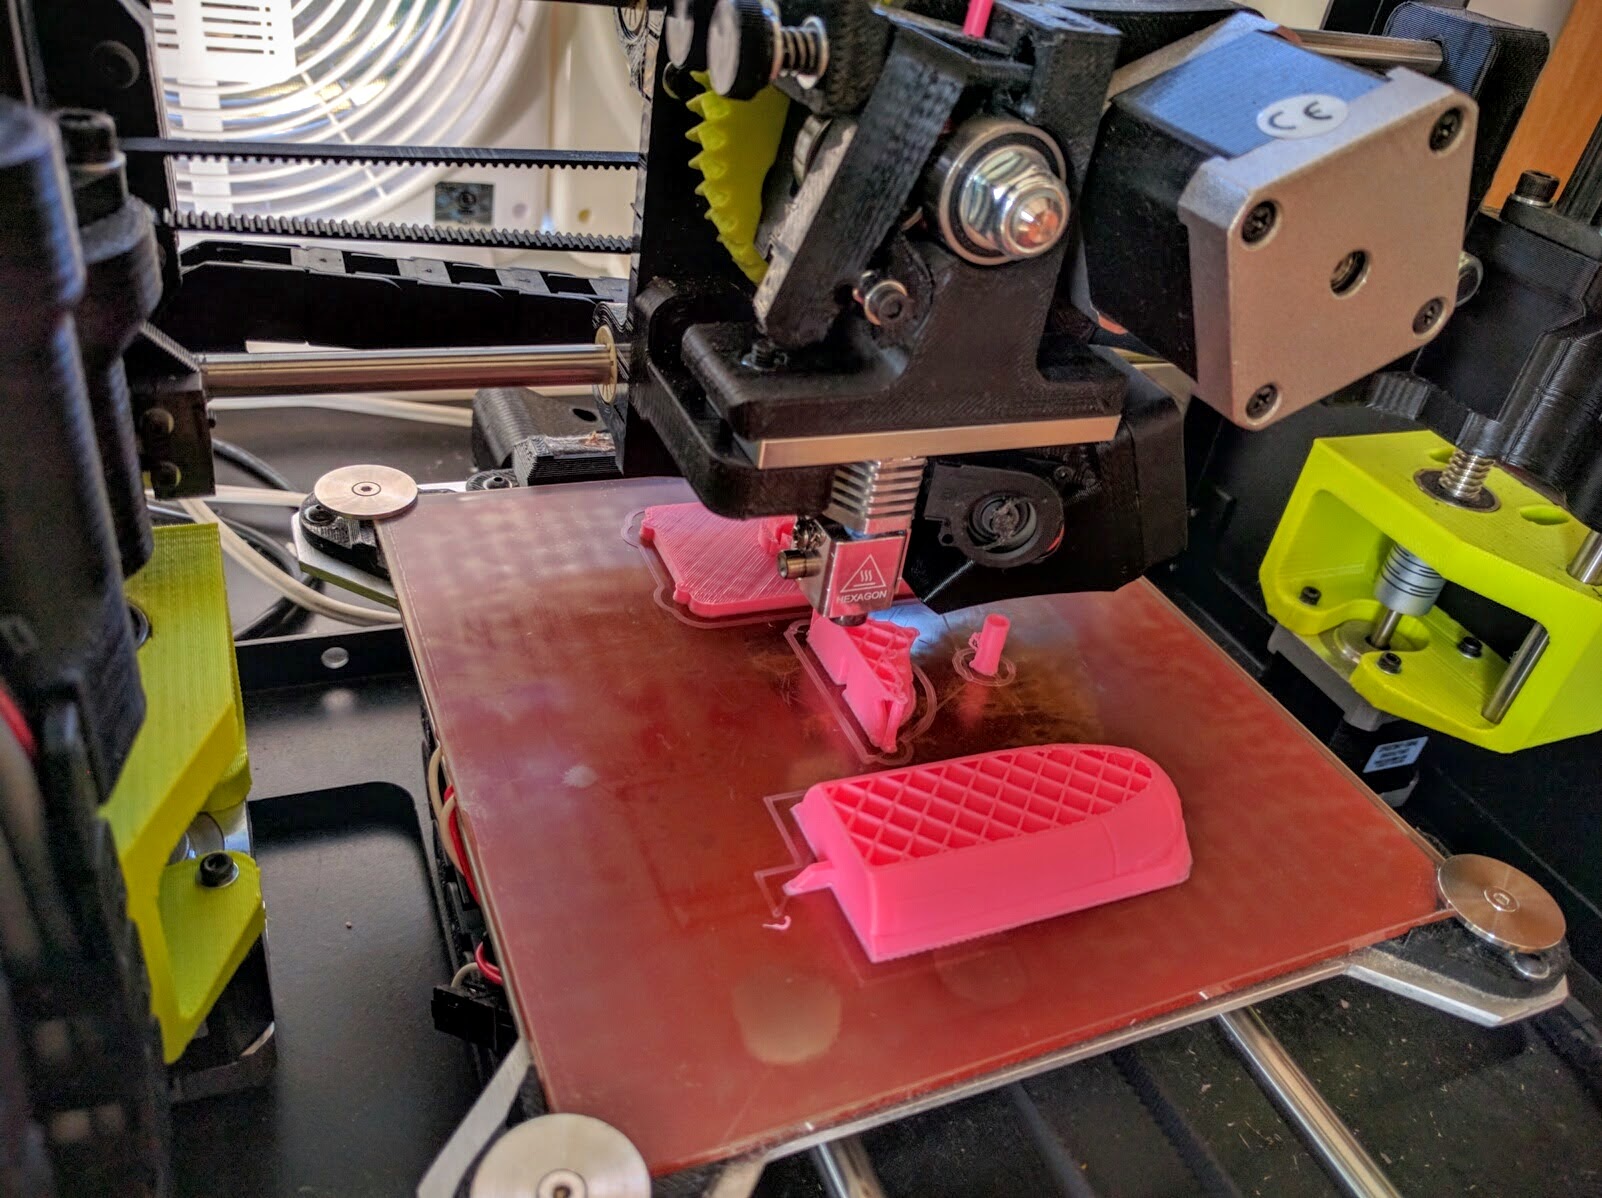
My buddy Matt and I 3D printed and painted boxes and boxes of the unofficial models, some of which I designed and some I downloaded and edited to print better, assemble easier, or be in a more useful scale. For those interested but completely unfamiliar, I have previously written a general introduction to 3d printing in the context of wargaming. A step beyond that, recently I posted a detailed tutorial on modeling & printing, using GR-75 Cargo Pods I created for this campaign as the exemplar. Again, when we finalize the packet shortly we’ll post a full manifest of resources for those with and without access to a 3D printer to produce the models or counters for them, all the tokens and cards, etc..
UPDATE: There is a growing collection of links here to resources for getting or making the various components needed.
Many more photos of various stages of printing and assembly are in the gallery.
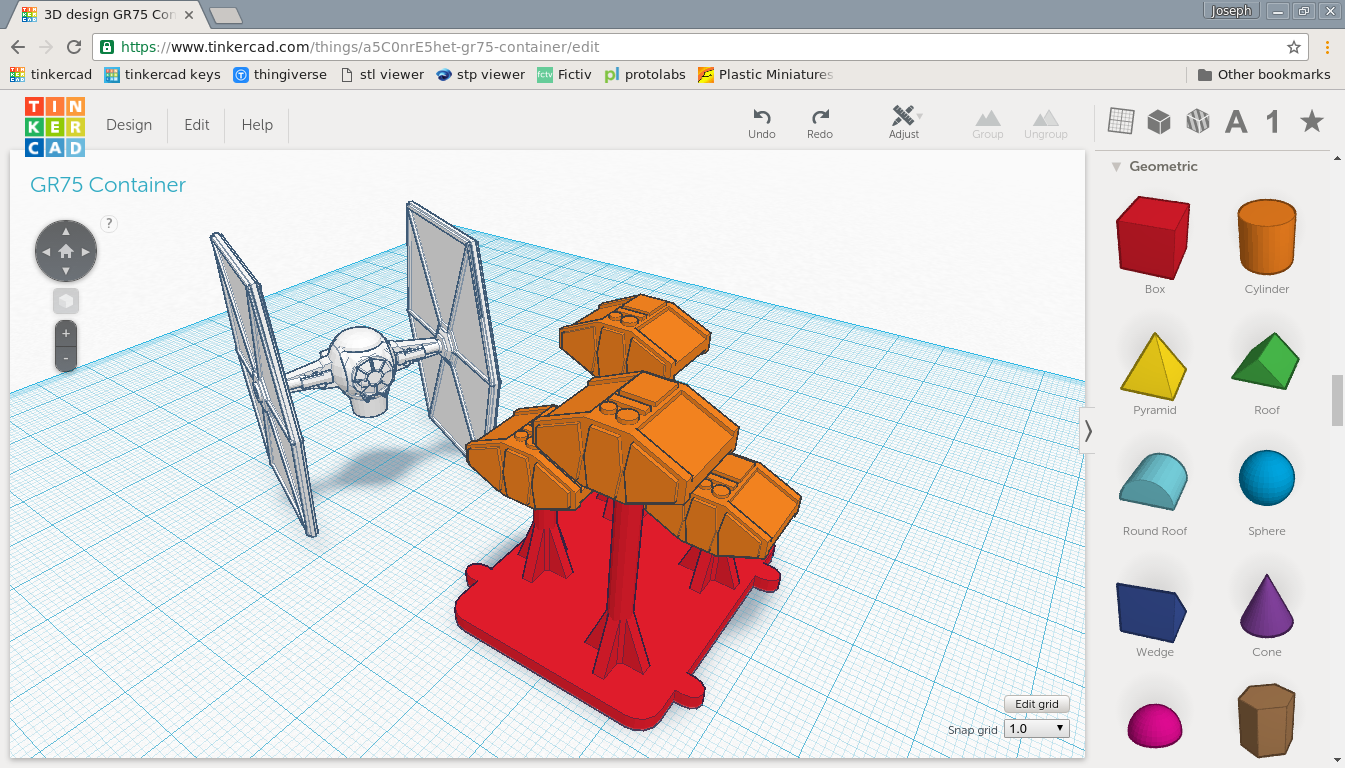
Modeling the Cargo Pods.
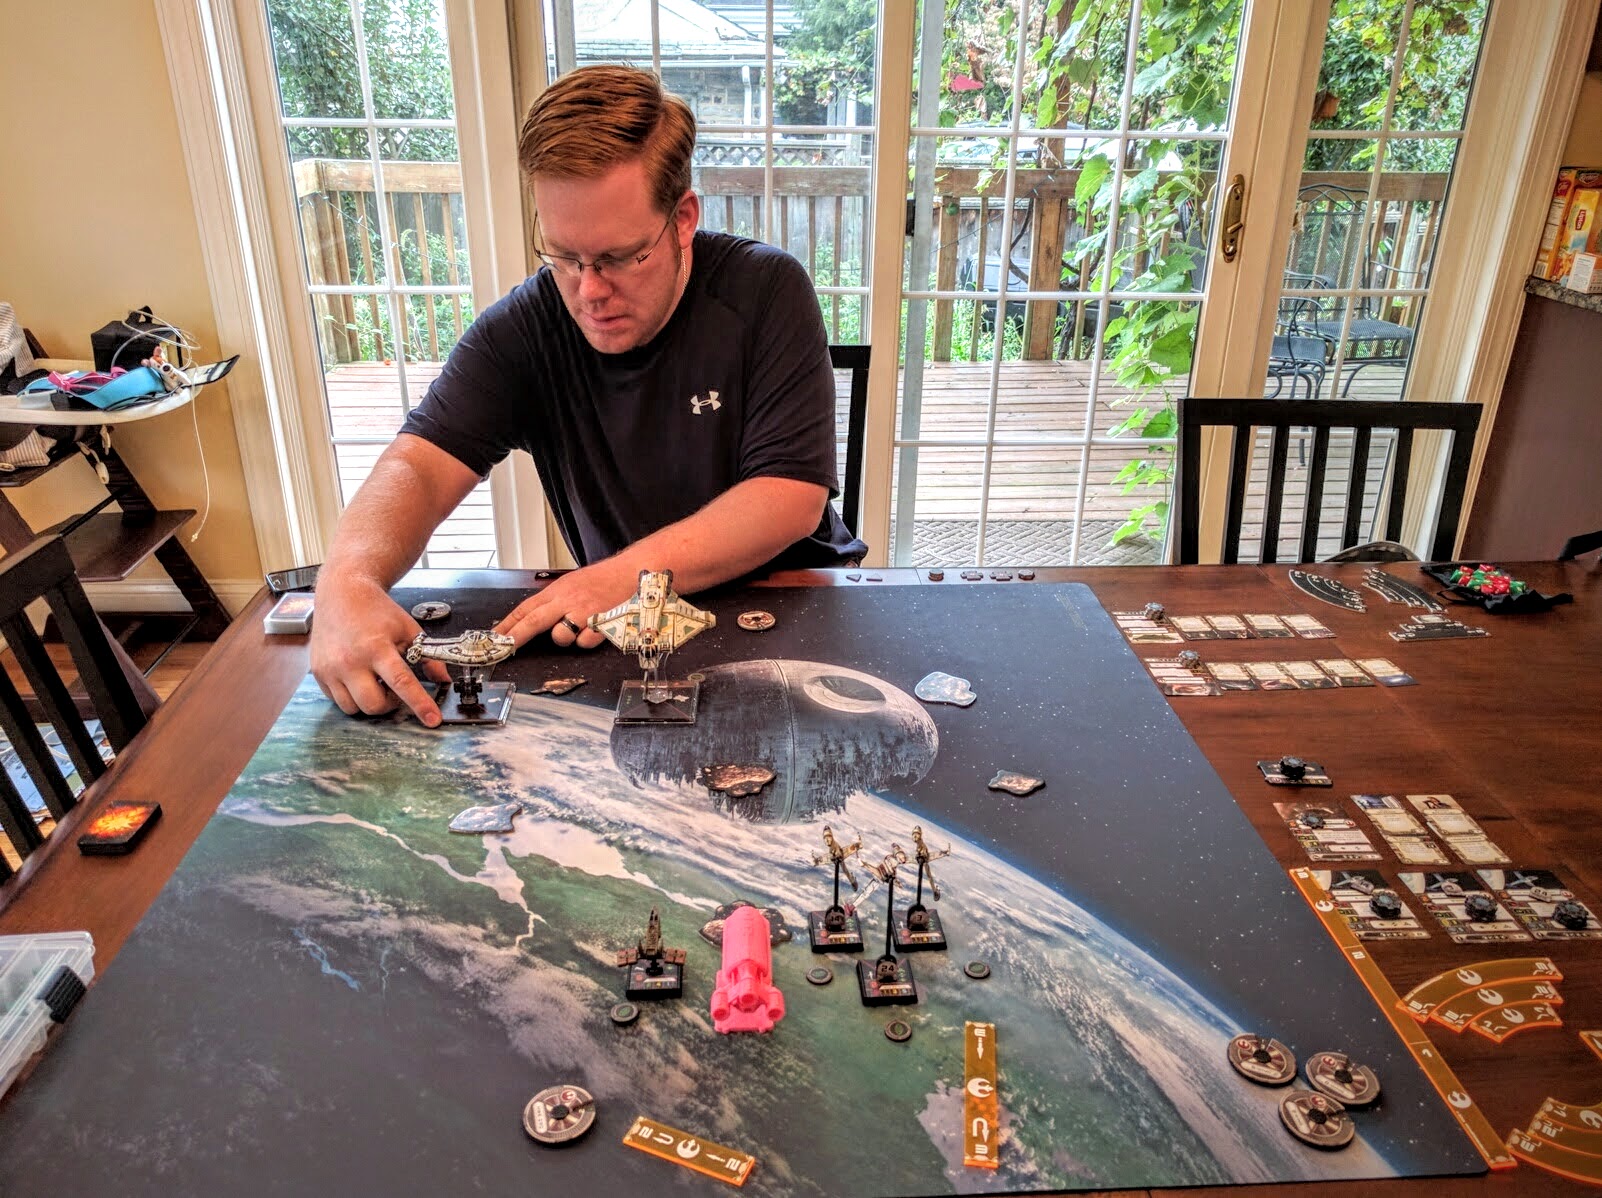
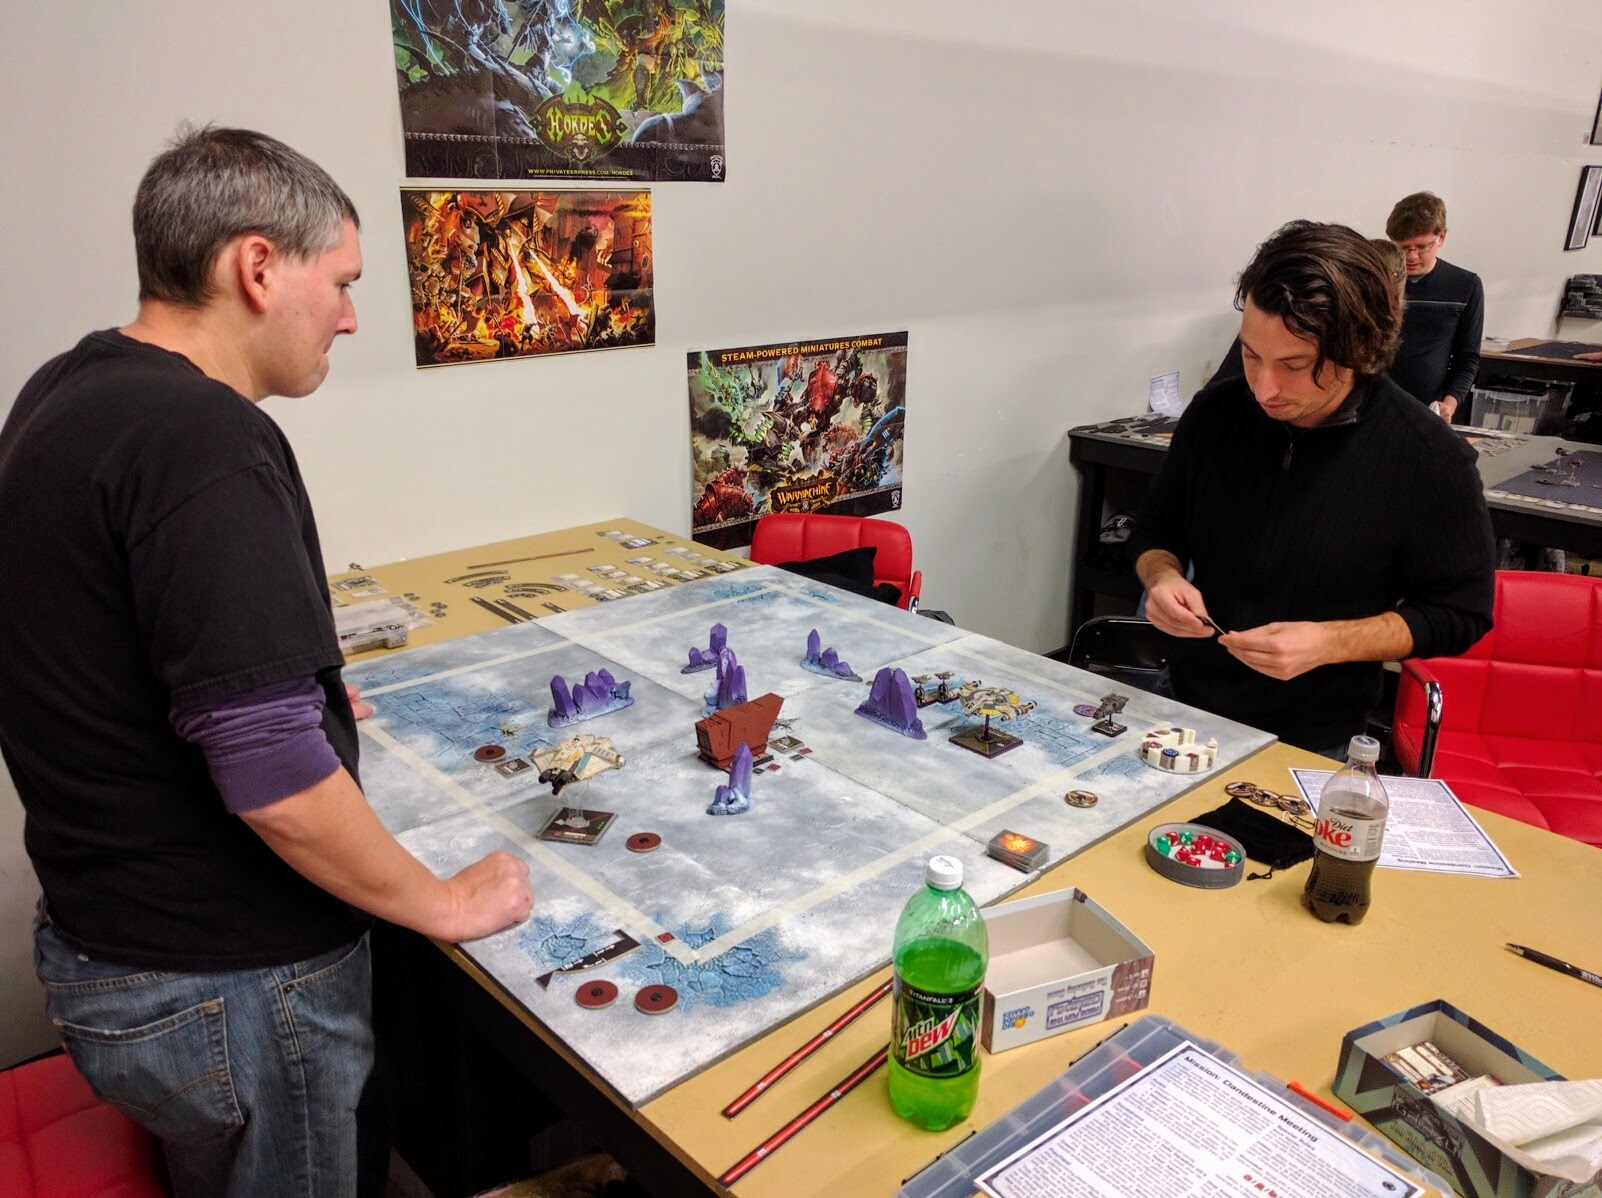
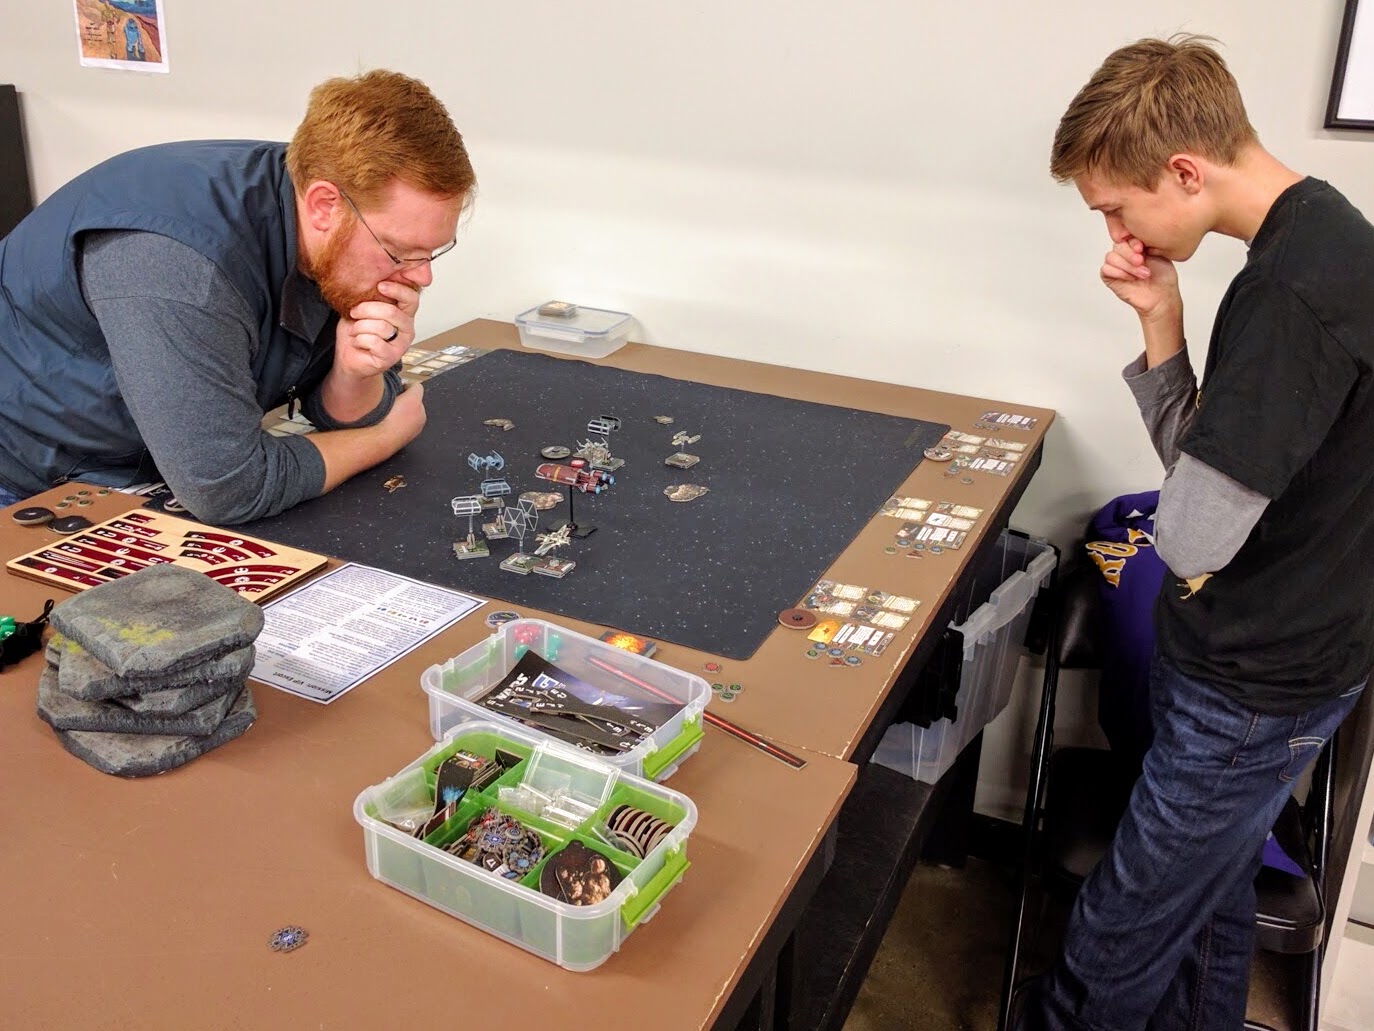
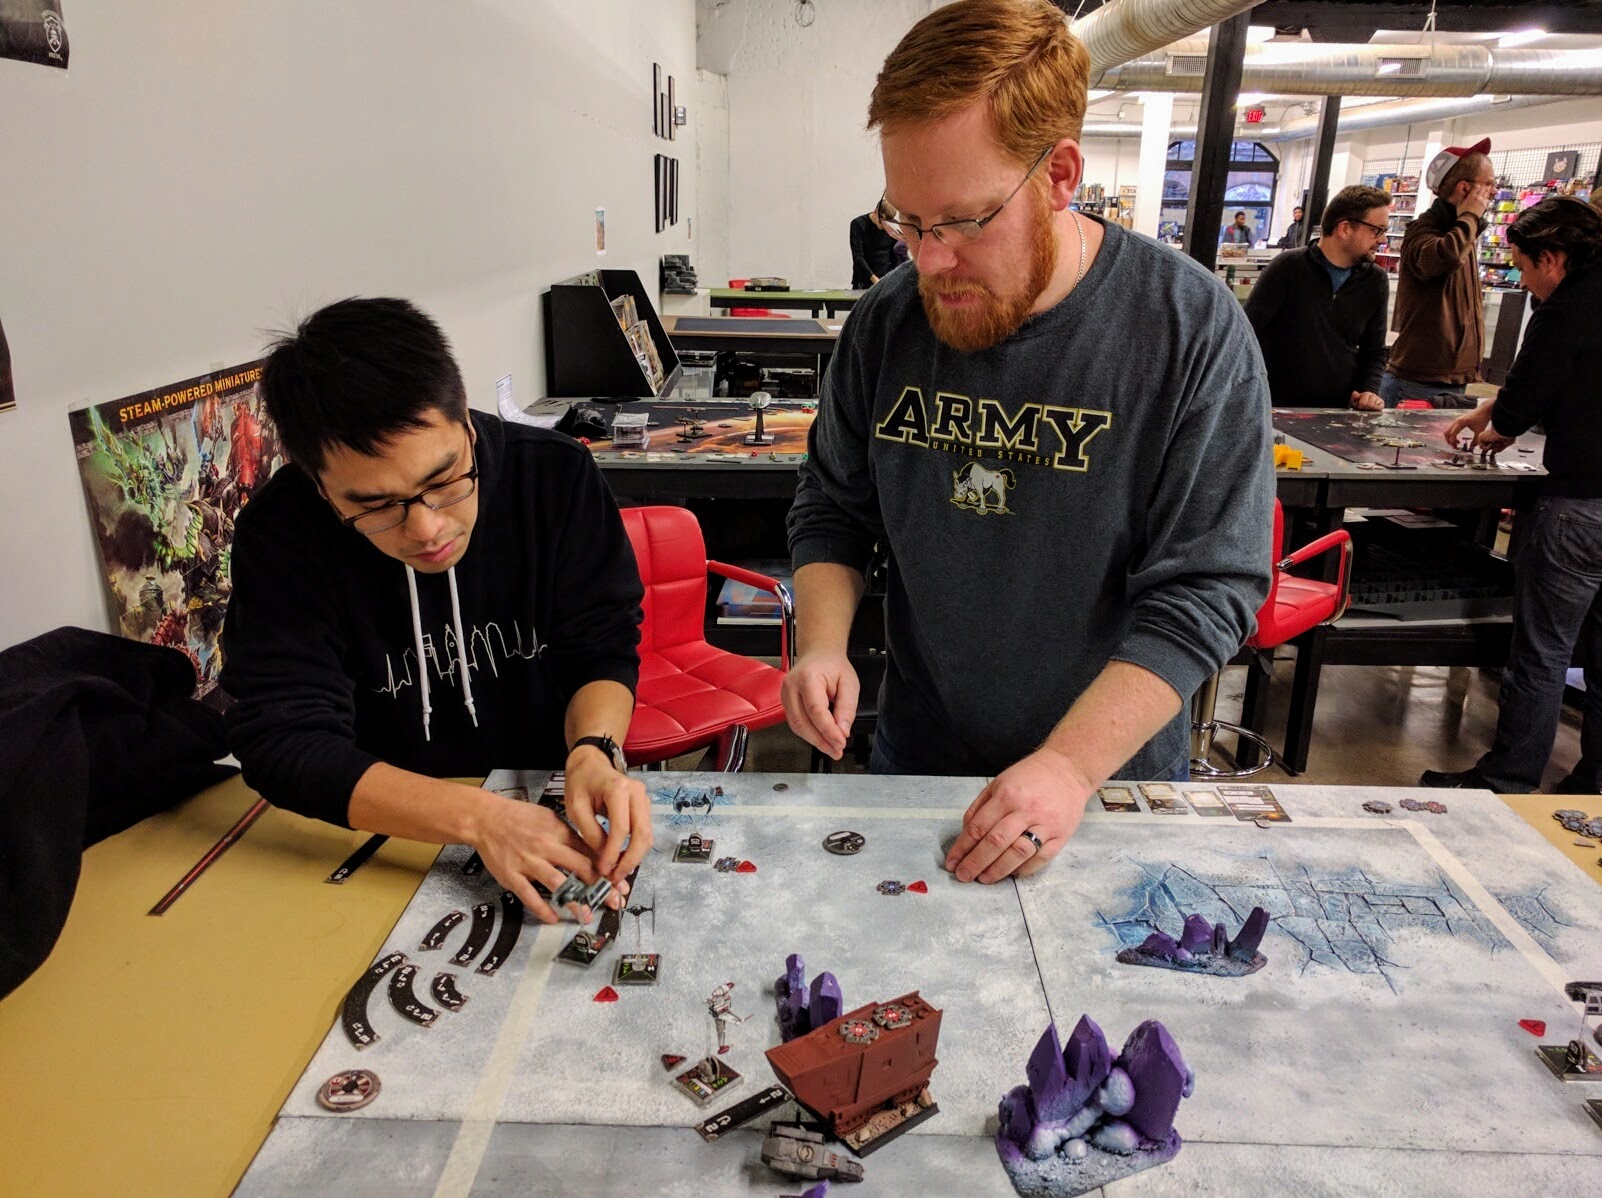
Colin playtesting the VIP Escort mission.
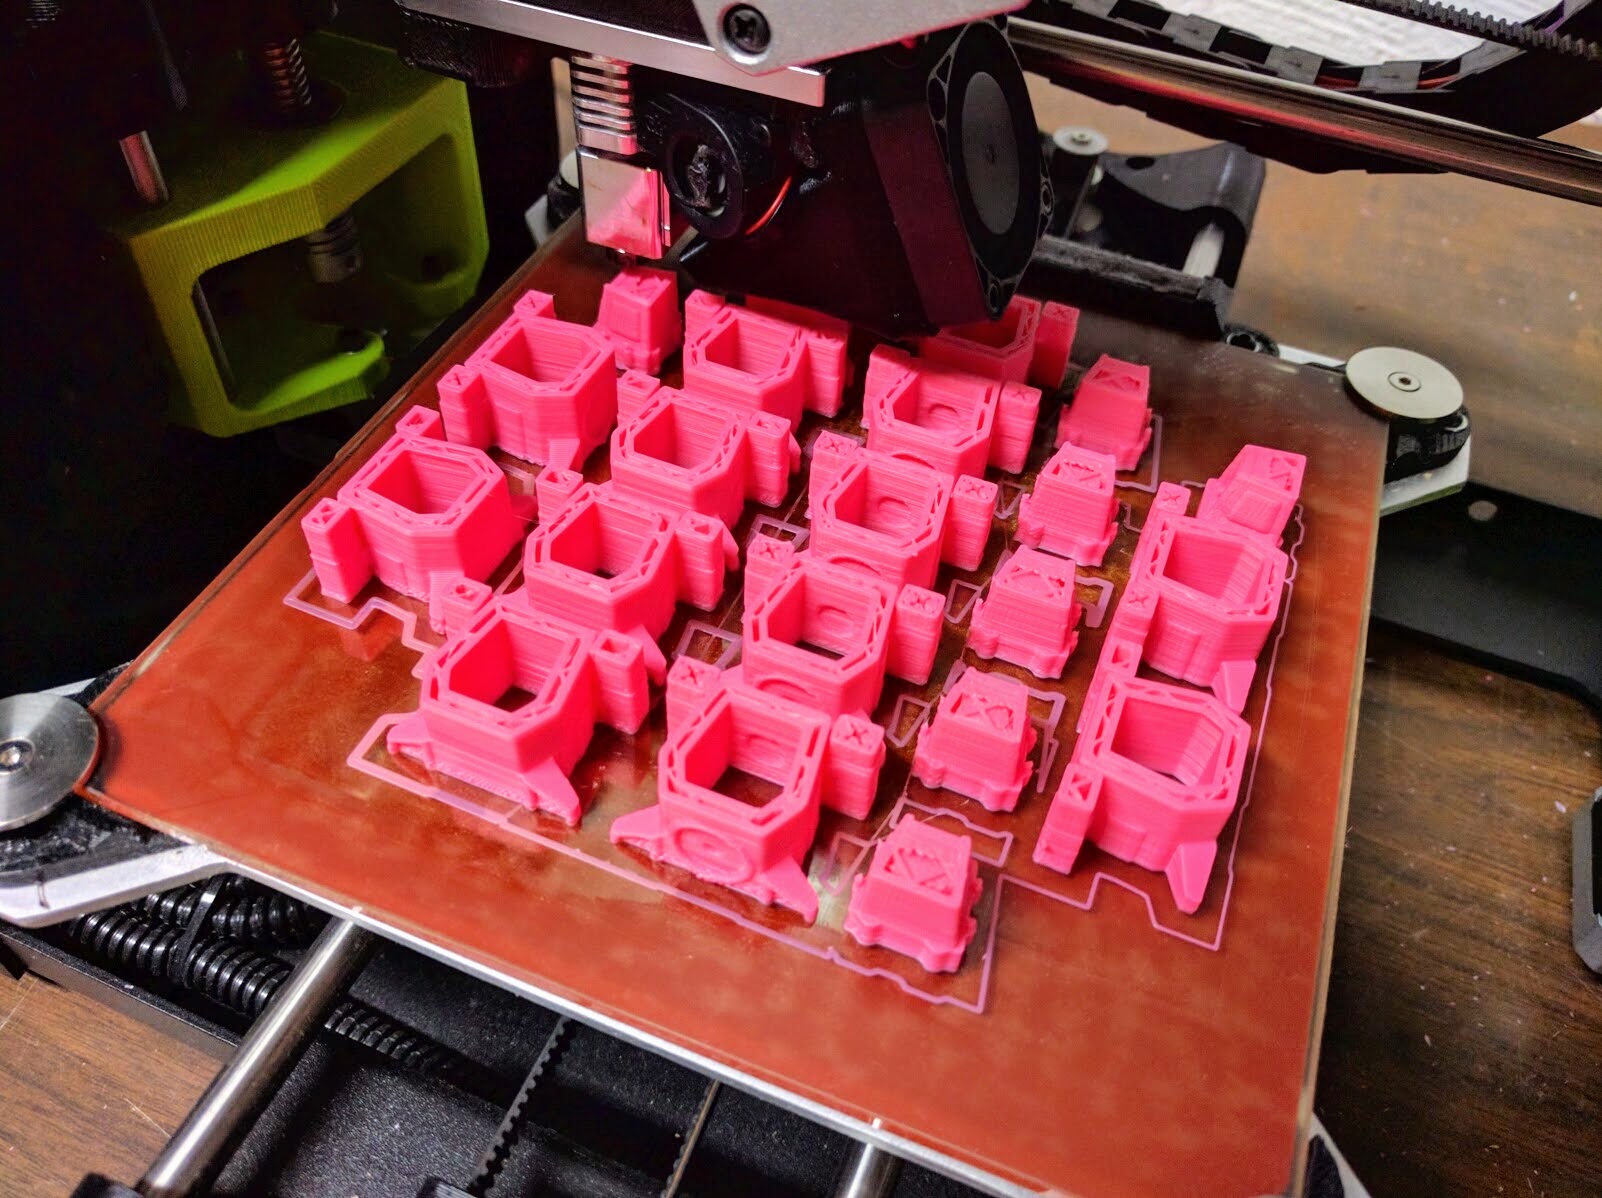
Printing a fleet of DX-9 Stormtrooper Transports.
Working out mounts and a base for the frigate.
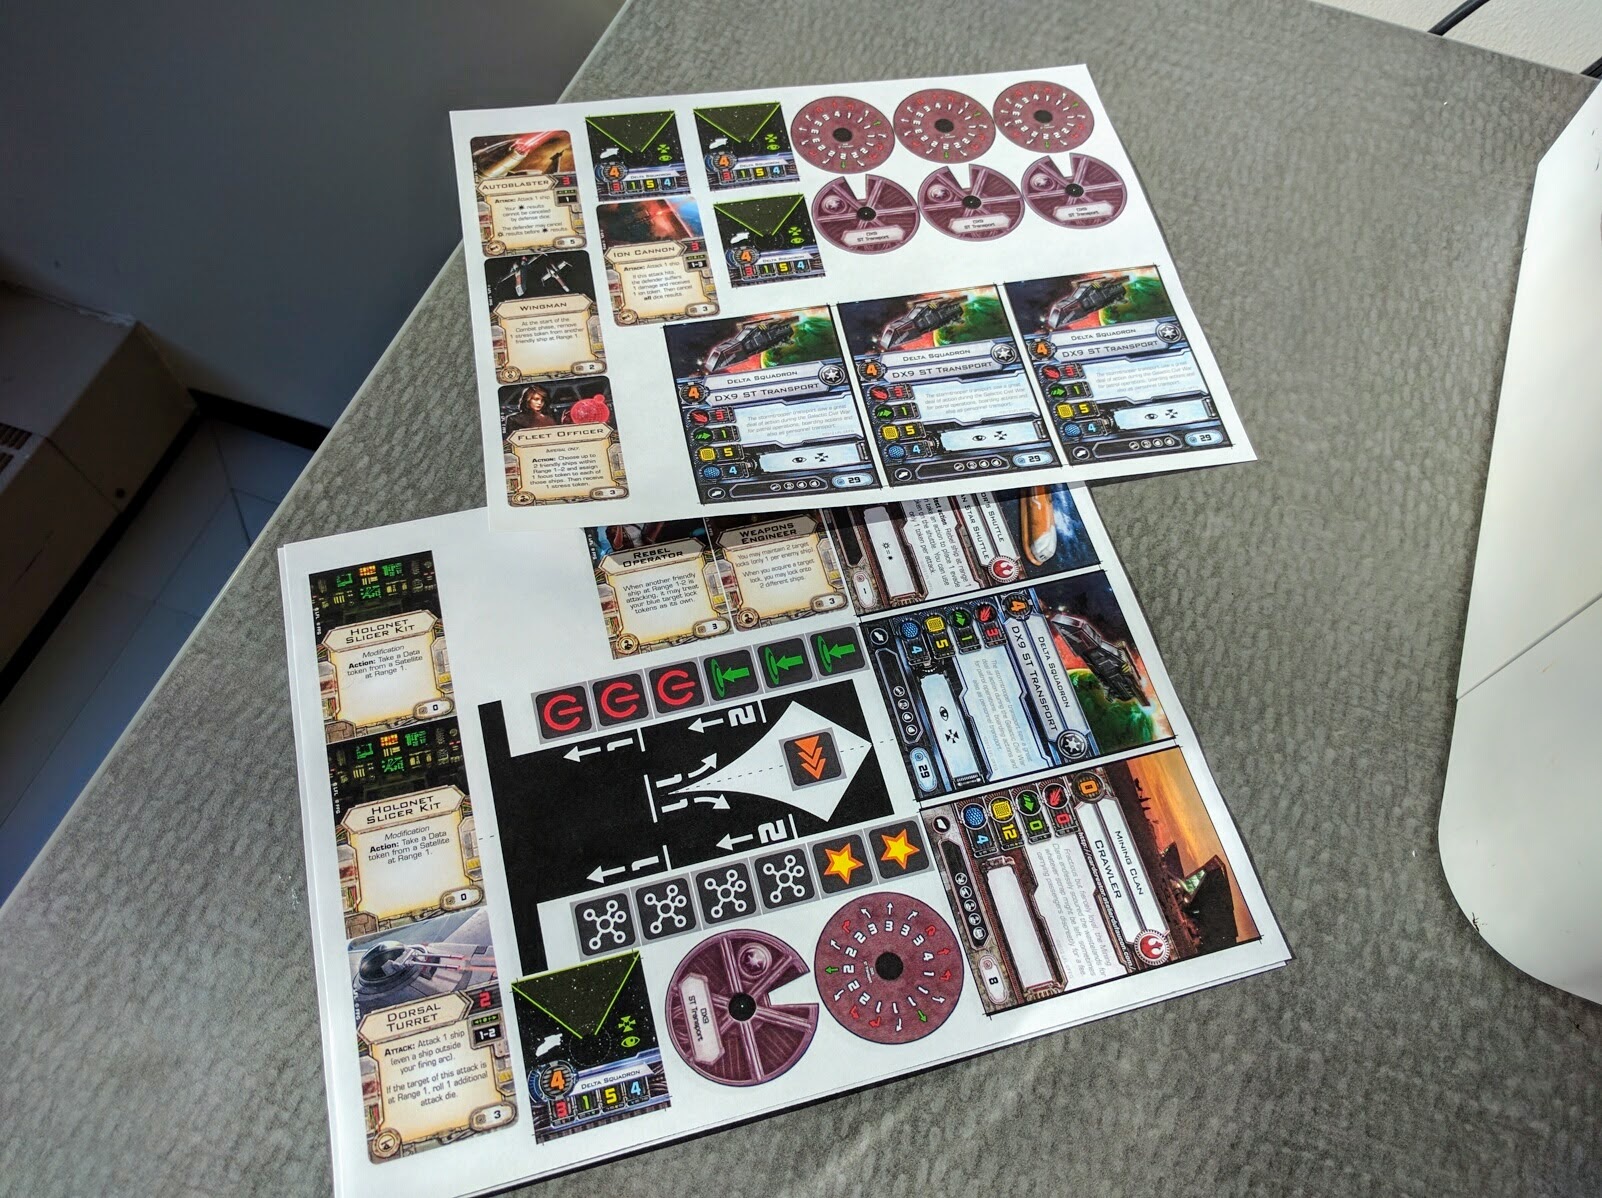
Cards, dials, tokens, and even a custom maneuver template to be mounted and cut.
Campaign
Key design goals of the campaign, as with most of my narrative wargaming designs, are flexibility and a reasonable tradeoff between cool mechanics and simplicity. It’s intended for public events or casual home gaming as either a 1-shot over a long-ish day, or a small number of evenings or afternoons. There aren’t extensive mechanics or game modifications to learn, the number of players is variable, people can drop in and out between rounds, and it won’t run so long as to just peter out. For all the X-Wing players that really want to enjoy more storyful gaming but don’t have a fully committed play group or who just want to jump into going pew-pew-pew without everybody having to read lots of extra rules, this is going to be a campaign you should try.
The campaign is built around a two phase structure:
- Missions: Themed, asymmetric missions toward strategic objectives.
- Epic Battle: A concluding team-based mega space battle.
Players naturally divide up into Rebel and Imperial alliances, with Scum going to either side to balance as necessary. Short collaborative planning sessions are held by the alliances to divvy up unique pilots and upgrades among themselves, and to help each other tweak squad builds toward particular missions.
We ran this first event as a 1-shot narrative over a single day of gaming, so we did two rounds of missions and then the epic battle. There’s no reason though that there couldn’t be more or fewer mission rounds, the mechanics normalize for that. Each round the alliances alternate choosing missions and players to execute them.
The selection of five missions available is:
- VIP Escort: A Senator coming to the sector to coordinate the Rebels’ plans is ambushed by an Imperial squadron.
- Holonet Intercept: Rebels attempt to slice an Imperial holonet relay network to learn about the ultimate target of their campaign.
- Depot Raid: Imperials attack the Rebels’ covert supply lines.
- Clandestine Meeting: Imperials come to kill or capture a Rebel Agent meeting covertly on the ground with a Spy traveling undercover among a Mining Clan.
- Dogfight: A standard X-Wing battle, but augmented by nominating Hero Aces that have a few buffs but yield extra campaign points.
The first four missions listed are grouped into two tracks, Information and Resources. The former yields information helpful in the final battle, while the latter yields raw troops and materials. Dogfights can be allocated toward either one. Each mission has a 5 point rubric for scoring based on campaign objectives like slicing Satellites. Players thus need to work to achieve those, not necessarily just to keep their ships alive and destroy the opponent’s. It’s a very different and fun way to play X-Wing.
Concluding the campaign is a final battle themed around an attack on a critical Imperial Nebulon-B frigate, the Redemption. Storyline and details on that to come!
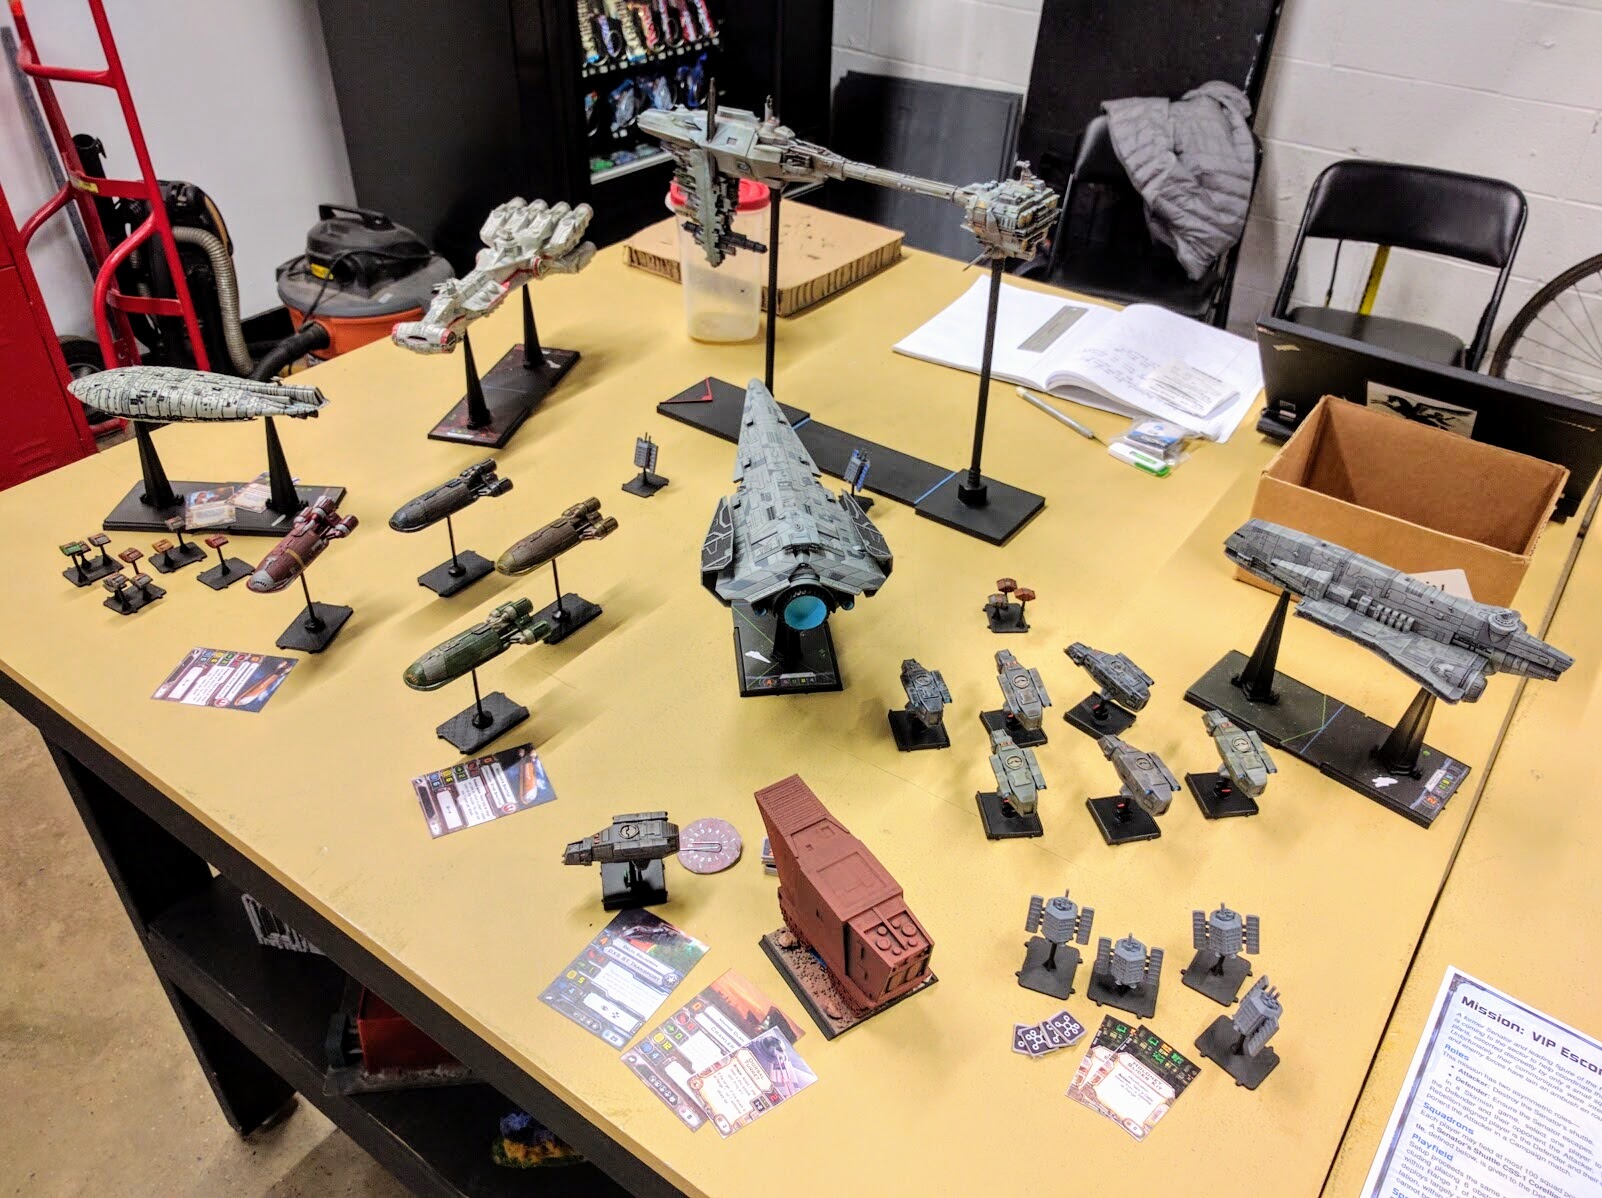
All the extra toys used for the day.
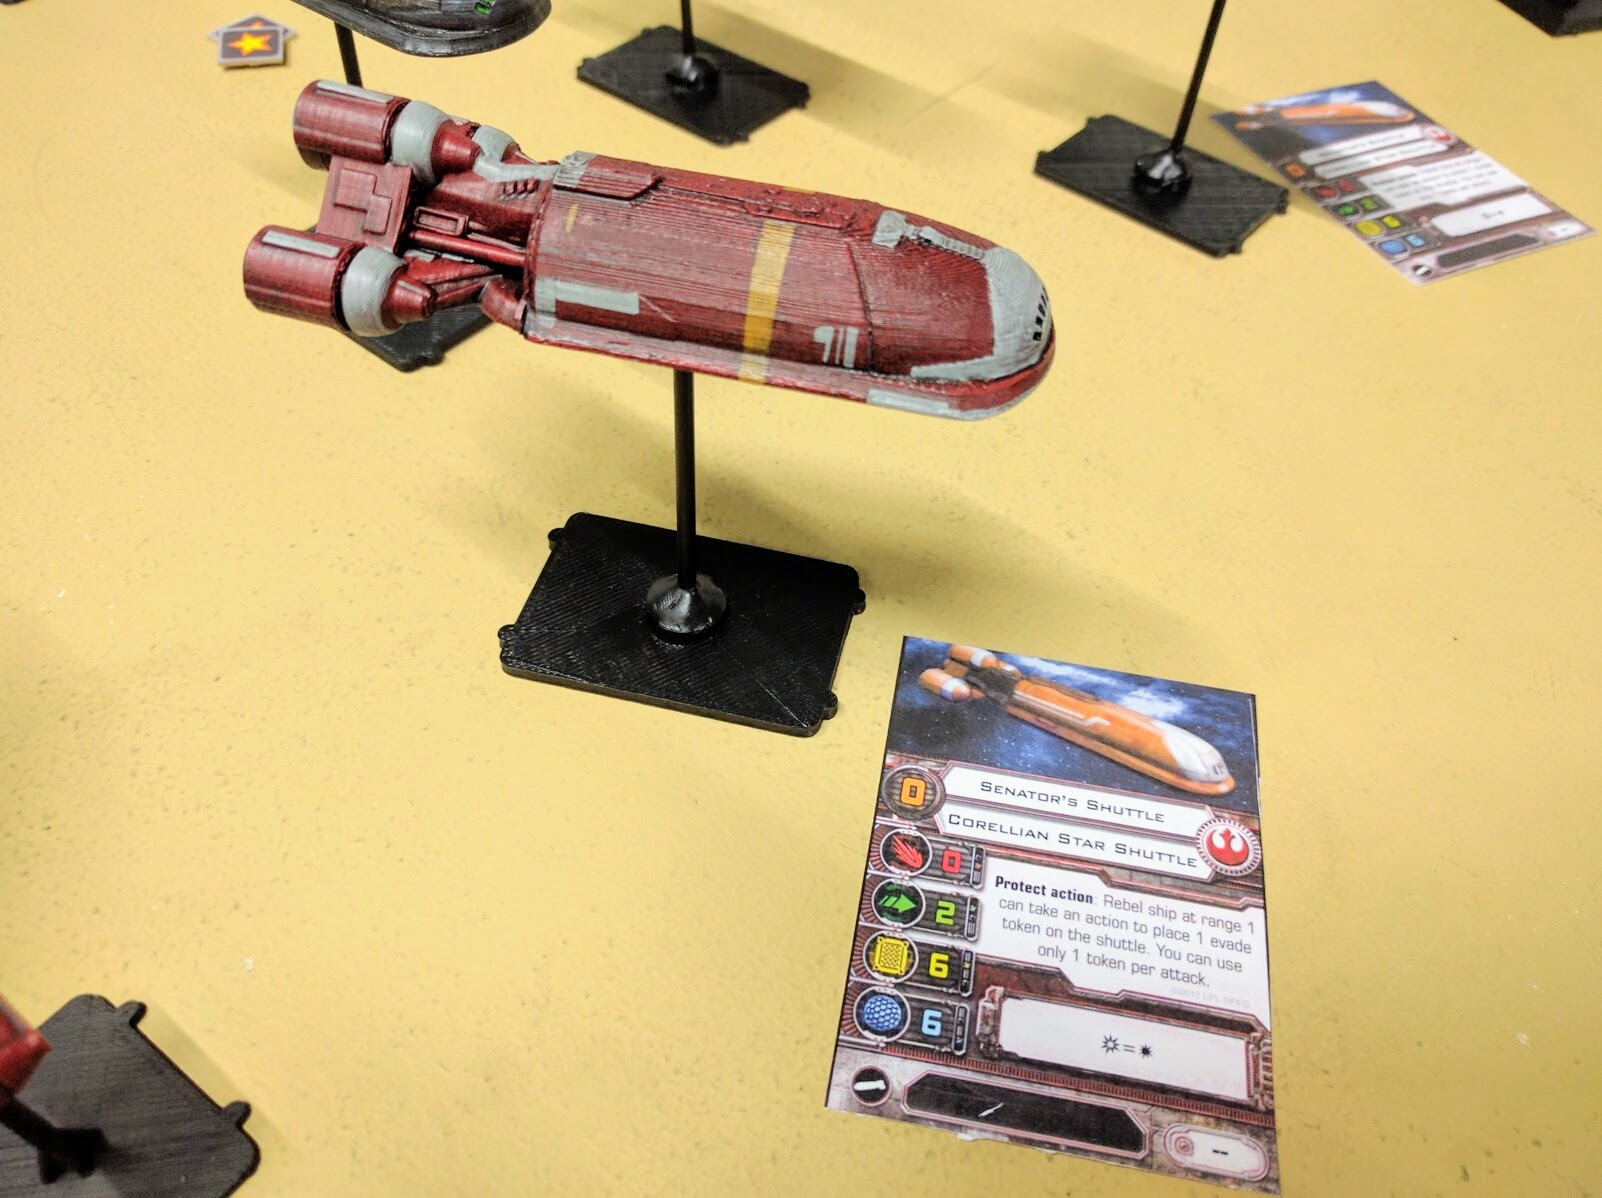
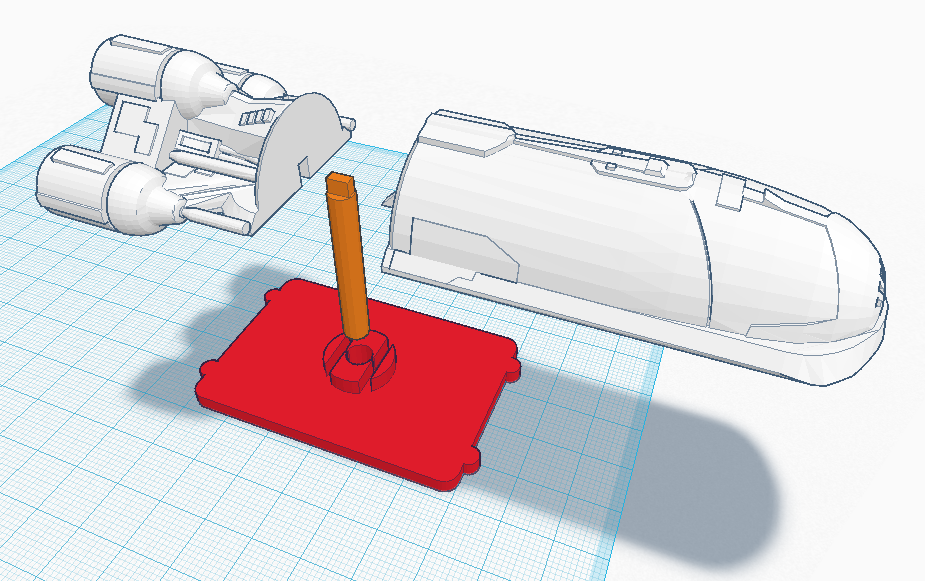
One of the Senator’s Shuttles (3D printed).
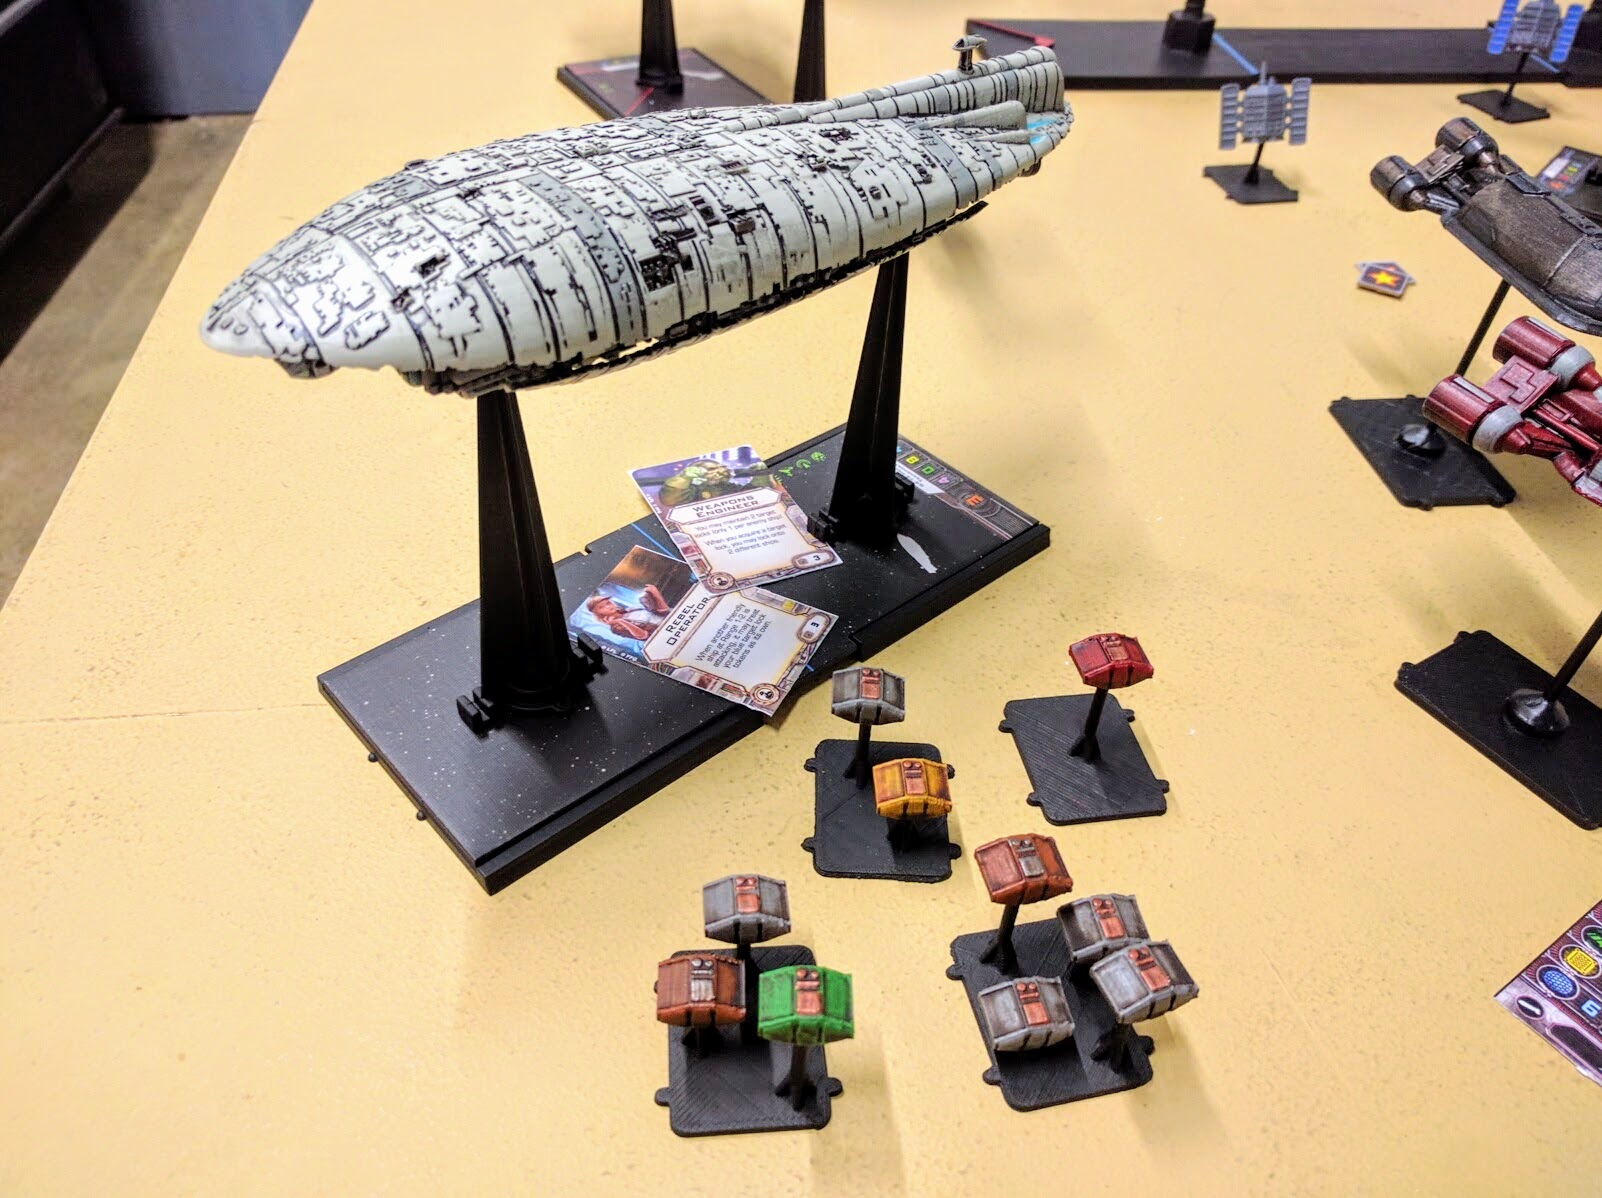
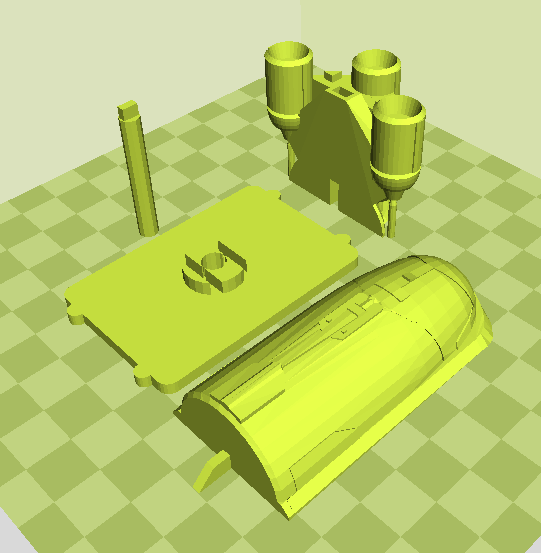
Cargo Pods (3D printed) unloaded from a GR-75 Medium Transport.
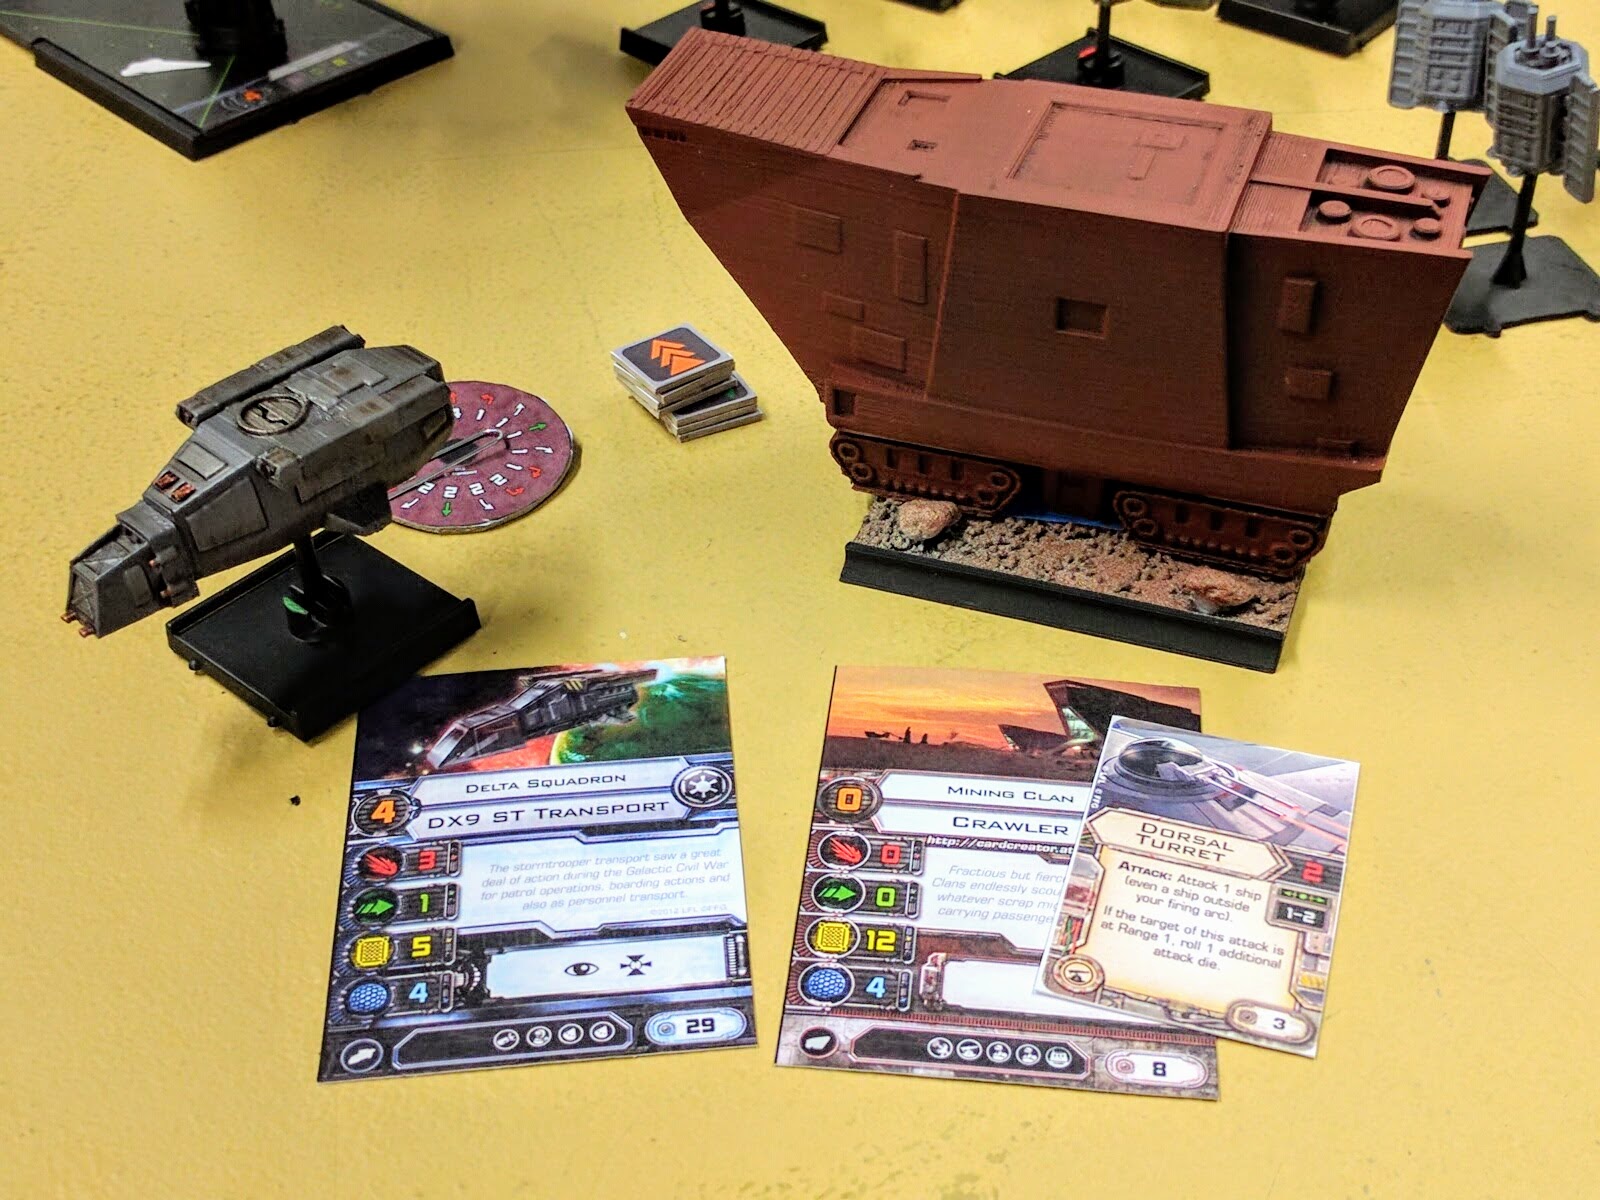
DX-9 assault craft and Mining Clan Crawler (both 3D printed).
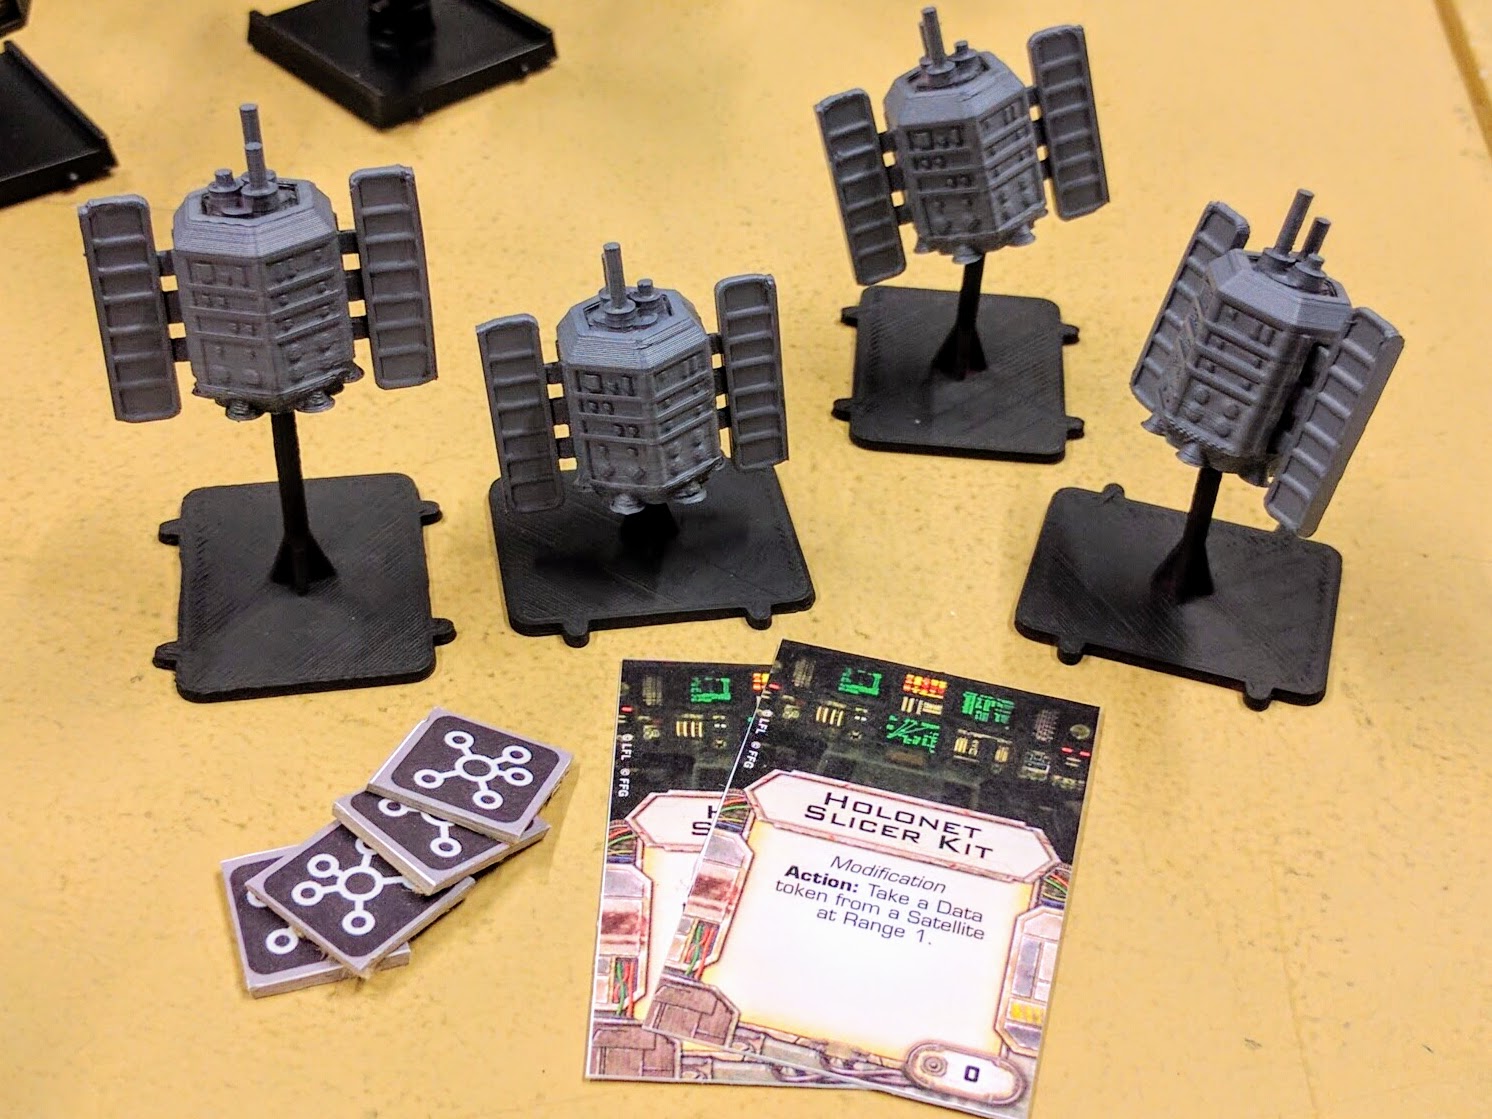
Holonet relay satellites (3D printed).

The Nebulon-B frigate Redemption (3D printed with the base a mix of printing and scratchbuilding).
Story
Beginning their campaign, Rebels successfully escorted two Senators into the sector to lead their efforts. However, the Imperials were able to defend their holonet relay as well as destroy a Rebellion supply shipment. A clandestine information exchange was a strategic toss-up, with the spy escaping Imperial forces but the Rebellion’s agent unable to bring the data back. The general balance of operations remained neutral as both sides fought to a draw on dogfighting, but the Imperials took a slight lead on strategic factors through the strength of their victories.
Rebels attempt to escape a thwarted clandestine meeting.
Imperials and Rebels think hard about how to stop or enable a Senator to enter the sector.
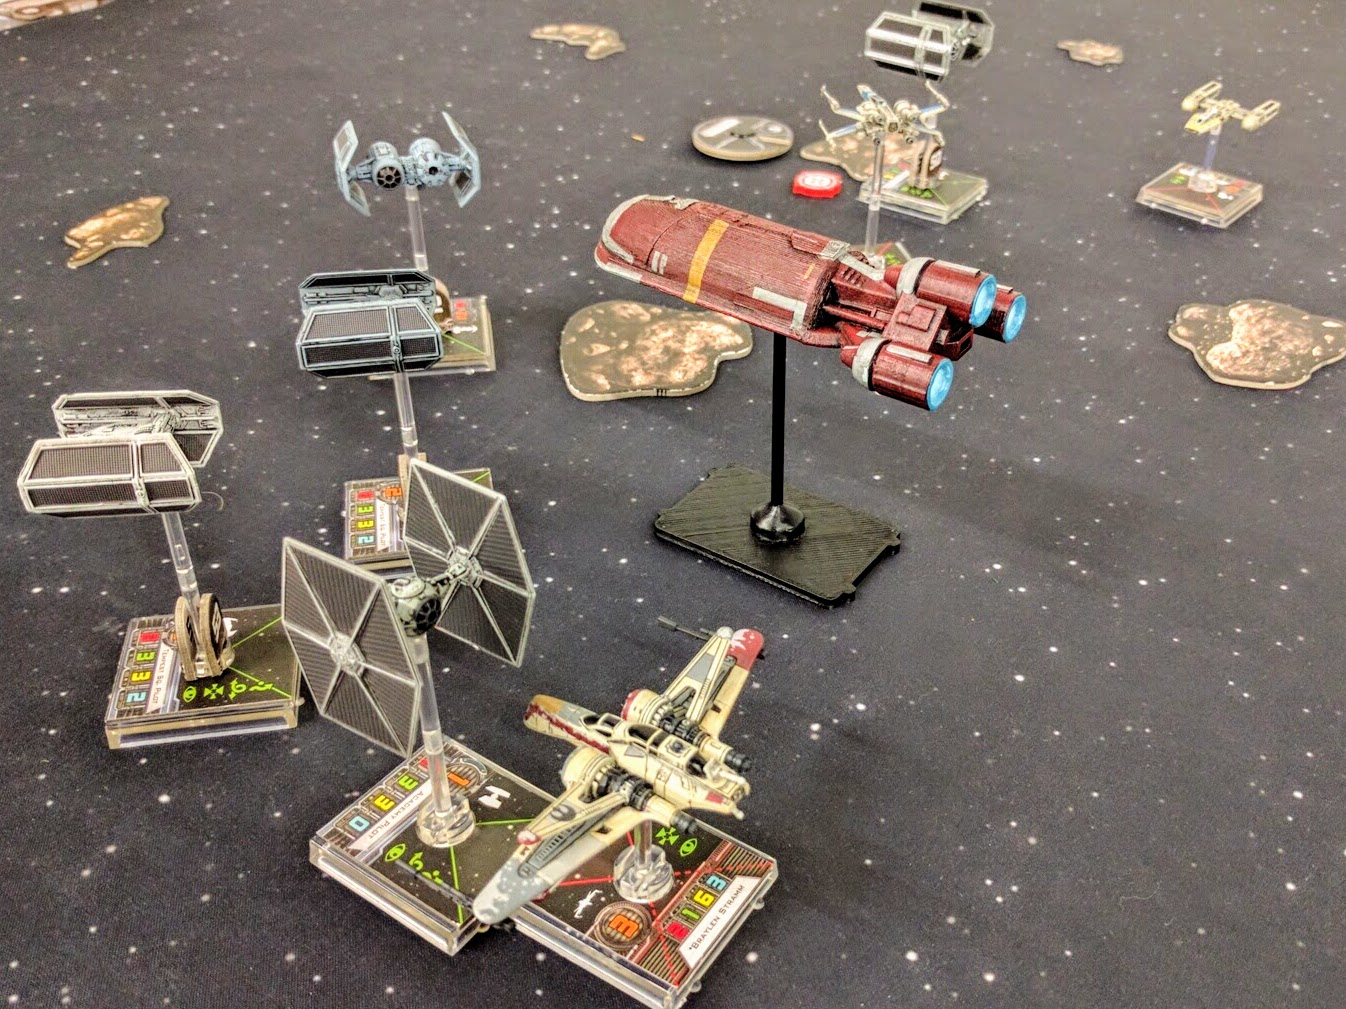
The Senator’s Shuttle flies into the thick of a dogfight.
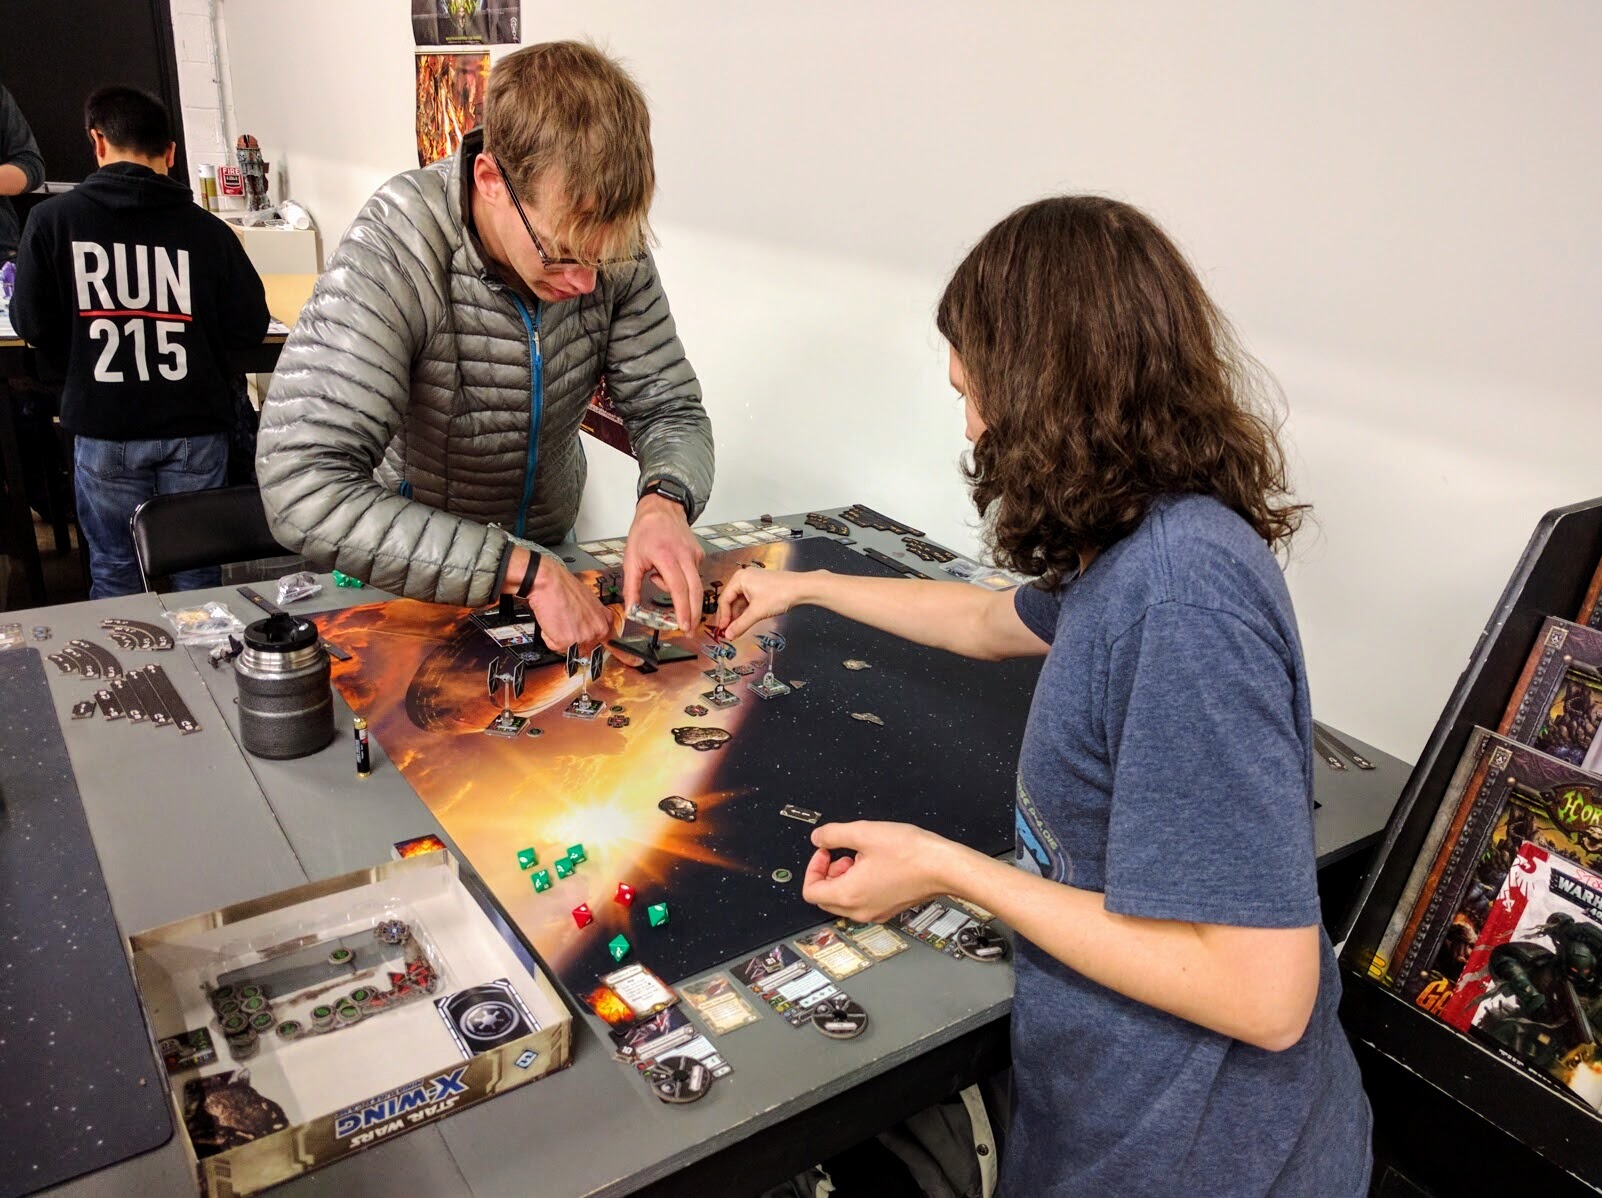
Rebels and Imperials debrief and make new plans between rounds.
Regrouping from the uptick in Rebellion activity throughout the sector, the Empire struck back. Rebels managed to slice the Empire’s holonet relay, but the Imperials destroyed one Senator, stalled another, and destroyed a Rebel supply drop. The Empire also caught a traitorous spy and destroyed their agent contact just in time before the latter could escape with stolen data. Rebels took a slight edge in the sector’s general combat operations through successful dogfighting, but lost ground strategically.
Mercenary Scum defend a Rebel supply drop.
TIEs swoop in, destroying Rebel Cargo Pods unloaded from a GR-75.
A clandestine meeting is disrupted by Imperial bombers and ground assault teams.
A formation of TIE Bombers fly to soften the ground for Stormtroopers preparing to assault from their transport.
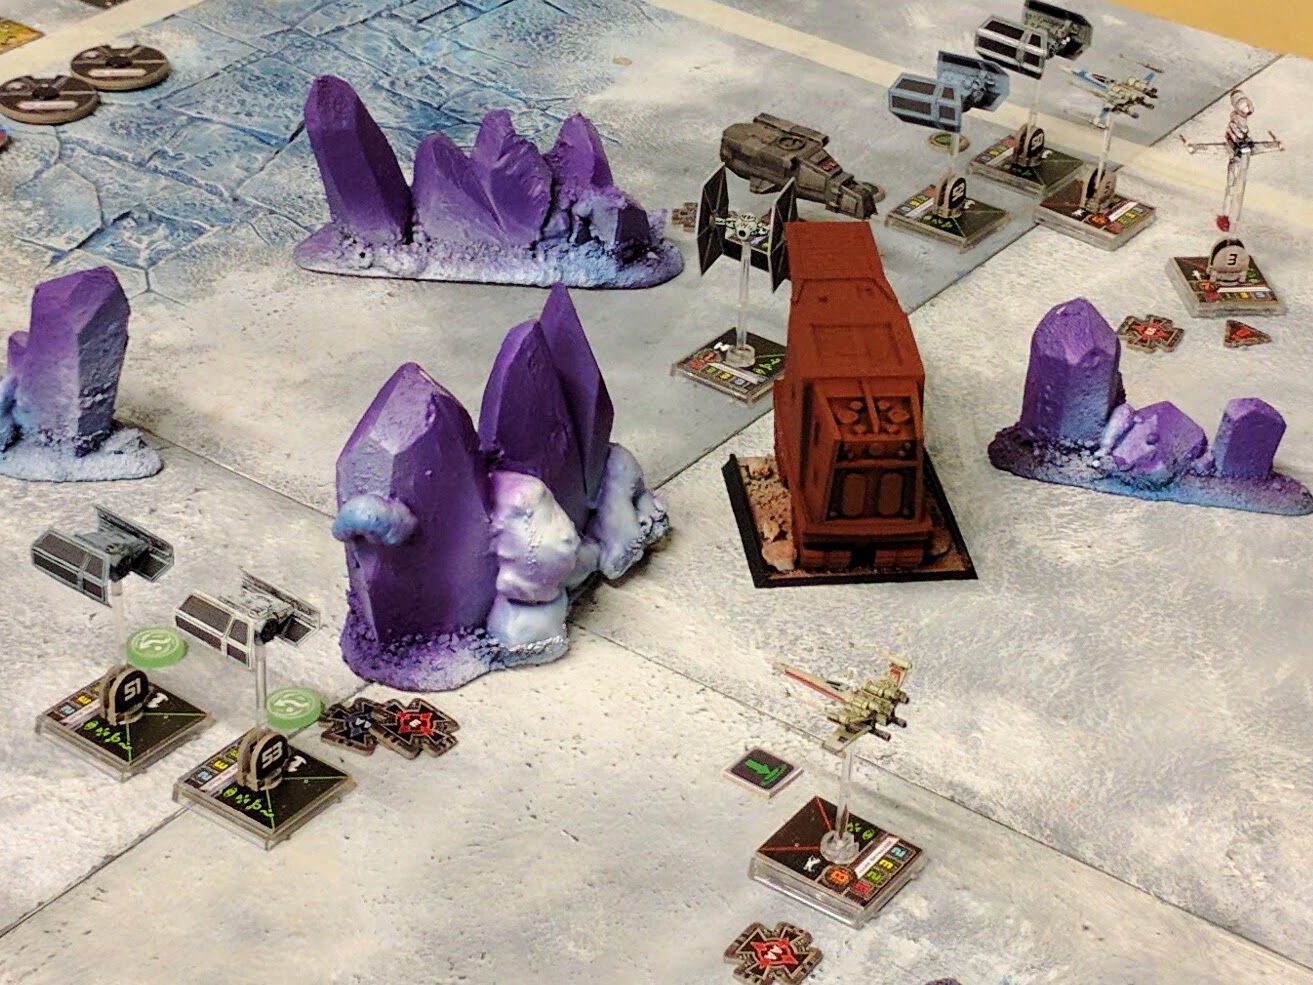
The battle develops among the ice world’s crystal spires.
After numerous close fought missions, the Imperials managed to maintain strategic initiative in the sector. Rebels thus had to fly blind into their final attack on the frigate Redemption, and had fewer resources with which to do so. However, they slowly gained the upper hand through their pilots’ maniacal focus on attacking the primary target at all cost. That cost was indeed great though as Imperials swept in from the flanks, crushing the Rebels against the dangerous might of the frigate itself. The battle became a question of time, with the frigate steadily losing shields and hull just as the Rebels lost ships. In the end though, with only a few Rebel pilots still extant, they managed to score a few final hits and cripple the frigate. An important victory for the Rebellion, but made at a tremendous sacrifice of irreplaceable personnel and material.
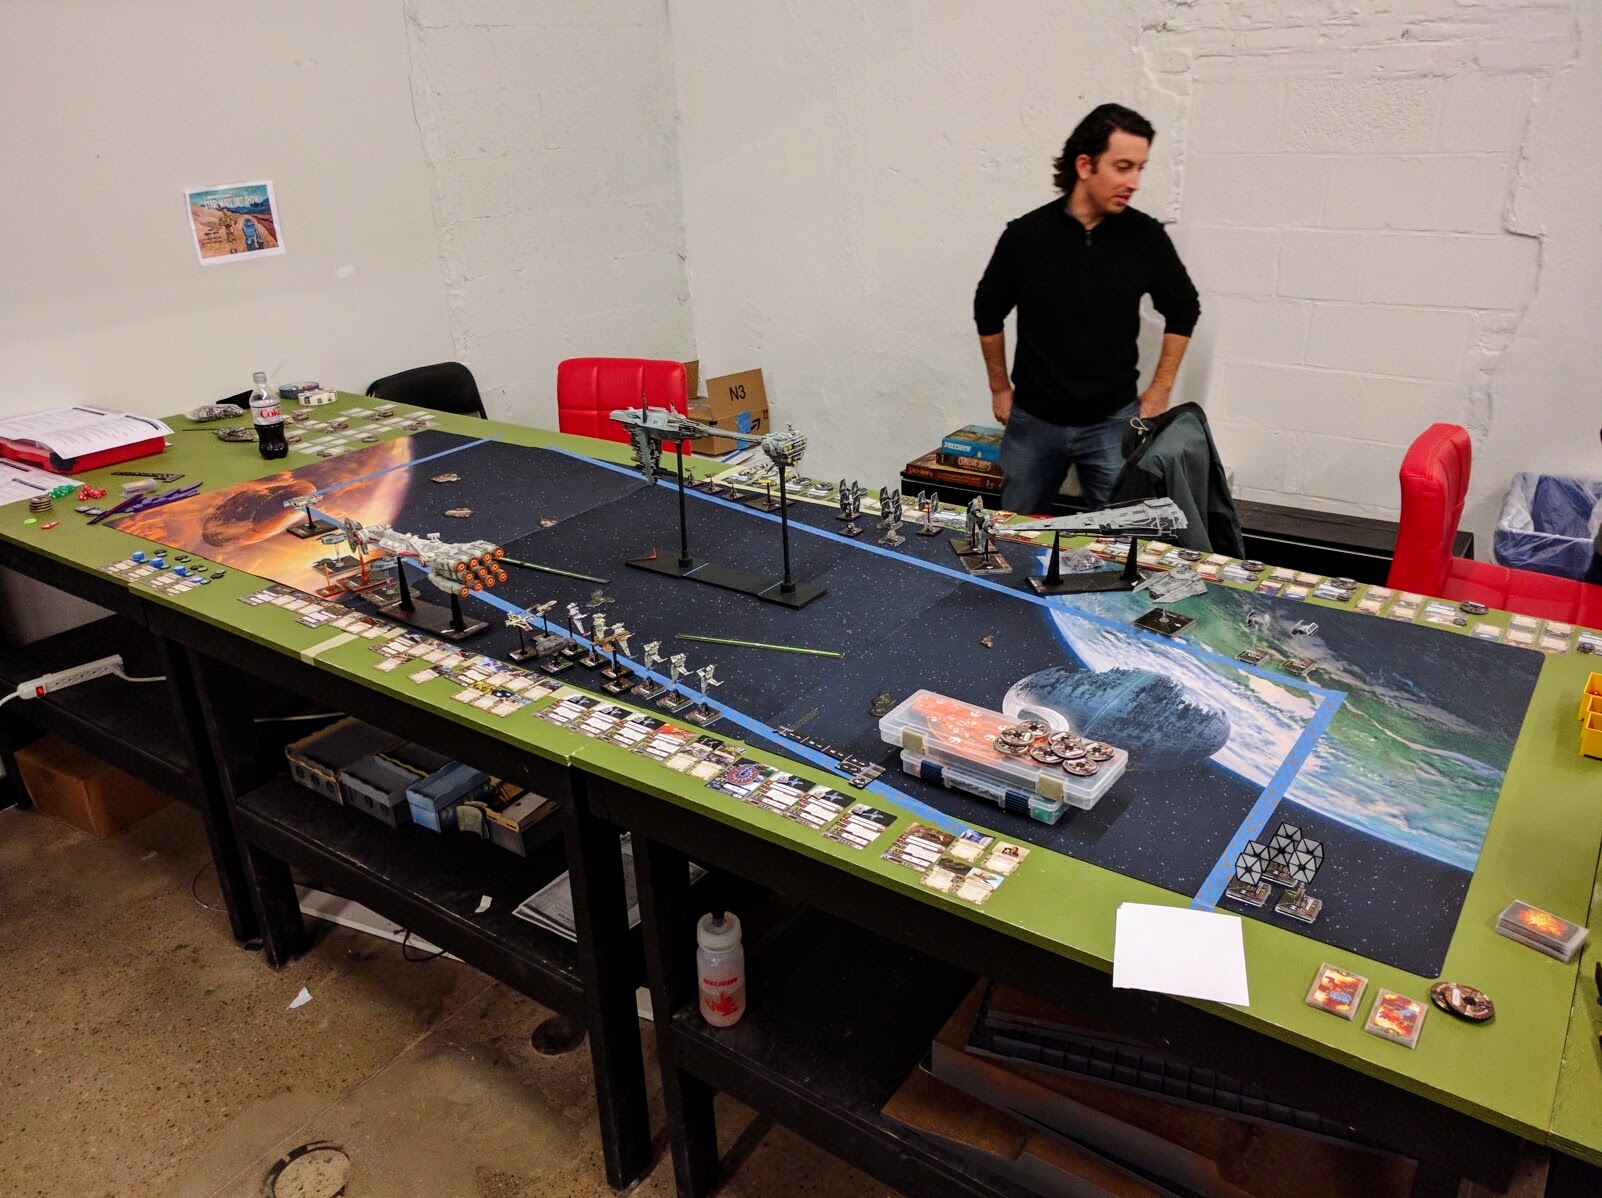
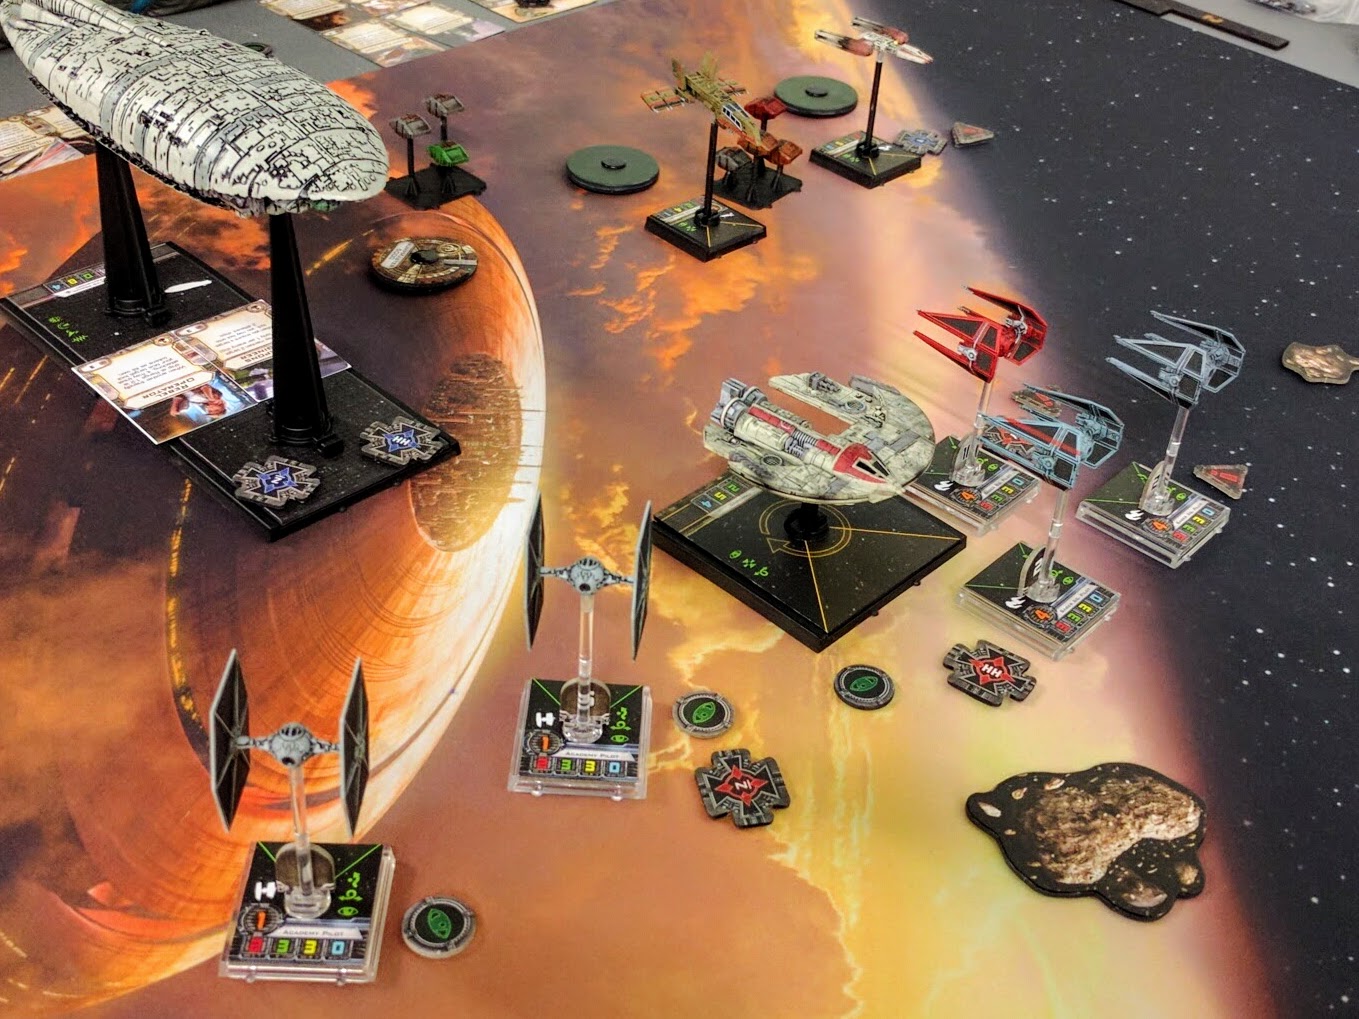
The final battle all staged.
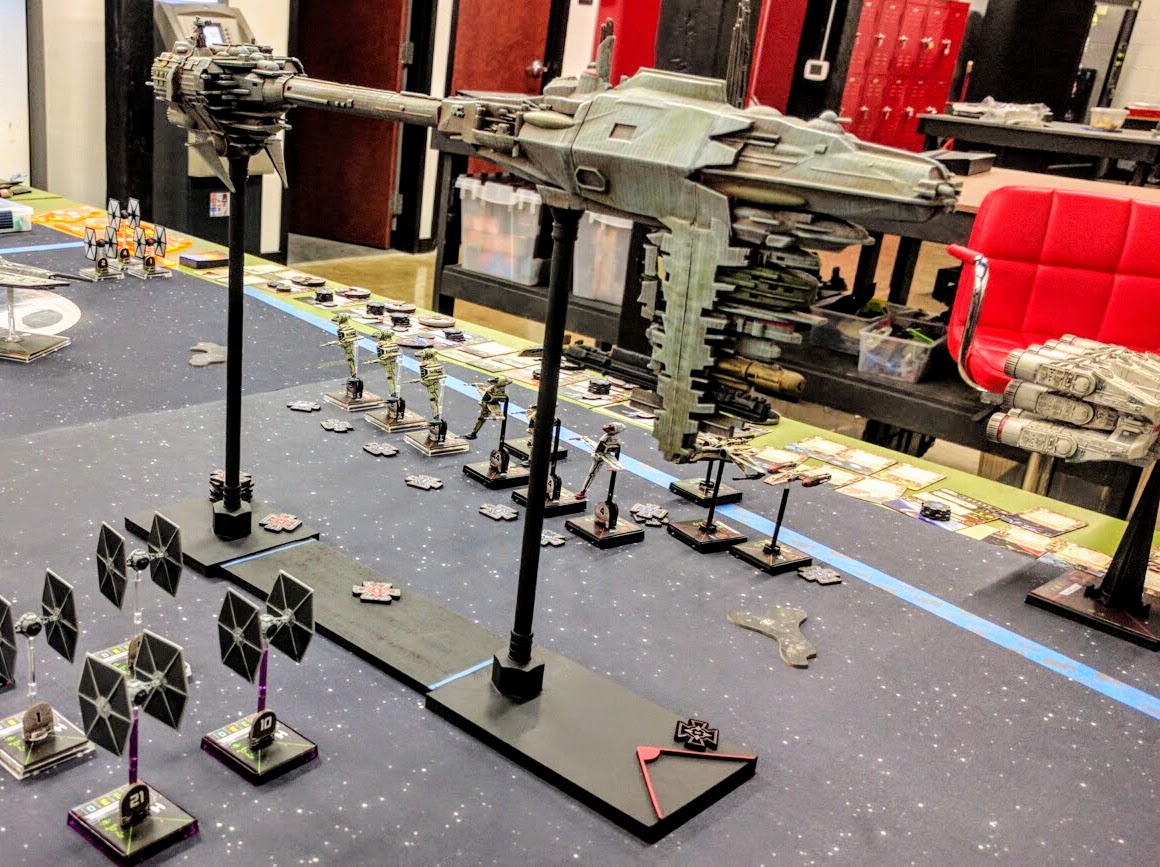
The Redemption’s TIE escort prepares to turn toward the Rebel B-Wing bombers inbound.
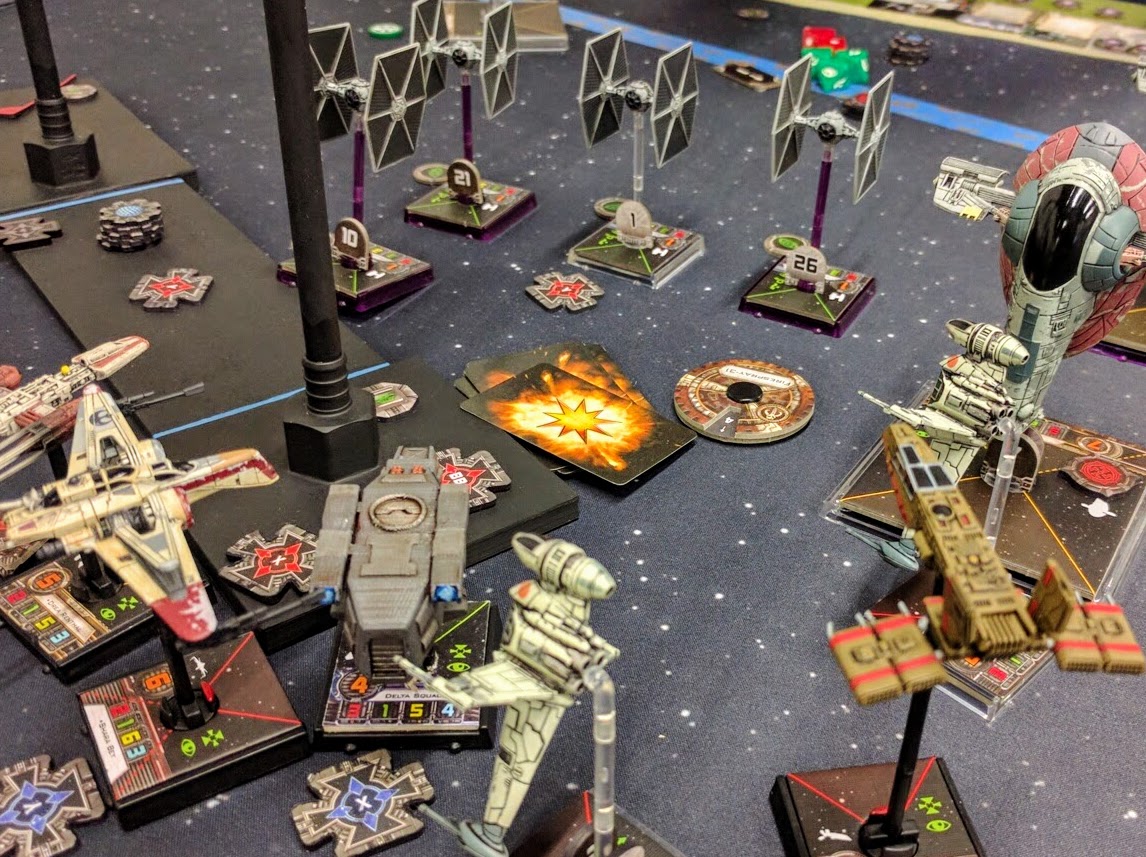
Mass exchanges of fire across and at the aft section of the frigate.

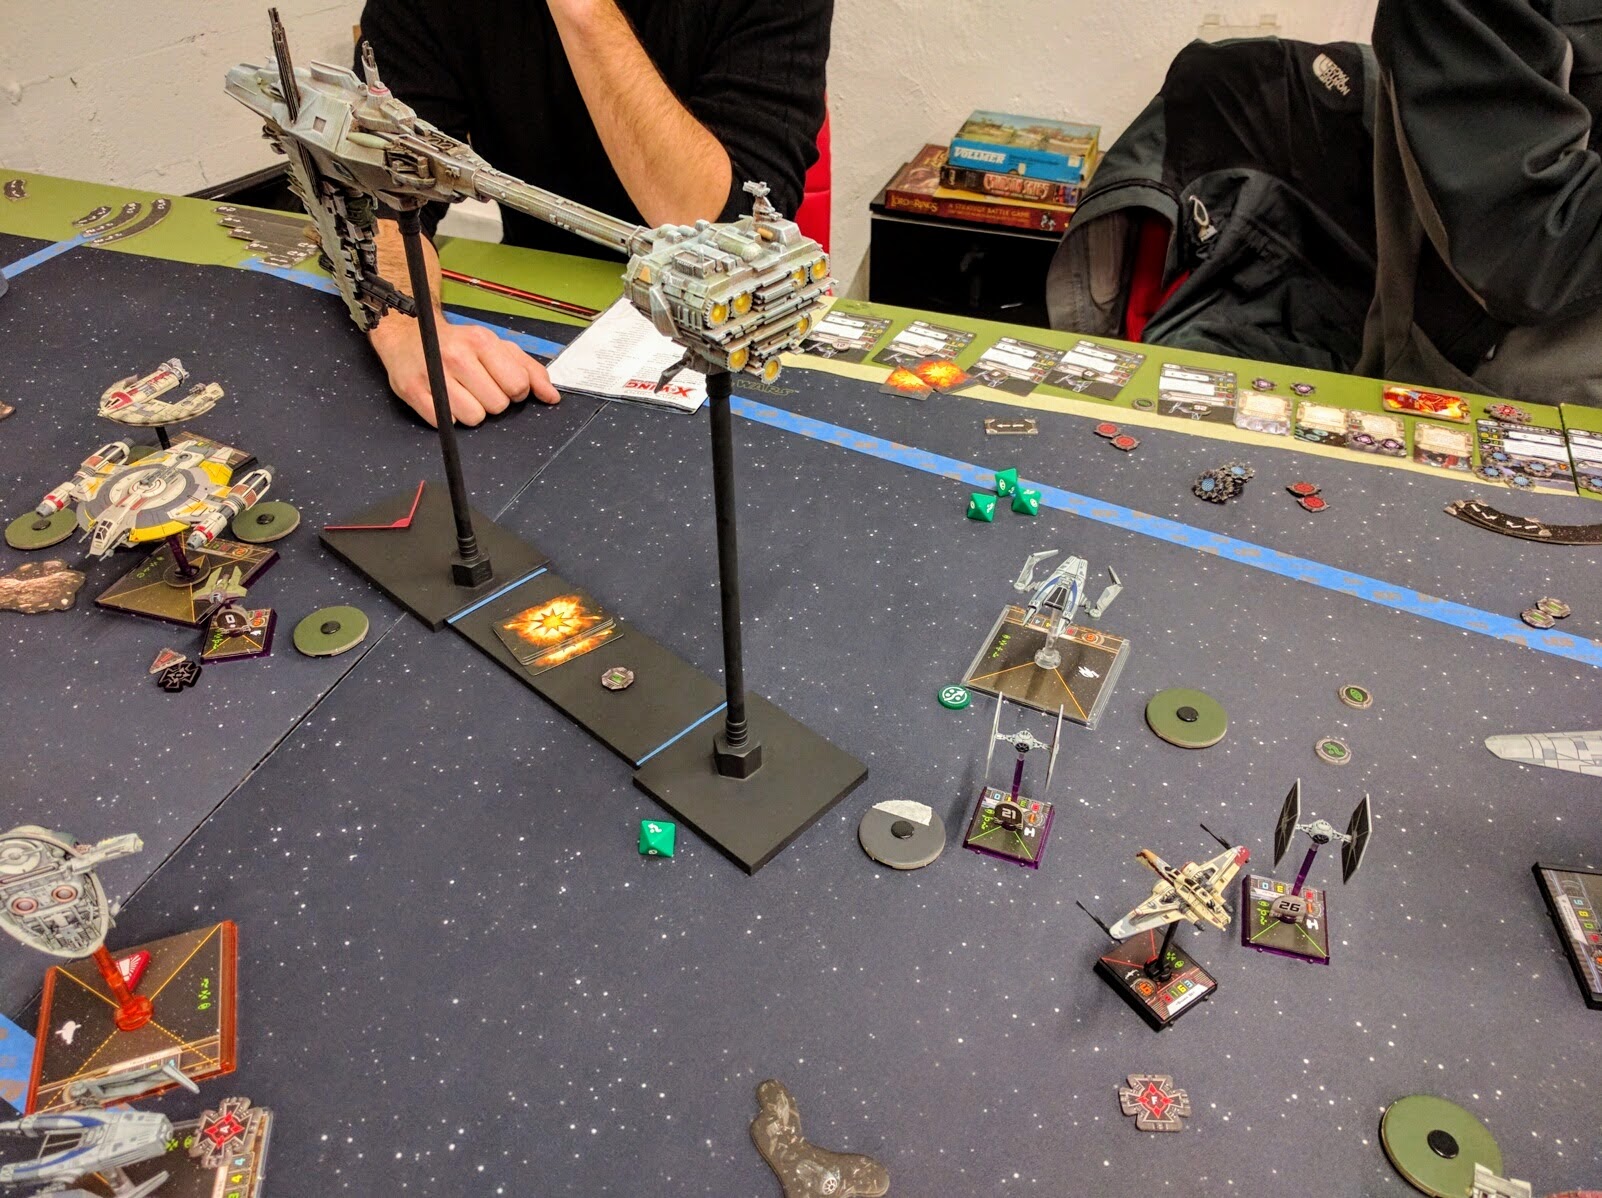
An Imperial Raider comes to bear on the Rebel fleet.
A lone ARC-170 and a pair of mercenaries finally finish running down the frigate.
Outcome
Imperials won the campaign missions well but not astoundingly:
- Campaign Points: 38 Imperial to 28 Rebel
- Information: 14 Imperial to 6 Rebel
- Resources: 24 Imperial to 22 Rebel
- Squad Points: 627 Imperial to 607 Rebel
Rebels however managed to destroy the Imperial frigate as they hoped and was the final goal of their campaign, though it was a close matter in the end with most of the Imperial ships remaining and almost none of the Rebels’ left as the battle concluded.
Many more photos from the day’s action are in the Flickr gallery.
Design
Overall it seemed like the event went smoothly. The relative closeness of the mission results and the individual games was good to see. With a majority of close games and last-minute swings, they need only very slight tweaking to deployment rules and a couple stats to be very balanced and yet capture the intended air of the Rebellion being on its backfoot and making a desperate gamble.
The concluding epic battle was also very close, but it had a bit too much of an air of inevitability about it as the frigate continually, regularly lost shields and hull. Once squads were selected and deployed, the Rebels also had too little strategic decision making to perform because it was so clear that they just needed to keep attacking the frigate and hope they survived longer than it did. At the last minute going into the event we simplified the final battle quite a bit because there seemed to be already so much going on. However, in hindsight everybody could have handled the additional mechanics and they would have brought a lot more story and balance to the battle.

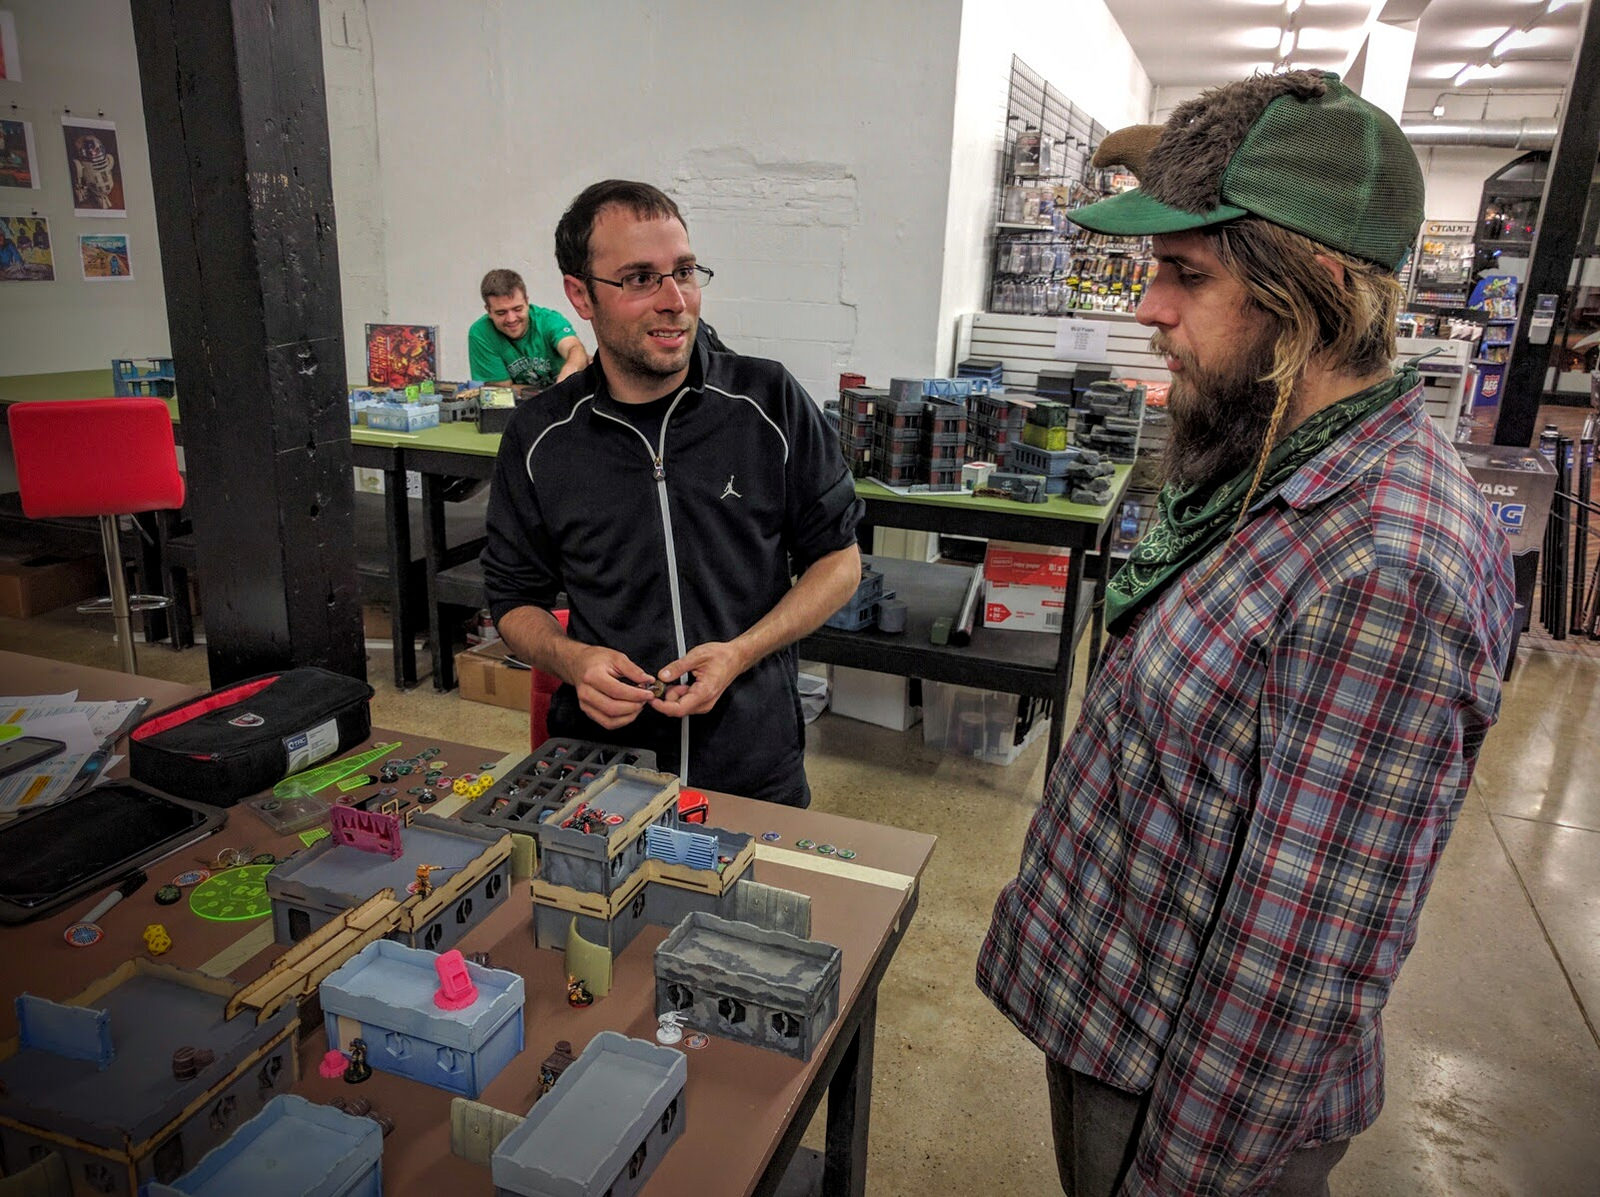
Matt ponders game balance as he watches a VIP Escort playtest, while Jason stays firmly focused on the grimdark.
Next Steps
For those in the greater Philadelphia area, we will definitely run this event again sometime in early 2017. Stay tuned on the Philadelphia Area Gaming Enthusiasts’ Facebook page to be notified when that pops up. There is also a more discussion-oriented, very active South Jersey X-Wing/Armada/Imperial Assault group that coordinates a number of events and ongoing gaming throughout the region. Our hosts & friends at Redcap’s Corner have weekly X-Wing every Tuesday and Friday night.
Beyond that, the missions already have a very solid packet that can stand just a couple minor tweaks coming out of this first play-through. More importantly, we want to get in some playtesting with the full ruleset for the concluding epic battle before we put out the campaign packet. Look for that to be out though right before or after the new year. There’ll be announcements on the X-Wing Reddit subforum and the official FFG forums. I also have an extremely low activity mailing list to which you can subscribe (form on the left sidebar) for very infrequent announcements about this and other projects.
Thanks to everyone that came out & played, it was a great time. We’ll see everybody out there, and stay on target, pilots!

The battle is joined.