Space Marines are among the best equipped and flexible armies in the Warhammer 40,000 universe. Their vehicles are therefore loaded with many options. This short tutorial presents some notes on magnetizing the weapons for a Predator tank so that different configurations can be easily used in different battles.
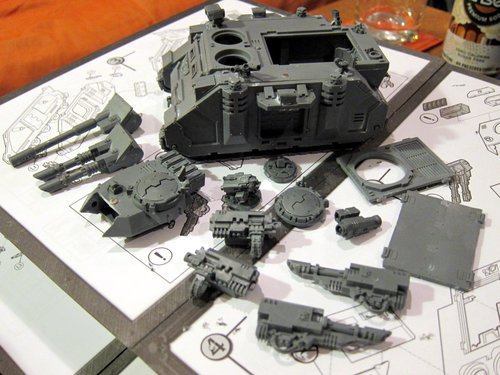
All the weapons options available for the Predator model in the box.
The process begins by assembling all the weapons and the main hull. The turret can be glued together, but don’t insert a weapon, as in the picture above.
An important point is to leave the various hatches unglued, and to assemble appropriately to meet all loadouts. By leaving the main turret mount unglued, the standard Rhino top doors may be put on to use the vehicle as a Rhino. Similarly, it’s rare for a Predator to equip an additional Storm Bolter, but this is standard kit for a Rhino. By assembling a blank and a Storm Bolter hatch but leaving them unglued, these can be readily swapped.
Note that the hatch holes might have to be scraped and sanded to enlarge them in order to easily plug the hatches in and out after painting. For this model the hatches have been assembled closed and the Storm Bolter on the basic swivel mount as other models in the army use the variants with exposed Marines.
Side sponson panels could also be magnetized for swapping with standard Rhino doors. However, this may not be worth the effort and is not done here as simply not mounting sponson weapons and putting on the standard top hatch and Storm Bolter will render the model clearly usable as a Rhino. Dozer blades are also a good candidate for magnetization, but are also not done here.
Hunter-Killer
Although probably the last part that should be done, the hunter-killer missile is a good example of a component worth magnetizing. It’s not typically equipped every game, and removing it during battle after firing is a great WYSIWYG reminder that it’s no longer available.
The first step is to determine an adequate space for the missile to be mounted on, and then use a pin vise to drill a pilot hole at that location.
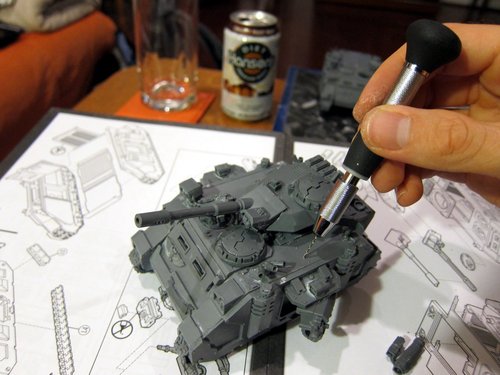
Pin-drilling a pilot hole for the larger bit.
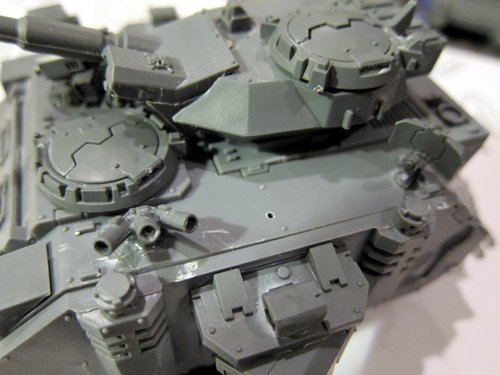
The pilot hole to guide the larger bit.
Standard 1/8″ rare earth magnets are used here, so a 1/8″ hole is made in the hull, into which one will fit snugly. A standard drill bit manipulated by hand will create such a hole quickly, cleanly, and easily. The pilot hole gives the larger bit a place to start and prevents it from shifting, creating an overly large hole or damaging the surrounding area. It’s fine to drill all the way through the thin top section of the hull. The magnet will fit snugly enough to not fall through, and this will enable it to be mounted flush with the top.
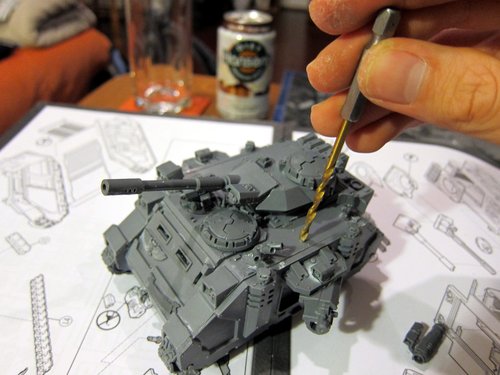
Drilling a larger hole for the magnet to sit into.
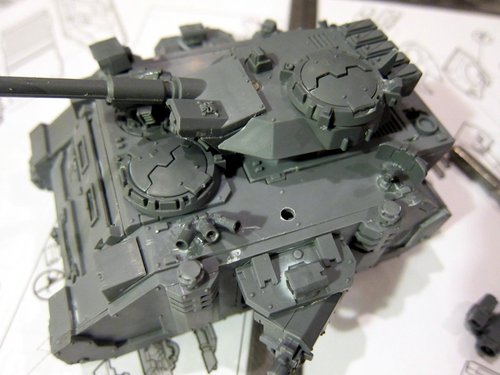
A 1/8″ hole in which the magnet will sit snugly.
Super-glue should then be dabbed into the hole and the magnet inserted. An easy way to do this is to put the magnet on a flat metal tool such as a hobby knife blade or the backside of a scraper. Insert the magnet into the hole, press it down flush with the top, and then slide the tool off horizontally. The magnet will stay in place as the tool slides. This is much easier to do than inserting it with fingers or tweezers.
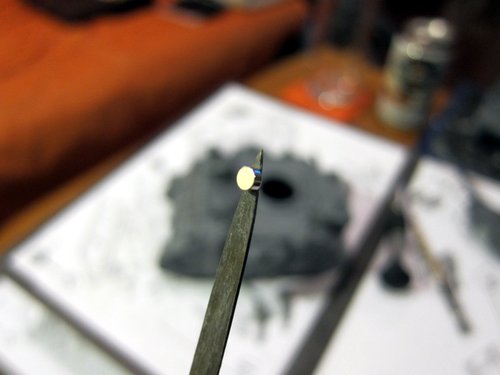
Manipulating the magnet using a flat metal piece.
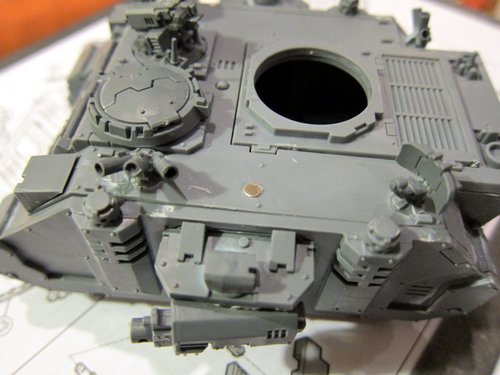
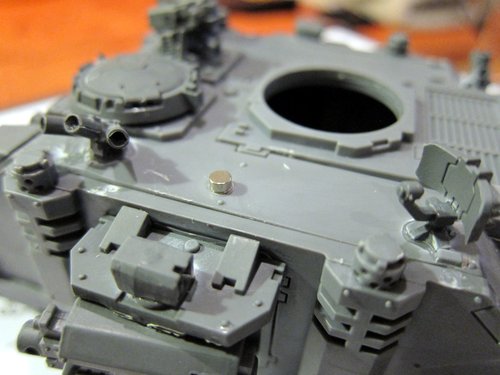
The magnet set in the Predator hull.
This process is then repeated for the hunter-killer missile, carefully drilling a pilot hole, then enlarging it, dabbing super-glue inside, and inserting a magnet. This hole should not be as deep as a magnet is tall, so that it sticks out slightly and provides a bit of a standoff.
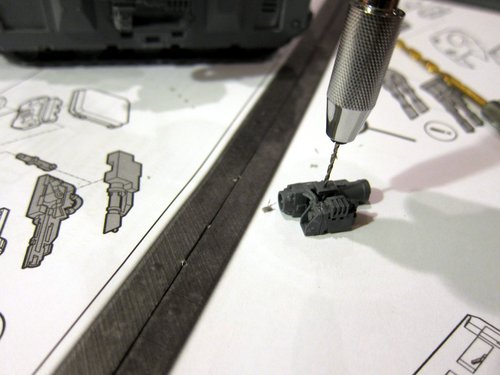
Pin-drilling a pilot hole in the hunter-killer missile.
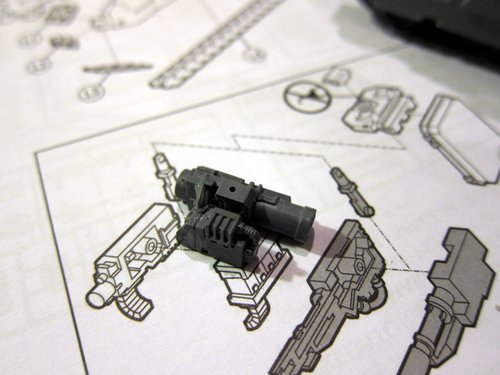
The pilot hole in the hunter-killer missile.
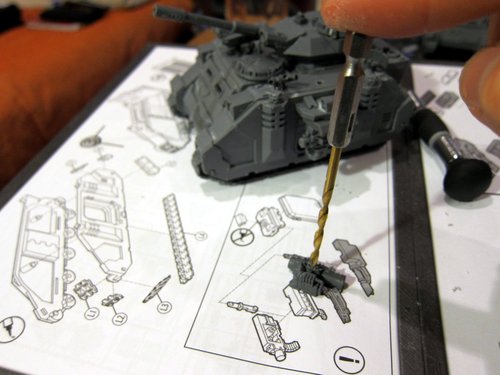
Drilling out the magnet hole in the hunter-killer missile.
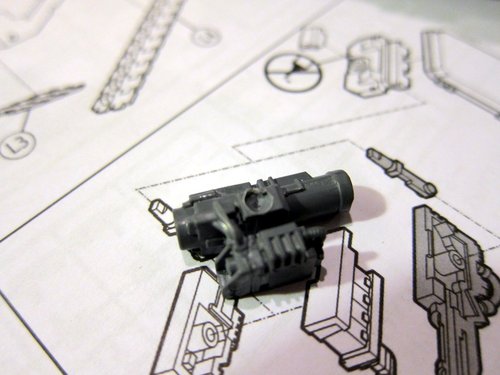
The magnet hole in the hunter-killer missile.
Once set in place, the magnets can be very hard to extract. It is therefore critical to get the polarity correct the first time. A useful step is to put the second magnet on the target, ensuring it is aligned correctly, then sliding it off onto the tool to be manipulated so that the face to be inserted remains showing.
Checking the polarity orientation of the magnet to put in the hunter-killer.
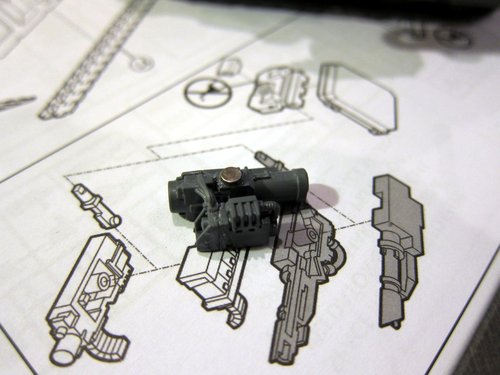
The magnet set in the hunter-killer.
Another critical point is that it is well worth ensuring that all of the similar magnetized pieces in an army are oriented to the same polarity. For example, every hunter-killer missile should have their magnet set with the same magnetic facing, so that any one of them may be used on any tank. It is a true inconvenience to have magnetized parts but still have to match particular components up to particular models.
Finally, if super-glue does not adequately hold a magnet in place, deepen the hole slightly, insert a blob of greenstuff or greystuff, and re-insert the magnet. Once hardened, the clay will hold the magnet securely.
Sponsons
Using the same basic techniques, the sponsons are easily magnetized. The key aspect of this is to ensure at least the same side weapons use the same polarity orientation! The slots on top of the weapons could be filled with greenstuff or similar, but are completely obscured on the tabletop by the support arms so it’s unnecessary.
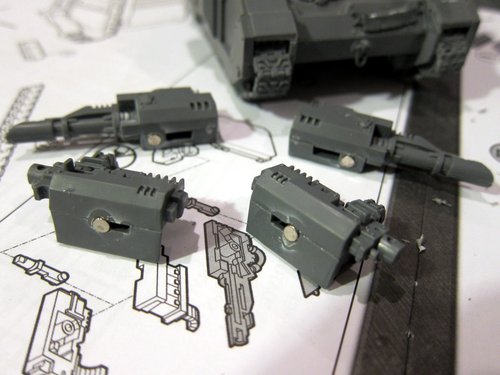
Magnets set in the sponson weapons.
Setting magnets in the sponson arms is a simple matter of slightly enlarging the existing holes, applying glue, inserting the magnet, and gluing the sensor piece on top.
These could be made more elaborate by building up a standoff or attaching the magnet to the original weapon strut. However, this is extra work that is not noticeable on the tabletop. Attaching the magnet to the strut is also significantly more flimsy, with the magnet liable to being popped off the arm in transit.
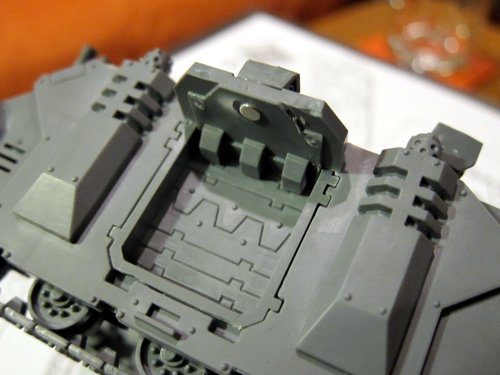
Magnet set in the sponson arms.
Turret
The final component to magnetize is then the main turret. There are several approaches to doing this, but all involve sheering off the pivot arms of the weapons so that the sides are flush.
One approach is then to mount a magnet in the side of the turret opening where the pivot arms would otherwise go, and then mount magnets in the sides of each weapon. However, this approach is slightly tricky to pull off such that the weapon does not tilt slightly when set. It is also prone to the weapon drooping.
Much easier and more reliably better looking is to mount a magnet in the top leading edge of the turret and in the top of the weapon backend, just behind the angle plate. These would be tricky to line up exactly, but it’s not necessary. The magnets are strong enough to hold the weapon in place even when not perfectly touching. As long as the magnets are roughly flush and centered, the weapon will align correctly and not droop when placed.
Again, make sure to double check the polarity orientation of the magnets before inserting into the weapons, and to use the same arrangement as on other tanks in the army if applicable.
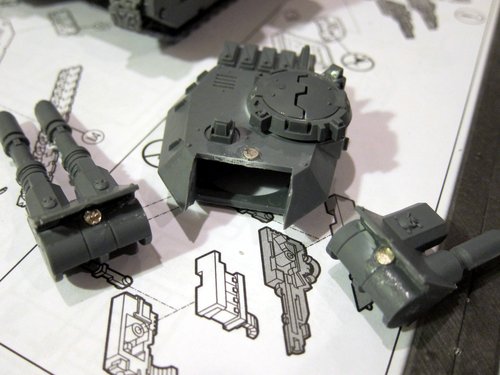
Magnets set in the main turret weapons.
Finished
And that’s it, the Predator is now ready to roll with whatever weapons the day’s opponent entails!
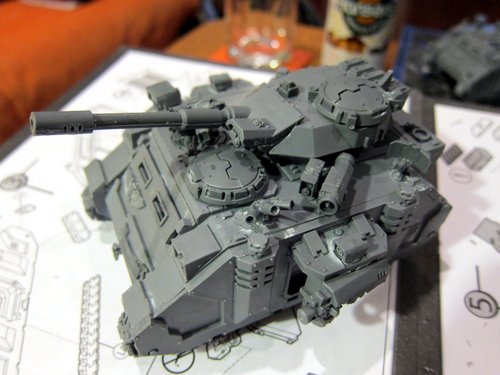
The finished Predator, loaded out as DakkaPred.