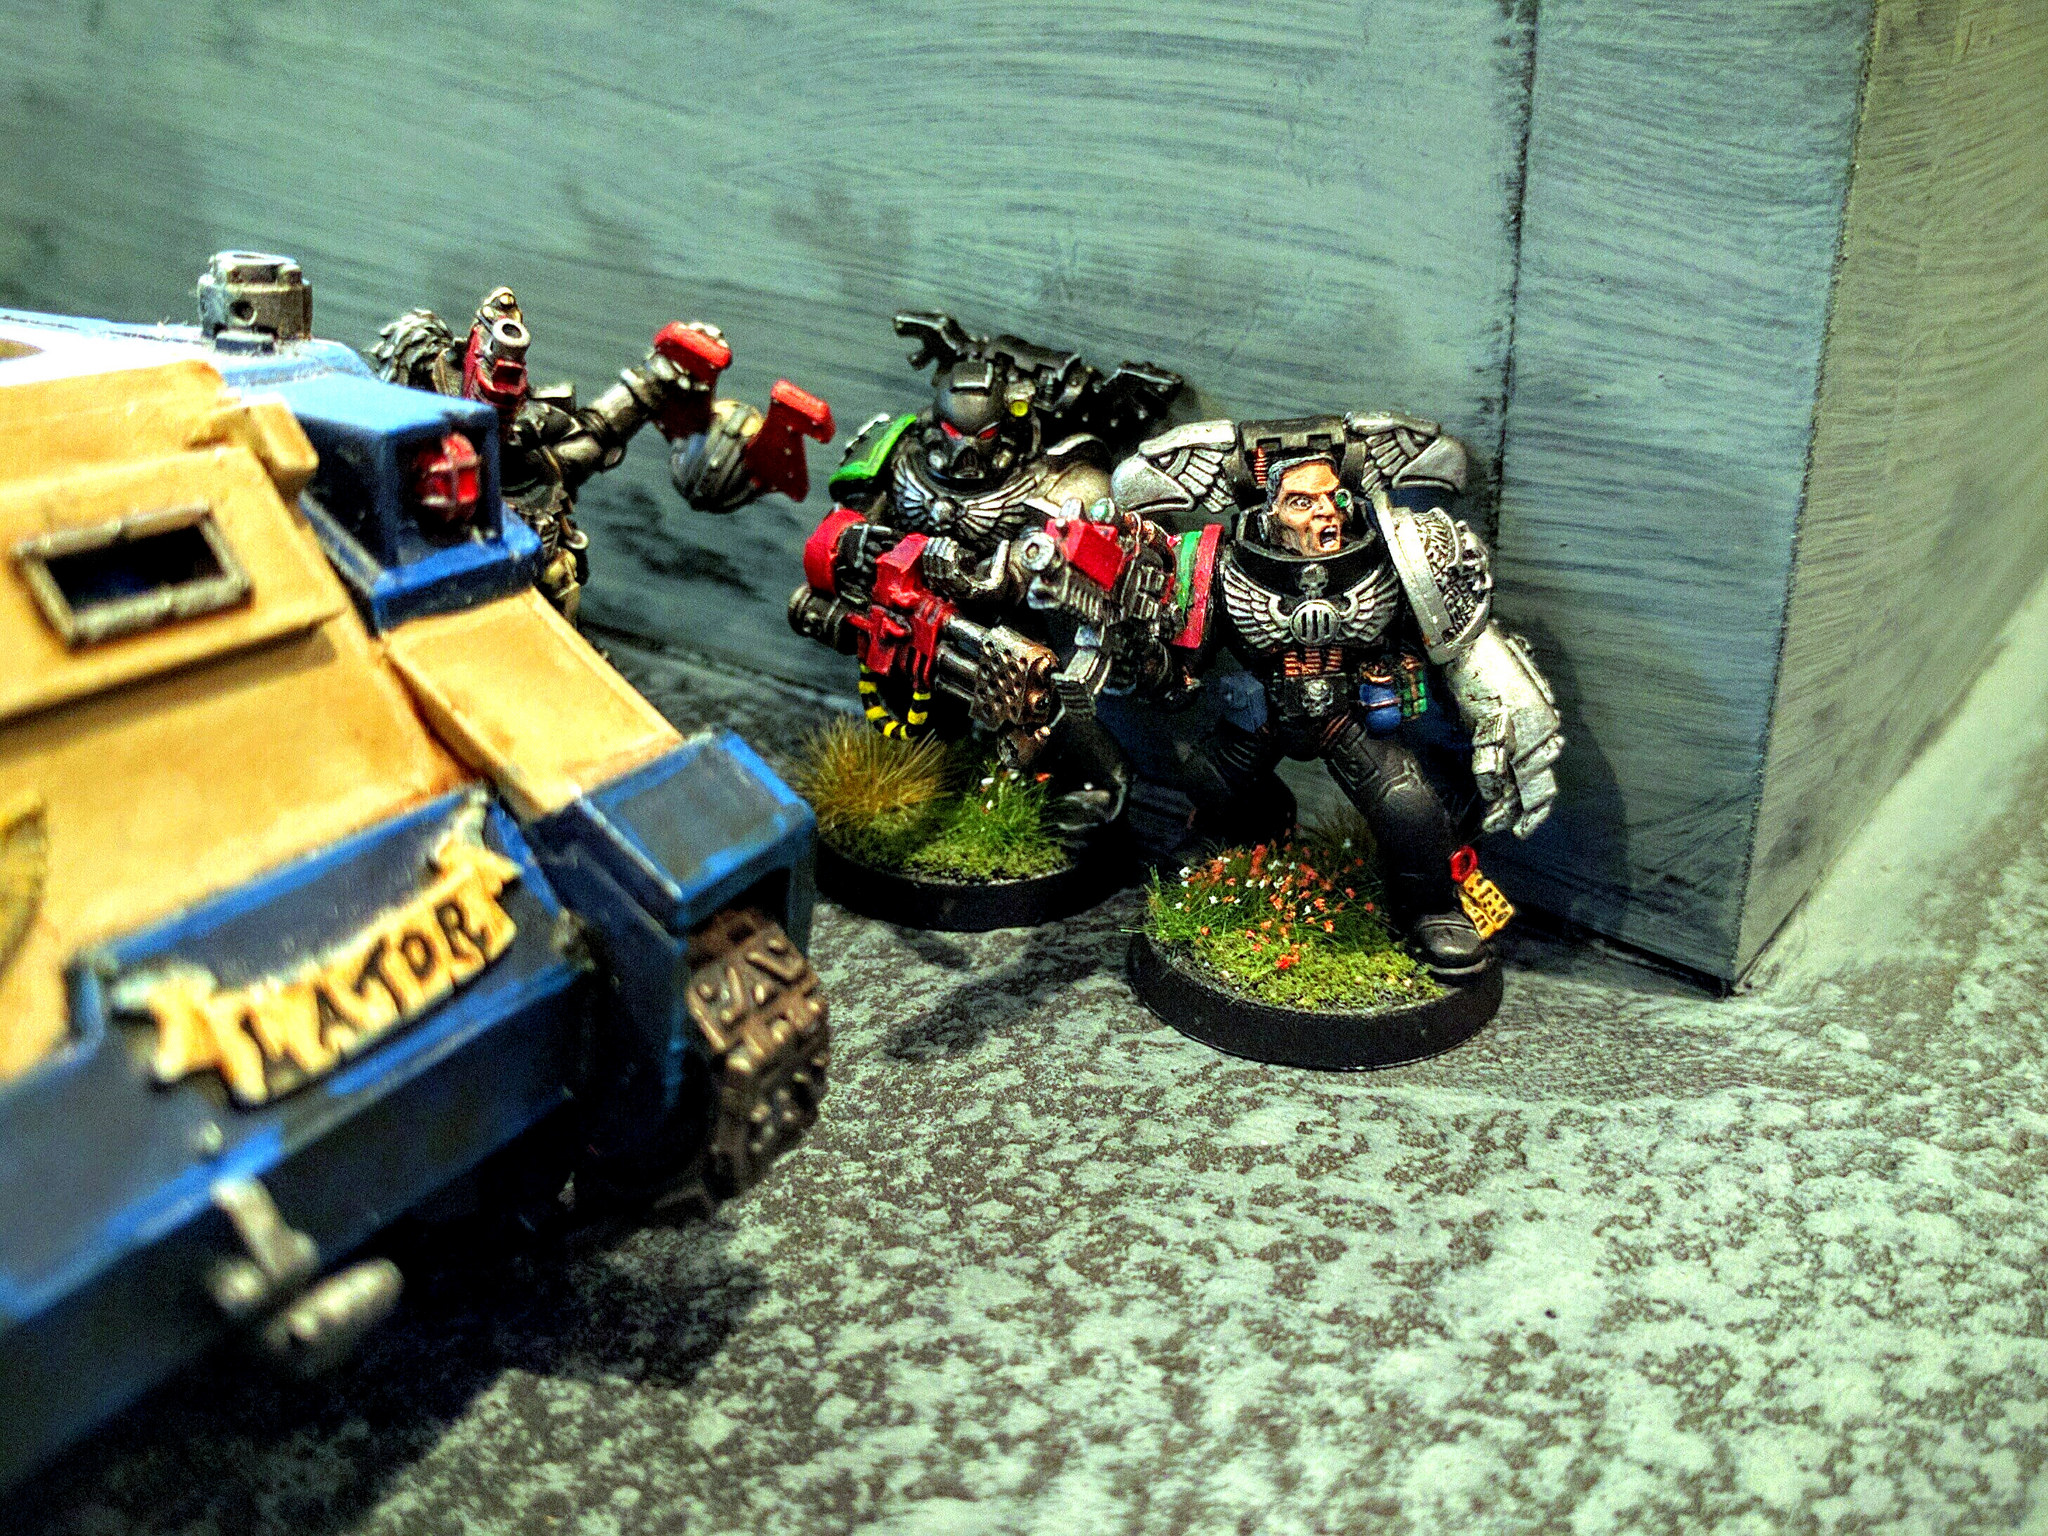
Without a home and newly without their major supply base, the Kingbreakers Space Marines drifted through the void for a time seeming interminable. Then they turned toward action and their sworn enemies: “They take one of ours, we take one of theirs…”
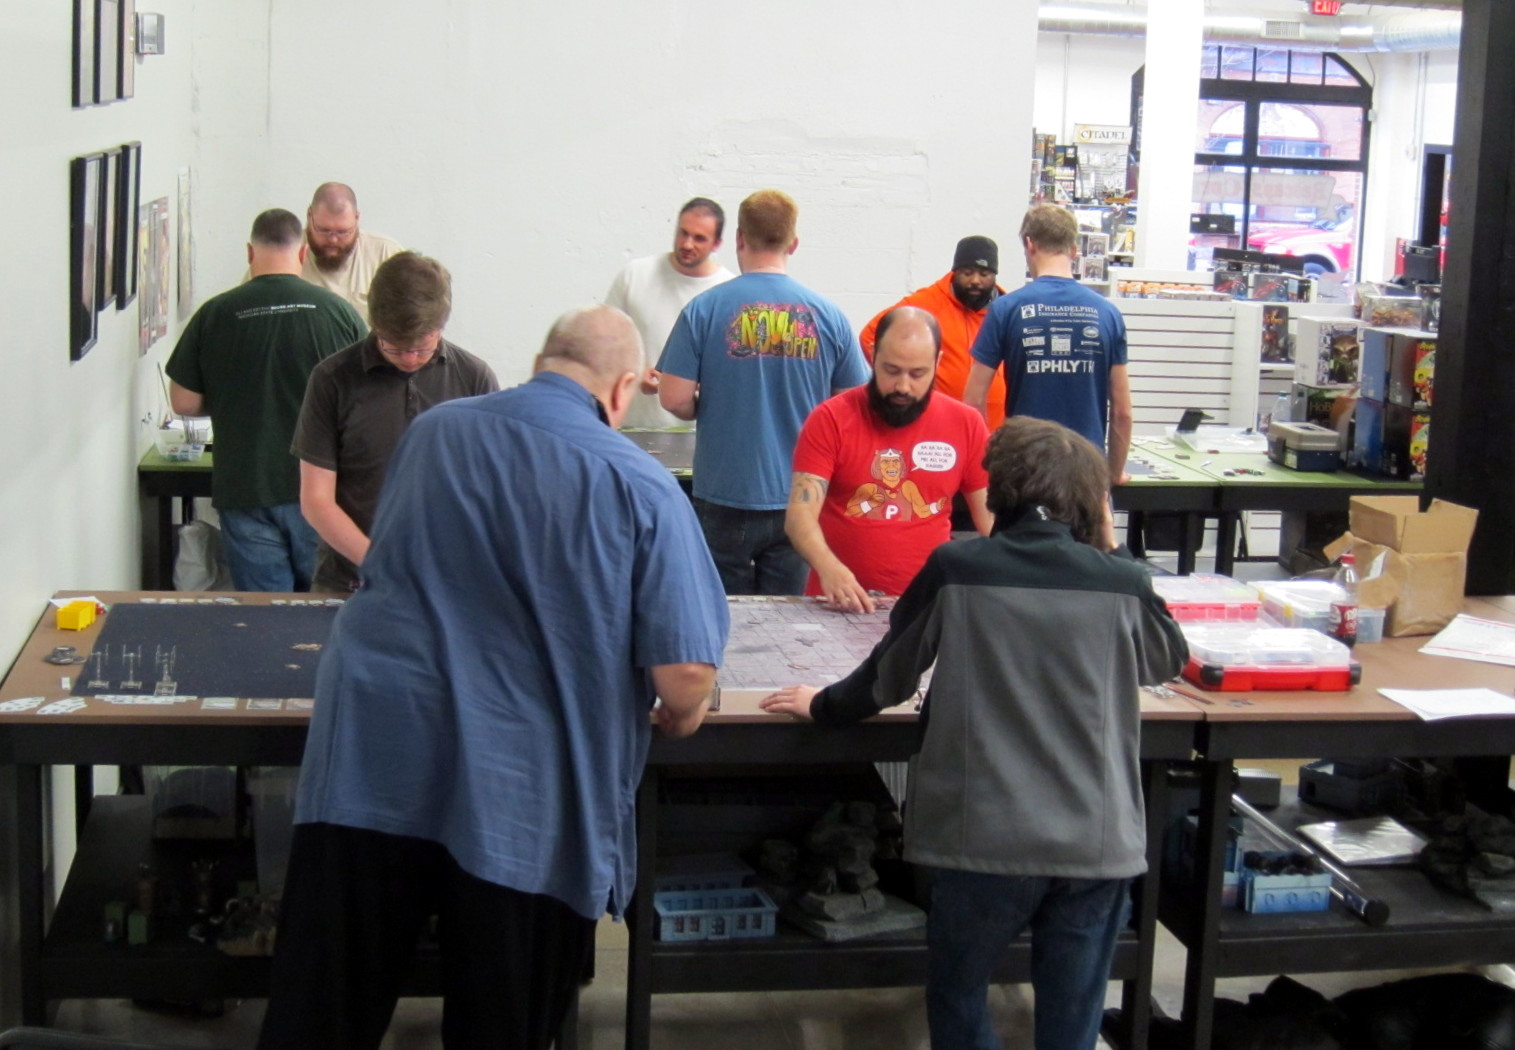
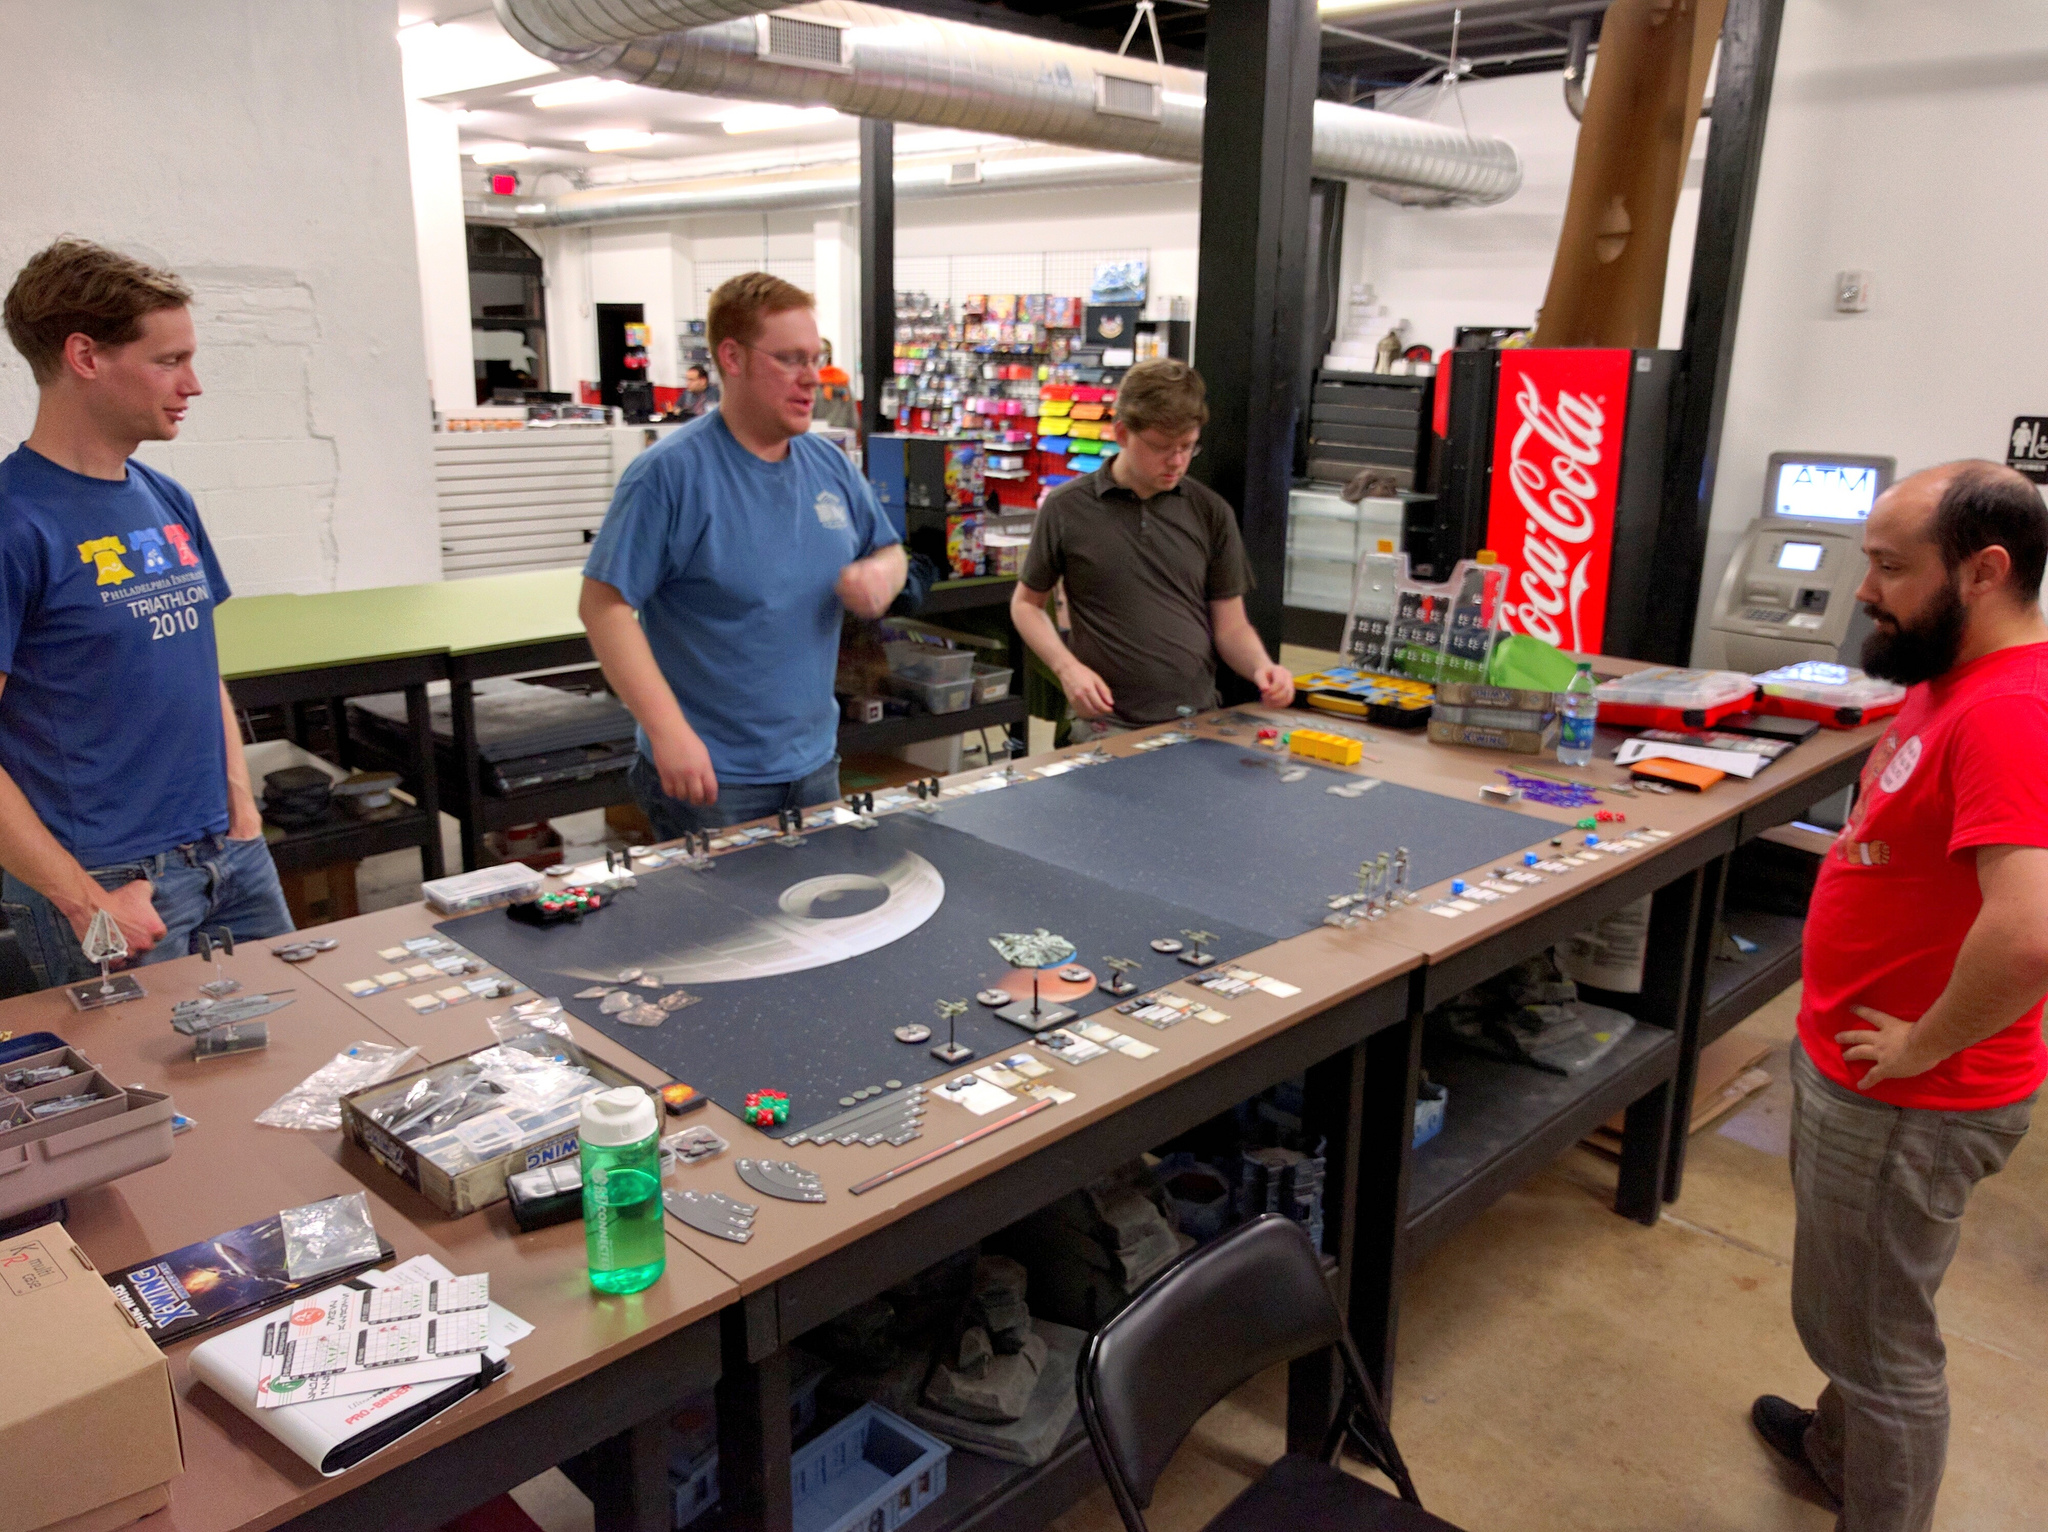
Another year, another PAGE Winter Apocalypse! Our club’s annual mega-Apocalypse is in the books. Seven players came out for the Recon Squad skirmish prologue last Saturday, and thirteen for the all-day mega-battle on Sunday. Each team fielded 26,000 points across an array of factions:
- Legions of Discord: Daemons, Daemonkin, Chaos Marines, Renegades, Eldar, Dark Eldar, and Tyranids
- Hierophant, Harridan, Hierodule, Scabeiathrax, Angrath, Samus, Baneblade-chassis, Corrupted Knight, Macro-Cannon Strongpoint
- Forces of Order: Adeptus Mechanicus, Steel Legion, Death Korps of Krieg, Valhallans, Grey Knights, Dark Angels, Kingbreakers Space Marines
- Warhound, eight Imperial Knights, Crassus Armored Transport, Marauder, two Baneblade-chassis, Vortex Missile Strongpoint, Plasma Obliterator
Daemonettes attack the Steel Legion’s position.
Although both days in the end came out a couple players smaller than last year, it was a stellar weekend of gaming. Supported by some fantastic looking boards and armies, the Recon Squad matches were excellent. A new terrain theme for the Apocalypse brought a different look and revised tactics to that game, while double blind deployment significantly changed the startup phase. In the end it was a full day of great 40k with giant warmachines exploding, lone sergeants defending critical positions, and everything in between. Bonus points go to Alex and Dan for making the trip to Philly all the way from Cleveland and DC respectively!
Join the Fight!
Join us!
- Forums: Sign-up and participate in the PAGE Forums.
- Facebook: Follow PAGE on Facebook—
- Mailing List: Sign-up for the low-volume Rocketship Games’ 40k emails—

The field of war.
Backstory
Years ago the Legions of Discord assaulted Kimball Prime, intent on taking or destroying the primary Imperial manufactorum in the sector. After many lives given in devotion to the Emperor, the invasion was successfully brought to a halt and then itself put on the defensive. Elsewhere in the sector though the Legions finally acquired the legendary Scythe of Unbound Light super-weapon after a years-long campaign across Caldor IV. Deploying it on Kimball Prime, the traitors crashed through the front gates of the manufactorum and won the planet.
With Kimball Prime fallen and its system lost, leaders of the in-sector armies of the Astra Militarum and Adeptus Astartes regrouped in secret. Drawn by the loss of a major manufactorum, the Adeptus Mechanicus joined their strategic auguries. Hungry for revenge, the Astartes proposed to conquer and cleanse the corrupted Chaos temple world of Barnes 595—an act of symbolism over pure strategy. Although initially hesitant to partake in this emotional response, the Mechanicus was swayed by the promise of archeotech believed lost in the planet’s swamps and dead forests, or buried in the collapsed sub-basements of its byzantine shrines.
Gazing into the strategios, the representatives of the Imperial Guard remained silent, then assented. They were also unconvinced by the Astartes’ constant vainglorious prioritization of honor and ideals over blood. However, the cogs of the Imperial war machine had already ratcheted toward the sector. Regiments and equipment must go toward some target, and it matters little which—there is no stopping the tide of war now, and it will wash over all the sector in time.

Recon Squad games underway.
Commanders of the Legions of Discord plot their strategy.
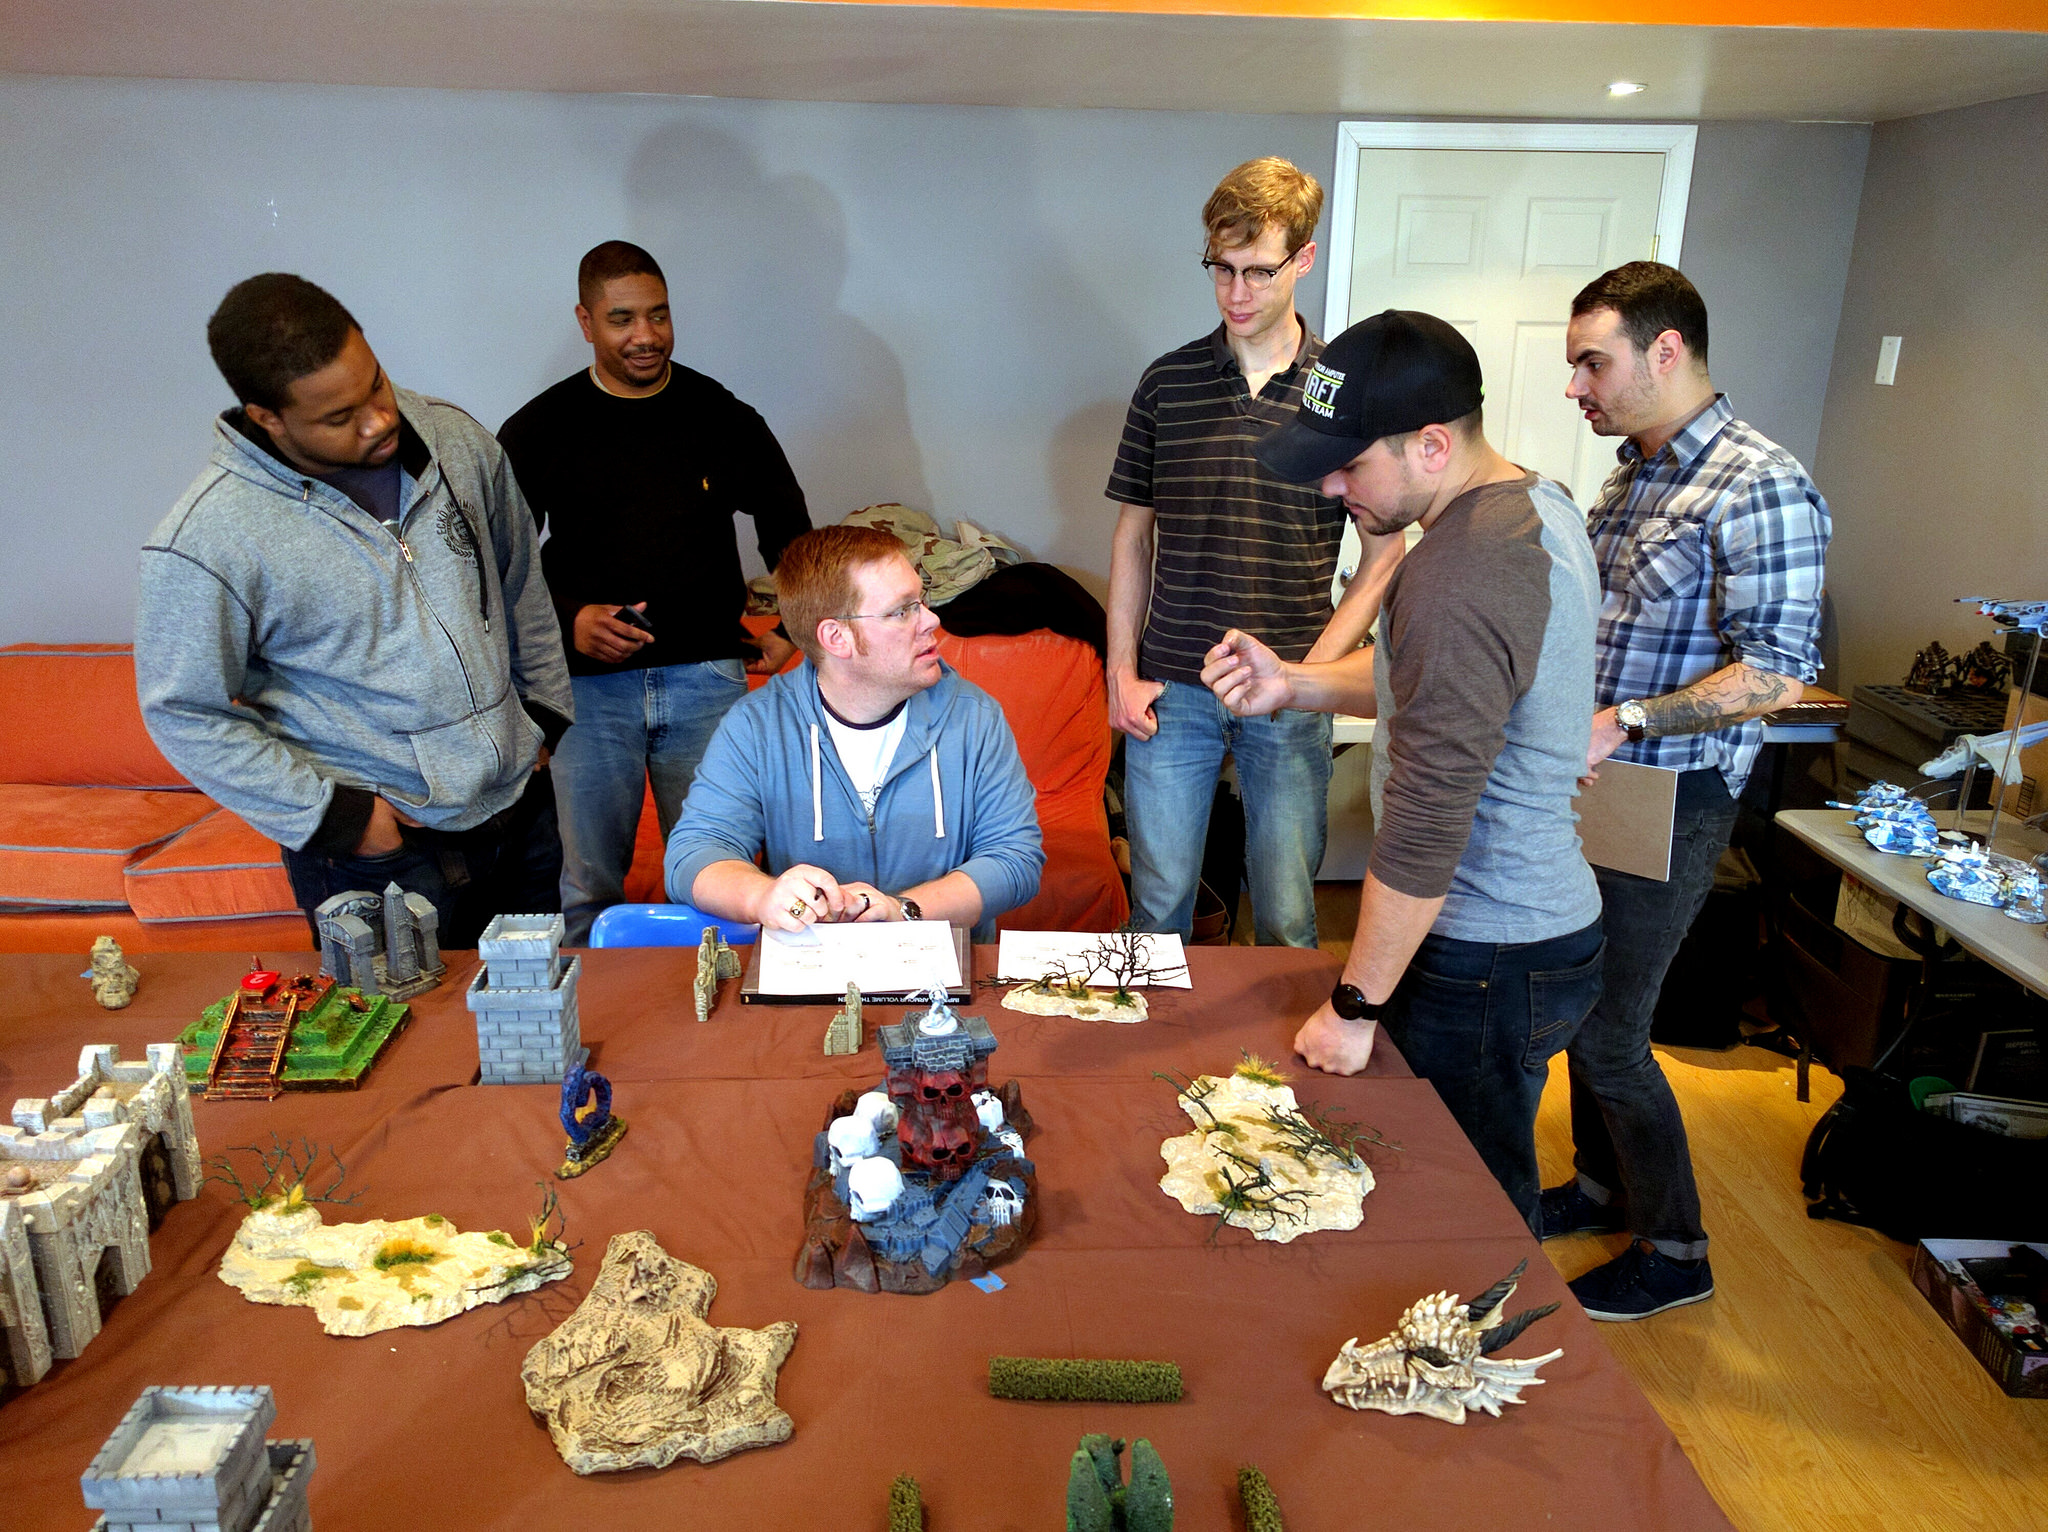
Recon Squads
Preparing for the onslaught to come, the Forces of Order sent small teams to reconnoiter and sabotage Chaos sites on Barnes 595. These were all played using our Kill Team-style Recon Squad rules combined with our Zone Mortalis-style Mortalis Solypsus boards and rules. The missions came from a set of eight worked out for last year’s larger Recon Squad campaign. Most are asymmetric and have specific thematic objectives, e.g., defending an installation, or assassinating a special character. In this year’s smaller form, each round the teams alternated putting forward a mission, role, and player. The other team responded with a player and a table. The third match contested the default Recon Squad skirmish mission.
Round 1
A band of Plaguemarines manages to intercept and ambush a Deathwatch team infiltrating a Chaos planetary missile complex. The fighting quickly concentrates in a hall junction and comes down to a single warrior from each side in hand-to-hand combat. At last the Imperial veteran gains an opening and jams his combat blade up to the hilt in the rotted traitor, another pyrrhic victory won for the Emperor.
Meanwhile, an Imperial commander met with a group of Tau to learn of mysterious energy signals they have detected buried within a collapsed underground extraction facility. They were beset however by a pack of ancient Bloodcrushers, and unable to prevent the assassination of the commander.
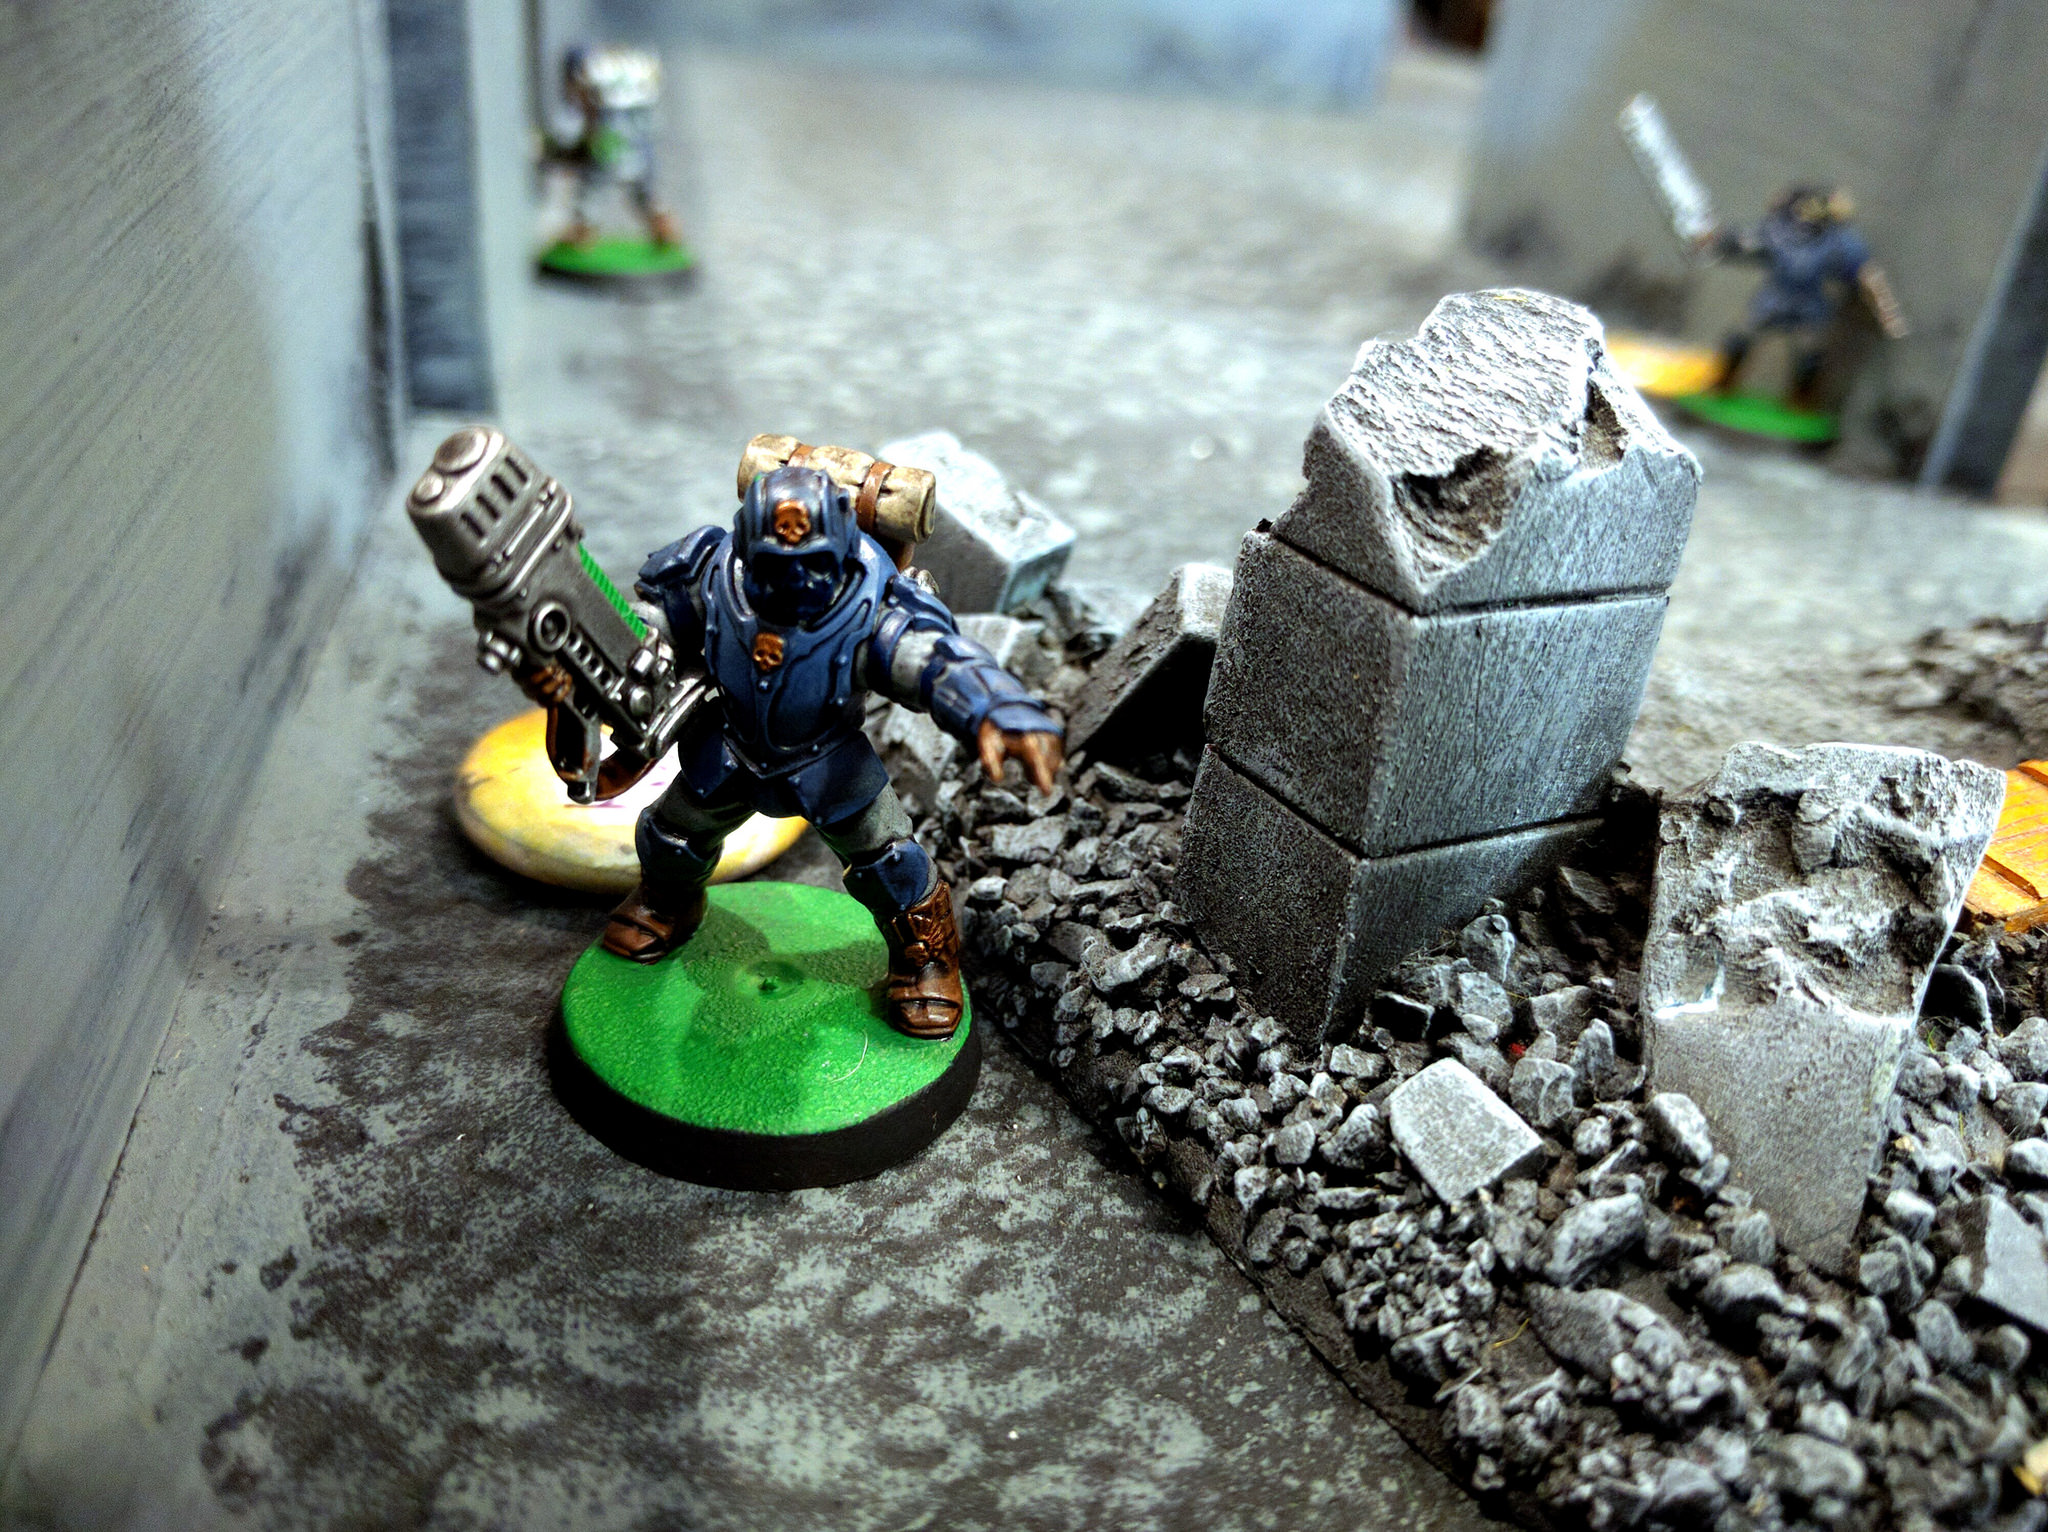
Deathwatch skulk through the missile complex.
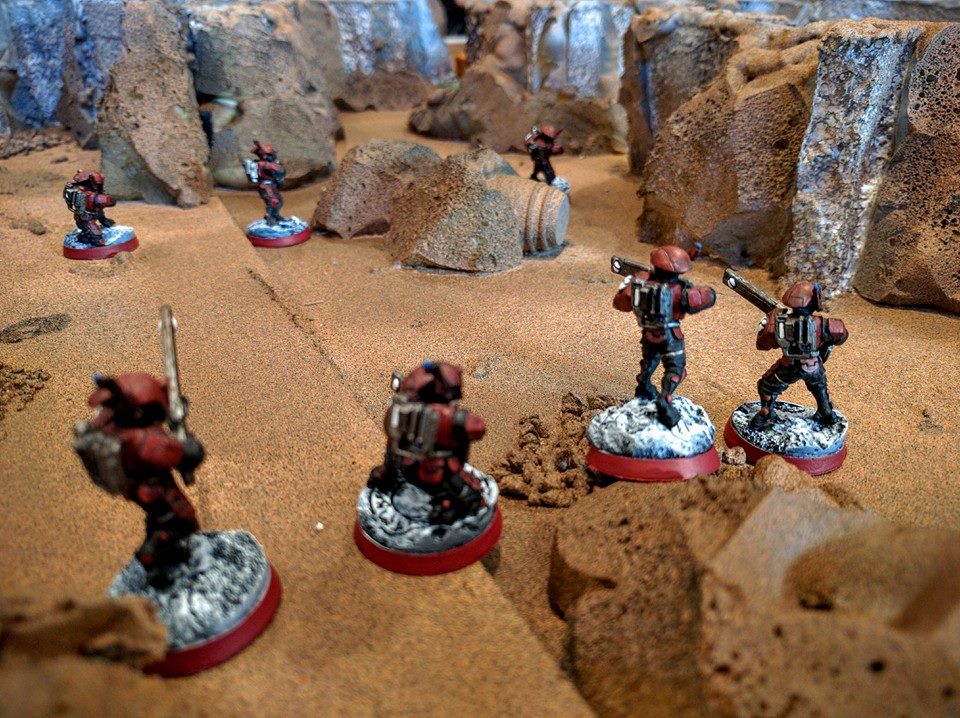
A Tau exploration team warily enters the collapsed mine.
Round 2
Routed by Daemons, the Tau continue their desperate struggle within the collapsed mine. Quickly encircled, the xenos fight bravely but are caught in a pincer of Plaguemarine reinforcements.
Having regrouped and treated their wounded as best as possible, the Deathwatch also continue their own fight. With the missile complex’s defenders alerted by the battle with the Plaguemarines, they are attacked by Renegade infantry. Fortunately the Emperor’s light guides them into surrounding and neutralizing the heretics.
Elsewhere, the Steel Legion arrive at Barnes 595. Small teams land and begin making their way through a Chaos temple serving as a gate to the missile complex. Although believed to be abandoned, the gate turns out to be infested with daemonic devotees of Khorne. The battle proceeds slowly among the site’s barricades and overgrowth, but eventually the soldiers break through.
Short on ammo, a Plaguemarine resorts to simply bashing in heads.
The Renegade Sergeant bellows out orders…
As his men hunt for the Deathwatch team loose in their complex.
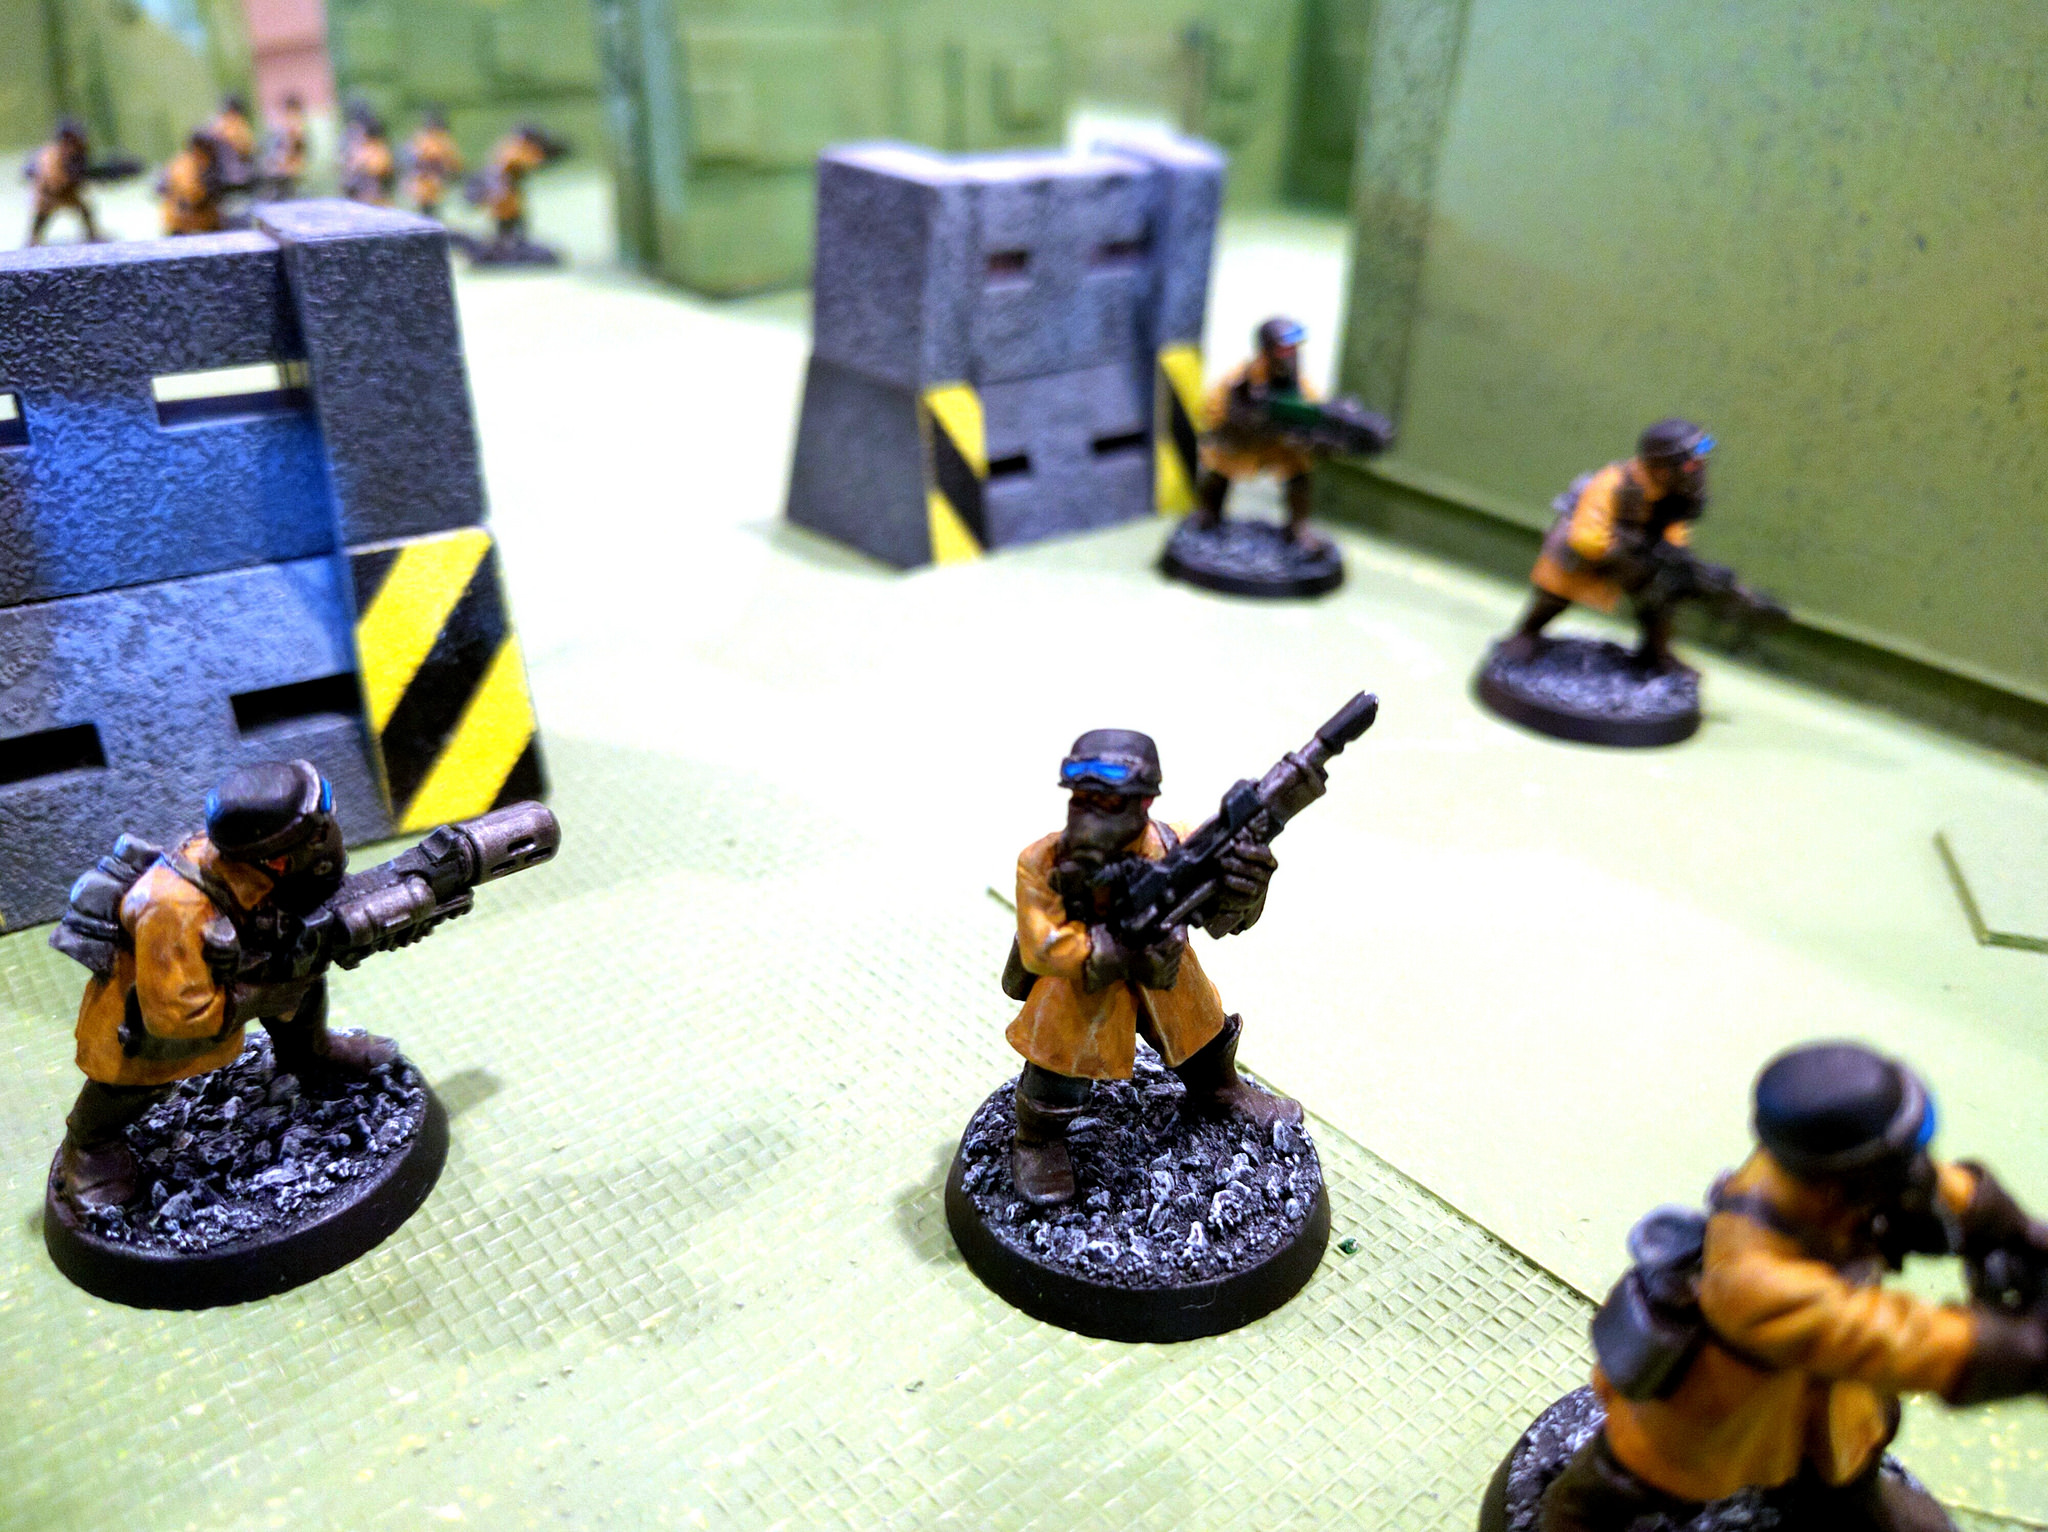
Steel Legion enter the closed-off base.
Round 3
Their position underground untenable, the Tau attempt to fight back to the surface. Moving into the overgrown upper levels of the collapsed mine they are caught by Renegade militia and wiped out in bitter skirmishing.
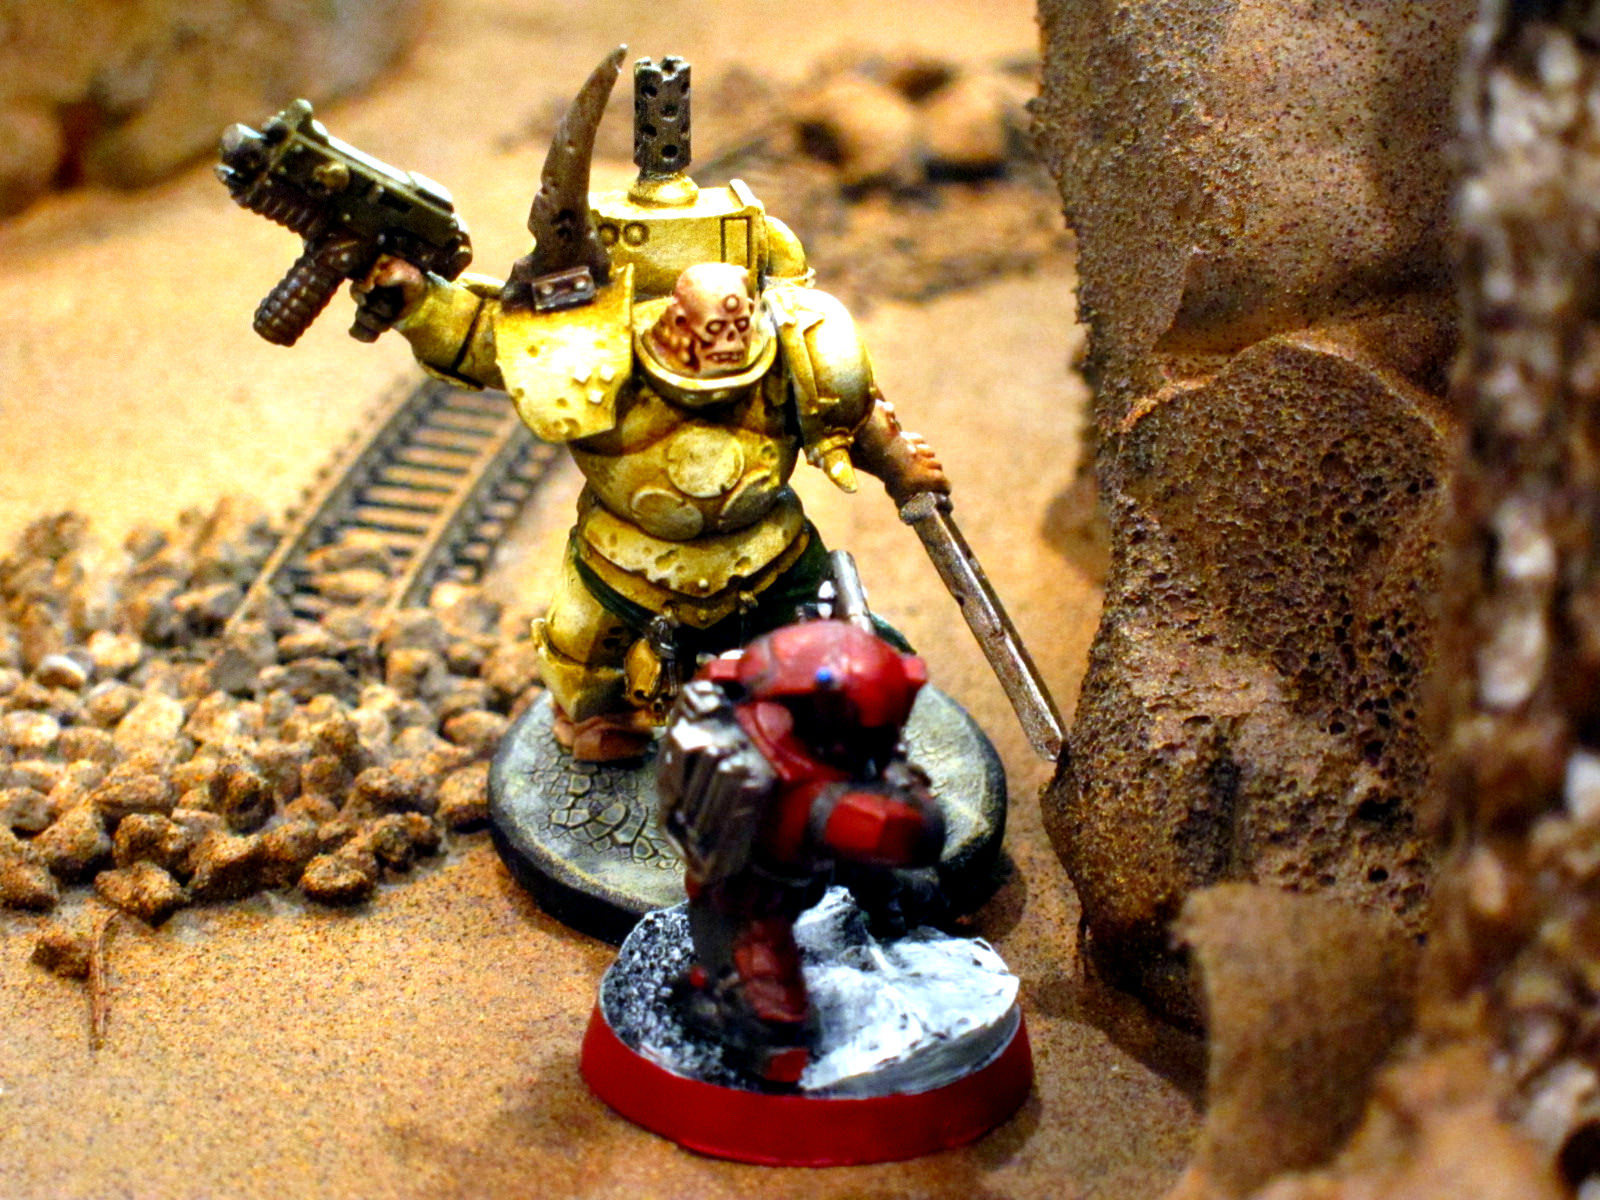
Too late to reinforce the Tau, Skitarii renew the exploration of the collapsed facility at the fore of a Mechanicus excavation mission. Although beset by Bloodcrushers at every junction, their arcane weaponry bears them through. Fighting ceases with Mars in control of whatever secrets lay beneath the choking dust.
Simultaneously, a Steel Legion special missions team follows the wake of the Deathwatch into the heart of the missile complex. Though harried by Plaguemarines, they succeed in destroying a critical cogitator bank.
Outcomes
Order won the Recon Squad matches handily, 46 to 29. Together the Imperium and allies had captured an important planetary-scale missile complex, greatly aiding their establishment of a beachhead on the planet. Early excavation efforts in the collapsed mine also unearthed a long forgotten Imperial Shrine.

Steel Legion move against a vital cogitator bank…

Defended by Plaguemarines.

Skitarii work their way underground…

While battling Bloodcrushers for control of the collapsed facility.
APOCALYPSE
Finally the big day.
It’s worth noting that our Apocalypse games are not the cliche of just dumping out all the models you own, or whatever ridiculously overpowered Titans you happen to have spent a fortune on. A good amount of effort is put into balancing the teams. For example, all superheavies/gargantuans must be declared in advance, and models with more than 9 hull points/wounds are negotiated between the teams. Between switching players to balance for skill, asking that Reaver or Warlord Titans (!) or such sit out the game if the other side can’t match it, and so on, we usually wind up fairly closely matched. Scoring and other mechanisms further ensure that troops matter and tactics count, even as whole units are obliterated.
Although a few people bailed right beforehand, this was probably the smoothest we’ve launched one of these mega-battles. We made it clear than anybody who showed up late would go into reserve, and in the end that only almost applied to me as I scrambled to finish my army list during deployment… (I was planning to reserve the bulk anyway). Everybody came prepared to fill out up to ~1k in additional points or trim down a bit to balance for the no-shows. When the time came we ran through a roll call, did some quick math, adjusted a couple armies, and away we went.
A Knight Errant stalks its prey across the crowded battlefield.
Field of War
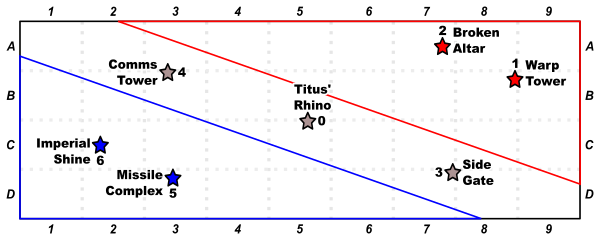
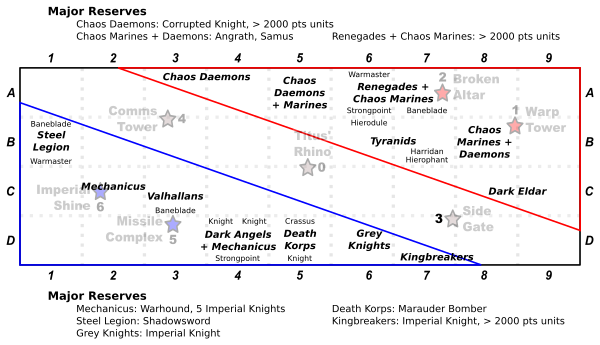
Having fought largely among Imperial ruins the past two years, we moved this year to a wasteland forest with many barbaric Chaos fortifications and shrines. The final table was exactly 6′ by 18′, cluttered up with just enough line-of-sight blockers and scatter terrain. As usual the deployment zones were marked off with tape to speed things up and improve adherence. Seven primary objectives were symmetrically placed, two in each deployment zone and three along the midline, each associated with some particularly notable piece of terrain.
After doing an ‘L’ shaped deployment last year, we switched it up even more by using Vanguard Strike deployment zones, diagonal table corners with a 2′ buffer zone. I was concerned about the reduced frontage of this configuration leading to armies just sitting around in the comparatively deep backfield. If the table had a narrower aspect ratio or our armies included less deep striking and other fast mobility that may have been the case. As it was however, there was plenty of action all over the board, with significant charges both across and down the board, as well as deep strikers and outflankers coming in from all sides.
Traitor melta-bikers race through a slave village toward a Knight Errant threatening their perimeter bastions.
Double Blind
In previous Apocalypse matches we’ve used a bidding mechanism for deployment and turn order: Both teams make a bid on deployment time, up to 30 minutes. The lower bid would deploy first and play first, but only got that long to set up. At first that worked great. In the 2014 Winter Apocalypse, Order spent a lot of time debating its need to deploy lots of static gunlines versus trying to scoop Discord for an Alpha strike, only to have Discord bid a ridiculous 3 minutes… In the couple Apoc and Apoc-styled games we’ve had since then though, both sides have taken to bidding 30 minutes, through a combination of having more players to coordinate, more models to start on the board, and most importantly wanting to play second.
So this year we changed things up a lot: Double blind deployment. That’s a bold departure from standard 40k play, and risky for Apocalypse—we usually try to be a bit conservative with Apoc given the time commitment and how easy it is for things to go sideways with so many points and overpowered models in play.
Physically it would be really difficult to screen such a big table so the teams couldn’t see each others’ activities, let alone to not have the screen fall and crush models. Strategically we also really wanted players to have some idea what they were facing across the table before deploying. So instead we used a two step process. We drew a simple map of the table and gave each team a copy. The map showed all the primary objectives, deployment zones, and a grid of 2′ by 1.5′ sectors. The teams then huddled up and each player committed to deploying in up to two sectors by marking up the map, also making note of any superheavies, gargantuans, mighty bulwarks, or lords of war.
Those maps were then revealed to the opposing team, and the two sides simultaneously deployed. That worked well because at this scale of game players generally aren’t super concerned about the precise positioning of enemy units while they deploy, so there’s no gaming of trying to see what the other side is doing while deploying. There’s also only so much adjustment you can do within the 30 minute time limit. But you did have a rough idea of what’s likely coming after you and could take that into account while deploying. As a bonus, by deploying simultaneously, we shaved half an hour off the schedule. Choice of first or second turn was set as the prize for overall victory of the Recon Squad games.
Barnes 595.
Means of Victory
We also tweaked our scoring mechanism to be every turn rather than every other, the better to either end games earlier than expected or run an extra turn as time permits (the latter never happens…). The rules are:
- All players designate a warlord as usual, one of which on each team is nominated to be the warmaster.
- After deployment, each team alternates having each player place a secondary objective anywhere on the board, caveat the usual restrictions (at least 12″ from other objectives, 6″ from table edges).
- Any player and either team can score any secondary objective, they’re just placed by a particular player to represent their personal goals.
- Only troops may score objective markers until the final scoring, at which point all scoring units count.
- Scoring happens at the end of each game turn:
- Primary objectives are worth the current game turn number;
- Secondary objectives are always worth 1 victory point;
- The warmasters are worth 3 points;
- Eliminating a superheavy, gargantuan, mighty bulwark, lord of war, or warlord is worth 1 point each.

A Harridan prepares to chow down on some Dark Angels.
The rule about troops is a huge deal. It does have the downside that it encourages players to bring a lot of individual infantry rather than sinking points into big models, which makes it hard to meet turn time constraints. However, it ensures that regular troopers are critical and armies have to include a good contingent of them to be viable, which consequently makes the match feel a lot like a regular game of 40k writ huge, rather than a whole different game of giant robot/monster battles.
The escalating value of primary objectives is another balancing mechanism. It’s difficult for teams to run away with the game by controlling objectives over the early turns since they’re worth so much more at the end. Conversely, by not scoring solely at the end, alpha striking and high-mobility armies are given a better chance than they otherwise would have against deathstar and brick armies.
The other points for killing supers, etc., are also of course a balancing mechanism. They and the secondary objectives become less important as the game goes on and the primaries scale up, which is how you want the focus to change heading toward the end of the game. However, those single points still add up over time and are critical to overall victory, as played out in this very game.
In practice this basic scoring scheme and the other balancing efforts have worked out very well, producing a number of close games over several years now.
Deployment
Following their successes in the Recon Squad campaign, the Forces of Order established their invasion base around the Missile Complex and Imperial Shrine and chose to play second. They turned their aim on the heavily defended Broken Altar and Warp Tower, important sites to all the disciples of Chaos. In between lay a disused Comms Tower that might be reclaimed for the invasion, a Side Gate barring the way to a complex of temples beyond, and of course the wreckage of Sergeant Titus’ Rhino, an important relic of the Kingbreakers claimed by Nurgle’s servants in the aftermath of the Apocalypse on Solypsus 9.
Deployment commitments.
Fight!
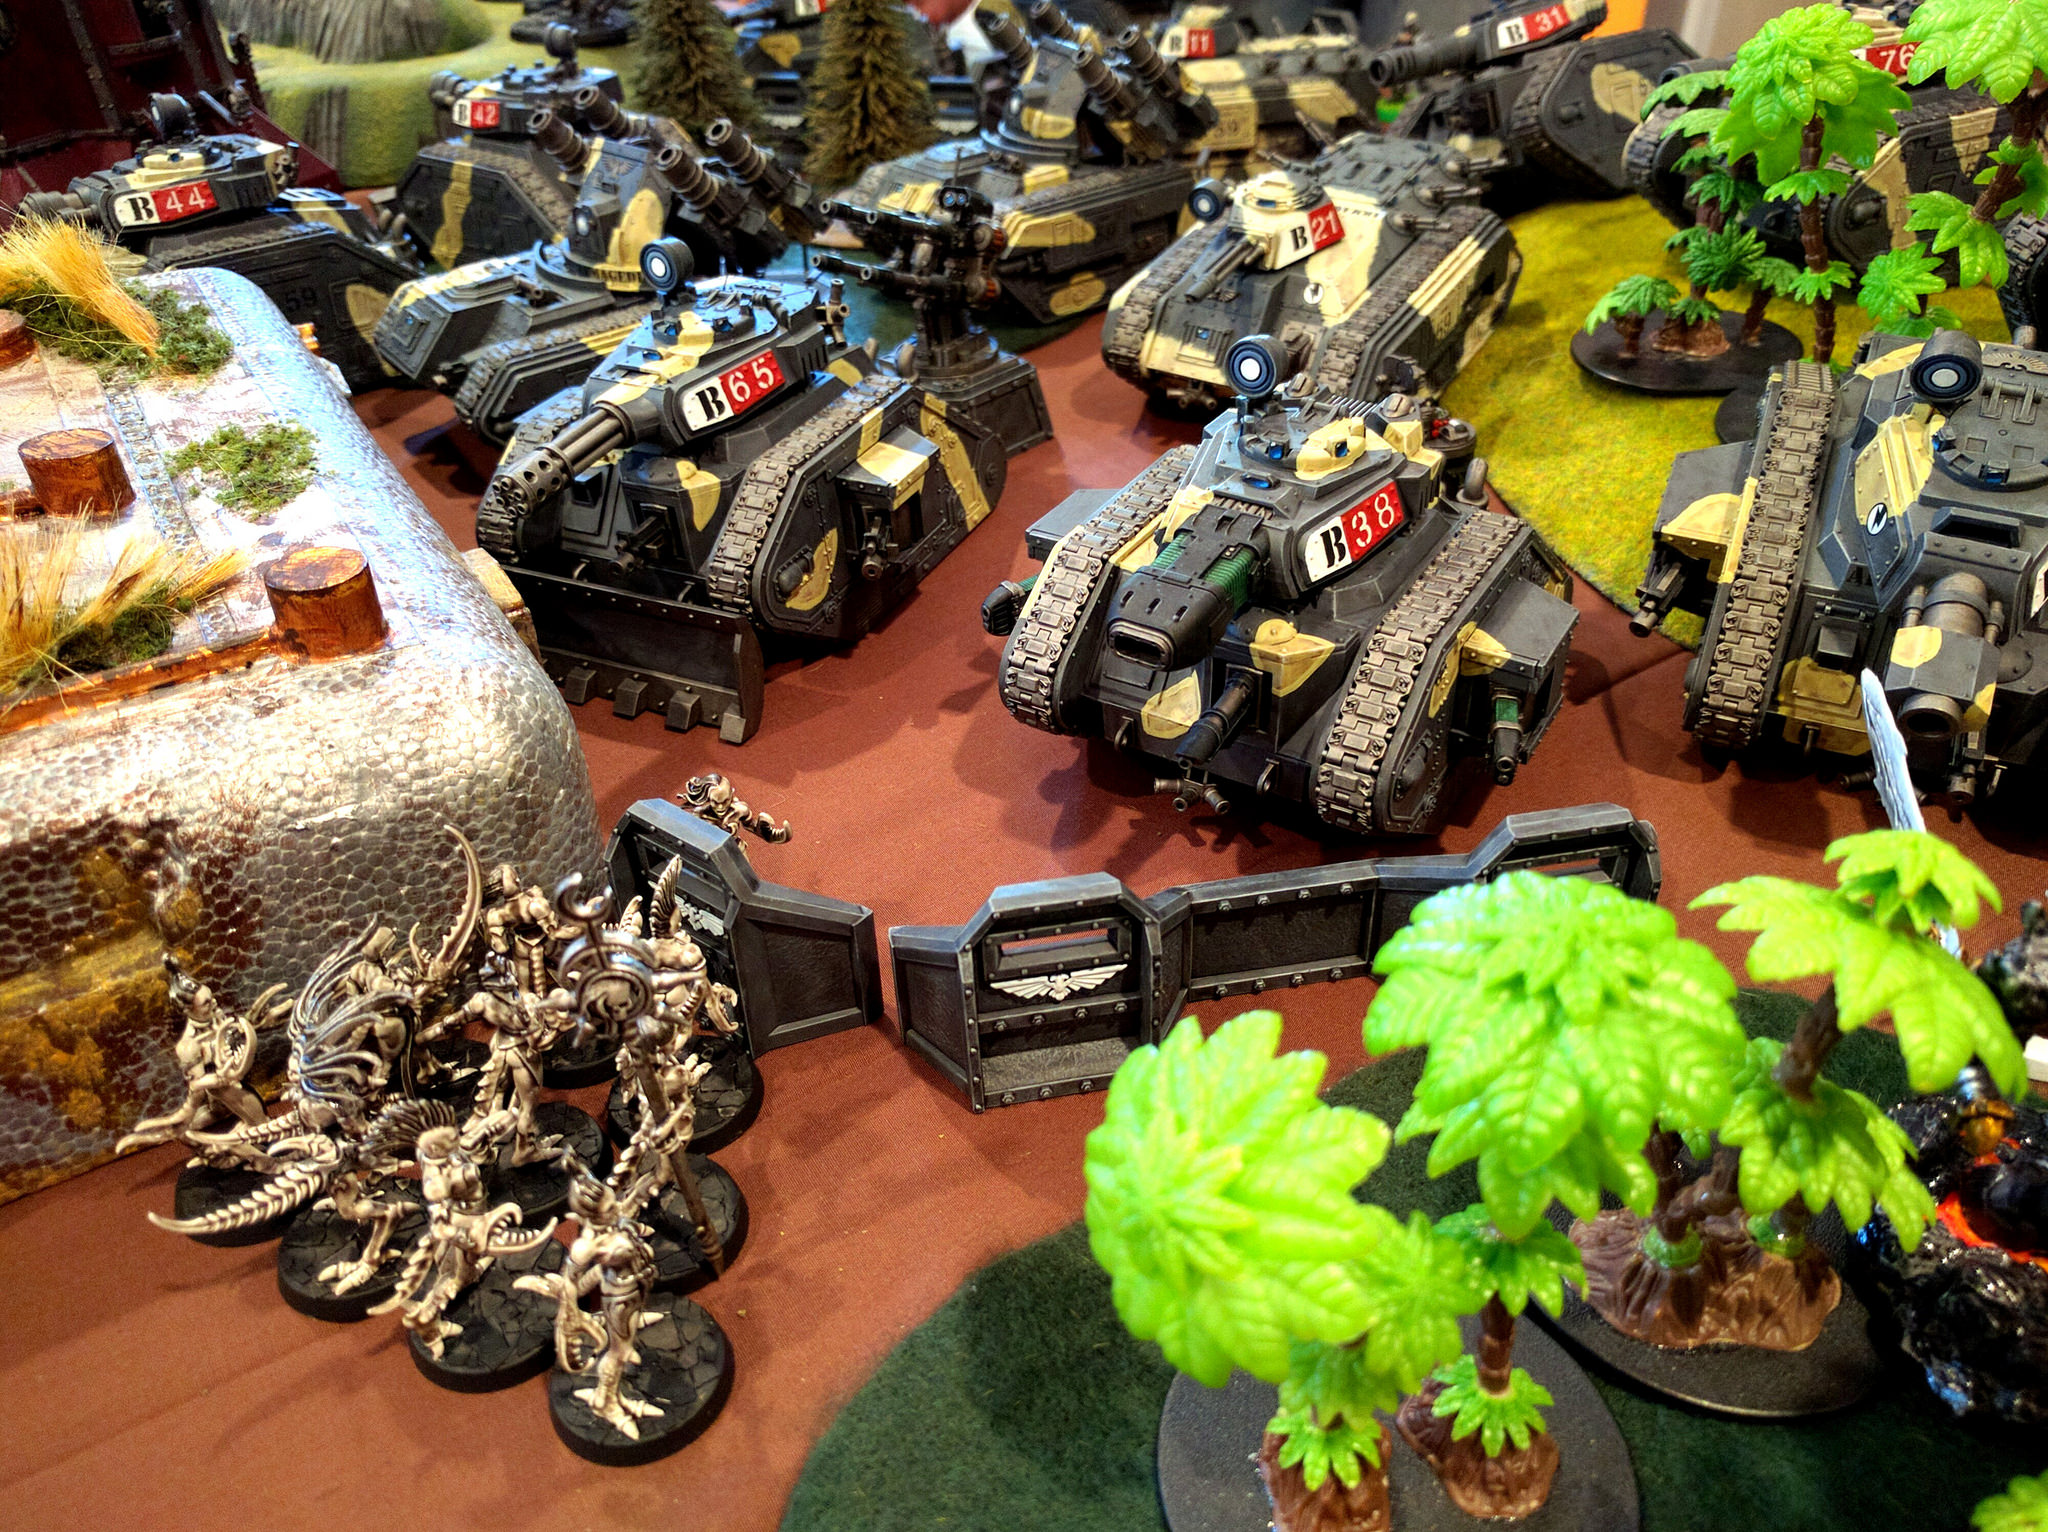
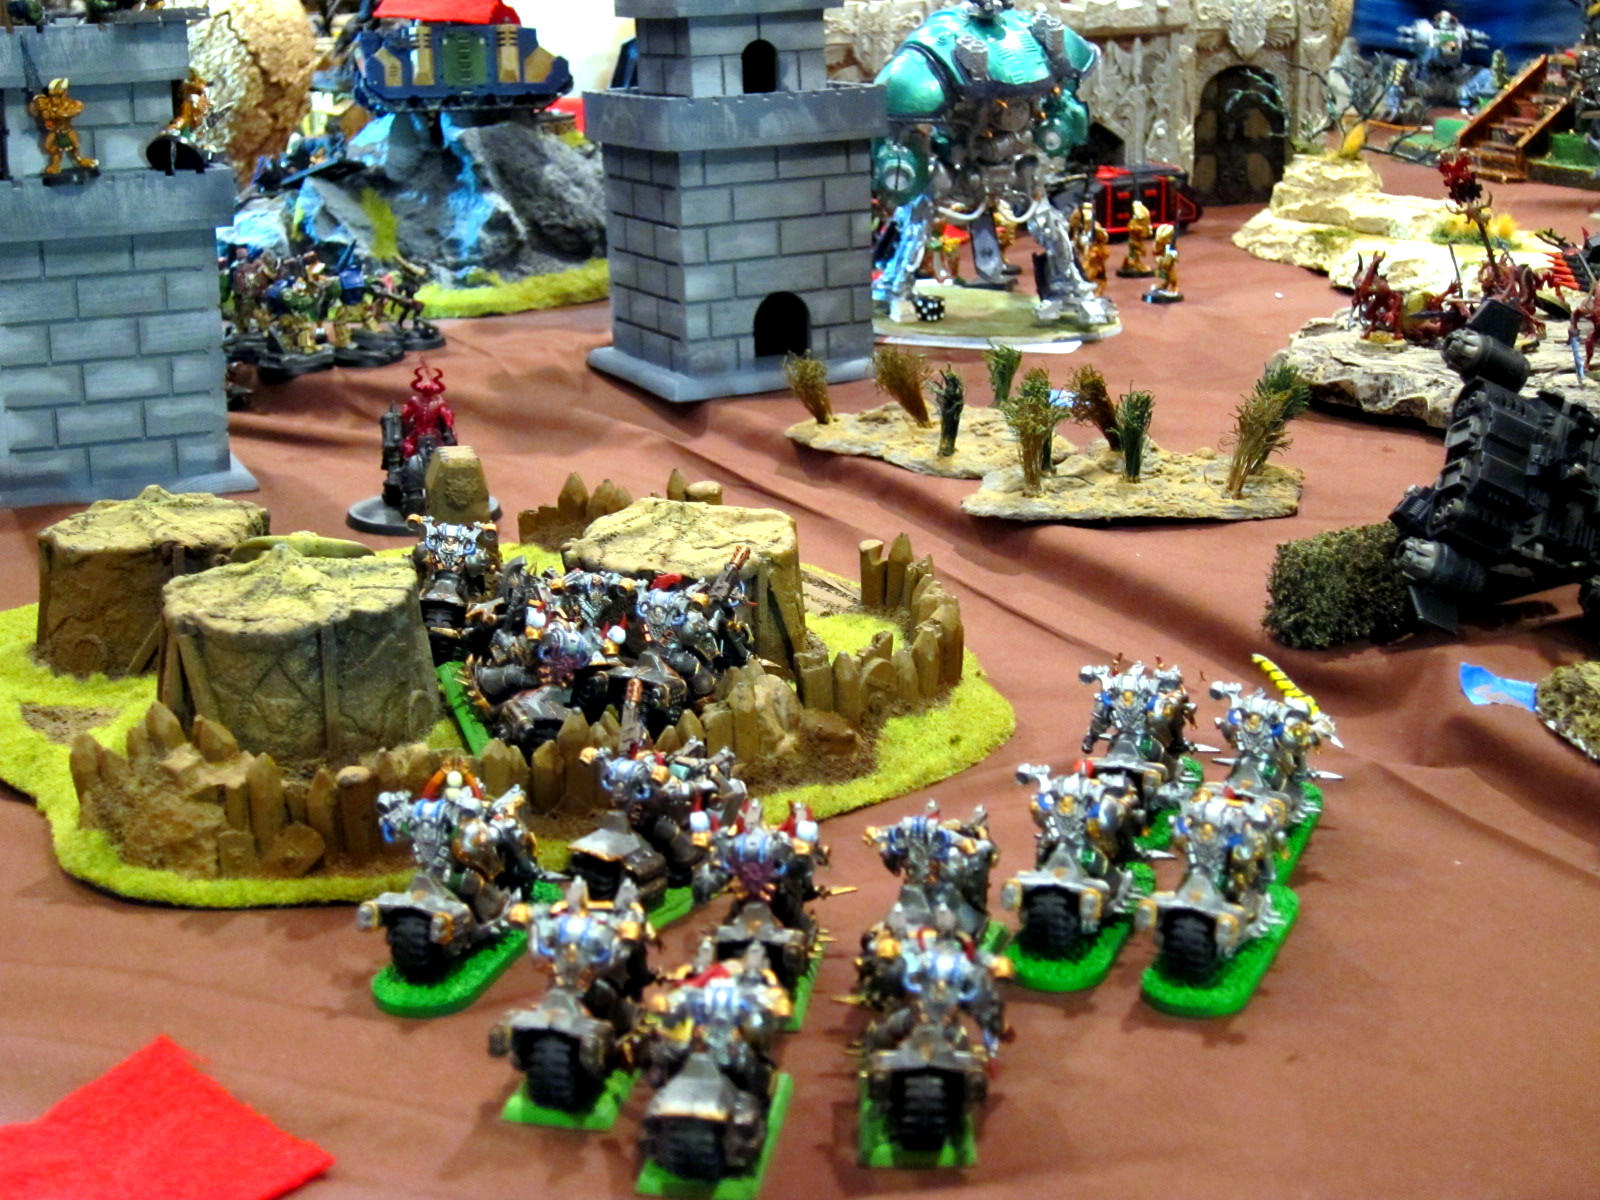
The invasion begun, the mighty armies on both sides rumbled to war. A gang of monstrous Tyranids held captive on Barnes 595 was unleashed on the Death Korps, with many fatalities in the earliest phase of the combat as the flying ones raked their dagger-like talons across exposed infantry. Worse, a Crassus superheavy armored transport poised toward the enemy lines was obliterated before it could even move from the landing point, with the entire platoon inside lost to the Emperor’s grace. A desperate struggle between the Death Korps and the gargantuan Tyranids towering over them would last throughout the battle.
Meanwhile, in Order’s backfield, a coterie of Slaneesh’s followers lead by a formation of Daemonettes made a devastating surprise attack. Spawning directly onto the Steel Legion’s lines, many tanks were immediately destroyed. Only after prolonged fighting and the death of the Order warmaster was their charge finally blunted by the arrival of the Shadowsword Indominator. No longer imperiled, the Steel Legion supported the Valhallans moving on the Comms Tower, as well as the defense of the Imperial Shrine and Missile Complex.
Matching that aggression, squad after squad of Kingbreakers, Grey Knights, and Dark Angels dropped directly into Discord’s backfield. Dark Angels claimed secondary objectives while Grey Knights fought Dark Eldar come to capture whatever they could in the heat of battle. Kingbreakers fought valiantly all around the Warp Tower and contested the site for some time, but were ultimately overwhelmed by the flood of Daemons and Daemonkin pouring into the area, guided and supported by the Renegades sworn to Discord warmaster Hellboy.
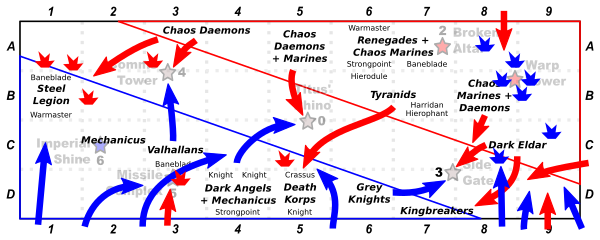
Major movements and drops throughout the game.
All across the land in between, daemons and traitors clashed with the Emperor’s finest. Dark Angels made an early play for Titus’ Rhino, but were eventually pushed off by the legions of Nurgle inexorably marching to reclaim the prize they had so carelessly left laying around. Valhallan air cavalry flew bravely into the daemons guarding the Comms Tower and successfully held it at several critical junctures. By their landing base, Commissar Yarrick almost singlehandedly defended the Missile Complex despite repeated wounds that would have been mortal for any lesser man. Nearly all the armies wound up engaged at some point in the fierce battle for the Side Gate as one unit after another claimed it, only to be blasted away and replaced by another in rapid succession.
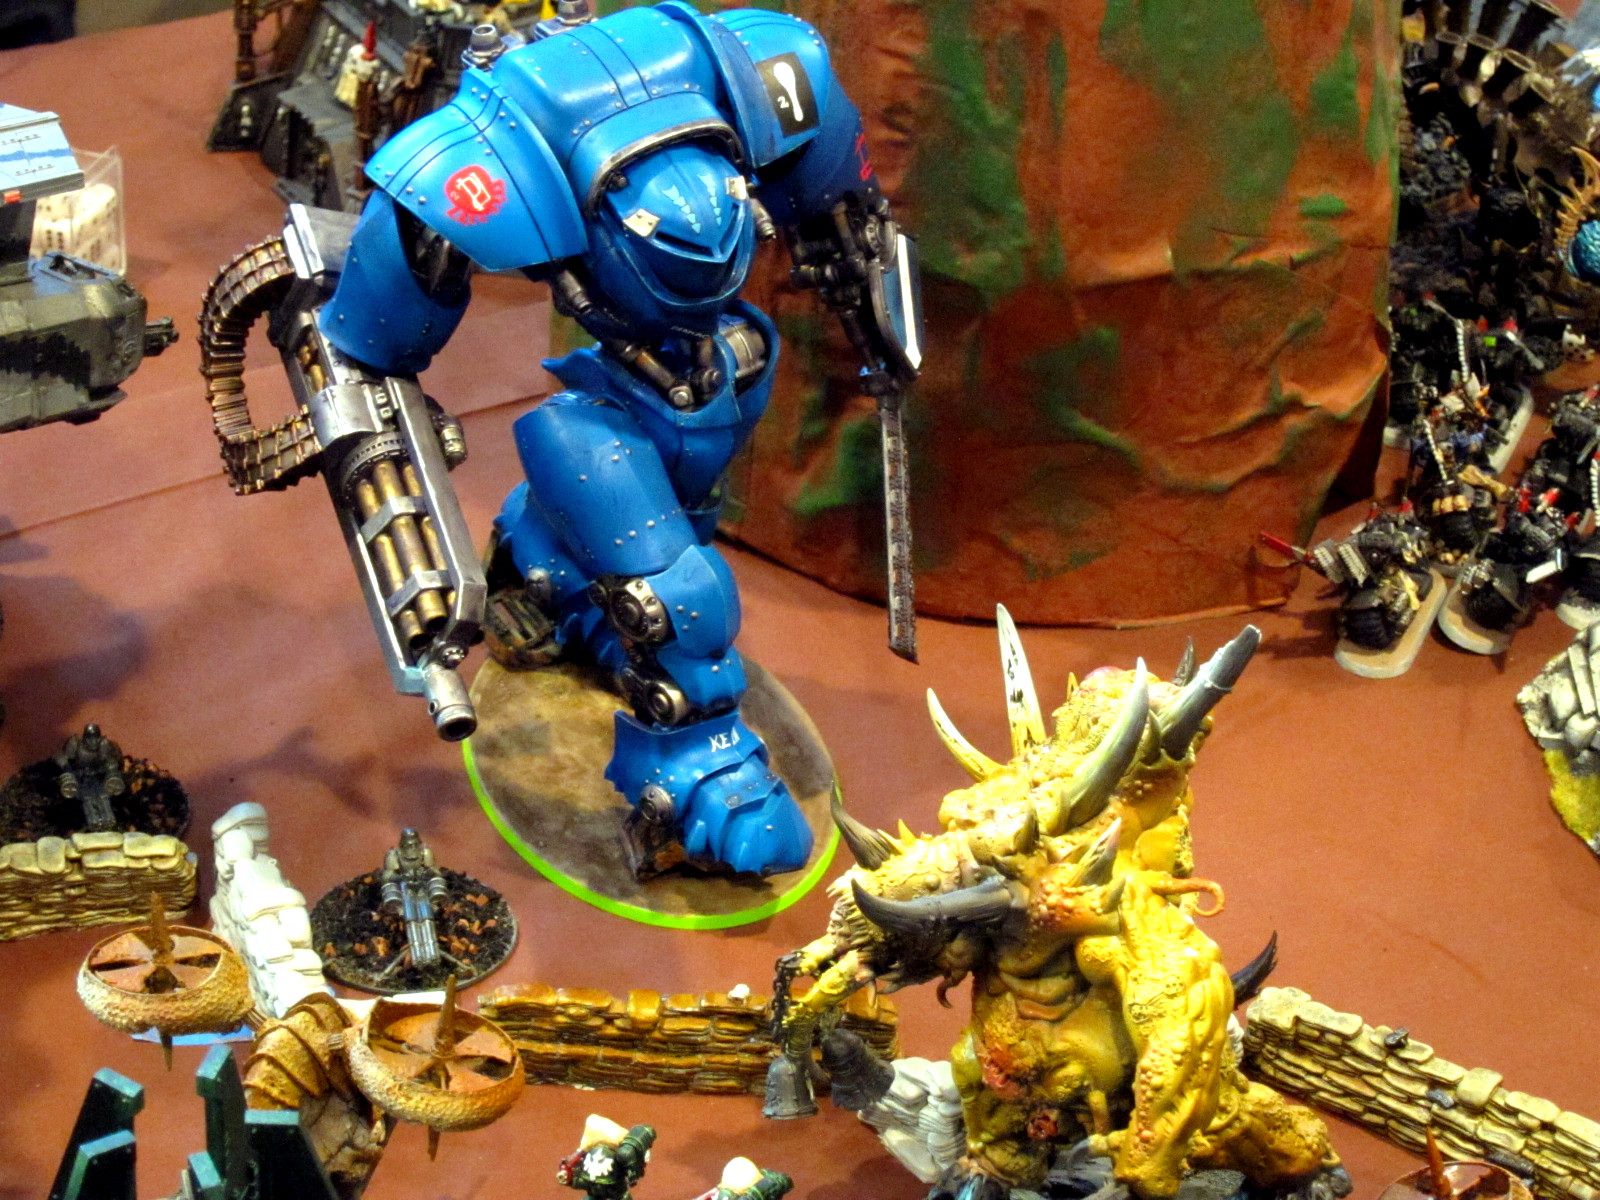
Throughout all this, Adeptus Mechanicus light units guarded the Imperial Shrine while their heavy war machines were dispatched up and down the Order line wherever a heavy threat appeared. Surely the center would have caved but for a Warhound Titan come to lock in close combat with an enraged Hierophant. By the Side Gate, a Cerastus Lancer bravely launched into combat with Angrath, piercing the beast squarely to dispatch him back to the Warp and save that flank. On the opposite end, Knight Errants and Castigators blasted away at giant Tyranids and Daemons alike as they fought over the Missile Complex. Many irreplaceable war machines were lost throughout the battle, but no doubt their sacrifice prevented the total collapse of Order’s position.
In the end though that was all the might of Mars was able to ensure. The steadfast troops of the Legions of Discord stood firm against the combined attack on the planet. With their strike forces extinguished or hastily falling back, by the end the Forces of Order had been rebuffed, claiming little more than their initial beachhead. Although not repulsed entirely from the planet, the effort to cleanse the temple world had ground to a halt, its only trace yet more bones rotting among the dead forests and abandoned shrines of Barnes 595.

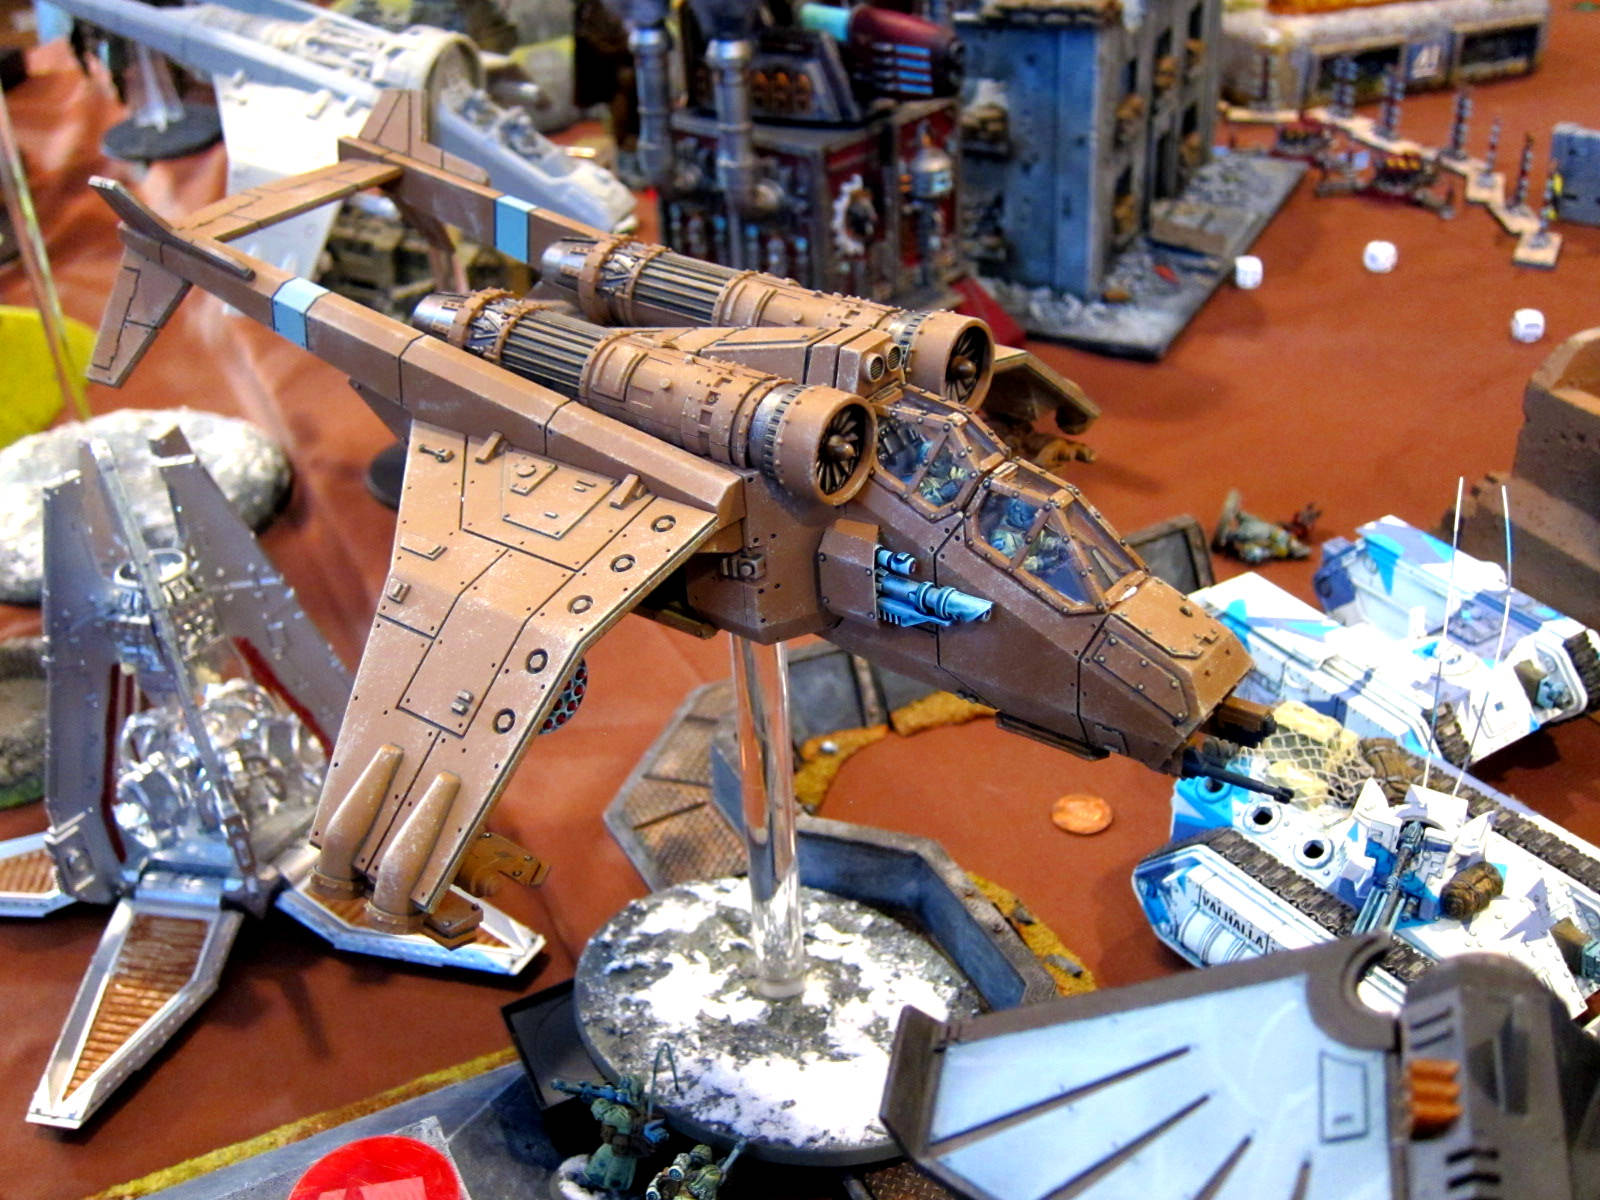
Monsters and war machines towering over the troops below go at each other’s throats.

A Death Korps Marauder swoops in to aerial combat with a Harridan menacing its Guard compatriots below.

A Soulgrinder prepares to crush a lesser walker.
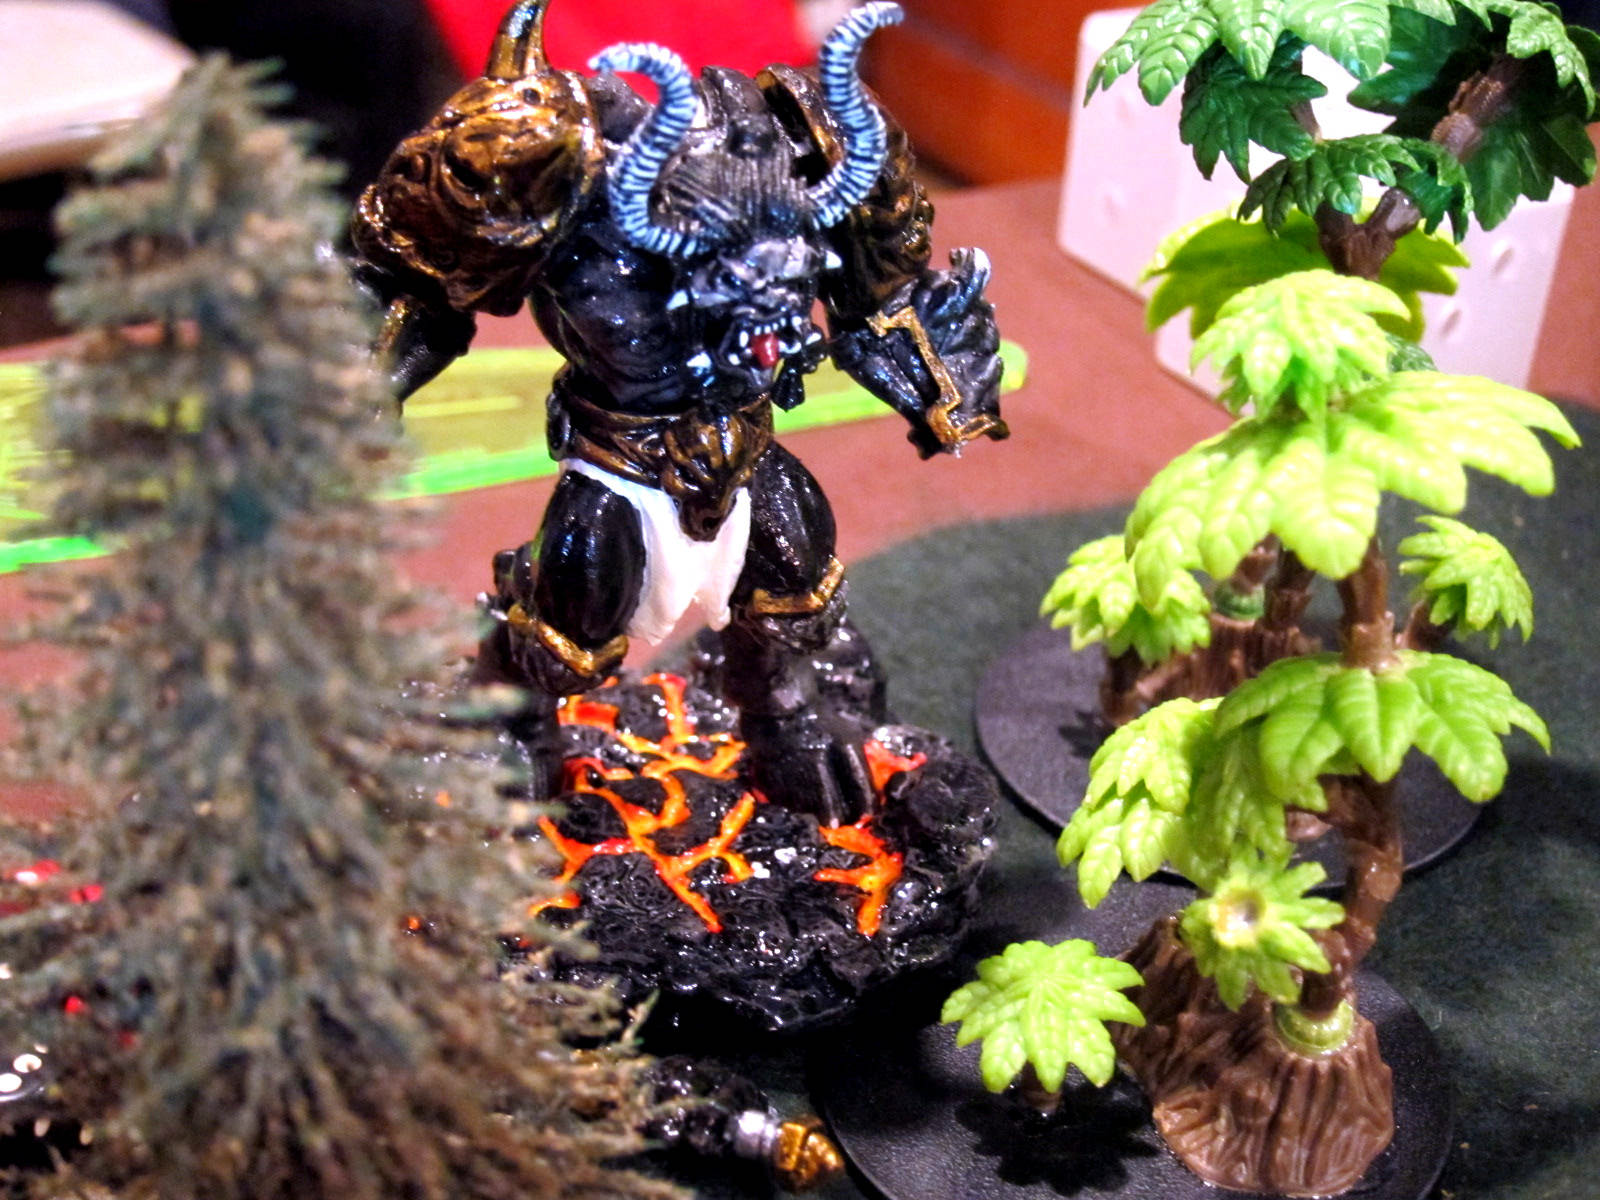
A molten daemon lurks in the bushes.

Troops prepare to give their lives by the score.
Harbinger’s Charge
I wouldn’t want to play Apocalypse all the time, but with all our balancing mechanisms and other rules it’s actually a really good, strategic and tactical game.
As a small example, one of my own favorite stories from this game is that of the Kingbreakers’ Sergeant Harbinger. He and his Tacticals are part of the mass Drop Pod assault on the Warp Tower objective in Turn 1. His men blow up a Rhino, the rest of his squad gets obliterated, and he ducks back behind his Drop Pod while other units contest that primary objective.
Next, Captain Angholan splits from the Deathwatch team he dropped with, and I have a choice: Charge him at Samus now, or use him to wipe out Bloodletters standing between Harbinger and the objective. I go for the latter, and the Chaos players look at me like I’m silly for giving up the preemptive charge on Samus.
Turn 3, the Kingbreakers on the objective have all been wiped out. Samus has gone after Captain Angholan, who blocked him from doing anything else and stood there taunting the beast. But Sergeant Harbinger alone now has a clear path to run up onto the Warp Tower base and just barely contest the objective, shocking Discord and denying them 3 points. Didn’t win the game, but didn’t hurt either. And it wouldn’t have happened without just a bit of advance thinking on my part and forcing moves and mistakes on my opponents’ part to make sure I had that one Tactical left and a clear path for him. Meanwhile I’m also making larger decisions about where to commit reserves, use my stratagem, etc..
So even though it might look and even sometimes feel like a silly game of simply putting down units, shooting, and removing units, at least in the form we run Apocalypse there is actually both tactics and strategy.

Sergeant Harbinger contests the Warp Tower objective, against impossible odds.
Outcome
This was a very back-and-forth battle. Order opened the game in the lead, felt like it lost all momentum in the middle, then rallied to pull close but not enough to seize the day. In the final tally Discord won, 79 victory points to Order’s 70, a close result given the scoring structure. The last turn was a nail-biter right down until we’d gone over the final disposition of the objectives twice and tallied everything up.
The turn-by-turn breakdown lines up with how I felt things were going during the match. Order essentially lost on Turn 3. Taking ten less points that round was the biggest turn deficit of the game, and we never made it up. By the end of that Discord player turn I was actually telling Lovell that we were getting creamed and would be lucky to not fall tens of points behind and have zero hope for the remainder of the game. Fortunately Order managed to make some desperate moves that just barely tied us on primary objectives for the turn; I was shocked to sum everything and find us only seven points behind overall. But we got smoked on secondaries and tertiaries that round as Discord contested a bunch of our home base markers and destroyed a couple superheavies and warlords. With our alpha strike depleted that was just too much of a gap to cover by the end.
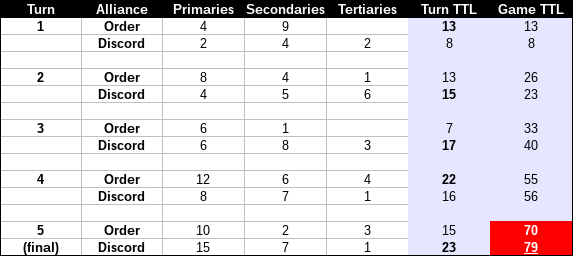
Turn-by-turn breakdown of the scoring.
Analysis
Directly from that, I think Order’s big strategic issue continues to be that it puts itself in the position of half-committing to an alpha strike. One way to look at the loss is that we needed to scoop a couple more objectives early, and ideally keep Discord off them longer. Alternatively, maybe we needed to sit back and save more resources for the closing turns. I view the Discord team as largely following the latter. Brett frequently does some pretty aggressive alpha striking deep into enemy territory, and Justin did some as well this game. But everybody else tends to sit back a bit more and work their way across the table in a more traditional fashion. Their most aggressive flanking attacks usually come late in the game, after we’re spread thin and out of steam. So, Order should consider two paths:
- Tone down the alpha strike. It can’t go away completely just given some of the armies and players. But it should be smaller, and be better concentrated on taking and holding specific objectives. Part of this is that the forces being dropped need to be modernized and hardier: More Centurions and Venerable Dreadnoughts, fewer ridiculously brave but foolish Tactical Marines.
- Amp up the alpha strike! Just go for broke, and dump a lot more forces on the other side of the table early on. Sure, we’ll regret it horribly as the bad guys roll right onto our home base objectives. But so what, as long as we’ve taken theirs? Further, most of their stuff moving across the ground might be either blocked or more or less forced to turn back and reckon with the drop.
Elite Valhallans fly over the battlefield on their mission to take the Comms Tower.
The big meta-point to make that happen is that we probably need to establish a commander not also entangled in organizing this and many of our other events. With the Winter Combat Patrol and NOVA taking up much more time than I had hoped, I wasn’t able to foster any team discussion leading up to the Apocalypse. What little strategizing did happen pre-game was actually instigated by Colin stepping in to help out. Which, you know, is awesome, because it basically amounts to the Discord warmaster saying “You puny Imperials are no match for our dark strategies! Come, come, please talk amongst yourselves such that you may offer at least some challenge to our warriors!” With Colin at the helm, Discord does just a bit more planning over army focii; use of reserves and their entry vectors; and stratagems. Although we generally manage to keep the games close, that extra bit of coordination shows in the closing turns and the slightly higher percentage of Discord wins across all our Apocalypse battles.
Revisions
Back to the organizational side, I have just a couple notes for next year.
One issue in this match was that the armies were too large. Discord in particular had a hard time completing all of its actions in the early turns. Next year we should cut the baseline back down to 3000 points, but allow people to field up to 4000 if at least a quarter of that is made up of superheavy, gargantuan, or mighty bulwark models. That way they should have a low enough model count to be a touch more comfortable in the turn time limits, yet still field lots of toys.
A Knight Castigator marches toward deadly combat with rotted Scabeiathrax.
We should also perhaps try to find a way to limit how many different sections of the table in which a single person can have units. That’s tough, because sprawling interaction across a huge landscape is part of the appeal of Apocalypse, and important to some armies playing more of a supporting or counter-attacking role. You can’t limit people down to a single table or such, as then you may as well play separate games in a linked campaign. But that’s a major cause of slowdowns, when one person is getting shot at or is in assaults all over the place. Even with other people helping resolve them, it’s a bottleneck. One possible idea is to have players secretly record several reserve vectors and deep strike locations on the map, and only allow their reserves to enter from those sectors. Obviously many units could still move around the board quite a bit regardless, but that would prevent a great deal of the spreading out which occurs. Most people shouldn’t have armies literally all over the place because it hurts their focus and encourages mistakes, let alone generally weakening their forces. But lots of people do, and as a side benefit, a mechanism like this would cut down on that.
Finally, although this is just a free, semi-invitational event, next year we’ll probably require $20 deposits to sign-up. For those that show, the money will be put toward food for the day and the remainder returned, or maybe we just put it toward club expenses or new activities. It would not be returned for people that bail after some cut-off close to the event. That will likely eliminate the usual couple of people who sign-up but aren’t committed and simply don’t come through, as opposed to those that legitimately have something come up at the last minute.
Wrap-Up
 Although not without its trying moments in preparation, this was another great event. Some old friends made the trip, some new friends joined up, and we had a bunch of excellent Recon Squad games and another epic, closely fought Apocalypse featuring some interesting new mechanisms. Again, there are tons more photos in the Flickr gallery. We’ll see you next year!
The Lord of Skulls cares not the victor, for he wins the loser regardless!
![]()