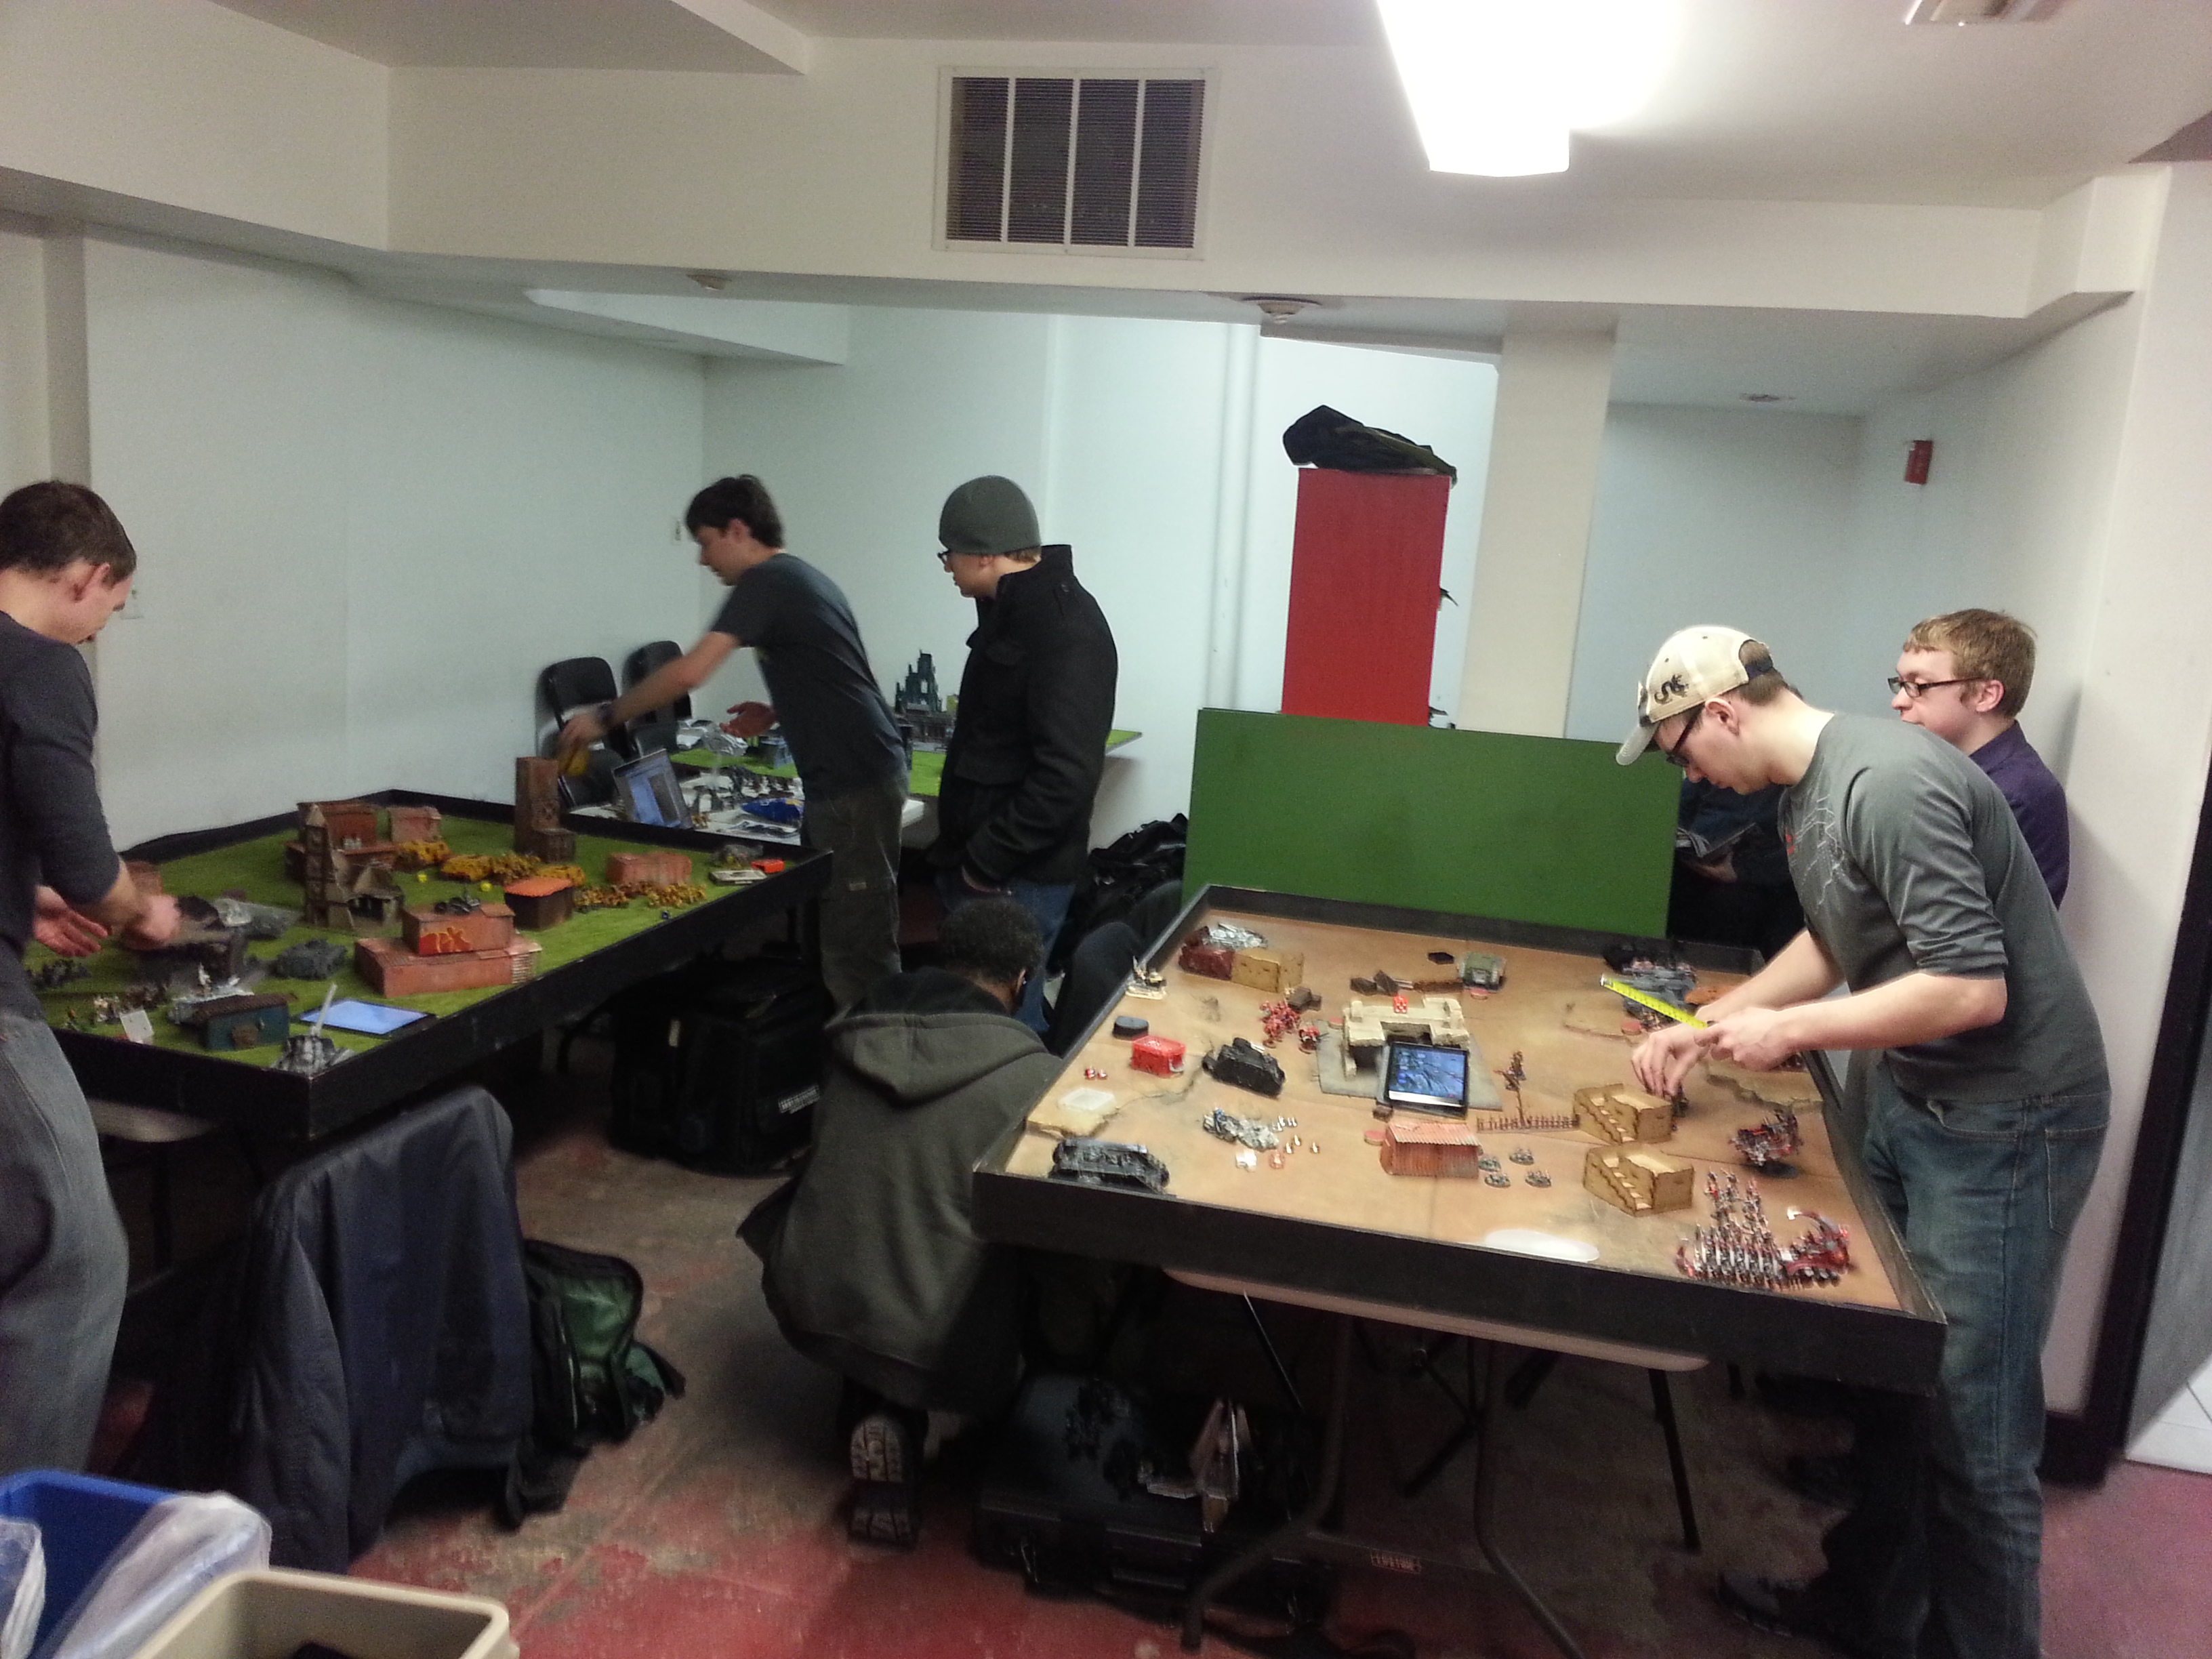
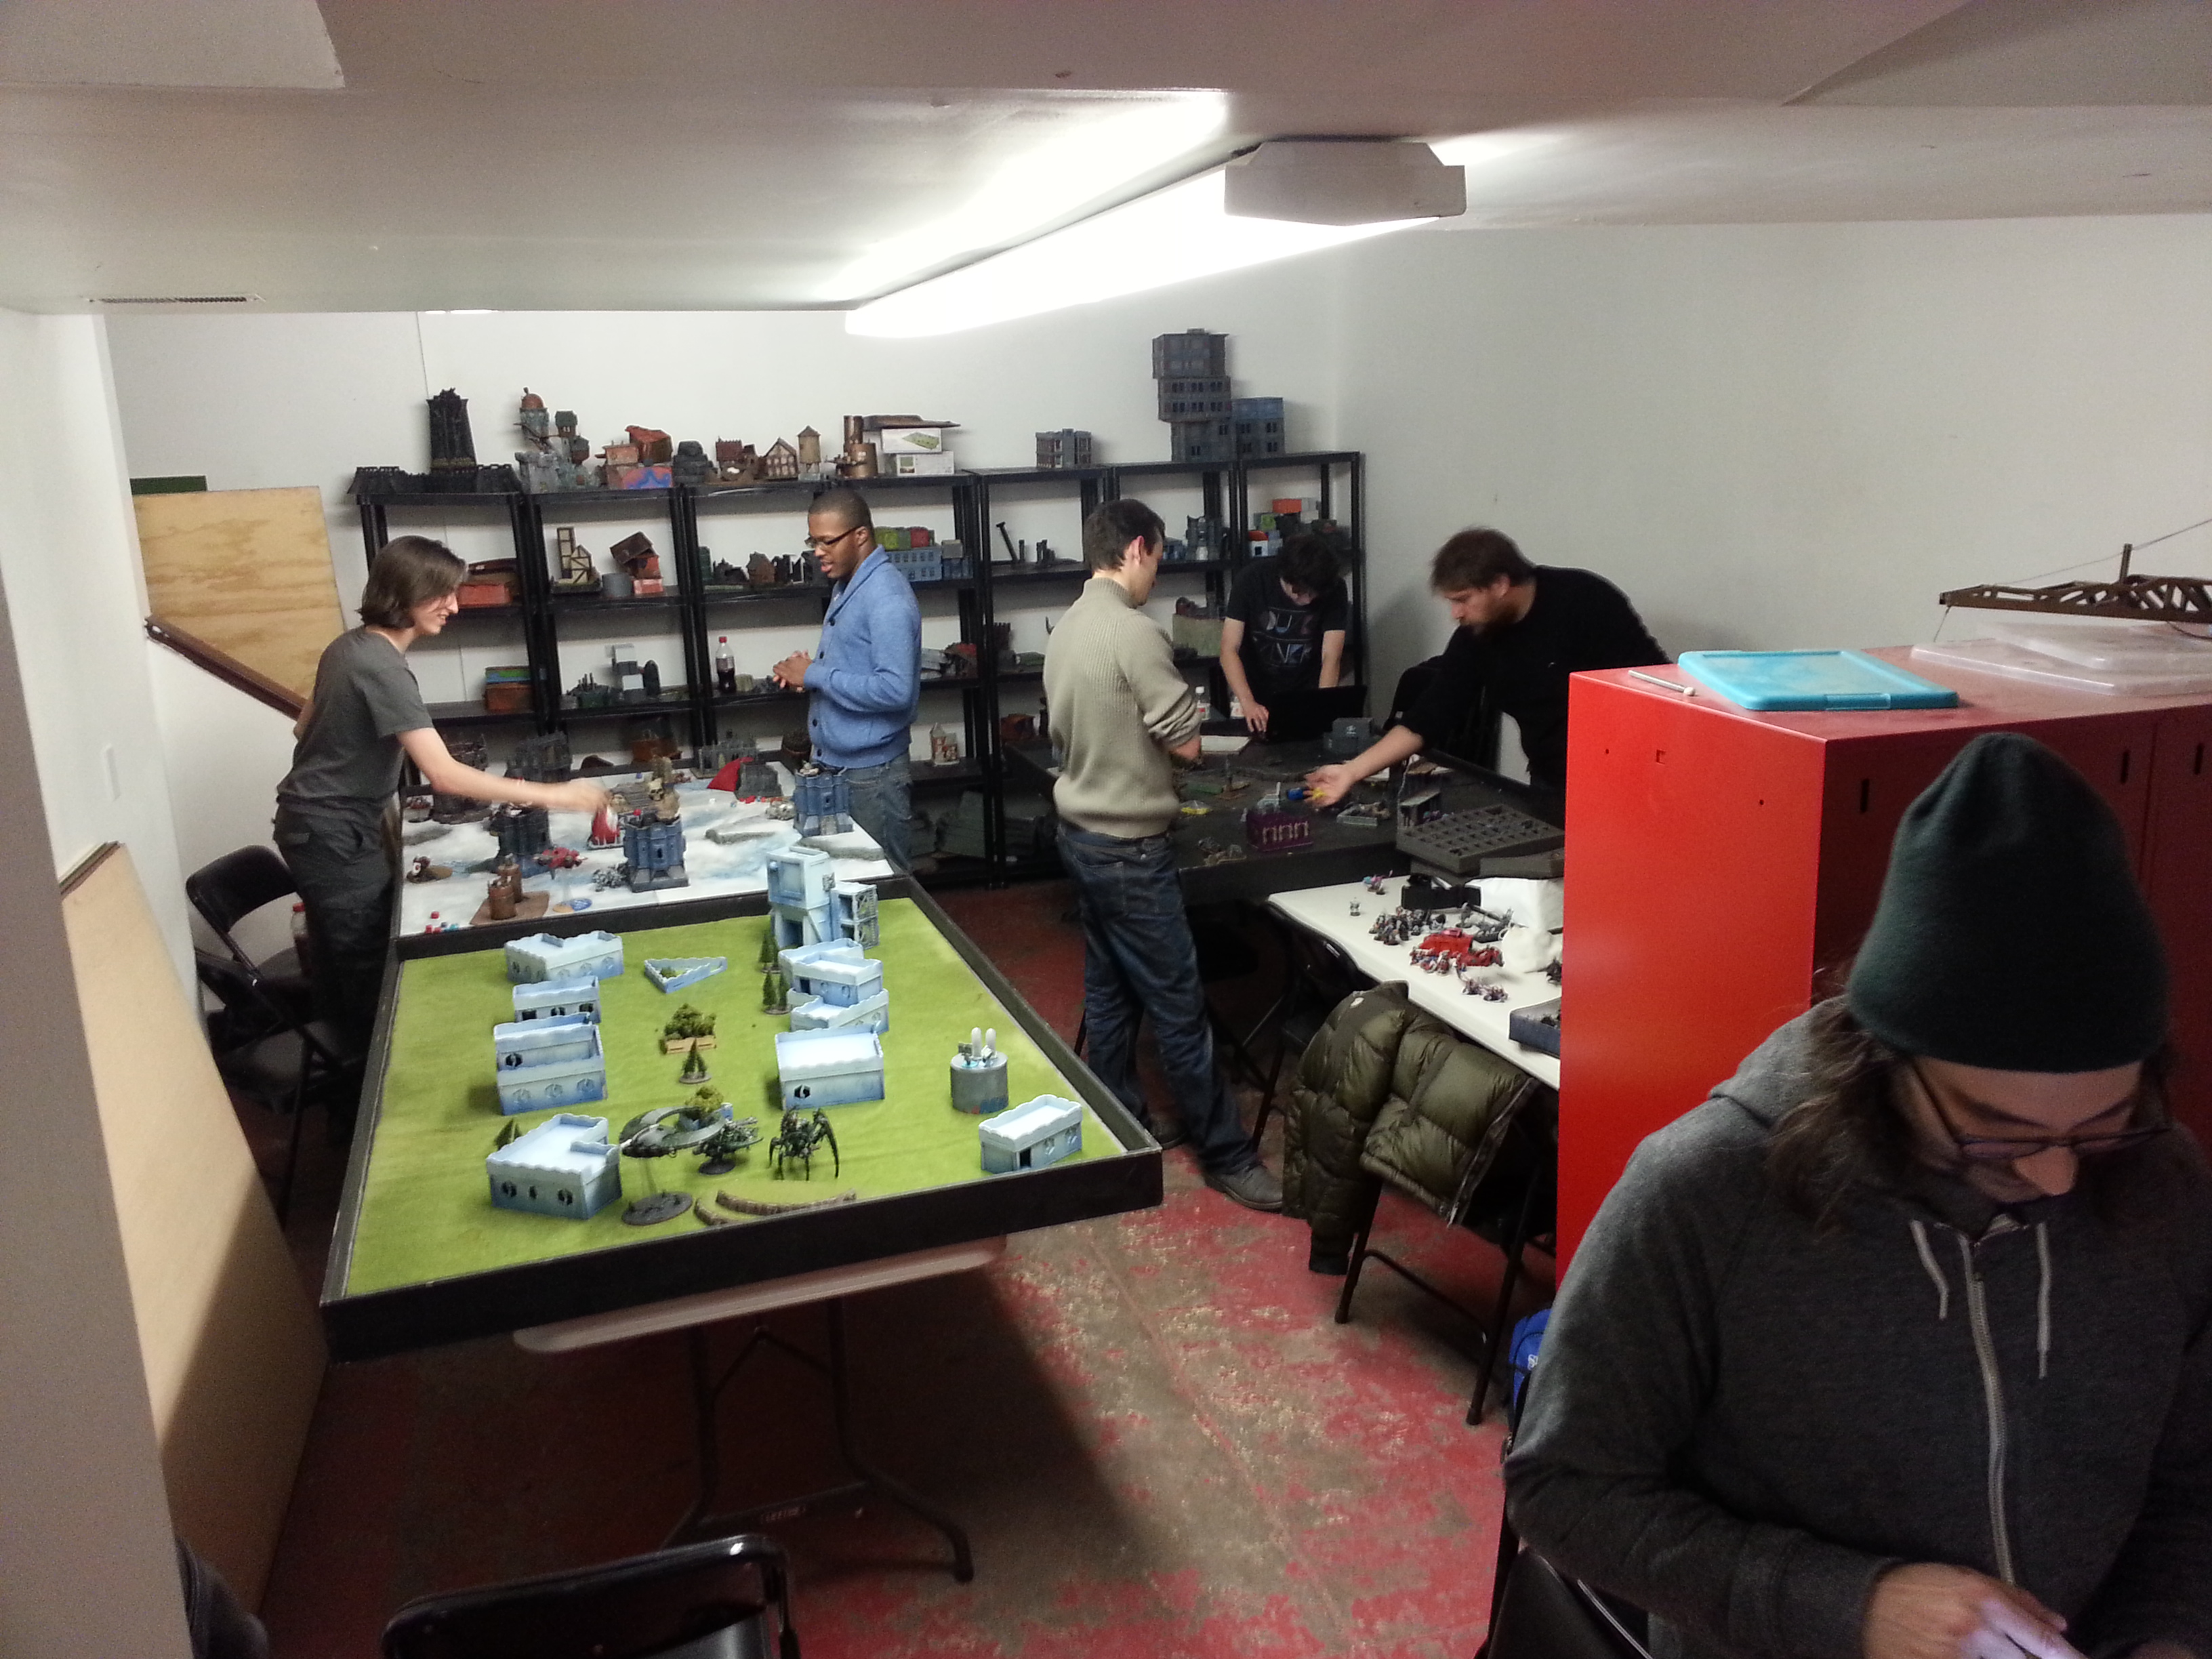
Redcap’s was bumpin’ last night, with 15 people there for Thursday night 40k.
Byron and I got in a 1750 point game, him practicing a bit for a tournament he’s playing on Saturday.
Armies
![]() I just dropped the Thunderfire Cannon from my latest 1850 point Kingbreakers list, giving me:
I just dropped the Thunderfire Cannon from my latest 1850 point Kingbreakers list, giving me:
- Captain Angholan (Vulkan, warlord)
- Master Apothecary Sauvon (Harath Shen)
- Squad Harmon: Sternguard x5 w/ power axe, 3x combi-meltas & Drop Pod
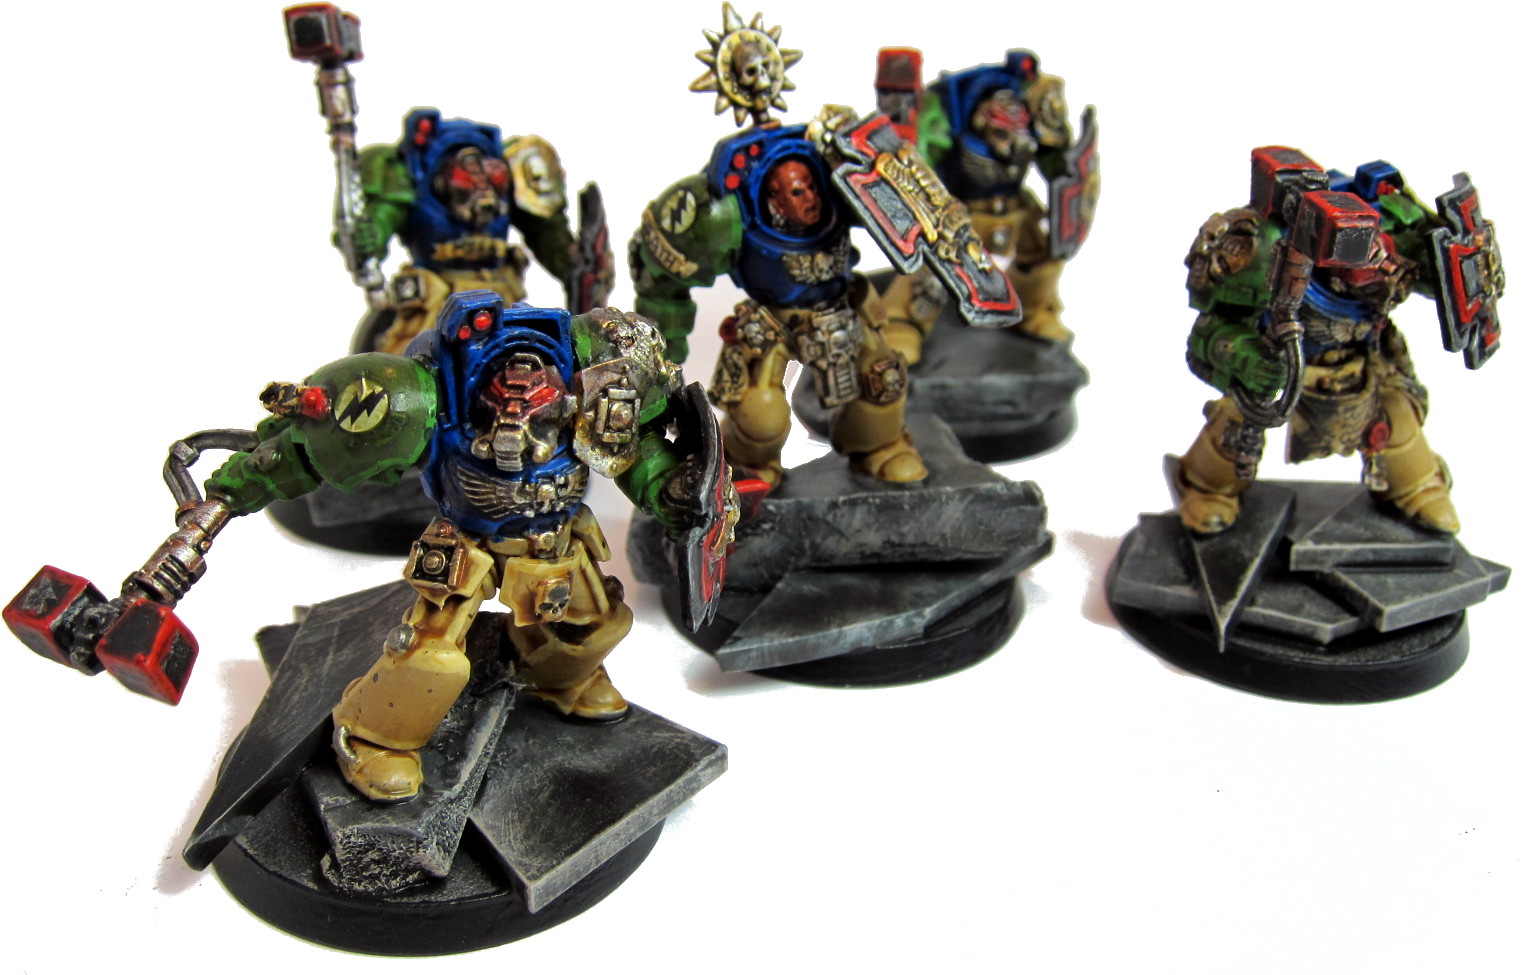
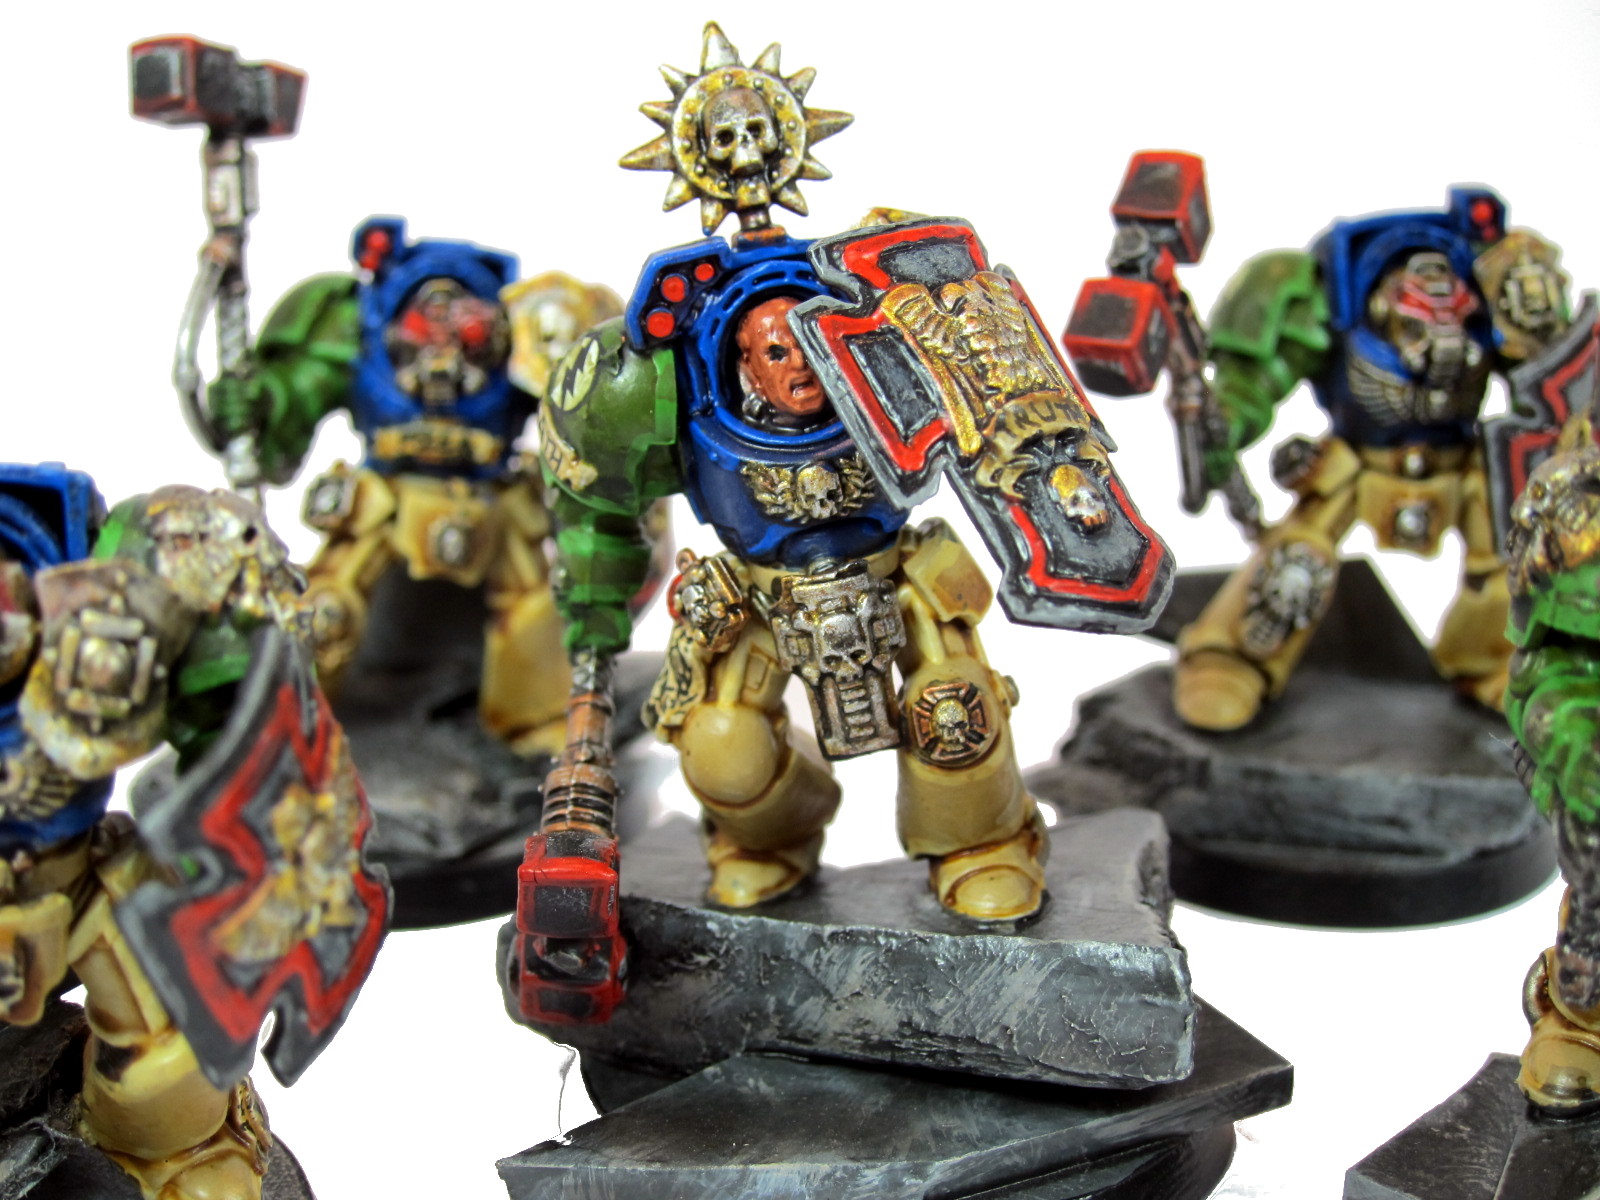
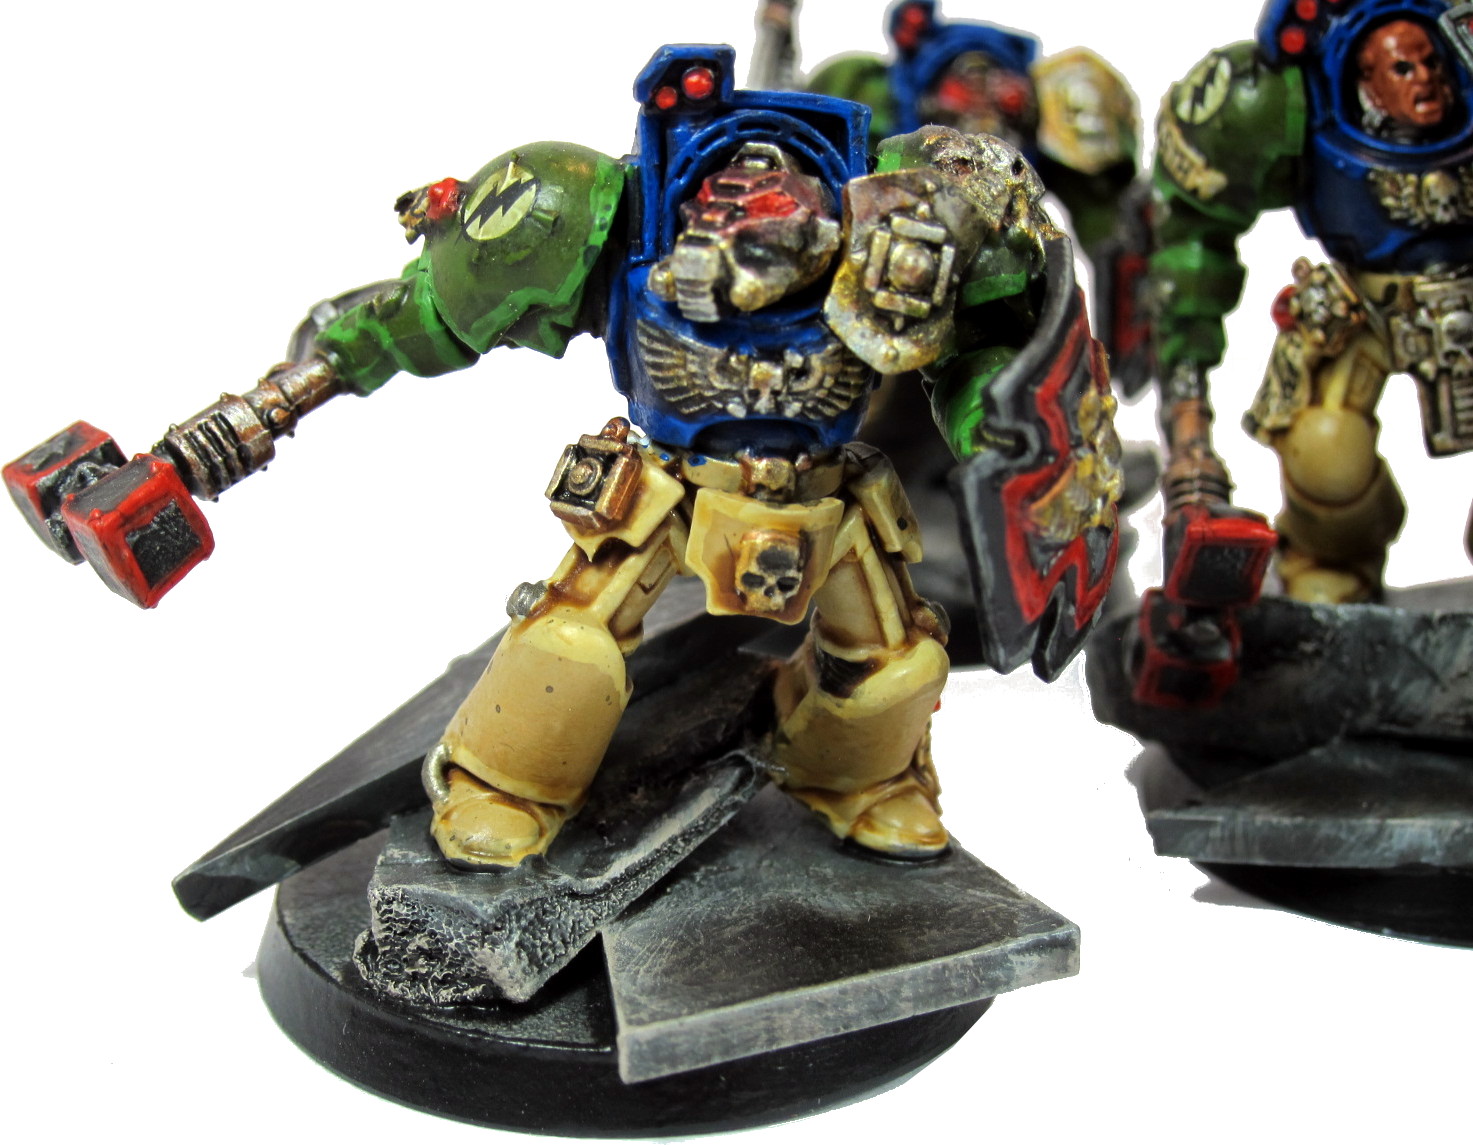
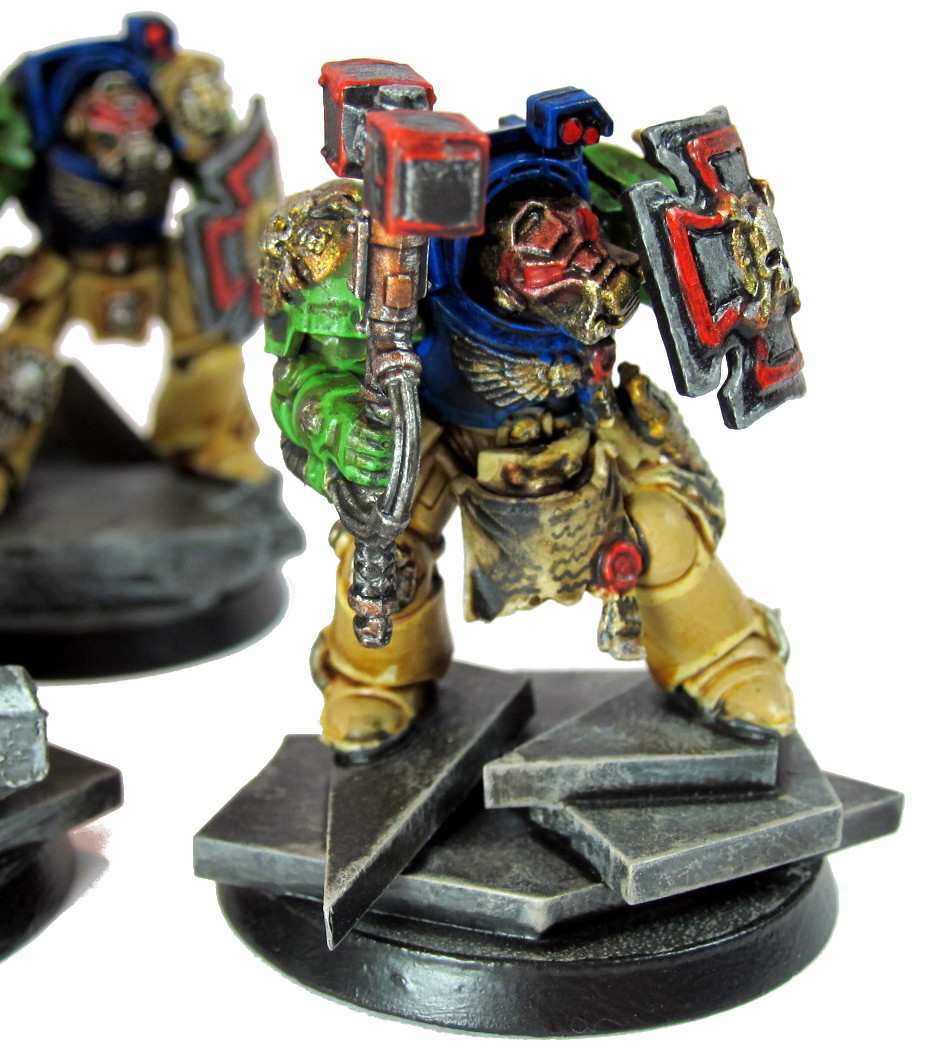
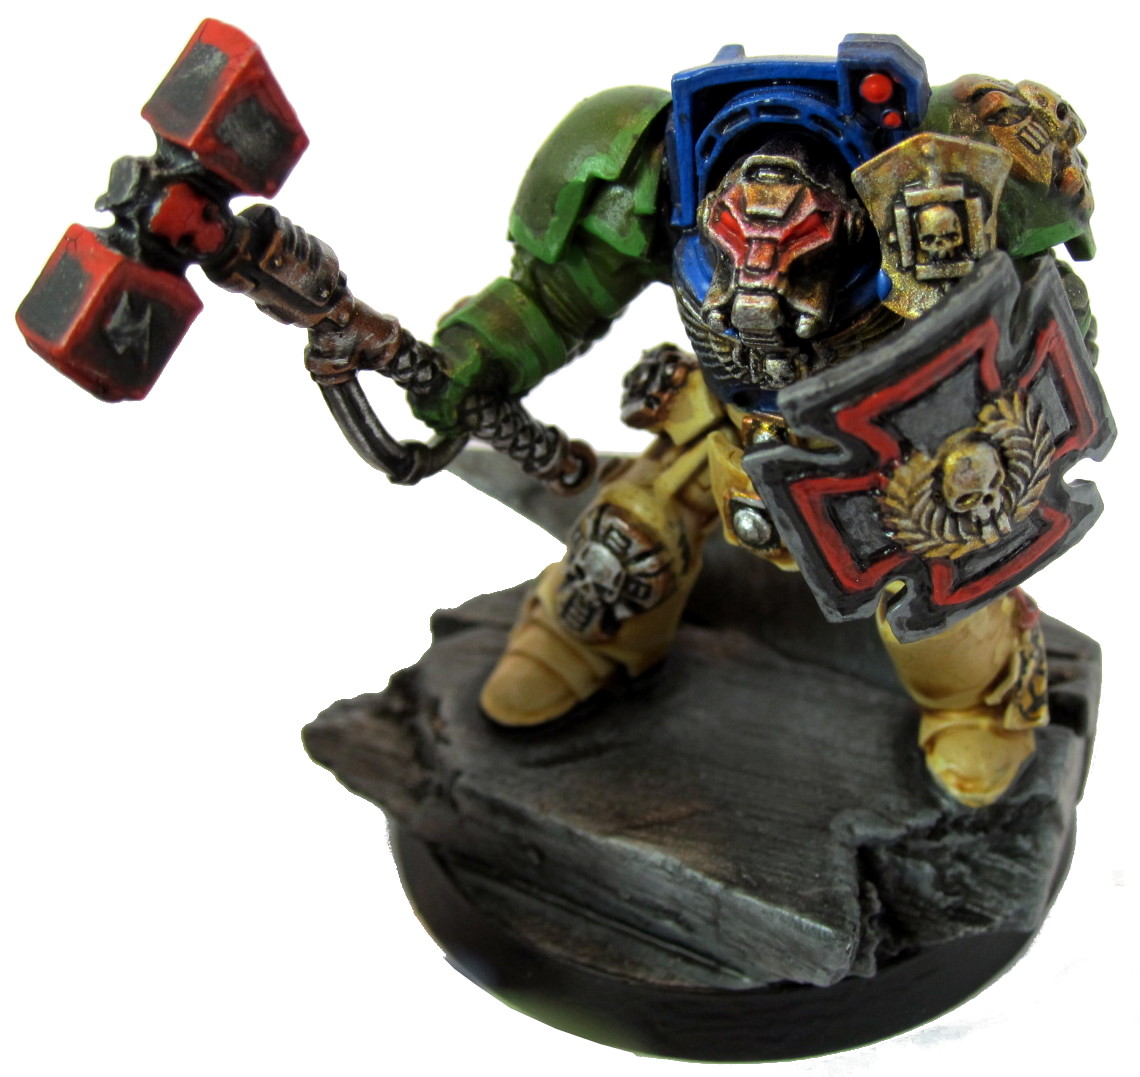
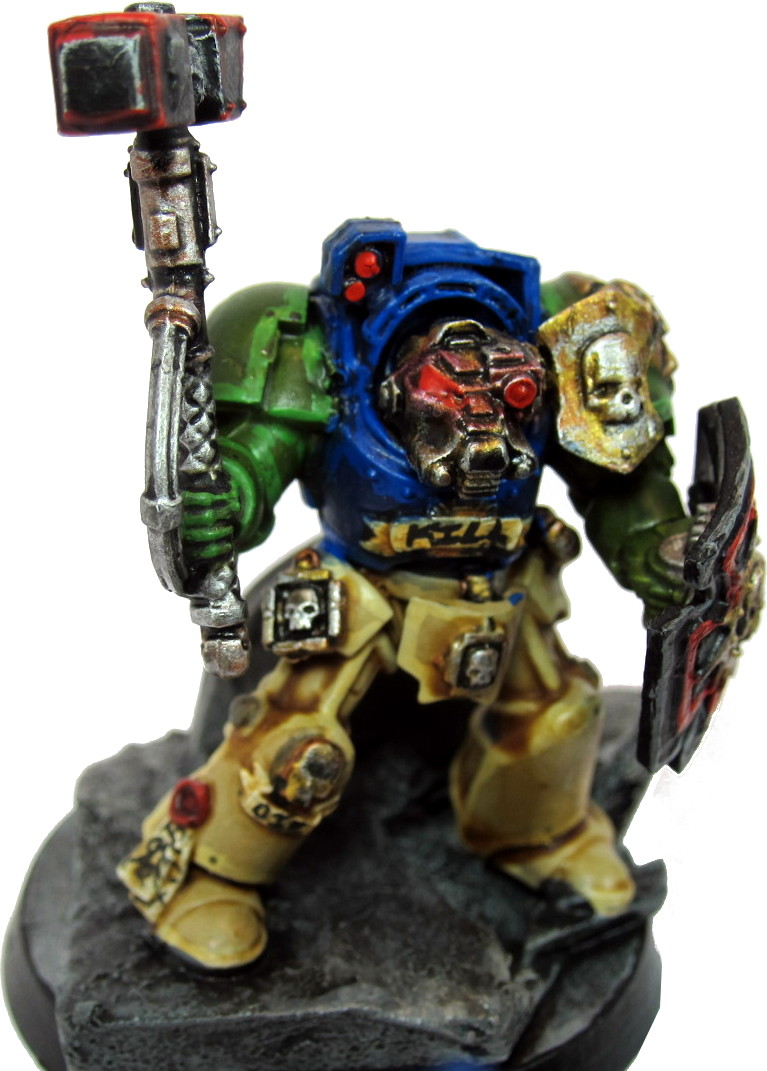
- Terminators x5 w/ thunderhammers & storm shields
- Squad Scolirus: Tacticals x5 w/ powerfist, flamer, Drop Pod
- Squad Harbinger: Tacticals x5 w/ combi-melta, meltagun, Drop Pod
- Squad Titus: Tacticals x10 w/ meltagun, missile launcher, Rhino
- Landspeeder w/ multi-melta, heavy flamer
- Landspeeder w/ multi-melta, heavy flamer
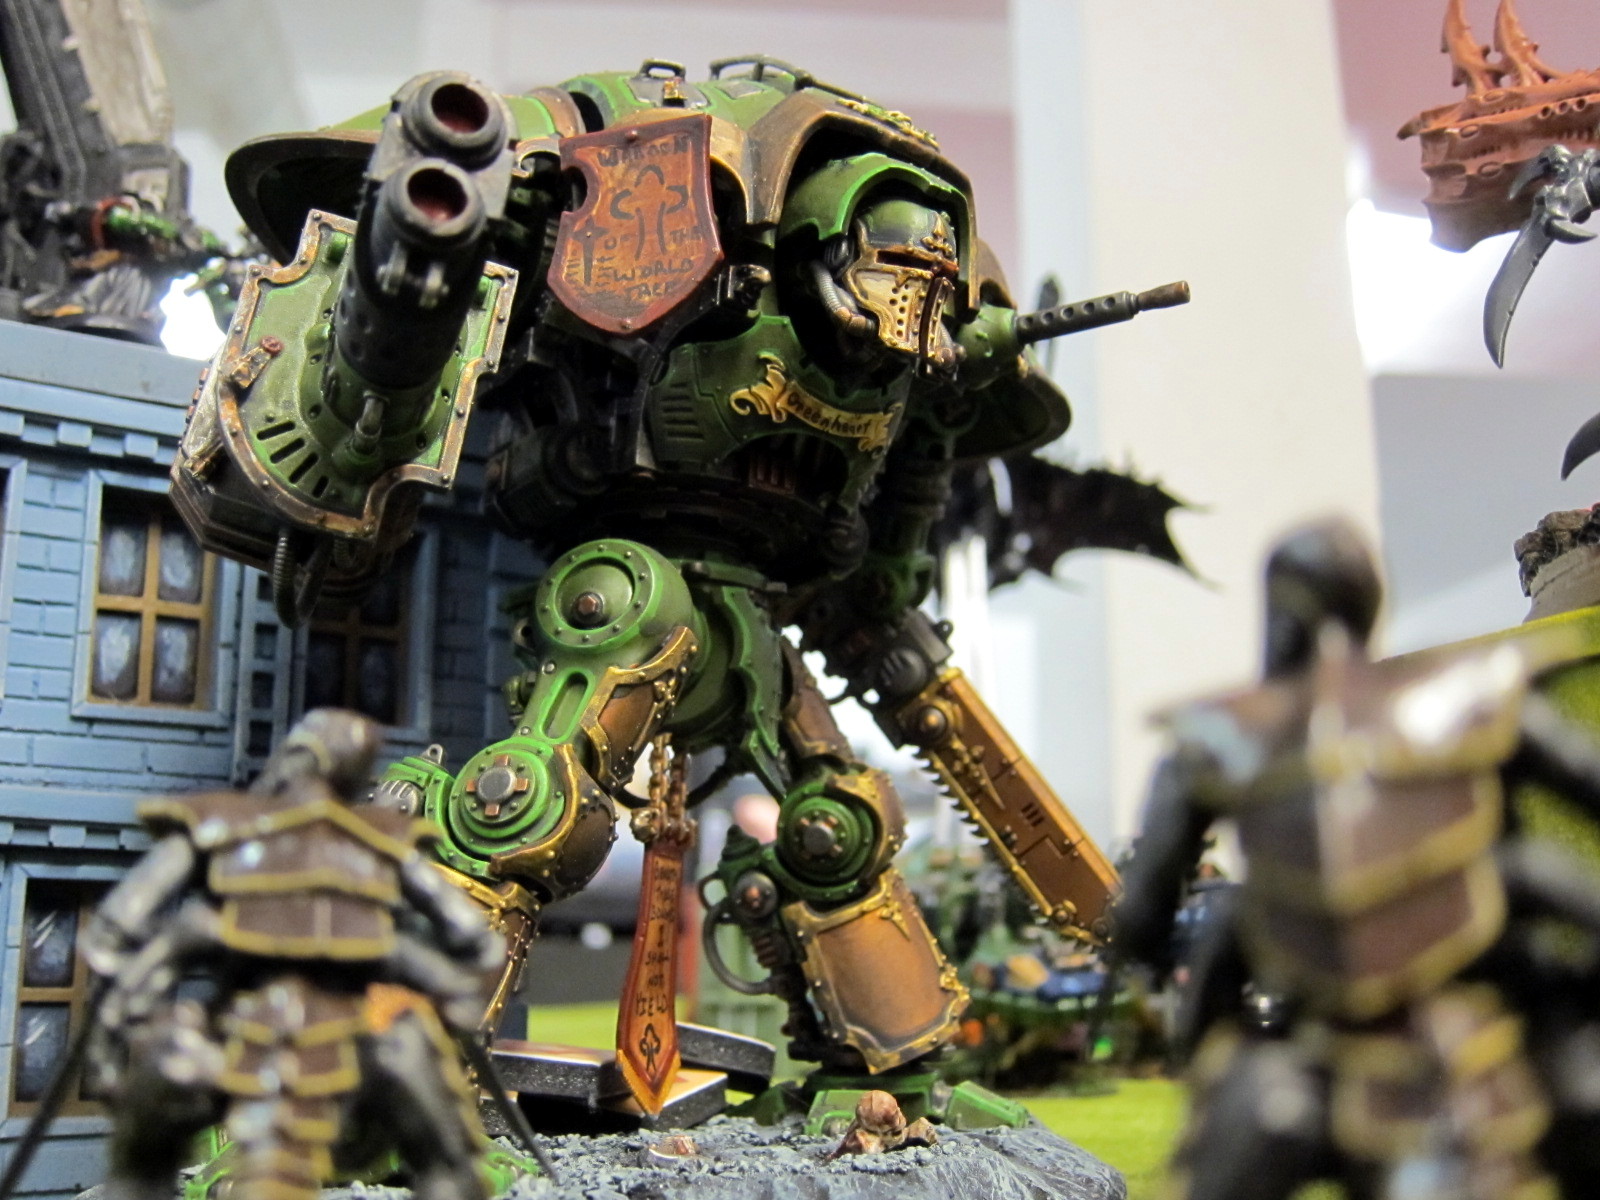
- Greenheart: Imperial Knight Errant (melta blast)
Byron rolled his Grey Knights + Inquisition, focusing on the Vortex of Doom, which looks something like:
- Inquisitor (warlord)
- Coteaz w/ 3 plasmacannons, psyker, & ~10 acolytes
- Terminator Librarian
- Terminator Librarian
- Terminators x5 w/ halberds & hammers
- Terminators x5 w/ halberds & hammers
- Terminators x5 w/ halberds & hammers
- Dreadknight
- Stormraven
- Servo skulls x3
The gimmick is that he’s got a good number of psykers and he’s trying really hard to get Vortex of Doom on a Terminator psyker or two so it can be thrown on the deep strike—it’s a heavy blast, so it’s less useful on a psyker without Relentless. He’s using the servo skulls to help kill the scatter on both his deep striking and those vortex blasts, as well as a formation that lets him deep strike reserves on Turn 1. The formation also lets his guys run & shoot in the same phase, to increase his mobility on the ground. Finally, he’s boosting his odds of getting Turn 1 and dropping those blasts right away by bringing Coteaz to force or take a Seize reroll.
That setup can be pretty devastating if everything goes right. Colin got blown away in the November tournament as Byron got the Vortex, got first turn, dropped near perfectly, threw the blasts ideally, and wiped out a huge chunk of the Iron Warriors’ army in the first turn. The downside is that if the Grey Knights don’t go first and the opponent has a good alpha strike or high mobility, Byron’s basically ceding board control. He also doesn’t have a ton of units to spread around the board if there are a bunch of objectives, or the mobility to shift positions and adapt.

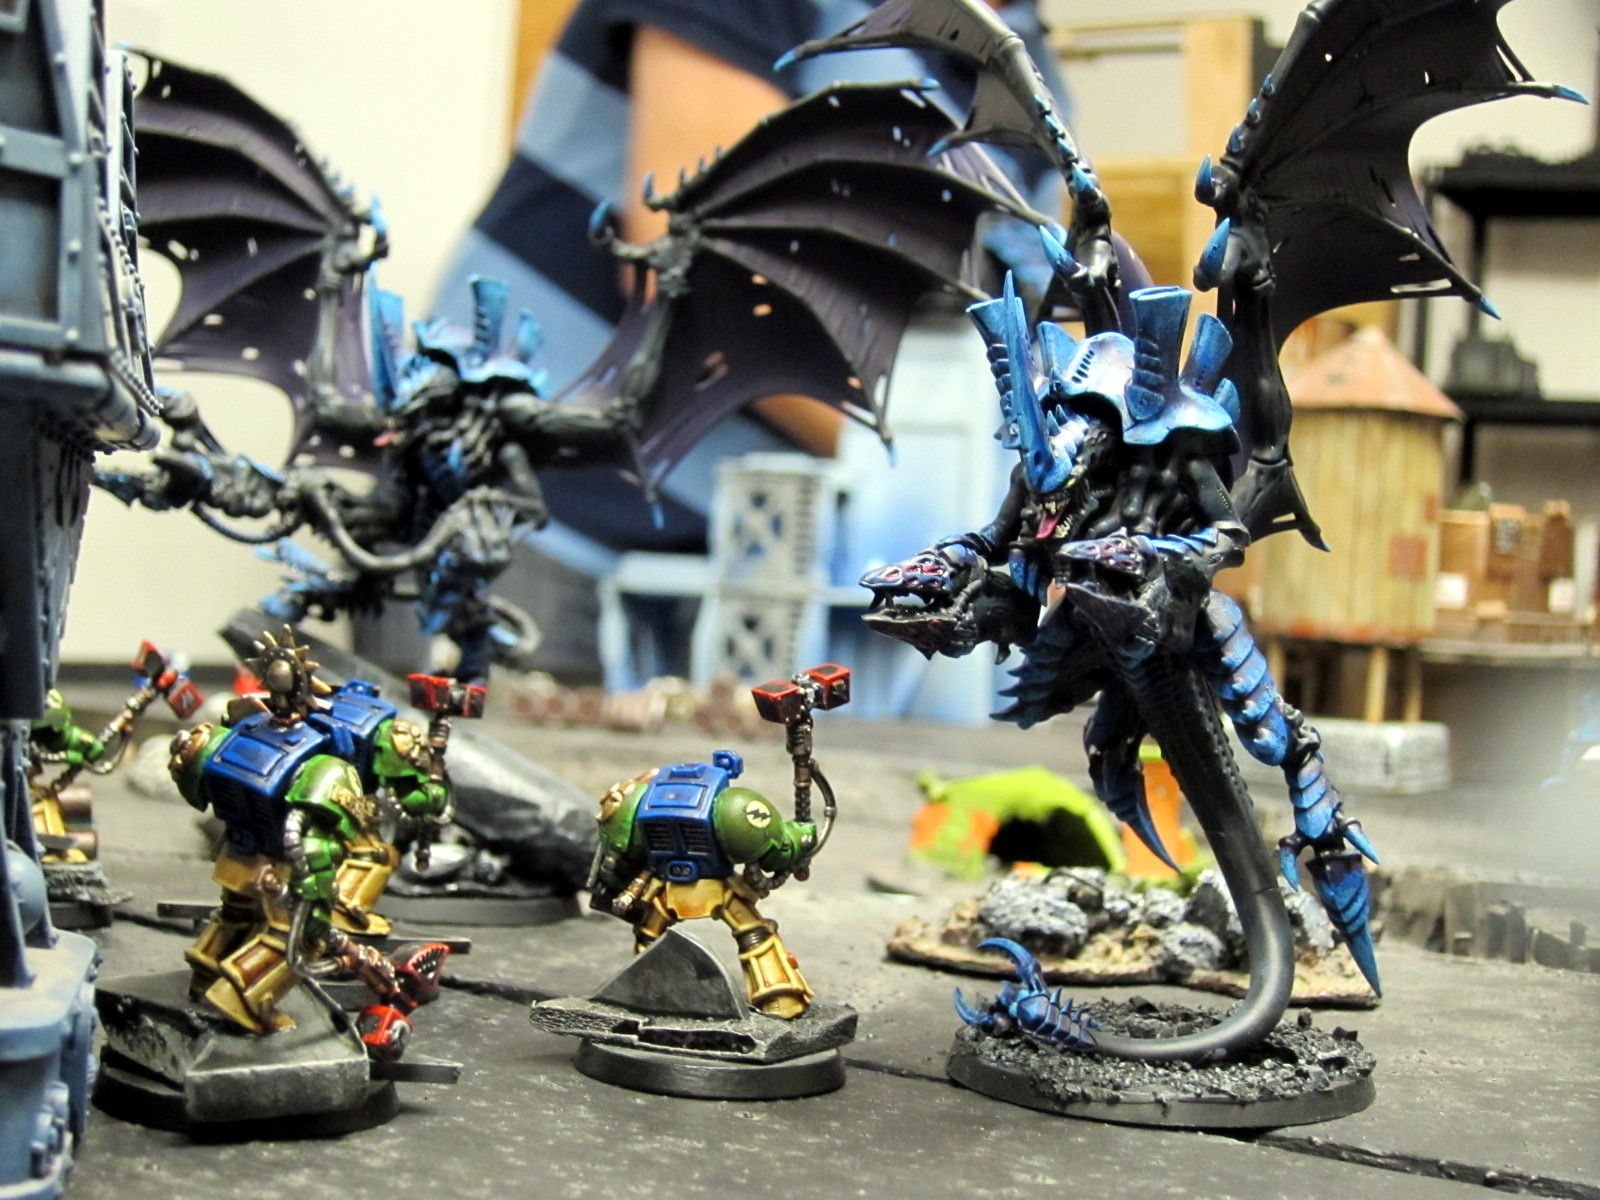
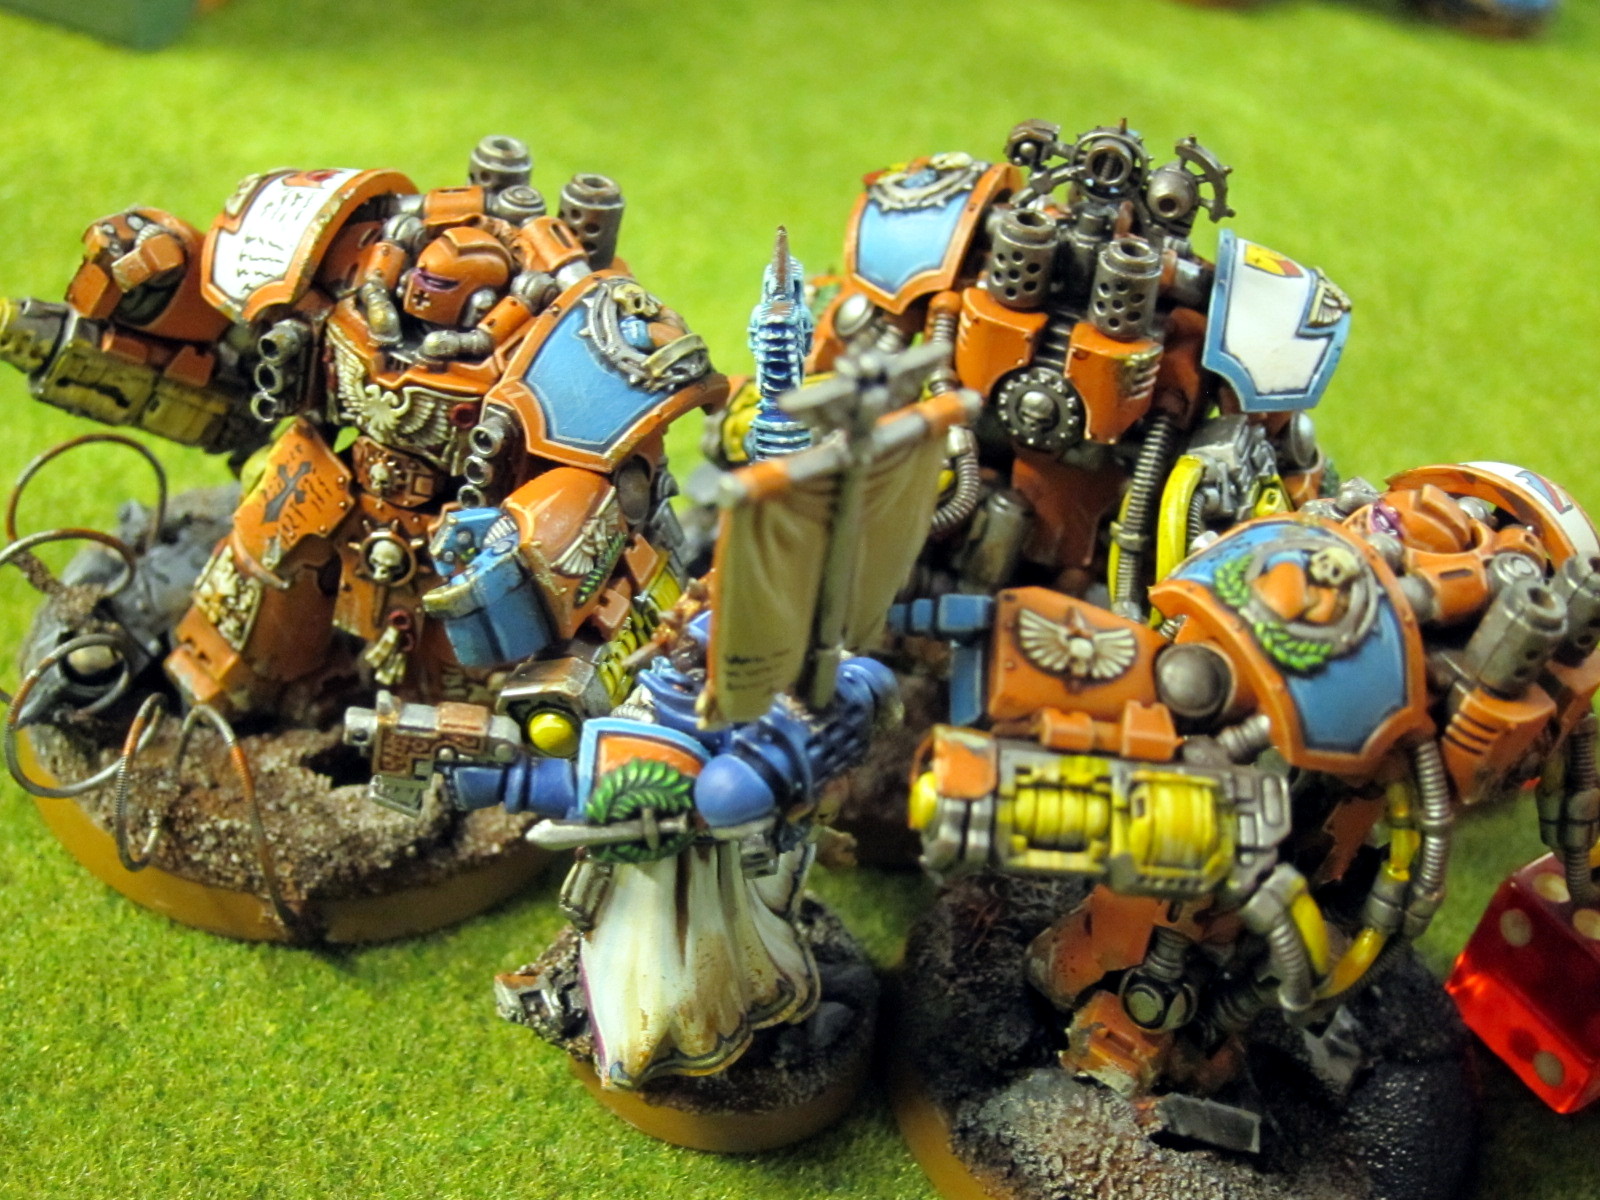
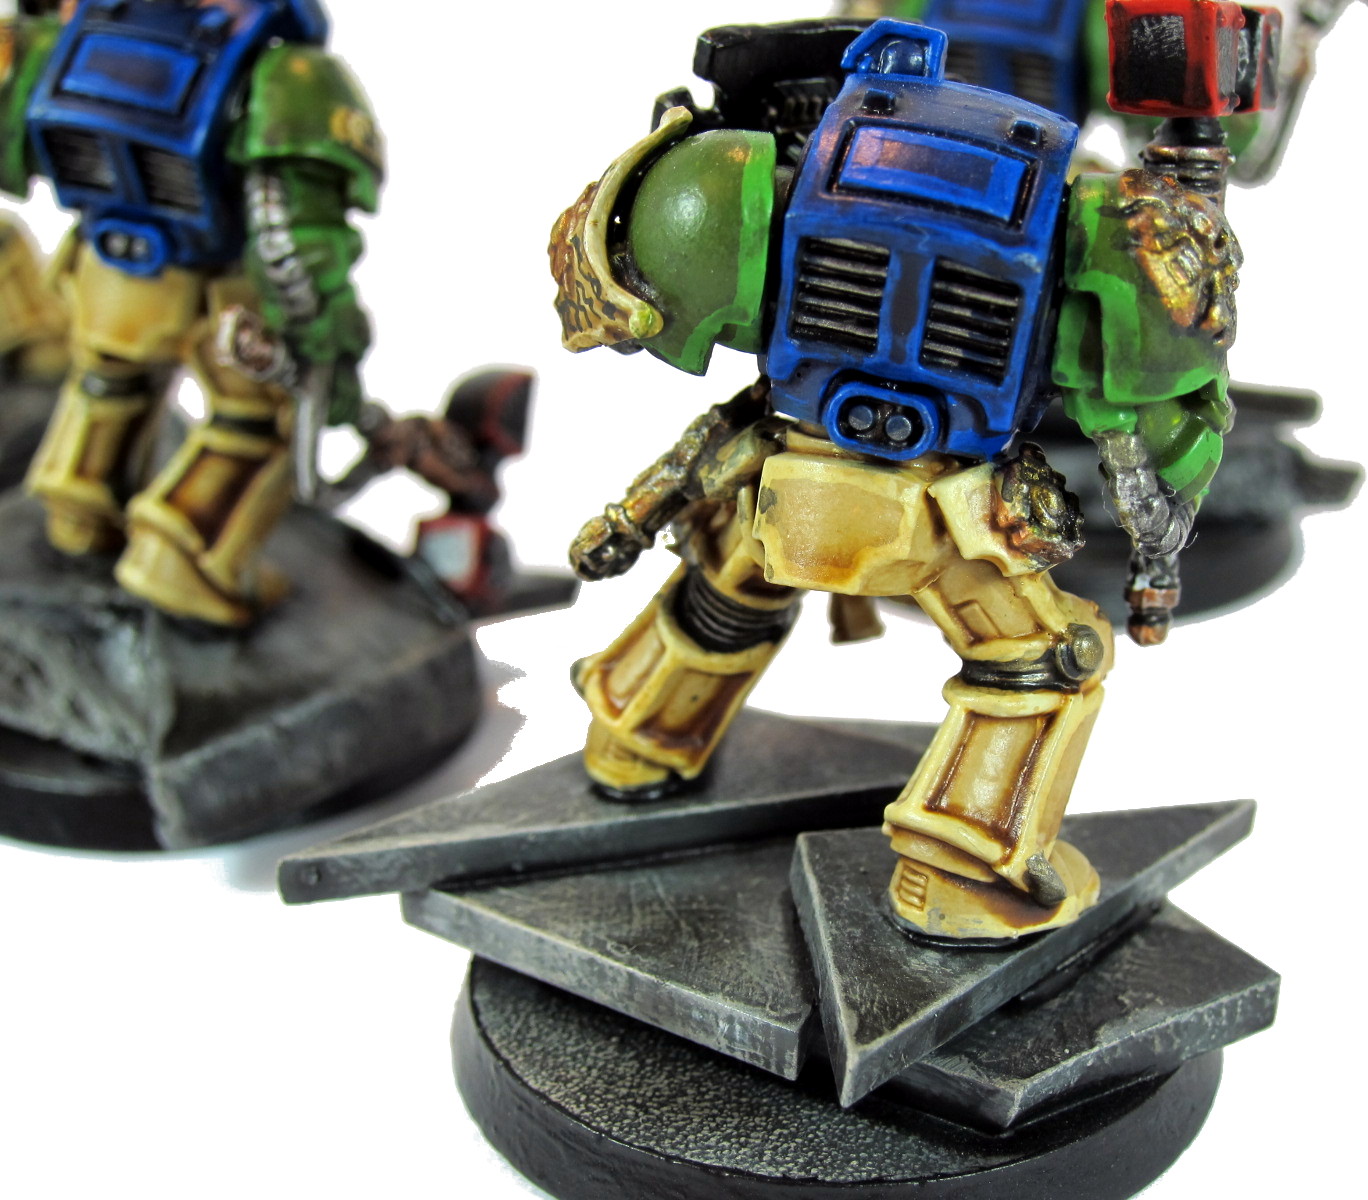
Sauvon and Angholan scout the ruins.
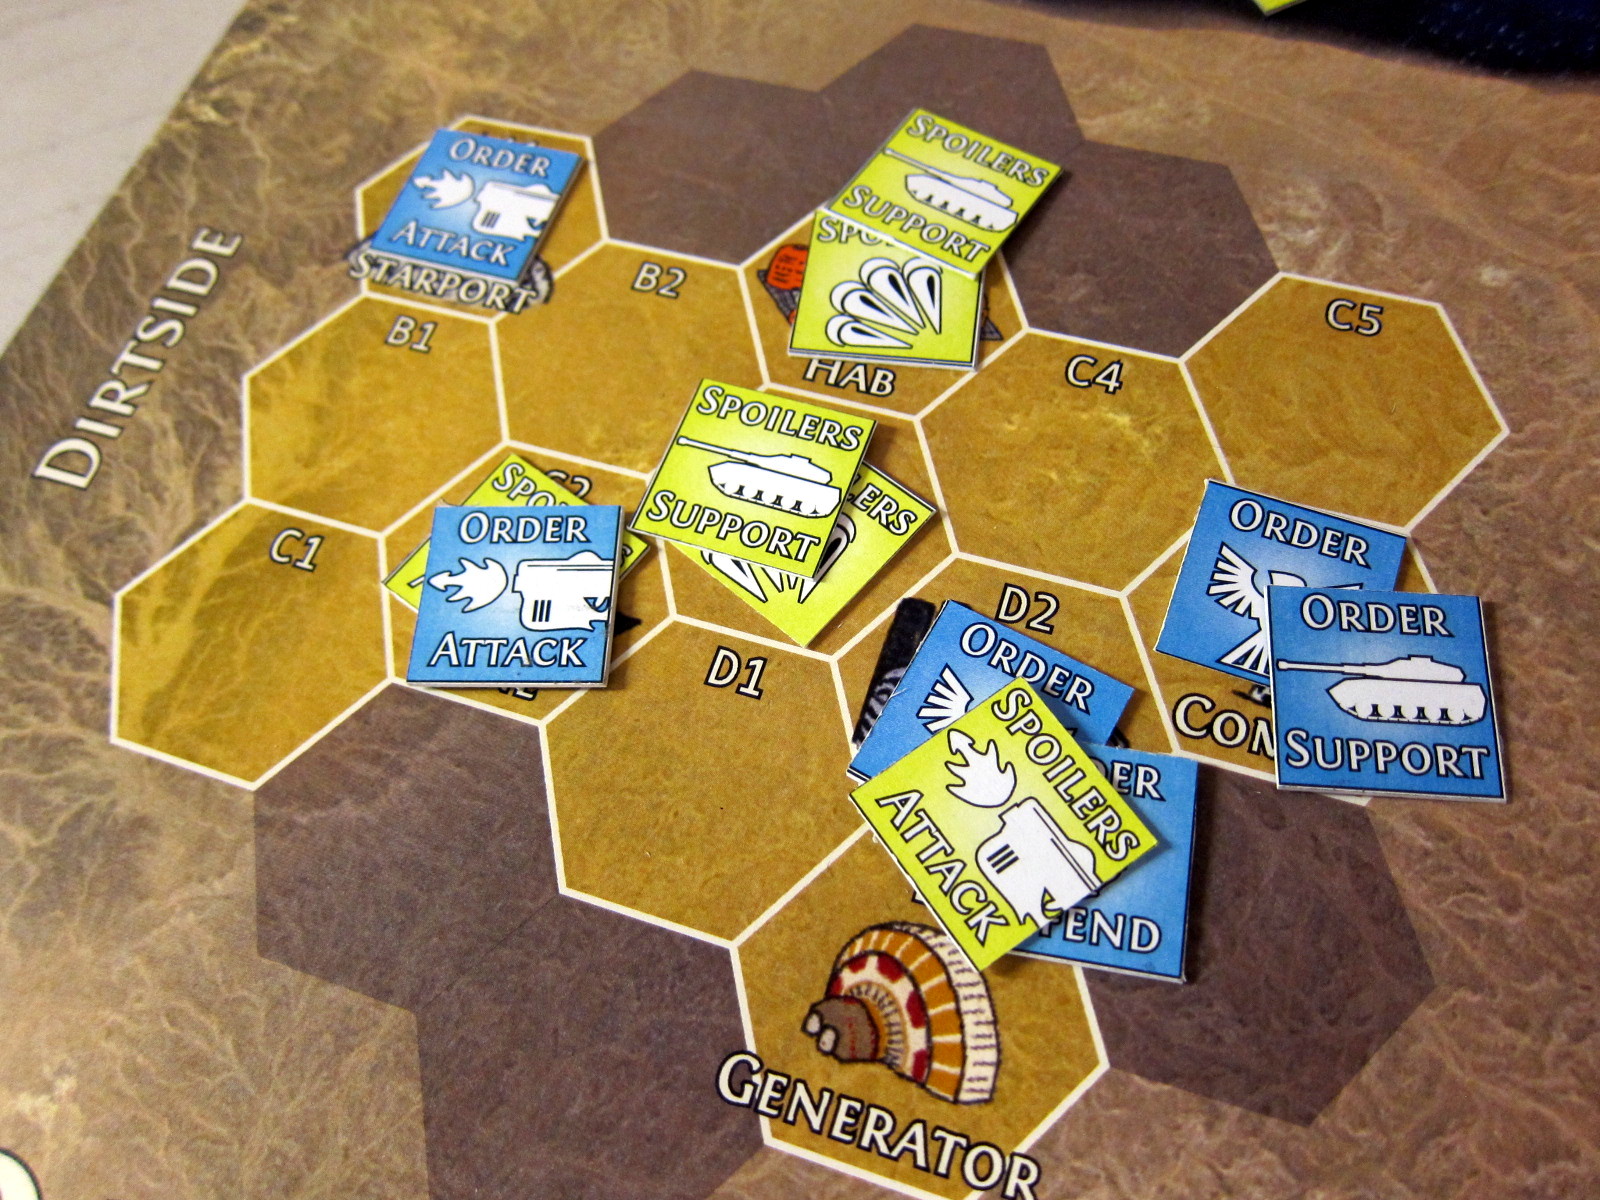
Setup
Vanguard strike deployment, I chose the corner with slightly lower density in the opposite corner so my Knight would have good sight lines but the board was basically symmetrical, with a fair amount of ruins spread around. We played a generic Maelstrom mission, with the standard 6 objective markers on the board:
- At the start of your turn draw objective cards until you have three cards in hand;
- Any objective cards that are impossible (e.g., targeting unit roles your opponent doesn’t have) are immediately replaced;
- Any number of objective cards can be scored in a turn;
- One objective card may be discarded at the end of the turn;
- Scoring starts on Turn 1;
- Objective cards are not secret.
Both of us wound up placing our three objectives evenly spaced about a foot from our respective table edges.
Kingbreakers deployed with at least one unit essentially already on each of my three home objectives. Grey Knights deployed just Coteaz and the Acolyte+Servitor blob on an objective tucked into a corner.
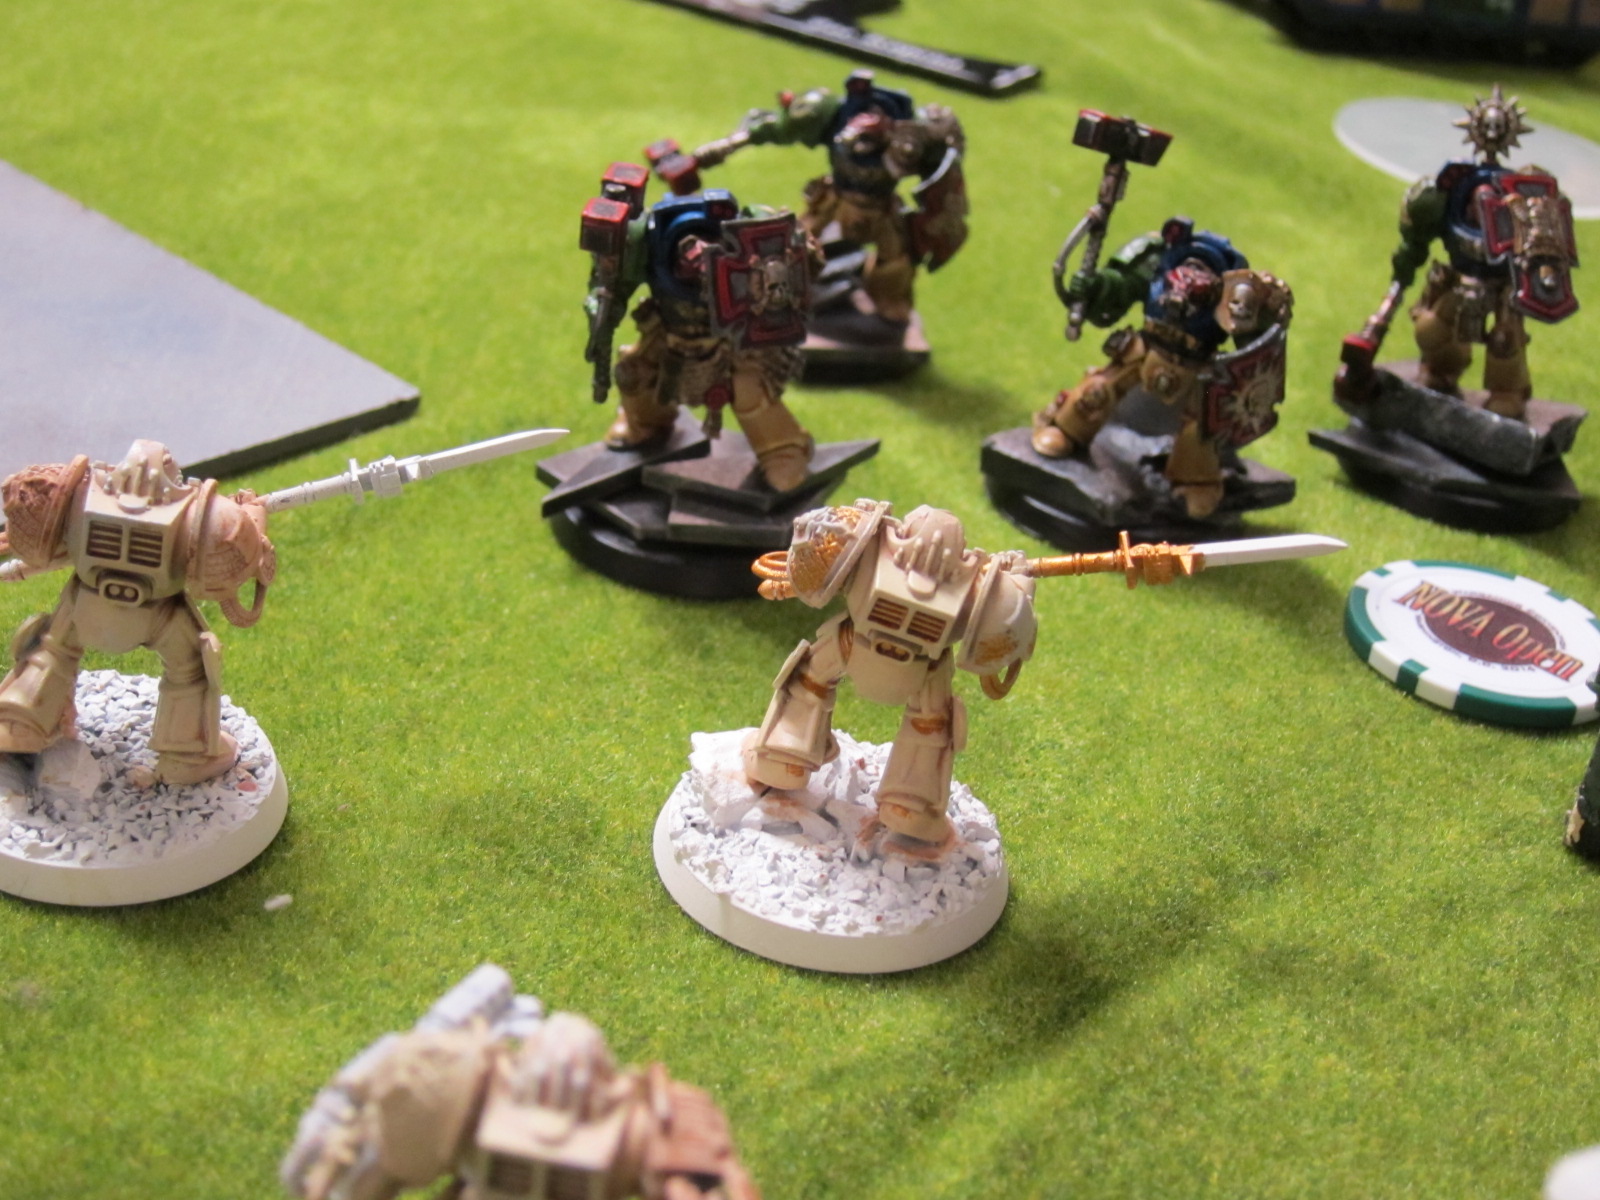
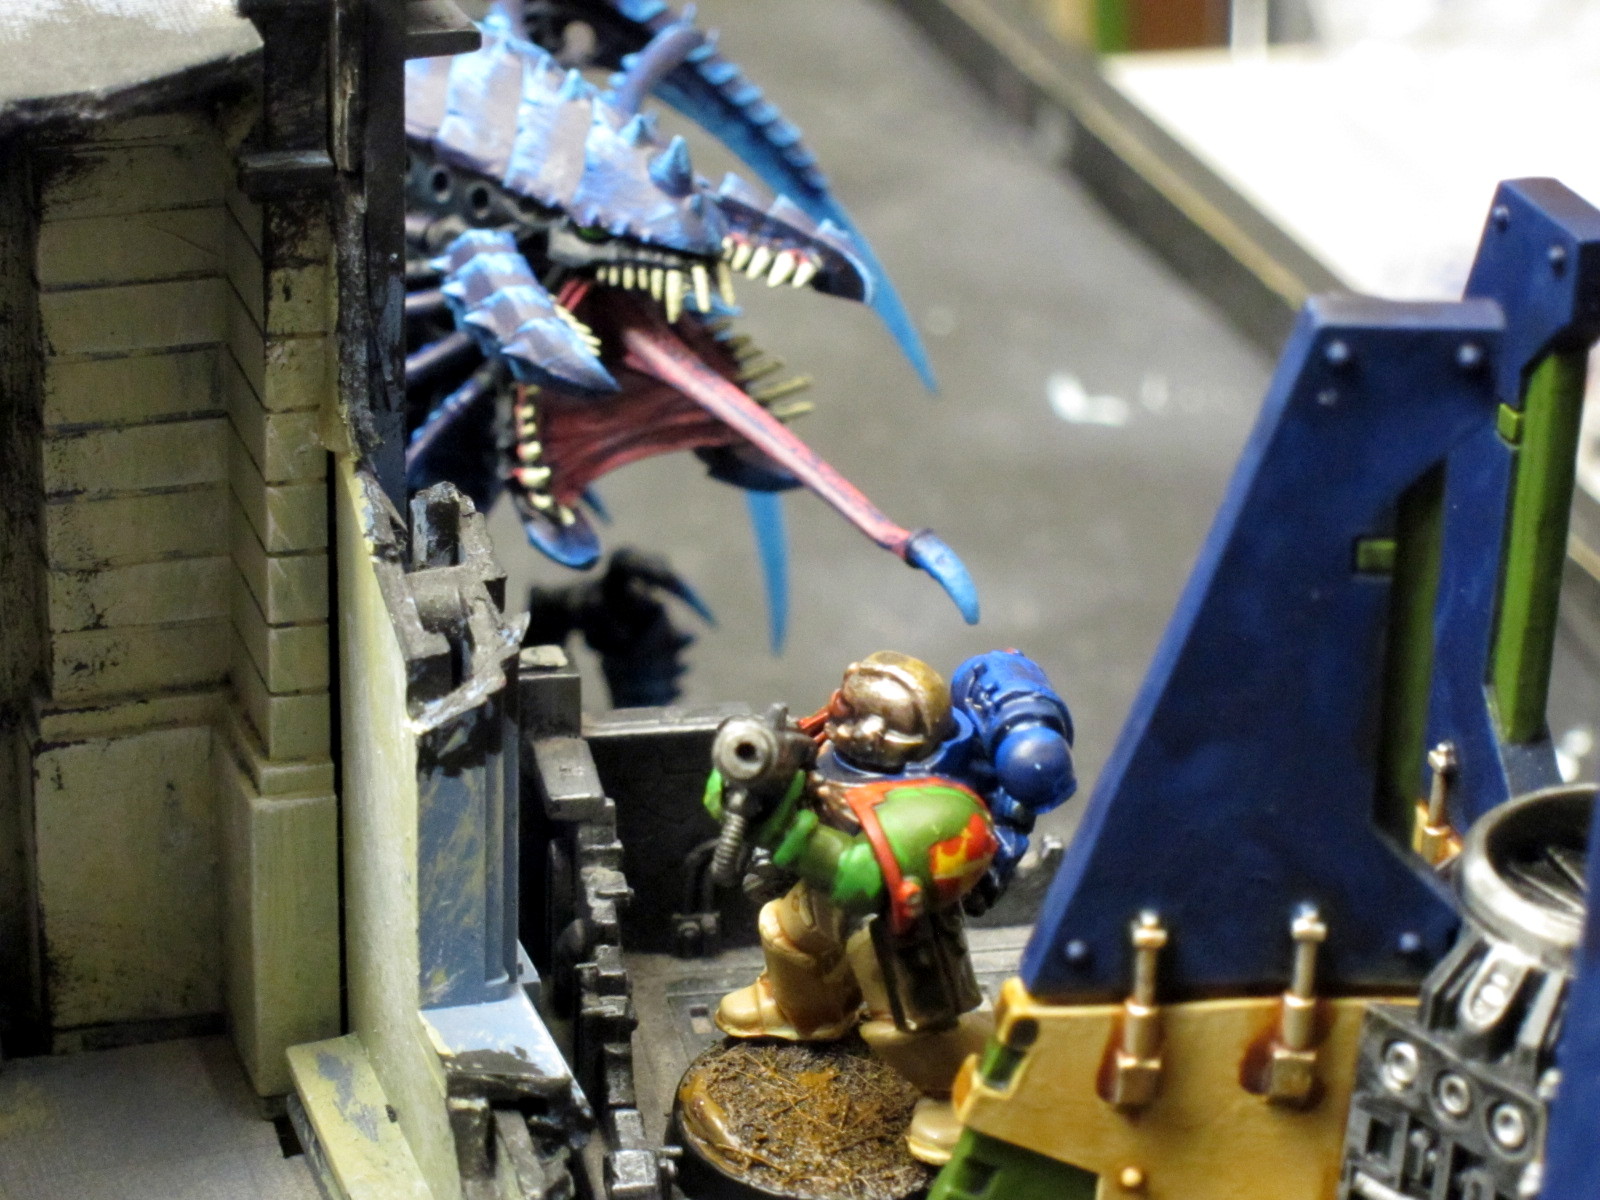
In the land of Terminators, the storm-hammered are king.
Battle
I survived the forced reroll to keep first turn. Squad Harbinger dropped on one of the opposing objectives and moved to remove a servo skull and create a bubble wrap pocket for the Knight. The Knight advanced right onto the table center line, backed up against a large line of sight blocker. Terminators, a Landspeeder, and a Rhino filled in the circle around that terrain to create a buffer around the Knight. Angholan + Scolirus tried to drop on Coteaz but played it too safe and scattered well back toward centerfield. Other Tacticals ran around to remove servo skulls and hunker down on objective markers, taking 2 victory points off the bat.
Following that, all the GK but the Stormraven came in. One Librarian threw a Vortex of Doom to blow away a Terminator, and another group with heavy shooting caught Harbinger off guard and wiped out his squad for First Blood. The Marines fought back though, with Terminators krumping one squad of Terminators and the Imperial Knight another. Squads Scolirus and Harmon both tackled the Dreadknight in their midst and brought it down to one wound, but not before it had knocked Captain Angholan out of the fight for Slay the Warlord and then shunted away. Kingbreakers though claimed a substantial 5 victory points while only yielding 1 for the turn.
Although only mid-battle, at that point the momentum was overwhelmingly for the Emperor’s finest—the Kingbreakers. Knight Greenheart demolished the last unit of Terminators and the opposing Inquisitor Warlord, the Coteaz blob was being whittled away and having little impact, the Dreadknight was on its last legs, and the Stormraven was forced to prioritize helping it out. Kingbreakers claimed another 4 victory points to just 1 for the GK, who promptly fled the field of battle for the day.

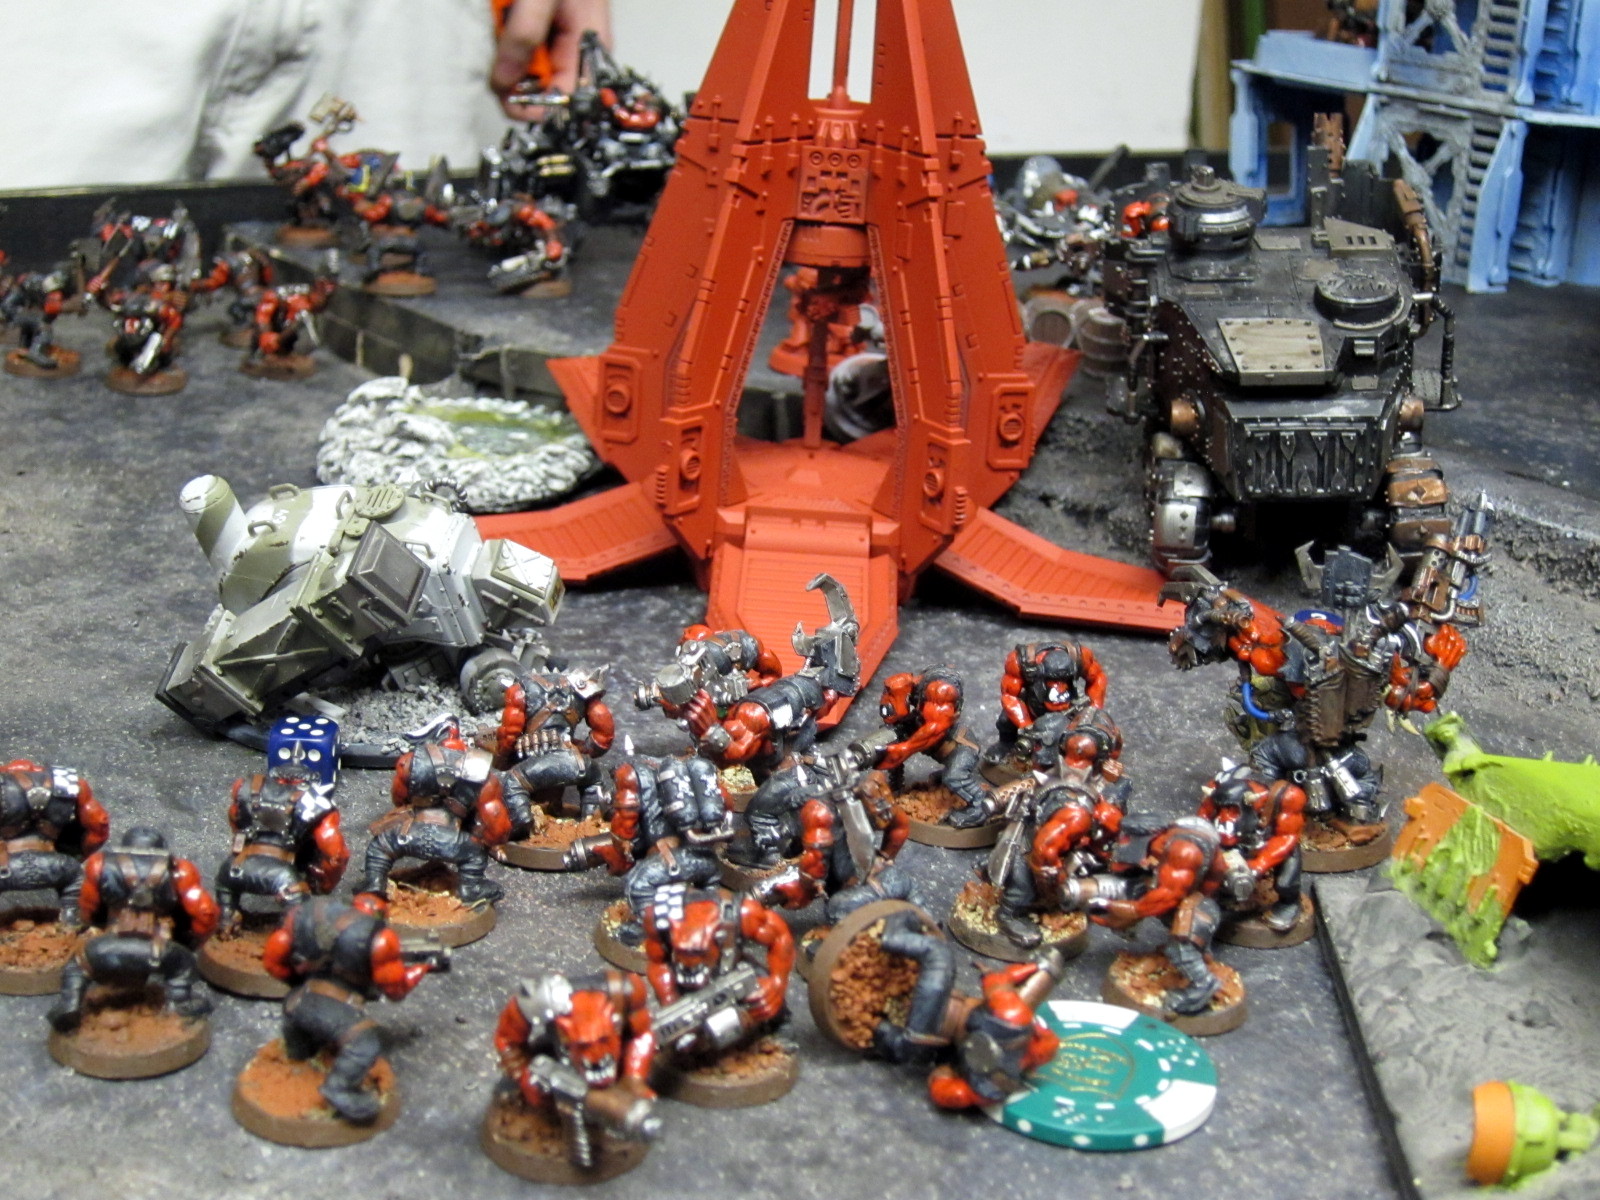
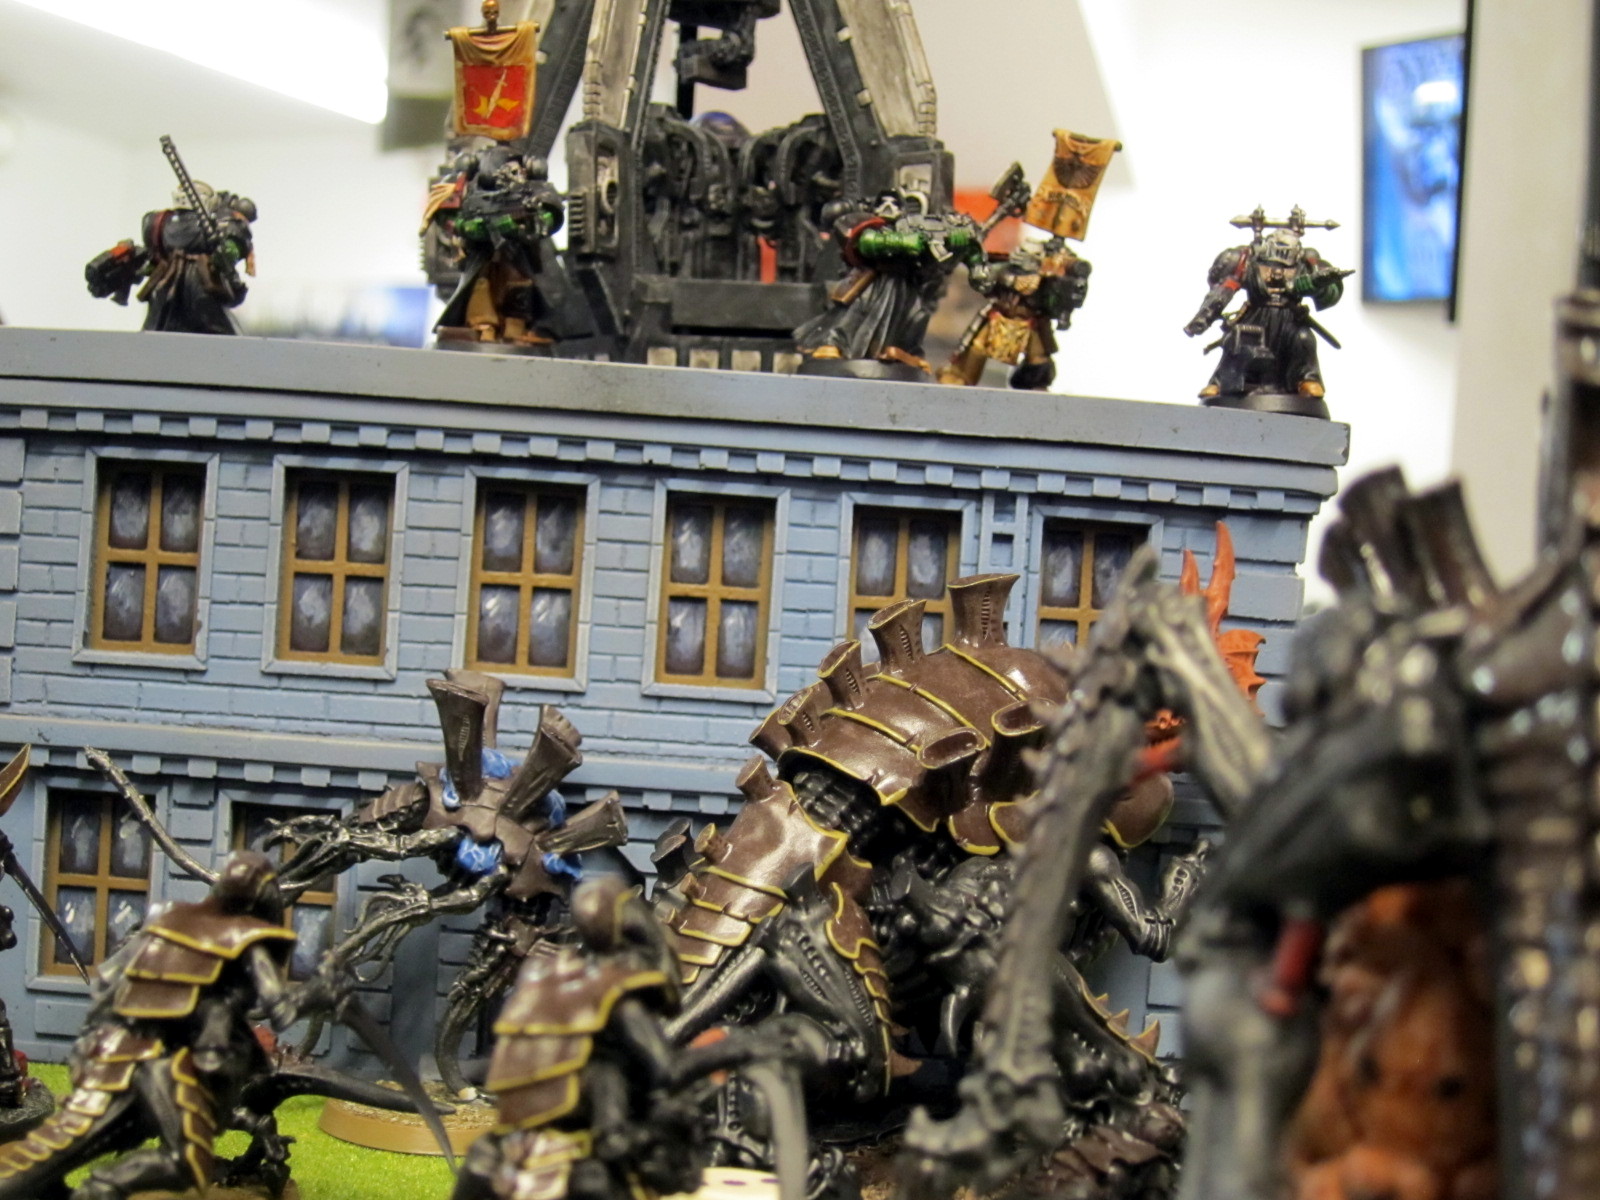
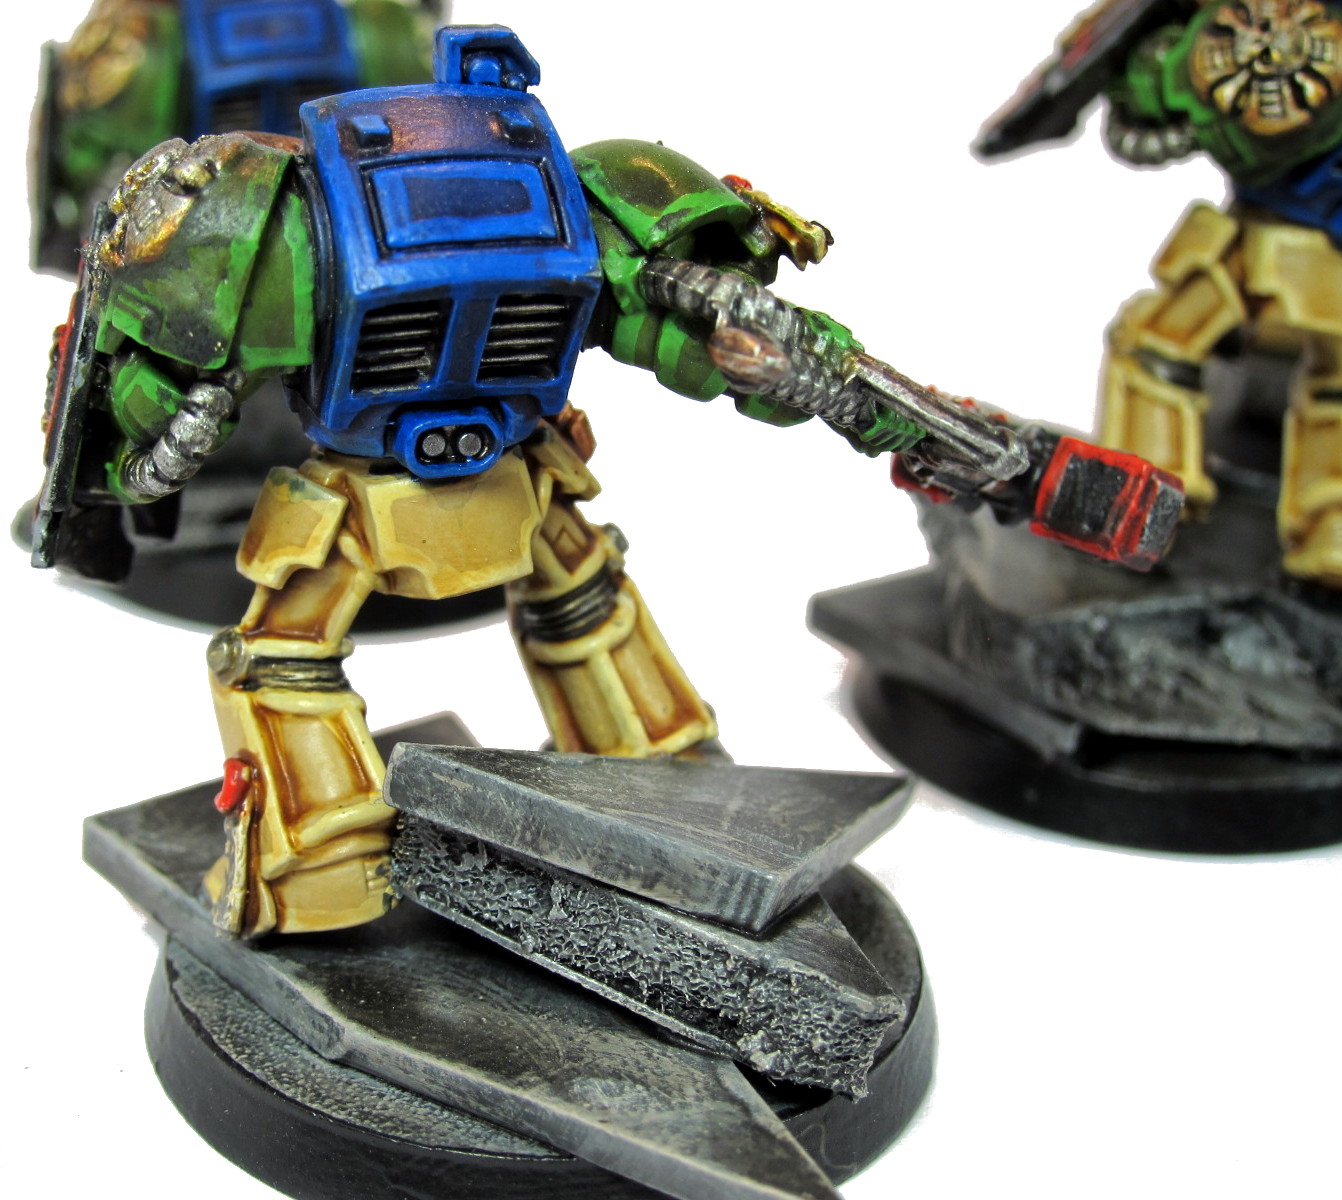
Multiple squads go at the Dreadknight at the power station.
Outcome
After four turns the Kingbreakers were up 11 to 5, poised to take several more points, and we called it for time.
Analysis
Byron’s army had relatively few options to deal with the Knight. Very few of his models had any weapons that could hurt it, in both shooting and assault. He was really counting on the Vortex of Doom to take it out, but the first turn bubble wrap forced all his units come down far enough away to negate that. I was able to make good use of a large piece of terrain which had no windows, so he couldn’t risk deep striking on it, scattering behind, and getting no shots at all. In the one sector I couldn’t really get much bubble wrap into he fortunately scattered out of. Multiple units of mine were then also well placed and had the tools to decisively counter-attack before his units could do more damage. Assault Terminators are basically designed to fight against this kind of opposing force, and the Knight’s super well equipped to shoot and assault Terminators.

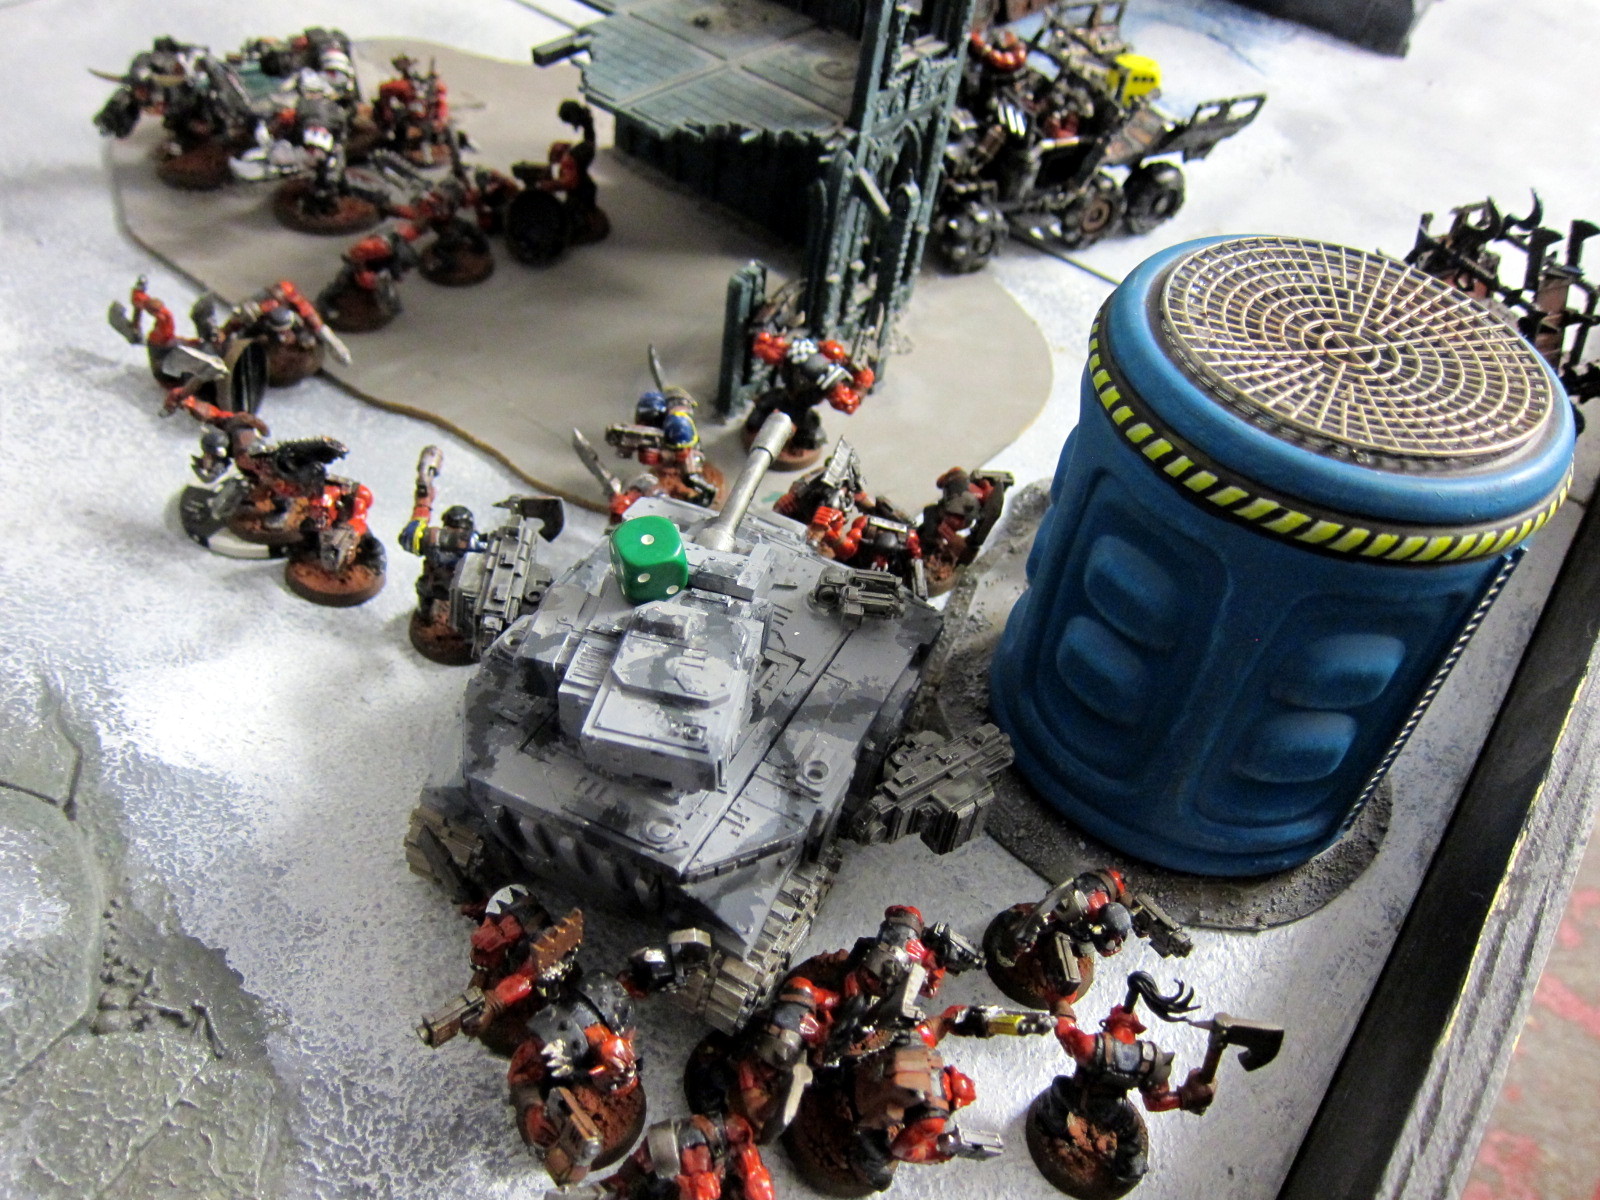
Bubble wrapping the Knight as best I could, actually kind of difficult to do while preserving its rapid movement.
On straight kill points this would have been actually a very close game given how many more units I field. With the Stormraven forced to hover in order to keep shooting at priority targets, it was actually possible in another turn or two the GK would have been tabled. At the end only the Stormraven, Coteaz + handful of Acolyte chumps, and the Dreadknight with 1 wound left remained, for something like 6 KP scored by me. Kingbreakers meanwhile had lost 7 KP.
Objectives were the order of the day though, and the Kingbreakers are all about that game. A super elite, small unit count army like this kind of Grey Knights outfit is always going to have a hard time with 5 or 6 objective markers on the table. Add in that most of it is infantry on foot and it’s going to have limited ability to run around and adapt to the objective cards drawn. That’s particularly true if they’re forced to centralize on one particular target like the Imperial Knight, and hit a couple walls like the Thunderhammer Terminators.
Meanwhile, I’ve got combat squads all over, Drop Pods on objectives, and Landspeeders as well as a Rhino to scoot around. I particularly enjoyed deploying an empty Rhino, which confused Byron but did excellent double duty holding down an objective and blocking for the Knight while its Tacticals combat squadded and deployed to hold two other objectives.

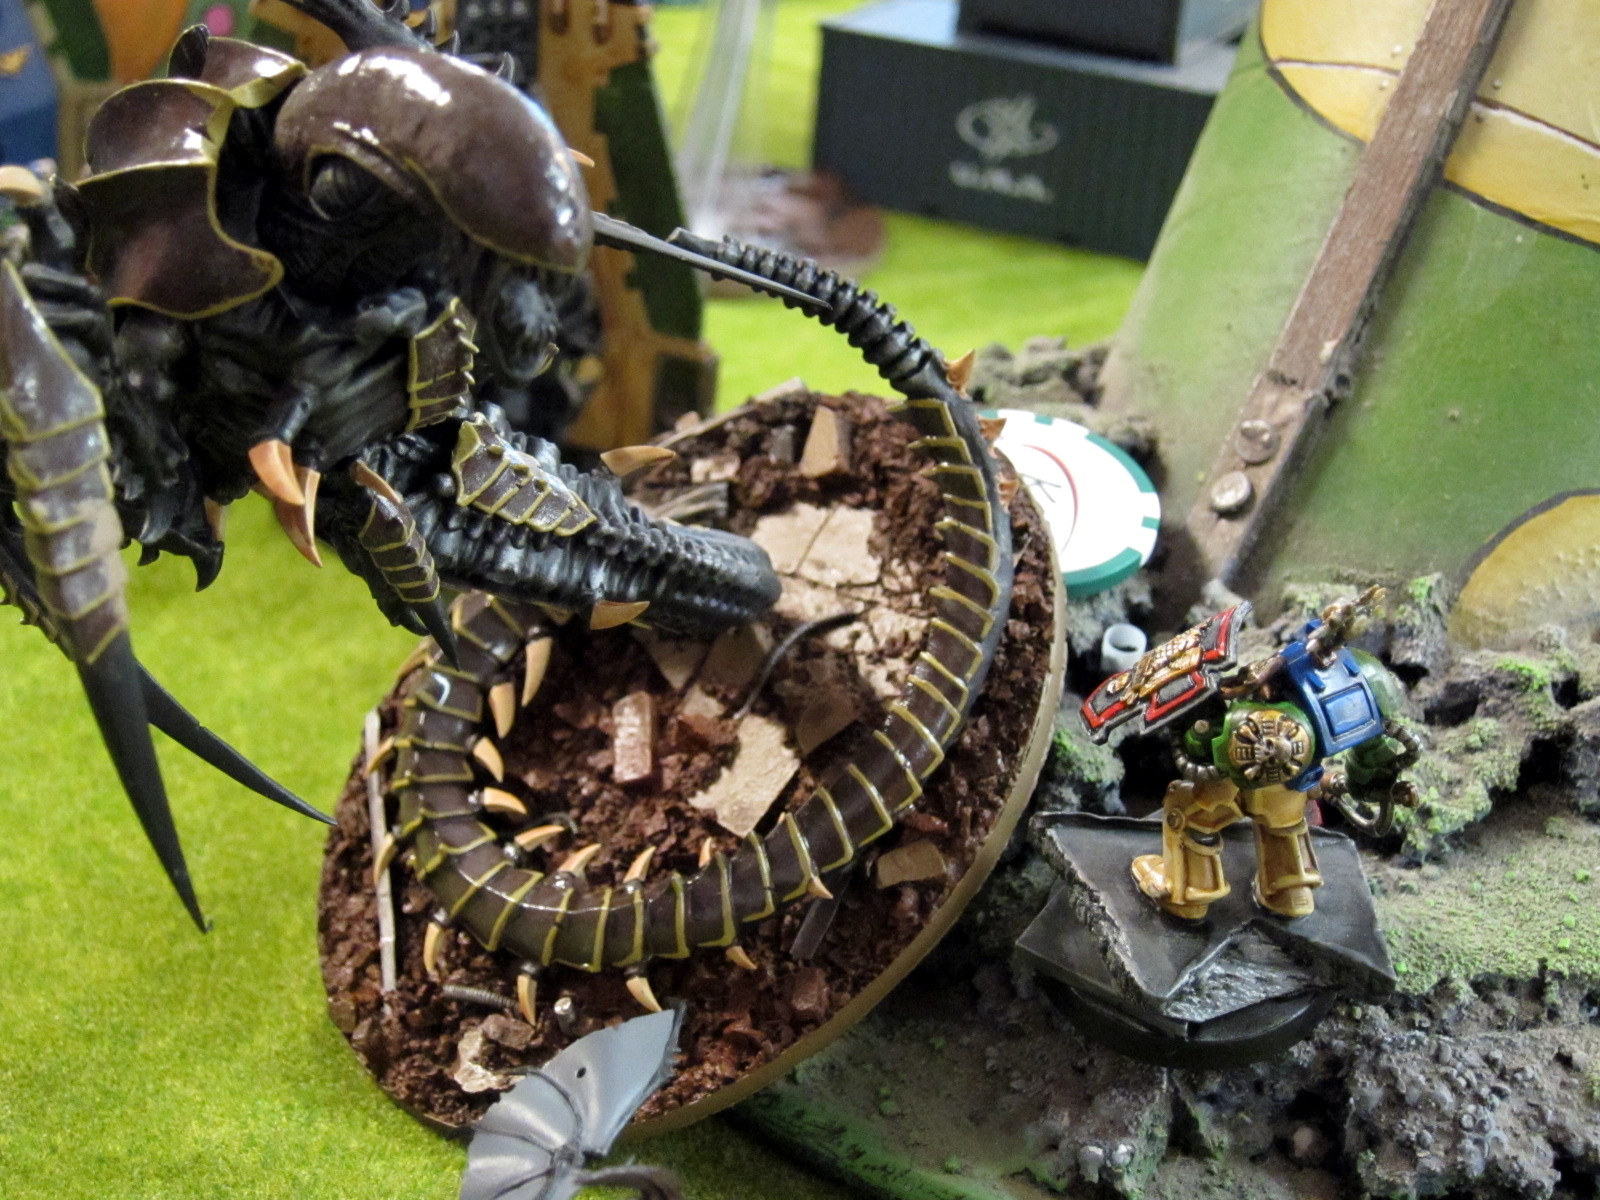
Greenheart goes krumpin’.
Maelstrom
I haven’t actually played many Malestrom games, and in part a bunch of us went to play last night specifically to play that and think about using it in upcoming tournaments. The basic ruleset Byron and I used seemed pretty reasonable. In particular, I like it much more than setups were you only have one card at a time, and/or only have a single turn to claim objectives. Holding three cards potentially over multiple turns gives you a lot more ability to actually plan and work toward a strategic goal. That said, it retains one of the problems I see with Maelstrom in that it still emphasises immediate reactions rather than game-long strategy. There’s definitely still overaching strategy, e.g., my efforts to control the entire board raked in victory points here as I kept drawing cards I already met or could easily achieve. However, as a counter-example, I couldn’t decide how hard to press against the Coteaz objective because who knew if I would even draw cards scoring that objective. In a more traditional game I’d be able to evaluate that more precisely and make a more concrete strategic decision.
One change I would also consider to these basic rules is not scoring cards until Turn 2. I’m all about it because it gives Drop Pod and similar alpha strike armies a big opportunity to score quickly. But it really penalizes armies with limited mobility, already arguably an issue with Maelstrom.
Conclusion
In any event, it was a good game and I was pleased to win decisively as I had been concerned about this army after watching it wipe out several good players in our tournaments. Although I’m not convinced how strong it actually is, I am pleased to see Byron build an army around the Vortex of Doom as I am a huge fan of throwing vortexes around the table. Throughout 5th edition that was a big part of my army, but I let it go when psyker powers became randomized. Especially with the Grey Knights though he’s easily able to go the other way, and field enough psykers to both get the power and throw a bunch of dice at it.
Over the next couple days I should have more thoughts up on Maelstrom as I sketch ideas to include it in the February tournament.