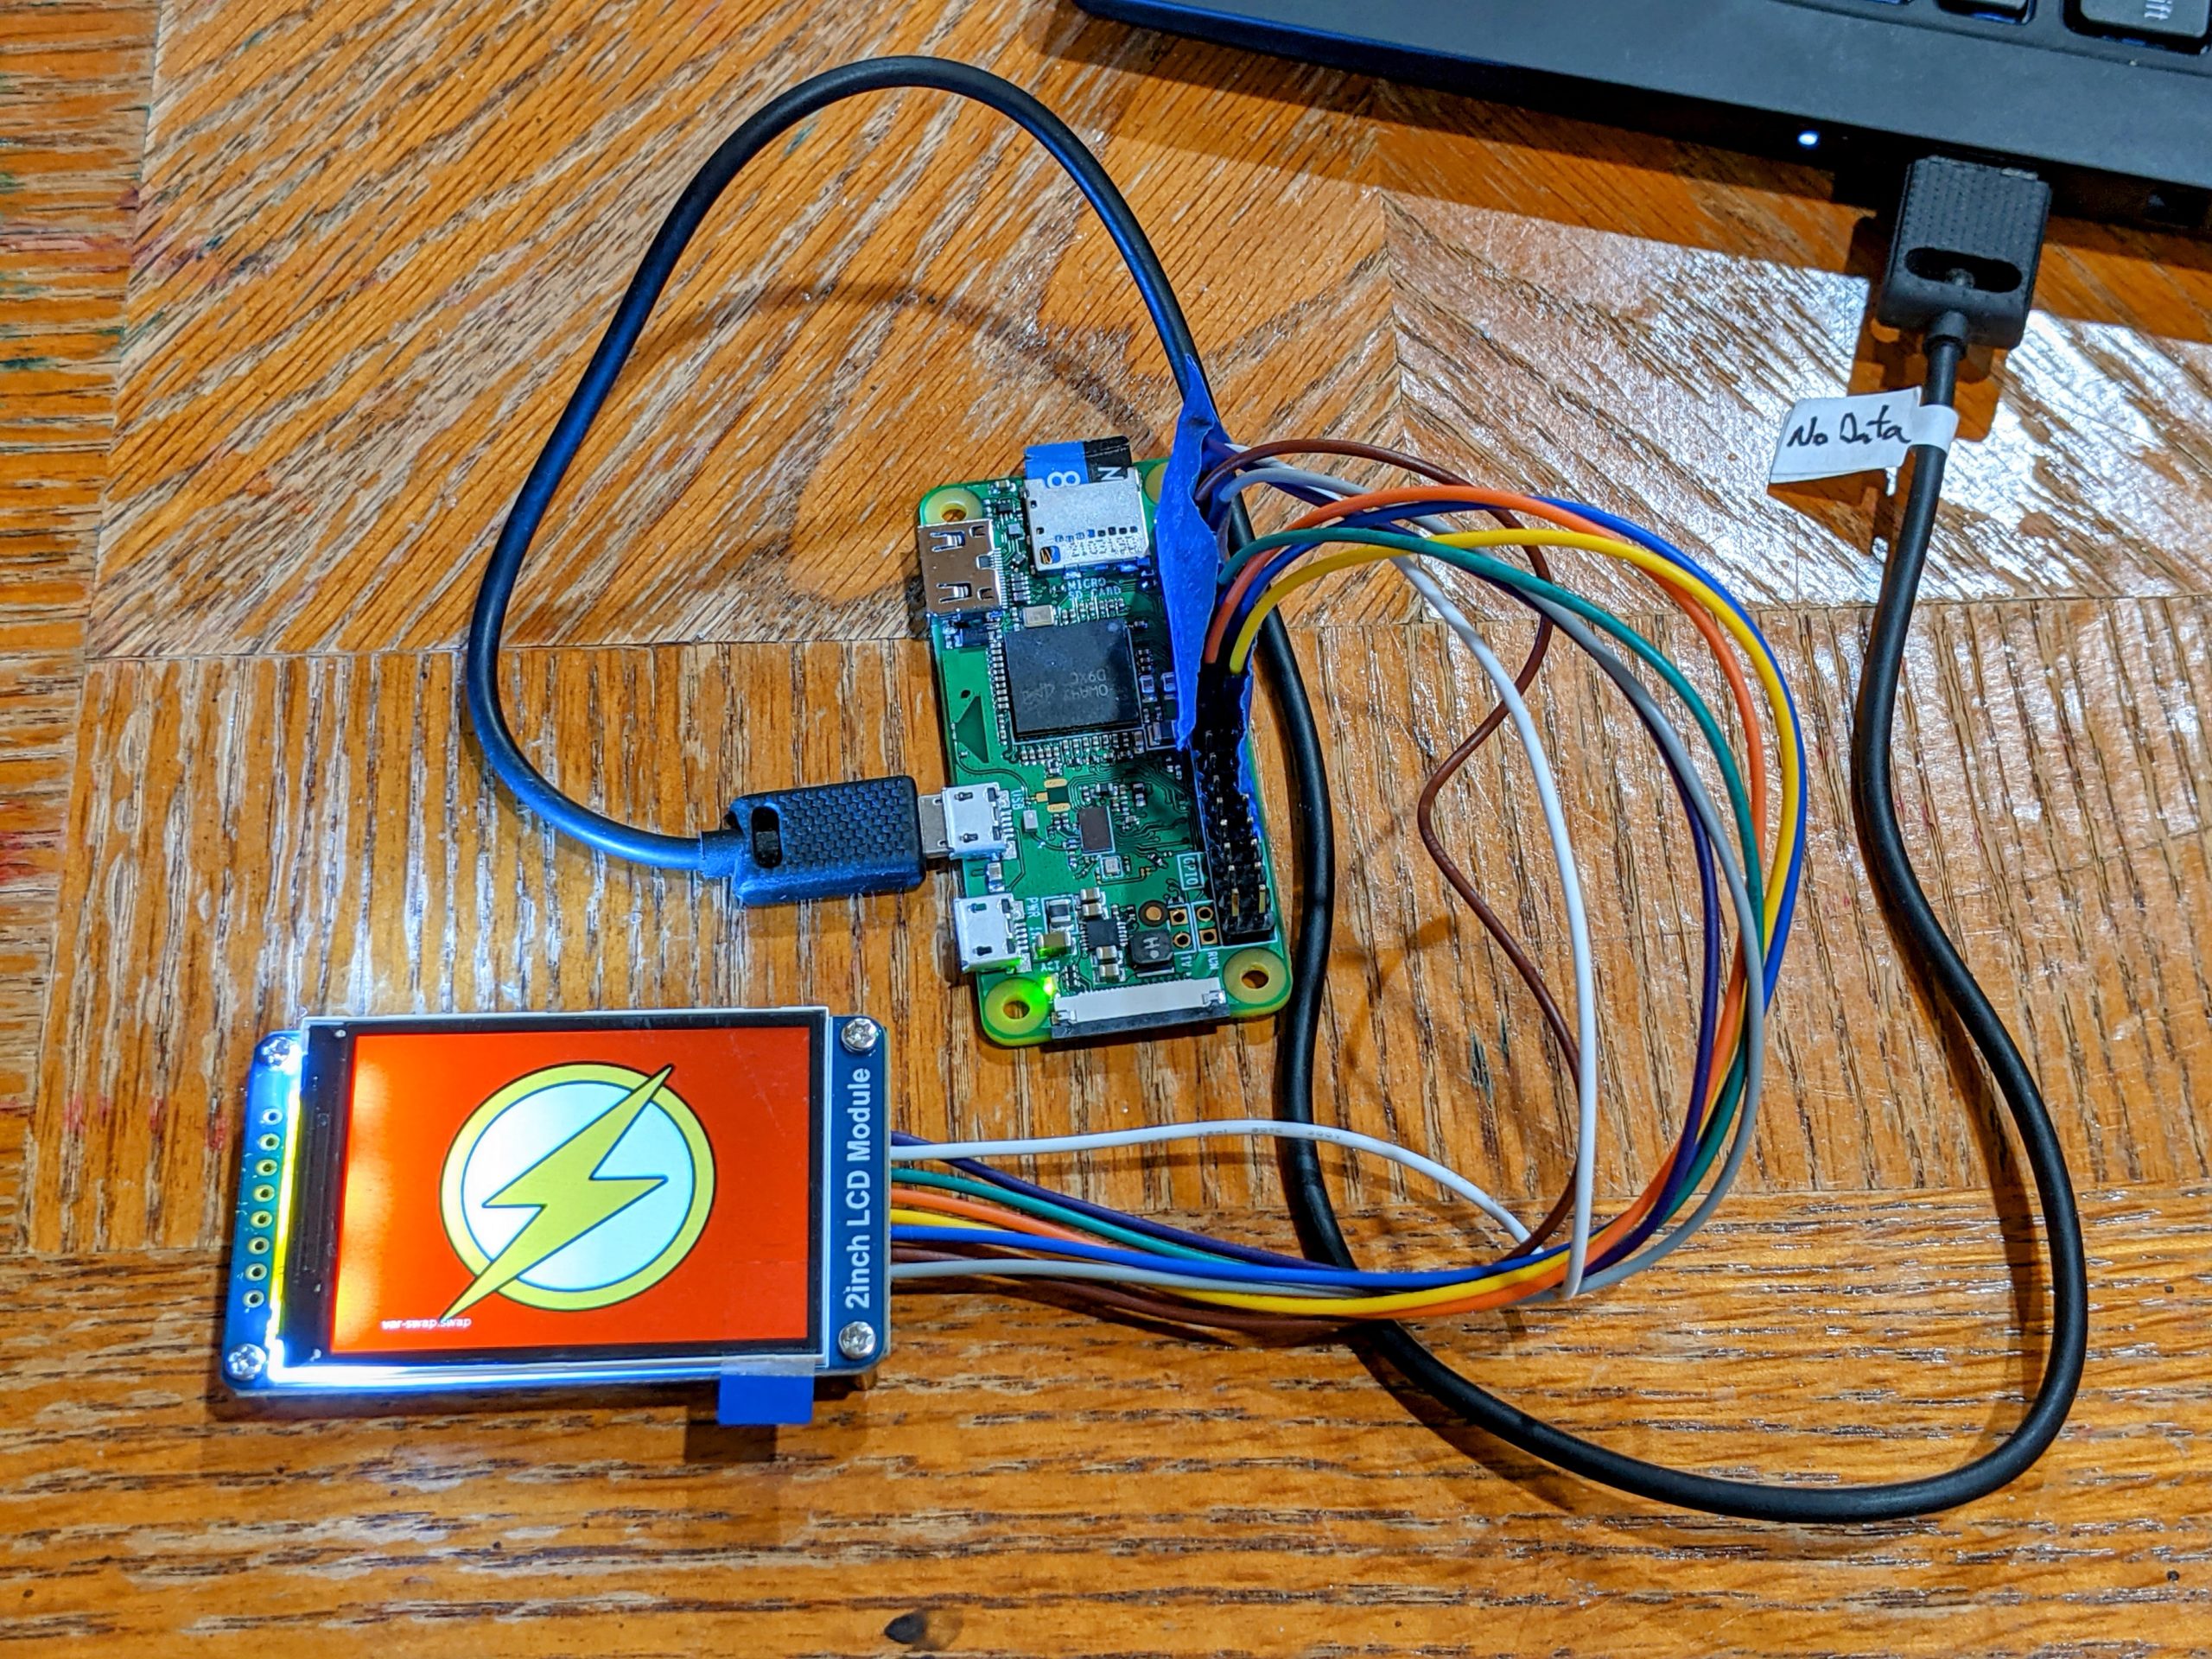
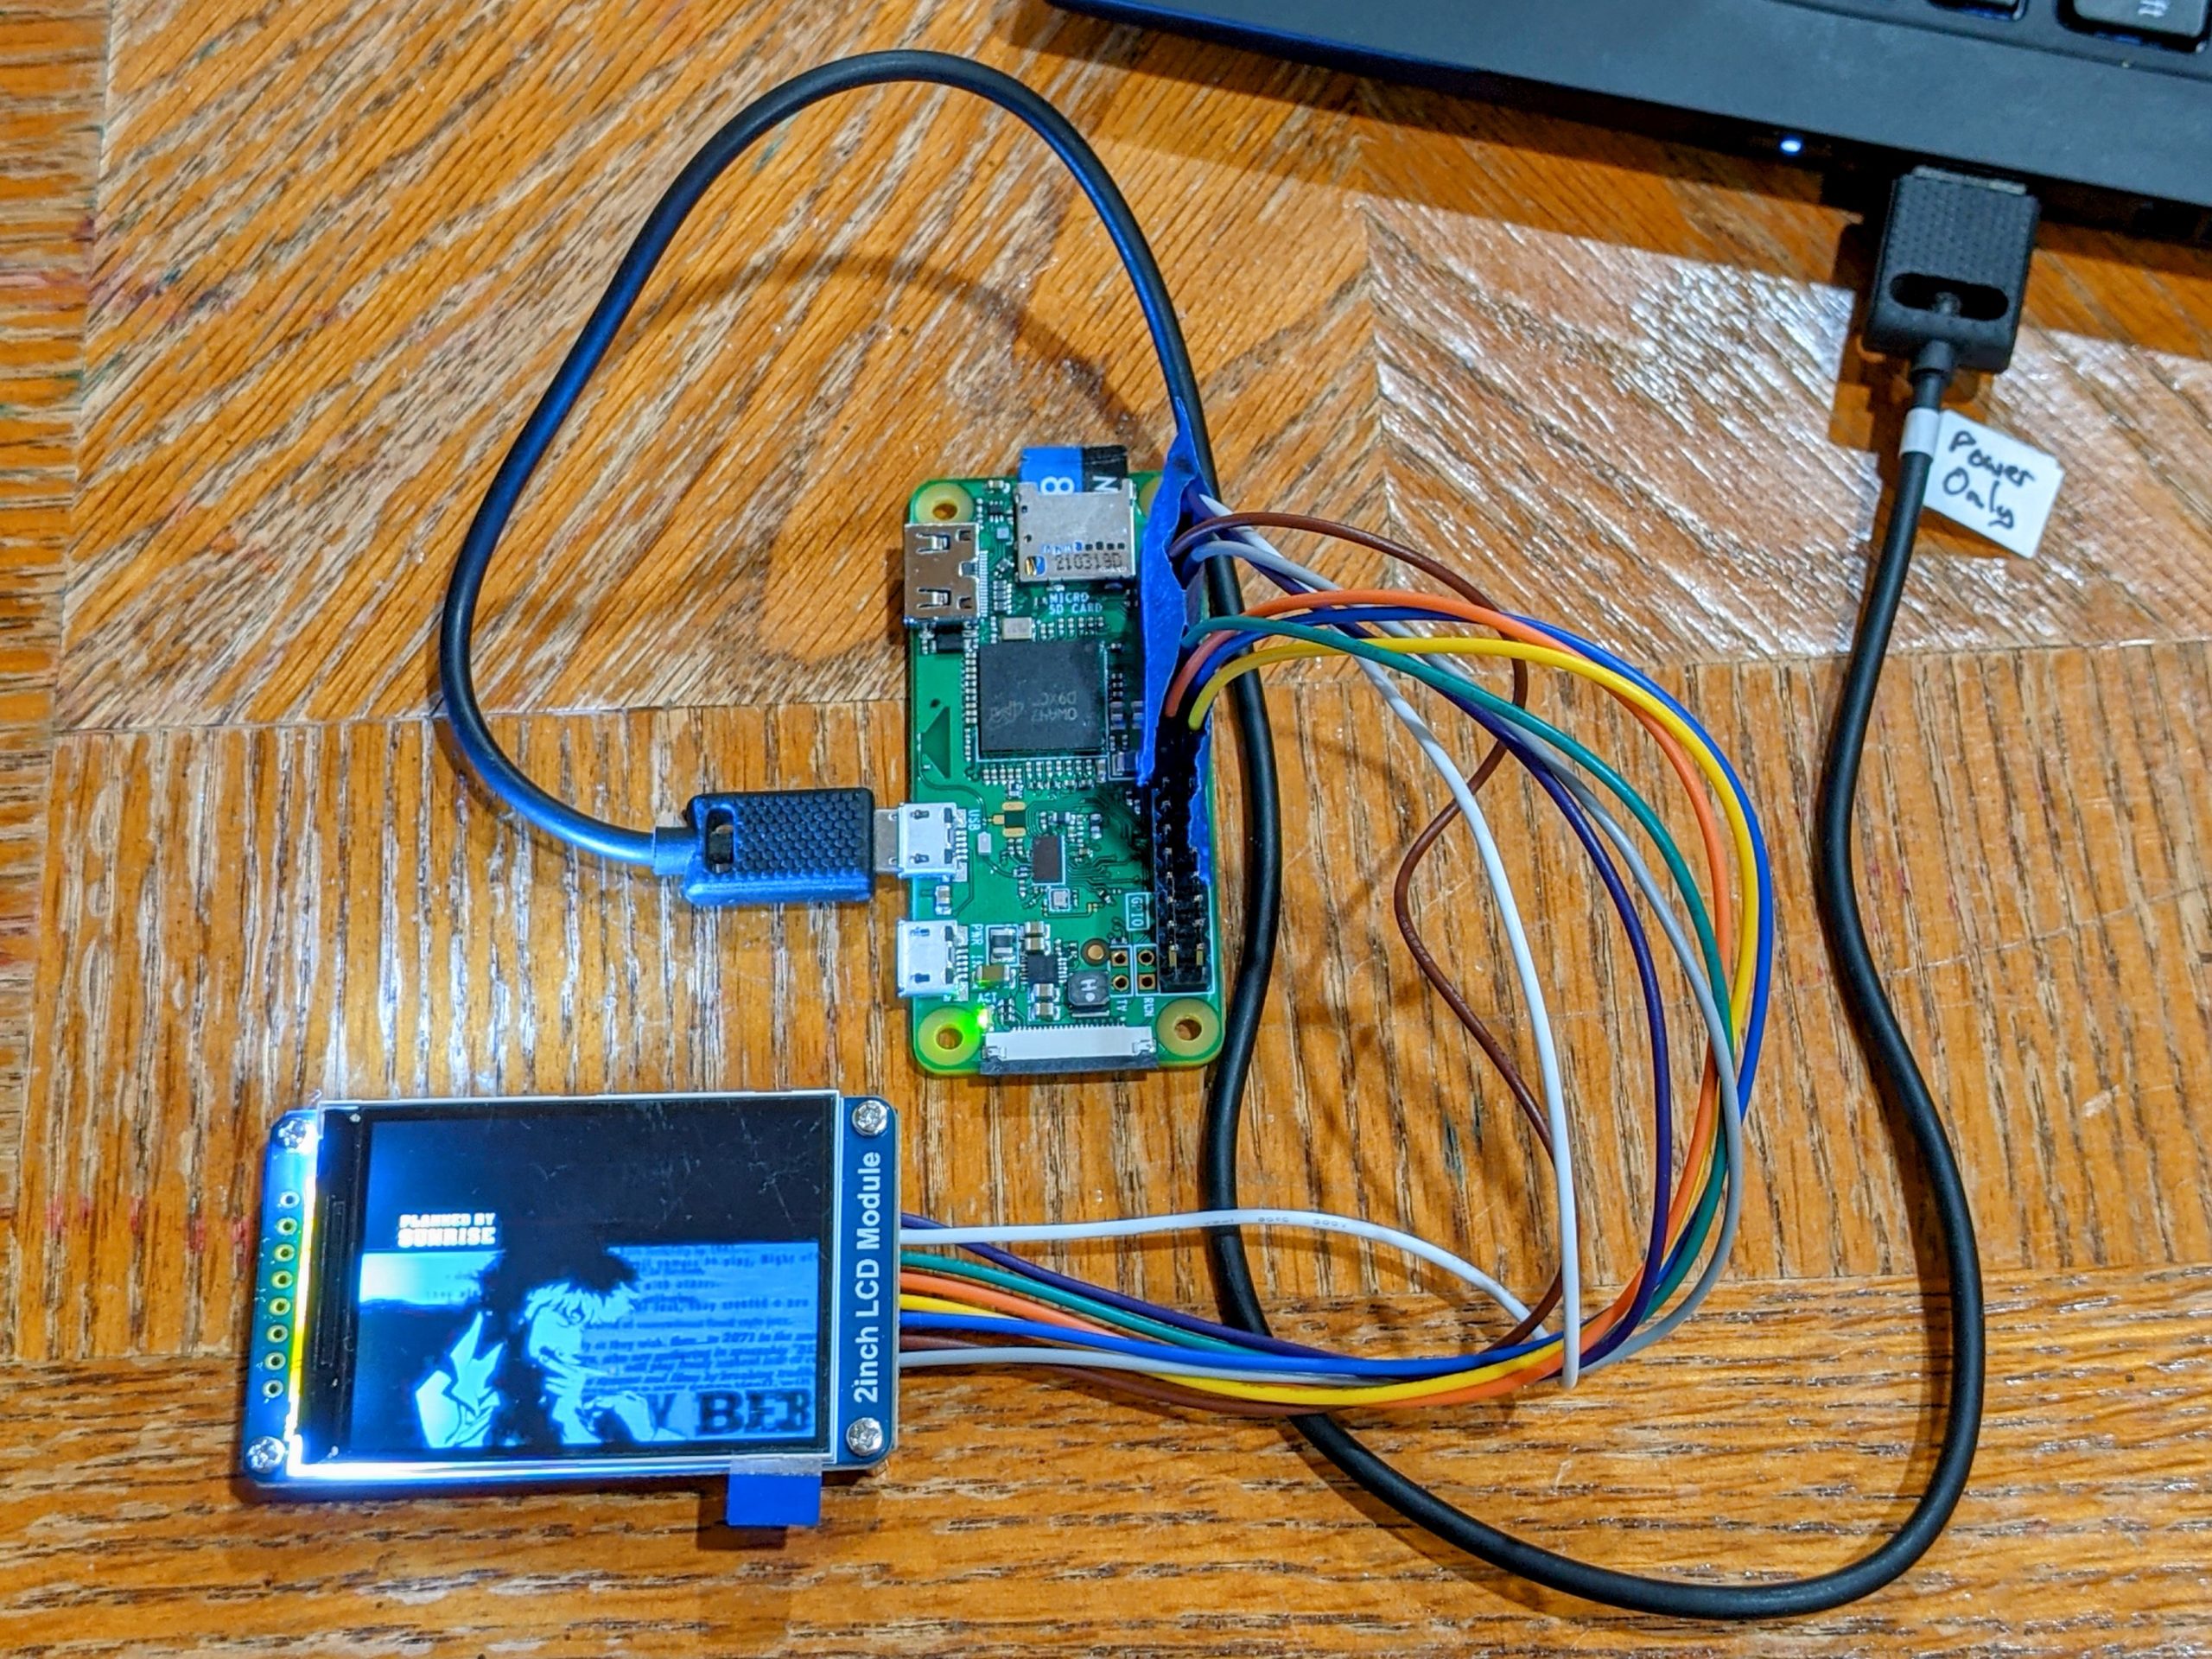
Brett’s working on a new RC car featuring an entertainment center. The media’s powered by a Raspberry Pi Zero W. A Waveshare 2 inch LCD currently provides the display. The instructions from Waveshare at the link are actually very good, but the following has a few additional notes and collected links.
Connection
I’m trying to do all this setup without hooking up a keyboard or display. I spent a good while trying to configure networking via USB OTG but that’s still a work-in-progress. So instead I set up WiFi so I could SSH in.
First order of business is imaging the micro-SD card with Raspberry Pi OS using the Raspberry Pi Imager, available for Arch via the AUR. In this article I’m working with:
Linux raspberrypi 5.10.63+ #1459 Wed Oct 6 16:40:27 BST 2021 armv6l GNU/Linux
On the imaged micro-SD card you touch boot/ssh to enable SSH.
In boot on the micro-SD card create the file wpa_supplicant.conf with contents:
country=US # Your 2-digit country code
ctrl_interface=DIR=/var/run/wpa_supplicant GROUP=netdev
network={
    ssid="YOUR_NETWORK_NAME"
    psk="YOUR_PASSWORD"
    key_mgmt=WPA-PSK
}
Display
Next is configuration to enable the display.
Add the following in boot/config.txt on the micro-SD card:
    hdmi_force_hotplug=1
    hdmi_cvt=640 480 60 1 0 0 0
    hdmi_group=2
    hdmi_mode=1
    hdmi_mode=87
    display_rotate=0
Also in boot/config.txt, comment out:
    dtoverlay=vc4-fkms-v3d
    max_framebuffers=2
Pop the micro-SD into the device and boot. If you don’t have Bonjour or Avahi setup to resolve raspberrypi.local, look on your router’s devices table to get the IP address for the Pi. The default login is pi/raspberry. Change the password with passwd to be extra safe.
Enable SPI via raspi-config, under the Interfaces menu, and reboot.
Install the BCM2835 library from AirSpayce.
Install wiringPi. It’s seemingly no longer included in the Pi OS default image or its repositories so you’ll have to download & install manually.
Install and run Waveshare’s demos to make sure the display’s wiring is correct.
Install framebuffer copy and start it running:
sudo apt-get install -y cmake p7zip-full
wget https://www.waveshare.com/w/upload/8/8d/Waveshare_fbcp-main.7z
7z x Waveshare_fbcp-main.7z
cd waveshare_fbcp-main
mkdir build
cd build
cmake -DSPI_BUS_CLOCK_DIVISOR=20 -DWAVESHARE_2INCH_LCD=ON -DBACKLIGHT_CONTROL=ON -DSTATISTICS=0 ..
make -j
sudo ./fbcp &
Install VLC using the vlc package.
In SSH, use cvlc -f movie.mp4 to run the video after uploading it to the device.
Autoplay
To have the video autoplay at boot, create the file /etc/xdg/autostart/movie-autoplay.desktop with contents:
  [Desktop Entry]
  Name=Movie Autoplay
  Exec=cvlc -f --loop --no-video-title /home/pi/Videos/autoplay.mp4
You also need to have fbcp start on boot, via adding it to /etc/rc.local (just before exit).
Video Crop
For what it’s worth, the video playing above is captured from YouTube. That video has black borders, which can be measured and cropped out quickly using ffmpeg. Use the cropdetect utility filter to determine the border size:
ffmpeg -i cowboy-bebop.mp4 -vf cropdetect -f null -
This will report a bunch of lines like the following:
[Parsed_cropdetect_0 @ 0x558f57561c00] x1:52 x2:373 y1:0 y2:239 w:320 h:240 x:54 y:0 pts:2156154 t:89.839750 crop=320:240:54:0
The reported crop parameters can then be passed to ffplay to test and ffmpeg to recut the video:
ffplay -vf crop=320:240:54:0 cowboy-bebop.mp4
ffmpeg -i cowboy-bebop.mp4 -vf crop=320:240:54:0 -c:a copy cowboy-bebop-320px.mp4
Splash Screen
To replace the bootloader splash screen, just replace /usr/share/plymouth/themes/pix/splash.png. The image will seemingly work best if it’s 1024×768 even though that’s not the display resolution.