Recently I finished R2, a scratchbuilt somewhat over-engineered BT60 sized 18mm model, and got in its first two flights at the April 2021 PARA launch. It came out pretty much exactly how I had envisioned, and wound up with a very satisfying second flight after a nearly catastrophic inaugural flight.
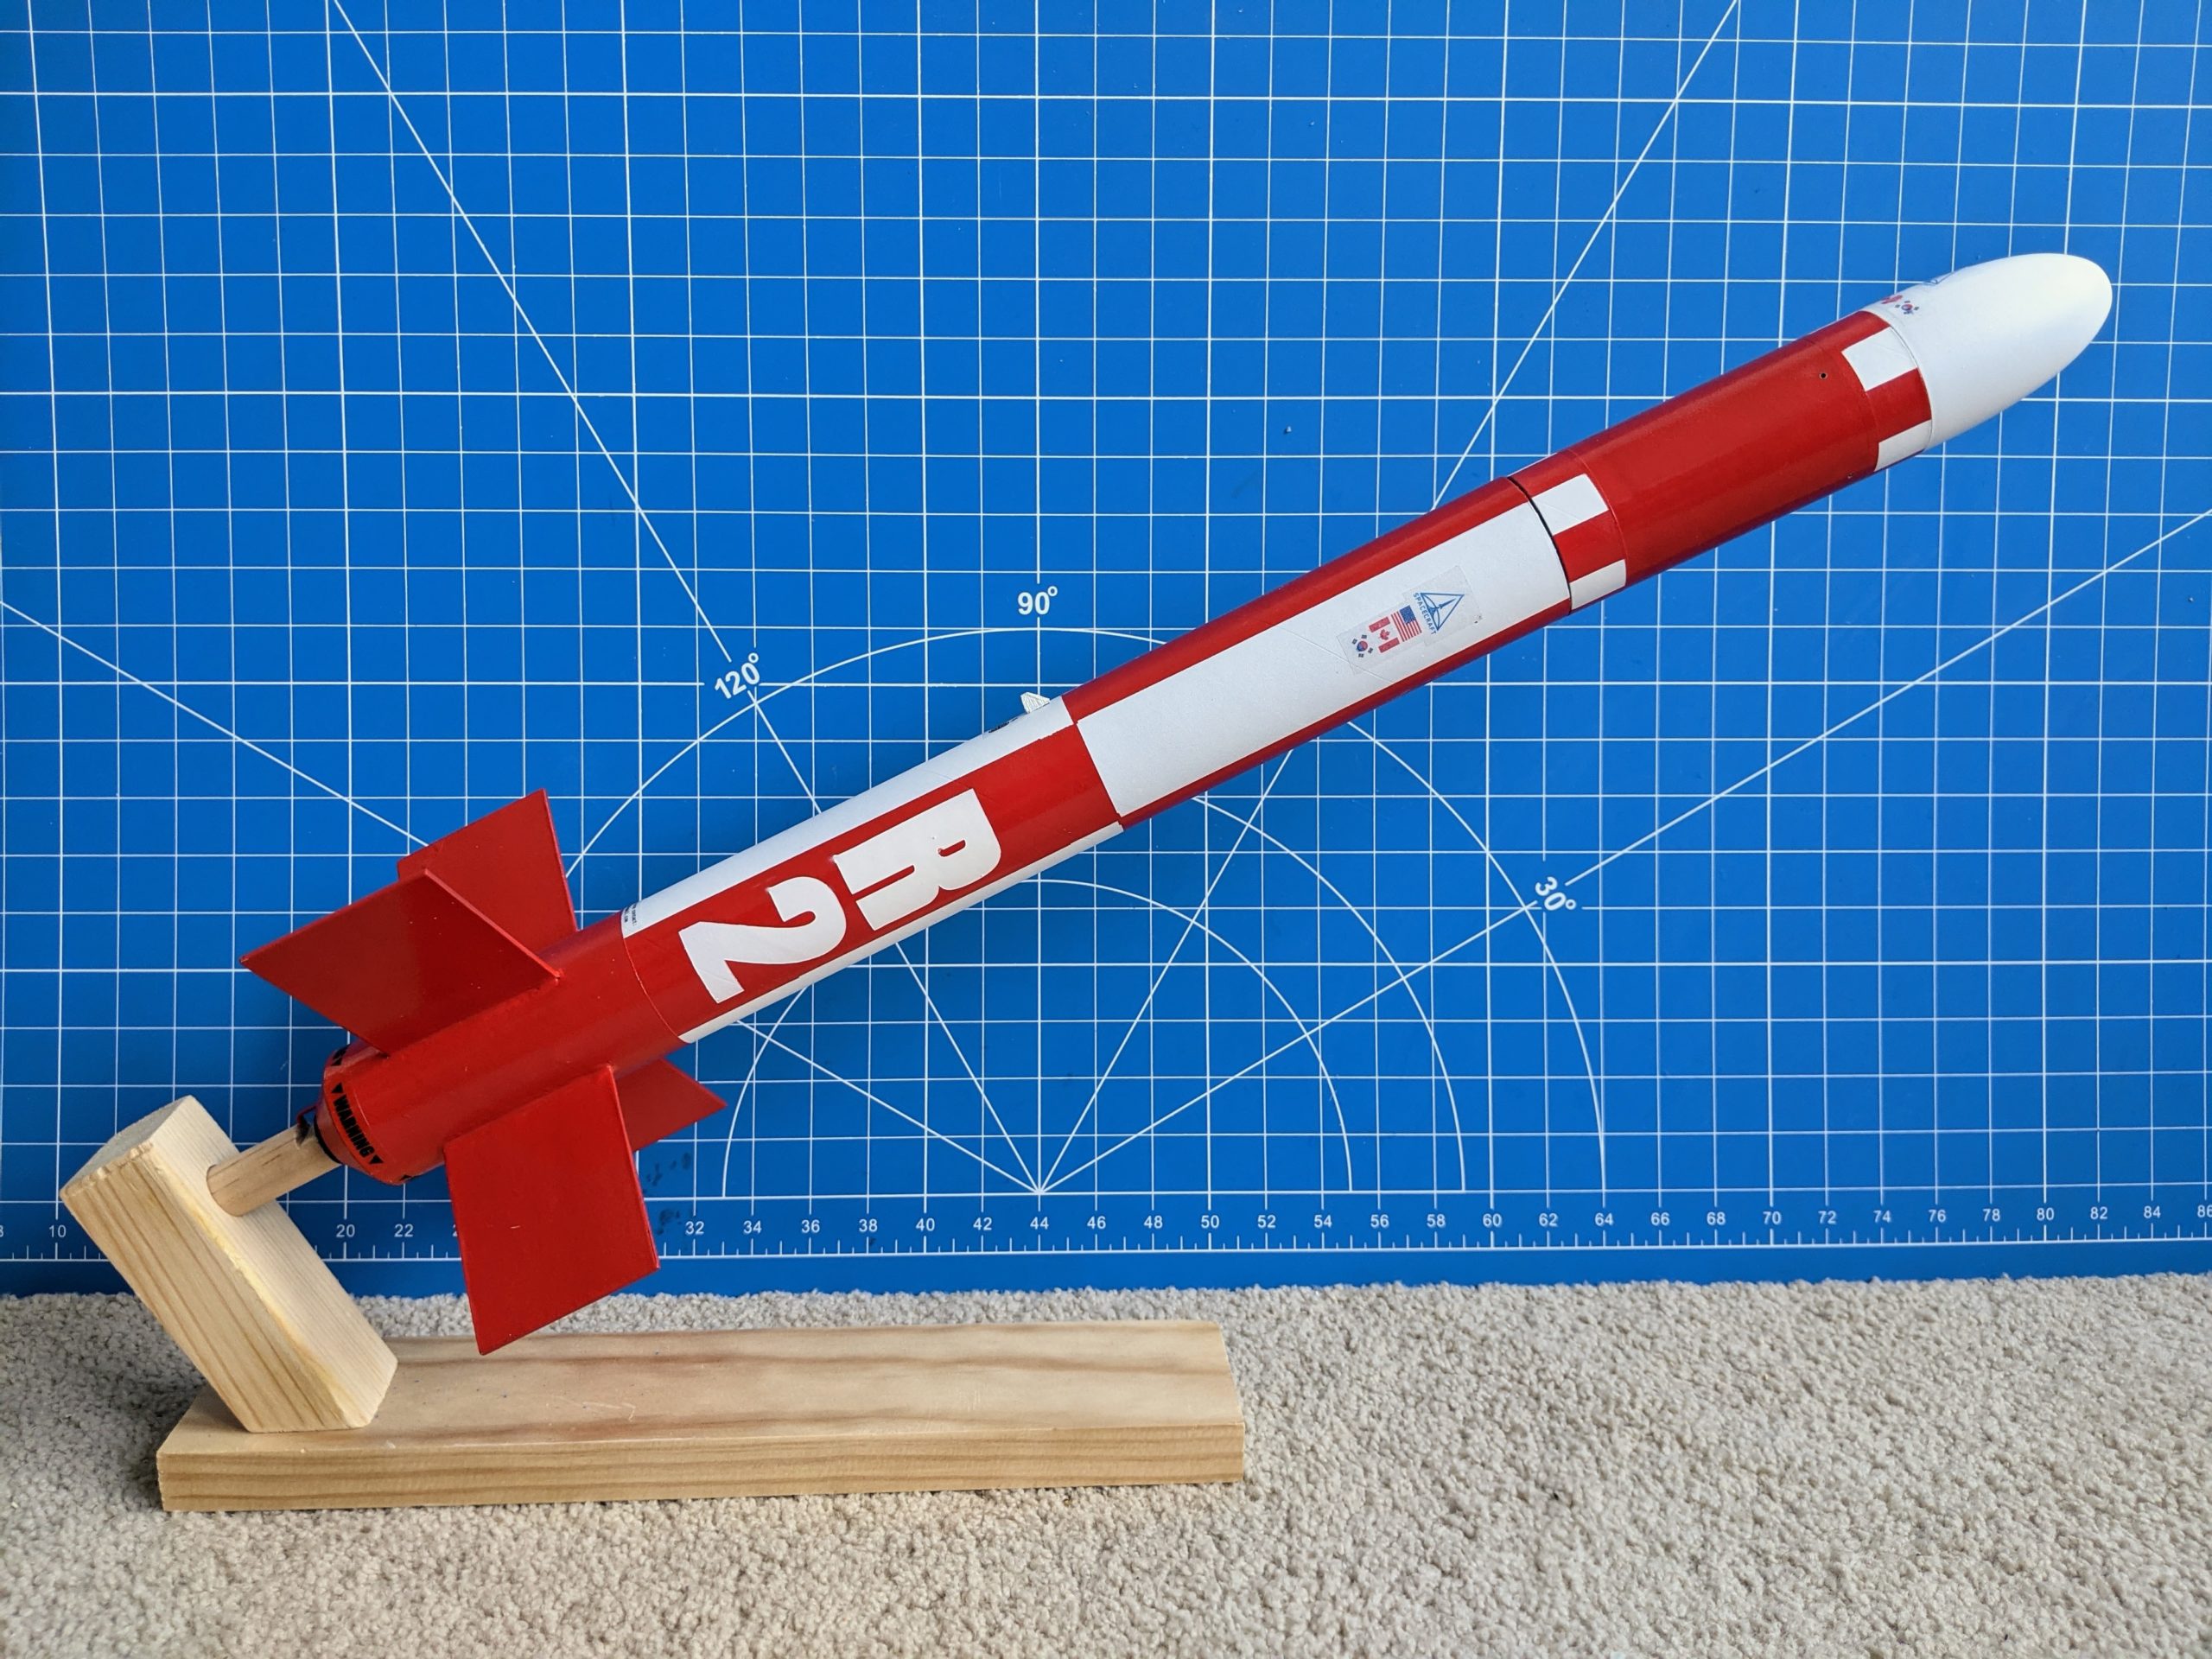
R2 finished (one side).
Construction
R2 began with modeling in OpenRocket, inspired by and based on a BT60 tube and nosecone from a ~26 year old Estes Designer’s box. The design has a payload compartment just for fun, through-the-wall papered fins that interlock with the motor mount rings, redundant Kevlar threads running from the motor mount to the shock cord, conformal angled launch lugs, and a couple other unnecessary touches. I just wanted to build a big, substantive feeling, low power rocket, and experiment with some construction techniques for strength and redundancy. I wasn’t too concerned about weight or overkill features for a rocket intended to fly on C motors at most. Slow, heavy-feeling flights would be just fine (provided stability was good & flights safe).
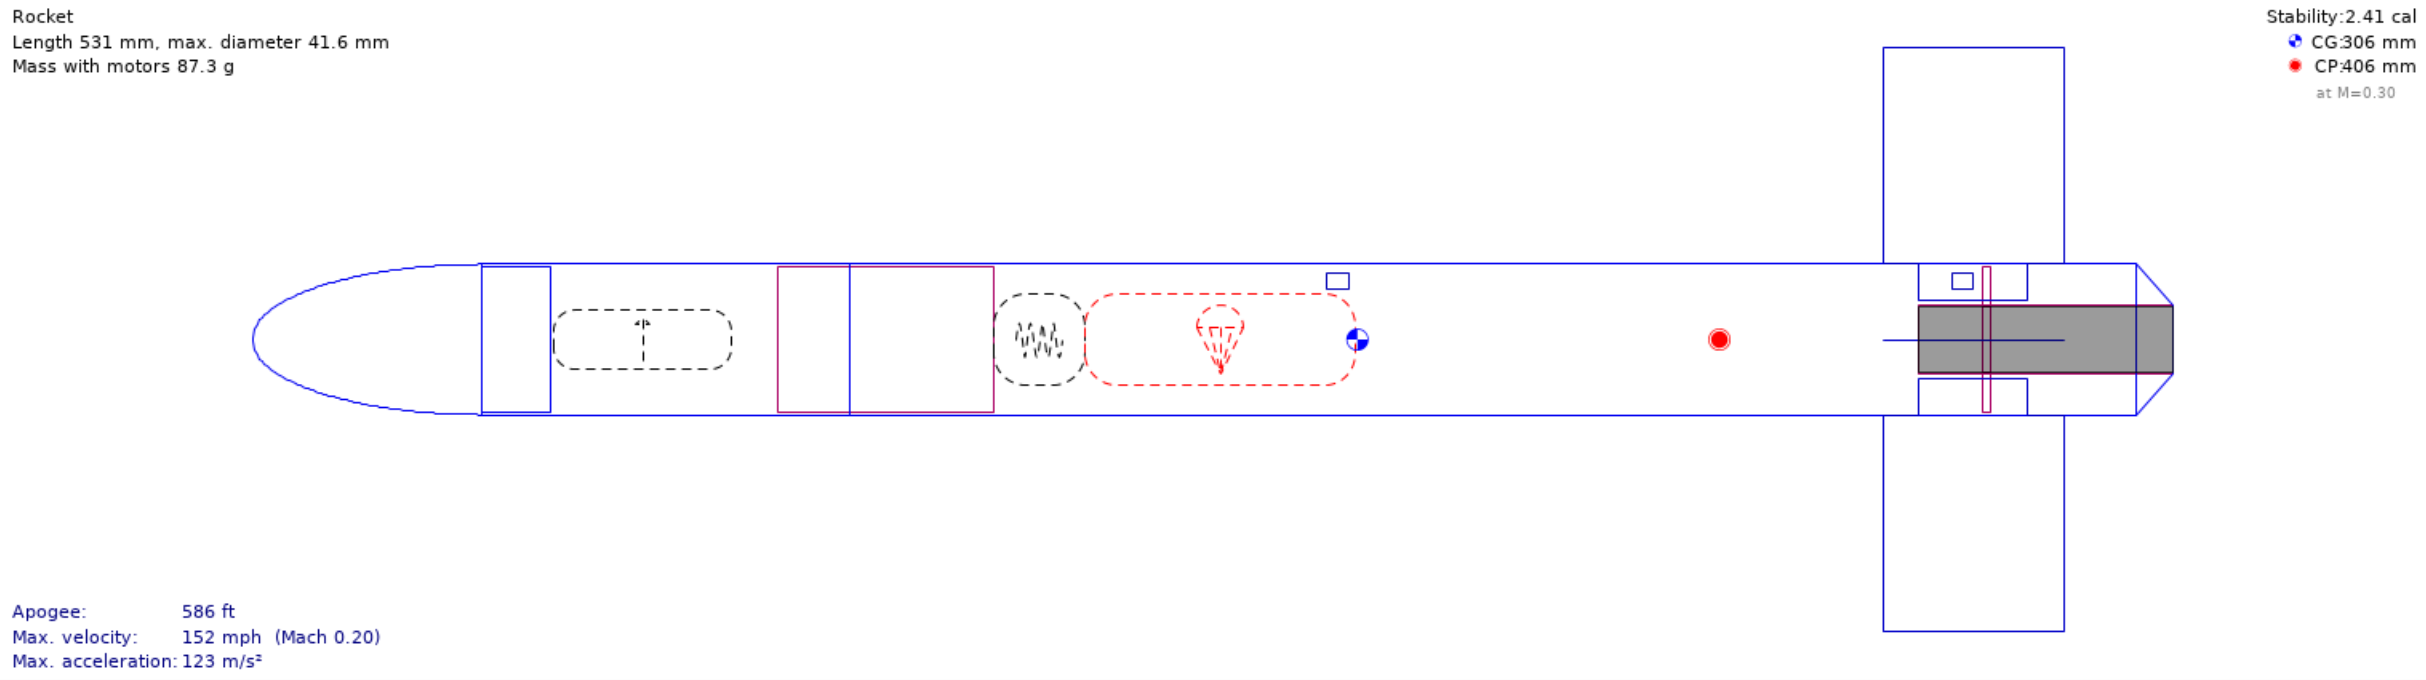
Modeling R2 in OpenRocket.
Other than the tubes, nosecone, and parachute, R2 was built up with a mix of 3D printed and CNC cut parts. The boattail was printed on a Wanhao i3+ in ABS for heat resistance, and the launch lugs the same for convenience. The tube coupler is in PLA printed on an Ender 3. Since the coupler isn’t exposed to significant direct heat I’m not too worried about the PLA, but in hindsight I wish I’d done it in ABS as well just to have no doubts about it sitting in a car trunk on a hot day. The fins, centering rings, and bulkheads were cut from 1/16″ balsa using a Cricut Maker. Strength was added by papering the fins with adhesive paper and coating the edges with CA. Rings and bulkheads were beefed up with a PVA glue coating.
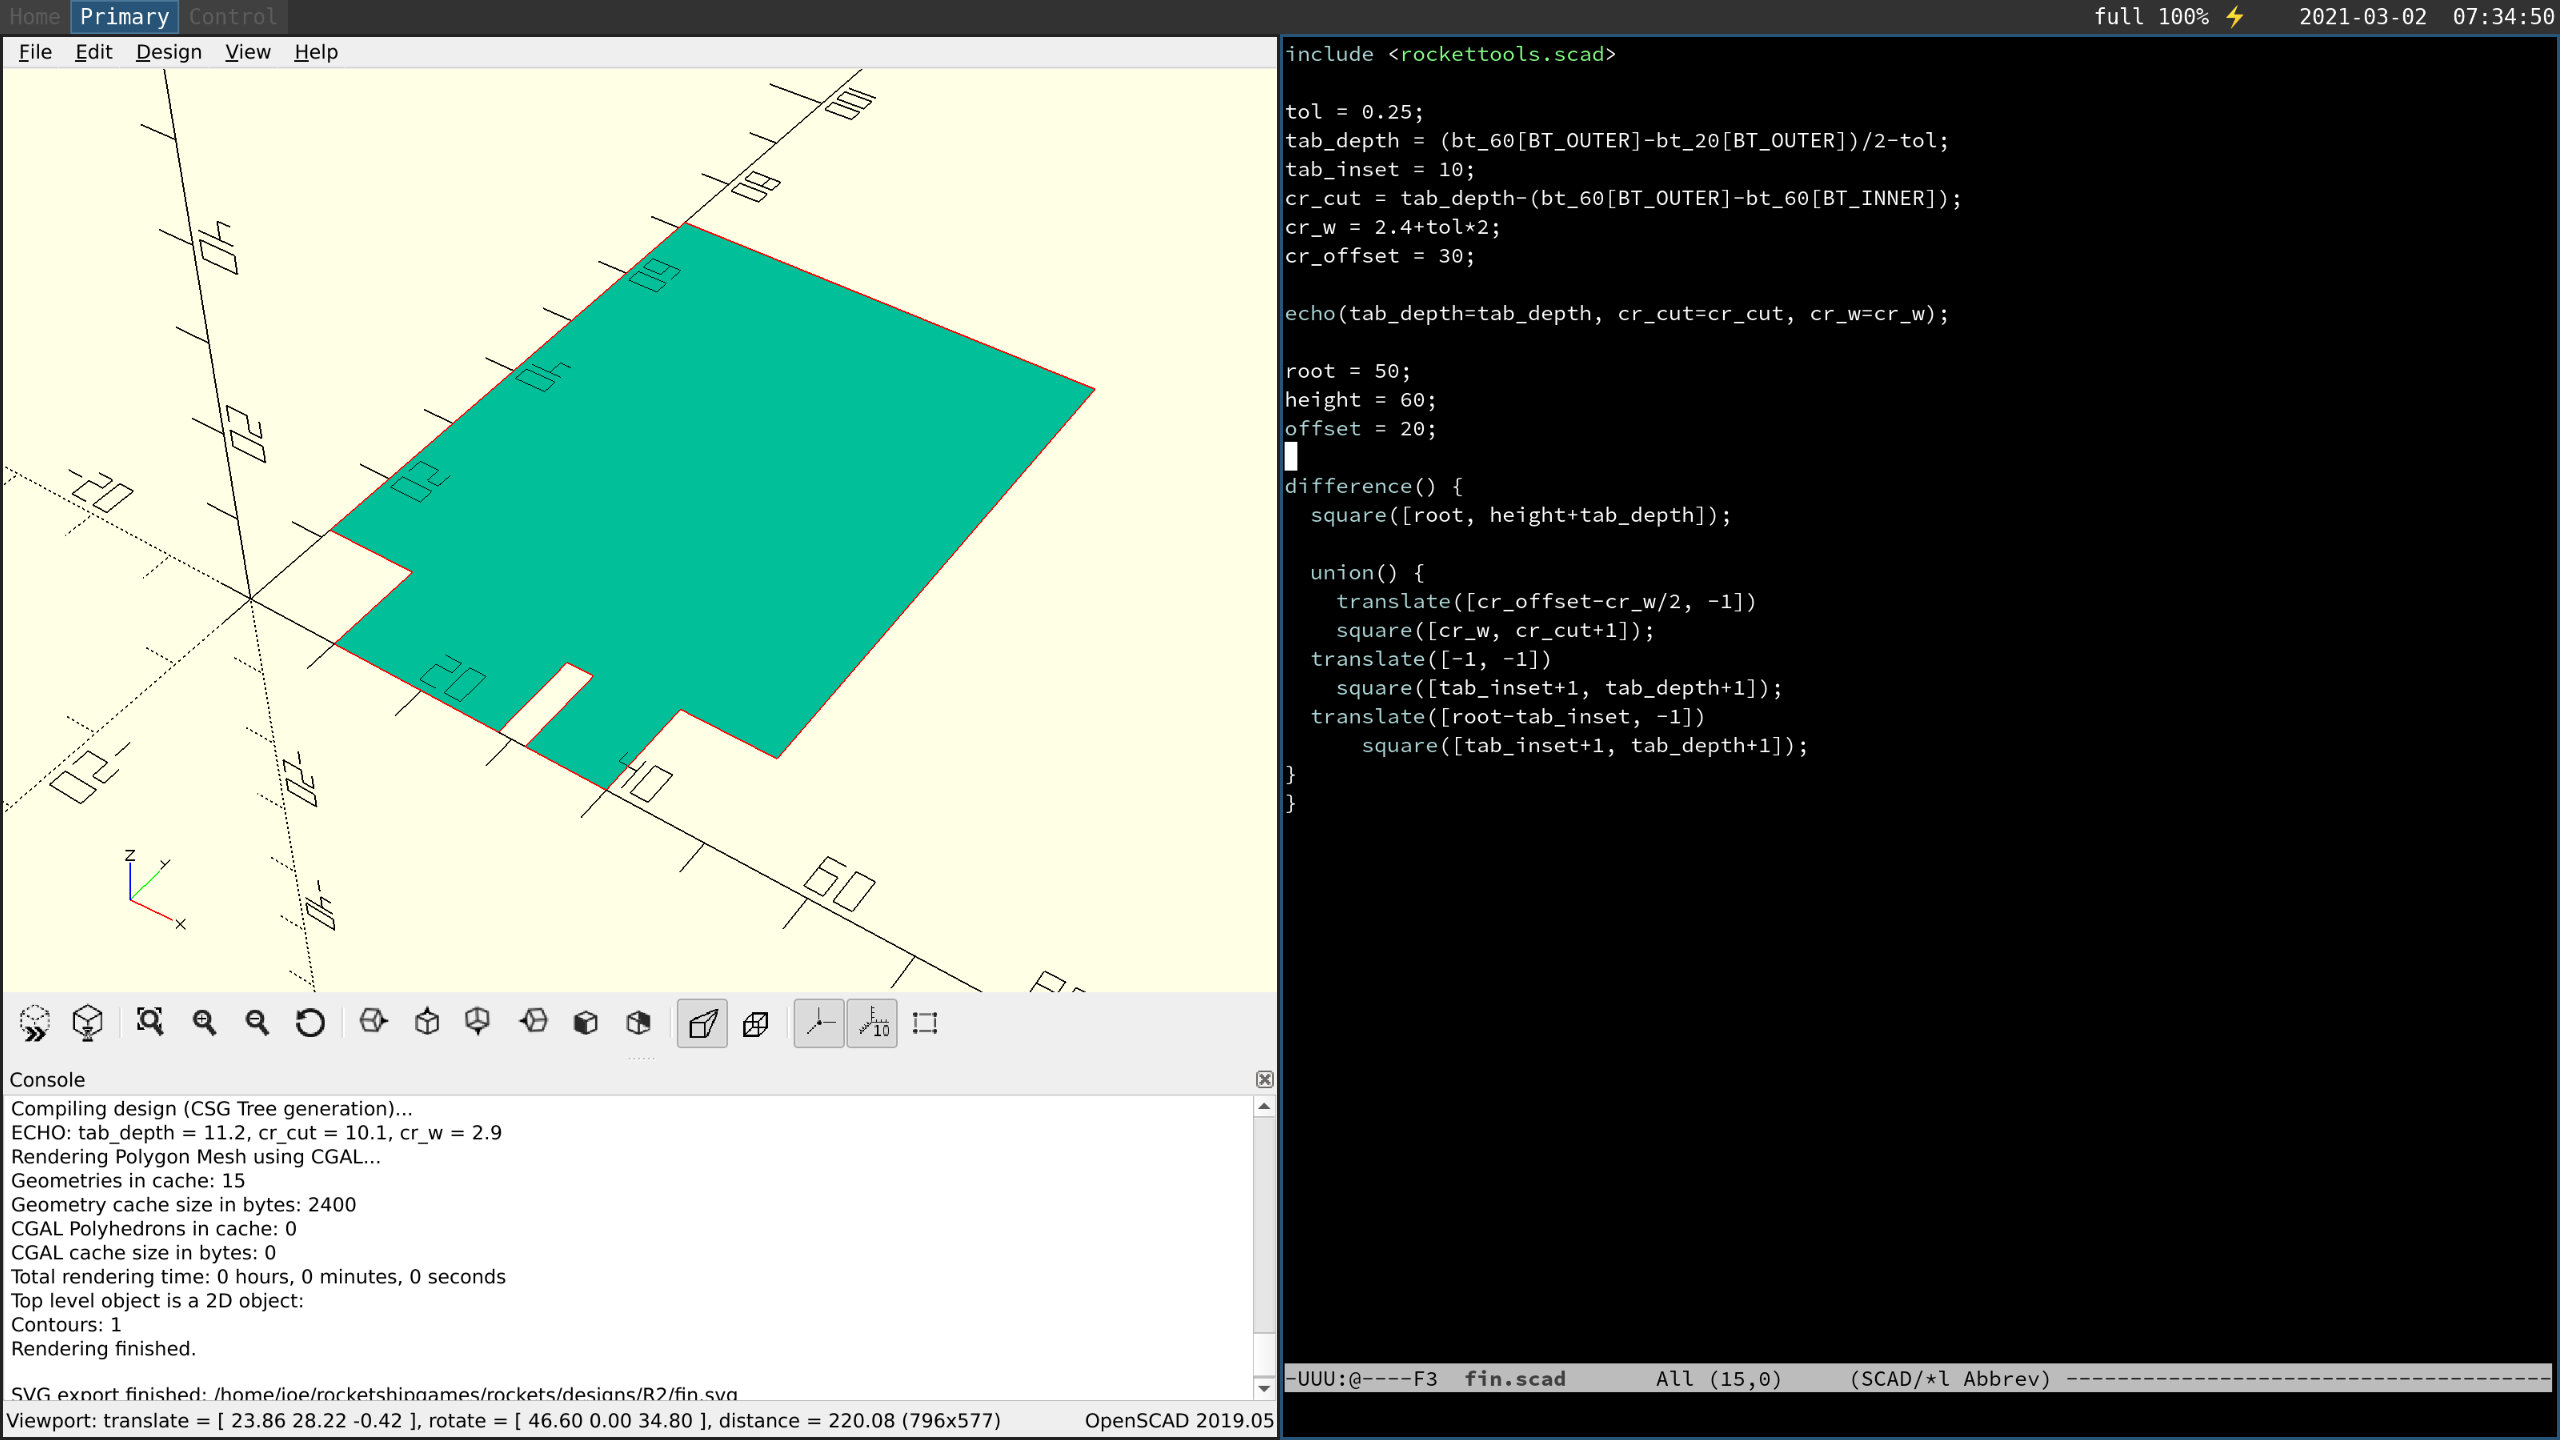
Drawing the fin pattern in OpenSCAD.
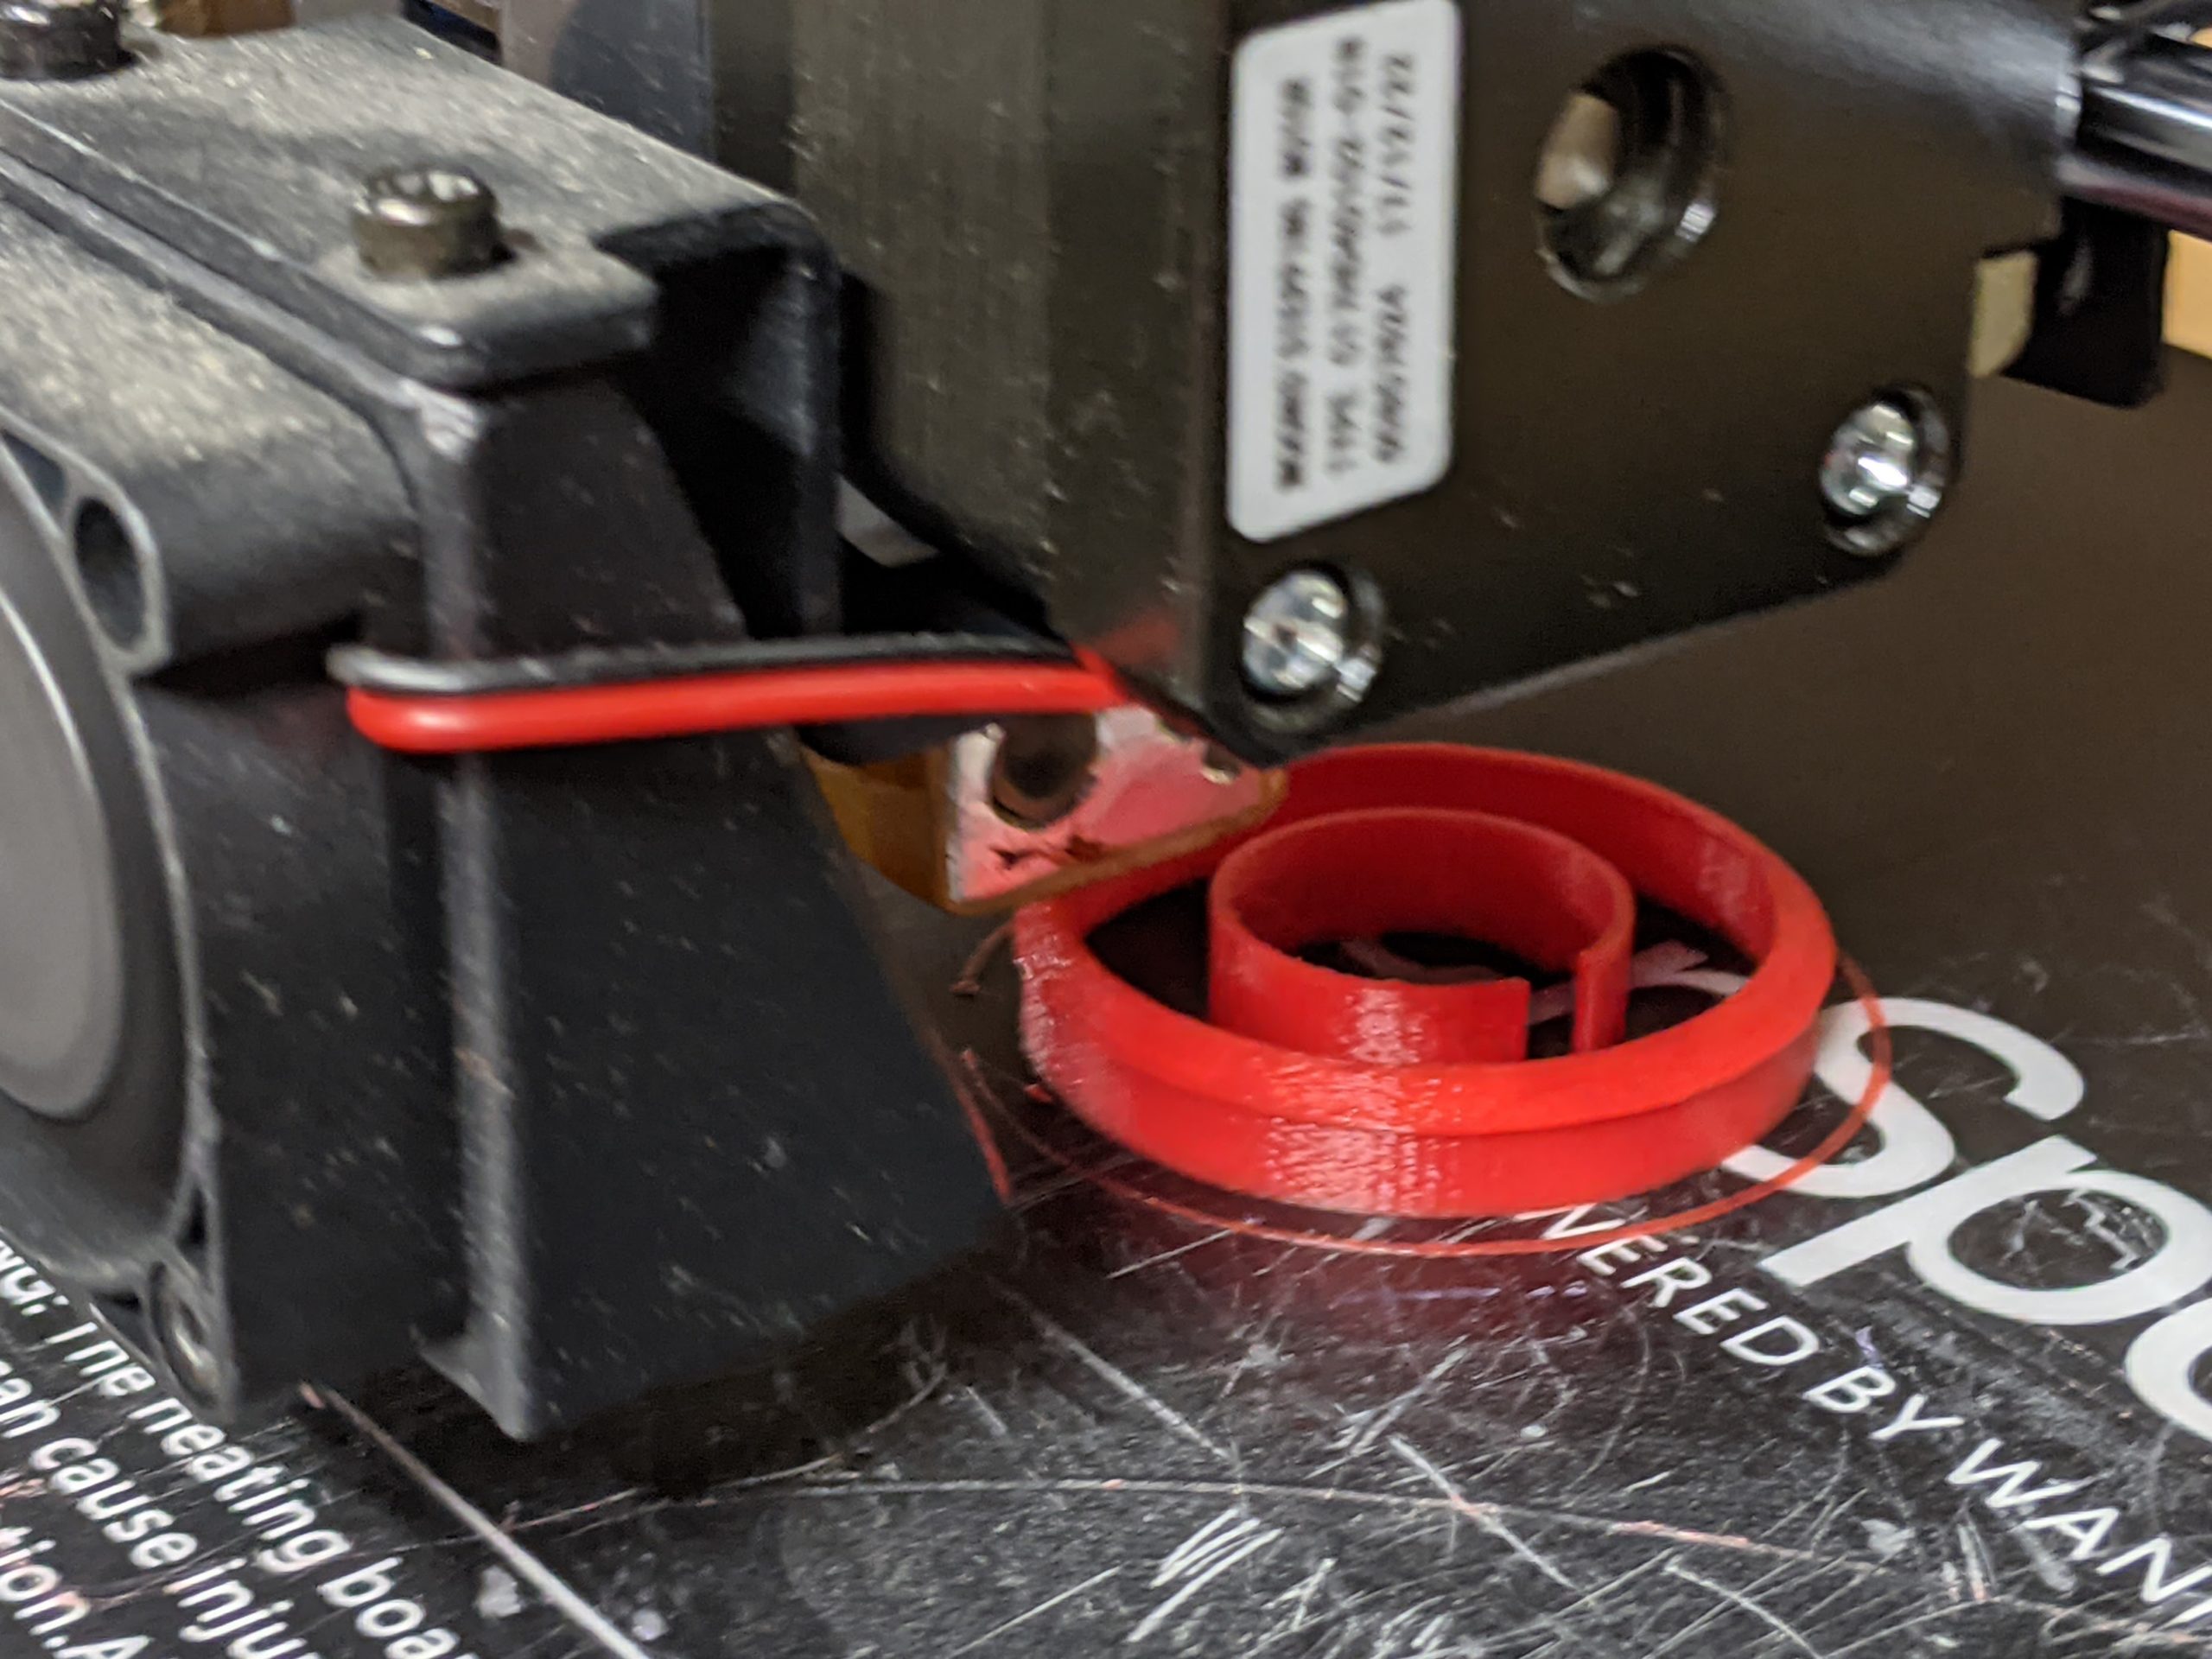
3D printing the boattail.

All R2’s pieces ready for assembly.
Marking the tube for the fin slots.
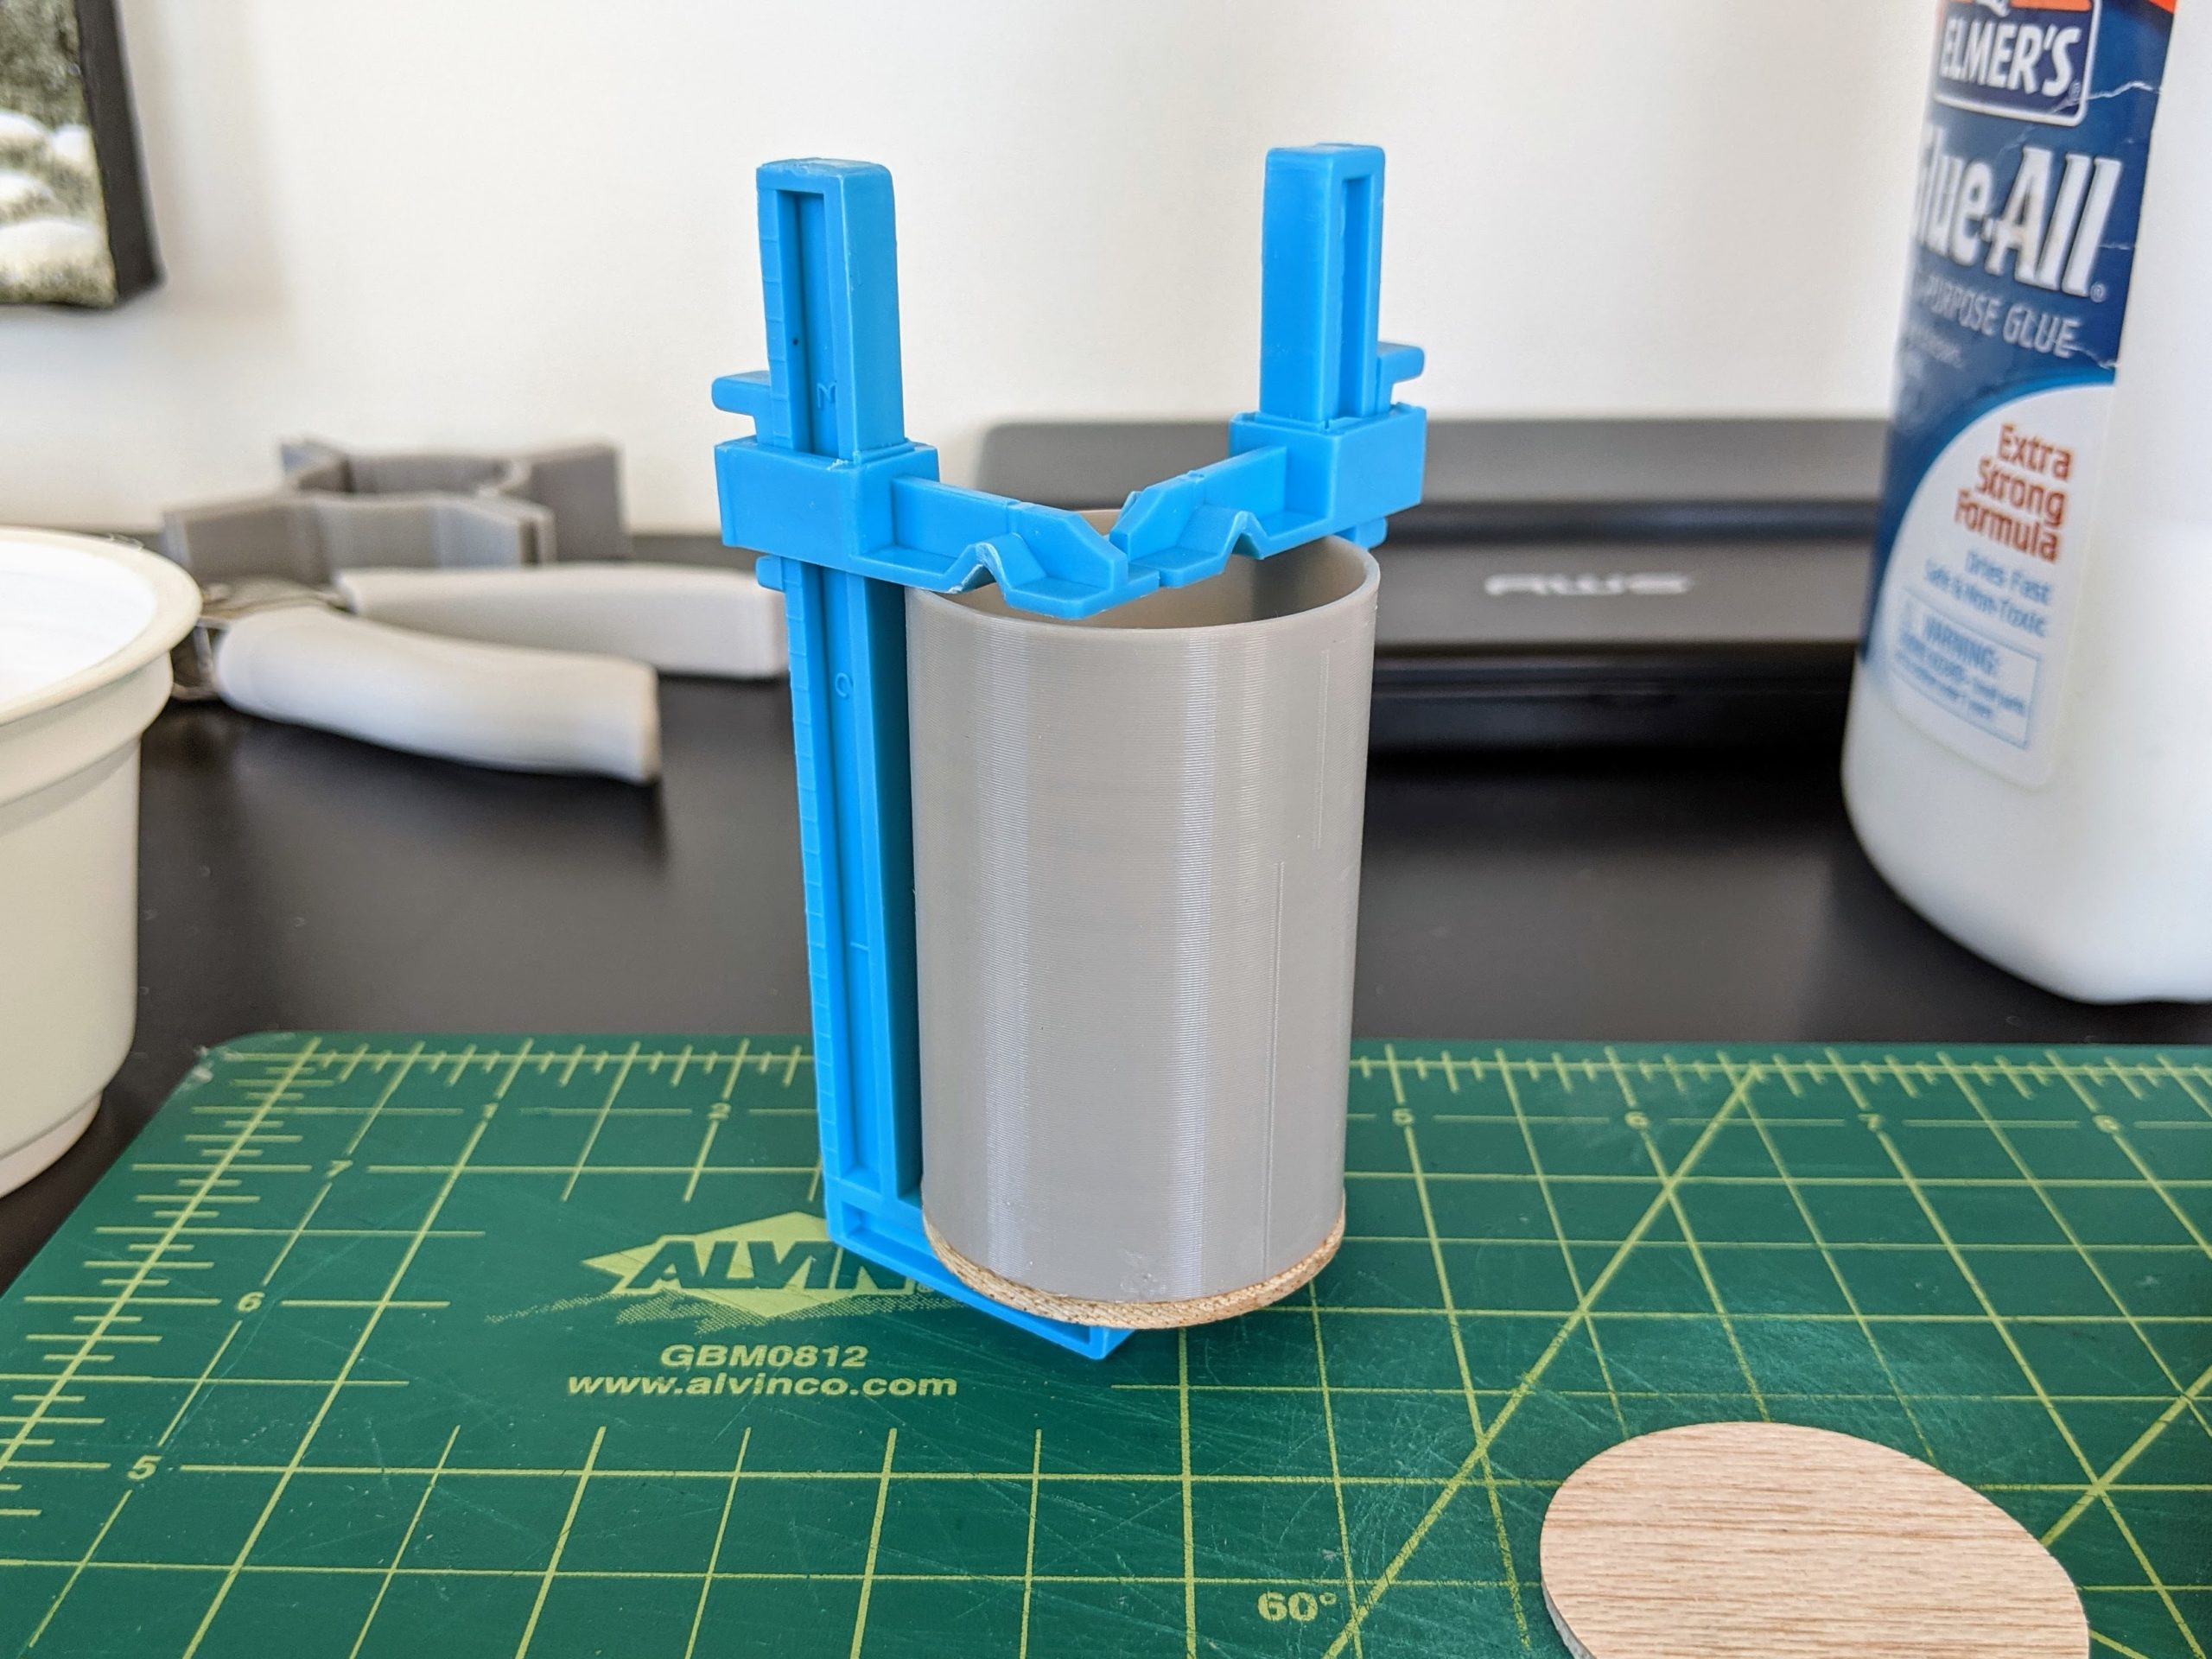
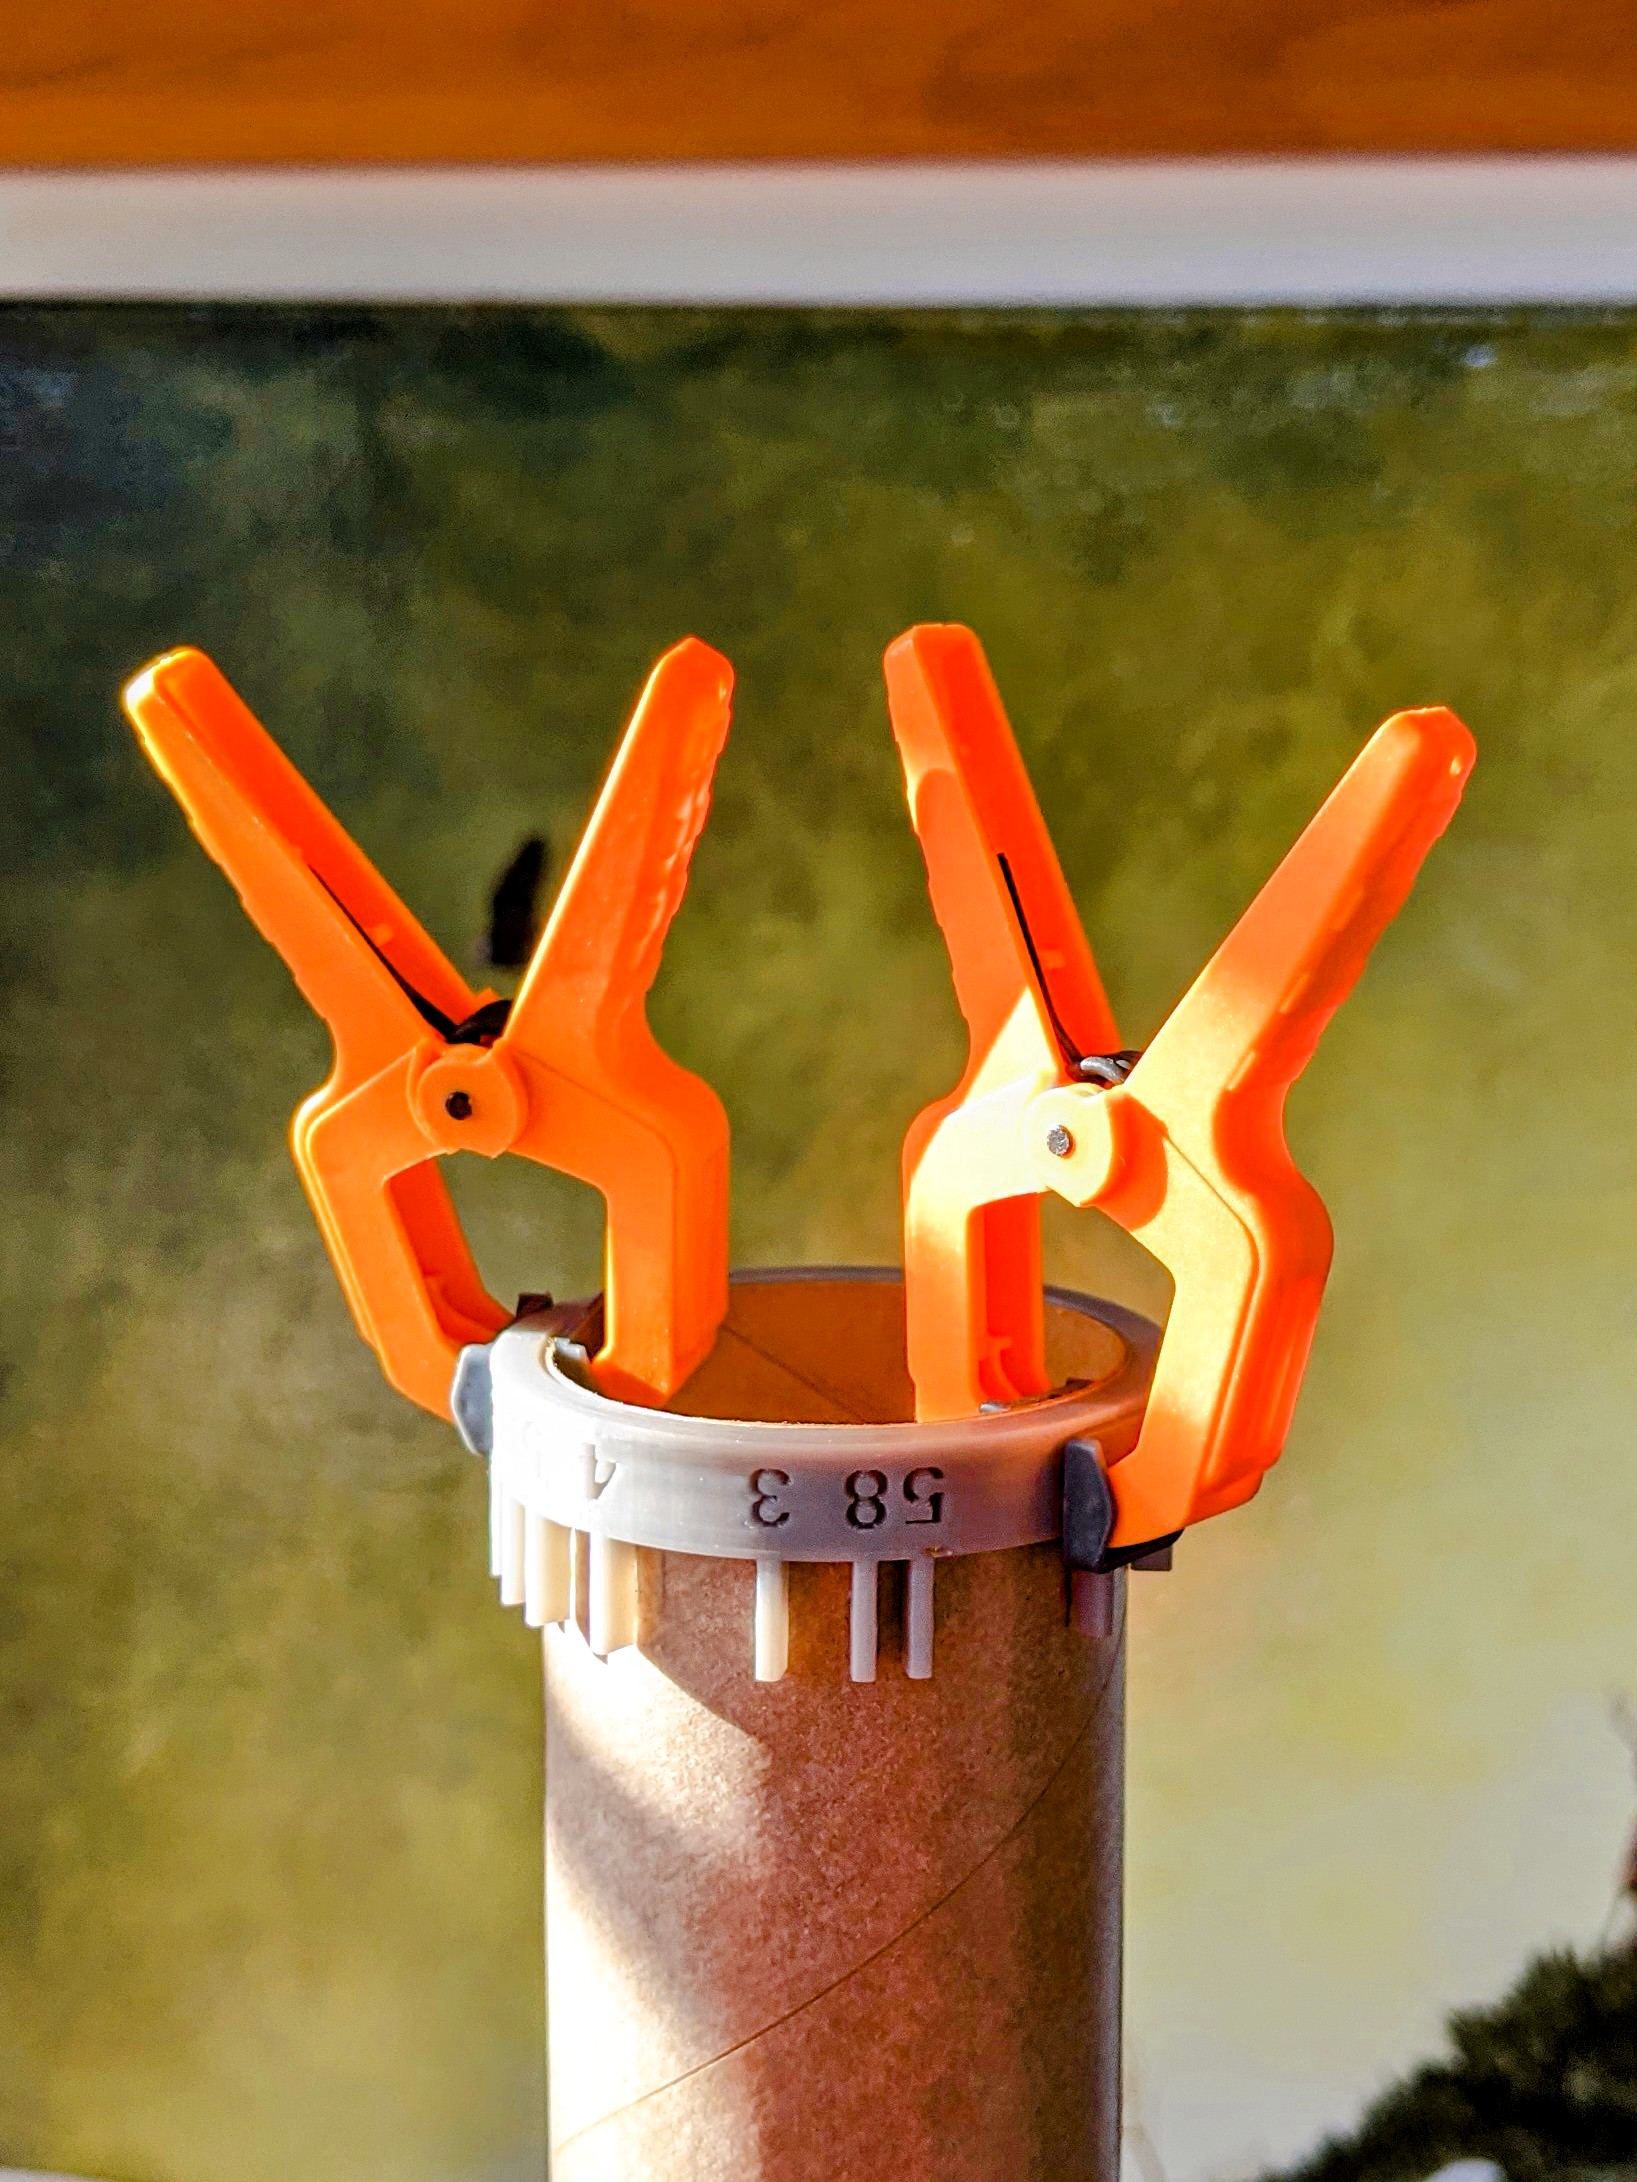
Gluing together a combo coupler and payload bay bulkhead.
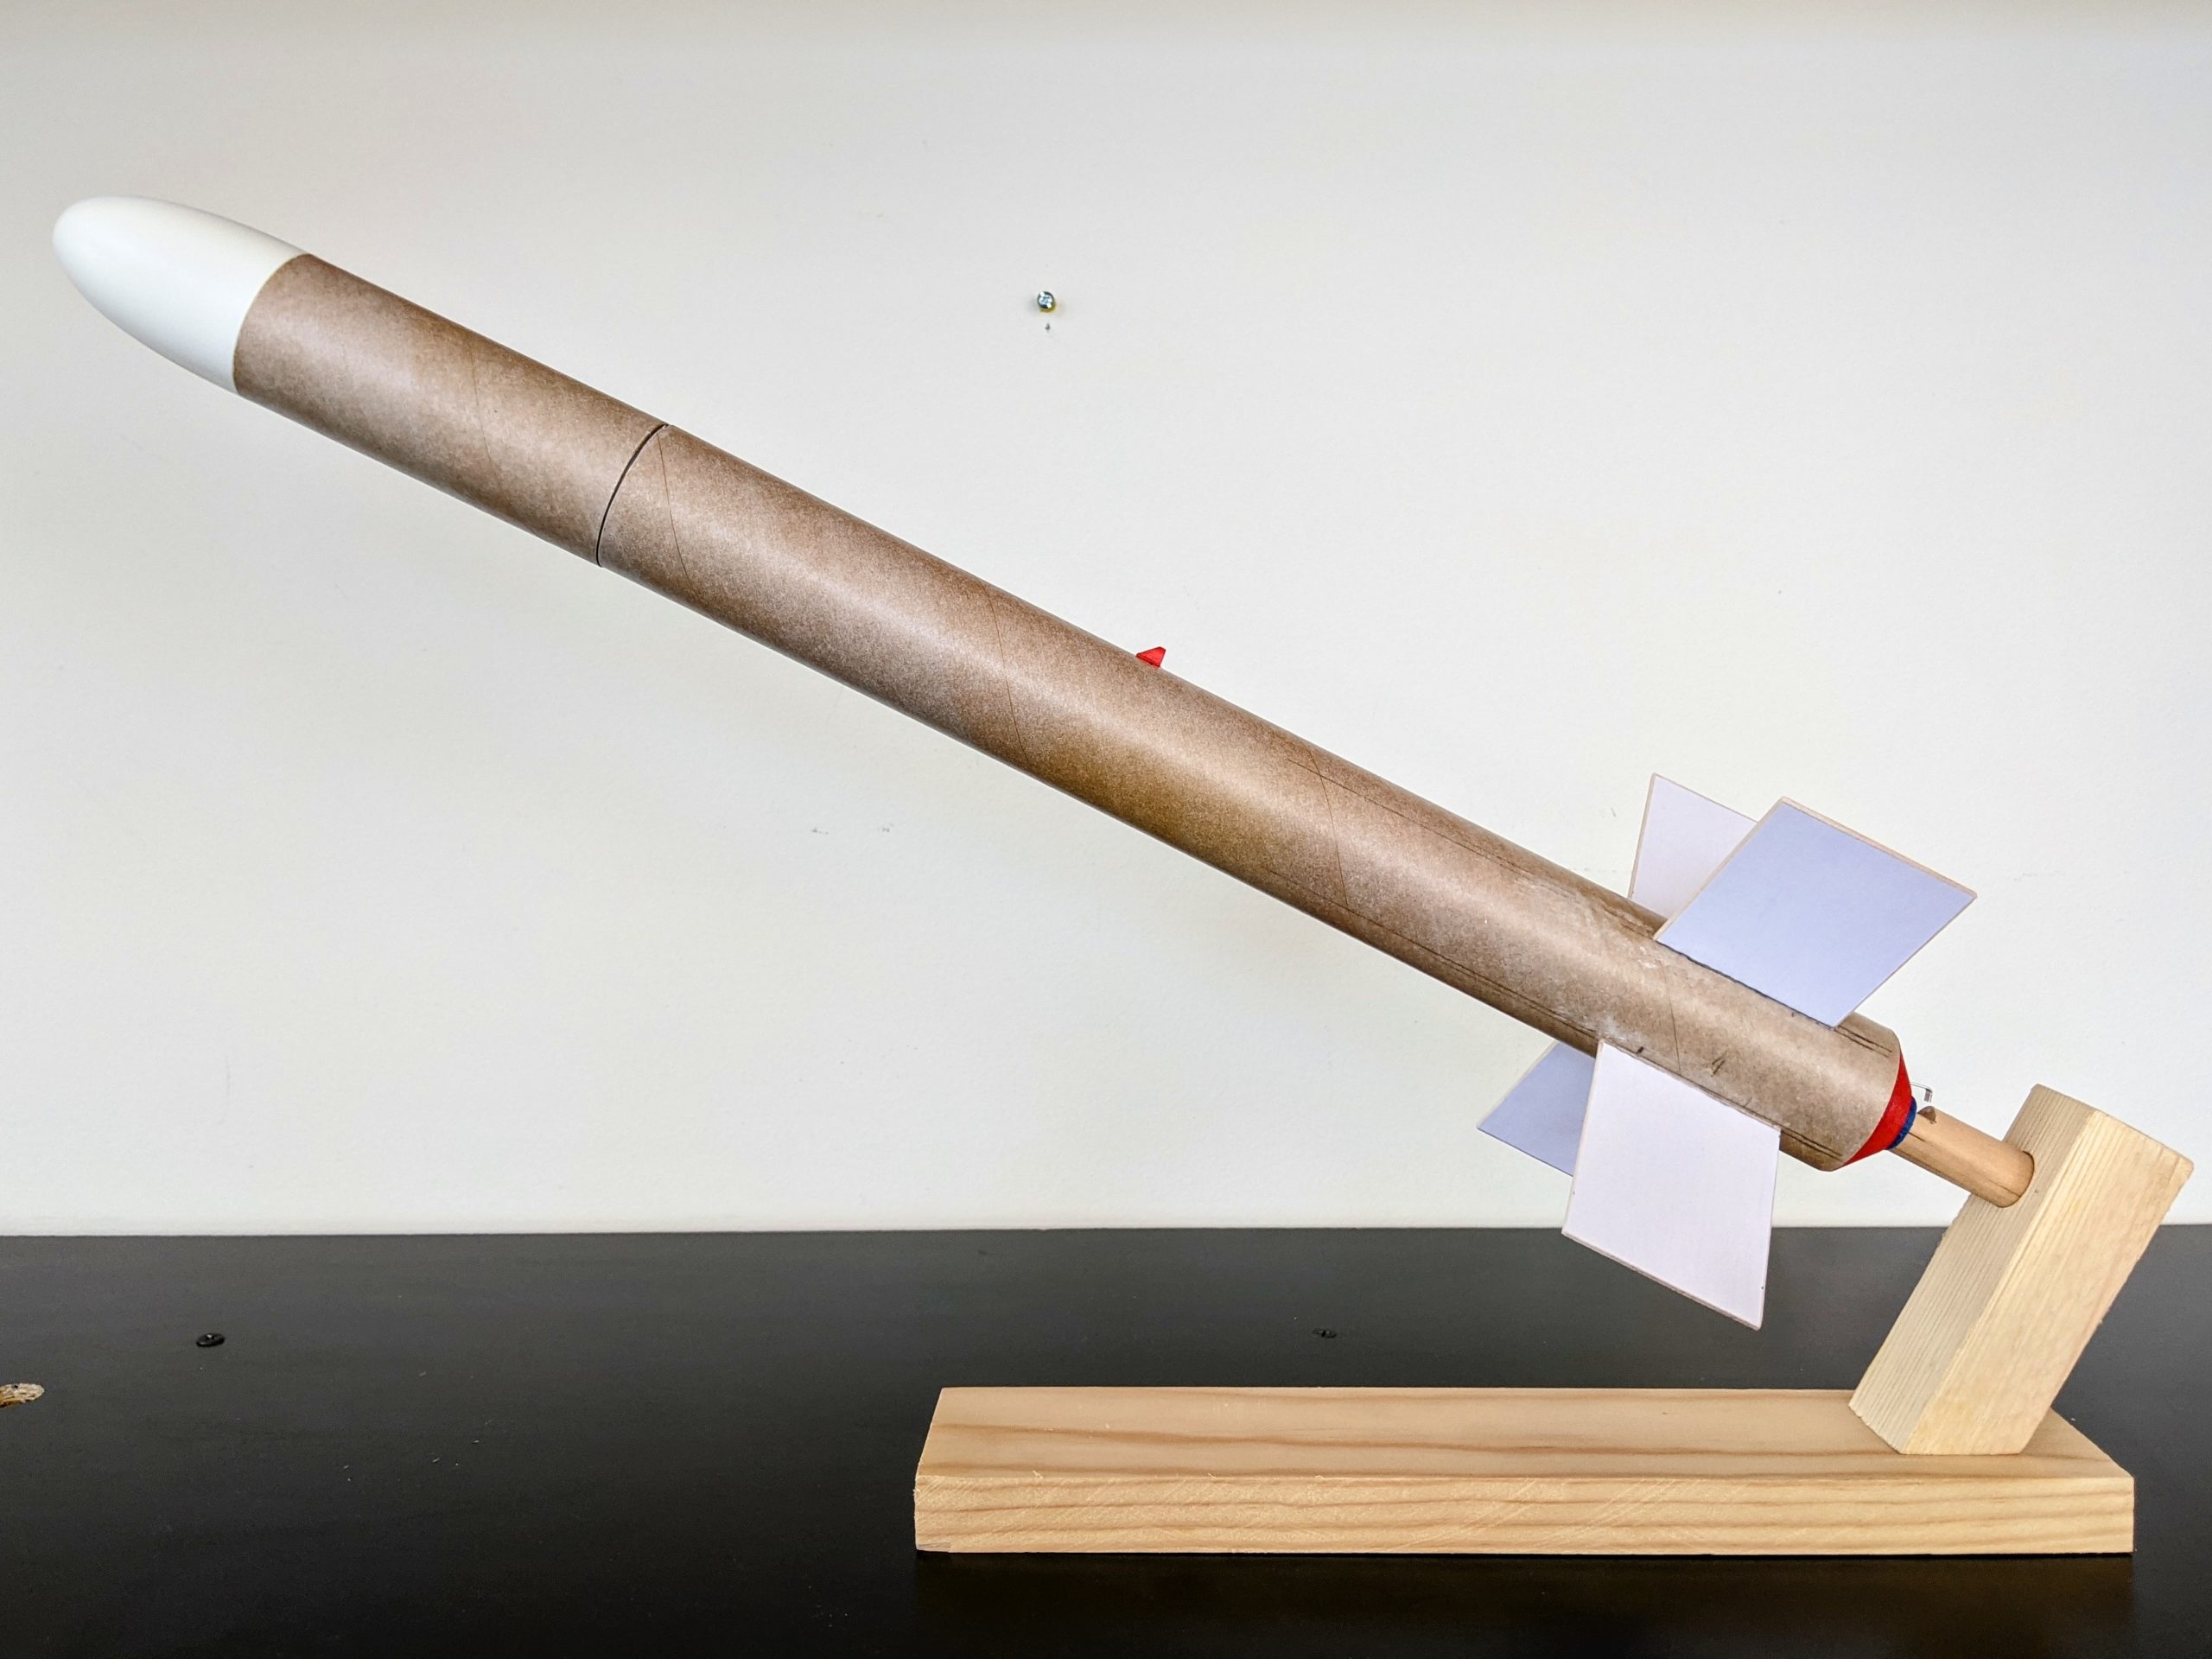
R2 fully assembled.
Finishing
Painting was done with Montana spray paints over a Rustoleum primer sanded down. The Montana paints go on kind of thick & heavy, they’re made for graffiti art, but because of that lend themselves to consistent, smooth, very opaque feeling finishes. The big “R2” lettering was done using vinyl stencils and spray paint while the other details are custom vinyl stickers. The stickers were printed on an inkjet and then they & the stencils cut out with the Cricut. The “SPACECRAFT” icon is a stock art logo I bought as tongue-in-cheek representation of a generic NASA/ESA/whatever. The US, Canadian, and Korean flags were chosen just because they look cool, it doesn’t reflect any actual mission partnership or such.
Really my only disappointments with the rocket came in finishing. One of the stickers on the nosecone smudged a bit in application. I also didn’t think enough about the striping on the payload bay, so there are 10 stripes instead of 8 and they don’t line up exactly with the quartered paint scheme of the body. But overall I think it came out well and looks real cool in the background on video calls.
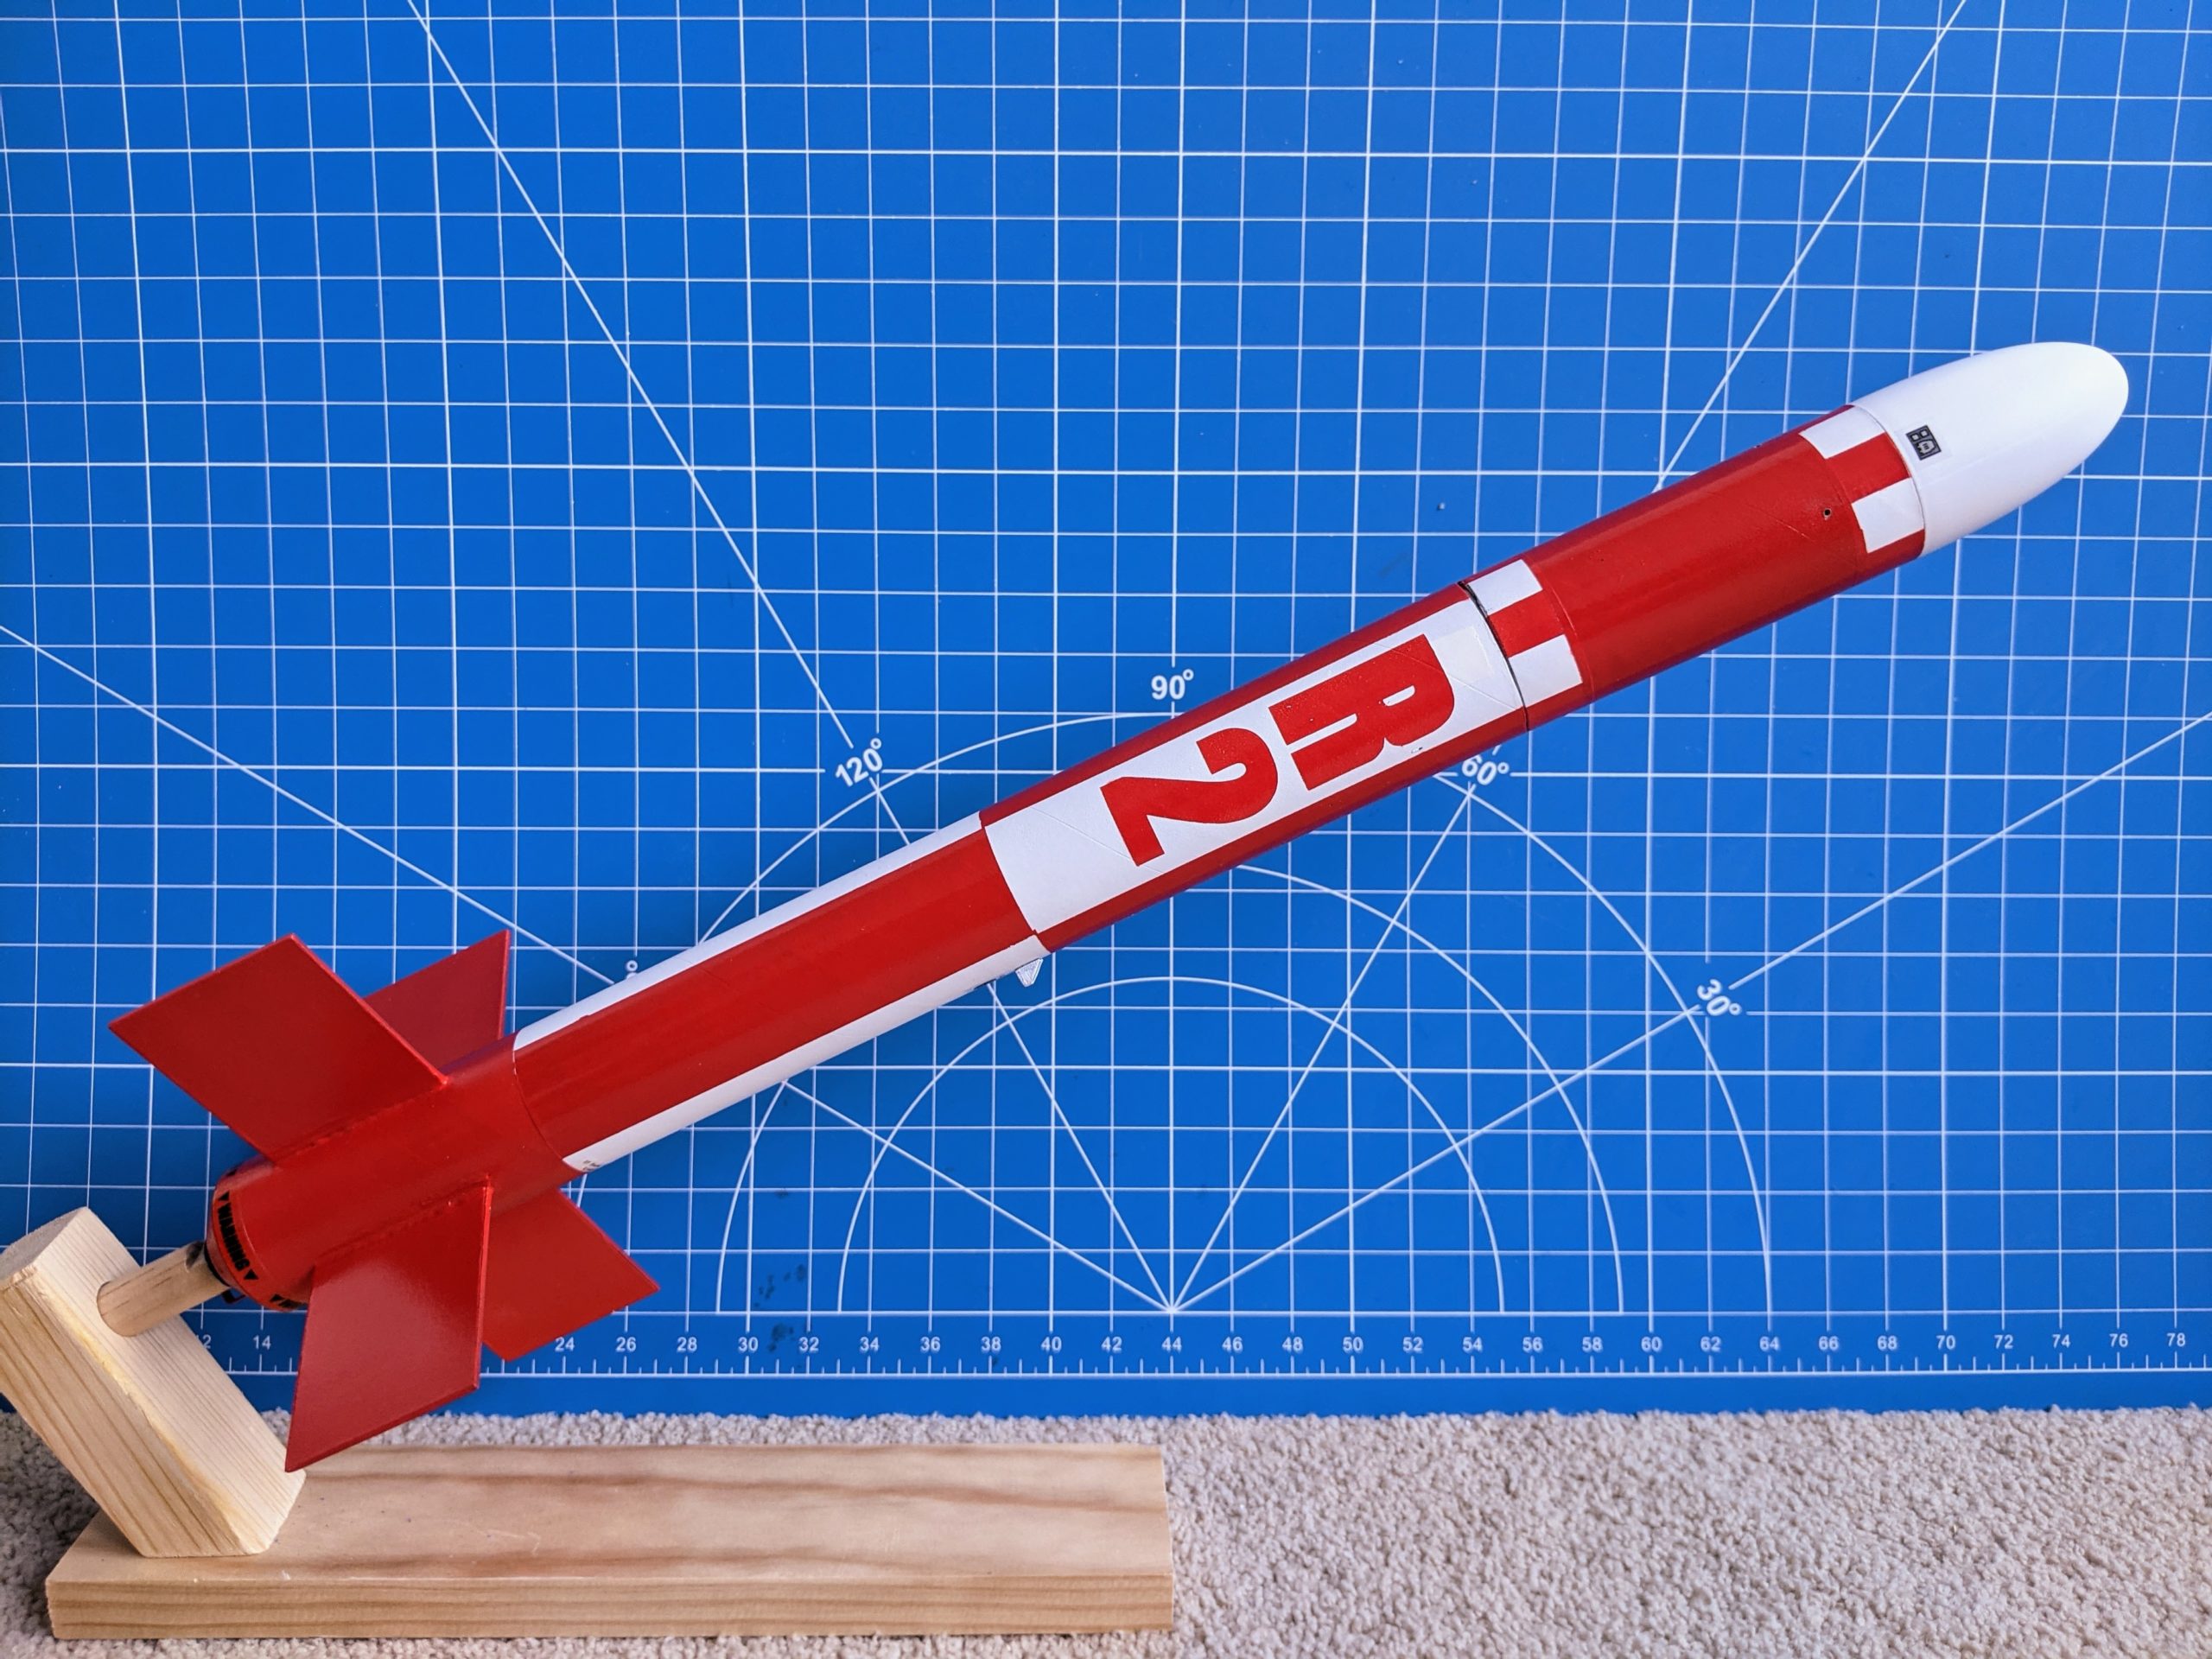
R2 finished (other side).
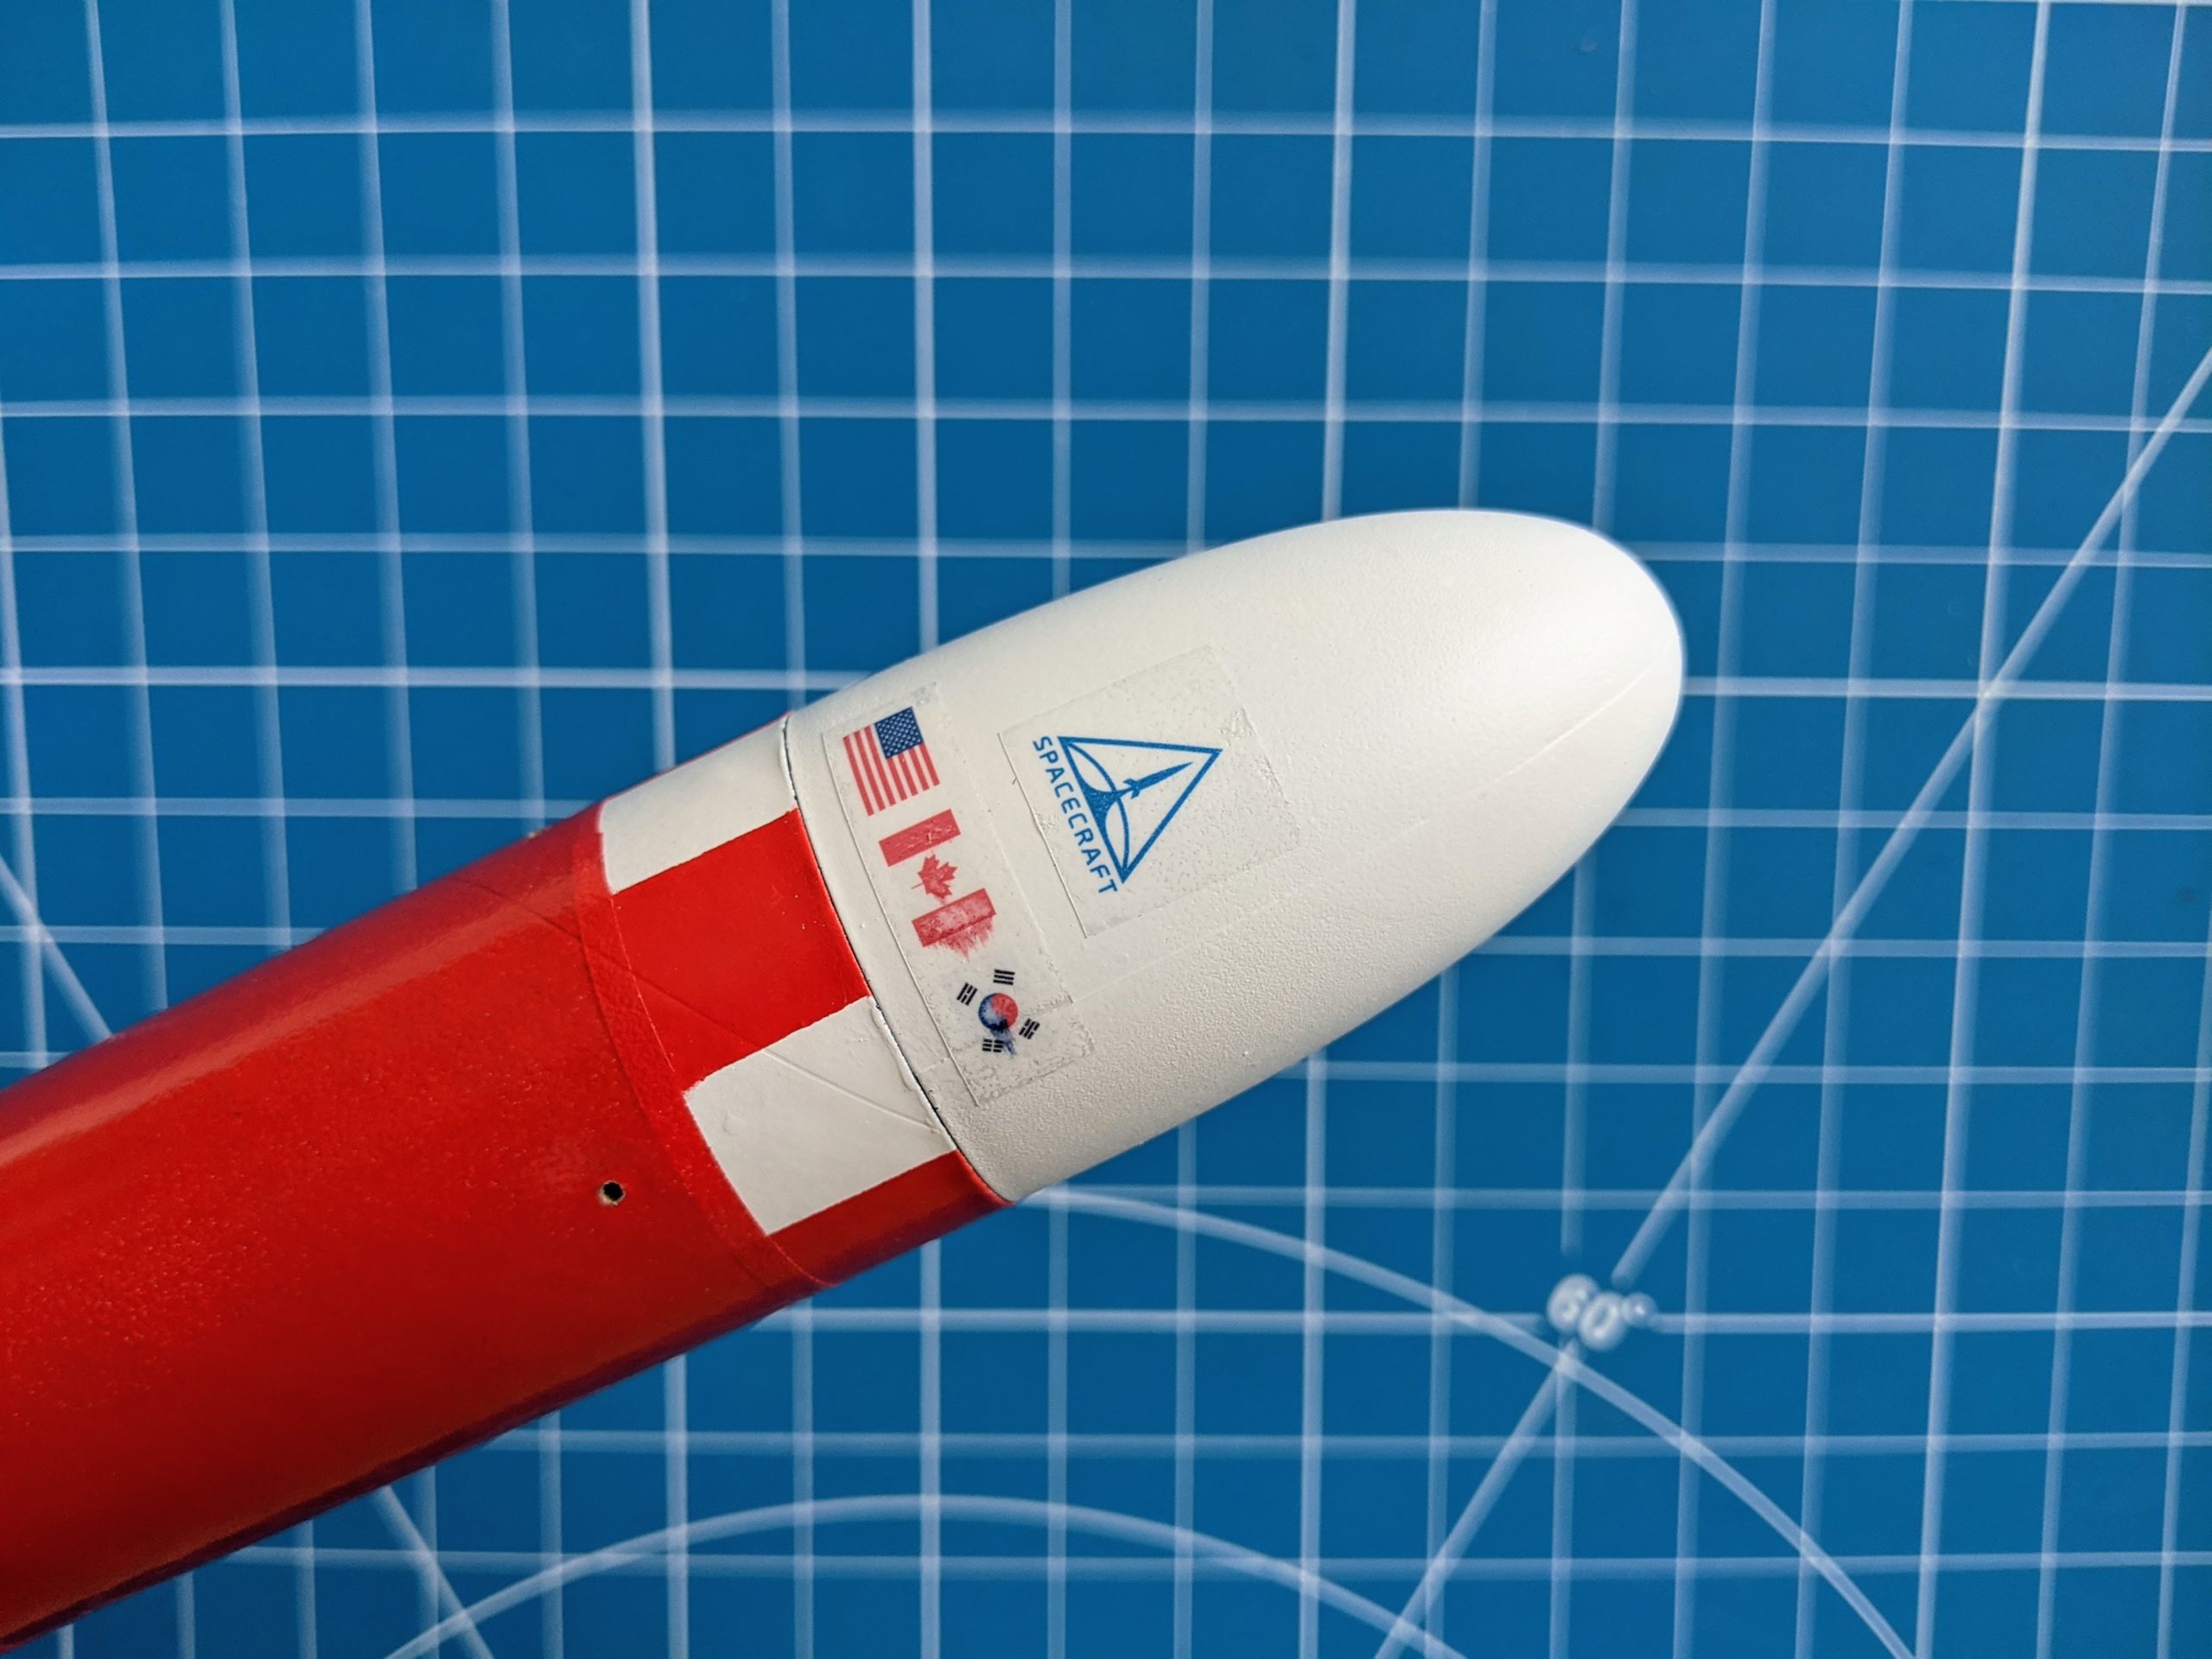
R2 finished (nosecone detail).
First Flight—Disaster!
There isn’t anywhere immediately near home to fly anything larger than maybe a 1/2A, so the first R2 launch had to wait until the next PARA meet. I got a good slow motion video of the launch itself, there was a successful parachute ejection, but then disaster: It was a windy day and the rocket drifted into trees immediately behind us.
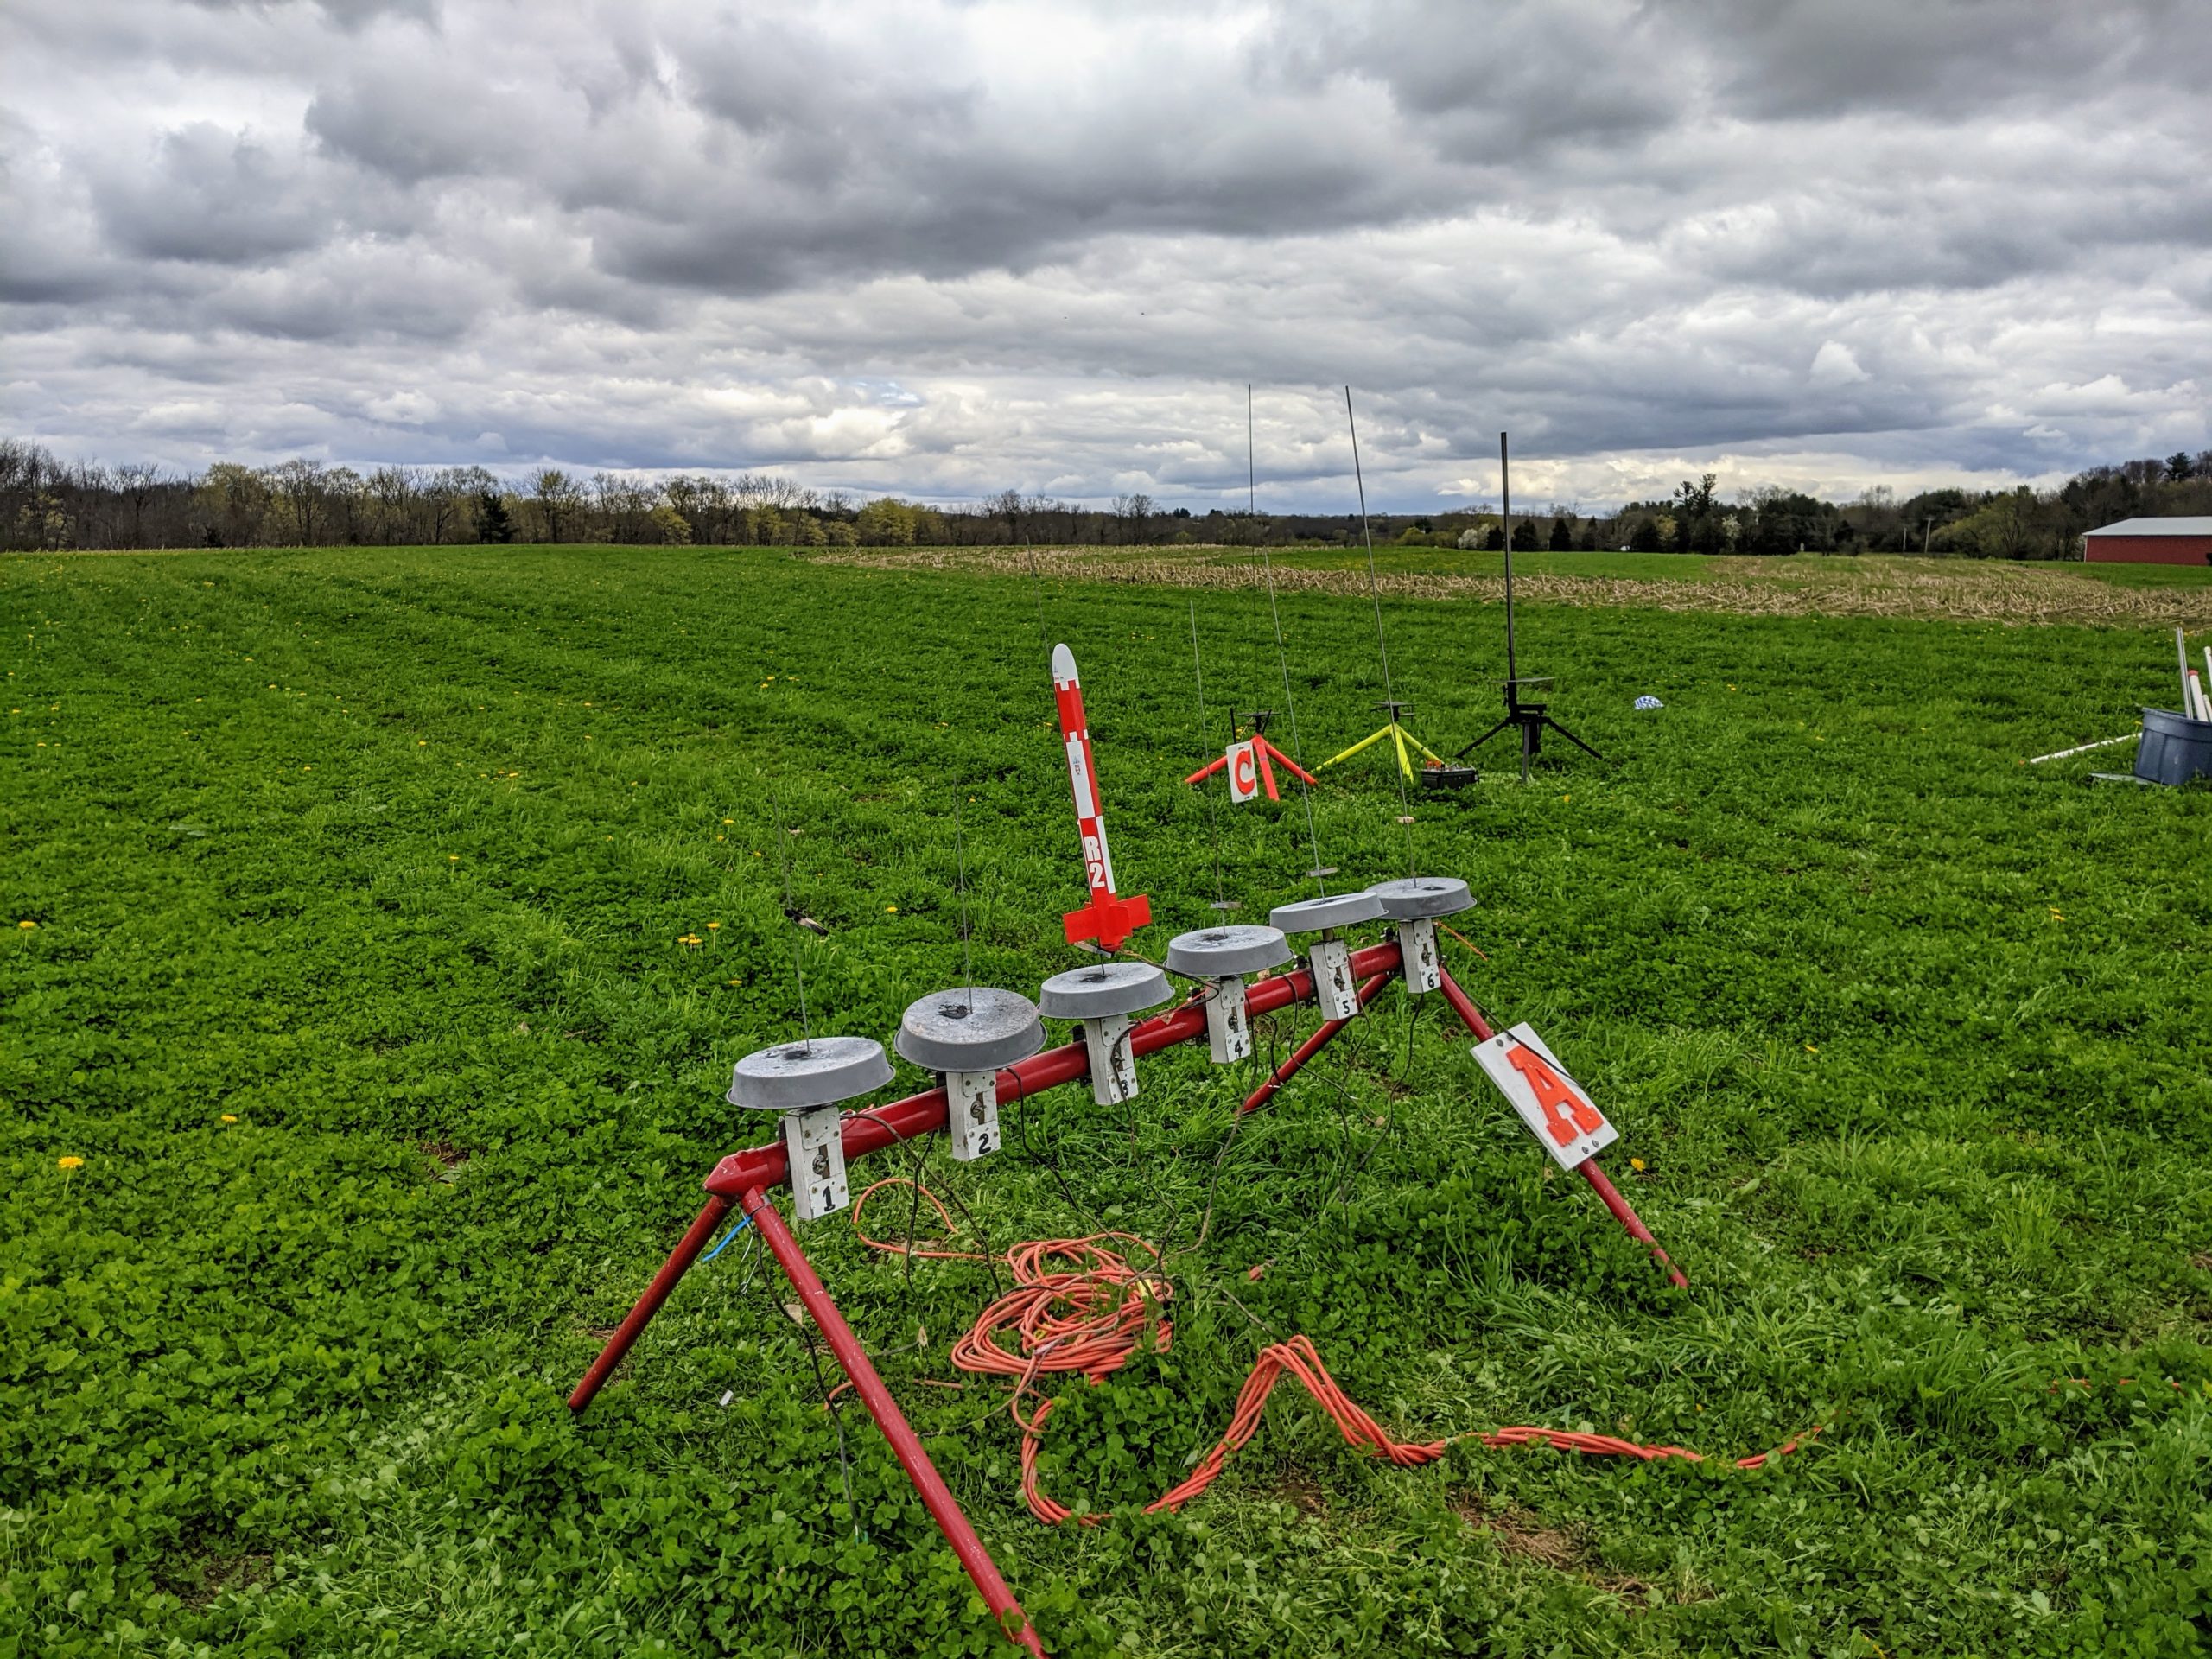
R2 on the launchpad for its debut.
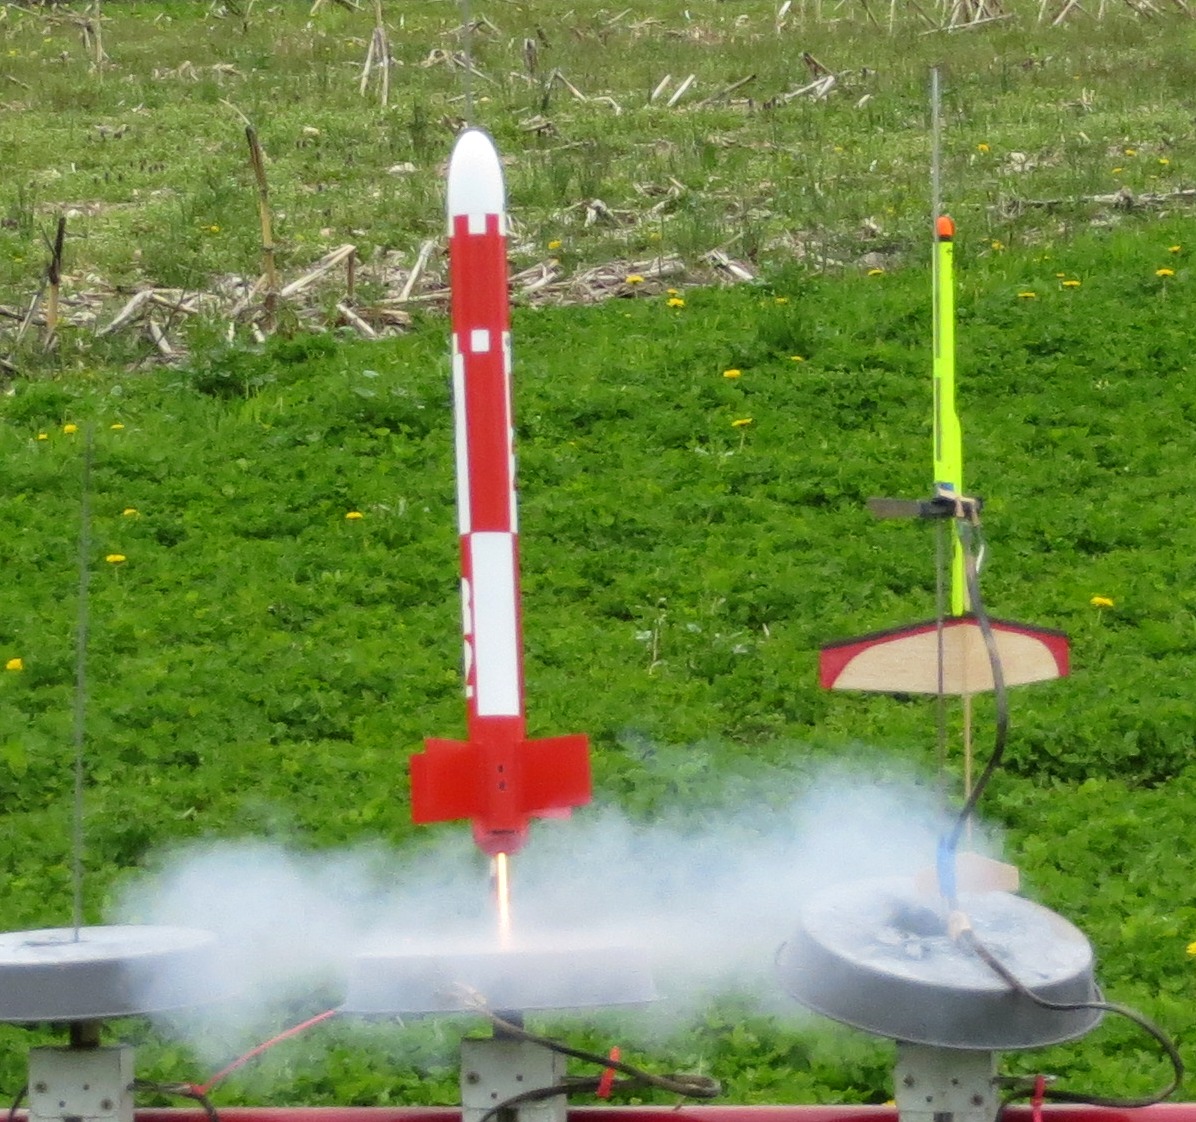
Ignition! Photo by Mike S.
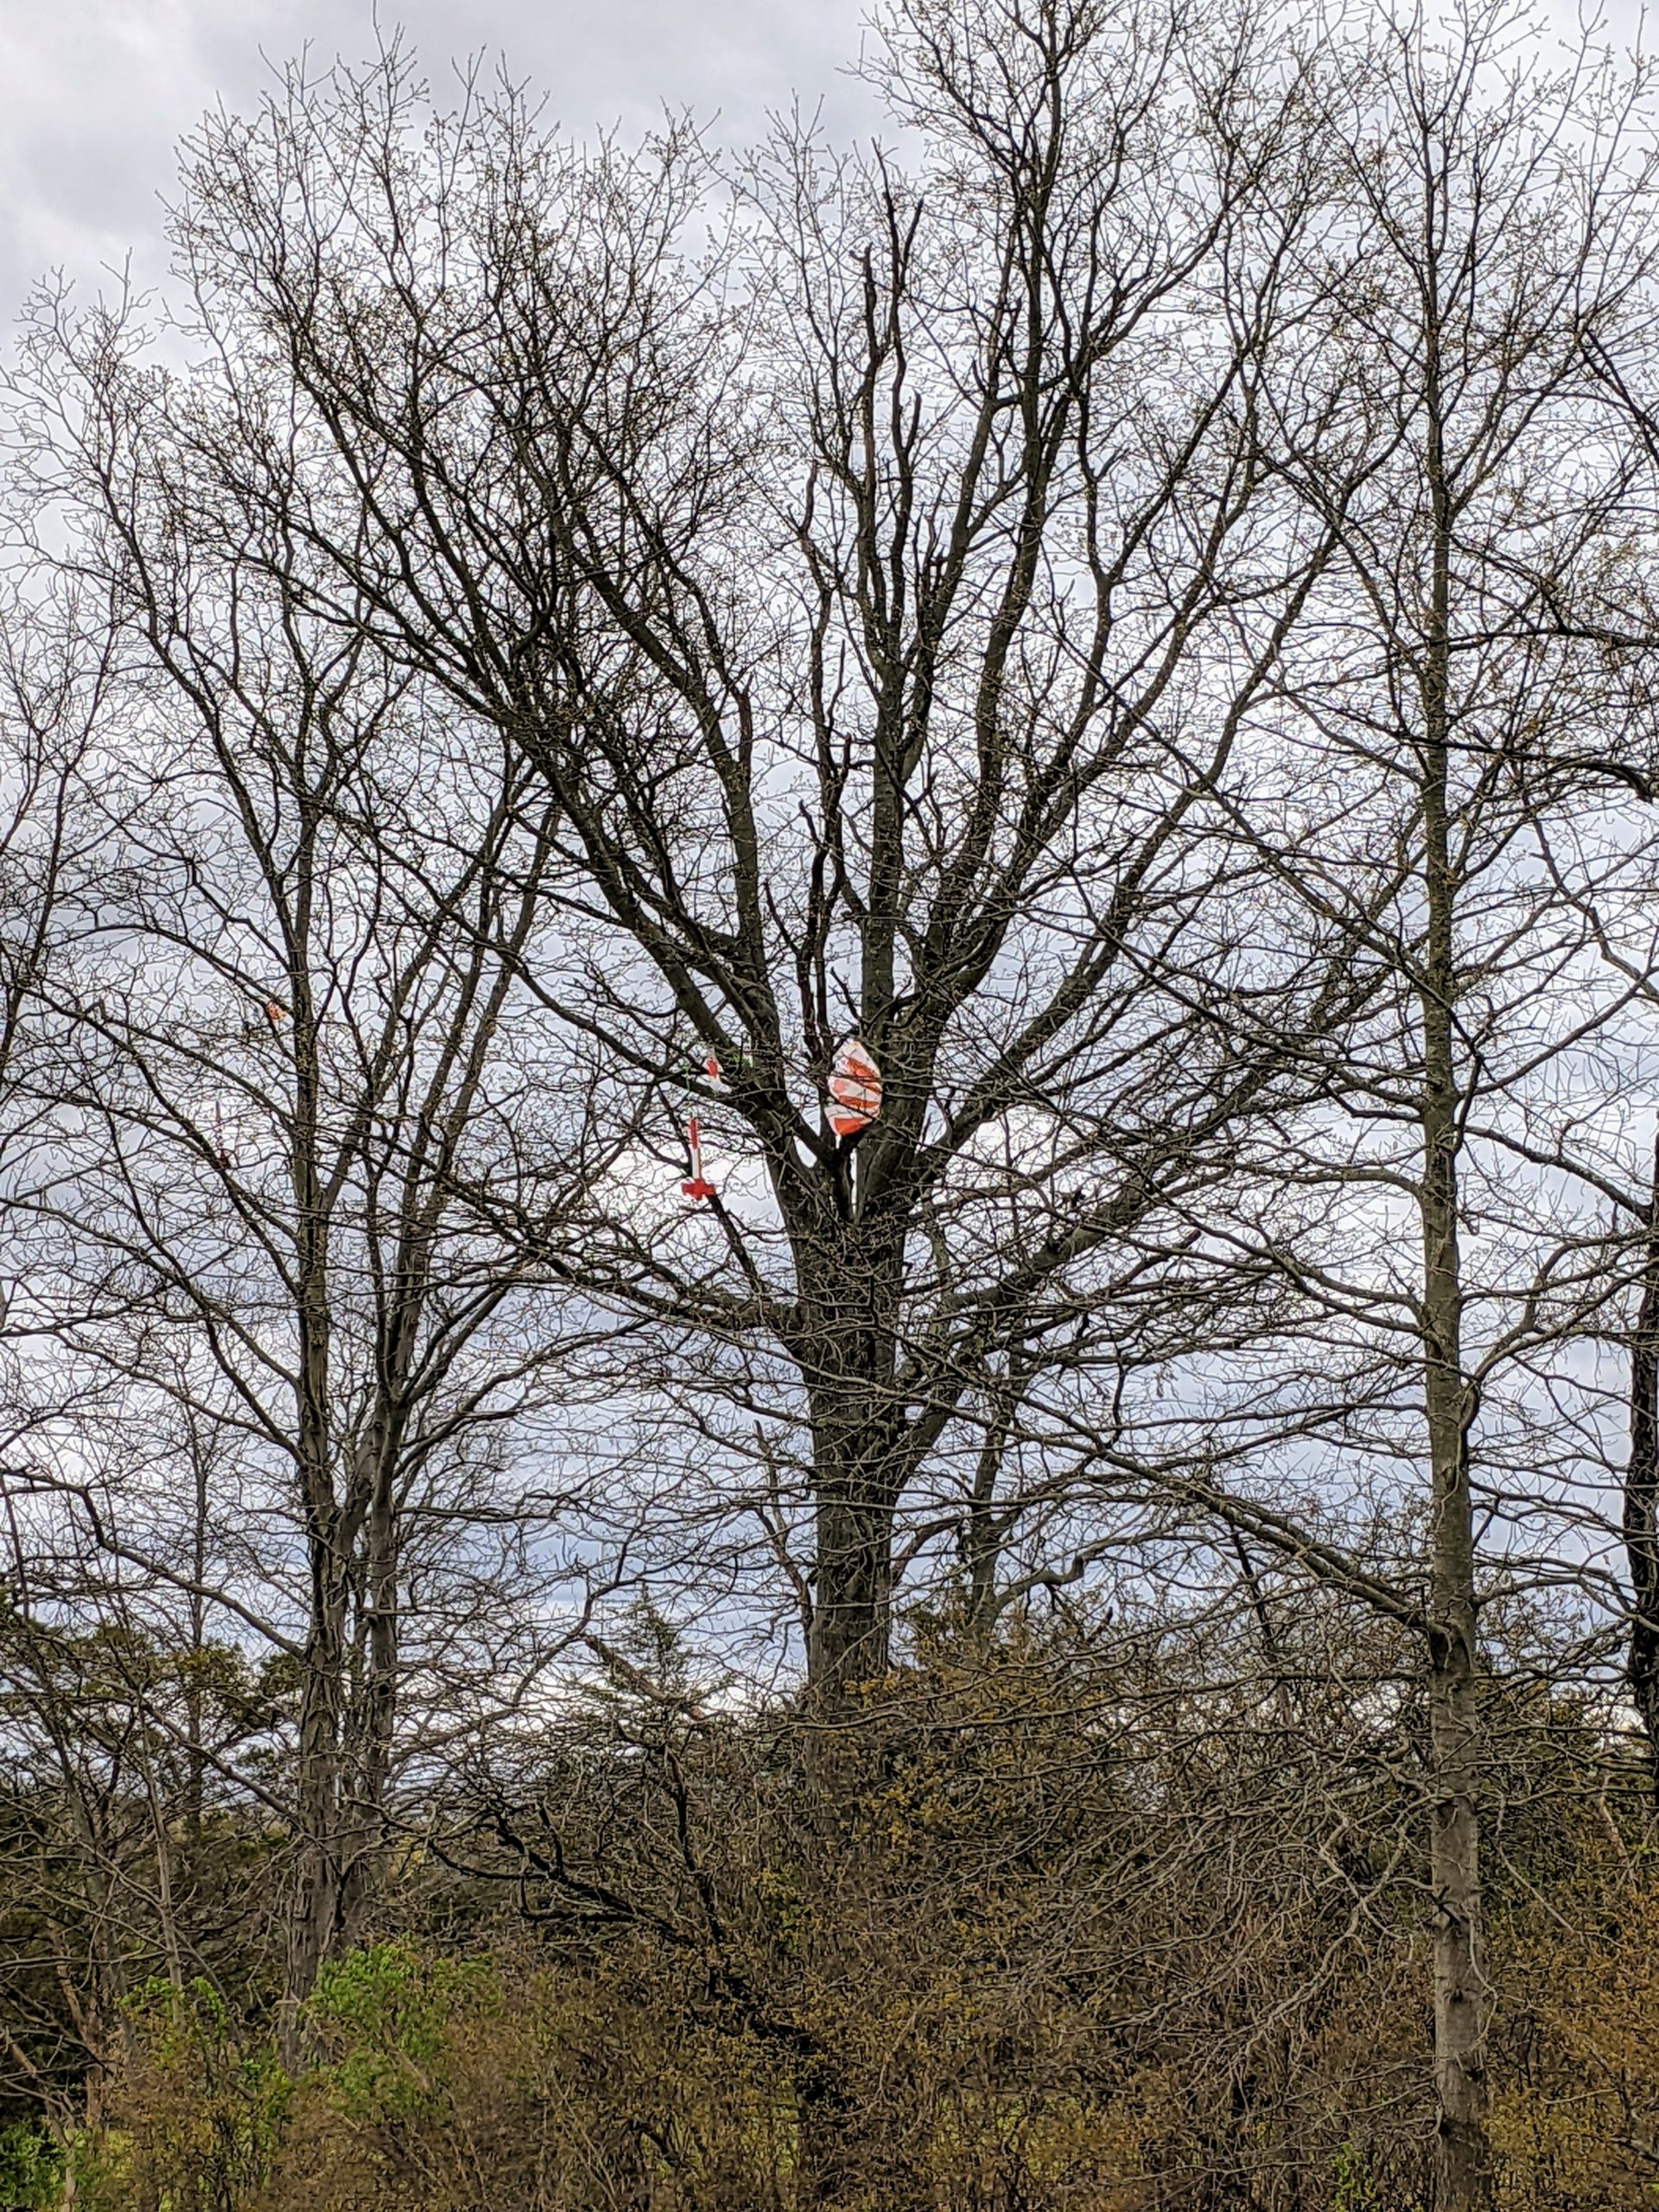
Up in a tree!
Fortunately the club has a telescoping pole with which we were just barely able to reach the rocket. It took some finagling, but eventually we were able to get hands on the rocket. The shock cord stretched a ridiculous amount so it took some effort even beyond that point, but we were eventually able to rip the rocket down.
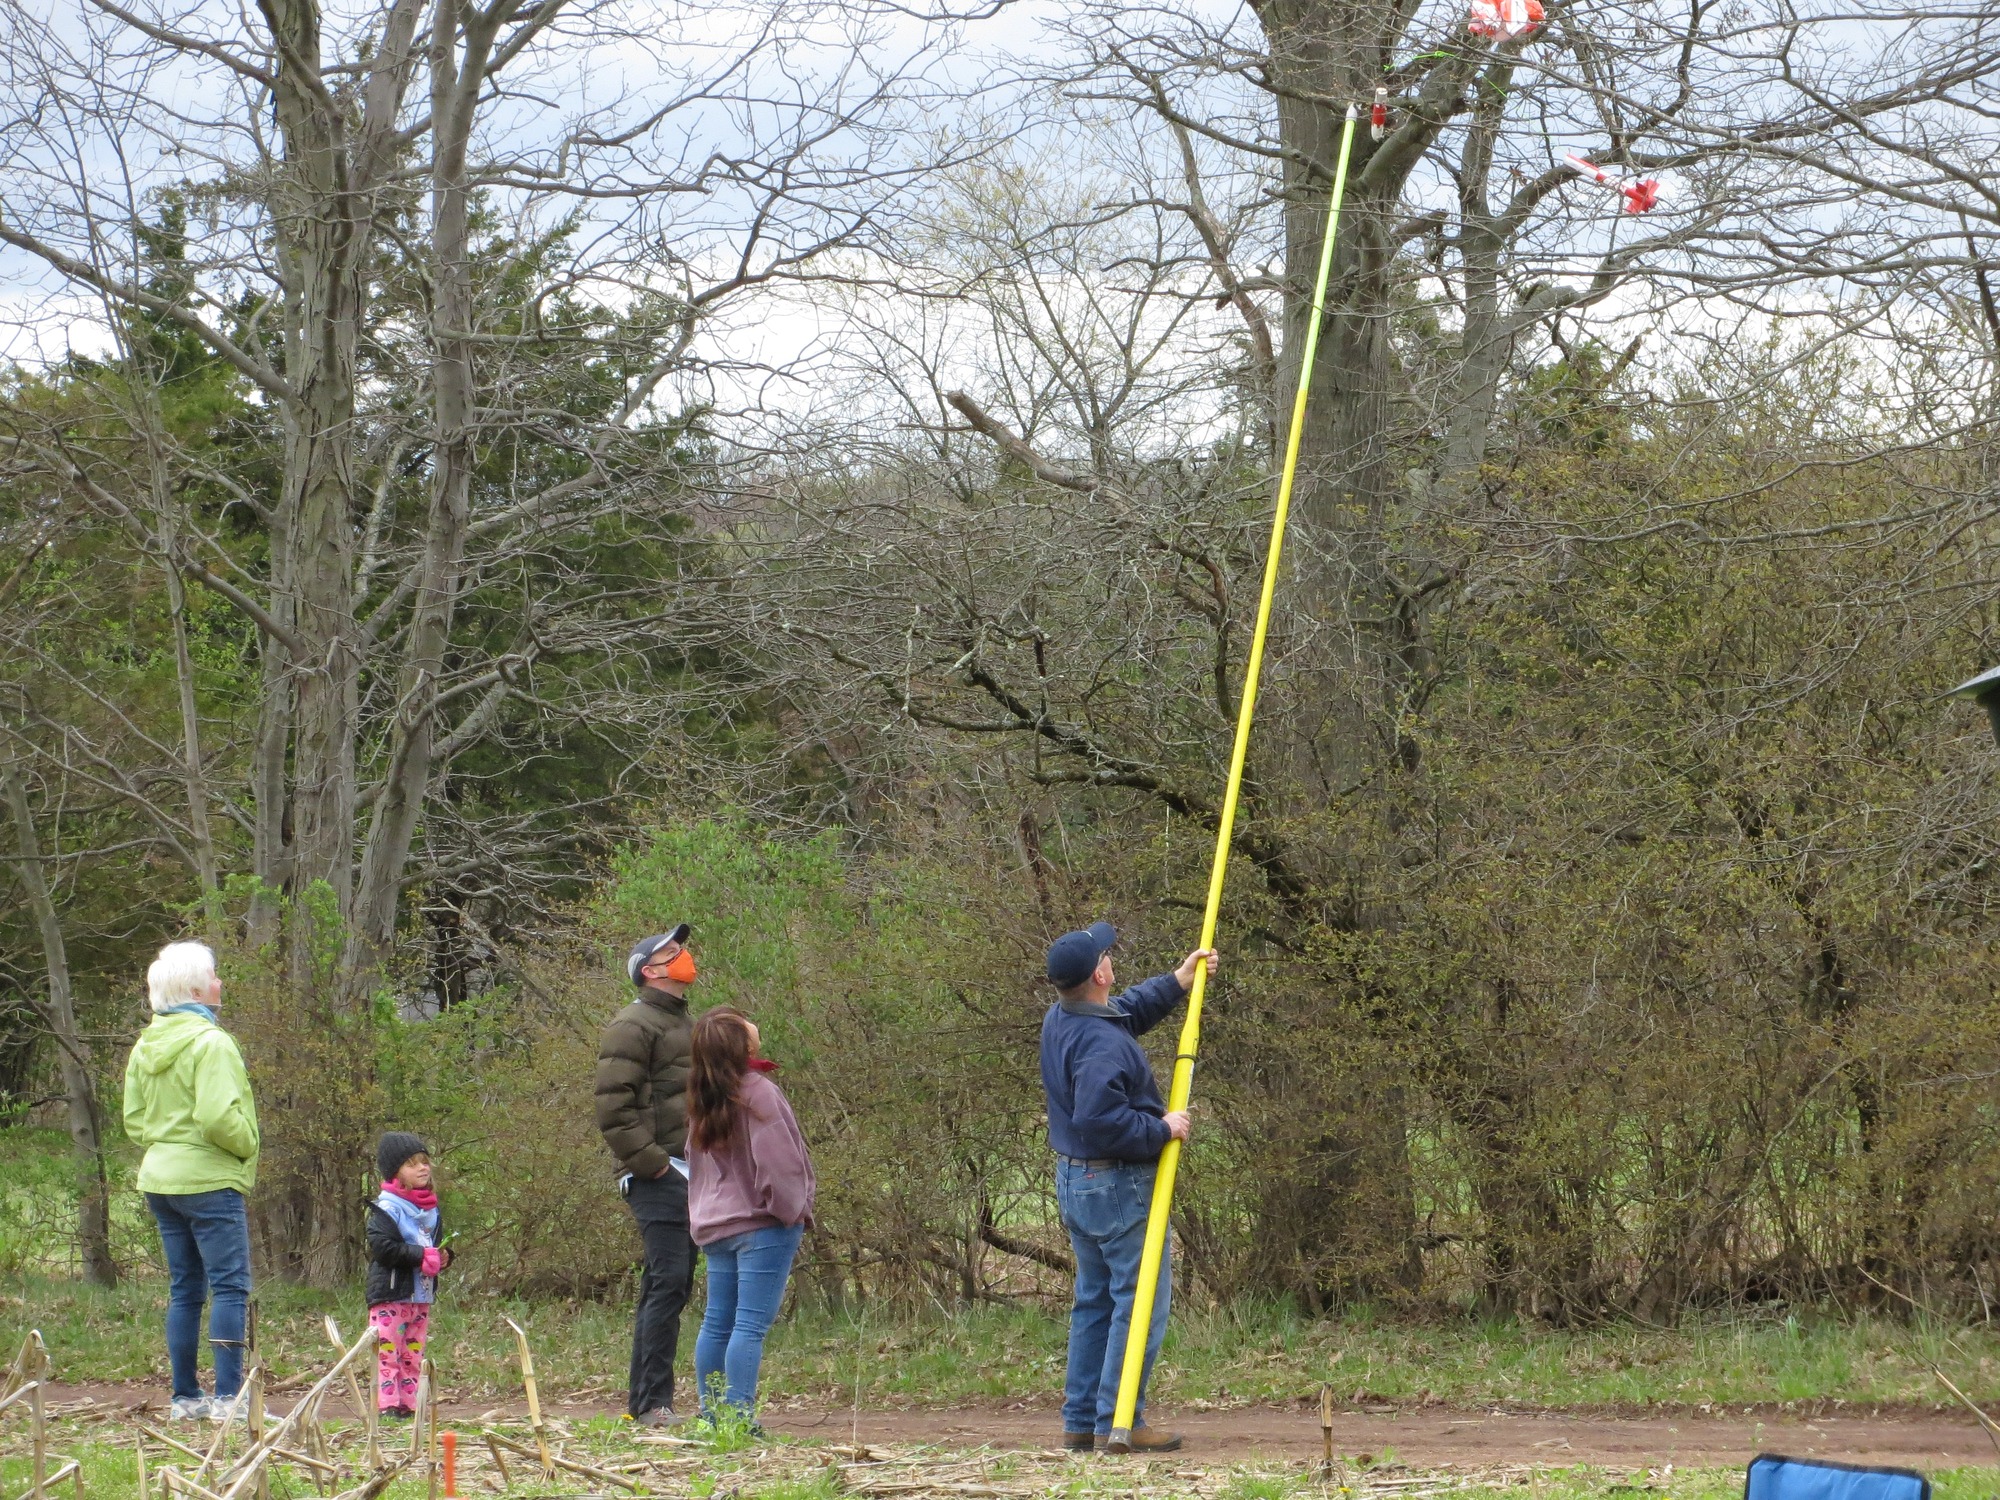
Getting out the rescue pole.
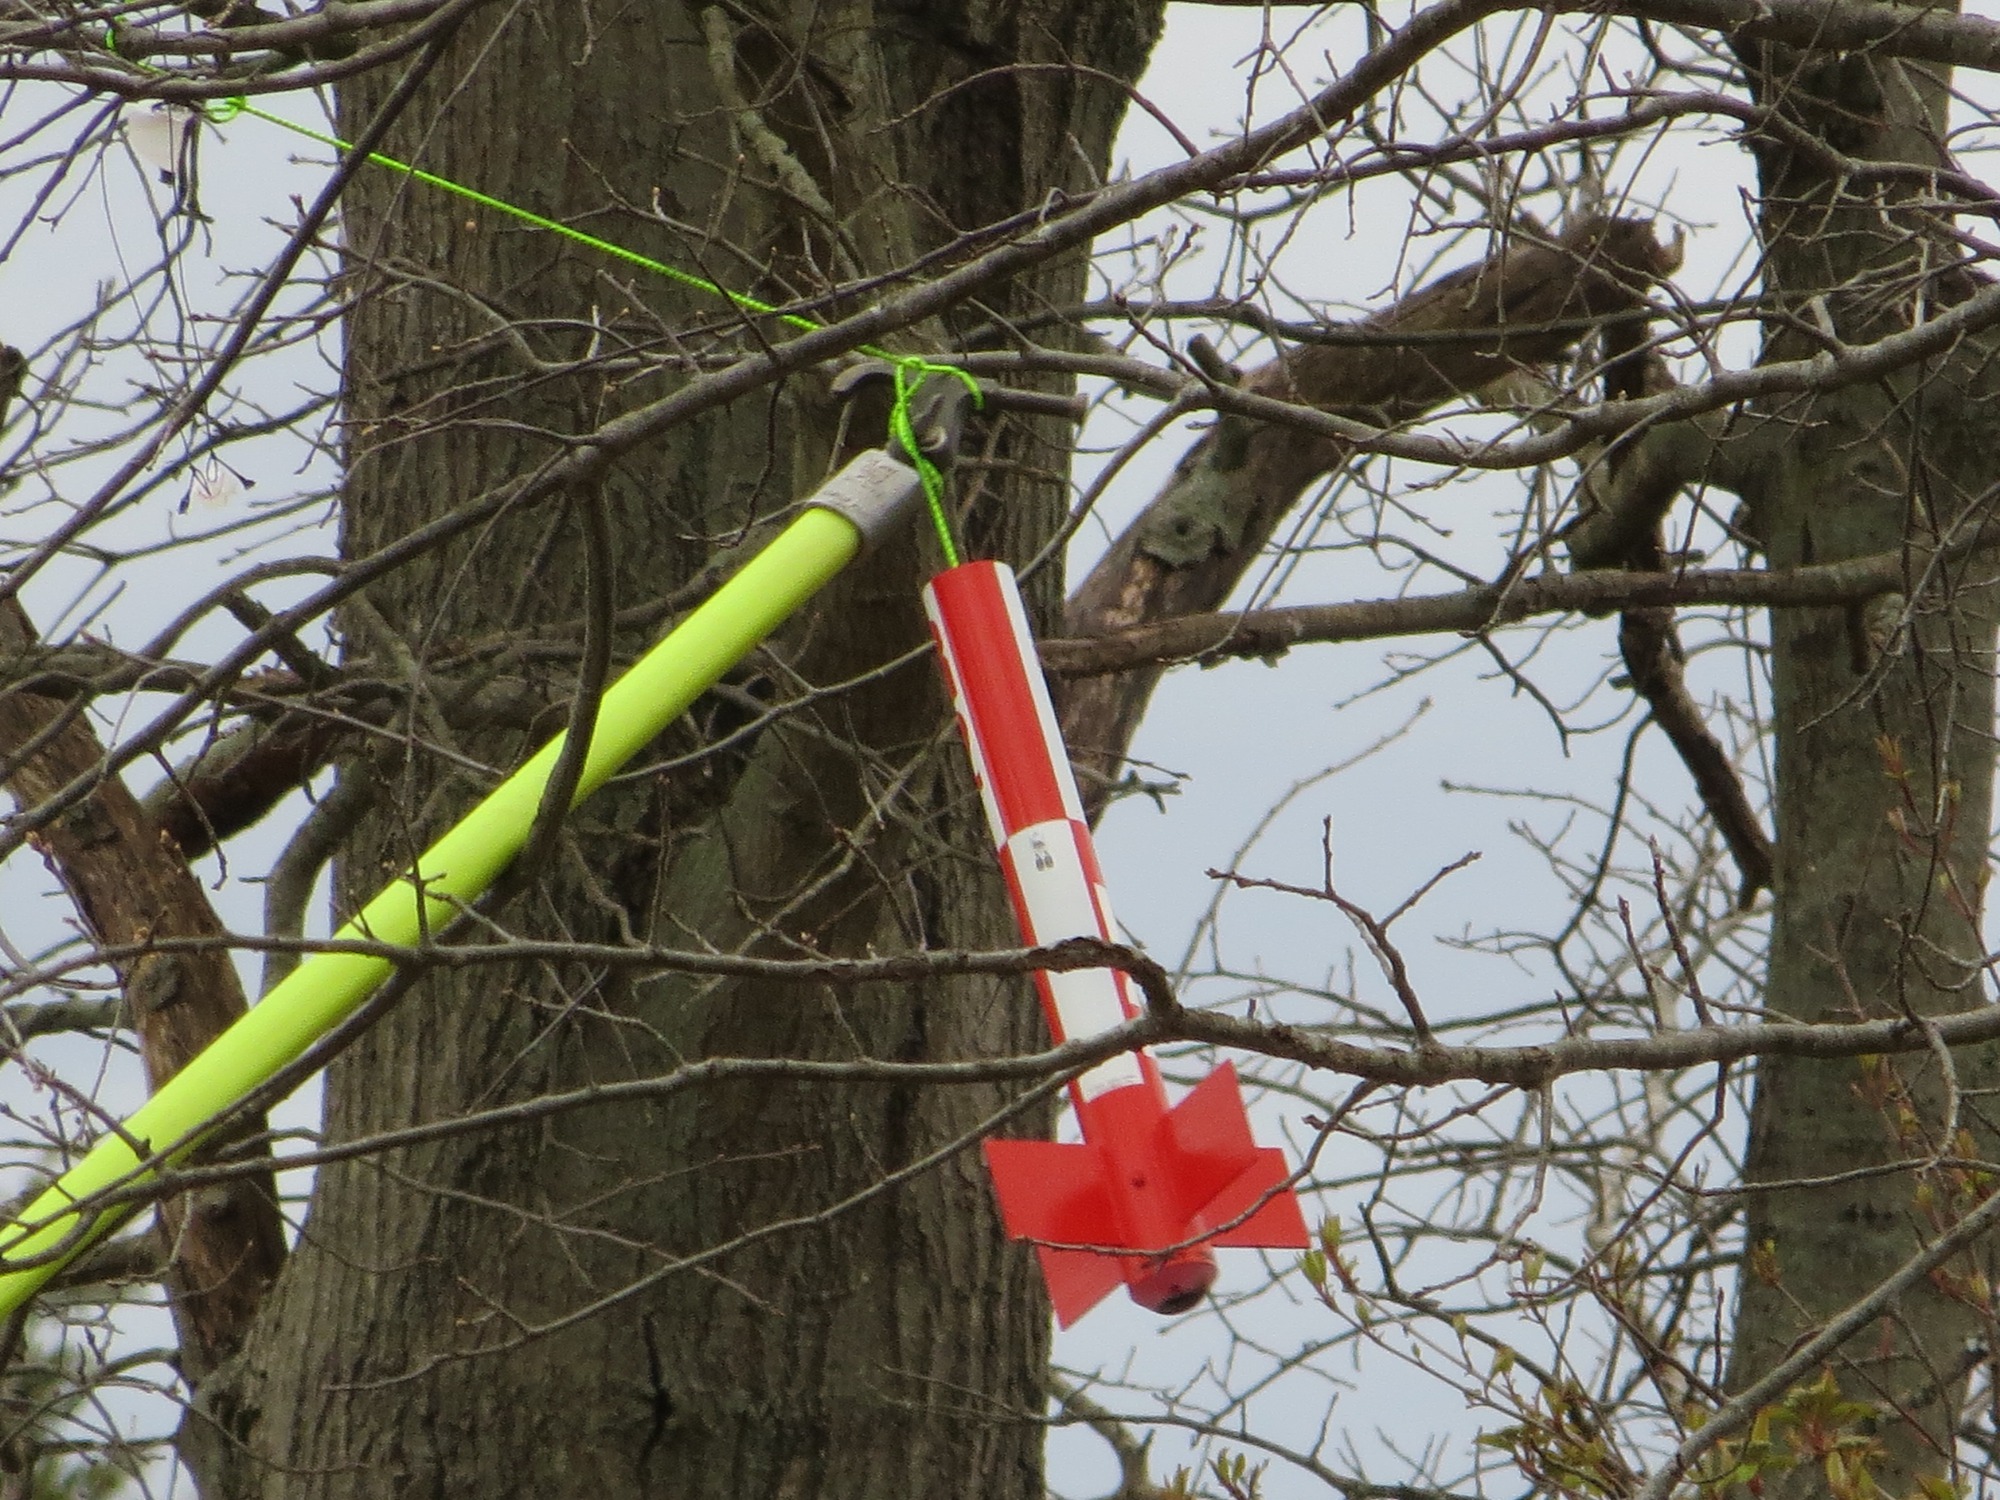
Hooking the line.
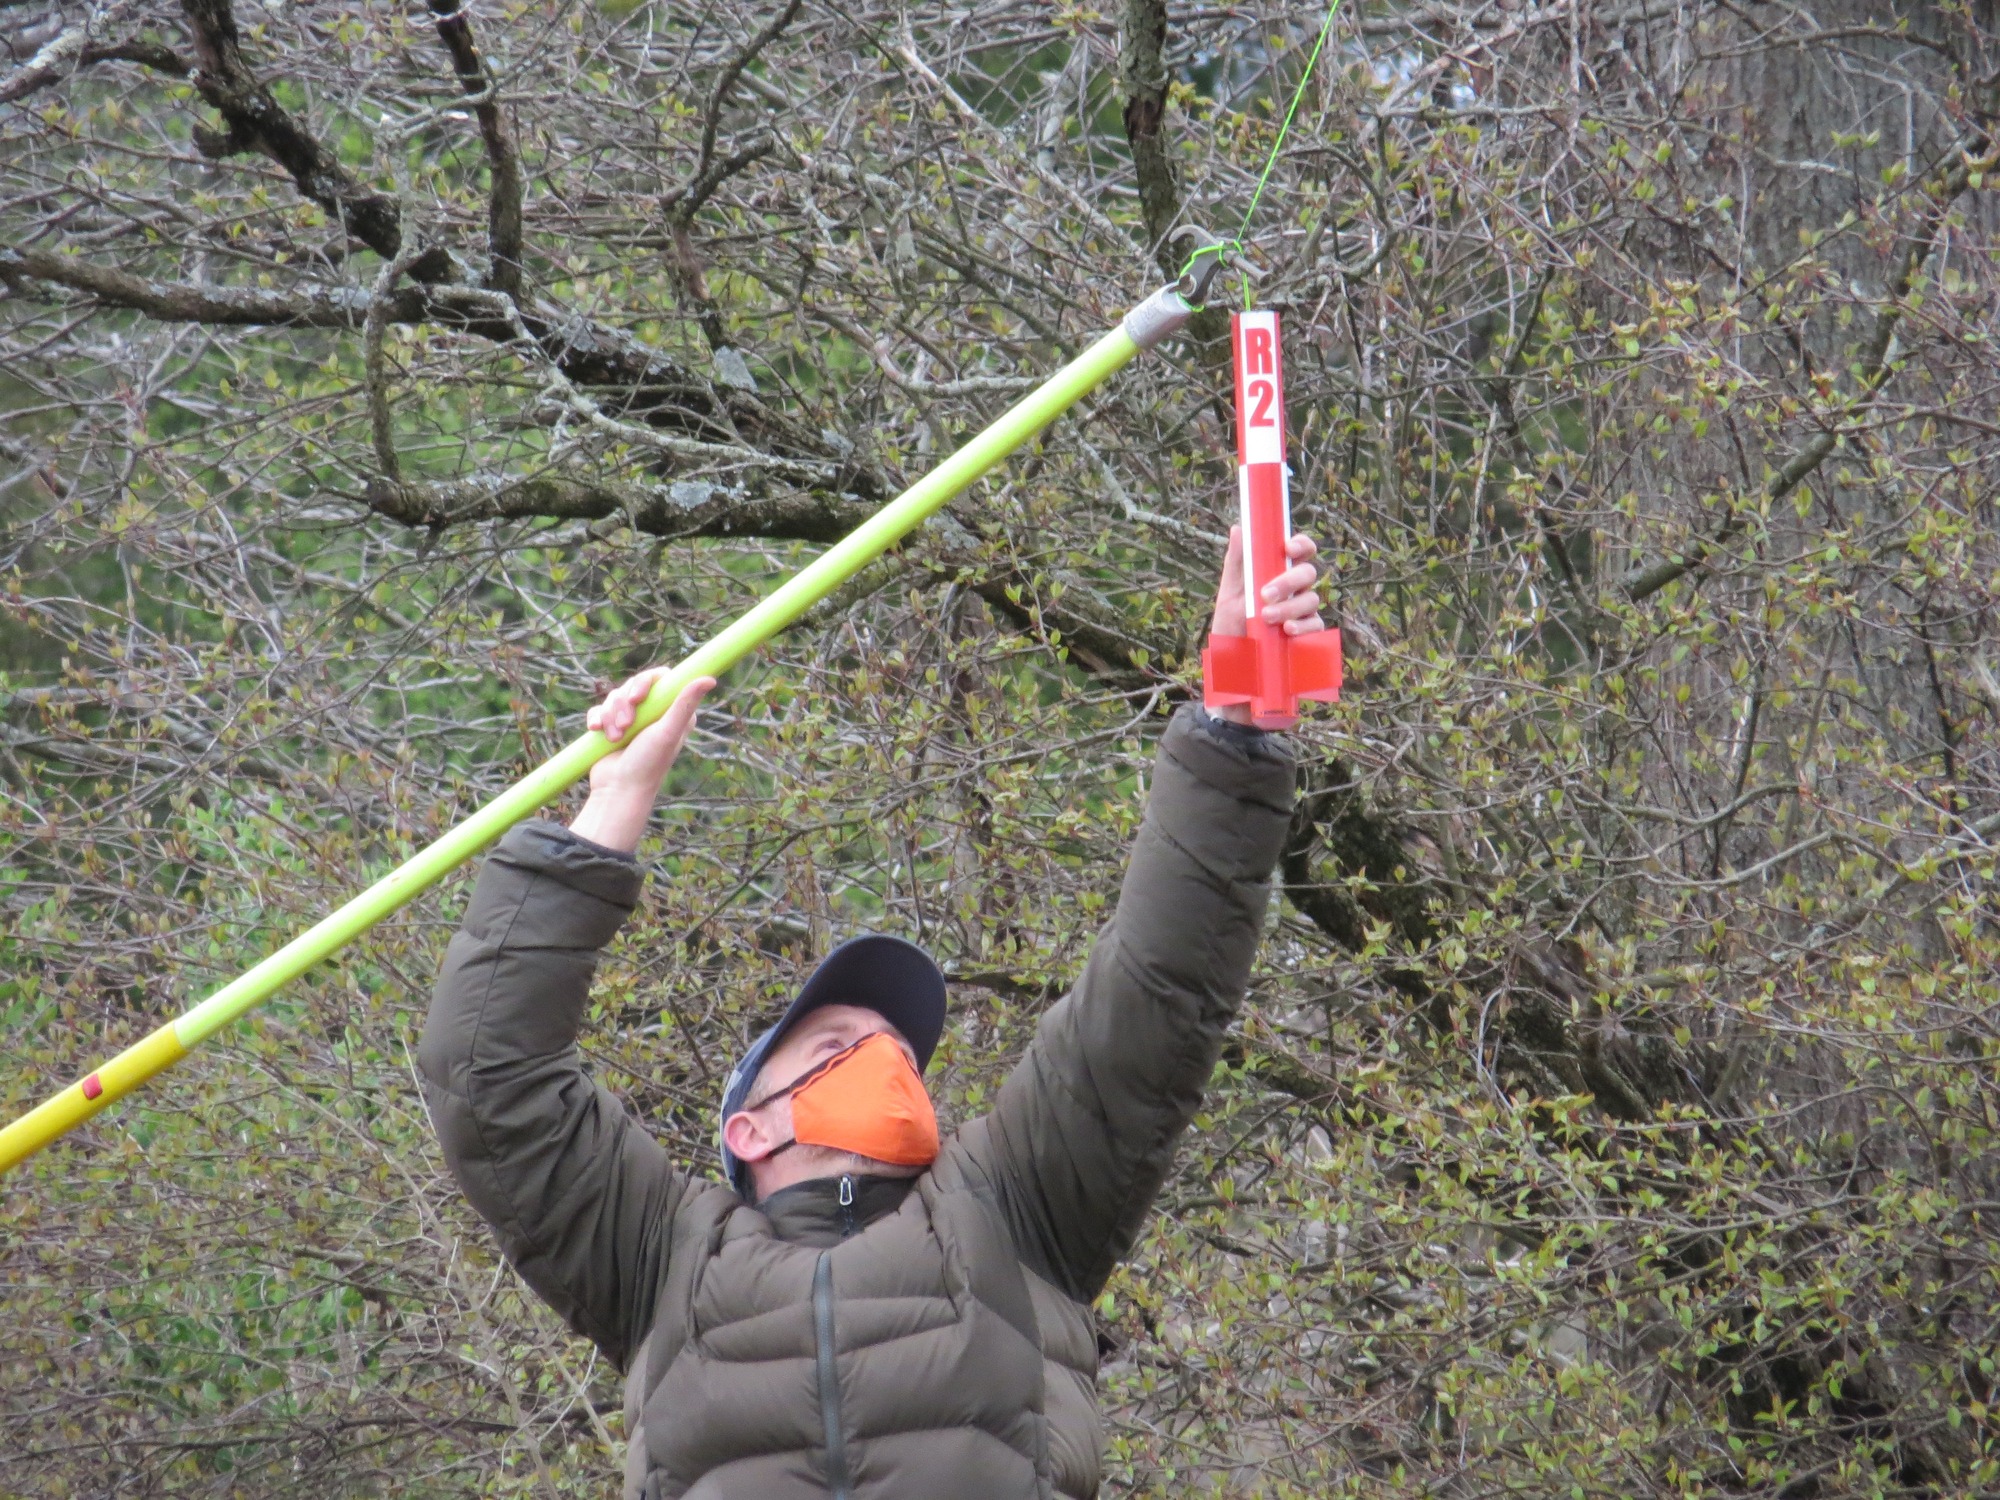
Pulling R2 off the tree.
Second Flight—Success!
Initial damage assessment indicated the parachute was ripped in several places, one shroud line was still in the tree, and a bulkhead was gone. All in all R2 was in reasonable shape but I assumed I wouldn’t be able to fly it again that day. I kept looking at it as the day went on though and really wanted to get in another flight. So between helping Alice launch rockets and other goings-ons, I got to work. The parachute got more or less taped up, lines replaced and retied, the remaining bulkhead reinforced, and so on. It all came together at literally the end of the meet as people started talking about packing up the launch pads. With the very last launch of the day, R2 pulled off a picturesque second flight, up to 365 feet and almost back to my hands.
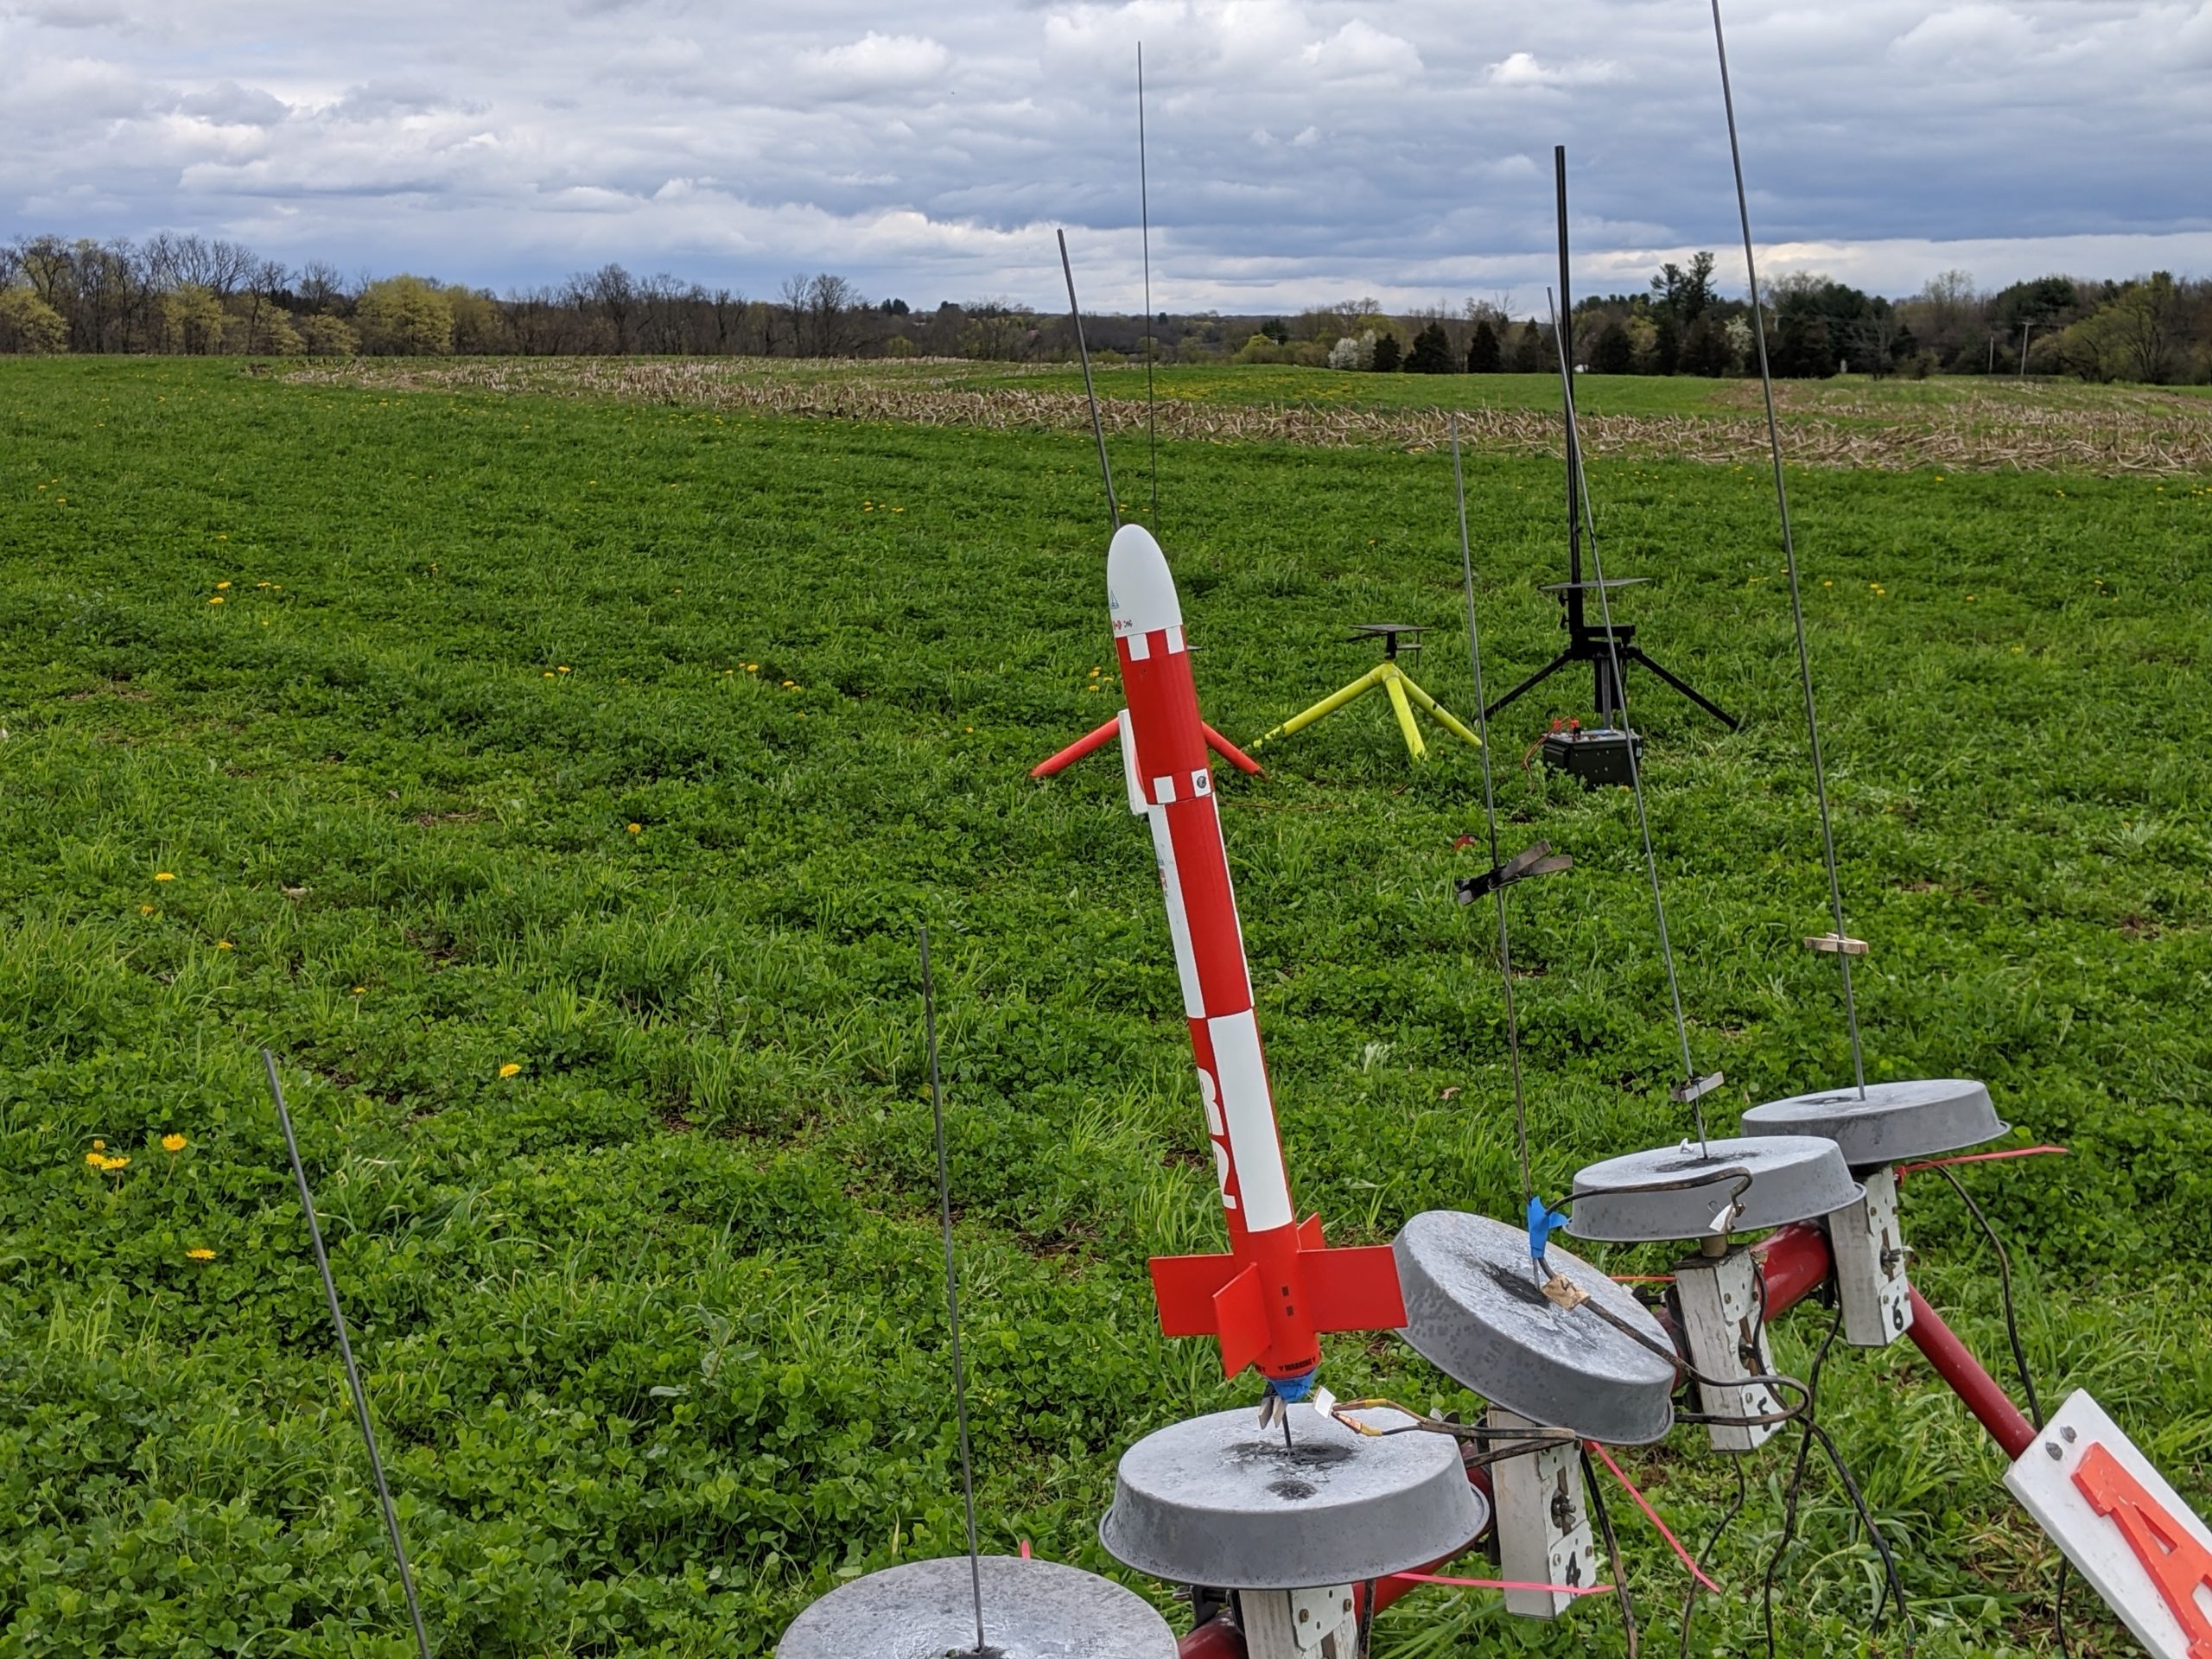
Staged for second launch.
Wrap
R2 came out great. It looks exactly as I wished, it was a fun build, and it had a perfect second flight with just enough drama beforehand to accentuate the success. I don’t know how much more I’ll fly it and risk R2 getting captured for good by those hungry trees! But it flew well, looks real nice in my office, and was a good little project.