My Data Targets Kickstarter campaign to produce 3D printed objective markers for Infinity and other games is underway and going strong. The STL files for the whole collection are also available via DriveThruRPG. People of course have been asking about how well these 3D printed pieces take paint, so this is a copy of the campaign update posted with an example. More generally this post shows that painting pieces printed with HIPS filament is the same as painting any hard plastic miniature, and I understand that to be true of other common filaments as well. It’s also a good look at what kind of resolution is easily achievable on mid-level home printers.
Note: Many different materials and several kinds of processes are used in 3D printing. The most common filaments (ABS, PLA, HIPS) produced by the most common type of printer (fused deposition modelers, FDM), as well as many others, are amenable to the basic process outlined here. However, some have different properties. For example, the “White, Strong, and Flexible” material offered by Shapeways should be washed first and note taken that paint can go through thin sections of the model (though this is often not an issue if primed appropriately). Some filaments may also react with acetone, alcohol, or other solvents used in some less common painting and inking techniques. If you’re just starting out, most likely this approach is fine, but read around about your specific filaments and paints!
Tech-Coffin
Personally I really like the look and game table visibility of the objectives as-printed in a bright color. But it’s also totally reasonable to paint them up to match terrain & so on. So I quickly painted up a tech-coffin and datacube as a demo. I’m confident many of my backers can do a better job than I, but at minimum this shows that these pieces paint up easily and no differently from other minis. The washes used also highlight the minimal level of striation so everyone can plainly see and gauge how they feel about it.

Tech-coffin and datacube painted up.
The print shown here is exactly the same as the production sets backers will receive. It’s from the same type of printer with the same settings and so on. These pieces also haven’t been sanded, smoothed, or otherwise cleaned up. The only prep work done is that a magnet and ball bearing, as included in all the sets, have been inserted. This is a trivial task as there’s no need to worry about matching polarity.
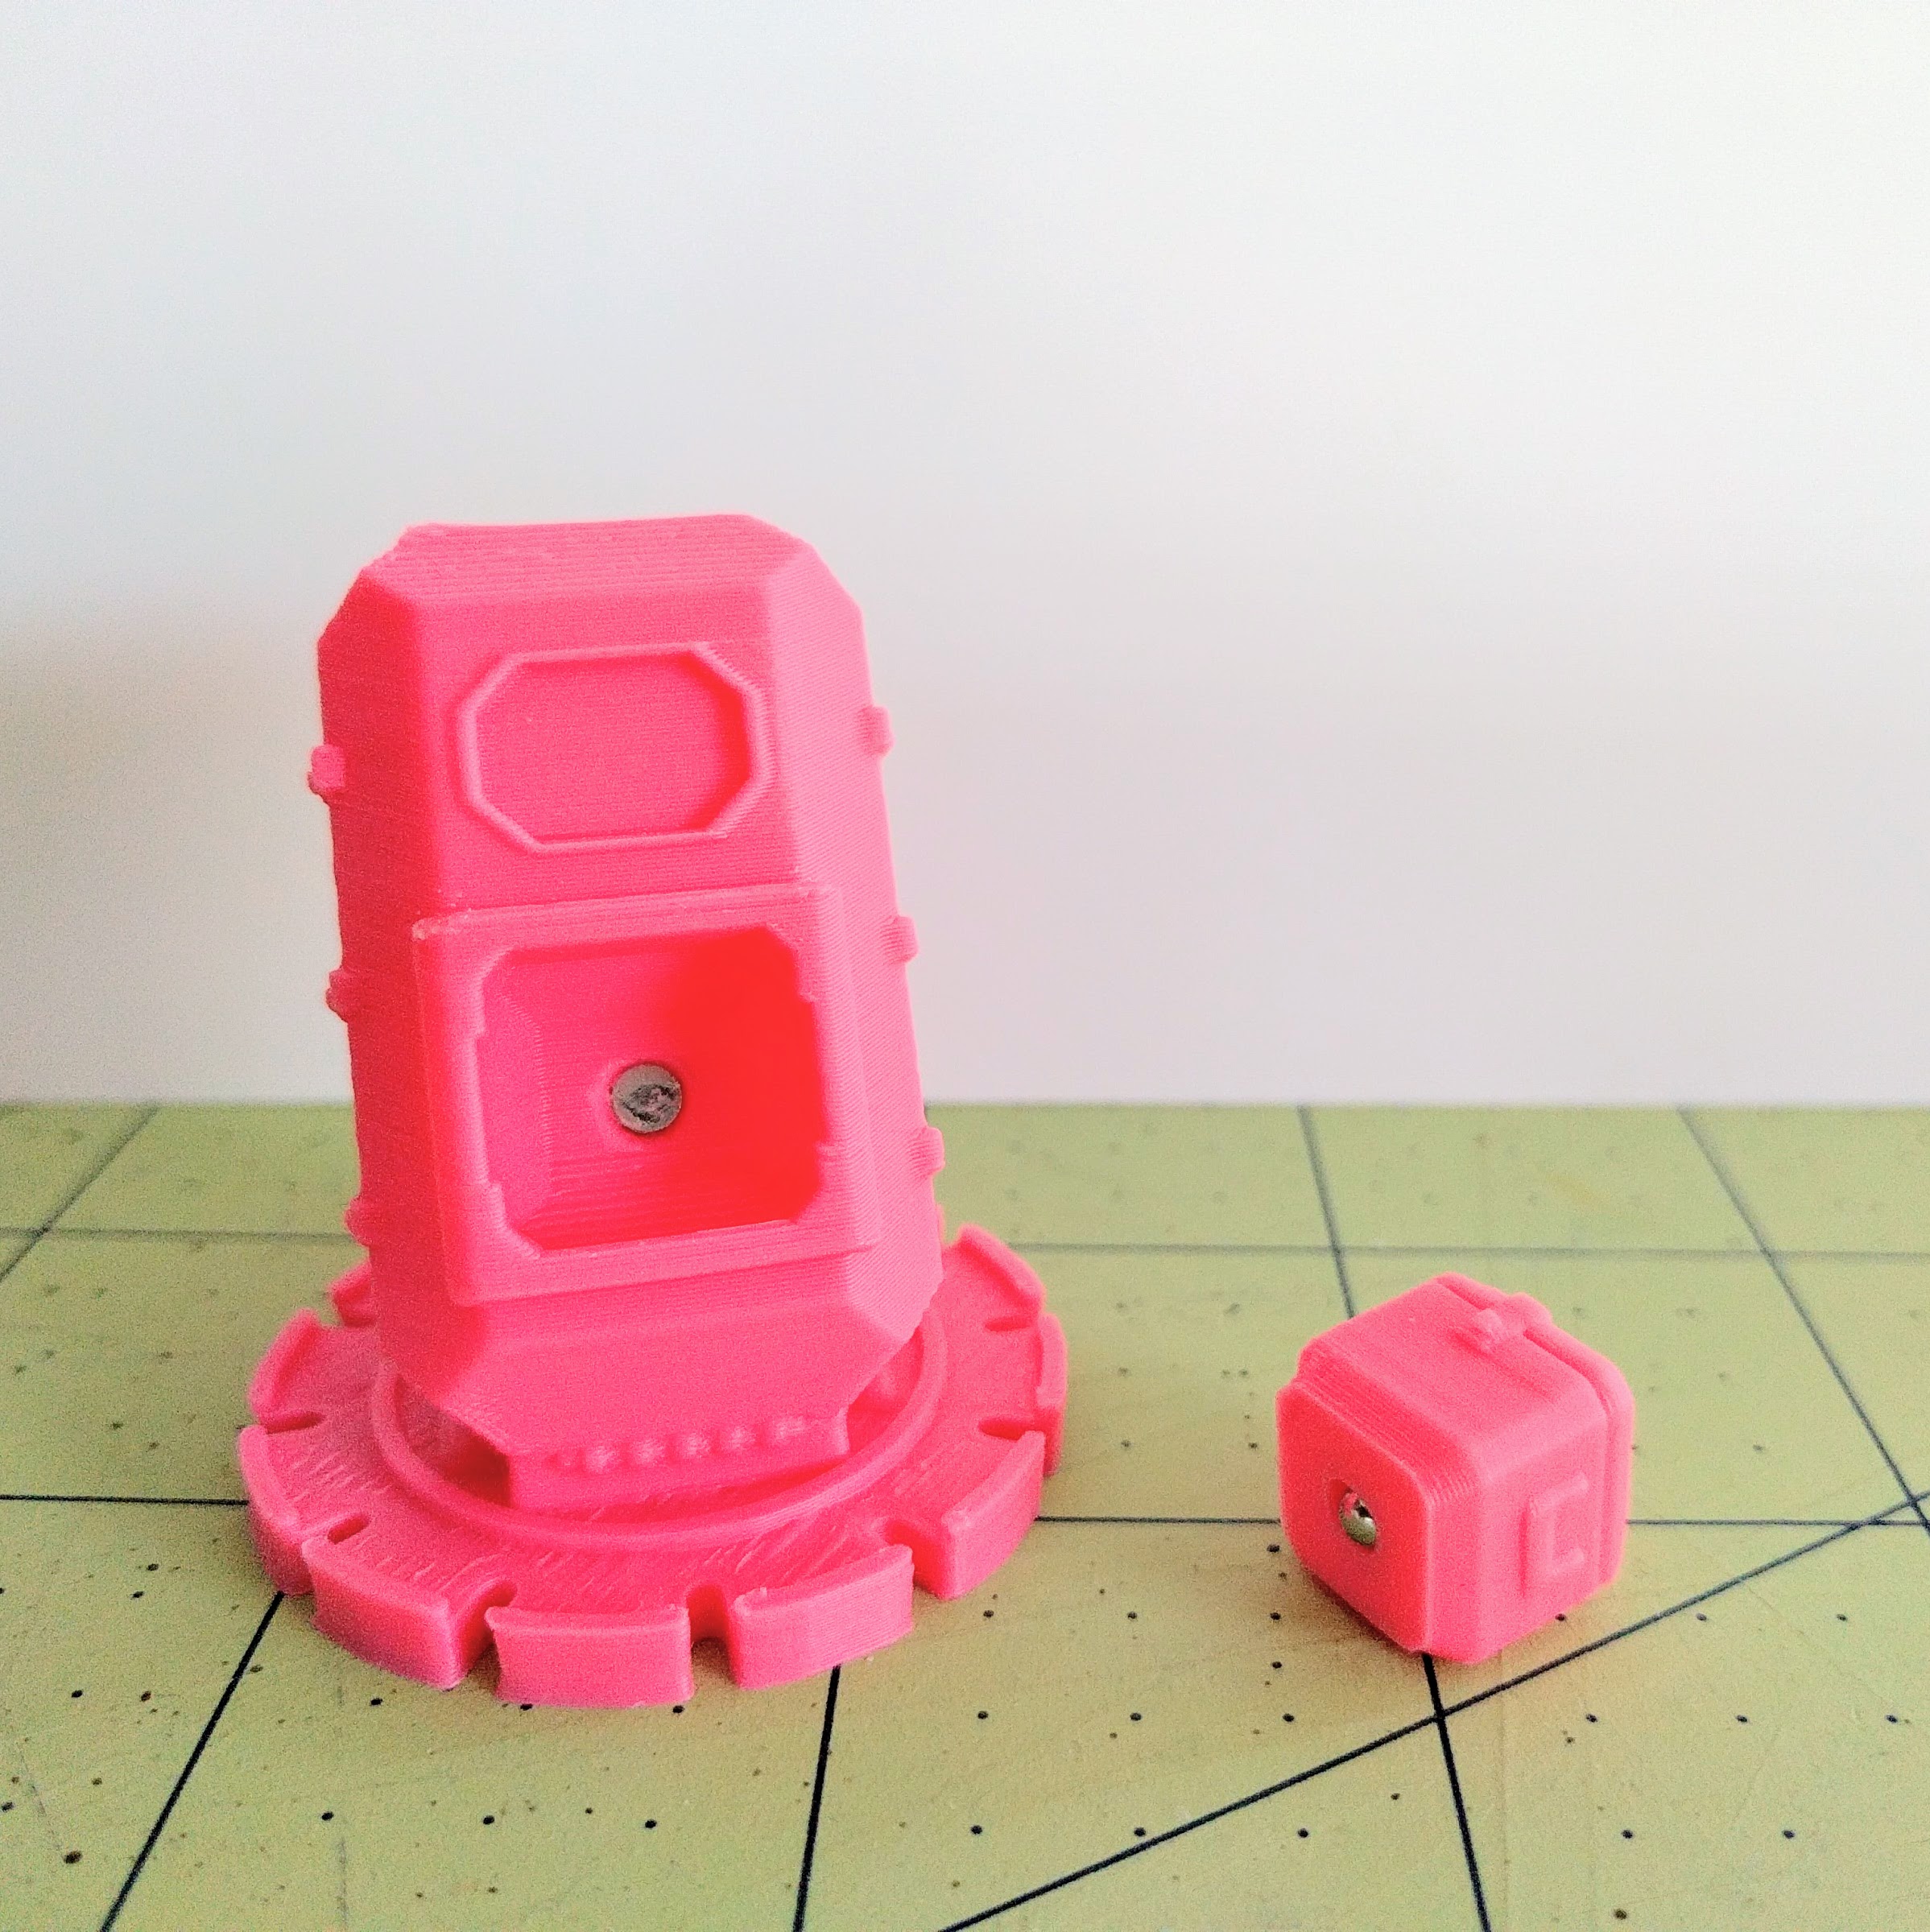
Raw printed piece with magnet and ball bearing attached.
The plastic we’re using is the same type as used in many well respected commercial miniatures. It’s hard, can be cut or sanded, and takes superglue and paint readily. There’s no mold release or similar that needs to be washed off as with resin or metal models. We recommend priming with spray primer, and any common or miniatures-specific primer will do. Here we’ve used a Rustoleum Ultra-Cover 2x Flat Gray primer that can be found in any hardware store for a few dollars. One observation is that with proper priming the bright neon color of the plastic doesn’t affect the final outcome.
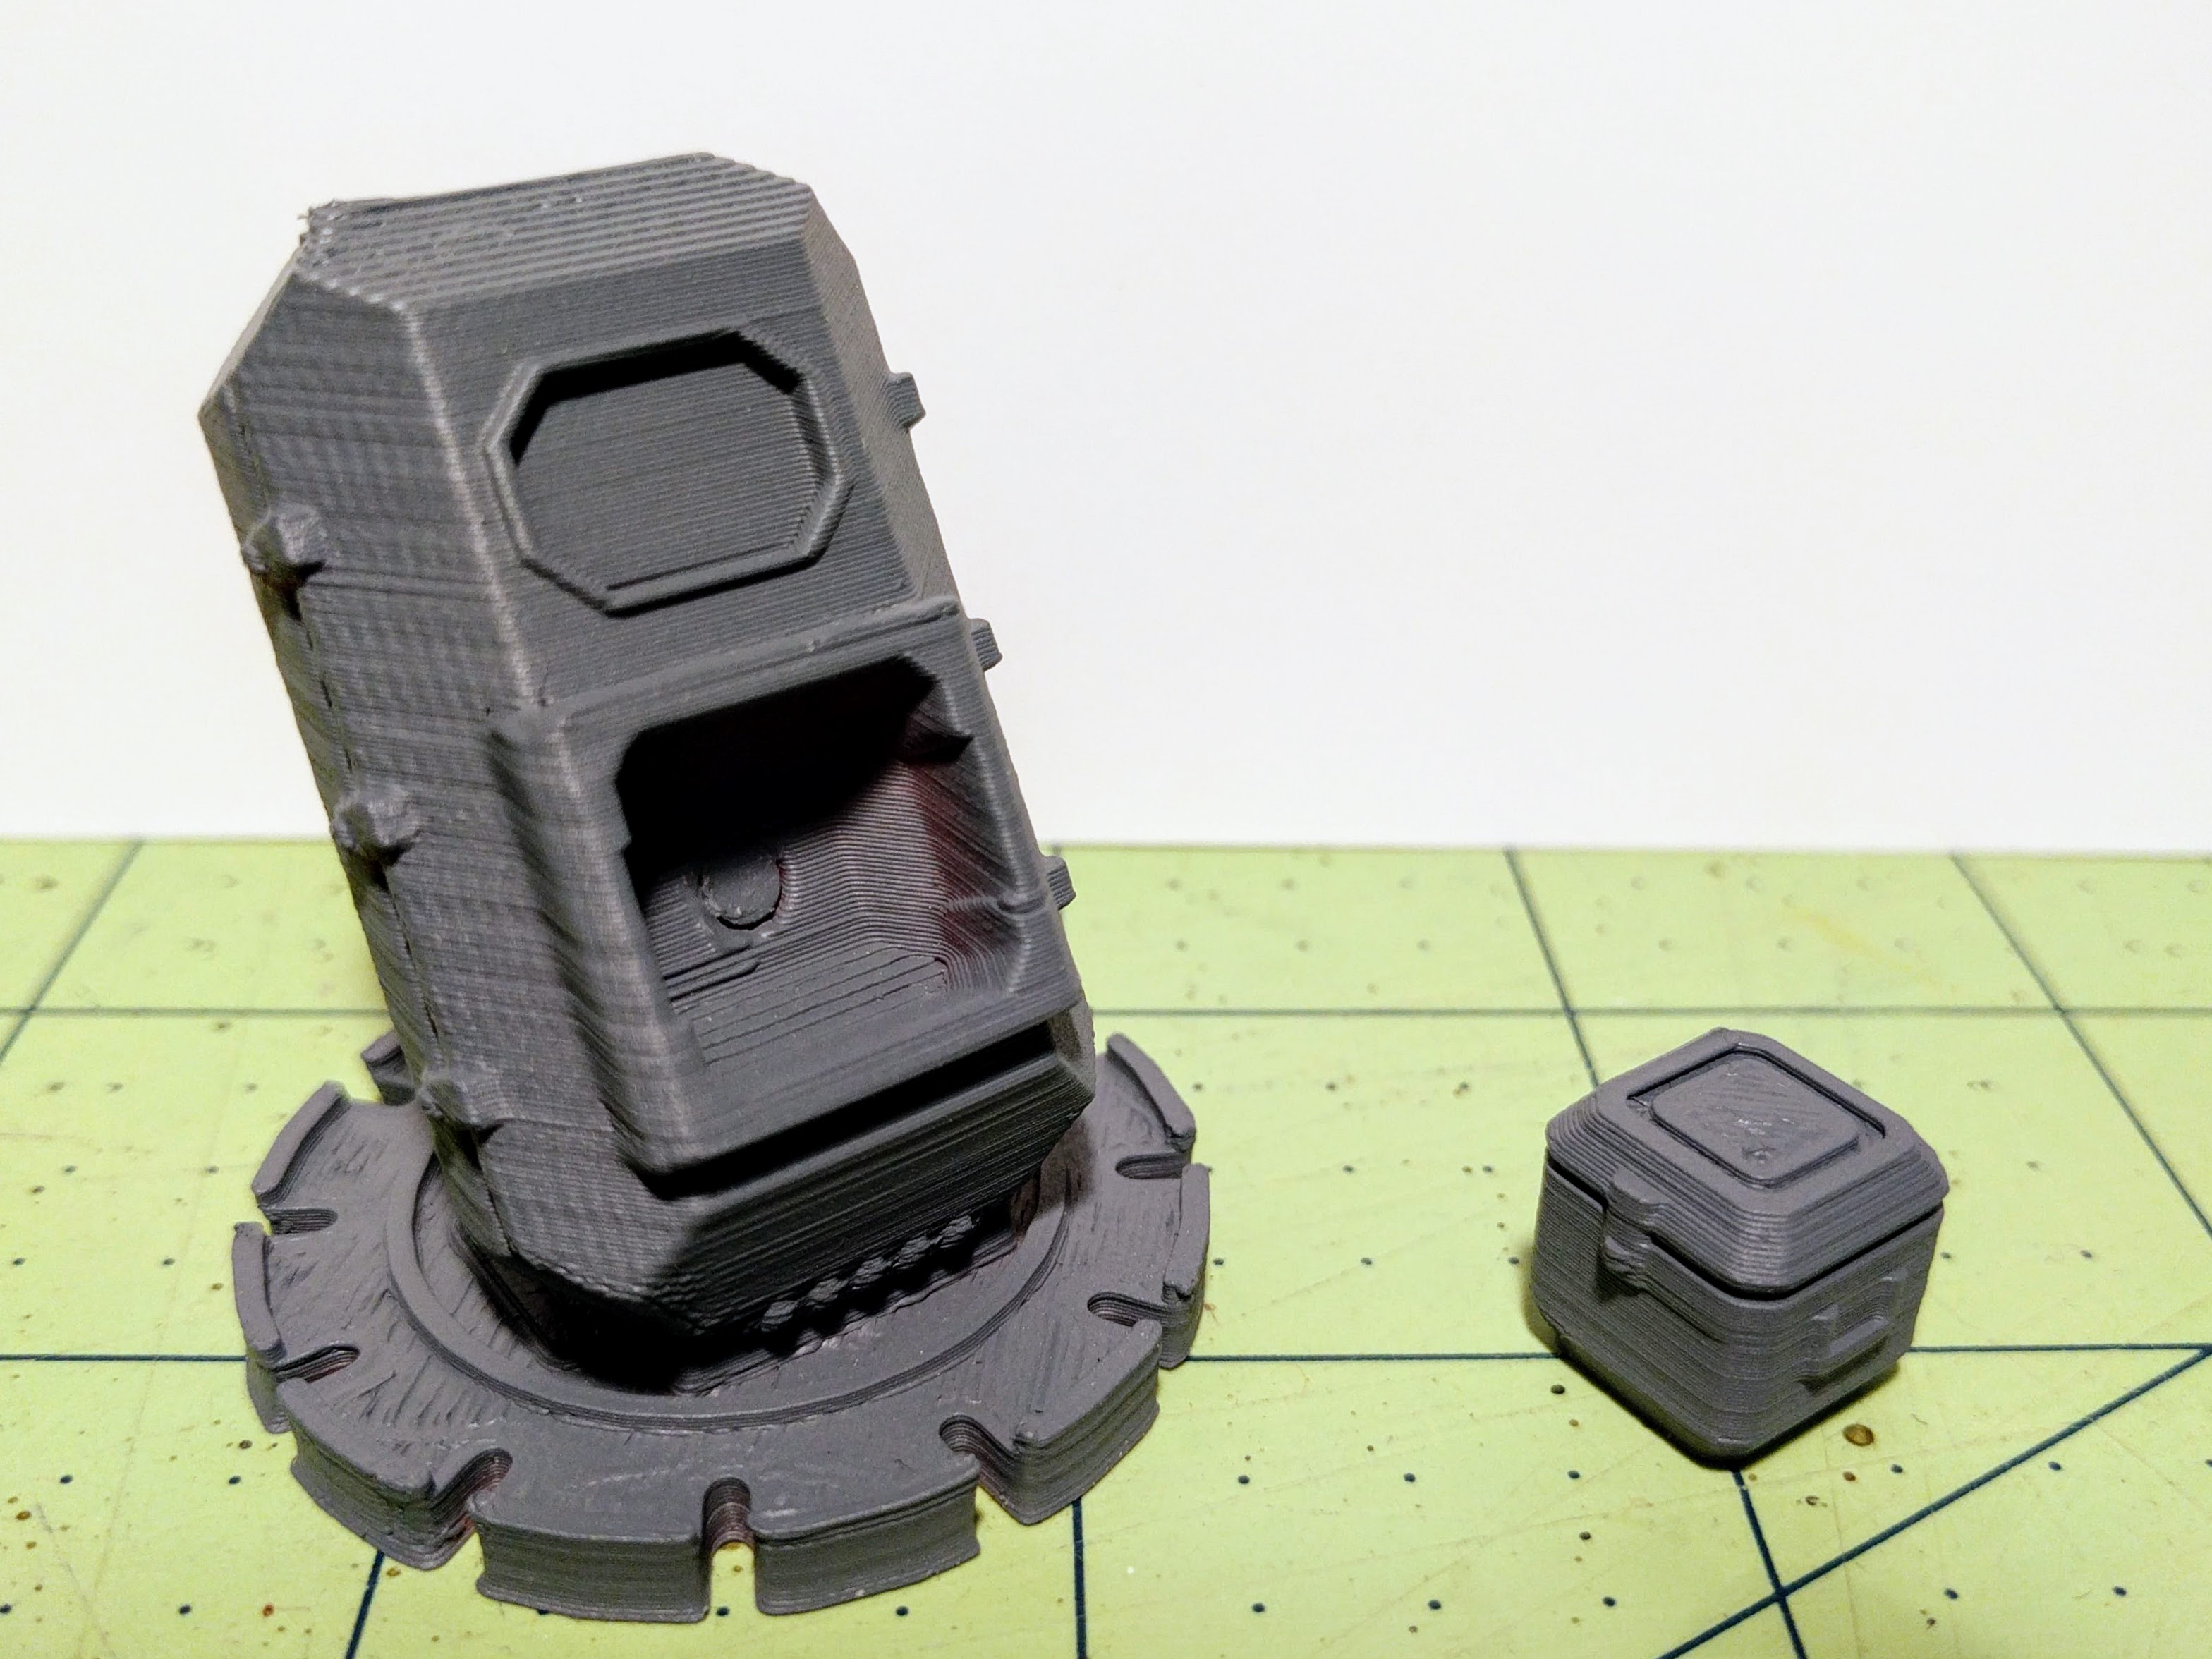
Spray primed with hardware store primer.
For this demo we’re going to go with the flat gray color as the base color so priming and blocking is already done in one step. It’s not visible in the picture, but a matching gray brush paint has been used to patch up a few places where we didn’t get great coverage with the spray (under some of the overhang on the backside). We’ve decided to interpret the top panel as some kind of status display screen, so it’s base coated blue. The datacube compartment and details have then been picked out in brass. The only minor care to take on this specific model is to not paint the datacube or the interior of its compartment excessively thick, lest the fit become too snug. However, there’s enough tolerance to not worry about a couple standard coats.
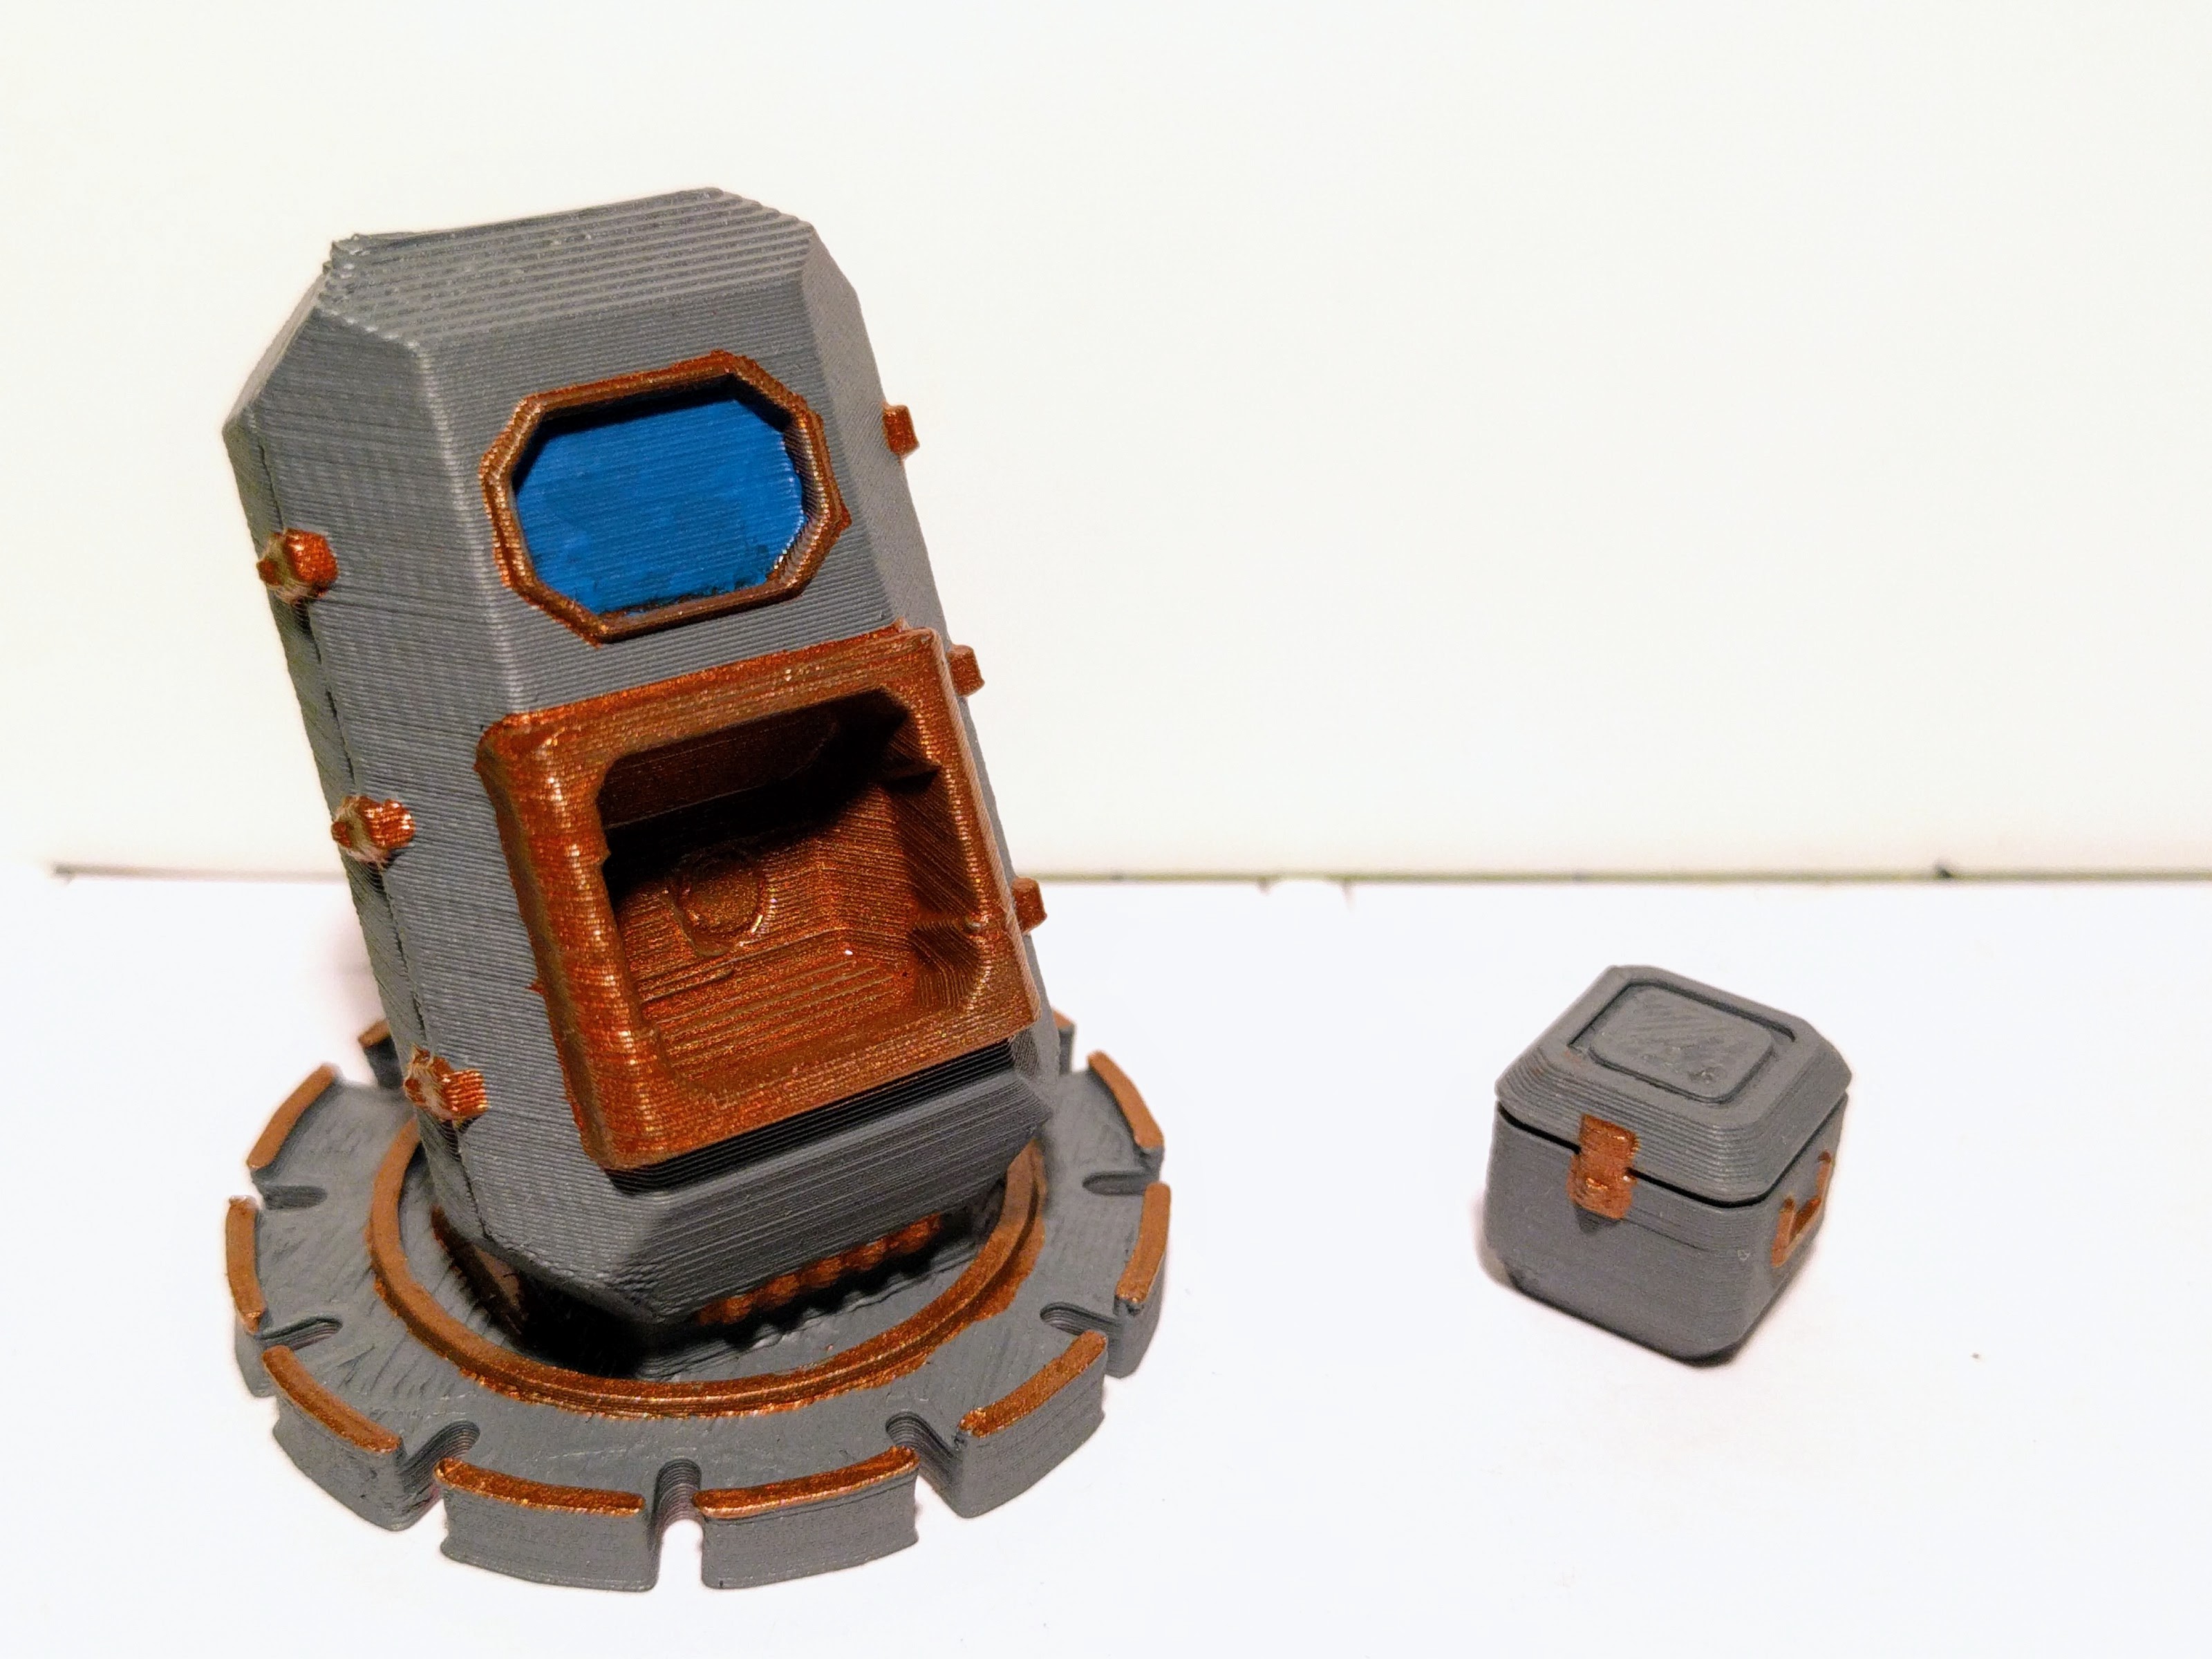
Details picked out.
All of the gray and brass has then been washed in a light brown. Compared to a black wash this tends to give these colors more of a used, dirty, earthy look appropriate for terrain pieces. The screen has been washed in a blue with the piece held horizontally to deepen the color and have the panel darken toward the edges.

Washed in a light brown, and blue on the screen.
For the final step, some vague display information has been stroked onto the panel in white. The main datacube compartment has also been washed in soft black to further darken it. From here we will dull coat both pieces and then gloss coat the panel, but this is optional. Paint adheres well enough to the plastic that chipping isn’t as much of a concern as it is for metal models.

Finished up with some vague display lines and second wash on the main compartment.
With the washes and viewing up close under painting table lighting like this, the striations are definitely visible. However, we think they’re more than acceptable for this kind of terrain/objective piece and in practice we don’t find them noticeable at all on the tabletop in play. Potential backers should make your own judgement though!
In the end, as you can see from this demo, these pieces paint up very easily. All of the paints and washes used here are just standard Games Workshop and Secret Weapon supplies, and no special preparation or handling is needed.
Thanks for reading, and please post any questions in the comments!

Paints and washes used in this demo.