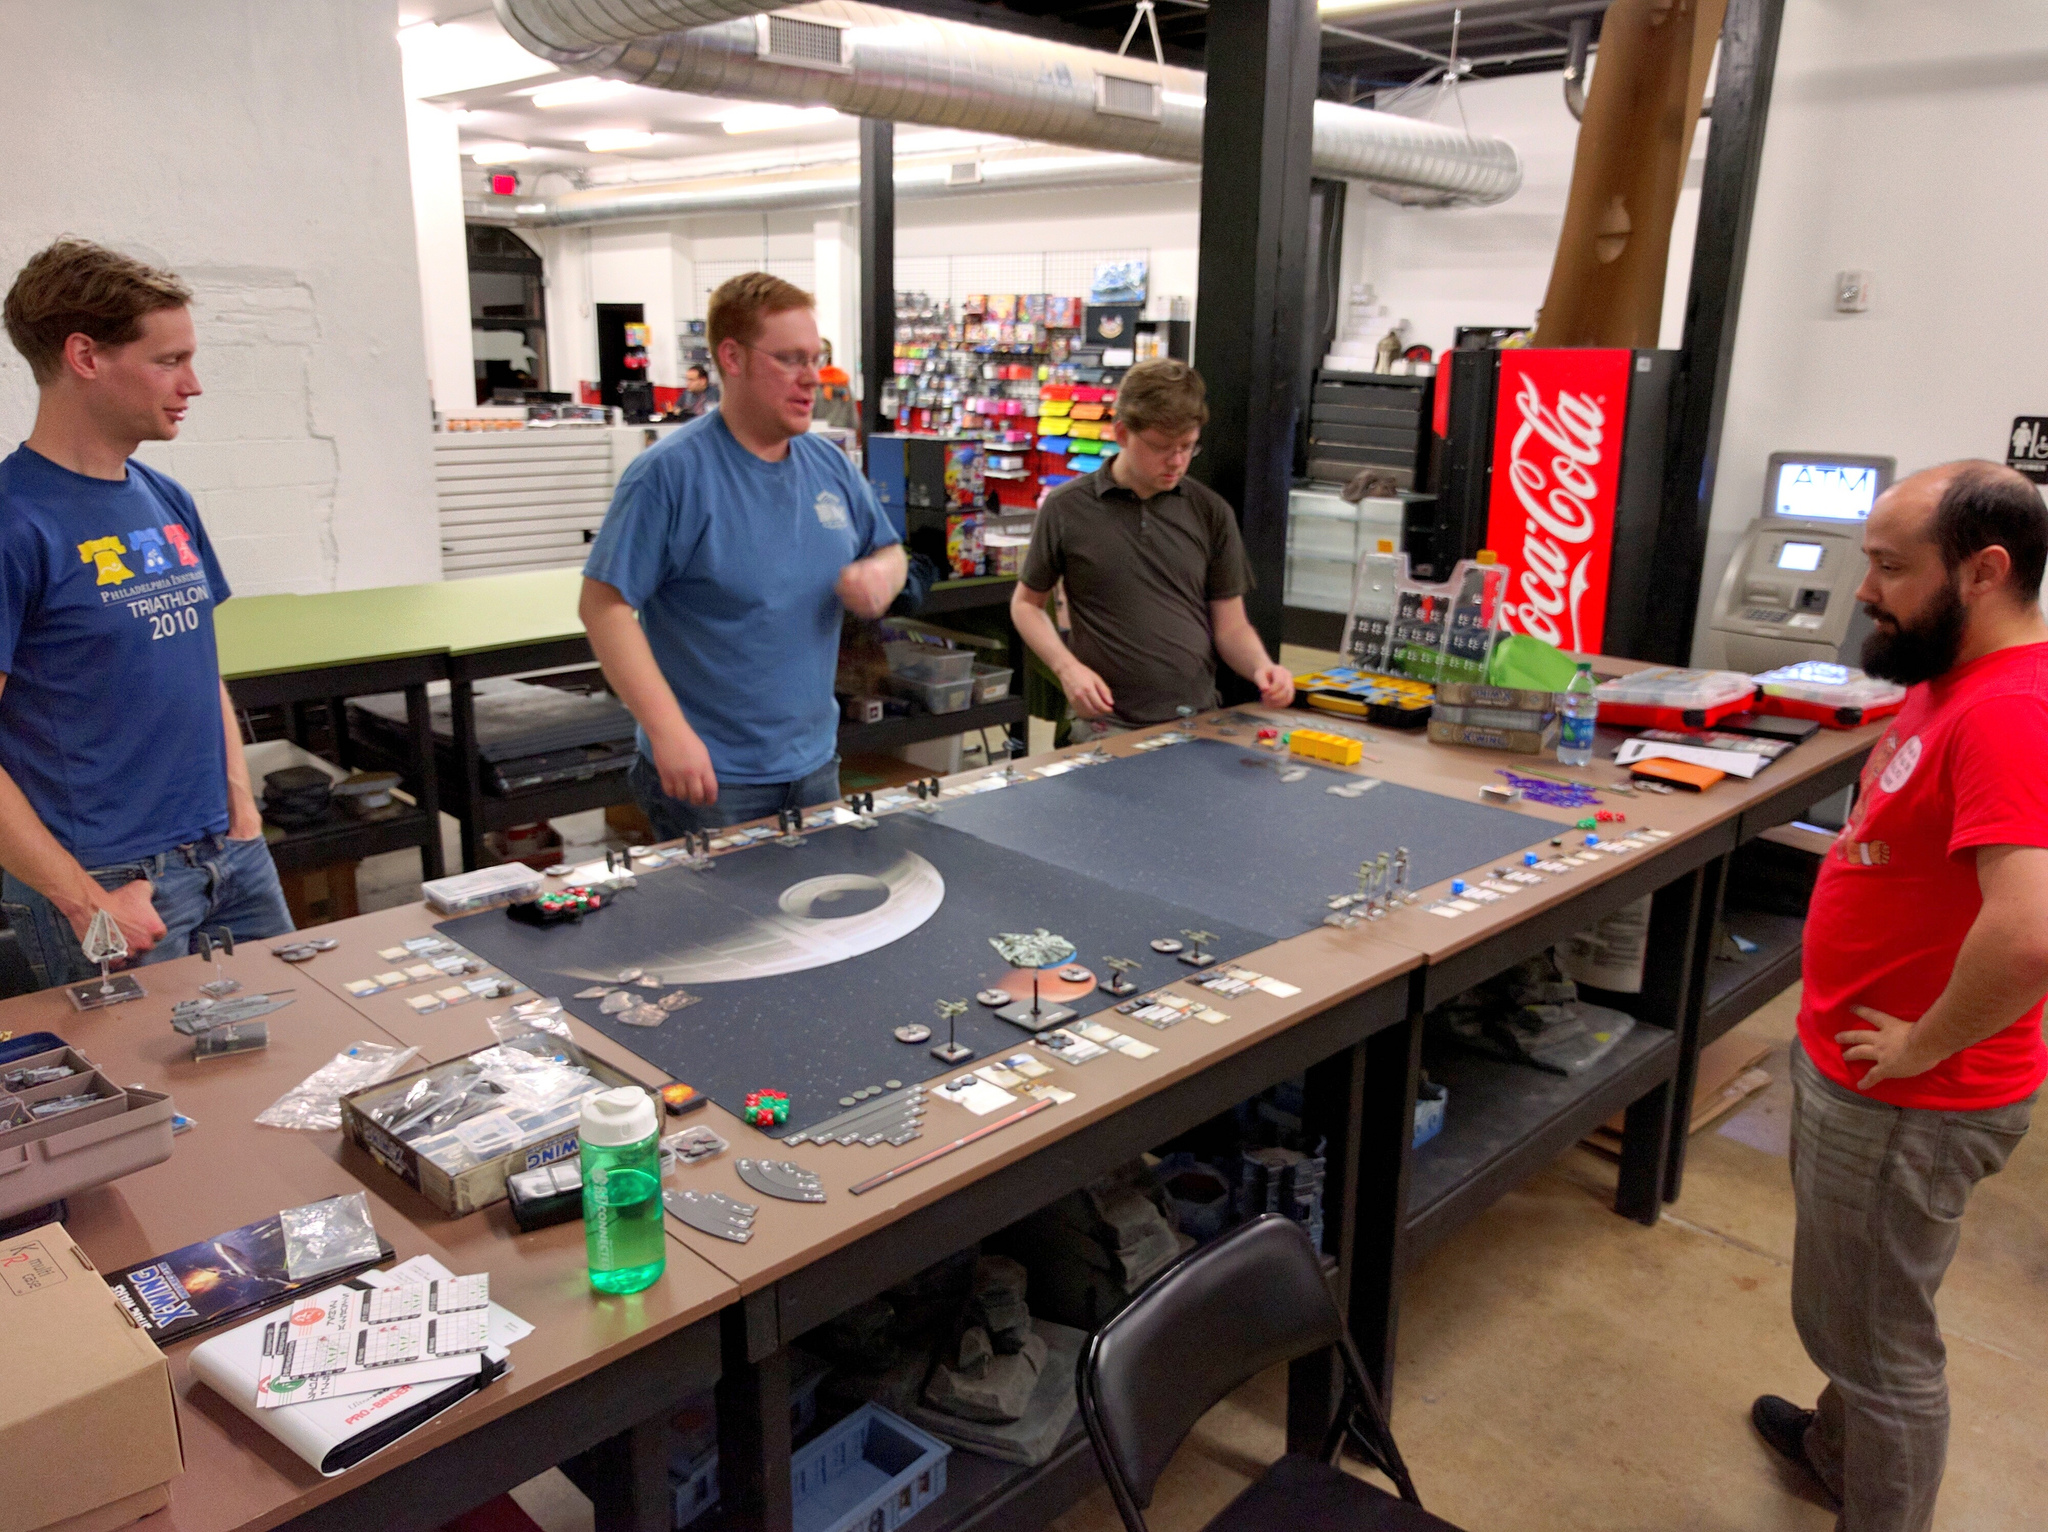
Phil and I had a great game of 40k last night at Redcap’s Thursday night fights, so I was inspired to draw up a map and post some photos.
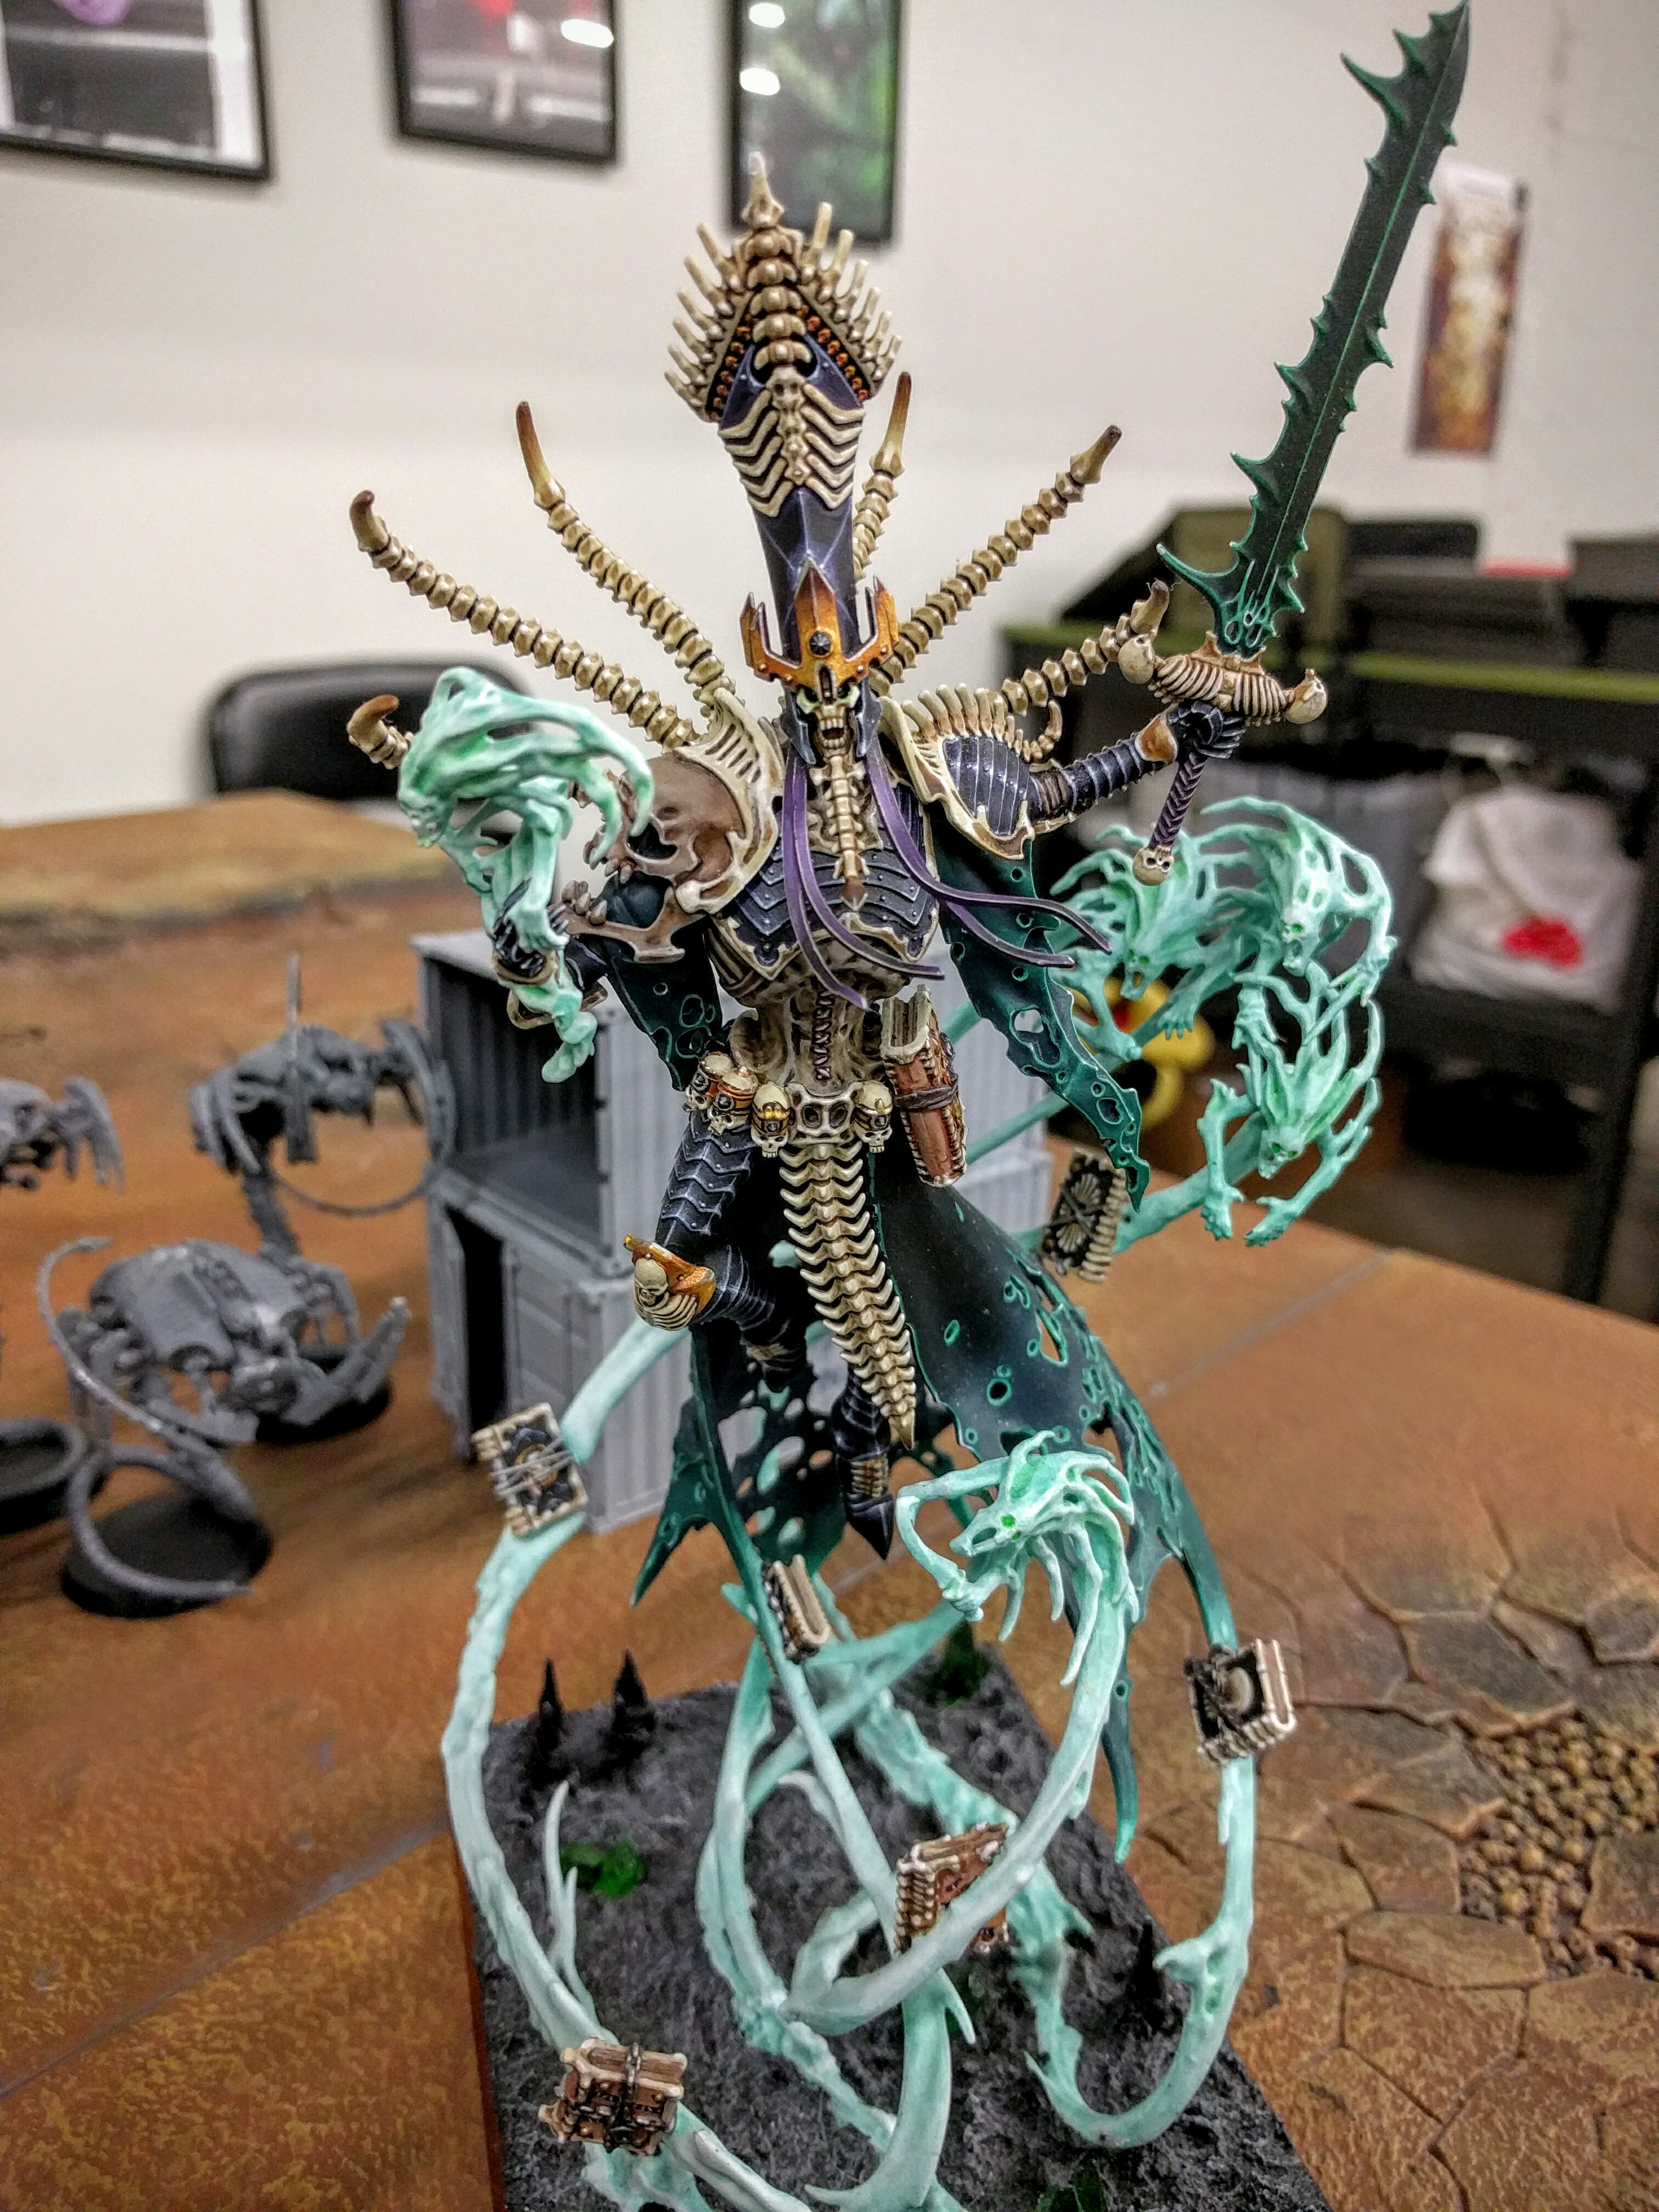
Nagash brings oblivion! Phil’s Transcendant C’Tan.
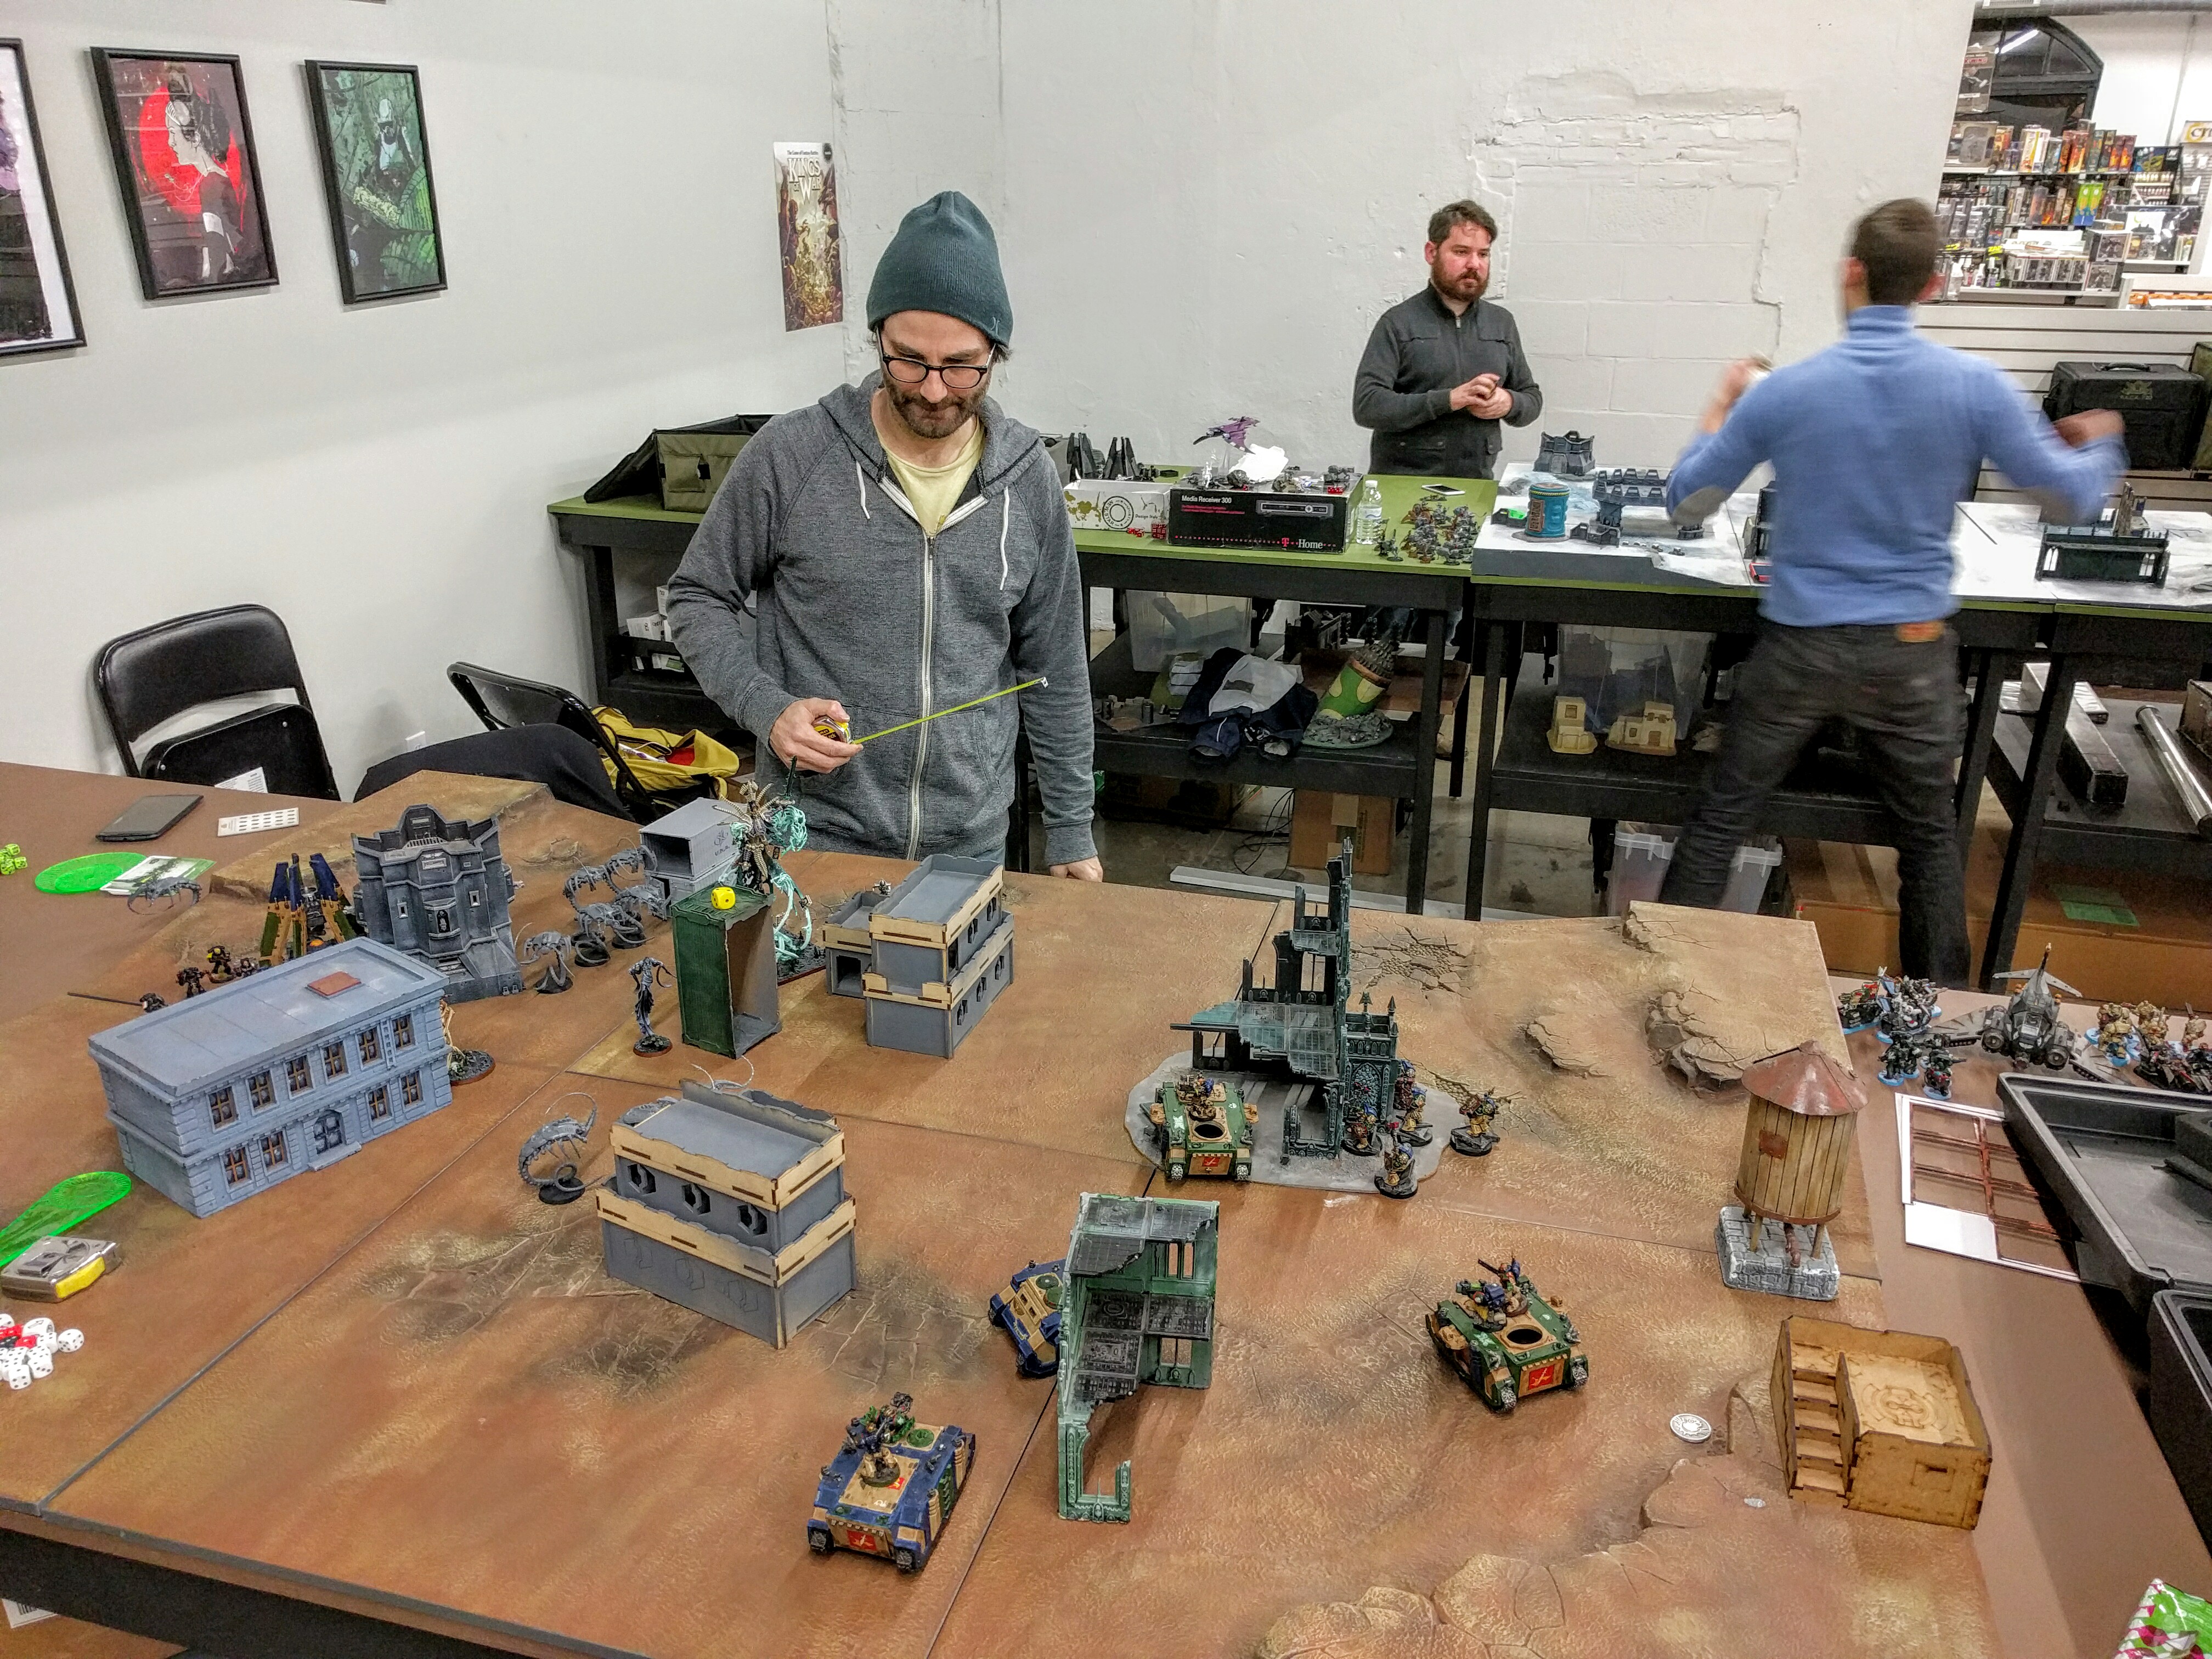
Top of Turn 2, Necron move.
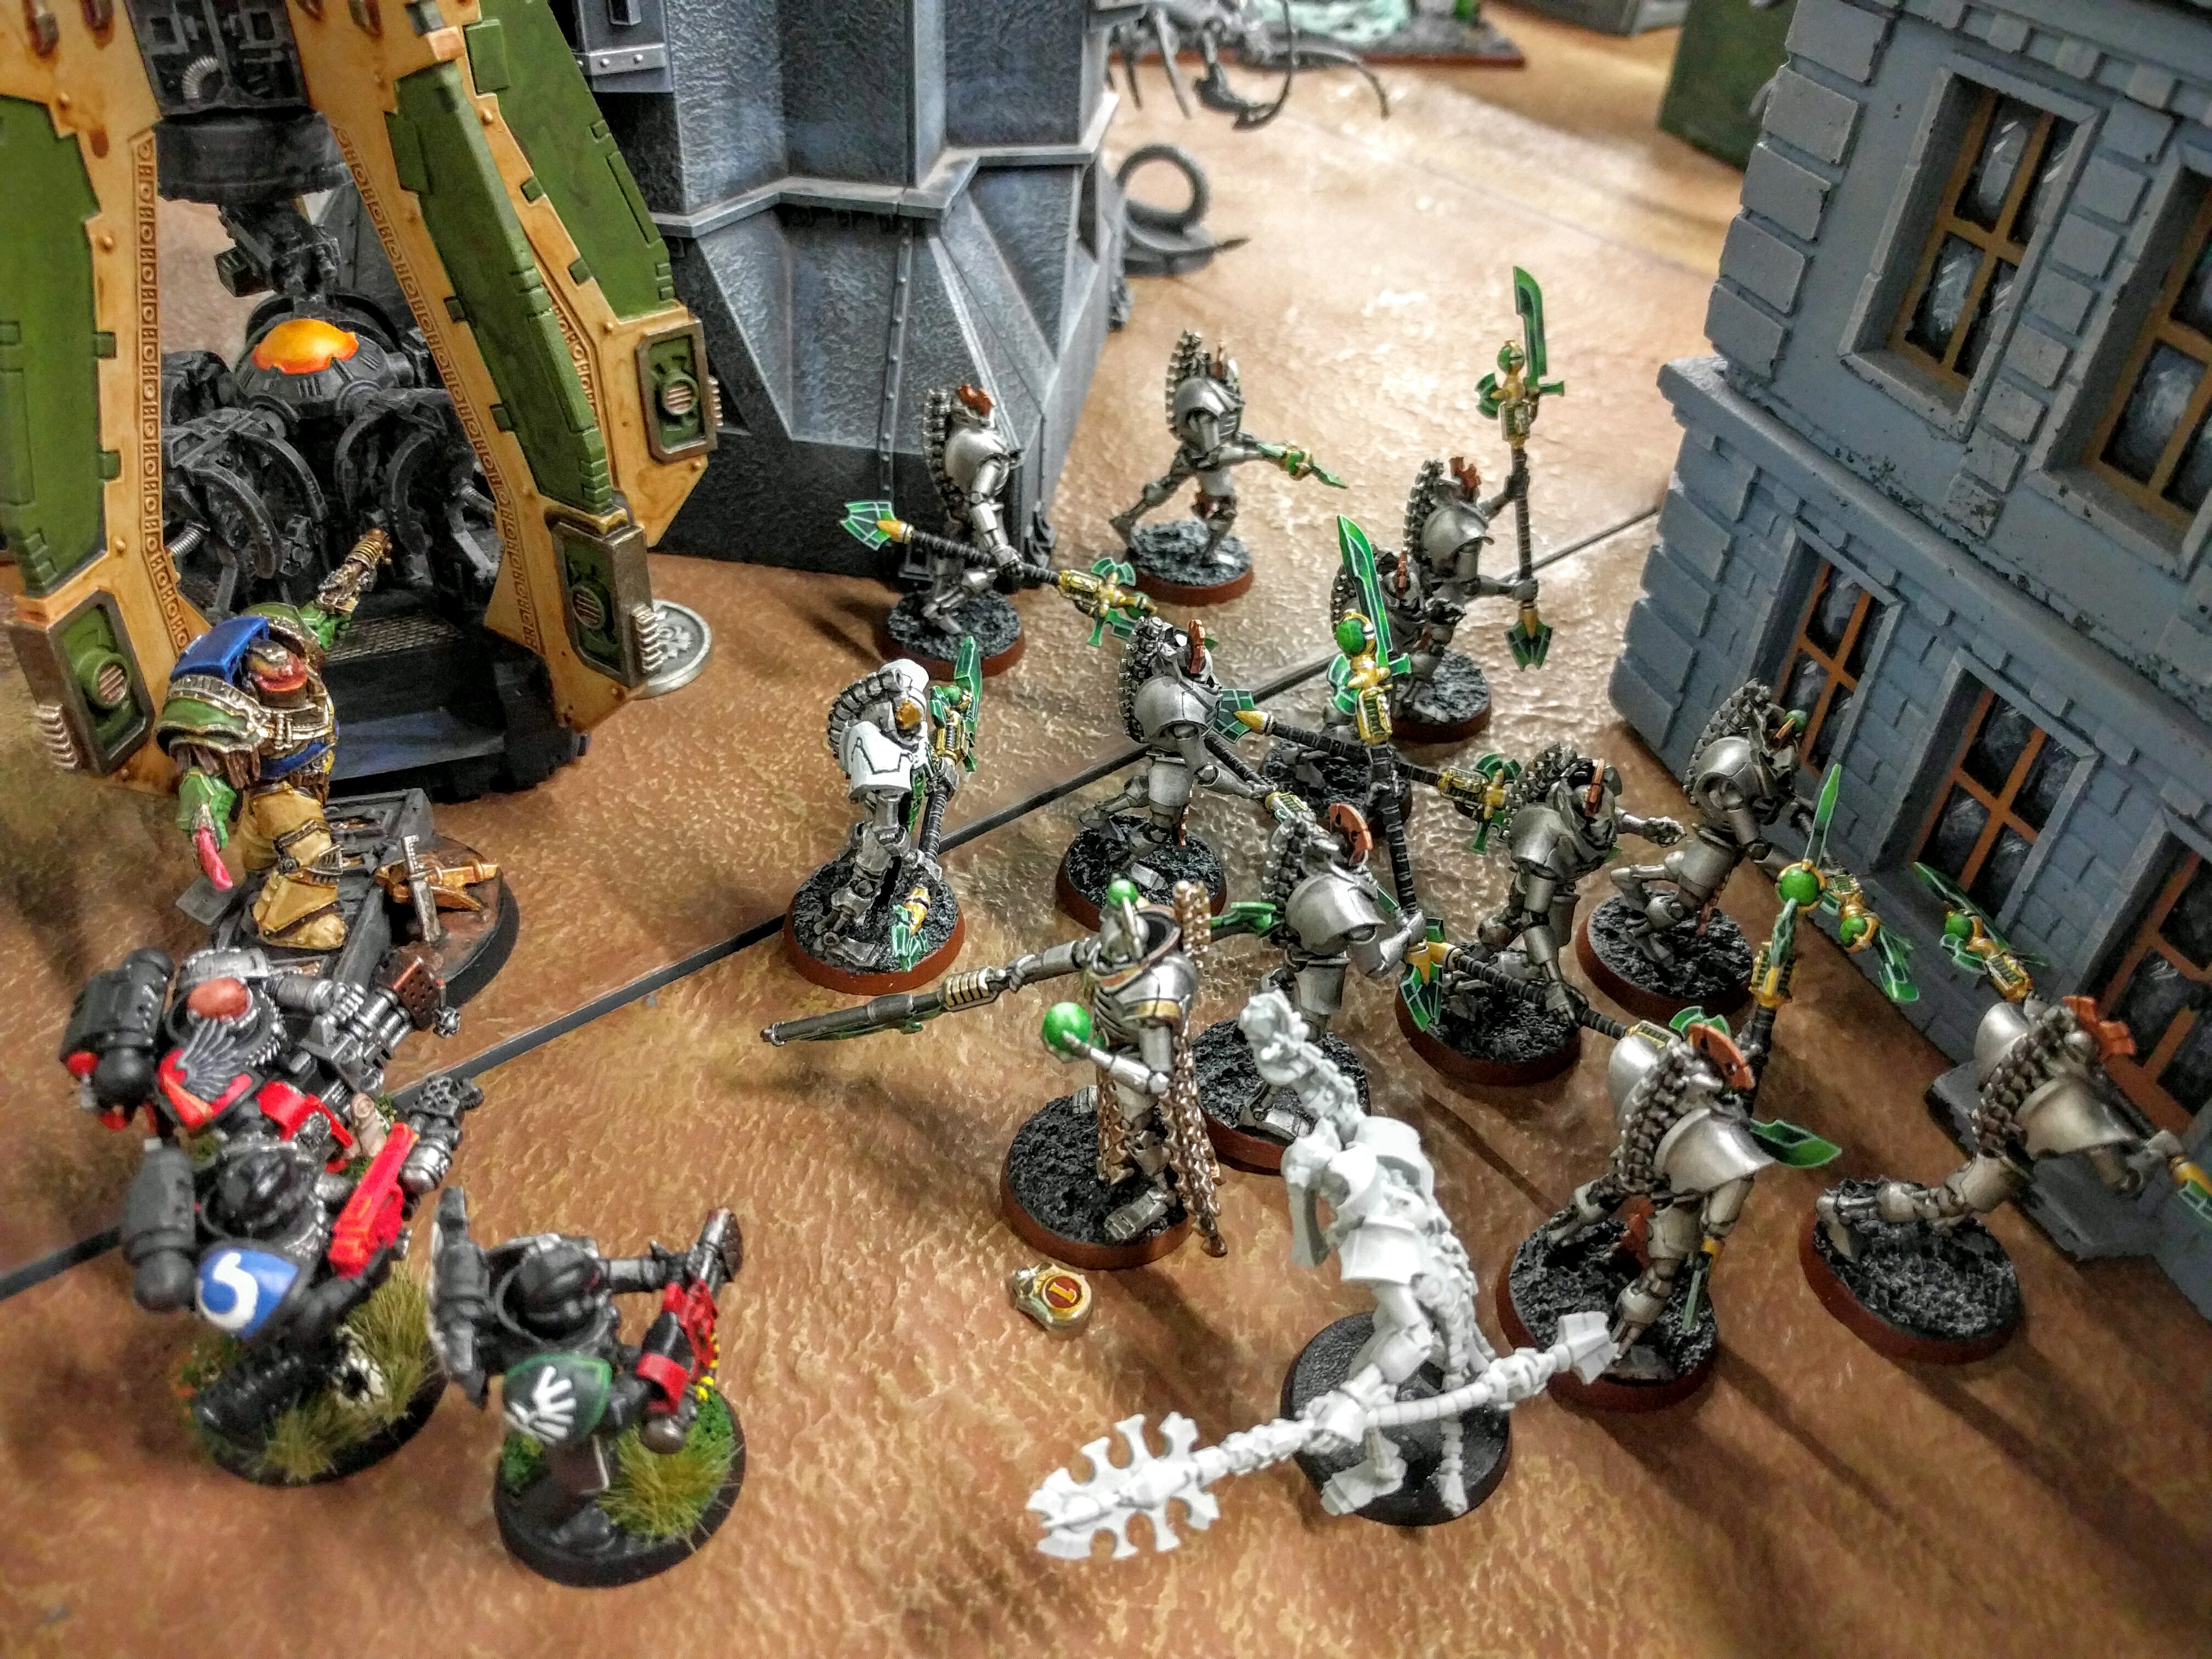
Glorious combat.
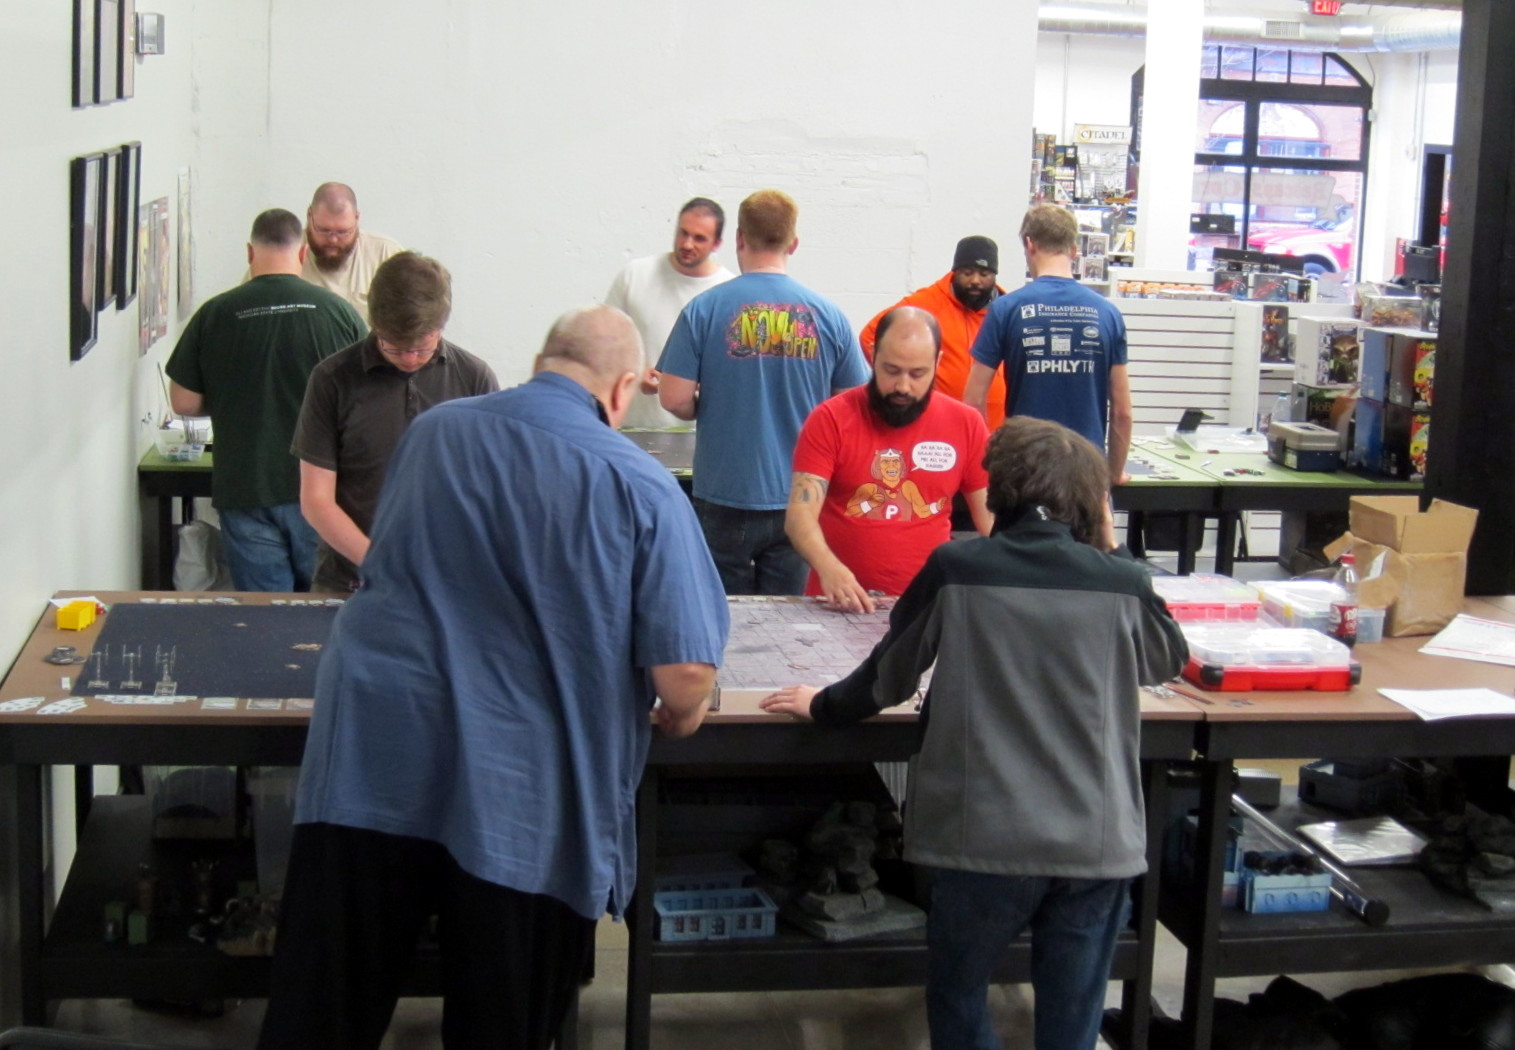
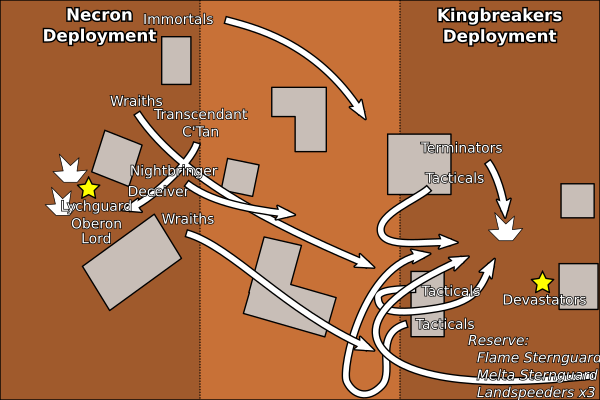
Setup
A relatively lightly terrained board, 1850 points each. I continued my experimentation with the Stormlance formation aided by a 1st Company formation. The Stormlance requires all your foot dudes to start embarked but lets them run after shooting, and to use that run to embark even if they disembarked in the movement phase. So it’s great for moving forward in a Rhino, popping everybody out to let loose a full round of shooting, and then hiding back inside. The mission was Emperor’s Will (just two objectives on the board), Hammer and Anvil (long table).
Battle
Things went something like this:
- Wraiths move forward a bit hesitantly, then rush forward. Tacticals move up enough to concentrate fire into each of the two units in turn, making full use of their recently learned transport embarkation skills. Landspeeders fortuitously come on to help from reserve, and the Wraiths are eliminated with minimal losses. Devastators meanwhile cripple The Nightbringer, enabling Tacticals to finish him with opportunistic long range bolter fire.
- Captain Angholan and a Deathwatch team drop onto the Necron objective, but the Lychguard defending it shrug off the waves of flamer fire and fail no saves from almost two dozen wounds. In response they obliterate the Kingbreakers veterans just before Oberon warps all his friends across the battlefield and onto the Kingbreakers’ objective.
- Kingbreakers Ghosts drop onto the Necron objective, attempting to assassinate The Deceiver lurking nearby. They cripple the supernatural ghoul and nearly succeed, but he’s rescued by a Transcendant C’Tan who wracks the Marines with energy attacks before pummeling them into Oblivion.
- Terminators waiting in the Kingbreakers’ backfield charge in to tie up the Lychguard, but are completely eliminated before inflicting any wounds. The Lychguard are somewhat off-footed by this though and fail a critical charge on Squad Harbinger also coming at them. This enables the entirety of the remaining Kingbreakers to turn and pour fire into the Necron, cutting them to shreds. It’s not enough to clear the field though, as Oberon, a Necron Lord, and a few Lychguard survive to continue battling the Emperor’s finest.
Outcome
The Emperor’s Will mission is notorious for typically coming down to the secondary objectives. With just two objectives, in each other’s deployment zones, it’s just so hard to claim or contest both. So Phil basically locked this one up early by claiming First Blood and Slay the Warlord. My only hope was to somehow contest his objective while holding mine, possibly while also slaying his warlord. By Turn 4 this looked possible with some very tight play, if I could clear the Lychguard and then flat out the Landspeeders across the board and onto his objective. Unfortunately I came up a few models short on clearing out the Necron menace, and the game ended on Turn 5 anyway while I’d decided to hope for a Turn 6 in order to get in a few more shots with the ‘Speeders before boosting across the board. That left us tied on objectives with each holding our own, but Phil still up those 2 points…
Analysis
Putting the Landspeeders into reserve but flying onto the board rather than deep striking was, as usual, a good move. I was hesitant about that because deep striking would enable me to get across the long Hammer & Anvil board. With the shorter player table edge reserving them is also less useful than usual because they can just fly across it anyway, as compared to entering on the flanks of the usual table orientation. But here they were able to come on precisely where they needed to in order to shoot right at the most menacing Wraiths before they could obliterate all the Tacticals nearby.
Throwing down the Sternguard piecemeal first to the Lychguard and then to The Deceiver and Nagash was unfortunate. But I’m not sure what else I would have done. That seemed my best chance to get on top of Phil’s objective, as the Rhinos would have had a hard time making it across the long table without being blown up. I did also think they’d do better against the Lynchguard. Their sacrifice did also basically take both of the C’Tan out of the game, as they were forced to turn around and take care of the drop team, keeping them away from my objective.
So far I’m a big fan of the Stormlance formation from the Kauyon campaign book, thematically for the White Scars but not actually tied to their Chapter Tactics or characters. It’s quite a change of pace for me having to equip and embark everybody in Rhinos rather than most in Drop Pods and the others largely on foot. But being able to jump out, shoot, and hop back in is a huge boost to the effectiveness of basic Marines. Bringing 20 bolter shots to bear is quite a bit different than 4 out of the hatches. Sheer weight of fire did a lot here to overcome the Necron’s intrinsic survivability—overall I had just under 50 Marines on the board.
The big immediate thing I should change army-wise is adding another Drop Pod to the 1st Company formation with some unit complementing the others, e.g., another Sternguard squad, so that I have two pods coming down Turn 1. Currently the two units individually can go after a good variety of either squishy or vehicular units, but against a sort of middle ground hard target like the Lychguard their attack needs more oomph. In general I could also use more of the newer firepower units in the army. Centurions are of course the leading candidate.
In any event, I need to change something up as I’m now 0 and 2 against Phil in 2016, though this game was much closer than our last. To the future!
Deathwatch flame the Lychguard on their home objective.
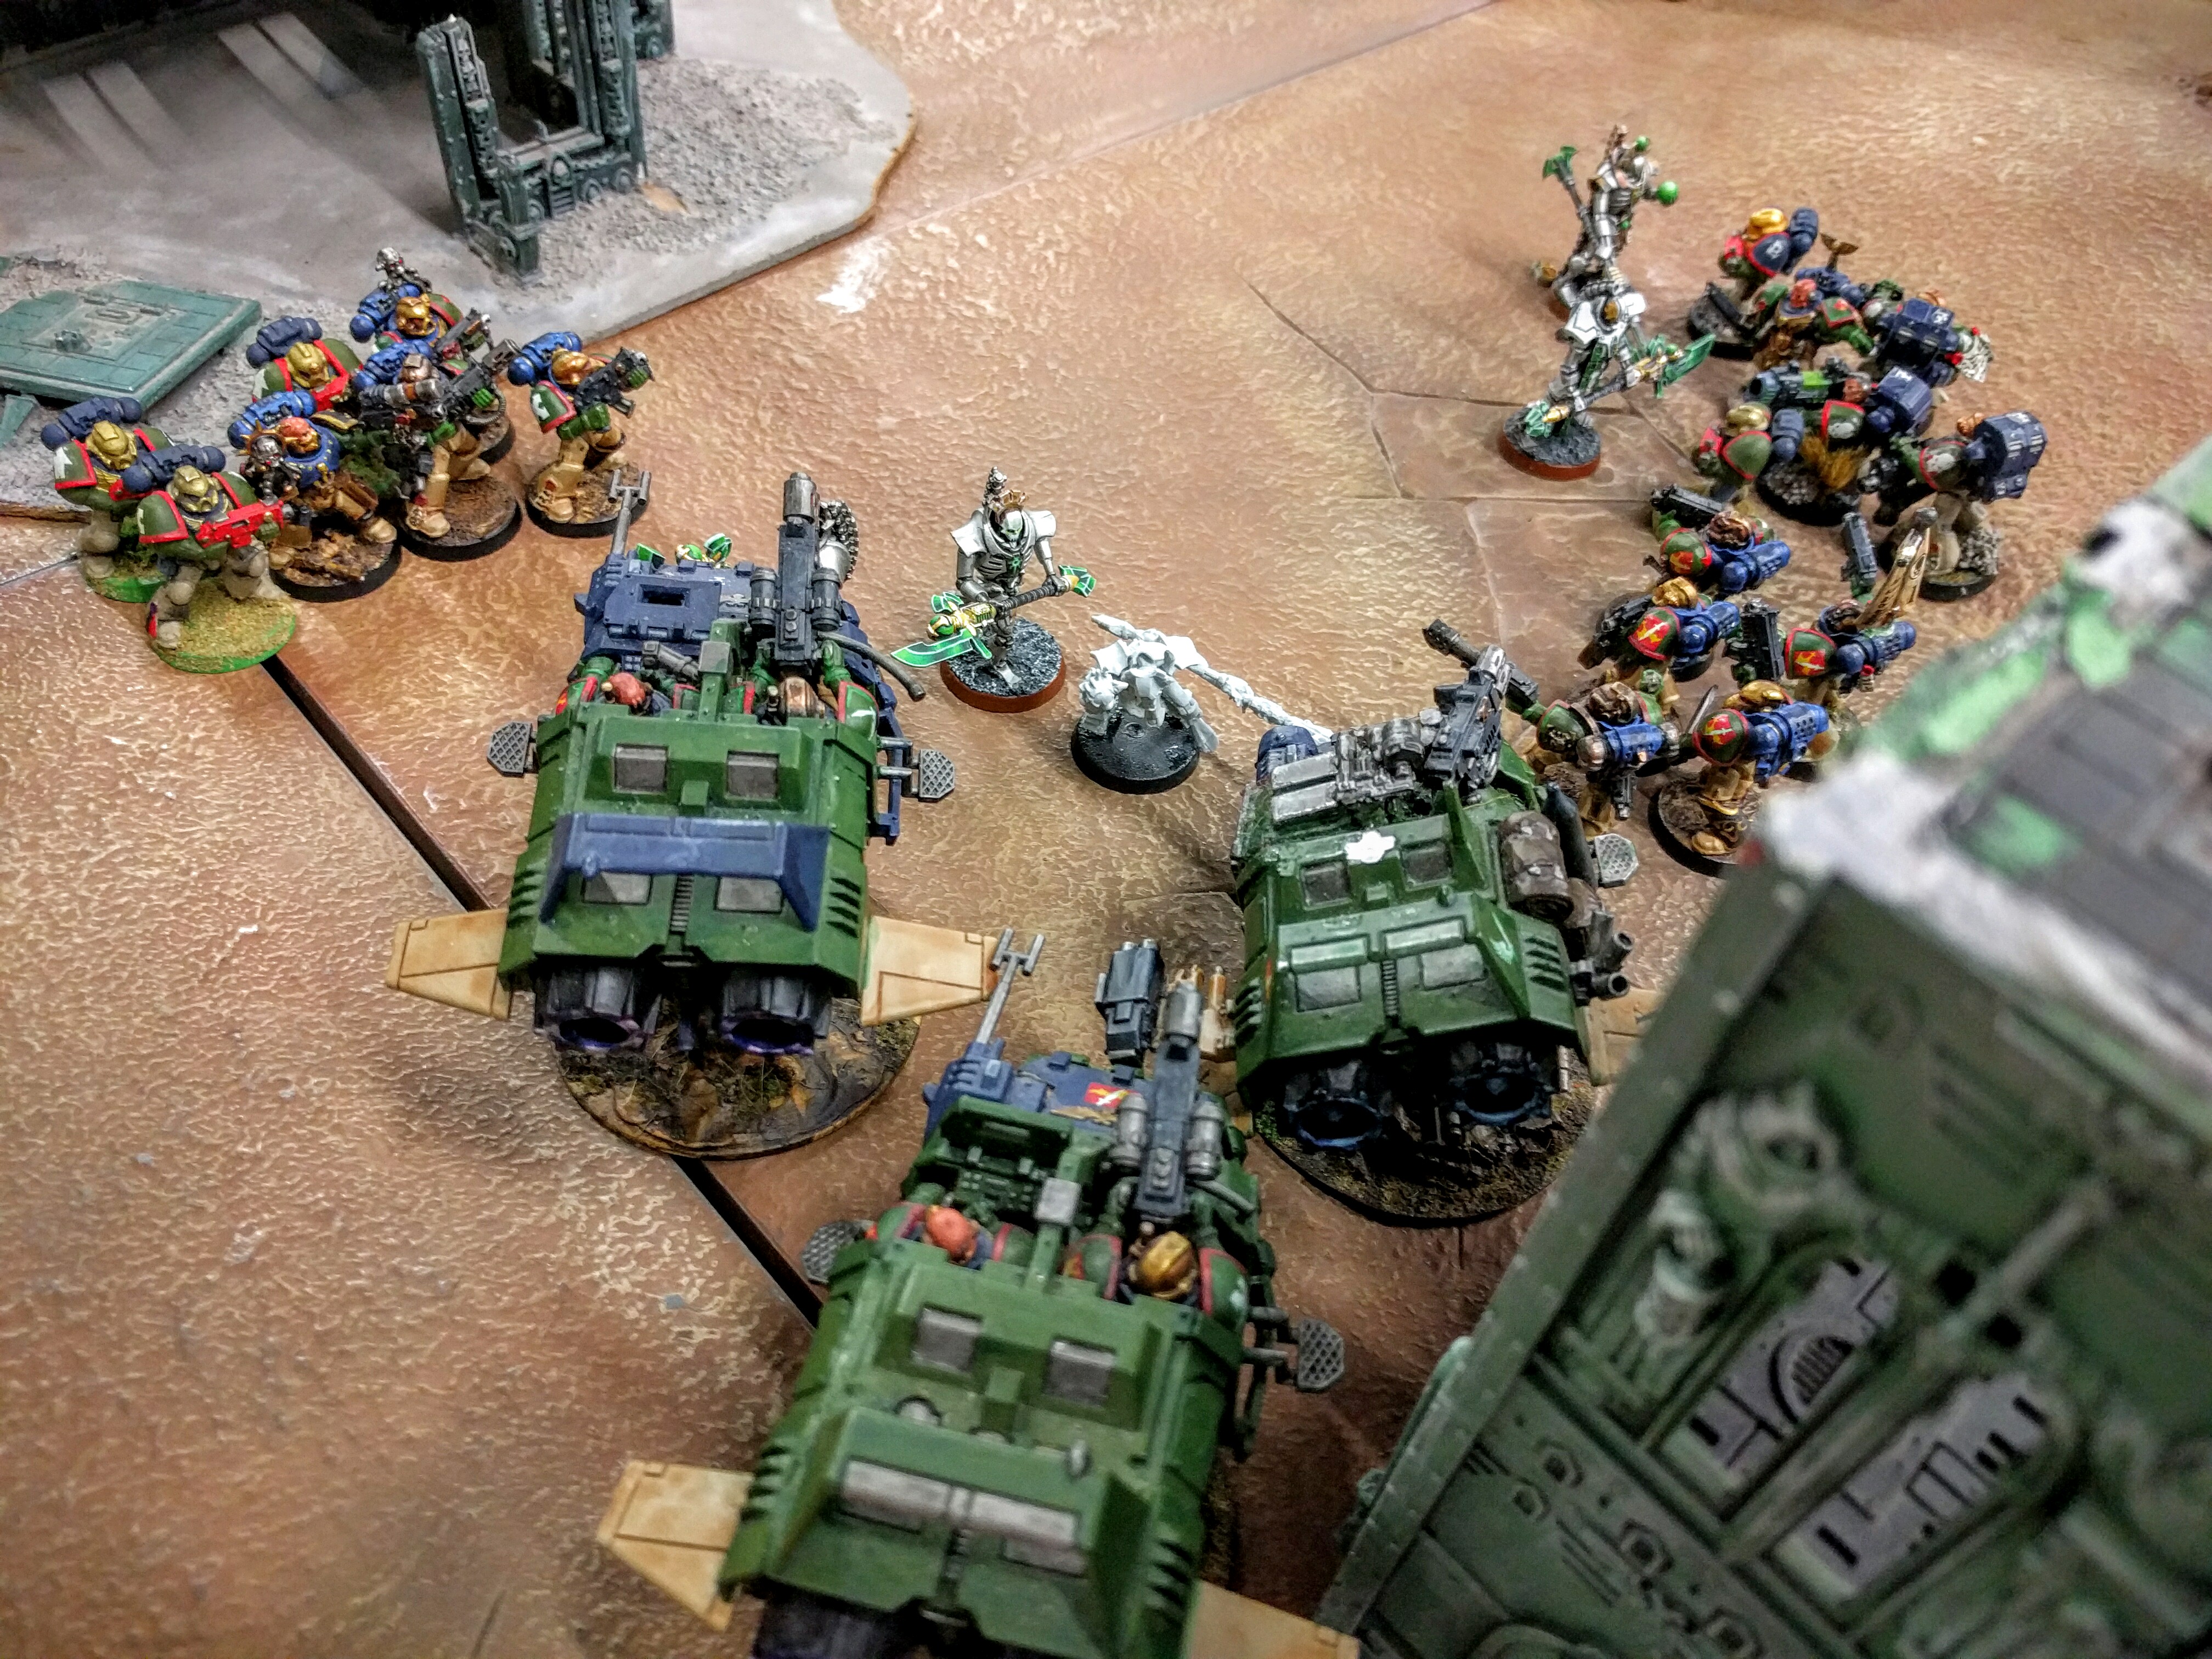
Kingbreakers surround the invading Necron.