Asteroids: Drawing Objects

Recently I’ve started mentoring a local high school student a bit on implementing a video game, and this is a technical note toward that.

Drawing basic shapes out of polygons to represent game objects is straightforward and requires just a bit of trigonometry, outlined here.

Shapes

The core idea is that the polygon is located around the object’s current position. So, a standard looking Asteroids ship might be defined as four points about the origin as in this diagram:
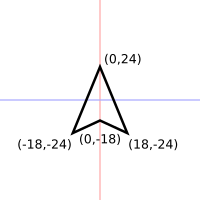
Four coordinates defining a fairly standard Asteroids player ship.

Four coordinates defining a fairly standard Asteroids player ship.

The polygon is captured by a list (array) of points in order around the shape. Caveat other restrictions in the game’s code, it doesn’t really matter if they’re clockwise or counter-clockwise. In this case the ship is defined as follows, proceeding counter-clockwise:

  1. (0, 24)
  2. (-18, -24)
  3. (0, -18)
  4. (18, -24)

One cute trick that’s often done in Asteroids is to randomly generate the polygons for the asteroids themselves. The points list needs to be in order though or else the lines will overlap and the shape look funny. There are several ways to do this, but one is to go around in a circle, picking a random angle within that arc of the circle, picking a random distance from the origin for that tip of the rock, and computing the x & y value for that polygon point using that angle and distance.

Drawing

In most polygon graphics APIs, drawing starts by starting a new shape if necessary (i.e., newpath) and moving the cursor to the first point in the list (i.e., moveto). It then loops over each of the other points and draws a line from the previous position to the current point (i.e., lineto). The path is then either closed by drawing a line to the first point in the list from the last, or using a specific function to close the path if the API has one (i.e., closepath).

Rotation and Placement

Of course, in the game the object typically has to rotate and move. Rotation is simple because we’re taking the object’s current position as the origin of the polygon representing it. Each point to draw just needs to be calculated through the basic rotation formula:

x' = (x * cos(angle)) - (y * sin(angle))
y' = (x * sine(angle)) + (y * sin(angle))

In these formulas, x and y are the current point in the polygon list while x' and y' are the actual points to draw. The direction the object is currently rotated to, i.e.,which way the player is facing, is in angle.

This will draw the polygon around the origin, but of course the object is actually somewhere else on screen. This is a simple translation, effectively moving the polygon’s origin to the object’s actual position. In other words, just adding the object’s x and y coordinates to the point to draw:

x' = x' + objectx
y' = y' + objecty

Minor Complications

Although the ship above has somewhat naturally been modeled facing up, angle 0 in trigonometry is actually facing to the right. So, the polygon should instead be modeled with its natural direction facing that way.

Adding just a small detail, essentially all modern computer displays and most software use a slightly different coordinate system from what’s typically used in mathematics: The origin is at the top left of the screen, and the y axis increases going down the screen, not up. Note that this means the 90 degree angle is actually facing down and 270 degrees points straight up.

A wide variety of ways to work with these facts can be applied, but the easiest is just to model the polygon facing to the right and to keep that coordinate scheme in mind. So, the example polygon above would actually be modeled as follows:
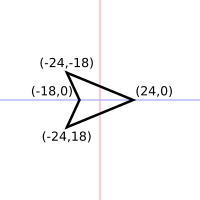
The ship actually facing angle 0.

The ship actually facing angle 0.

The counter-clockwise ordering of points would then be:

  1. (24, 0)
  2. (-24, -18)
  3. (-18, 0)
  4. (-24, 18)

Another small detail to keep in mind is that nearly all trigonometry functions in software libraries are based on radians rather than degrees, though most people work more easily in the latter. Converting between the two just requires a simple formula based on the identity relationship between them:

radians = pi * degrees / 180

Code

A simple demonstration of this is in the box below. Pressing the left and right arrow keys make the ship rotate, and it’s being drawn in the center of the screen rather than the origin (you may have to click on the box first to focus the keyboard on it):

The code snippets for this below are in Javascript, but should be easily applicable to most platforms.

The polygon for the ship has been defined as follows:

var playershape = [
  { x: 24,  y: 0},
  { x: -24, y: -18},
  { x: -18, y: 0},
  { x: -24, y: 18},
]

It’s just an array of points, each a Javascript object with an x and y value. There is also a player object that has its own x, y, and angle, representing the player’s position and orientation on screen.

A couple trigonometry helper functions are defined, to convert degrees to radians, and to rotate x and y values:

function degtorad(angle) {
  return 3.1415926 * angle / 180;
}

function rotx(x,y,angle) {
  return (x*Math.cos(angle)) - (y*Math.sin(angle));
}

function roty(x,y,angle) {
  return (x*Math.sin(angle)) + (y*Math.cos(angle));
}

Note that each of the x and y rotations take as input x, y, and angle, because the rotation formula requires each of those values.

As discussed above, the ship is drawn by starting a path at the first point of the polygon, looping through each other point, and then closing it off. At each step the point to draw is rotated about the ship’s position as the origin, and then translated to the ship’s actual position on screen. This function captures that, and is called by the main drawing routine each time the ship needs to be displayed:

function drawplayer() {
  var x, y;  // These will be the point to draw.
  var i = 0;  // i is the current polygon point we're using

  ctx.beginPath(); // ctx is the graphics drawing context in this Javascript program.

  // Calculate the actual draw point by rotating and then translating.
  x = rotx(playershape[i].x, playershape[i].y, player.angle) + player.x;
  y = roty(playershape[i].x, playershape[i].y, player.angle) + player.y;
  ctx.moveTo(x, y); // Start the polygon at this point.

  // Loop through the other points---note that this therefore begins at point 1, not 0!
  for (i = 1; i < playershape.length; i++) {
    x = rotx(playershape[i].x, playershape[i].y, player.angle) + player.x;
    y = roty(playershape[i].x, playershape[i].y, player.angle) + player.y;
    ctx.lineTo(x, y); // Extend the path from the previous point to this new one.
  }
  ctx.closePath(); // Close the path by adding a line back to the start.
  ctx.stroke(); // Draw the path.
}

To initialize the player, its position is set to the middle of the screen and its orientation set as facing straight up:

  player.x = canvas.width / 2;
  player.y = canvas.height / 2;
  player.angle = degtorad(270);

Each time the left or right key is pressed, the ship’s angle is updated like this.

    player.angle -= degtorad(10); // Decrease the angle by 10 degrees, making the
                                  // conversion to radians first before subtracting
                                  // from the current angle.
    while (player.angle < 0) {        // This actually isn't necessary, but just makes sure
      player.angle += 3.1415926 * 2;  // the player's angle is always between 0 and 2*pi.
    }                                 // The drawing routines and other logic will all
                                      // handle that fine, but it can make things easier for
                                      // the programmer in writing other parts of the code.

Conclusion

Those are the basic elements in drawing a simple game like Asteroids. The next complication is having an array or arrays of game objects. That’s necessary to capture all of them that might appear on screen, namely the rocks and bullets. A drawing function like that above then needs to be applied to each game object in the array(s), rather than being just hardcoded to a single game object instance like this example is to the player’s ship.

Drop on Solypsus 9

banner

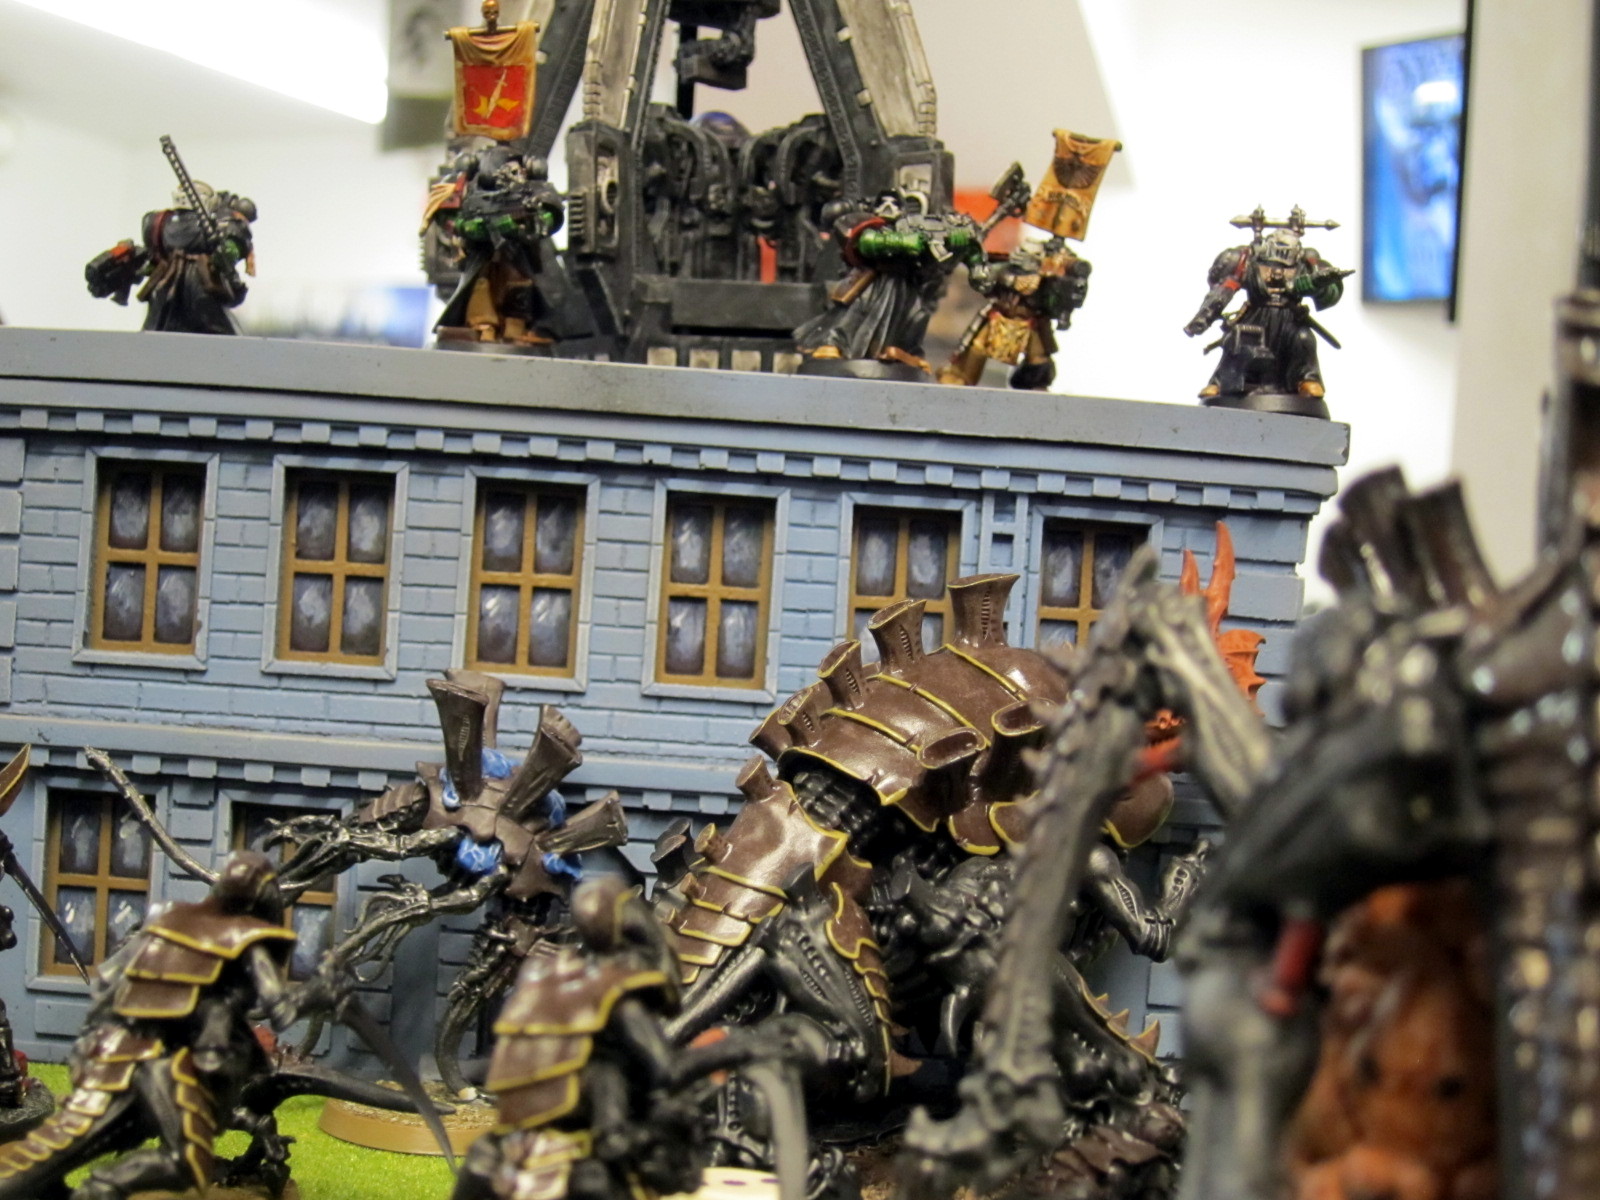
Our Solypsus 9 campaign kicked off yesterday. A massive horde of Tyranid including some Orkoid biomorphs descended on the planet, with Space Marines and Imperial Guard arriving just in time to aid the colony.

Eight players braved a small snowstorm, one even coming up from Virginia:

  • Forces of Order: Swords of Dorn+Legion of the Damned, Kingbreakers, Blood Angels+Sentinels of Terra, and Armoured Company
  • Spoiler Horde: Living Artillery, Endless Swarm, Spore Cloud, and Ork Mob

More photos are in the day’s Flickr gallery. Results and missions are on the event webpage. Core campaign mechanics are in the Solypsus 9 draft.

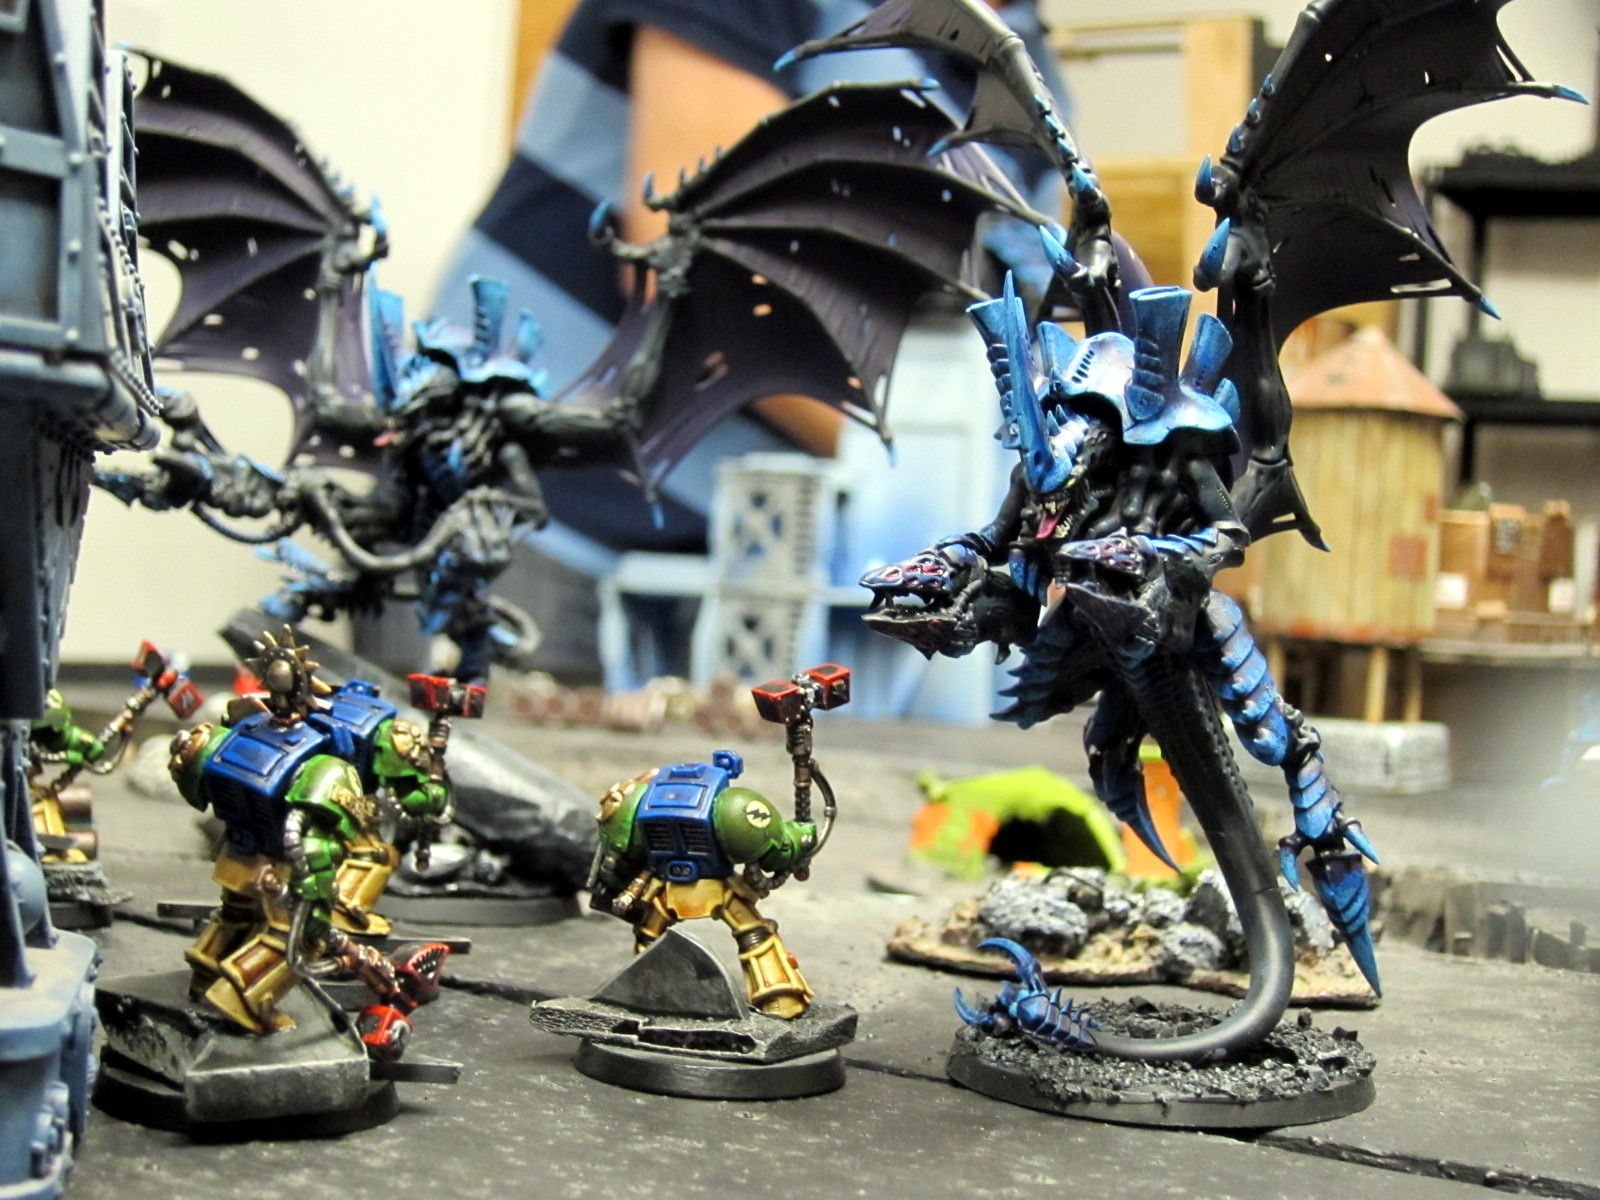
Kingbreakers rush headfirst into the oncoming wave of Hive Tyrants.

Kingbreakers rush headfirst into the oncoming wave of Hive Tyrants.

Mechanics

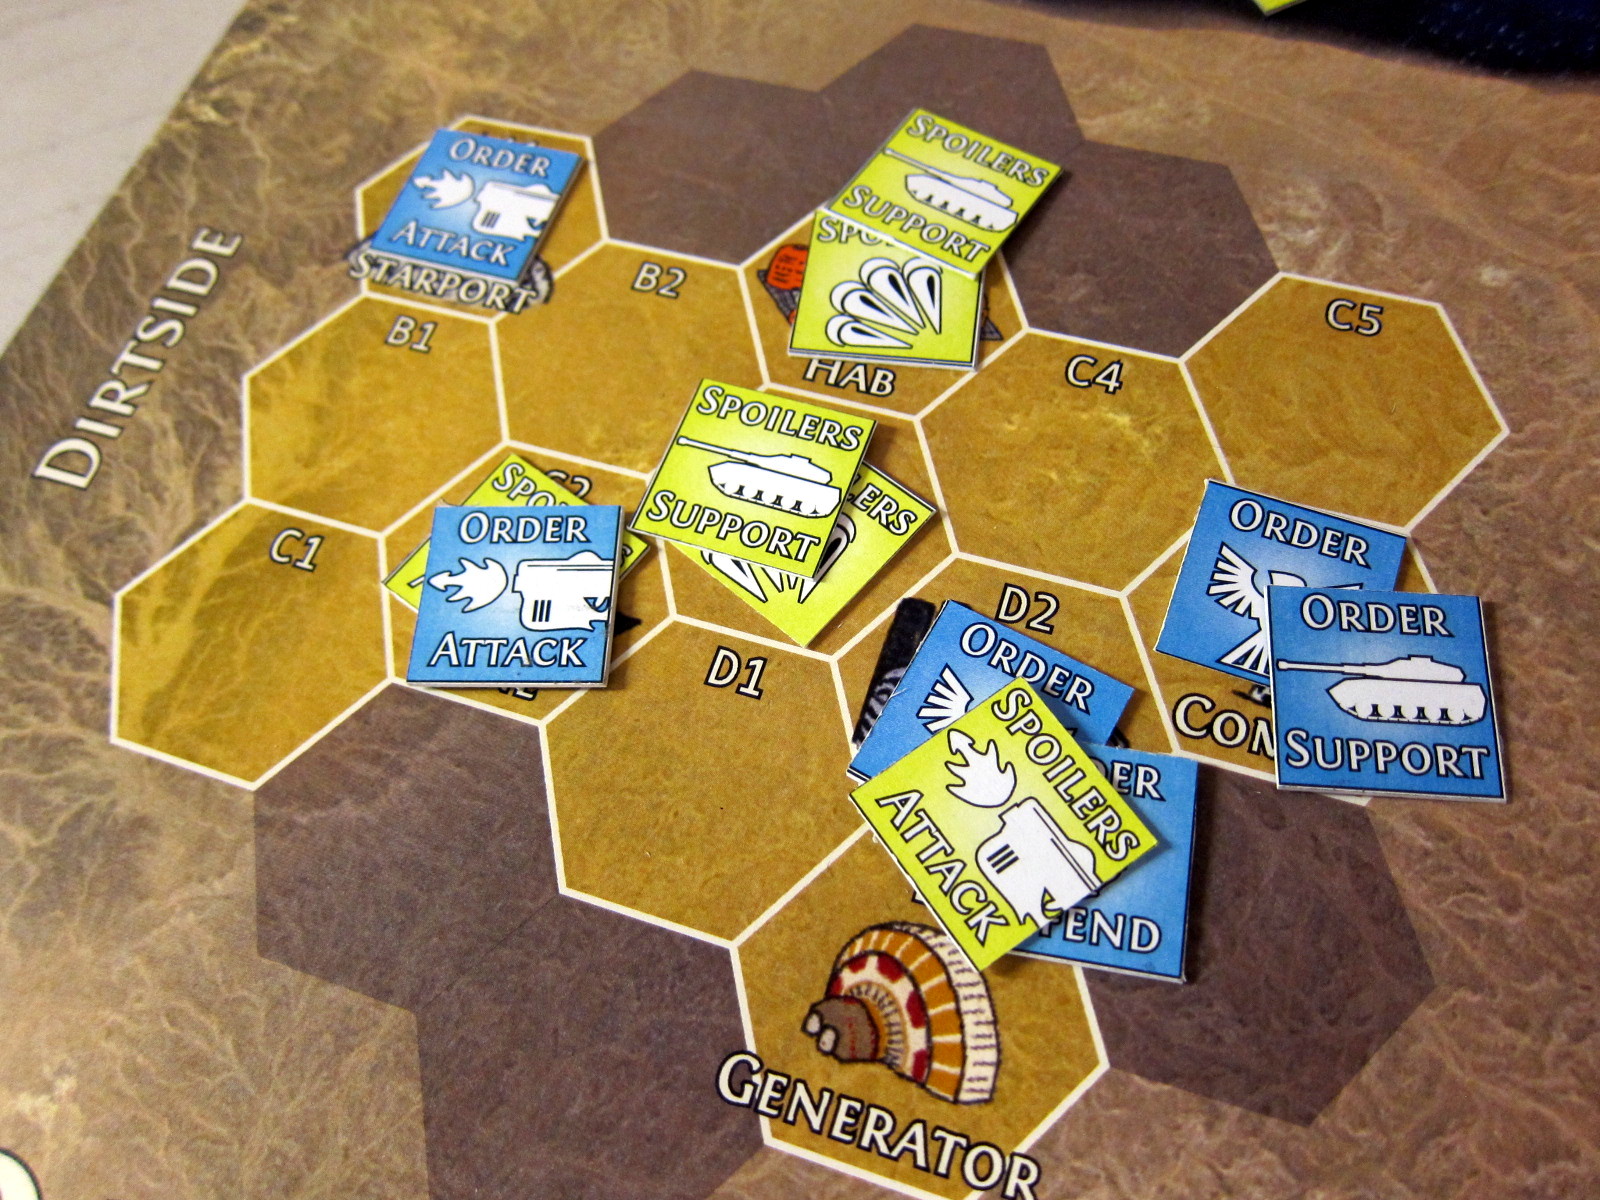
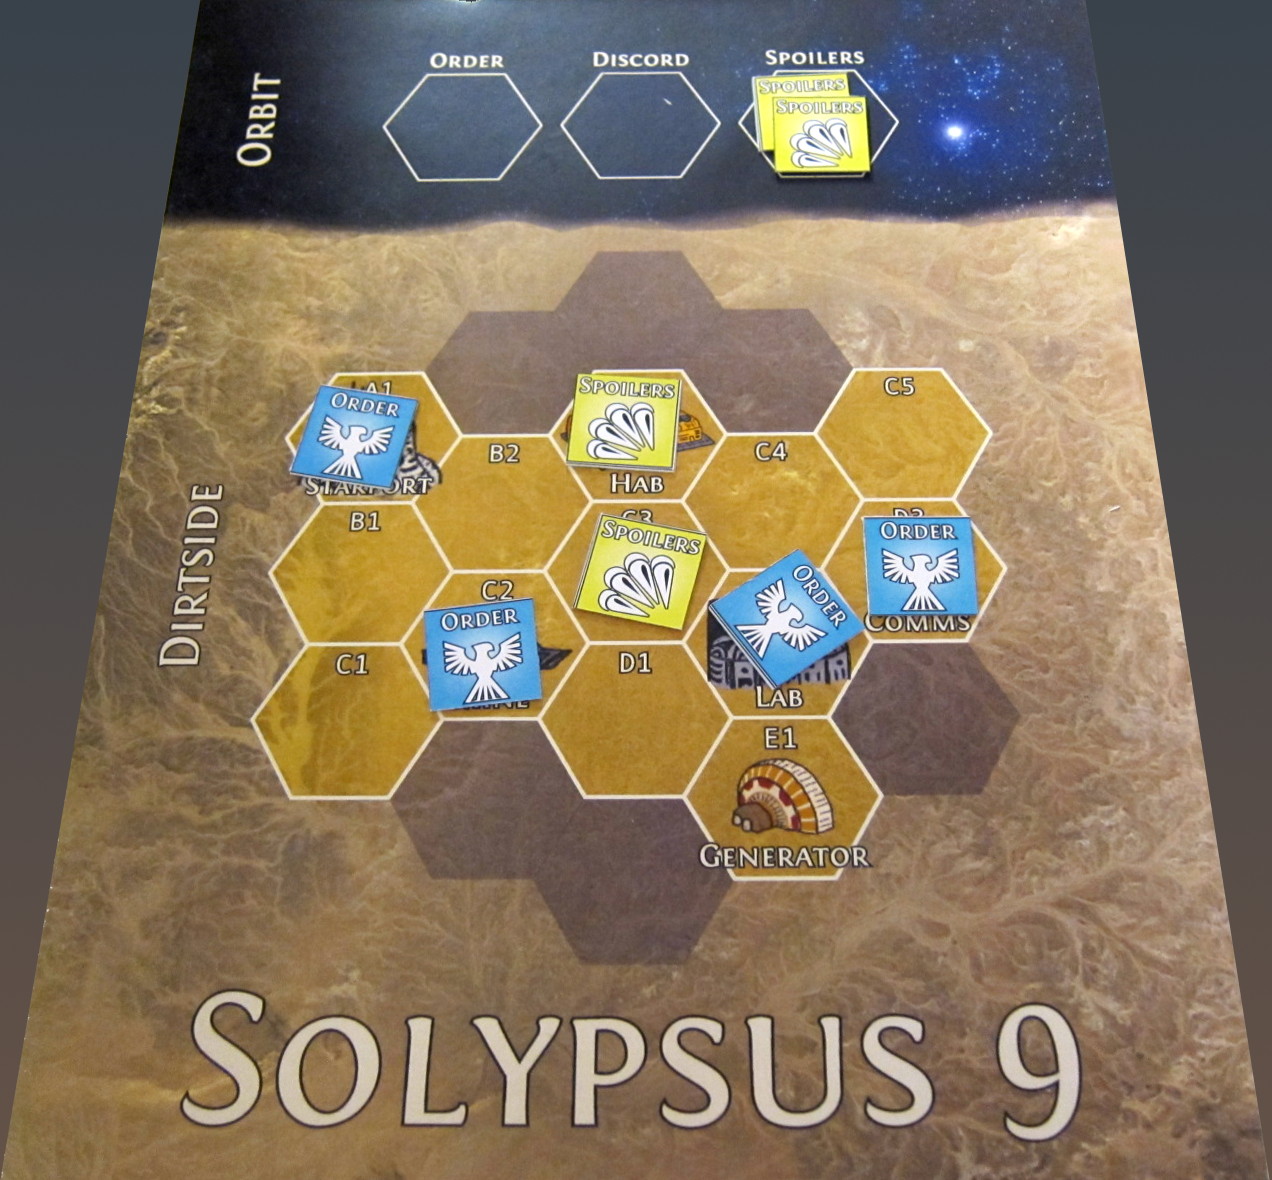
The campaign mechanics seemed to work out really well in their debut. There are a lot of details, especially to accommodate varying group size and composition. The basic idea though is that each alliance has a set of armies abstractly representing the major thrusts and conflicts of the campaign. Both teams secretly simultaneously place commands on those armies to Attack, Support, or Defend. They then alternate picking one of their Attacks and nominating an attacking player and target territory, with the opposing side(s) responding with a defending player. Results and control of the targeted territories are based on victory points earned there that round. Support and Defend commands aid in those contests, respectively contributing +5 to all adjacent territories and +10 to the territory itself assuming they aren’t wiped out or blocked.

The missions themselves followed the basic pattern we’ve been using: Each is worth up to 20 victory points, with 9 points available for a given primary objective based on markers or kill points, 6 points for a secondary objective chosen by each player from a list with options such as assassinating characters or controlling terrain pieces, and up to 5 points for several tertiary objectives such as claiming first blood or tagging superheavy vehicles.

Battle commands going into round 3.

Battle commands going into round 3.

Battle

Action in the first stretch of the campaign was concentrated around the Laboratory and the open ground at the center of the colony.

Round 1: The Swords of Dorn dropped successfully on the Laboratory, beating out the Ork Mob harrying them. Blood Angels repulsed the Endless Swarm’s attack on the Generator. Both forces met on the colony’s central ground en masse with the Kingbreakers barely countering an advance by the Living Artillery but the Spore Cloud overwhelming the Armoured Company to take the territory.

Round 2: The Armoured Company was kept on the retreat by the Ork Mob, losing the Hab Blocks to the invaders. A counter-attack by the Living Artillery on the Laboratory was blocked by the Blood Angels. Kingbreakers tried to disrupt the swarm’s plans at the colony’s center but could not dislodge the Spore Cloud. At the Comms Tower the Swords of Dorn boltered away the Endless Swarm.

Round 3: Swords of Dorn and Blood Angels both assaulted the Mine, with the Legion of the Damned tipping the odds against the Spore Cloud and Ork Mob.

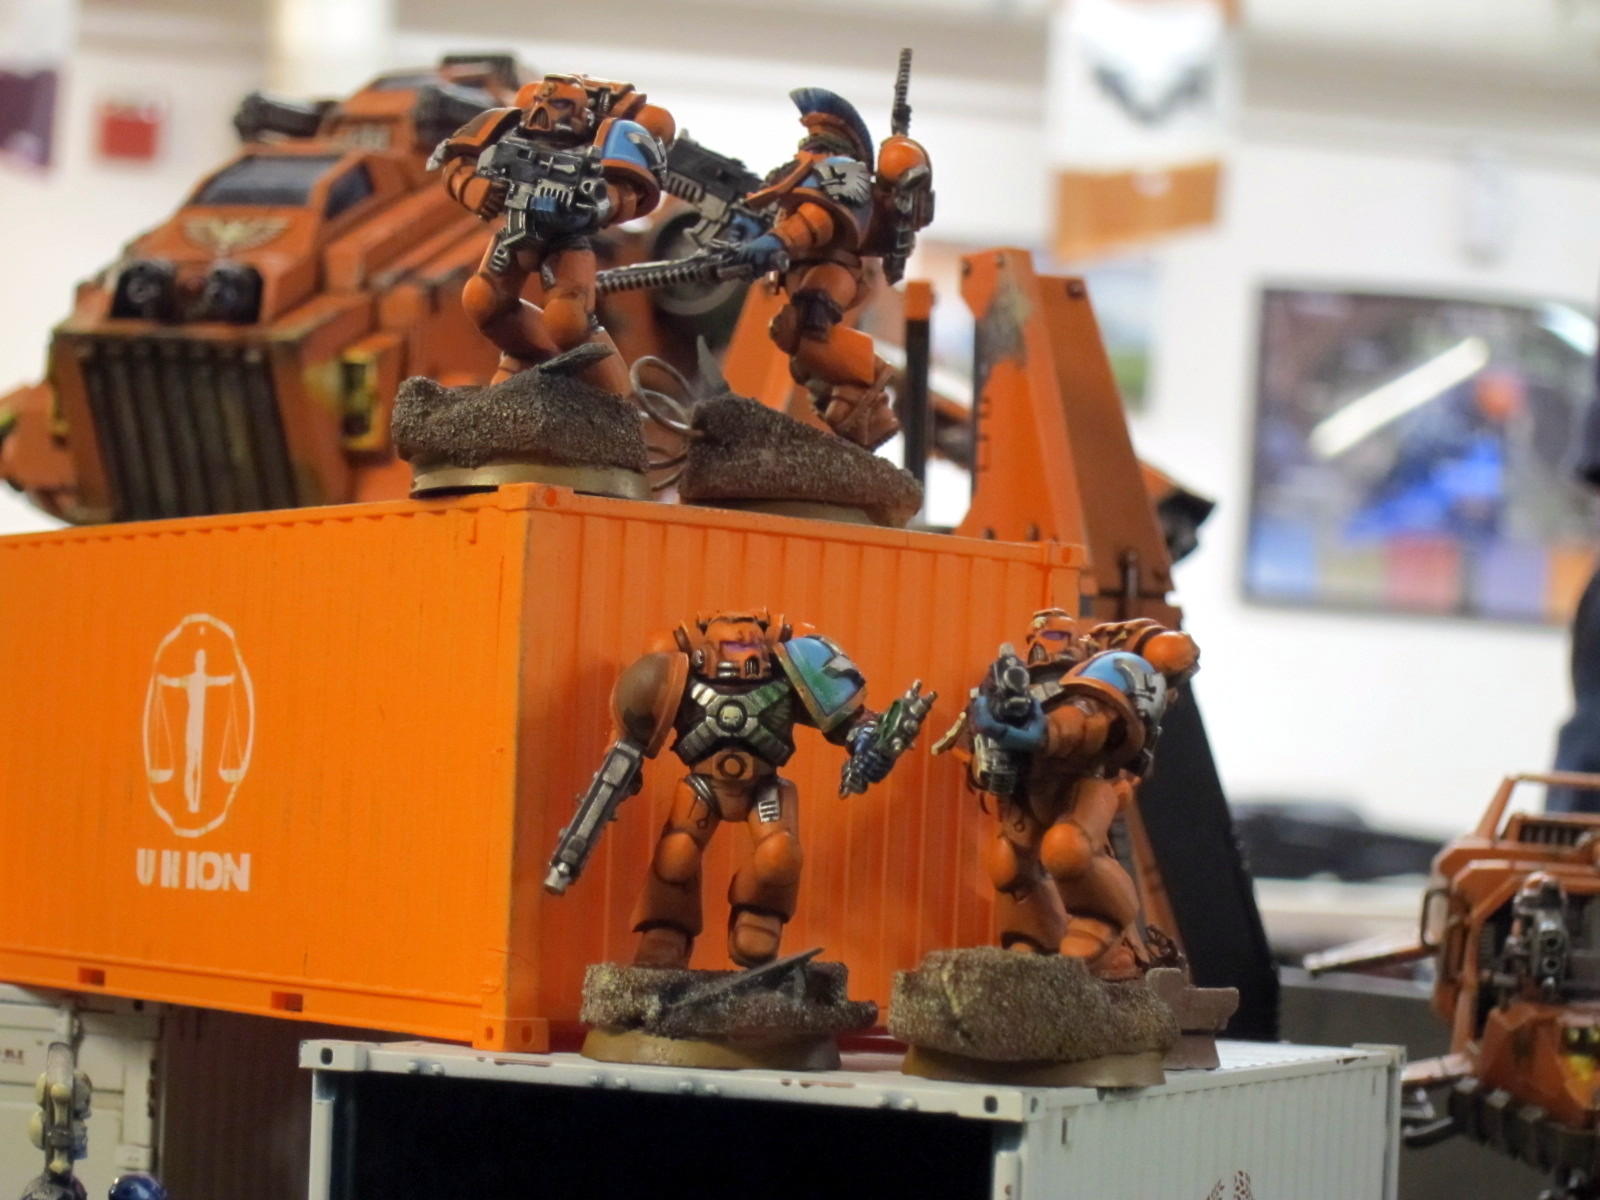
The Swords of Dorn make landing on Solypsus 9.

The Swords of Dorn make landing on Solypsus 9.

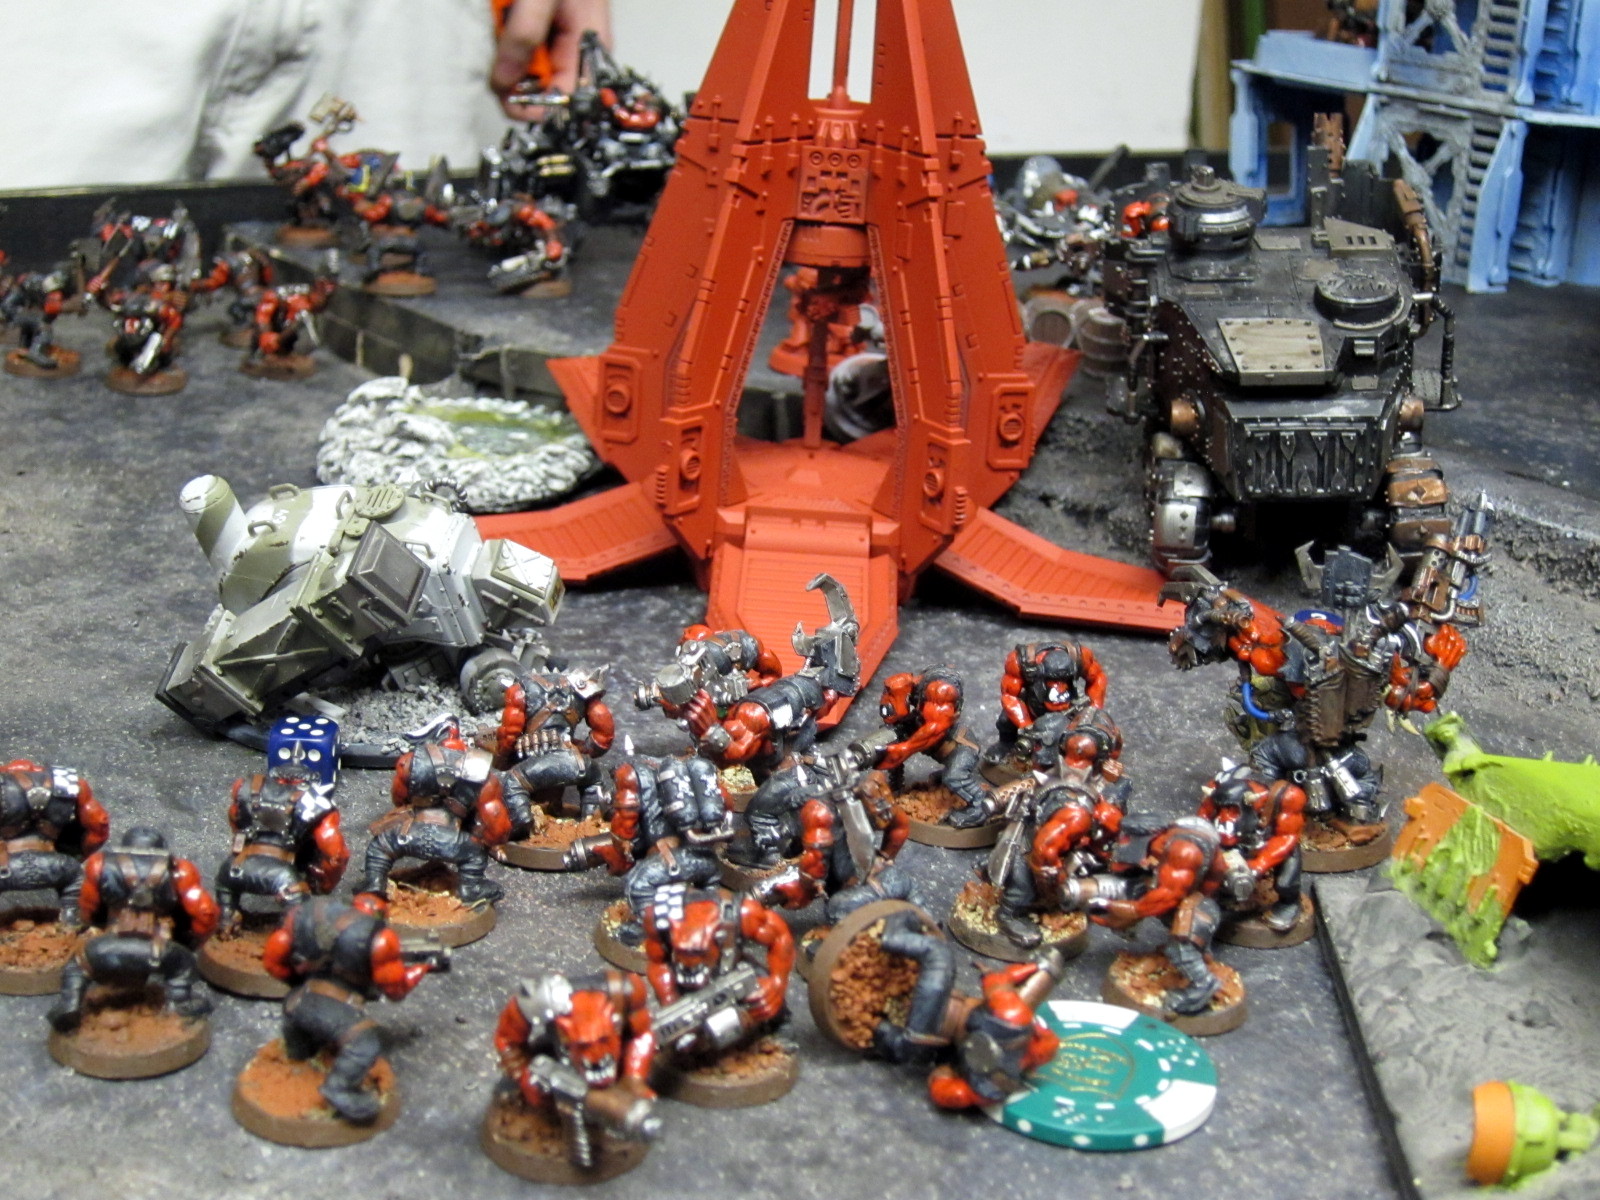
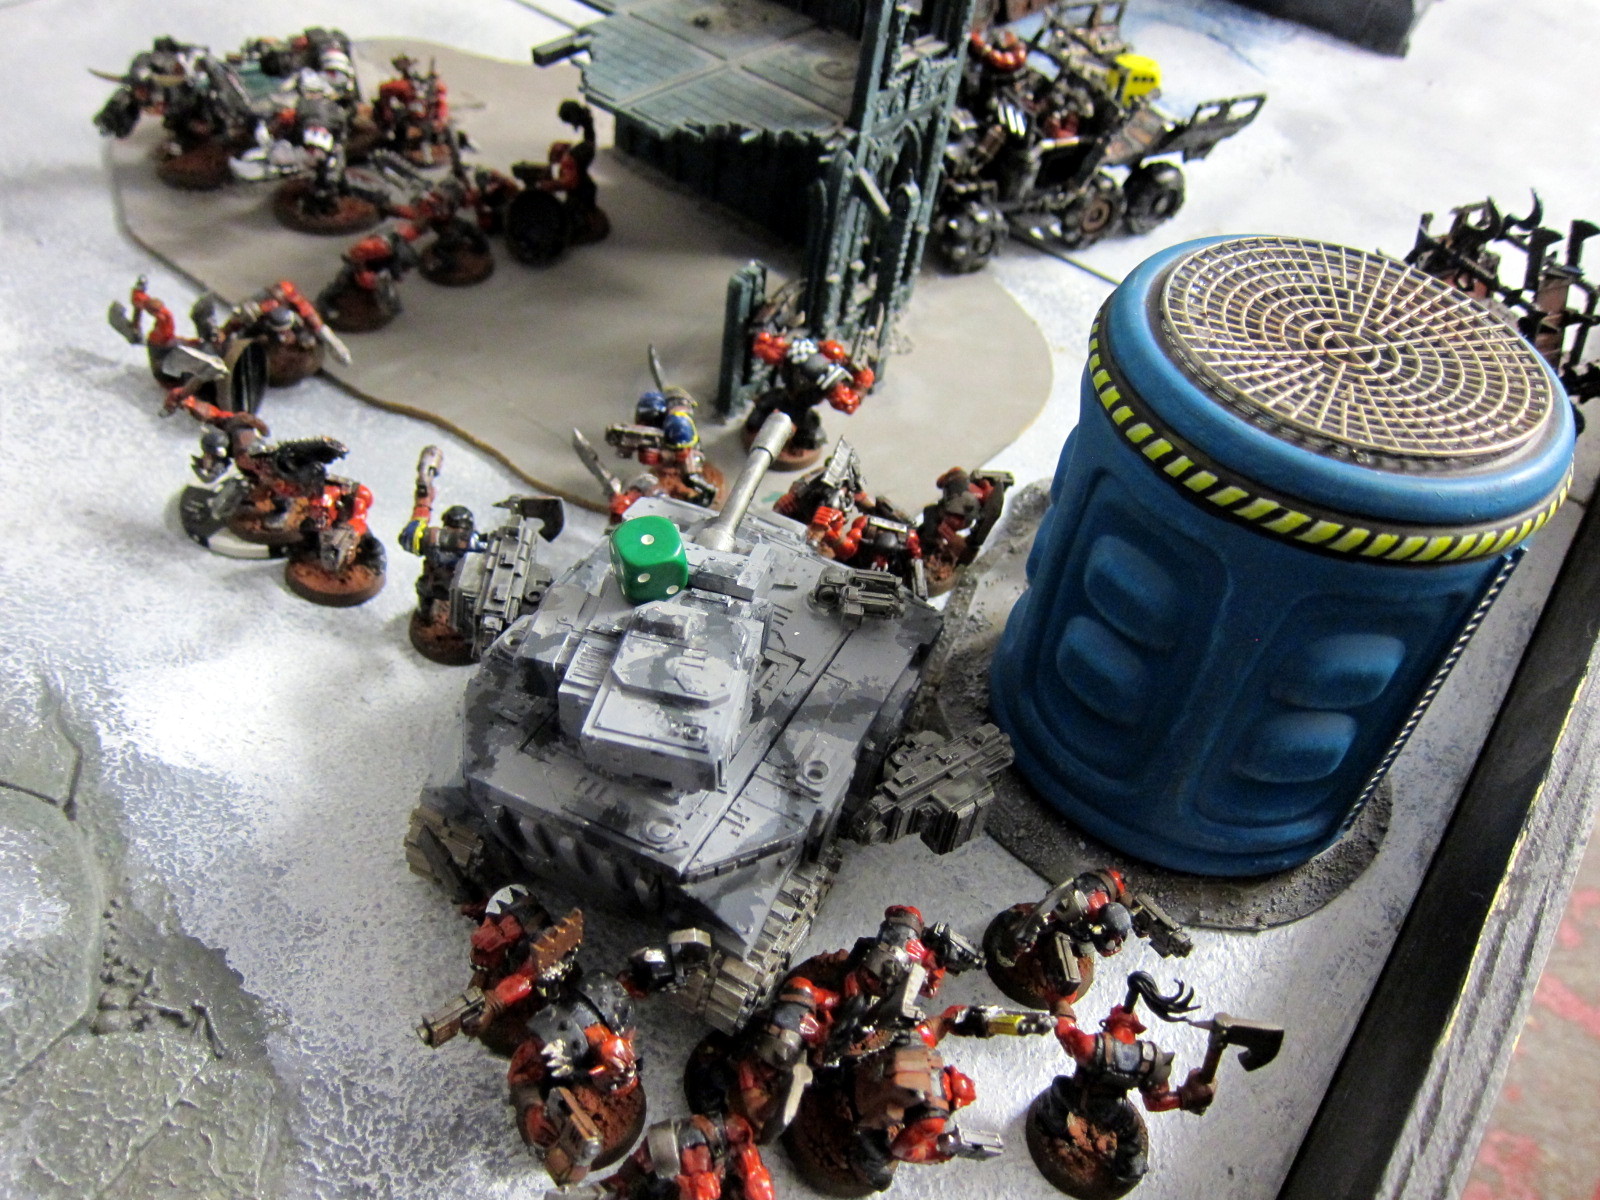
The Ork Mob surrounds the Blood Angels' landing site.

The Ork Mob surrounds the Blood Angels’ landing site.

While the Armoured Company as well is mobbed by the Orks.

While the Armoured Company as well is mobbed by the Orks.

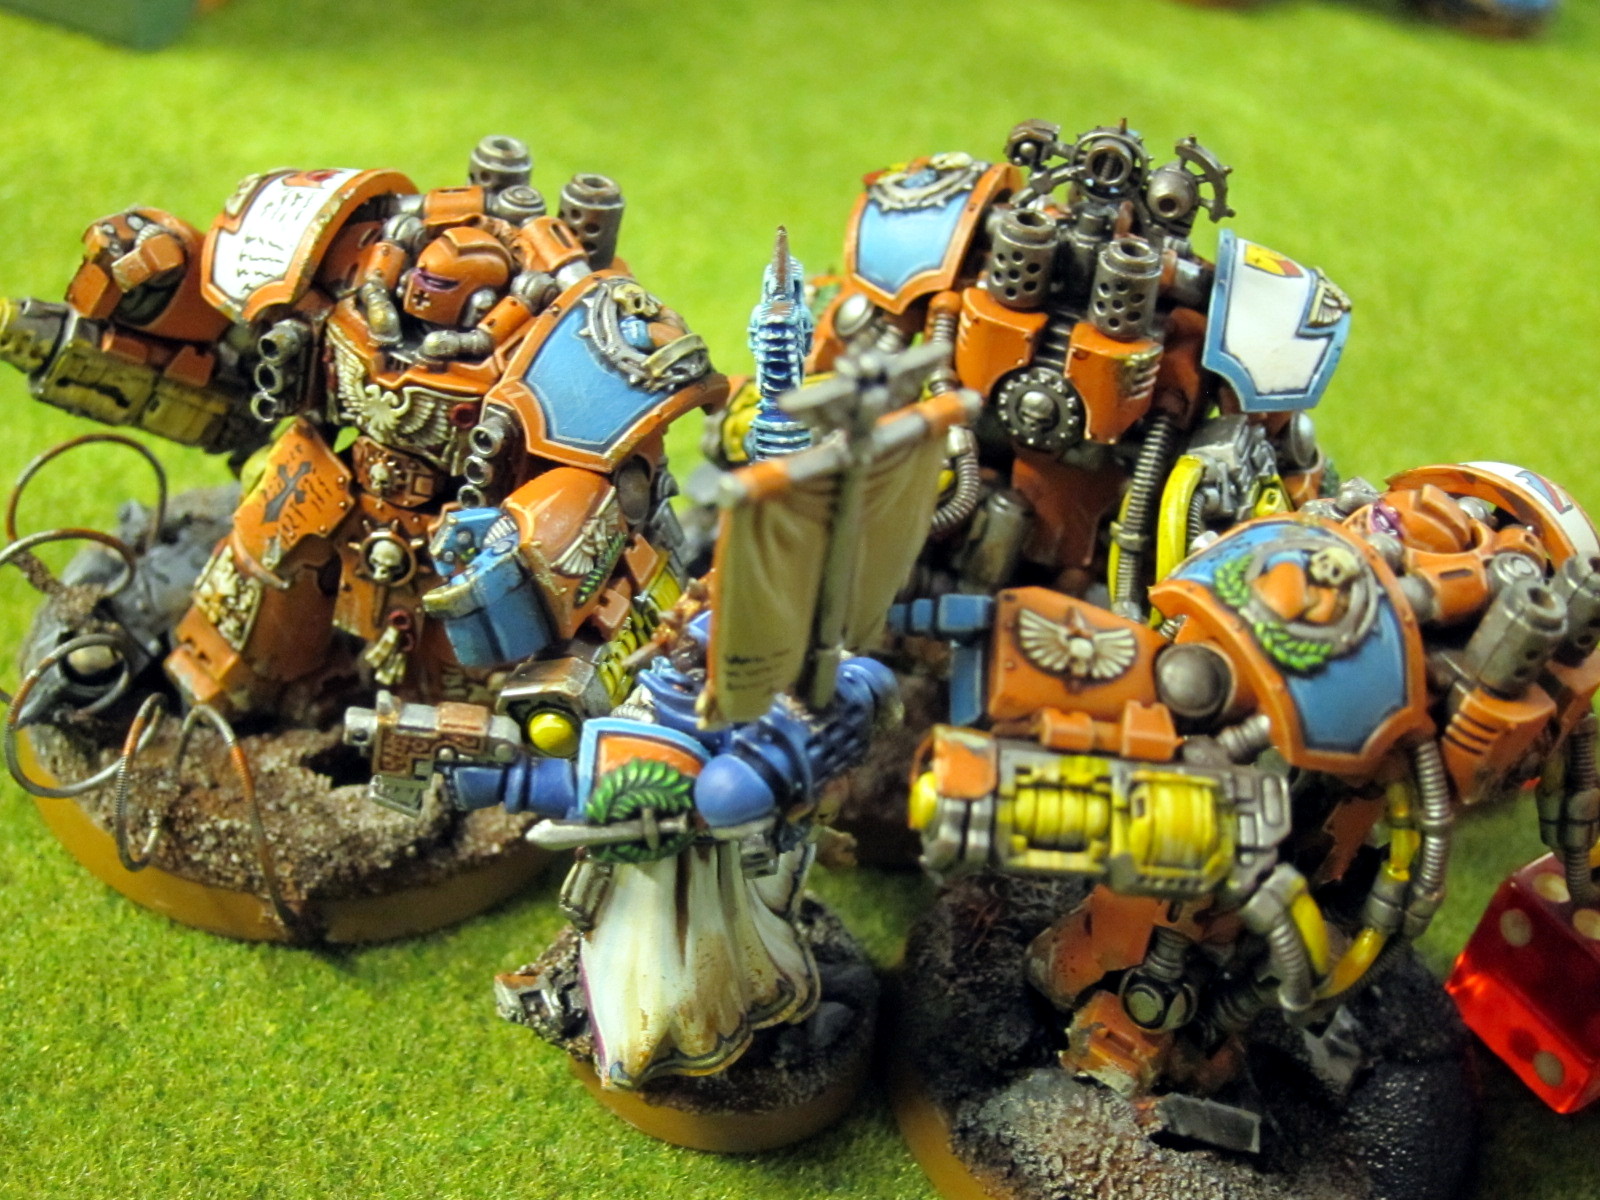
But the Swords of Dorn stand strong throughout.

But the Swords of Dorn stand strong throughout.

Outcome

The Forces of Order squeaked out a tactical win, with 123 victory points to the Spoilers’ 110. They also claimed a lead in campaign points for controlling installations at the end of the session, 5 to 1. Most of the colony was successfully reinforced by the Imperium, with Order armies establishing positions at the Laboratory, Mine, Starport, and Communication Tower. The Spoilers though clawed their way into the Hab Blocks and gouged out a safe beachhead at a central position among the settlement’s installations.

Alex won the standings for Order and overall with three straight wins and 91 points. Patrick took the Spoilers’ lead with 70 points. Best Painted was also voted for Alex for his gorgeous Swords of Dorn and Legion of the Damned, with Michael P’s Tyranid big bugs in second then bumping up to take the prize. Michael also continued Jason’s tradition of his shirt matching his army, something we should all aspire to.

Status after the end of the first campaign session.

Status after the end of the first campaign session.

Kingbreakers

kingbreakers-iconWe had an odd number of players otherwise, so I wound up joining in the action. The Emperor’s greatest soldiers had a so-so day. As is typical, my all-around list didn’t have a clear best opponent so it was repeatedly put forward as an attacker for the defenders to react against with their preferred army.

In the first two rounds the Kingbreakers fought Justin and Michael’s big bugs. Unfortunately both had a strong force of wing-equipped Hive Tyrants. Typically I try to muddle through ignoring flyers and flying monstrous creatures. That’s been working out ok against Daemons and Imperial armies because the former have to land to assault and the latter typically don’t do enough damage. These flyrant flotillas though were well equipped to rip up my army, particularly the Knight. I’d taken the latter despite our Victory Through Attrition tertiary objective making it a substantial handicap, yielding a victory point for each hull point lost. I knew that’d be a problem but it’s just a cool model, and I wanted to see how much of a disadvantage it’d be. Turns out it’s a big one! Either way though these FMCs would have been a problem. Unfortunately I did not bring my usual bunker, which would have been helpful here to safely squat on a home objective.

In the final round two of the Spoilers had to leave so Lovell and I fought it out. This was an old school-feeling battle, much like facing 5th edition IG. His Armoured Company literally had no infantry models, and nothing but Leman Russ chassis except for a Sentinel and an Avenger flyer. This was probably the army I was best equipped to fight, due to lots of re-rolling melta. It was still an awful lot of tanks to go through though. Kingbreakers eventually won out in the kill points mission, but a lot of the killing was done by just a few units. Much of Lovell’s army that could really threaten the Knight was targeted and wrecked early, giving the Knight fairly free rein. Captain Angholan also did far more than his share, ruining a number of opponents with his Vorpal Blade (S6). Meanwhile many Tacticals and others stood around literally hoping Lovell would forget about them with his battle cannons.

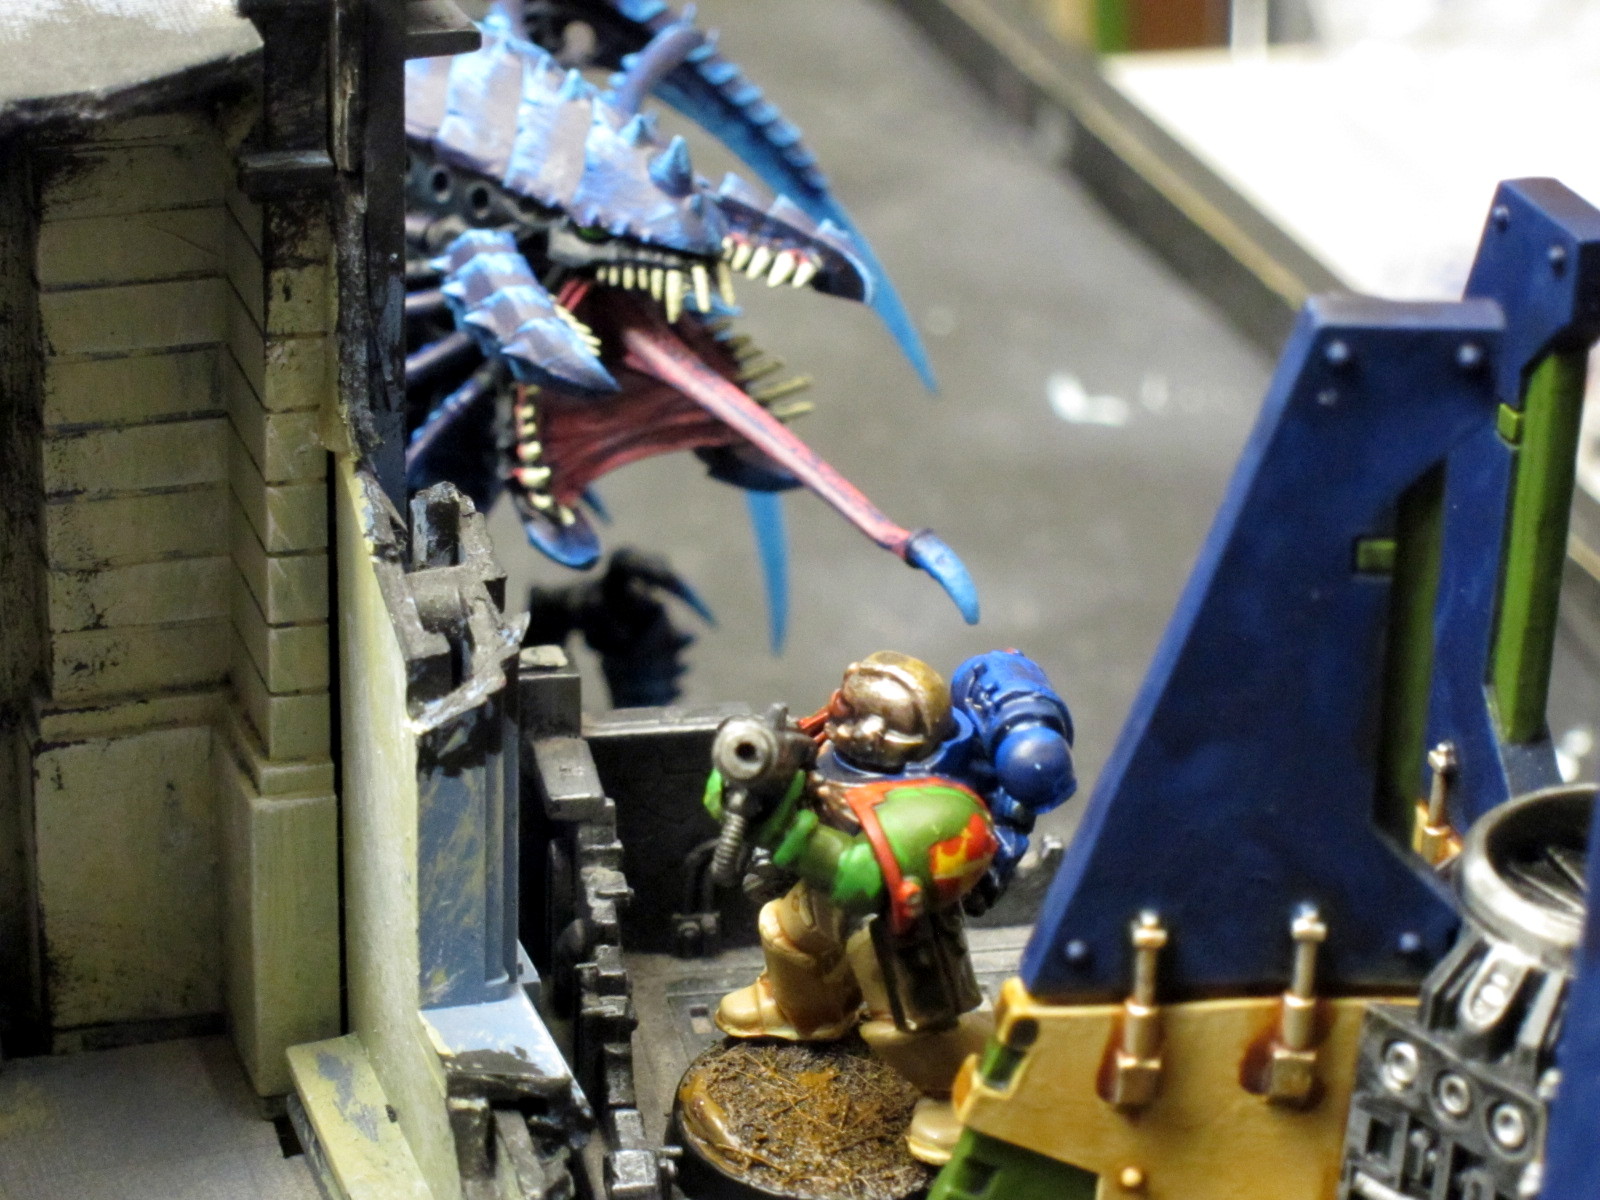
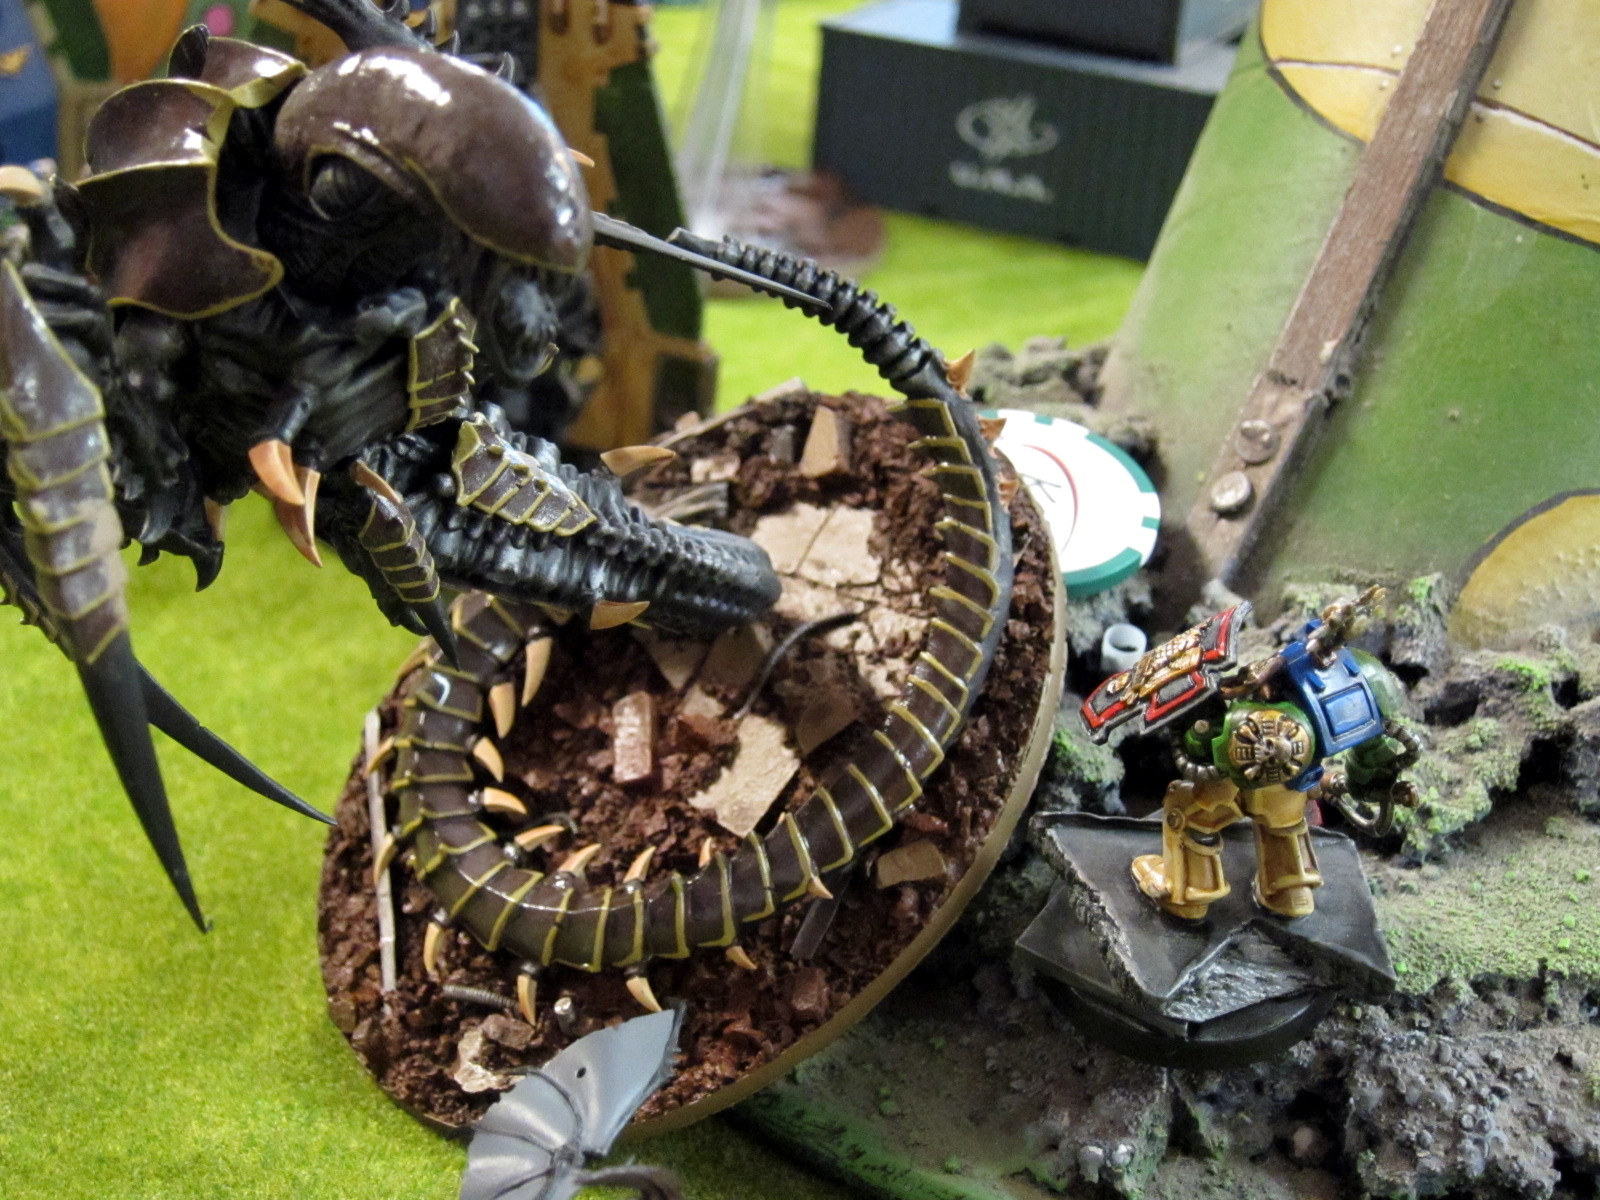
Kingbreakers scour the ruins for Tyranid monsters, finding them all too often.

Kingbreakers scour the ruins for Tyranid monsters, finding them all too often.

Kingbreakers Ghosts snipe away at the brain bugs from the rooftops.

Kingbreakers Ghosts snipe away at the brain bugs from the rooftops.

A pitched battle on a critical objective.

A pitched battle on a critical objective.

The Battle Continues

This was definitely a busy day on my end, trying to play a fairly sizable army while also managing all the campaign and tournament logistics. It worked out to be another great day though. I was particularly pleased that the campaign mechanics seemed to work well, as they’re essentially an entire small boardgame unto themselves. The teams seemed to be making a number of real decisions about how to proceed on the map, and there was a definite evolution of the conflict across the board. I’m looking forward to how that progresses in the future, as well as other surprises to be thrown into the mix.

Again, photos are up in the day’s Flickr gallery, results and missions on the event webpage, and campaign mechanics in the Solypsus 9 outline. See y’all in February!

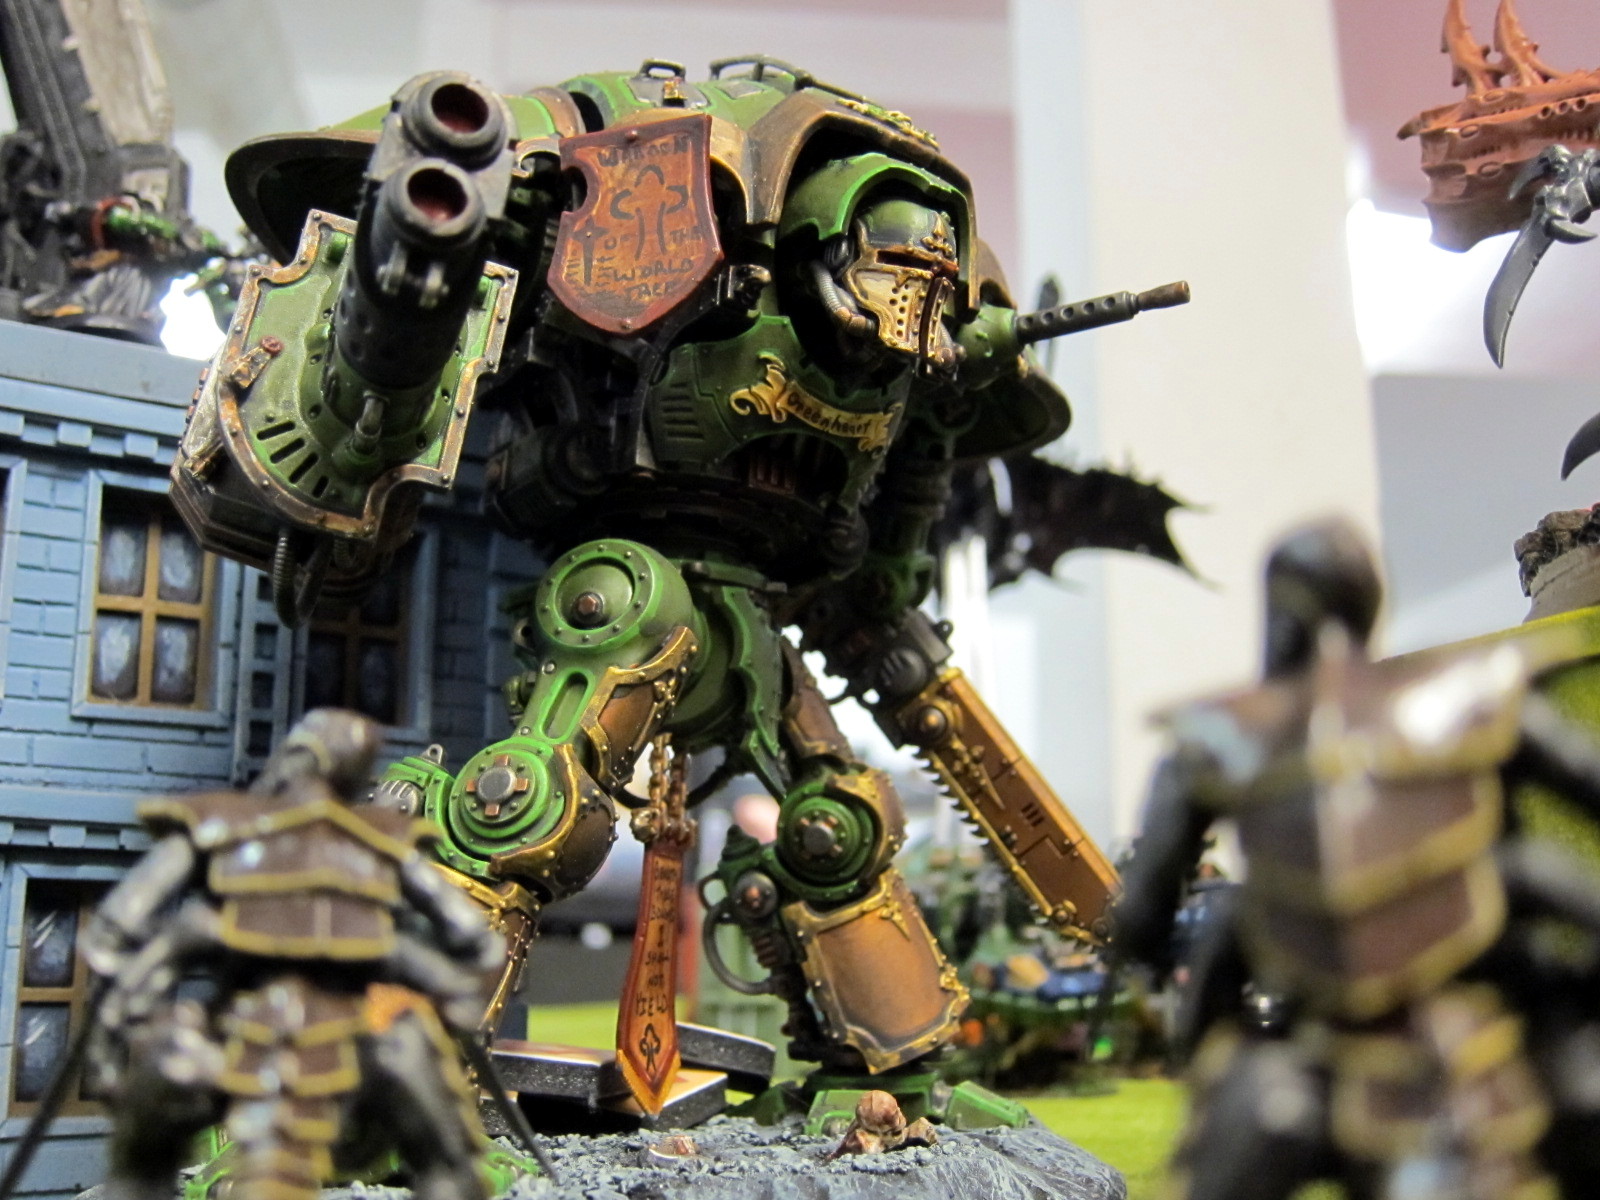
The Imperial Knight Greenheart walks among the horde.

The Imperial Knight Greenheart walks among the horde.

Captain Angholan 2.0

Not long after Warmachine was introduced, Privateer Press realized they needed a way to resell all of the main warcaster characters. So they introduced “Epic” versions, with more dynamic models, buffed out stats, and even greater special abilities. Fluff-wise these represented the characters later in the great war, changed from earthshaking betrayals, tremendous losses, or just the daily grind of endless war. Players could choose to field either version, trading off points for powers. I thought the whole idea was a really neat concept, how it really fleshed out the character’s trajectory in the storyline and their particular personal pathos.

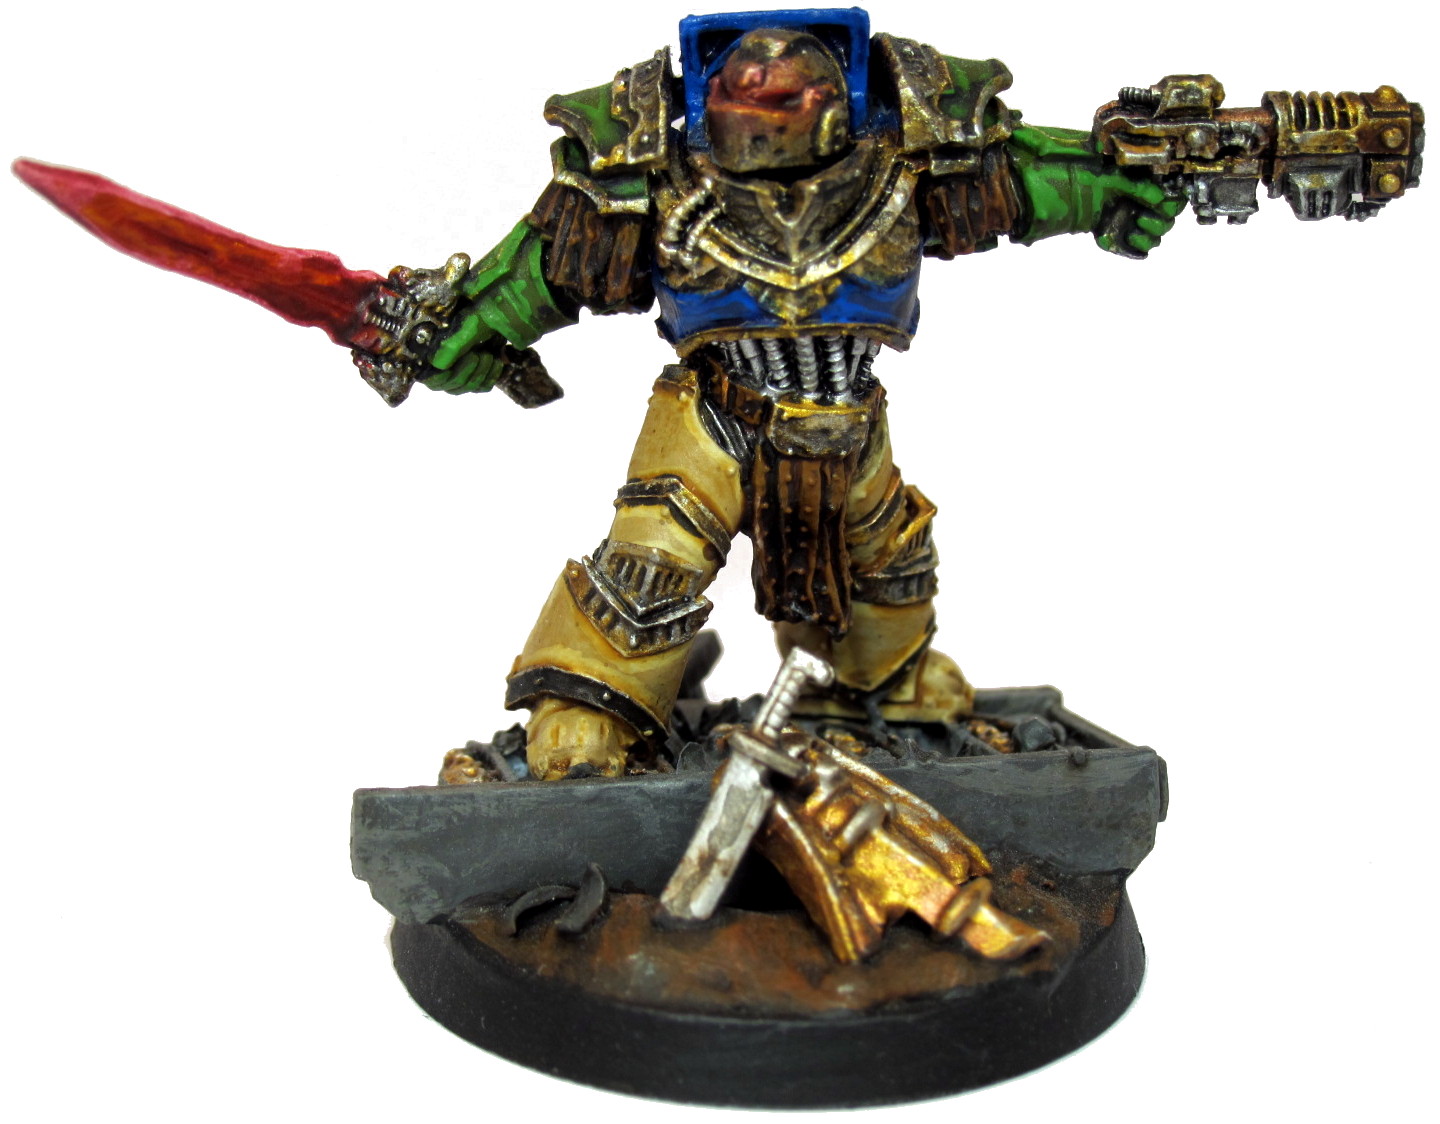
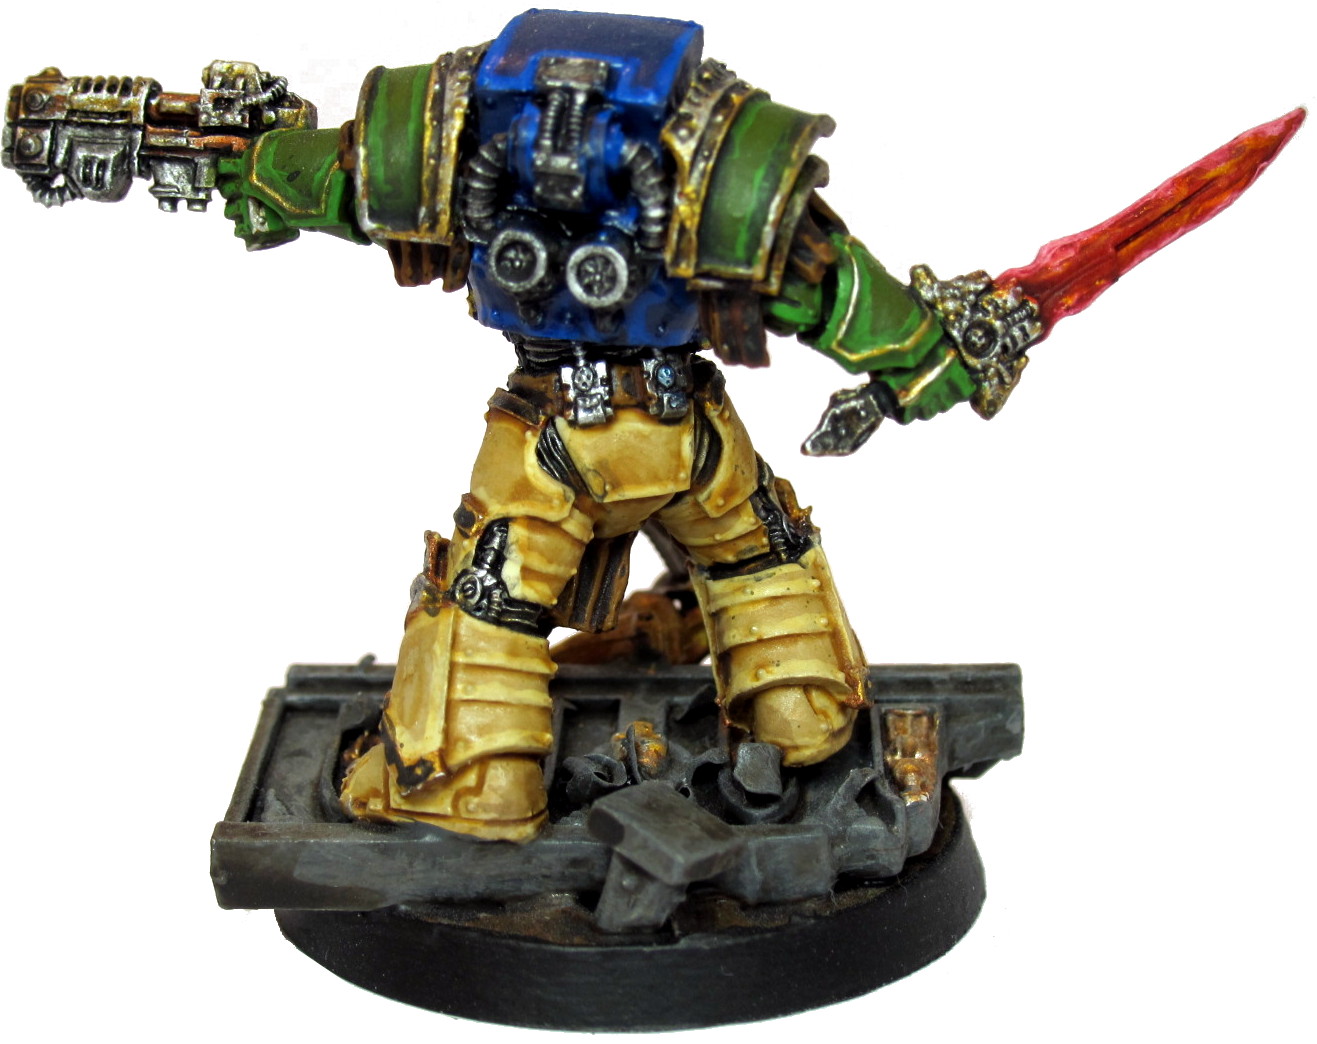
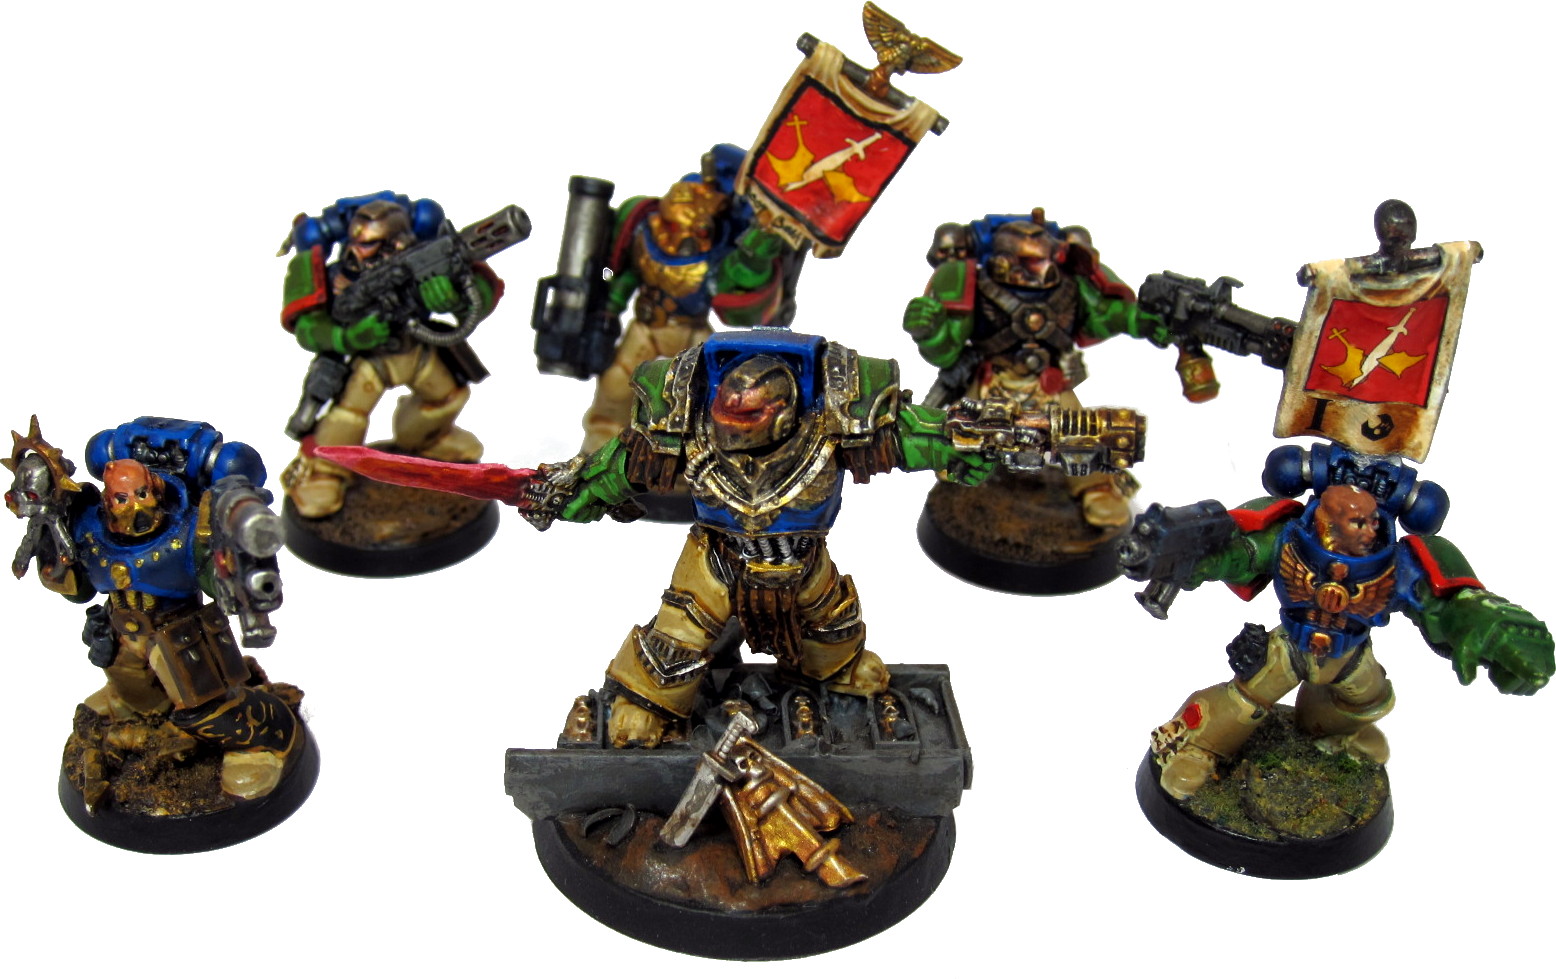
Over the holidays I finally finished up Epic edition Captain Angholan, leader of the Kingbreakers Space Marines:

From the rubble we rise.

From the rubble we rise.

Forward we march.

Forward we march.

History

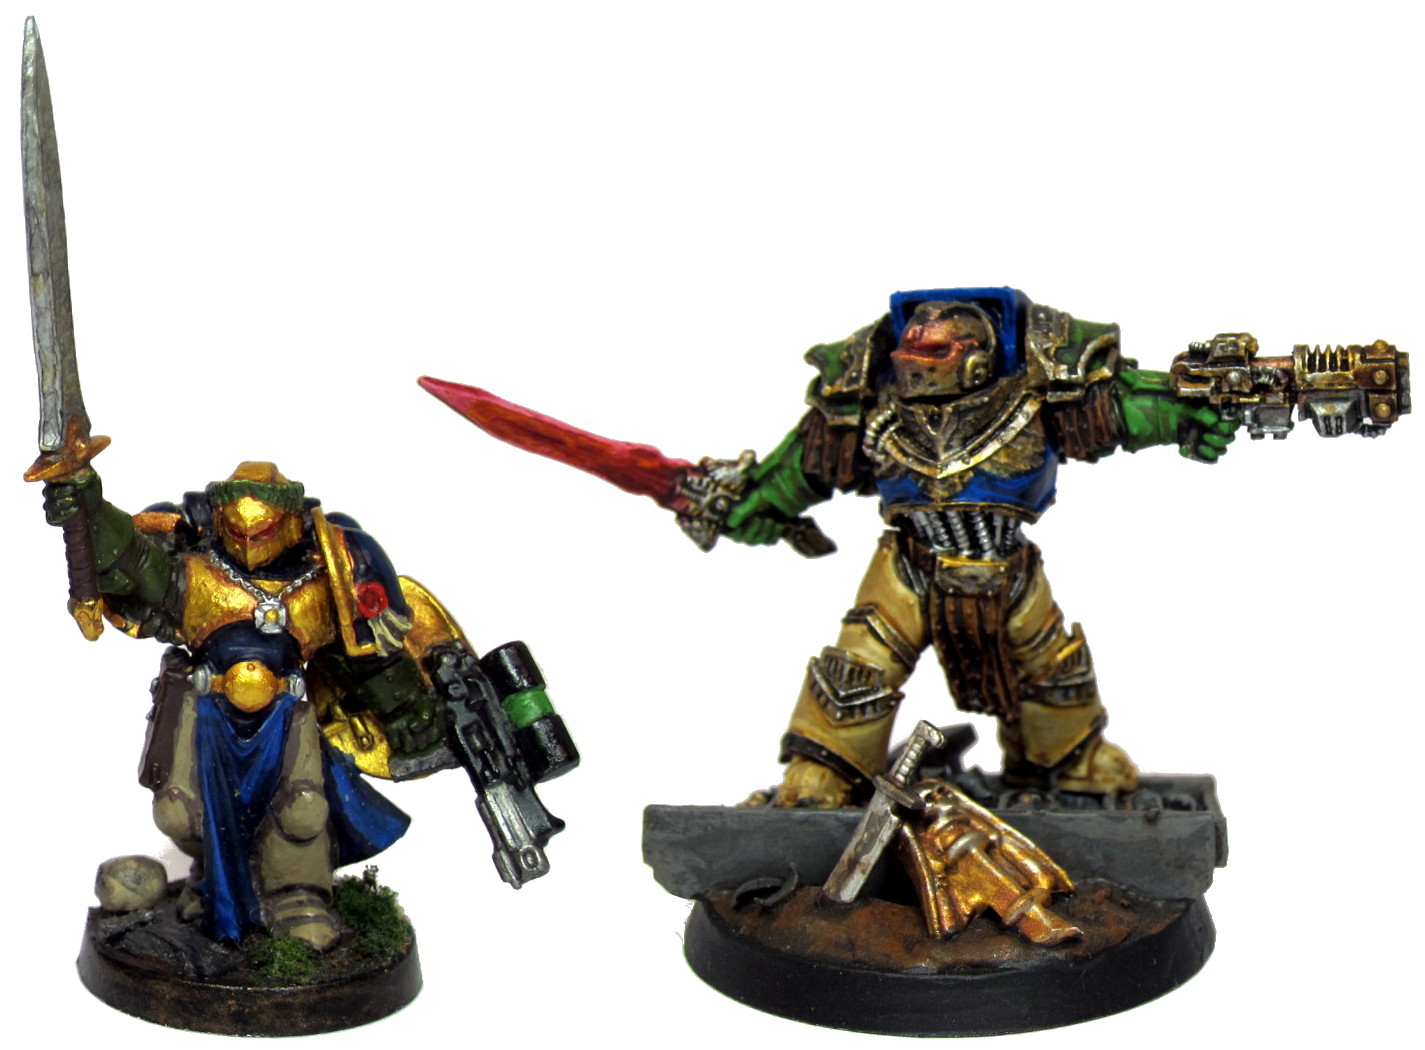
After six long years of hard service, this retires the Emperor’s Champion model that Lovell gave me with some Tactical Marines to get me to start playing 40k. It’s a great model and the paintjob is ok—and was really good for one of my first models—but it’s definitely showing its age. A thin model to begin with, the Champ doesn’t really convey the beefy W3, 2+/3++ Vulkan statline I play him as. The random, funky gun I originally cobbled together to represent a mastercrafted boltgun also doesn’t really stand in well for Vulkan’s heavy flamer. I am a little bummed to set aside a model that’s been the heart of more than half a decade of great gaming. But this update certainly conveys the in-game character better and reflects my current level of painting and hobby skills.

kingbreakers-iconFor the Kingbreakers narrative and the saga of Forestway, it also captures Privateer’s notion of Epic edition characters. The Emperor’s Champion model is Angholan mere months after the Fall of Forestway, shattered and barely rebuilt from being crushed in the rubble defending the primary geneseed vault as the chapter monastery was leveled. The Legion Praetor model is Angholan two years later, in fine fighting form and undisputed leader of a chapter returning from the brink rather than dwindling into oblivion, embroiled in the great campaigns of Kimball Prime, Caldor IV, and Solypsus 9.

Captain Angholan 1.0 on the left, one of my first models six years ago. Epic edition 2.0 on the right.

Captain Angholan 1.0 on the left, one of my first models six years ago. Epic edition 2.0 on the right.

Model

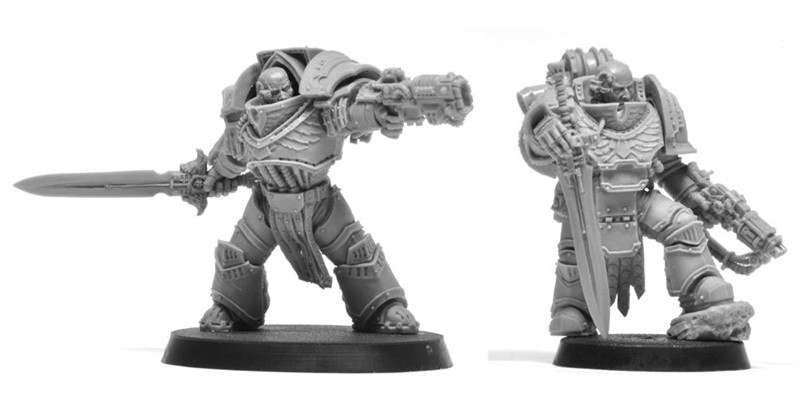
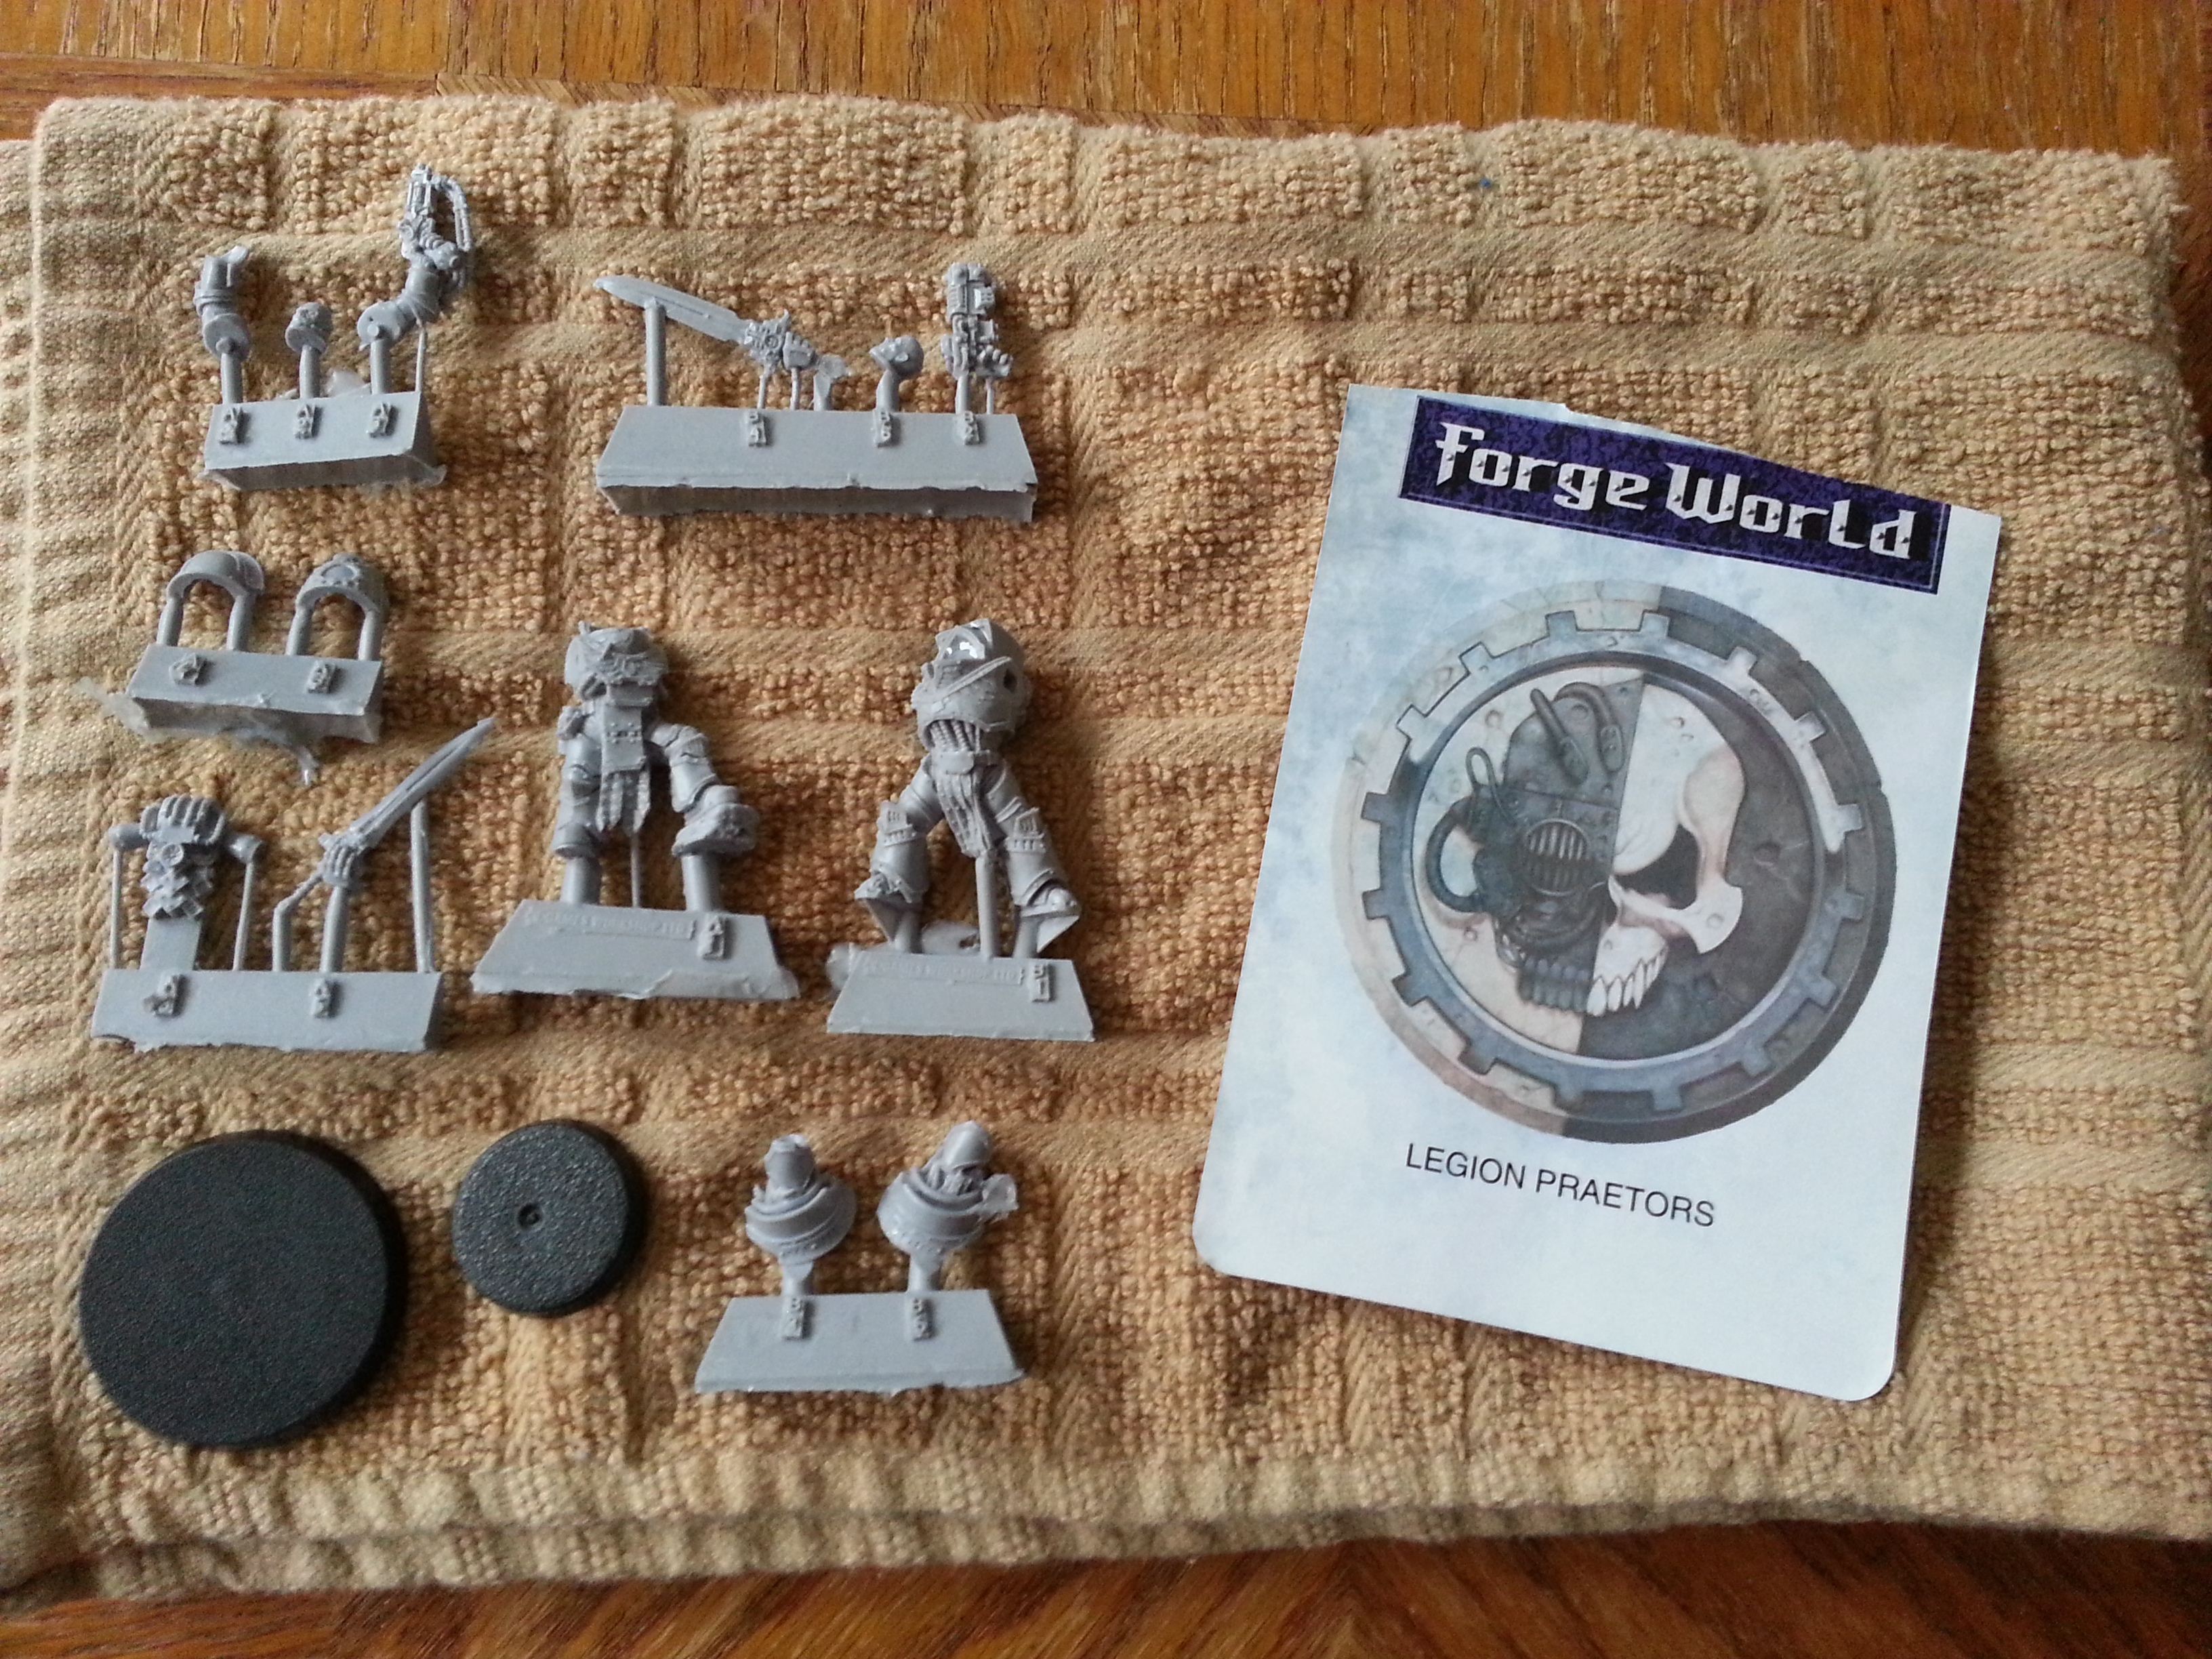
The model is one of Forge World’s Legion Praetors, and it’s incredible. I think the archaic, artificier-crafted Terminator armor really conveys Vulkan’s W3 2+/3++. In a 40k rules context the Volkite charger is a credible stand-in for Vulkan’s heavy flamer and the sword works perfect for a flaming relic weapon (+2S, mastercrafted, digital weapons). I’ve been calling it Angholan’s Vorpal Blade.

Forge World's preview photo.

Forge World’s preview photo.

Capt Angholan, all washed up and drying out.

Capt Angholan, all washed up and drying out.

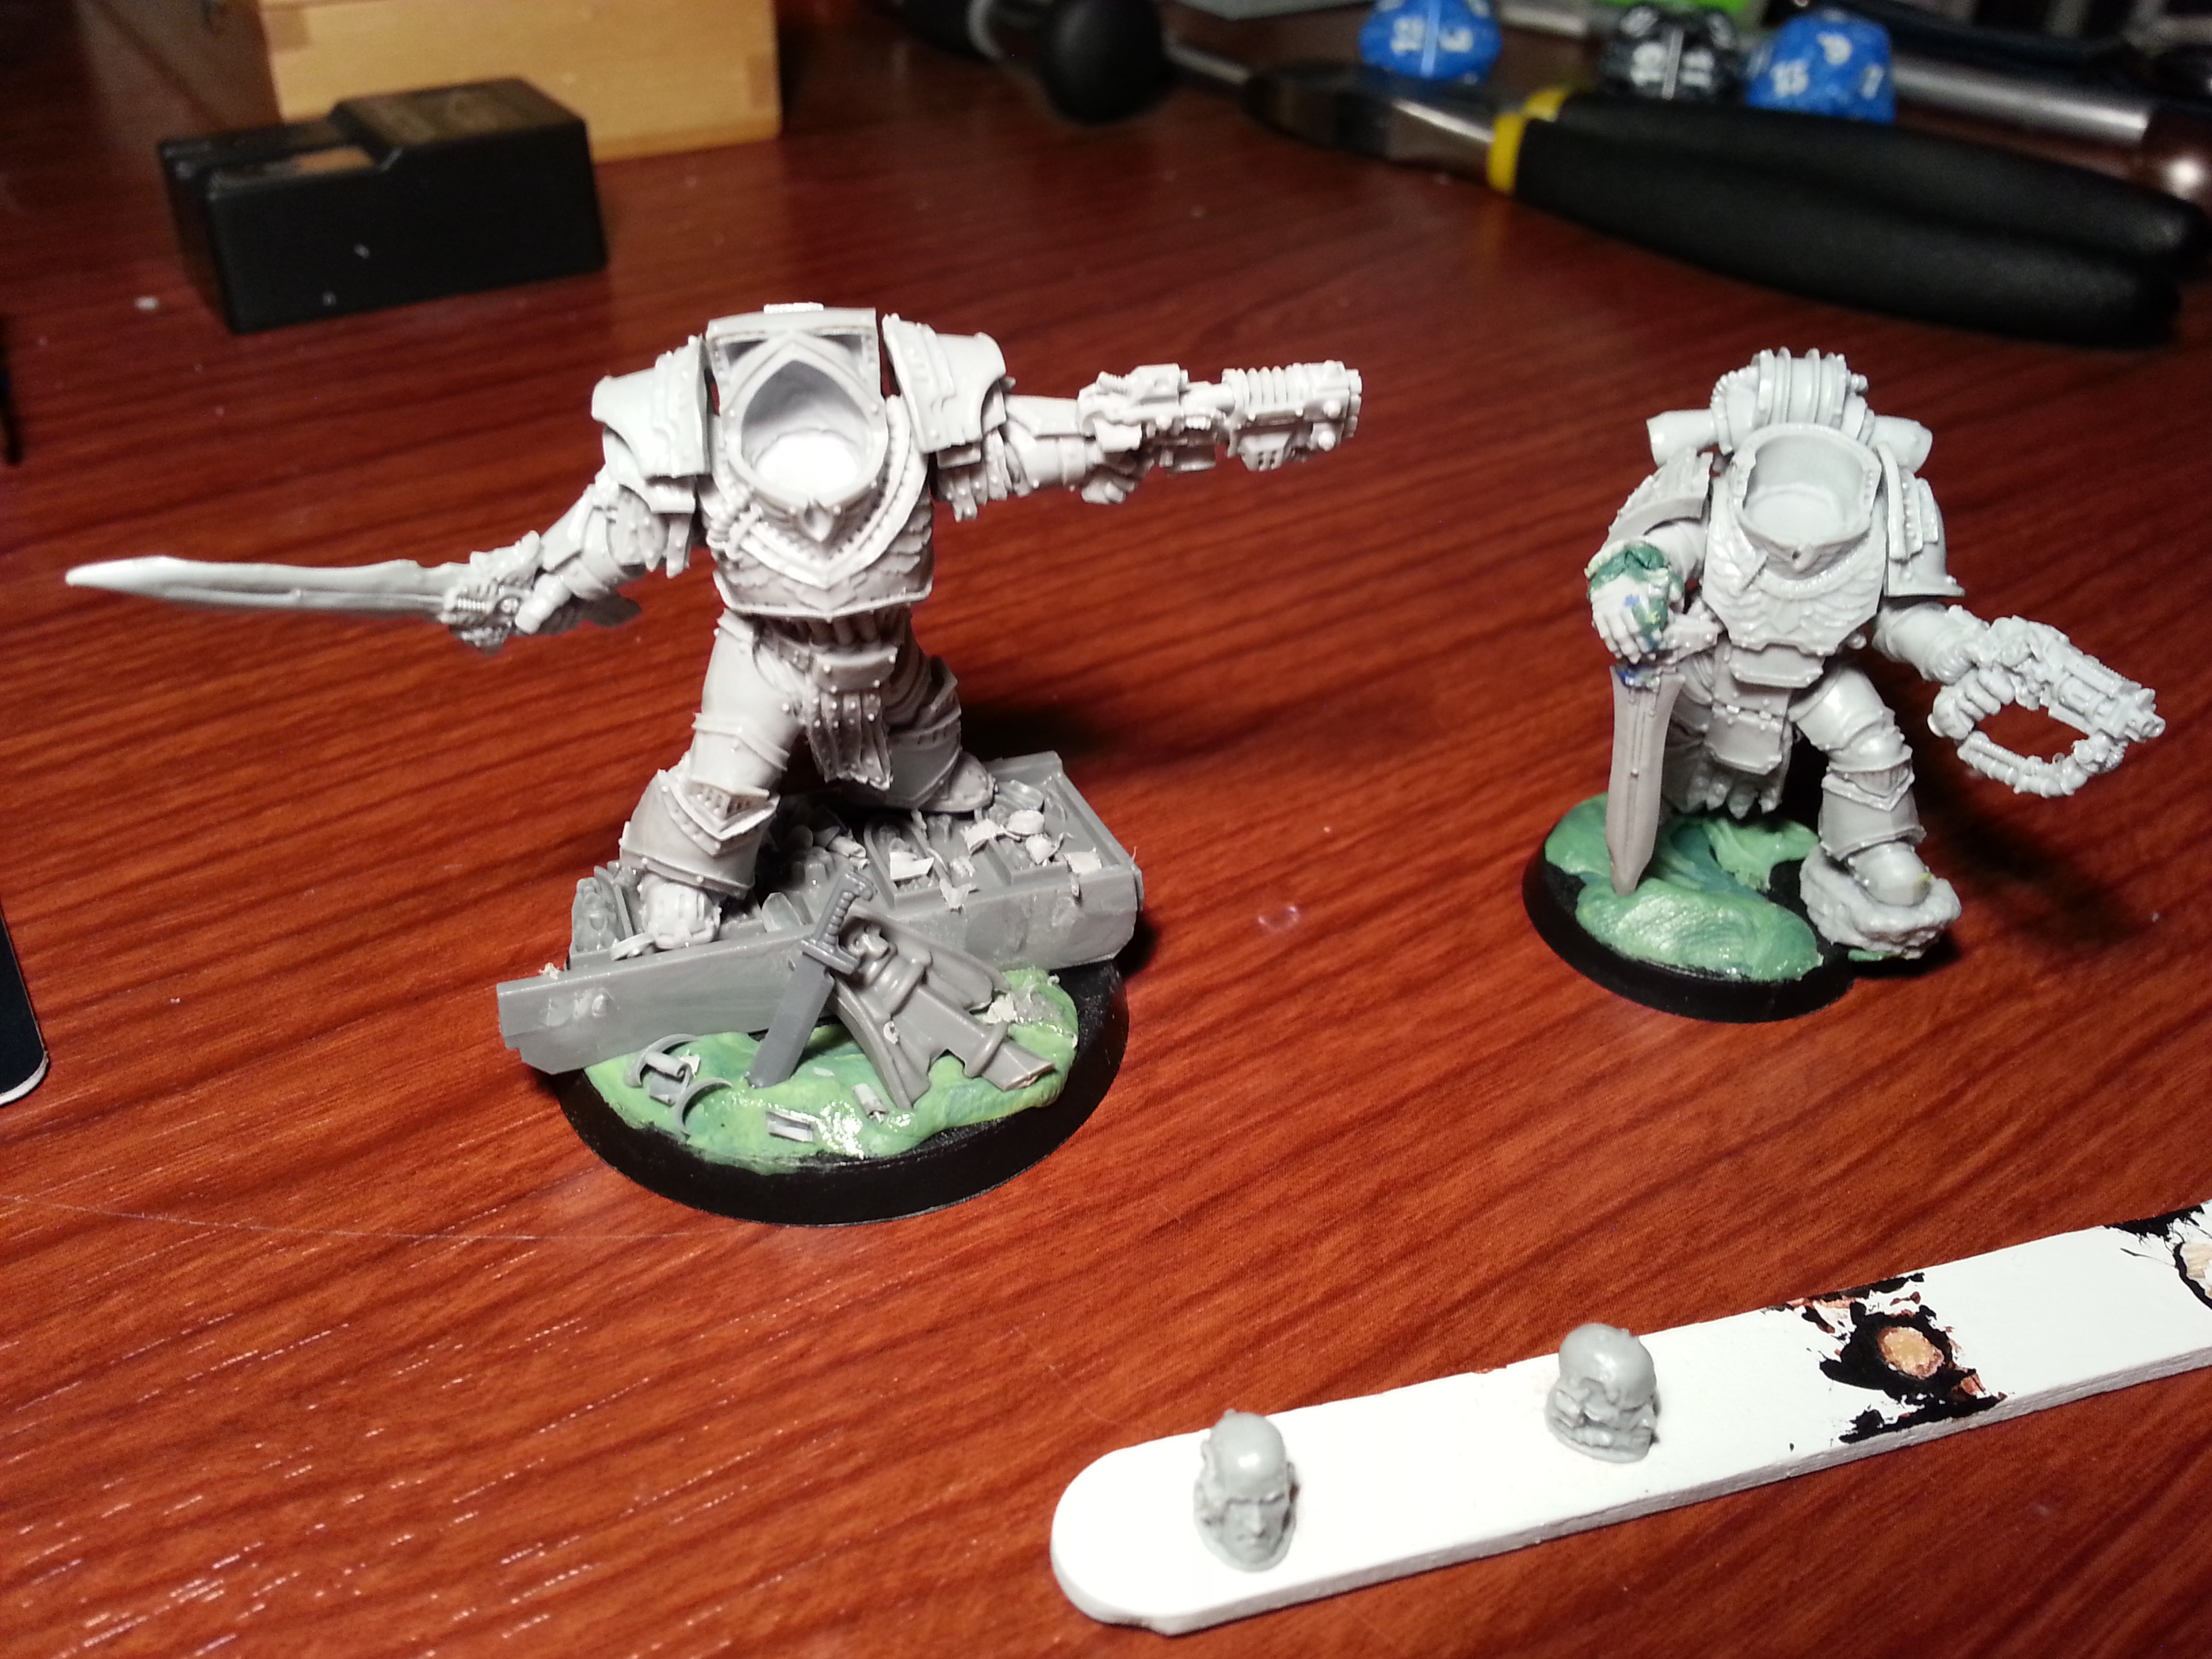
Work in progress.

Work in progress.

I only made a couple tweaks on the model. The sword has been cut up to give it more of a flaming, archaic feel. The head cavity in the armour was also drilled out a bit and the leading arch of the backpiece sliced off to make room for putting a Grey Knights Strike Squad helmet on instead of a bare head. I think the character is actually more relateable when you don’t have a specific face to put to him. It also goes with a bit of Kingbreakers fluff that Angholan is rarely out of his armor and relies on it heavily due to all of the post-Forestway reconstructive work.

The base has been built up with some GW terrain bits and greenstuff. Functionally that gives the model a lot more height and bulk, making him stand out as a leader should. Symbolically it references the fallen monastery and Angholan’s long dark night buried alive until his rescue at the last minute before the planet was extinguished. The 40mm base is probably a disadvantage for me, as it’ll make him harder to place for flaming targets when deep striking out of a pod, but it certainly looks cool and helps with the bulky feel.

In hindsight if I had to start over I’d put a large, oversize backbanner on him with the Kingbreakers logo. But I’m super happy with how the model turned out. He didn’t even take that long to paint. It took me a while to get motivated to get the primary base coats on, but after that everything went super quick.

To War

Angholan 2.0 has already had a super dramatic run in this year’s PAGE winter Apocalypse battle royale and I’m looking forward to his first tournament this weekend. This is actually my first Forge World model and I think it came out great, well deserving of the extra expense. For the Emperor! Burn the heretic!

Captain Angholan with Sergeant Harbinger (left), First Sergeant Scolirus (right), and various Kingbreakers from Tactical 1.

Captain Angholan with Sergeant Harbinger (left), First Sergeant Scolirus (right), and various Kingbreakers from Tactical 1.

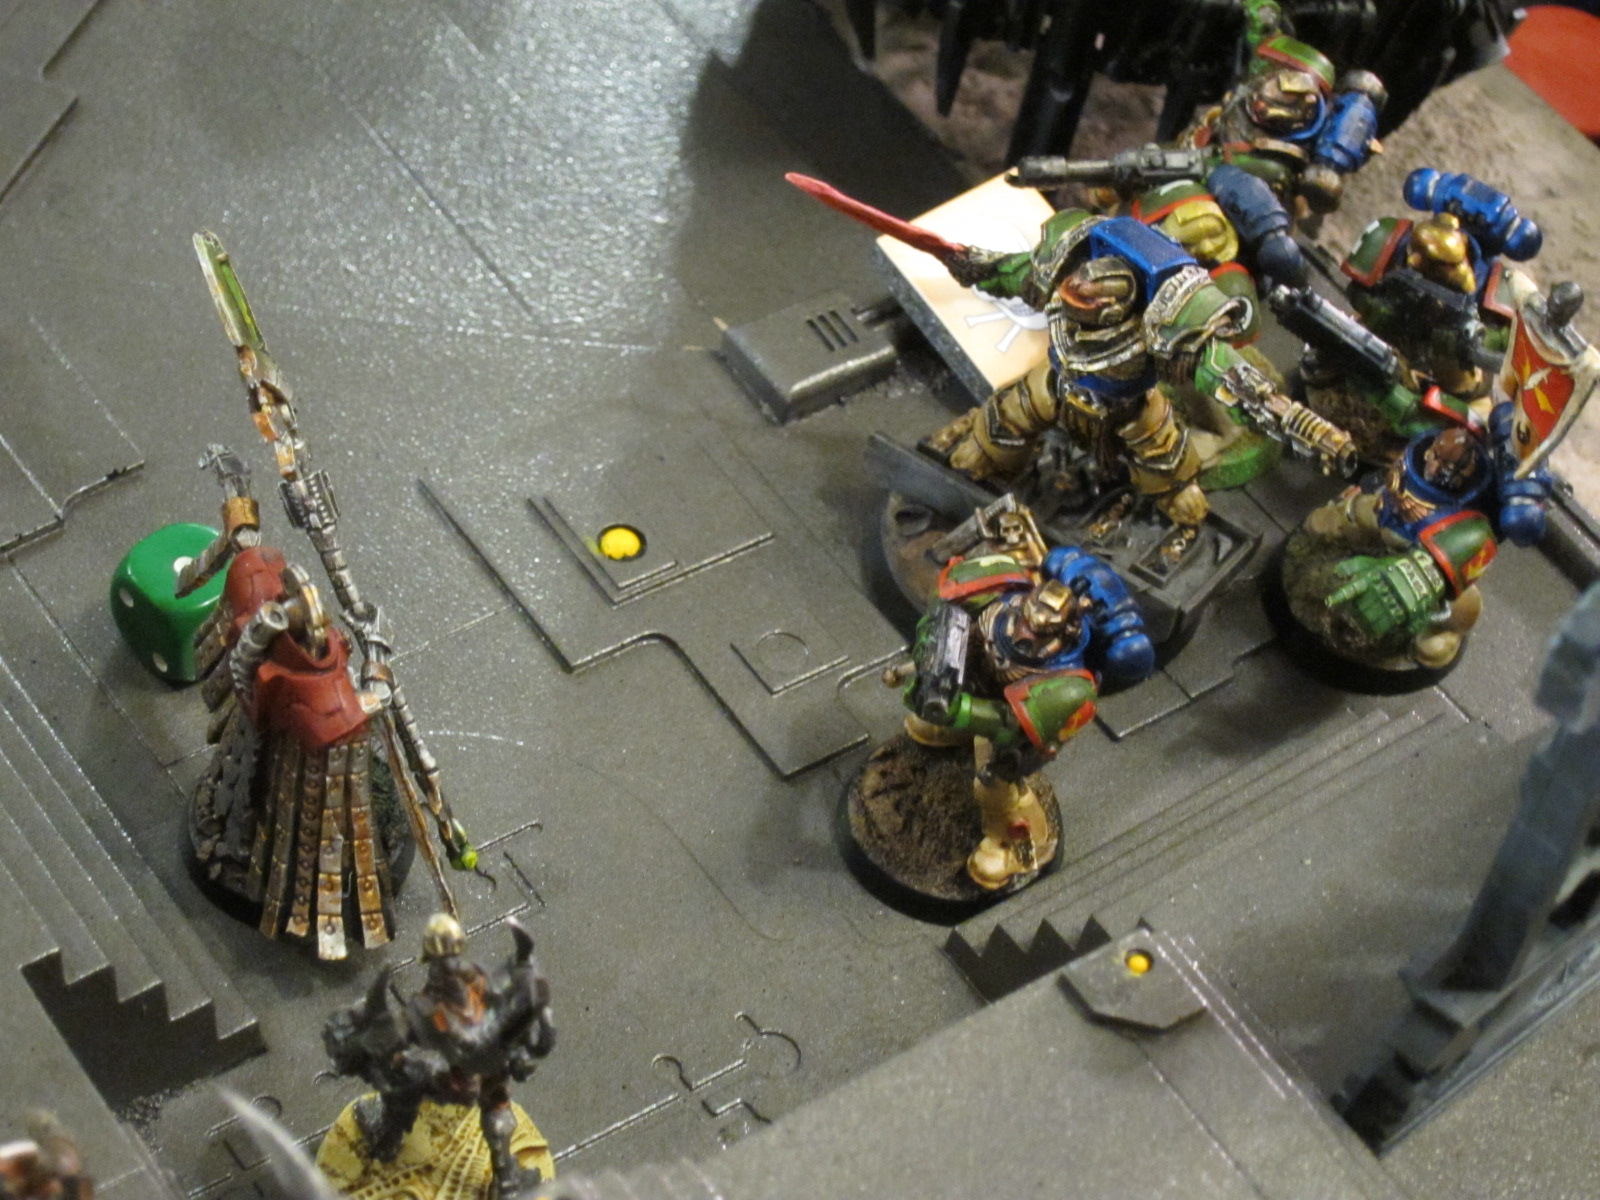
Captain Angholan and Squad Scolirus attack Nemesor Zahndrekh in his Citadel.

Captain Angholan and Squad Scolirus attack Nemesor Zahndrekh in his Citadel.