One of the big changes to Warhammer 40,000 with 7th edition was of course the new class of official missions: Maelstrom. Upon first hearing rumors of it I was really excited, enough to pre-order the associated cards. They’ve been underutilized though because I found the final release so lackluster compared to its potential. In the tournaments and events I’ve run this year we’ve used an alternate set of Maelstrom-style tactical objectives and mission rules. They seem to work really well, addressing some of the big issues while preserving the positive aspects and adding some interesting innovations, so I thought I’d finally get around to sharing.

Into the maelstrom.
Just Roll Some Dice!
The heart of Maelstrom is randomized missions. In traditional 40k, players essentially compete for control over a set of objective markers placed on the board, or simply to kill all the opposing units. Maelstrom has players randomly determine smaller scoped objectives throughout the game. By drawing cards or rolling on a table, they’re directed to control specific objective markers, kill a stipulated type of unit, or even make particular actions in order to score points.
Official Maelstrom has many shortcomings. Some are easily rectified or mitigated. One such common house rule is to immediately discard impossible tactical objectives, e.g., if your opponent has no units of a necessary type. That this is so obvious an improvement only highlights how little effort GW put into their rules. It’s worth noting though what seems to be a frequently overlooked subtlety: Should tactical objectives be discarded only if they were never possible, or even if they’re impossible when drawn? The “Kill a psyker” goal highlights the difference: Can it be discarded immediately only if the opponent never had a psyker in their army, or can it also be discarded if all their psykers are merely already slain? I don’t have strong feelings either way and the two probably don’t offer vastly different experiences in practice, but this is a design decision to be made consciously.
Beyond a few such smaller problems, there are two design patterns throughout the stock Maelstrom that really gall me. Most obvious and frequently addressed in tournaments are random results. It’s absolutely deleterious to strategic play to have tactical objectives yield random amounts of victory points once achieved. A variety of reasonable house rules could address that and are frequently applied, e.g., always claim the maximum, or roll for the value when the objective is drawn. The latter actually imposes an interesting strategic evaluation of effort versus reward while maintaining the basic Maelstrom philosophy of unknown and variable objectives. That it’s such a small tweak but vastly better again highlights just how little design effort GW expends. In any event, a variety of hotfixes are possible for these objectives, but at some point you may as well just replace them.
Most upsetting to me though are the forced play tactical objectives, that award victory points simply for executing game mechanics. Instead of presenting a goal to work toward, they merely give away free points or, worse, dictate play. Many are actions you may be trivially doing anyway, such as Daemons and the “Cast a psychic power” condition. Others force you to make micro-level moves that may not fit your army or macro-level situation at all—may the Greater Good shine on Tau that draw the “Make an assault” card! Scoring should be based on game conditions to be achieved, not making the player a puppet enacting pre-scripted actions.
Random results and forced play goals come from the same “Just roll dice & push models around!” mentality of Games Workshop that gave us random psychic powers and warlord traits. Otherwise stock Maelstrom could be solid with just a house rule or two and some card tweaks, but those aspects warrant substantial reworking.
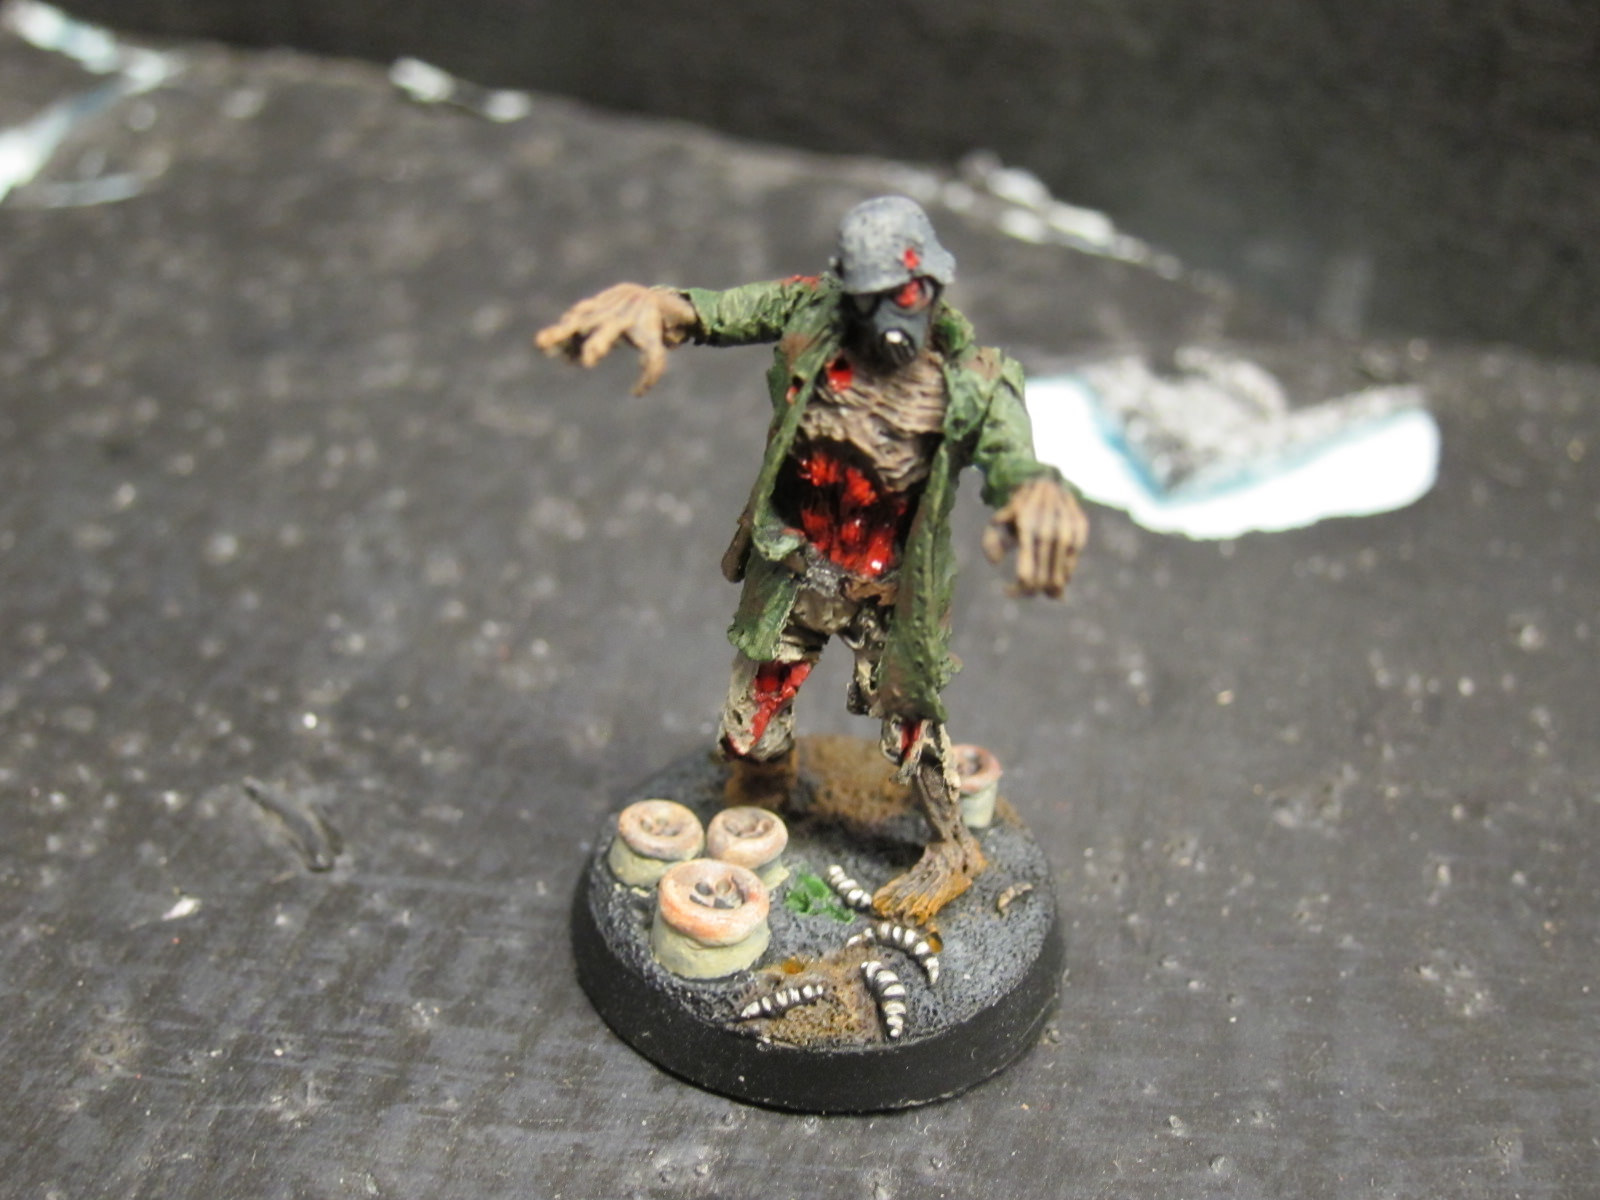
A Games Workshop game designer shambles in to work.
Flexibility & Deathstars
At this point it’s worth noting what is in fact appealing about Maelstrom. The surface level attraction is just the variability of it. Sooner or later most everybody wants to play something different from the Eternal War missions that have been carried through editions under one name or another for literally decades now.
As an event organizer and game designer though, what really calls to me about that variability is the flexibility it requires of the players and their armies. To really capitalize on the Maelstrom tactical objectives, you need to be able to move all about the table, and to easily switch back and forth between killing specific units versus claiming objectives. The downside of this is that it encourages armies built around—and perhaps even spamming—small, highly mobile units. Arguably the format is imbalanced toward factions with more or better units of that style. However, given that many of the recent balance problems in 40k have revolved around deathstar units or even unstoppable single models, tipping the scales the other way is not necessarily unwelcome. In my events we mitigate the chance of going too far that way by generally also including other missions for which more “grind-em-out” style armies are perhaps better suited.
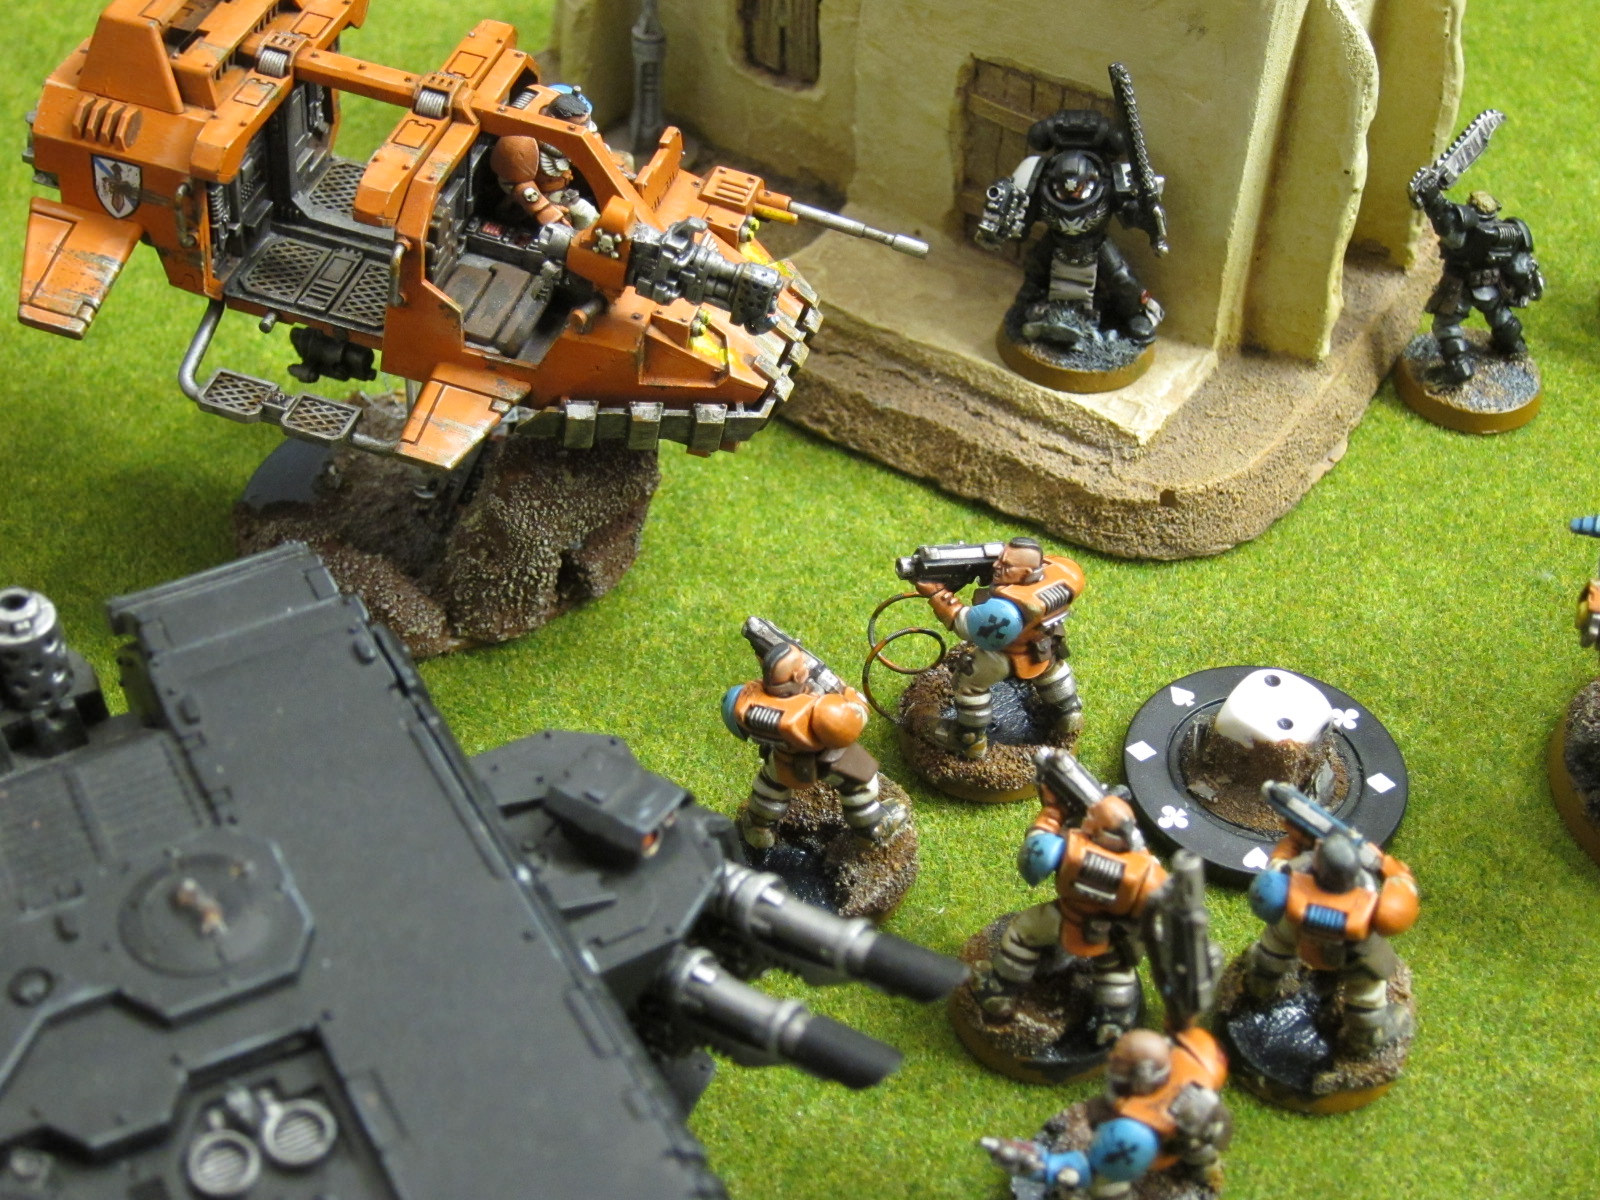
These guys are definitely here for the Maelstrom party.
Logistics
In developing a revised Maelstrom mission as an event organizer rather than an individual player, I also had to keep in mind some logistics. If you don’t buy GW’s cards, stock Maelstrom missions are kind of a hassle to execute. Tracking which tactical objectives are in play, discarded, and achieved isn’t a huge deal, but it’s not nothing either. Without the cards you’re left just scribbling things down. In order to keep my events on time while enabling games to play out fully, and to alleviate the burden on our more casual, less frequent players, I really wanted to structure and streamline the bookkeeping. At the same time, this alternate format was developed for and used within small, monthly shop tournaments. In that context it’s not practical for me to print and/or make and give out whole new Maelstrom card decks as some bigger events like Adepticon have done.
A New Maelstrom
The core of my revised Maelstrom is this table of tactical objectives:

Our mission packets include two copies of this for each Maelstrom mission. The players rip them out and each mark one up throughout the game for their bookkeeping. Mechanics are as follows:
- To draw a tactical objective, roll a D66 and consult your tactical objective table. If that objective is already in play for you, has been achieved, or is scratched off, roll again. Similarly, if that objective would be provably impossible to score, e.g., your opponent has no characters remaining, roll again. Once a valid objective has been rolled, mark it as in play.
- Targets cannot be nominated or chosen for a tactical objective marked with a † that have already been chosen for a † objective you have in play.
- At the end of your turns, check the requirements for each tactical objective you have in play. For each fixed-value objective met, mark it as achieved and score the associated value in mission points (n.b.: not victory points). Tactical objectives with a value of X may be kept in play as long as you wish. At the end of any of your turns while in play they may be marked as achieved and scored as indicated. Once achieved, objectives are no longer considered in play and cannot be put in play or scored again.
- Multiple objectives can be scored in a turn, caveat that you cannot achieve multiple tactical objectives with the same exact title in the same turn using the same marker(s) or unit(s). E.g., to score both Storm objectives at once, you would need to simultaneously control two separate markers in the enemy deployment zone.
- At the end of your turn you may scratch out one of your tactical objectives in play to remove it from play.
- Tactical objectives in play, achieved, and scratched out are not secret.
Each particular mission will then have a rule controlling the number of cards drawn, similar to the various official Maelstrom missions. Two examples we’ve used include:
- Standing Orders. At the start of your turns, draw tactical objectives until you have a total of six in play.
- Into the Maelstrom. At the start of your turns, draw tactical objectives until you have as many in play as the current game turn number.
Rather earning victory points directly, at game end the players are scored by comparing mission points earned via tactical objectives achieved, and awarding victory points to the higher and lower scorer according to this table:
![]()
Scoring in that indirect fashion rescales the substantial number of tactical objectives that might be achieved into the 9 VP primary objective cap around which our missions are designed (they also include secondary and tertiary objectives, for a total of 20 points available in each round). In doing so the results are also normalized a bit across matches, such that one player cannot gain an insurmountable lead in the tournament by winning with a ridiculous number of tactical objectives achieved, while another victorious player falls far behind despite also trouncing their opponent but by a less ridiculous amount. In general it’s important to normalize in some fashion like this to determine the strength of a result for a Maelstrom mission, given that the actual number of tactical objectives achieved can be so variable match to match. The specific value ranges here were determined by Sascha Edelkraut and seem to work well for our 9 VP cap.
Strategy
These new tactical objectives of course eliminate random results and forced play. However, Maelstrom’s overall variability and requisite flexibility is still maintained.
Further, the X-valued objectives are a novel mechanic I haven’t seen in 40k. They enable the player to make an ongoing strategic evaluation of effort versus reward for that condition, either pushing on to try and acquire another point or to cut bait and dump it for a new, hopefully easier, objective. Objectives that require the player to nominate a target also encourage players to declare a goal and then work toward it, rather than simply hoping they draw tactical objectives for markers they’re already holding. The several variations with one player putting forward several proposals and the other choosing among them are also an interesting twist, adding a new interaction and a little bit of adversarial forward thinking.
Last but not least, these tactical objectives rightfully focus heavily on controlling objective markers. However, a number also offer opportunities to play toward pure mobility, as well as annihilation-style kill point hunting. Particularly with the X-valued mechanic enabling players to work toward them for some time or not, this gives a real, conscious strategic choice about whether or how much to focus on the various types of goals, while still staying within the overall chaotic Maelstrom framework of variable objectives and necessary flexibility. You can’t win a tough match if you can’t play for both objective markers and kill points to at least some extent, but you do have some opportunity here to strategically focus your efforts on one or the other. In general that kind of choice in both play and army construction is a major goal of the mission format for our events.
Evaluation
We’ve used this format in a number of small scale tournaments (8–16 players) this year, and it’s worked very well. The logistics for me as event organizer are trivial, I simply include multiple copies of the tactical objectives sheet above in each mission packet. For players the bookkeeping is fast and intuitive to execute once explained.
To game design, random results and forced play are eliminated while still maintaining the variability and requisite flexibility of Maelstrom play. Further, a number of novel mechanics offer new and ongoing strategic evaluations to the players, as well as affording meaningful selections between different strategic concentrations and army styles.
One notable downside of this setup is that it’s not as tactile as cards. However, for a large enough event or as a one-off occassion it would be easy to convert the objectives table and mechanics into cards. A related note though is that several players have been disappointed at not being able to use faction-specific tactical objectives published by Games Workshop. This is unfortunate, but given the rampant problems among those with random results and imbalanced conditions, I don’t see any acceptable approach but to disallow their use in tournaments.
Play!
Again, the tactical objectives sheet is available as a printable PDF. For an example of how this format has been incorporated into a tournament, check out the mission packet for our June event, The Tournament of Blood. These rules and the objectives table are released into the public domain, so please copy, edit, and use as you wish. We would though love to hear about any use of these, as well as suggestions or questions, in the comments below. Good luck in the Maelstrom!

Descent into the Maelstrom!