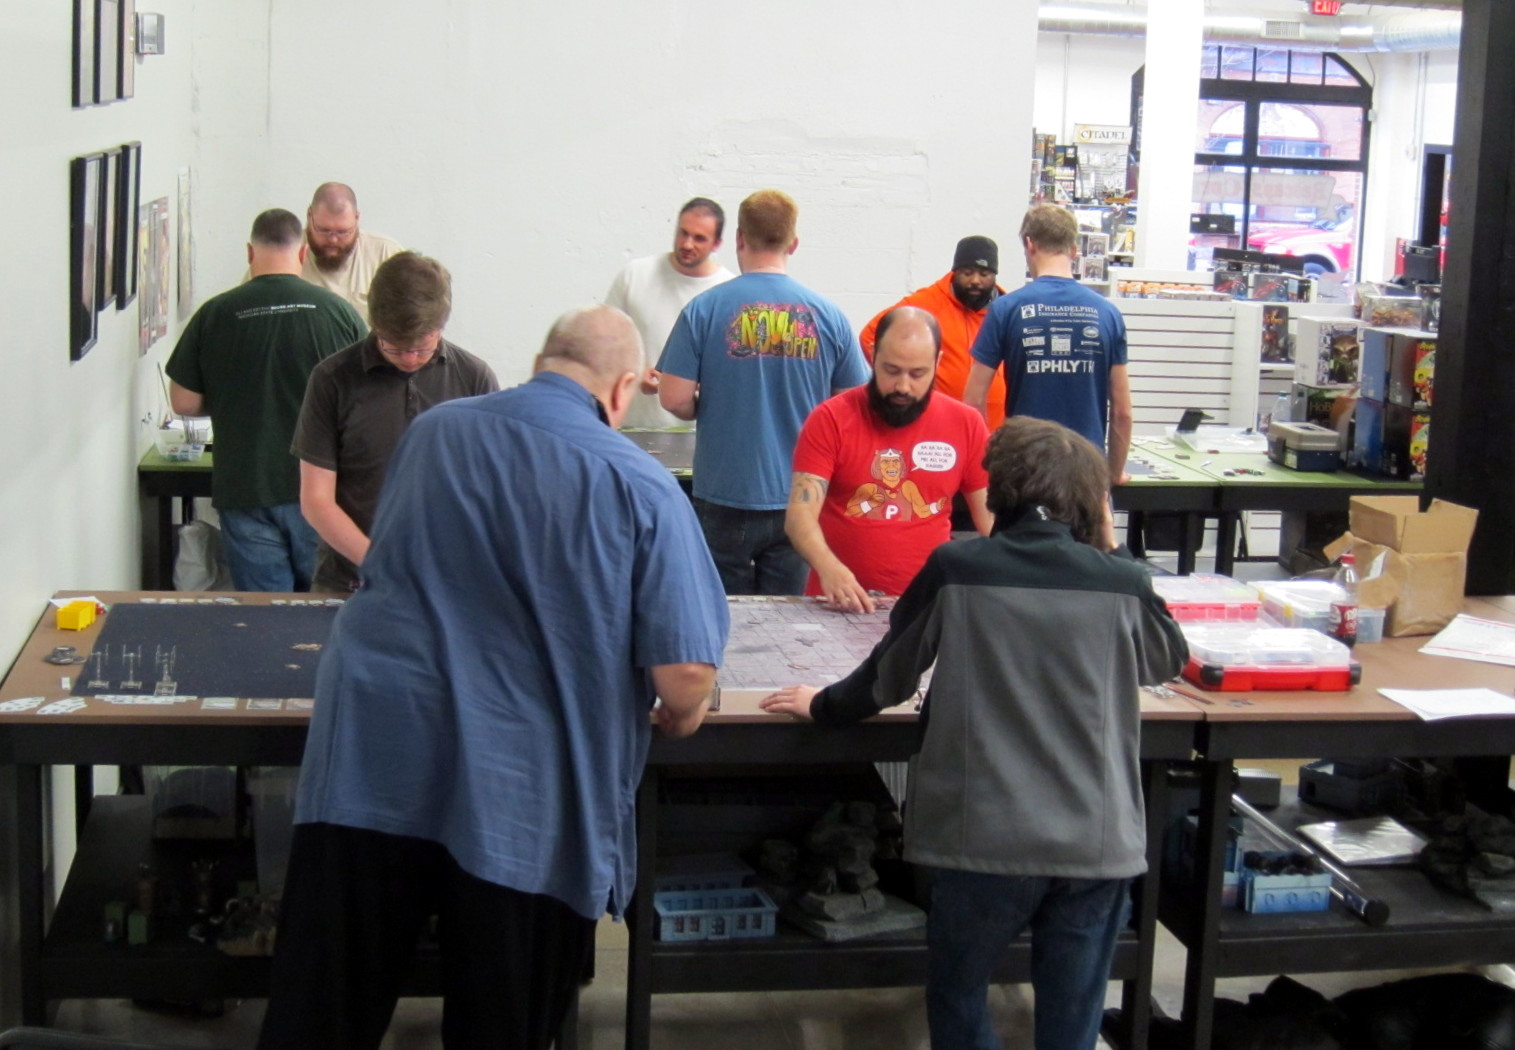
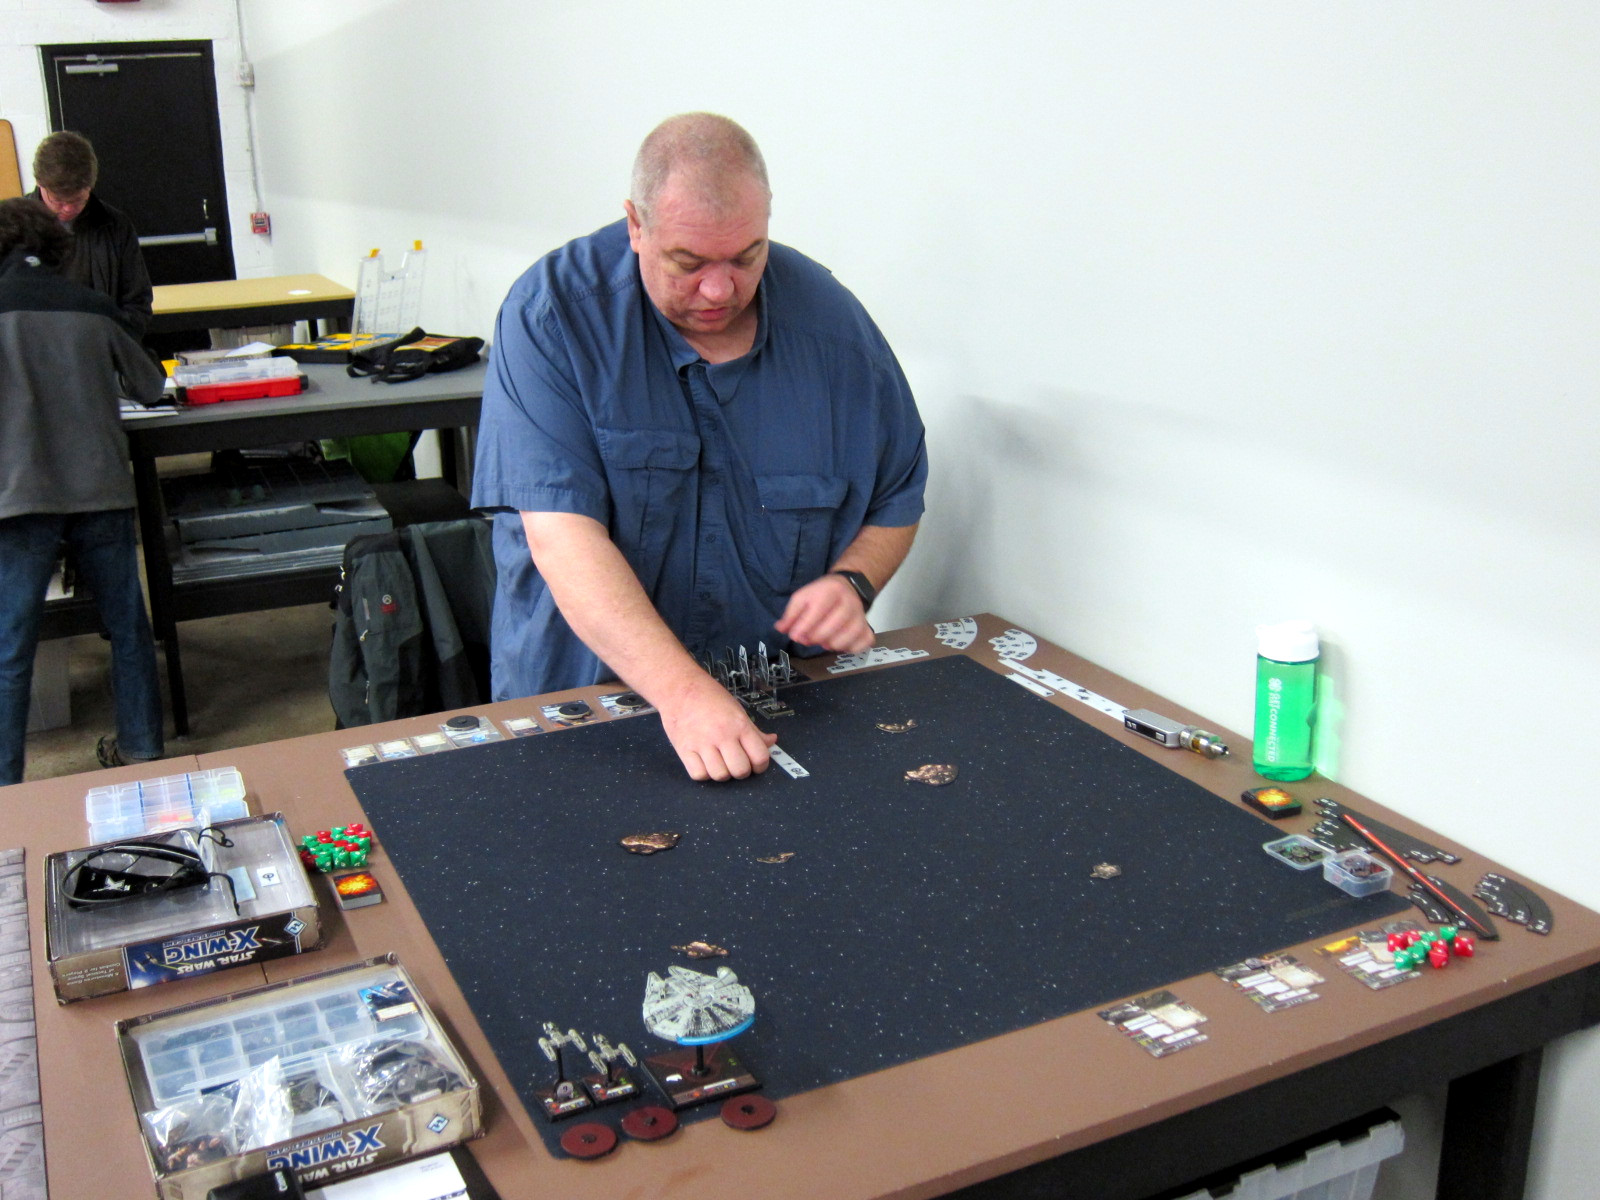
![]() After resisting for years, a couple weeks ago I finally caved and started playing X-Wing Miniatures. Yesterday I entered my first tournament, X-Mas Wing at Redcap’s Corner. Fourteen players were there for some fun, low-key Boxing Day dogfighting. This is my very first X-Wing battle report!
After resisting for years, a couple weeks ago I finally caved and started playing X-Wing Miniatures. Yesterday I entered my first tournament, X-Mas Wing at Redcap’s Corner. Fourteen players were there for some fun, low-key Boxing Day dogfighting. This is my very first X-Wing battle report!
Just a few more pictures than those here are in the gallery. Unfortunately, one downside of X-Wing having essentially no downtime is that it’s near impossible to go grab pics of other games.
Tournaments
Going in I only had two “real” games under my belt, a few more against a fellow brand new player, and a couple solitaire games against myself (I won!). Put that way it sounds a bit ridiculous to enter a tournament, but as long as you’re solid enough on rules to not impair your opponents’ experiences, and prepared to lose terribly, I think tournaments offer a couple things to a new player:
- You’re guaranteed a couple games in rapid fire fashion, no pick-up night downtime and immediate opportunity to apply and test new lessons;
- Assuming the pairings are done correctly, by the end of the event you’re guaranteed to be playing with opponents of similar ability;
- There’s no better way to learn rules and strategies than playing with strangers;
- There’s no better way to connect with new people and groups for your game.
As an organizer of a substantial number of (40k) events, these are observations I wish more people would realize and give tournaments and other organized play a try. Although perhaps less true for some other game systems and the very occasional less-friendly community, I’ve hardly ever found miniatures players to be anything but excited to have a newcomer out and ready to teach them the ropes.
Pew pew pew!
Squadron
Given my inexperience, I kept my squadron list really simple:
Chewbacca (50)
YT-1300 (42), Marksmanship (3), Gunner (5)Gray Squadron Pilot (26)
Y-Wing (20), Twin Laser Turret (6)Gray Squadron Pilot (24)
Y-Wing (20), Blaster Turret (4)

Gray Squadron.
I had been playing with Chewie + two plain Rookie X-Wings but switched to these Y-Wing escorts just before the event. The X-Wing list is more fun to fly, but arguably more demanding to fly. My theory was that this triple turret setup could hug the board edges to hamper my opponents’ maneuvering while I would be able to put shots on all around with no fancy flying needed. The Blaster Turret is perhaps a weaker weapon, but the idea was that its range 1–2 would complement the range 2–3 of the Twin Laser Turret, ensuring I always have range from at least one Y-Wing as all three fly around in a block.
The key underlying theme is to keep it simple & robust. There are no fancy abilities and few actions that need to be remembered and applied tactically, just some simple weapons and straightforward buffs. The squad is also robust, with a lot of hull points and shields plus Chewie’s ability to ignore critical damage. To that, the other reason I switched is I believe the Y-Wings are more survivable than X-Wings, though I haven’t done or looked up the math on hull points versus agility.
There are definitely huge weaknesses with this squad—autothrusters immediately come to mind. It’s not for no reason that the 2014 World Championships featured a YT-1300 in 25% of the Rebel lists, while in 2015 it was in 0% of the top lists. Similarly, the board edge strategy likely wouldn’t really hamper better players. But with this effort I’m hoping just to stay in the tough games long enough to learn something and not lose embarrassingly, and to beat the other new and lesser-experienced players who overburden themselves with overly fancy lists or tactics. So I stuck with my tried and true strategy for any new miniatures game: Keep it simple & forgiving.
Game 1: Swarm
First up was Troy and his 6-strong TIE swarm, using several of the new Gozanti carrier pilots. I stuck to my strategy here of hugging the board edges. Unfortunately I stuck to it too hard, misgauging distance and flying a full-strength TLT Y-Wing right off the board when I blew the turn in the far corner by literally millimeters… Meanwhile, the TIE fighters are so agile that they did not seem extraordinarily hampered by the board edge. Ultimately I got tabled and only eliminated two of Troy’s ships, but without that error I should have been able to finish off a couple more and at least put up a halfway respectable showing.
Troy starts moving his new swarm.

Stay in formation!
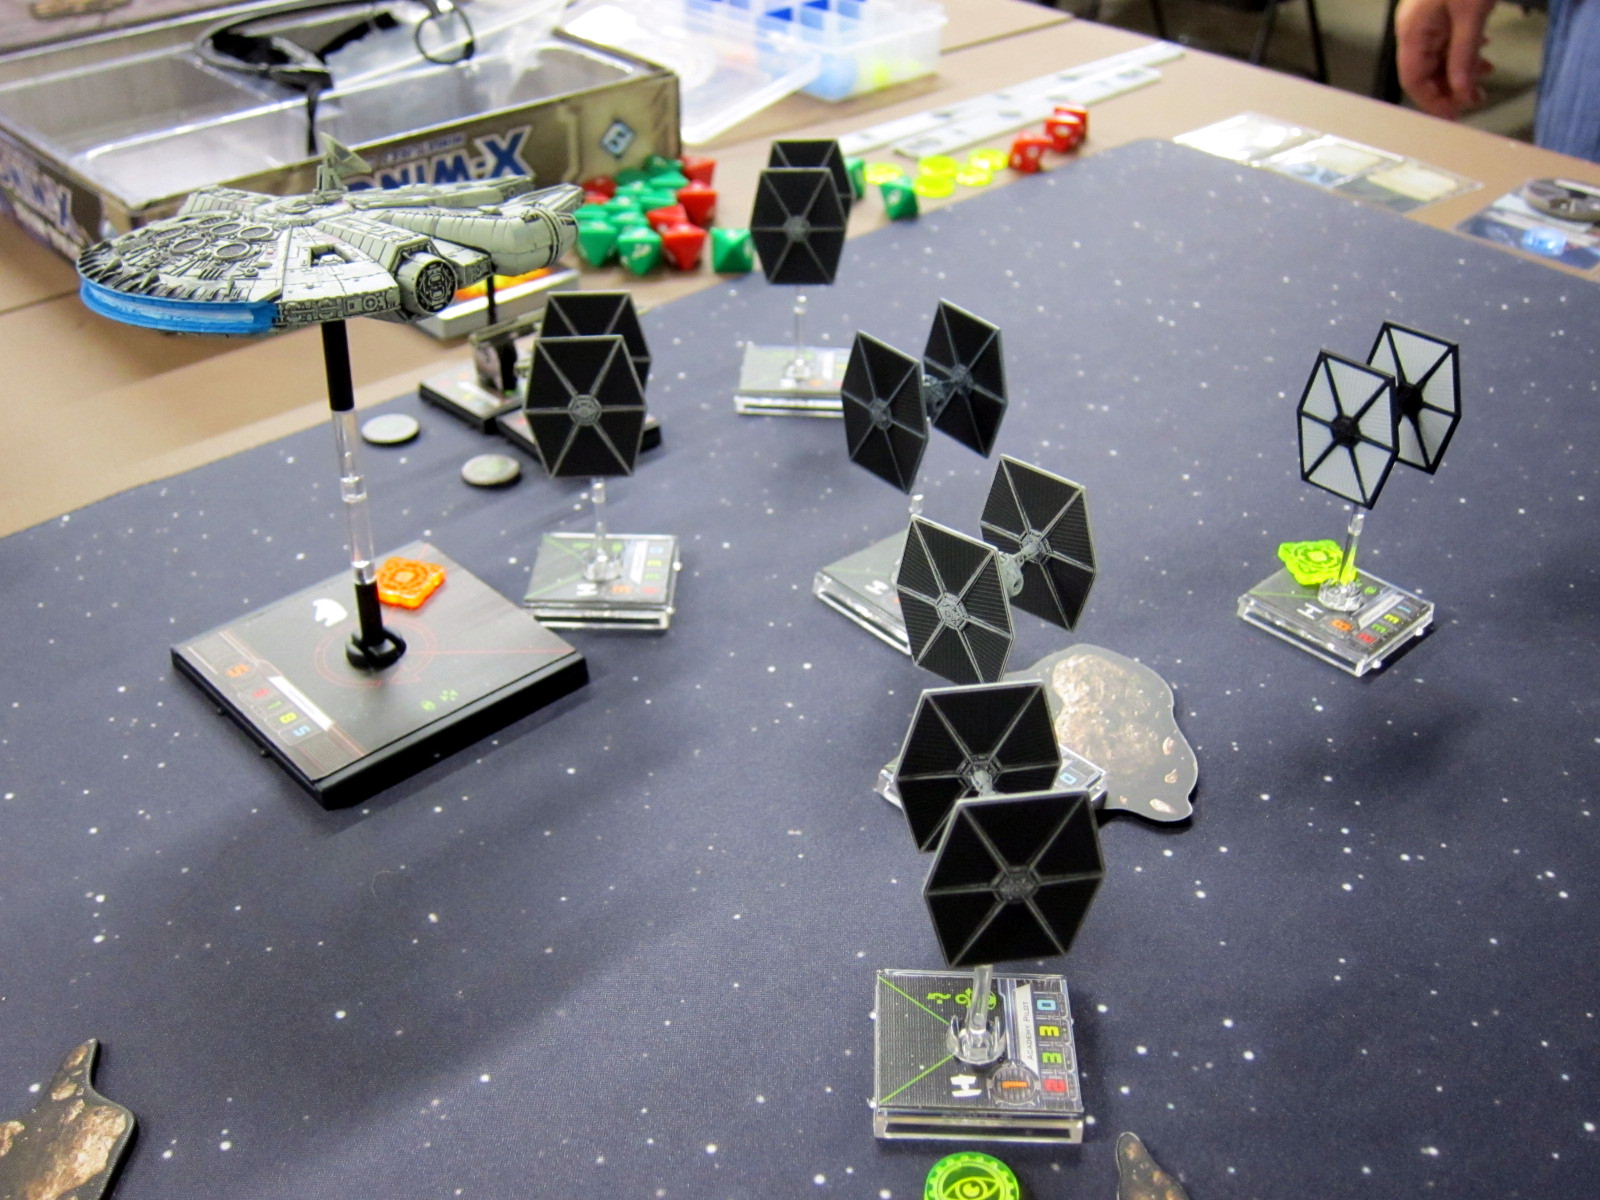
The swarm arrives!
Game 2: Brobots
Next was Adam and his tricked out double Aggressors. He came straight at me, and I quickly abandoned my edge hugging strategy. I was worried his primary weapons would rip me apart while he bounced back and forth over me k-turning and using his abilities to largely ignore the stress. So I fled in fear like a coward…
Unfortunately my formation was too tightly packed, particularly with an asteroid right in the way, and I suffered for several turns with poor flying as I bumped into myself, asteroids, everything. Once things opened up though I was able to move better and do some damage. This wound up an extremely tight game, with Adam eventually prevailing at 75 points over my 74 (and him starting at 98 points versus my 100). Key to this was concentrating my shooting as much as possible on a single Aggressor until it was eliminated, halving Adam’s firepower, rather than spreading damage across both of them and taking all his shots the whole time. The YT’s maneuverability was also critical, as I was able to get it out of arc and unshot on several turns, and Gunner was really useful to partially counter Adam’s significant defense—he was frequently rolling 4 or even 5 defensive dice in this match.

Adam does the robot.
Around and around we go!
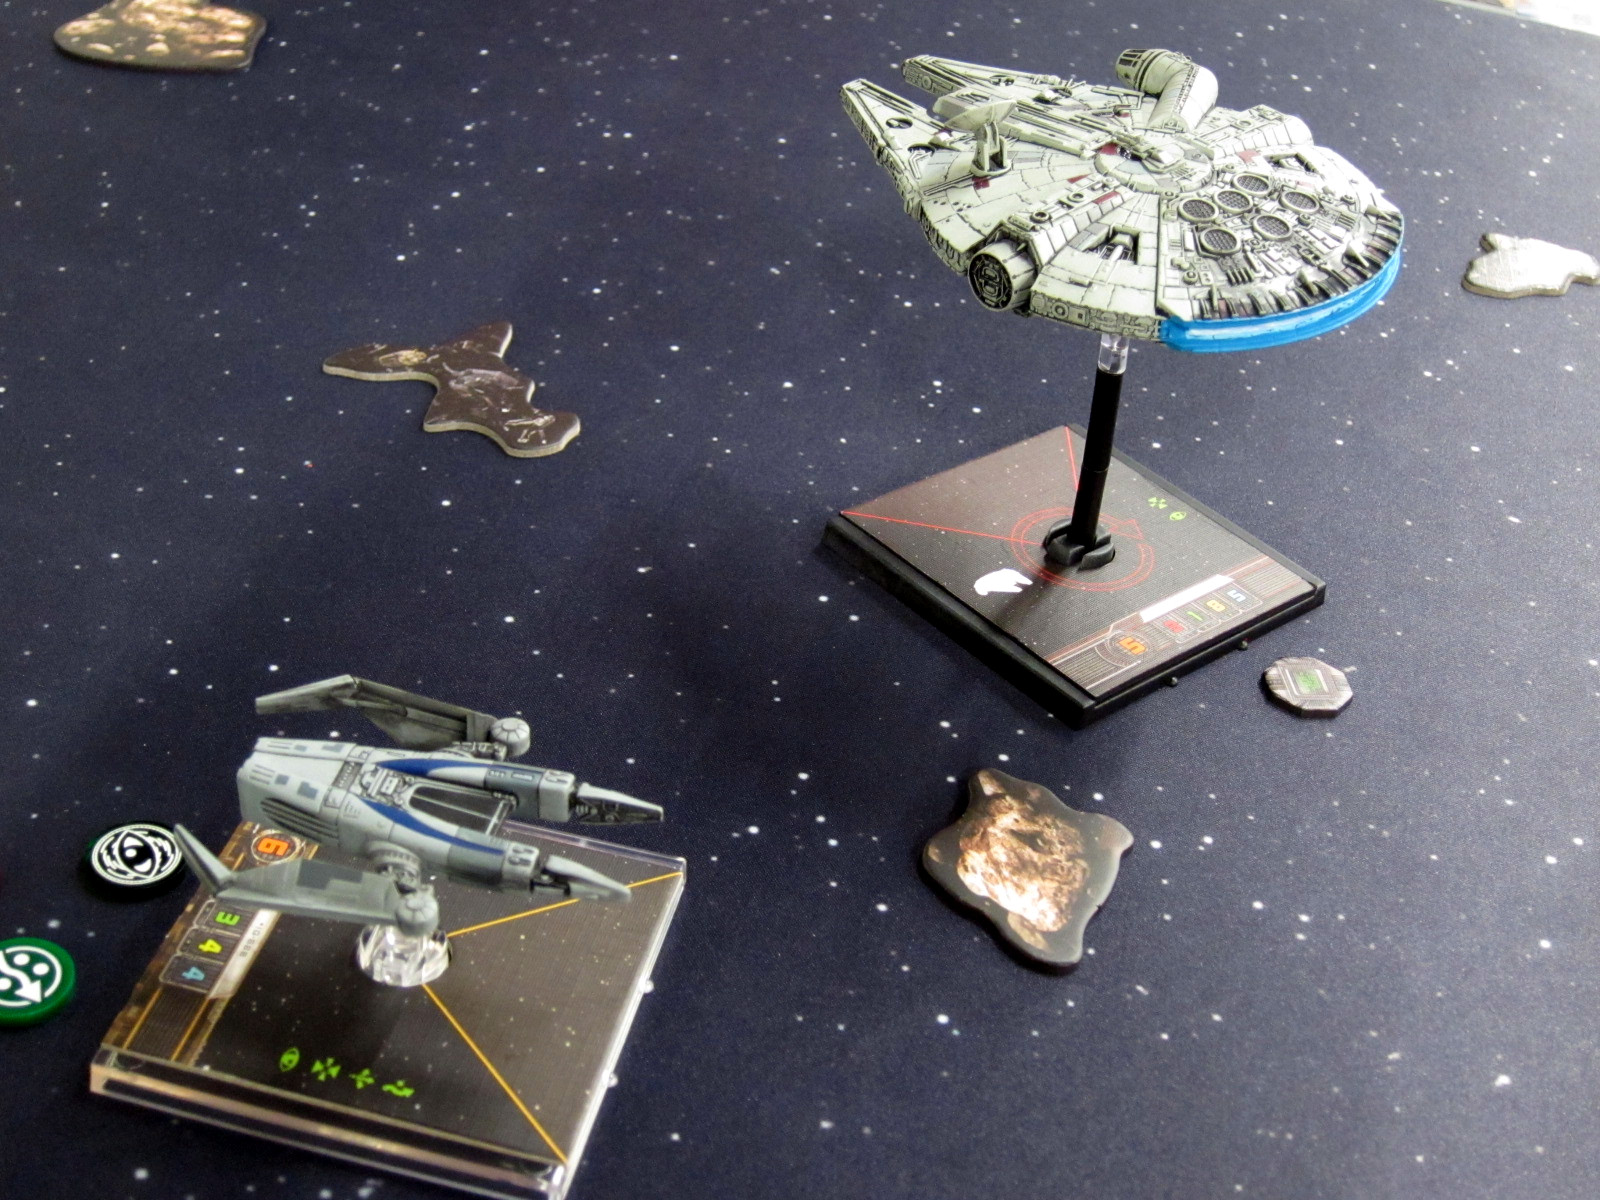
Game 3: Scum
Last for me was TJ flying Boba Fett, Talonbane, and a Z-95. A few of the abilities here caught me off guard, and the Talonbane did a scary amount of damage in a couple turns. TJ setup spread out across the board though while I turtled up along the board edge following my pre-game plan. That prevented him from bringing enough firepower to bear early in the match to do sufficient damage. I eventually lost a Y-Wing, but “safely” absorbed most of the damage throughout the match on the YT, leveraging Chewbacca’s ability, and winning 100–49.

TJ just wants to know what the bounty is.

Boba stands guard.

Chewie dogfights Boba while Gray Squadron intercepts.
Outcome & Analysis
I wound up 8th of 14, which felt like a reasonable showing in the circumstances.
Gray Squadron
For my current level of play this squad and board-hugging strategy seemed ok. I’m sure there are lists and players that would cut it apart trivially, but I think it’s solid against players of similar caliber. The big downside at the moment is just that it’s a fairly boring approach. The core draw of the game for me is just the simple pleasure of X-Wings and TIE fighters swooping in and out around each other. So I’m not sure I’ll use that strategy or list again.
However, I was pleased with their performance this day. The basic meta-approach of eliminating fancy abilities and playing a simple, straightforward list with a lot of tolerance for taking damage and surviving mistakes without requiring me to track too many things or remember too many unique abilities was born out once more.
Brobot Scoring
In some sense I was just 2 points away from winning the game with Adam and going a much better 2-1 for the day. That’s true, but actually not possible.
A setup like his double-Aggressor, consisting solely of large ships, just doesn’t give up points easily. With how points are awarded (full points for destroyed ships, half points for half-destroyed large ships), for me to have won this match I would have had to eliminate the second large ship as well. There’s no easy way I could have scored just a few more points, I would have had to win completely to win at all.
Looking deeper, if Adam had brought just 1 or 2 points more (depending on rounding rules), we would have drawn for the round. A lot of Brobot lists seem to tally up to 98 points, but I’ve only seen people talk about that in terms of taking the initiative. Synergizing with the scoring properties of large ships and tipping the match result in your favor seems like at least as important a reason to not take a full 100 points on these kinds of lists consisting of just large ships.
Epic!
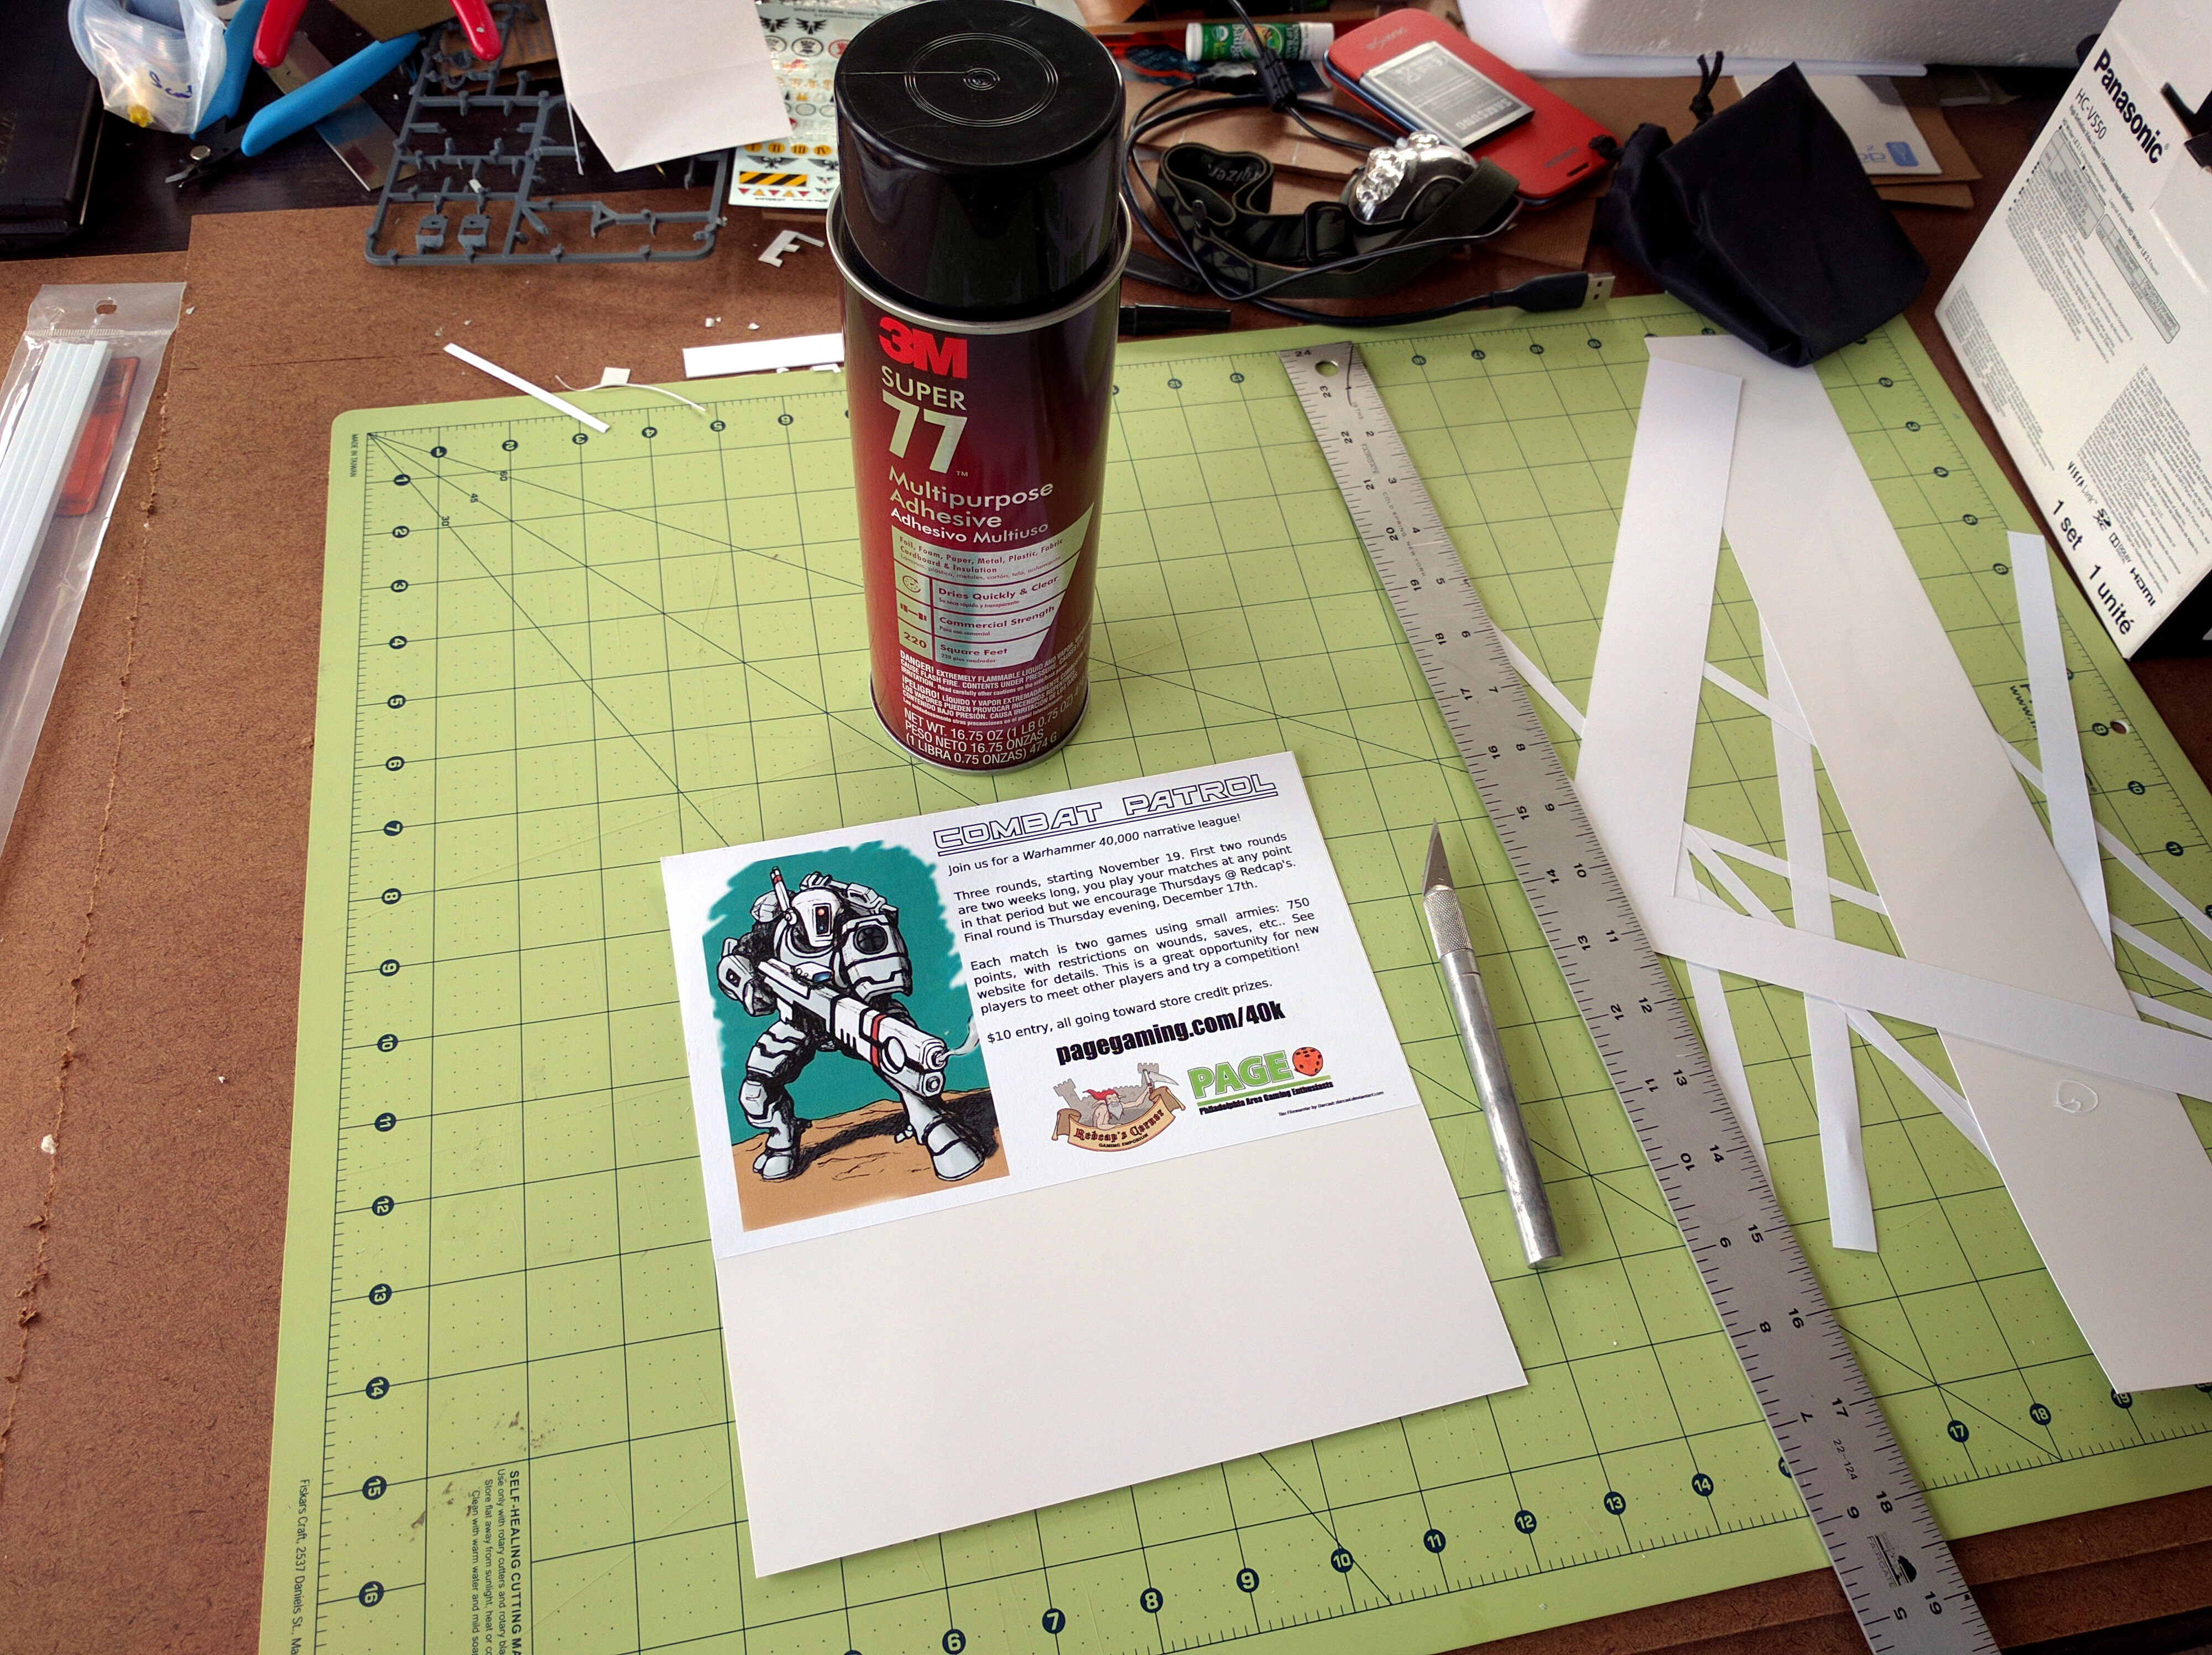
One sidenote I found amusing about the whole affair is the vast difference in rolling up to this versus a 40k event. To be fair, I am often running those events and thus bring a lot of extra items (laptop, papercutter, etc.). But still, even for 1000 point games I’m bringing a sports bag, small duffel bag, and another bag of books. In contrast my entire, fairly substantial, X-Wing collection fits in one backpack…
Fortunately I did have my whole collection with me! Most of the PAGE contingent was hanging around afterward and wound up playing a 300 point, 5 player battle. It was definitely too late to start that sort of thing, but was a good battle. I’d have to say that the surprising MVP was Darth Vader, who deployed all on his own in a corner doing his Lone Wolf thing and proceeded to tie up and/or destroy several ships. Imperials and Rebels eventually played down to a draw when we called time.
In general this felt a bit like 40k Apocalypse, though at a smaller scale. A fair bit of downtime, and some loss in tactical precision just given the number of things going on across the board. But still a lot of tactics and strategy in a sprawling, fun game. A great way to cap off my month of X-Wing. More to come in the future!
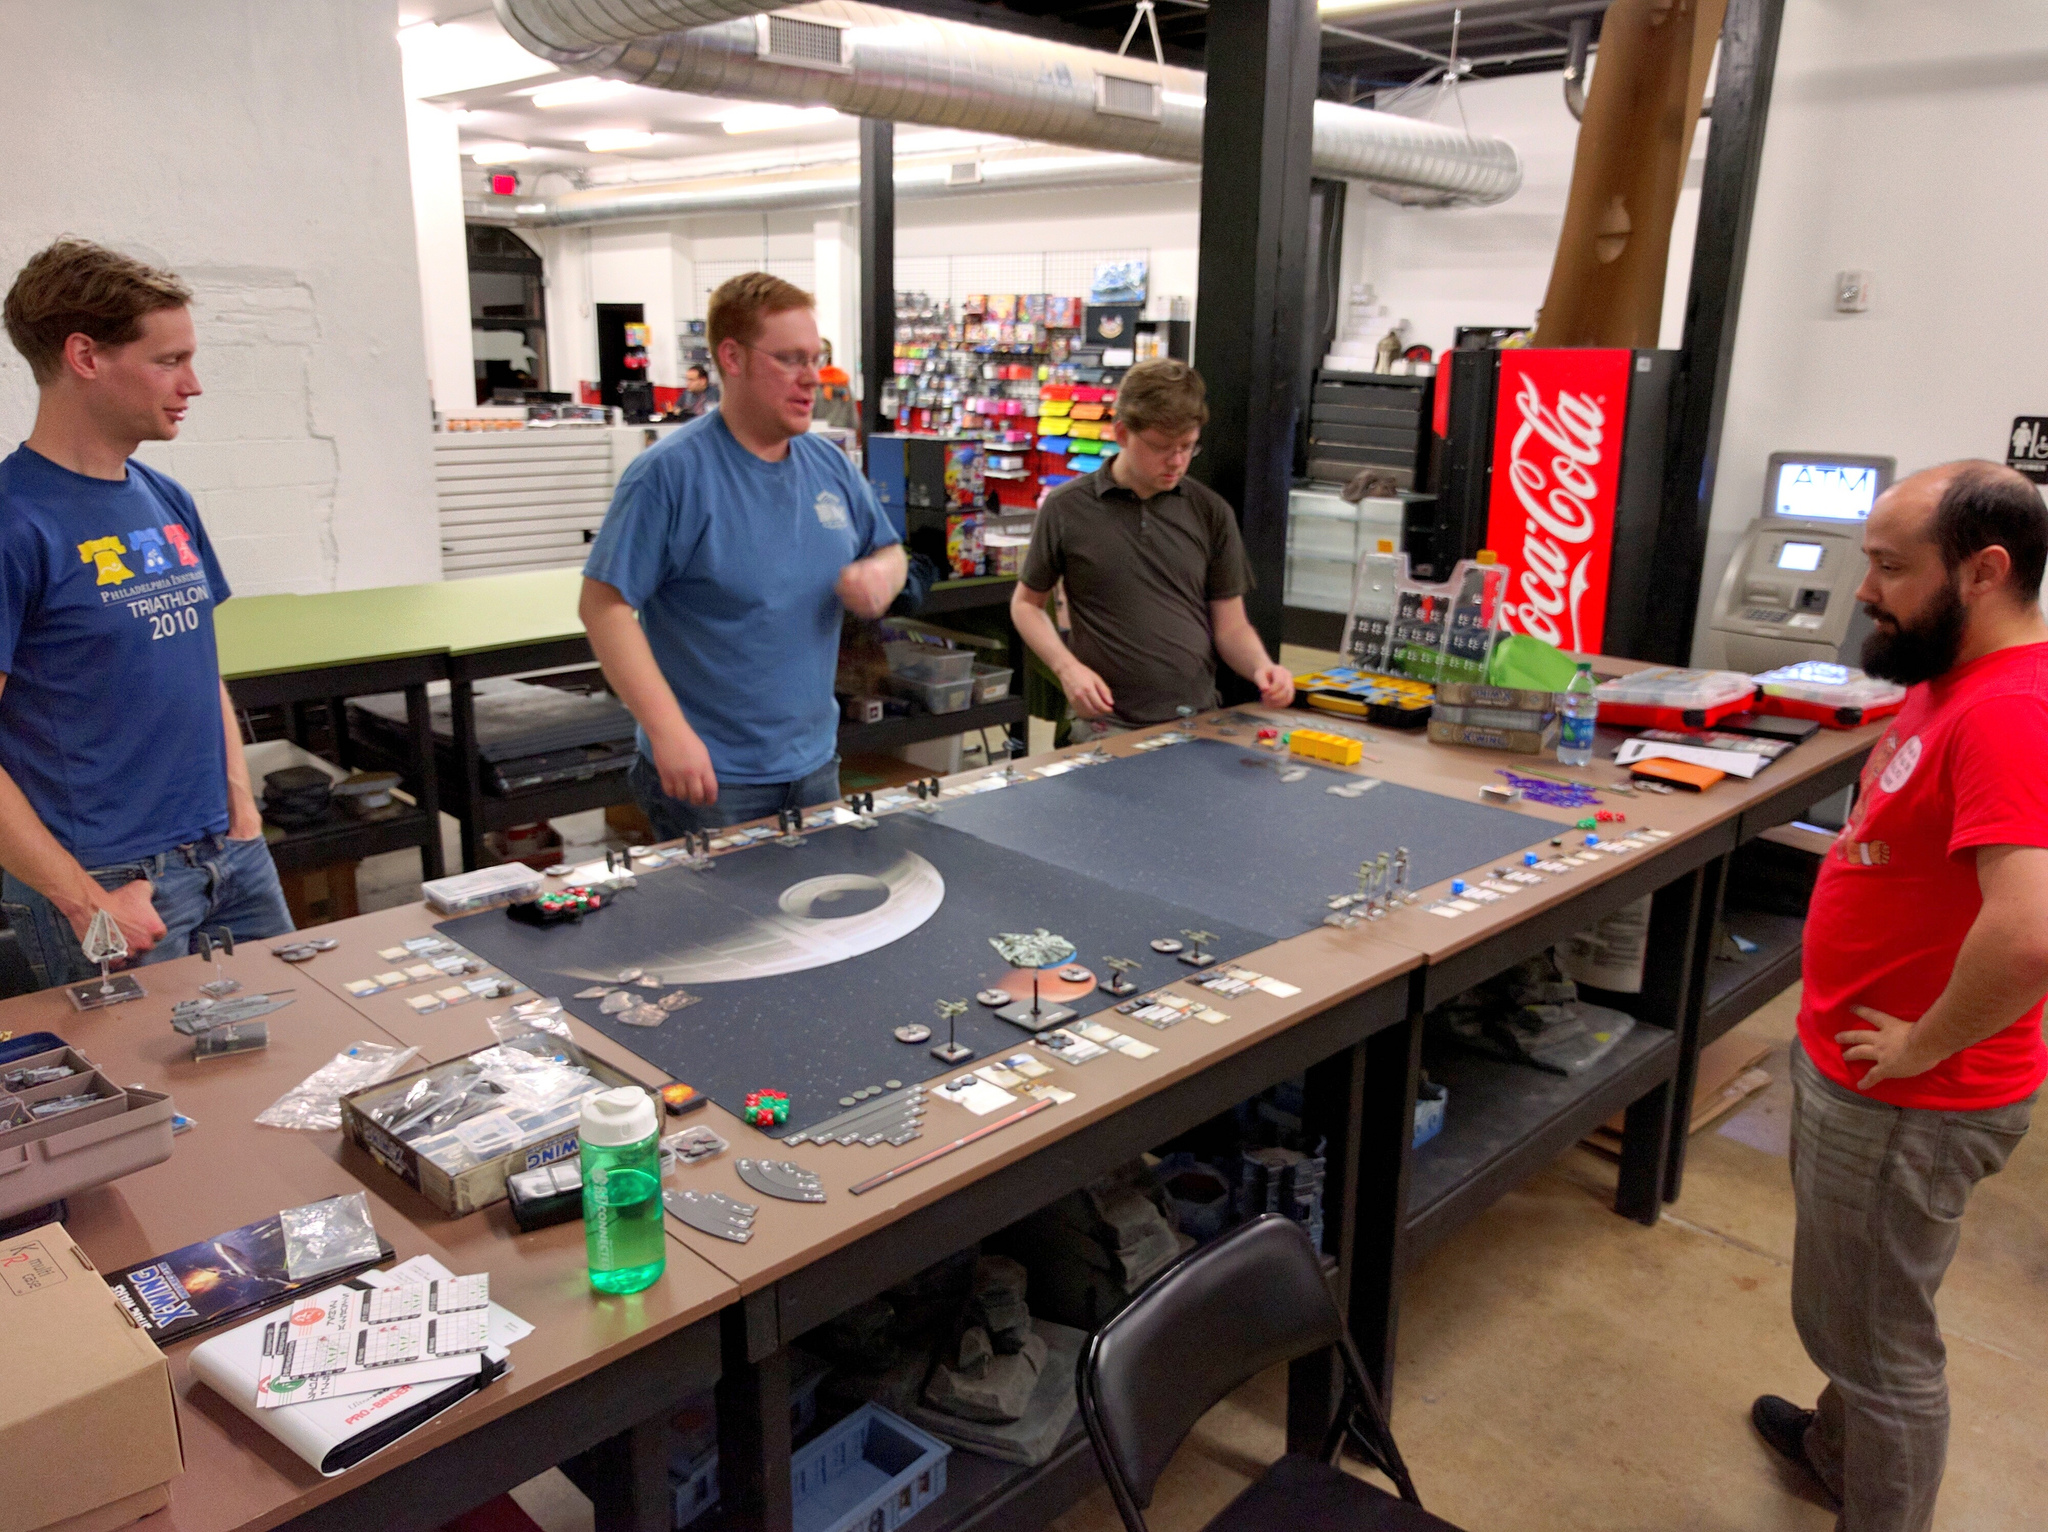
Everything finally laid out.

My expanded fleet.

Hope you Rebels brought your stress tokens!

Swirling melee at table center.