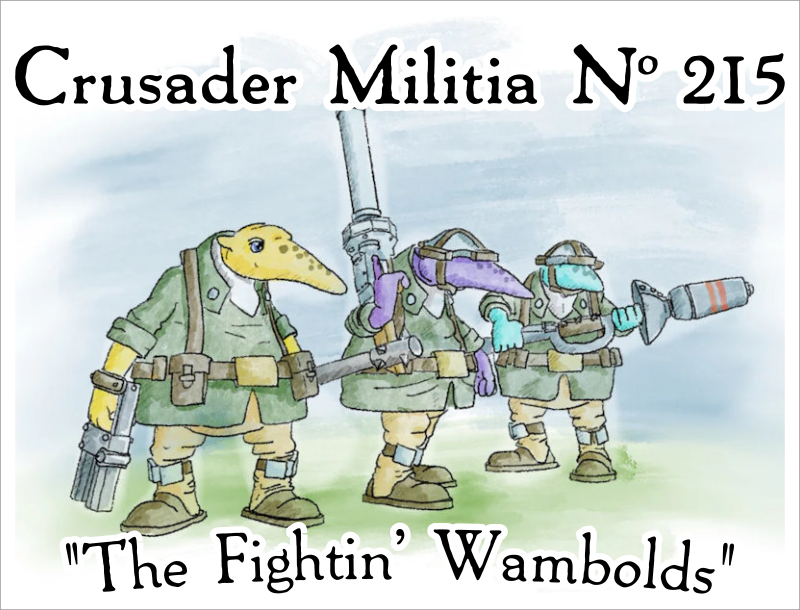
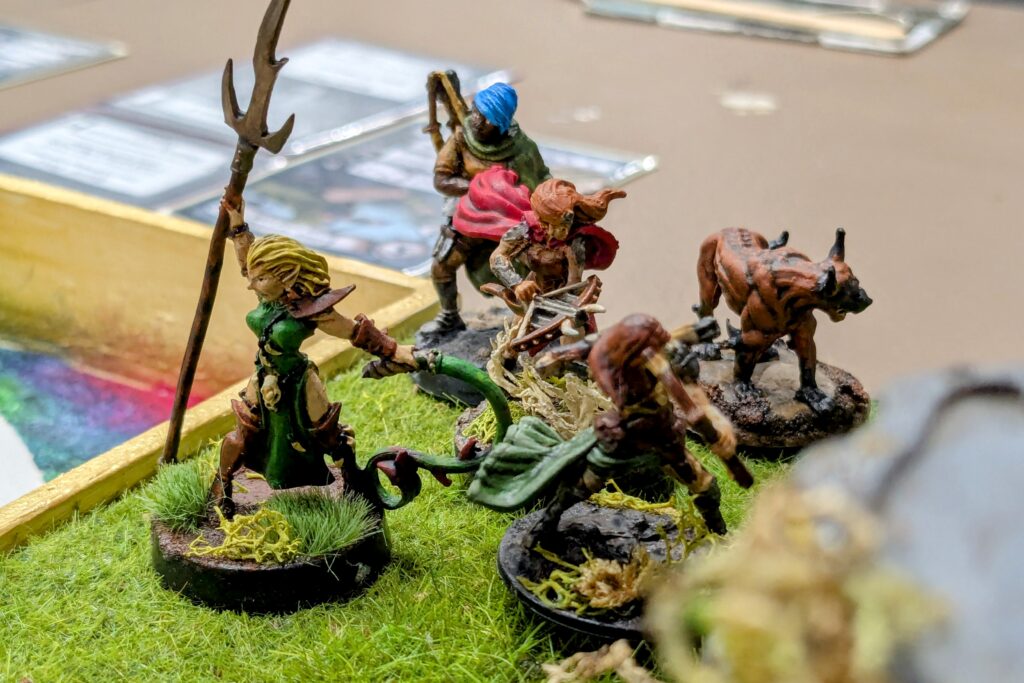
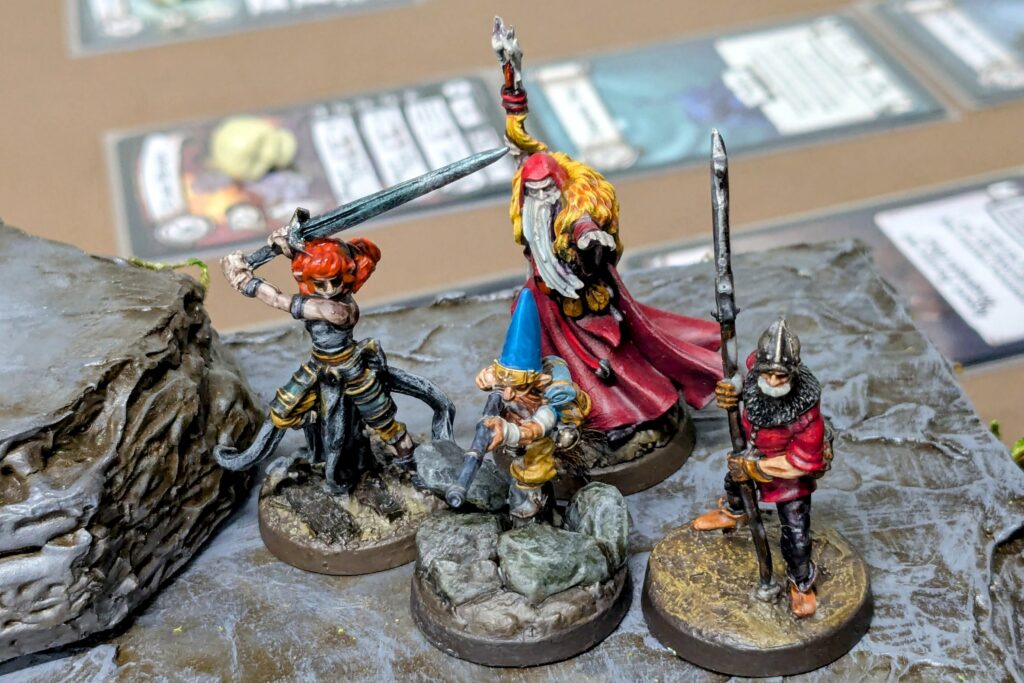
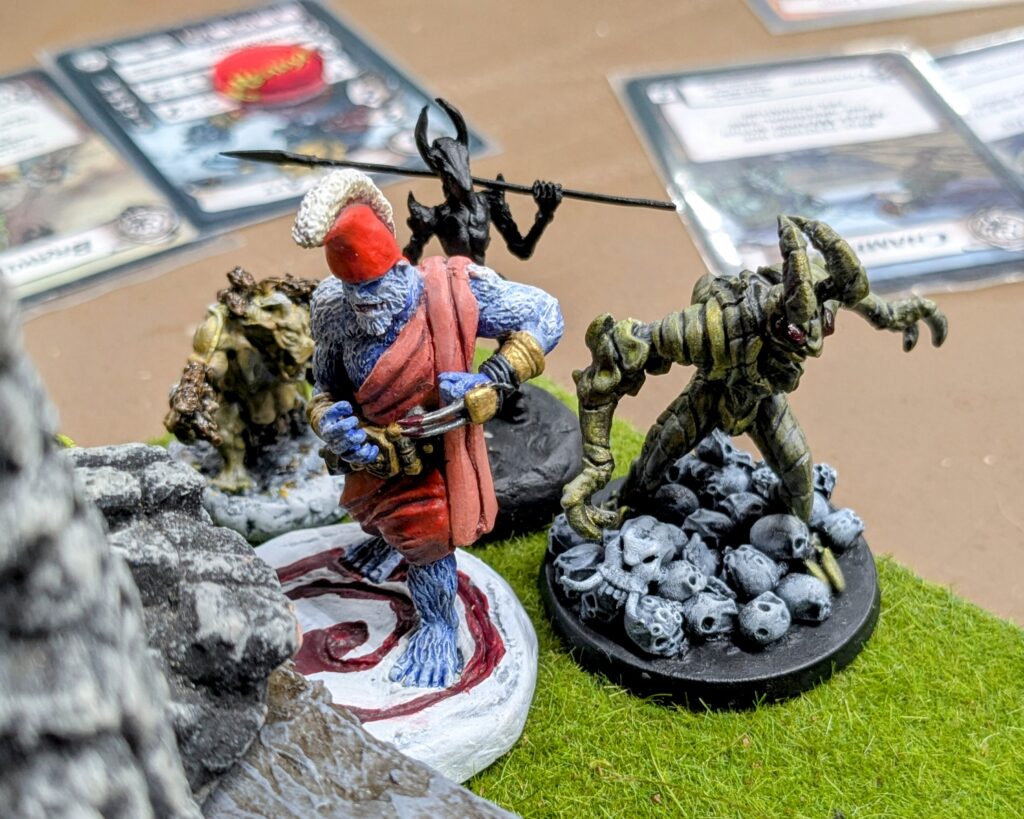
Lately a few of our Relicblade group have also been playing a heavily 40k-inspired skirmish game. It started in part as a reason for those of us that love that universe and/or models but don’t play the game anymore to use our old 40k models. But of course this immediately spiraled into acquiring new models… In addition, those that didn’t play 40k “back in the day” need warbands. So I made this Crusader Militia № 215 for Tom:
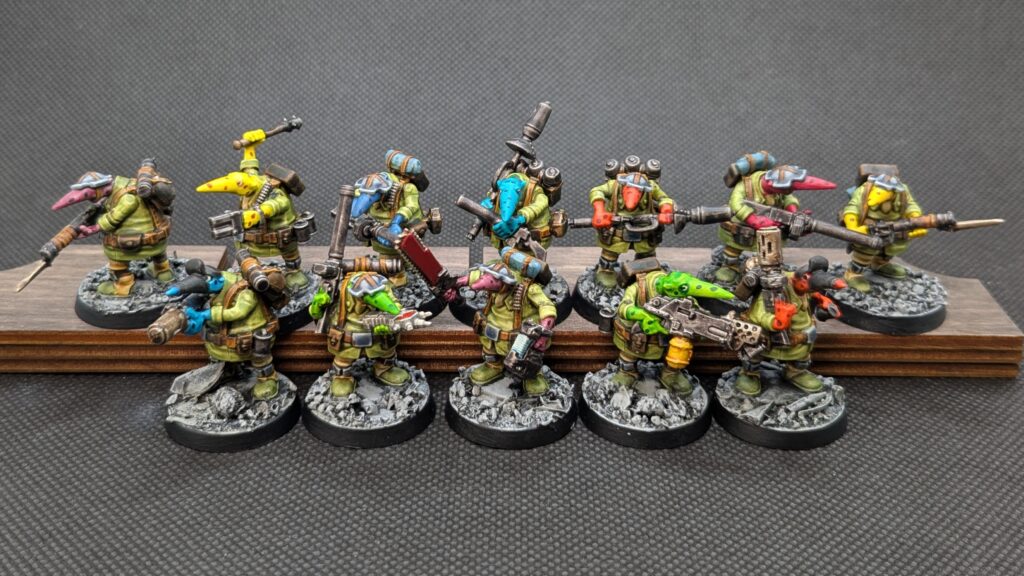
Crusader Militia № 215.
These little anteaters are Quar, from a “Weird World War 1” universe and set of games by ZombieSmith. I would say it’s very niche wargaming except there’s lots of models; games for multiple scales; they’re available in digital, metal, resin, and hard plastic from Wargames Atlantic (!!); and of all things there’s even an official Playstation game?!
In any event, they fit in well with the aspect of 40k that’s WWI aesthetic, namely the Astra Militarum (Imperial Guard). Tom loves playing small little guys that probably really shouldn’t be there caught up in these massive battles between giant super soldiers and demons and aliens and whatnot, but here they are so they may as well have a stiff cup of tea and get on with it best they can. In Relicblade that’s the Moldorf Expedition. Here it’s the Quar—and it’s worth noting there are after-battle tea & cigar arms available for their models.
Conversions
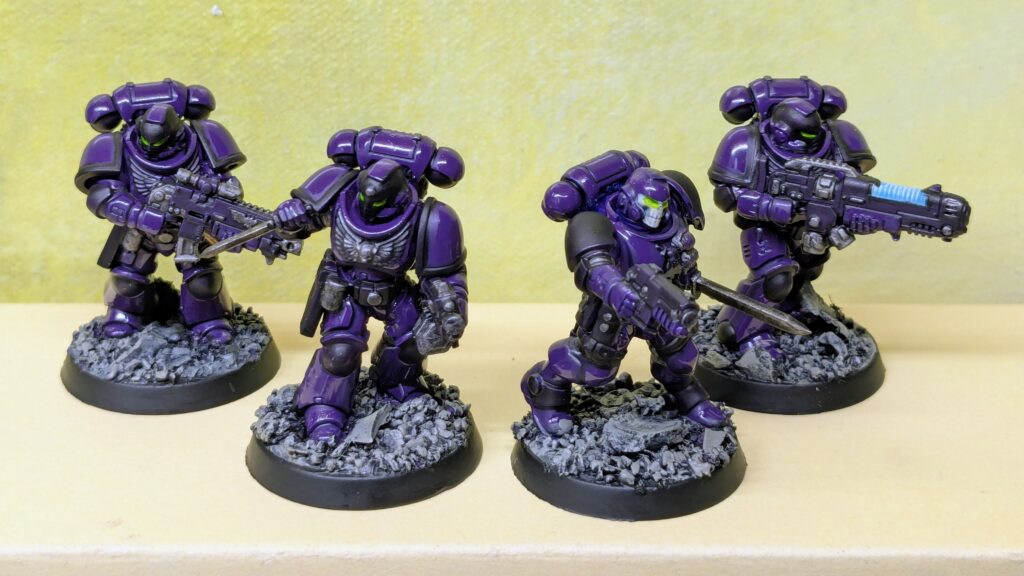
We only need a handful or two of models for our game and I wanted to use the Quar’s torpedoes as missile/grenade launchers, and I like their helmets, so I started from Wargames Atlantic’s Crusader Specialists box. Their rifles and machine guns I think are fine as lasguns; plenty of canonical Astra Militarum regiments use similarly styled variants.
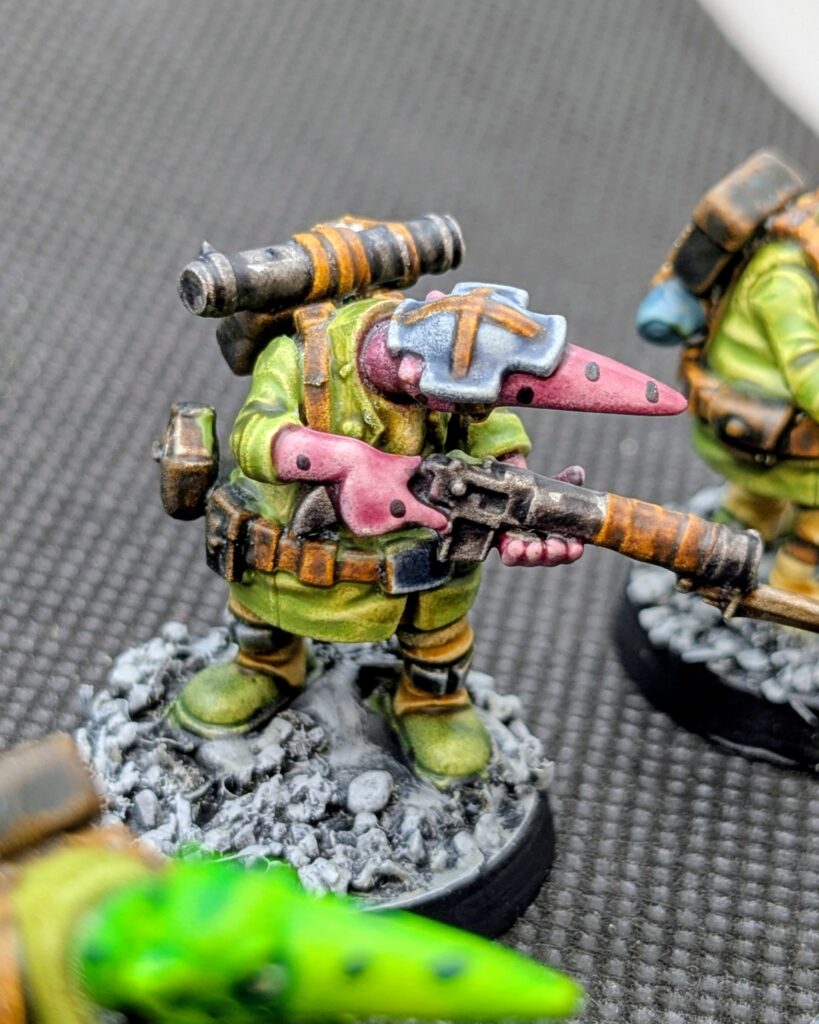
To really sell the team as part of our 40k-ish universe and make gameplay more obvious to everybody, I converted some of the Quar to have more recognizable special weapons. You could just glue on some guns but 40k weapons are huge compared to the Quar so I wound up chopping and rebuilding just a bit to make a few simple conversions.
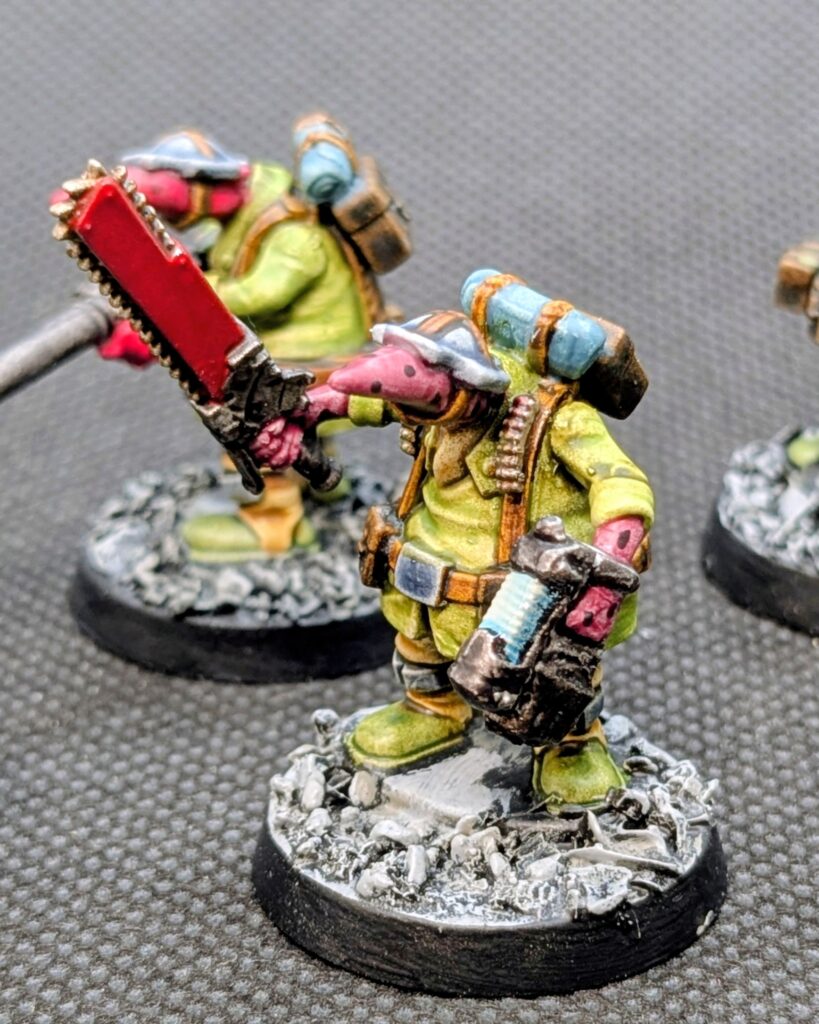
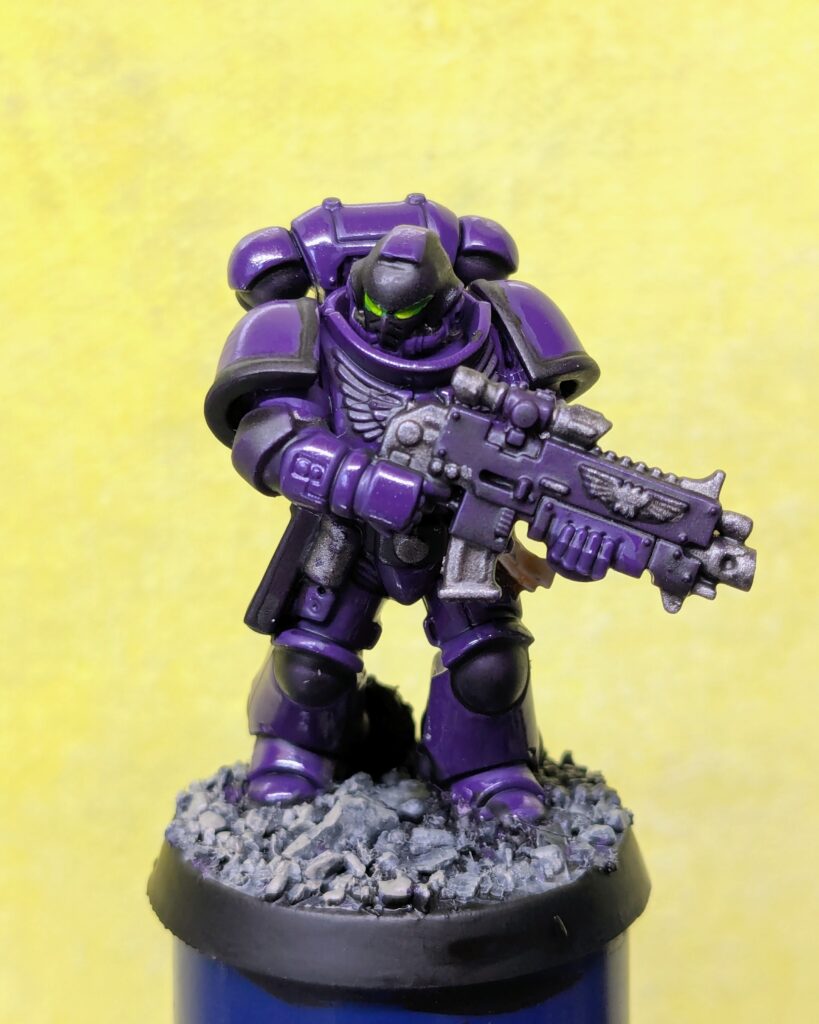
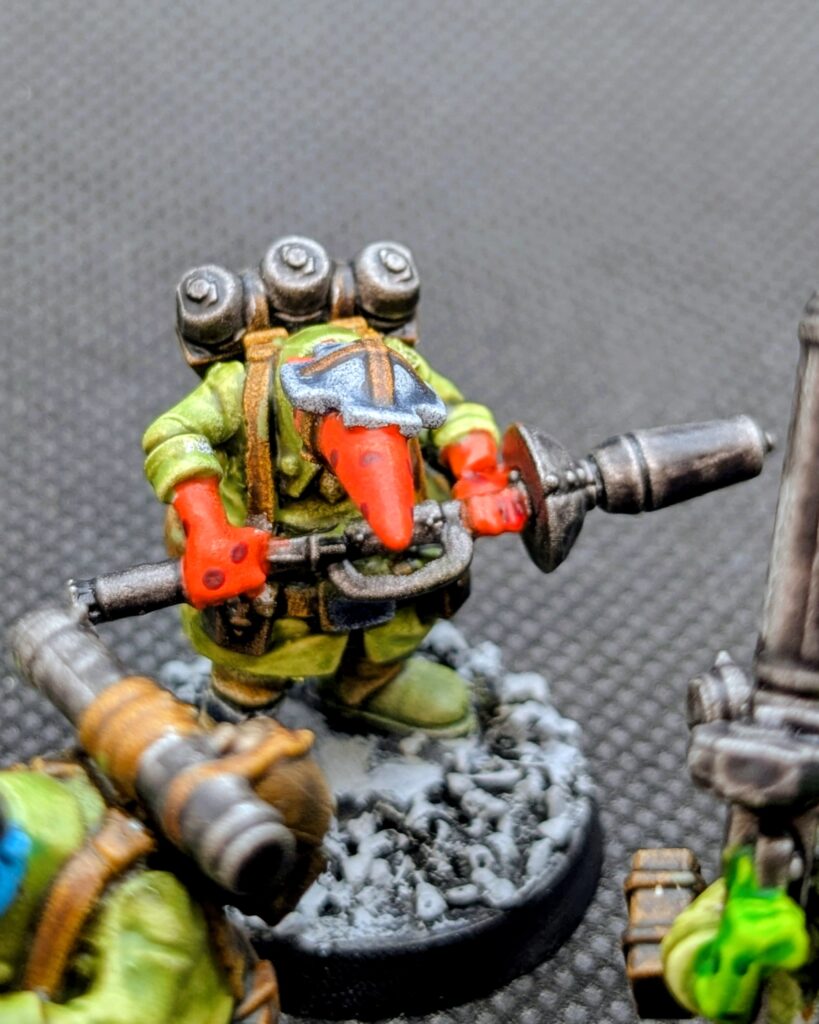
Sergeant with Chainsword and Plasma Pistol.
Quar have a funny style of pistol that’s like a cut-off double barreled shotgun worn as a glove. An unaltered one is pictured later. For the plasma pistol sergeant I replaced those barrels with a plasma pistol nozzle, put a plasma coil on top, and used some Vallejo acrylic putty to round out the ends and fill the gaps. Several of the Quar hands are holding cudgels, which worked well as the base on which to attach a chainsword.
Note that the spots on all these guys are part of the canonical Quar look, though those in the official art seem to concentrate more on the bridge of the snout than I did on my models.
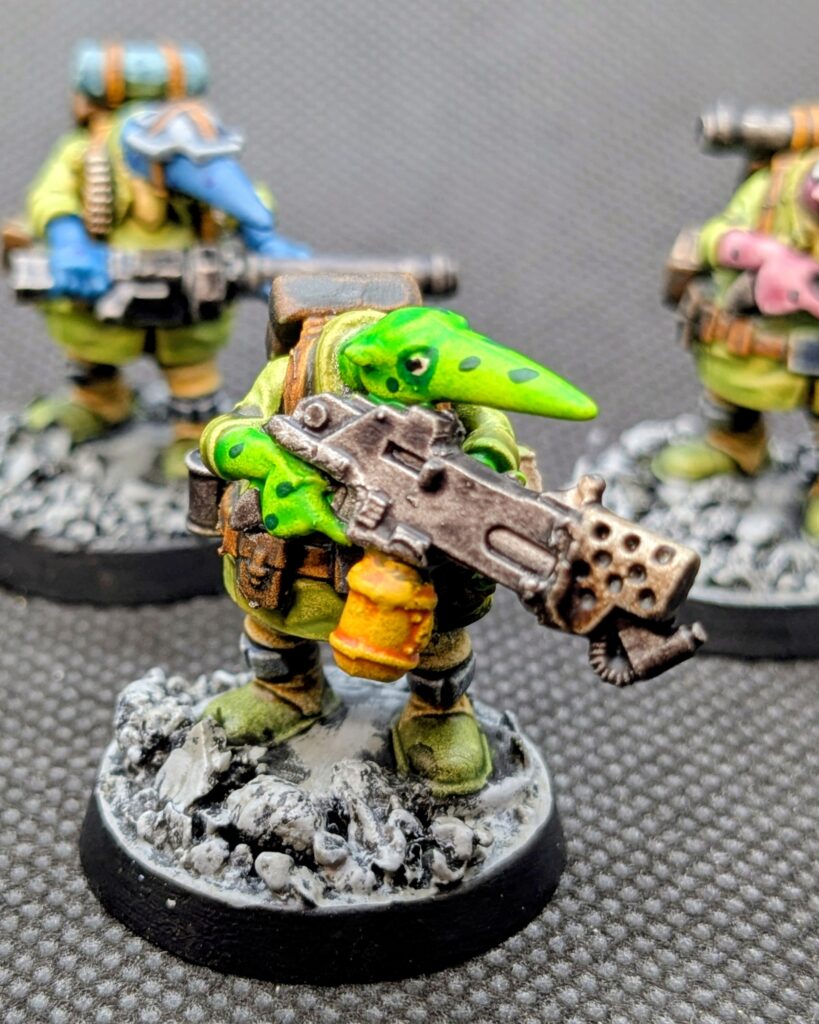
Meltagunner #1.
Meltagunner #2.
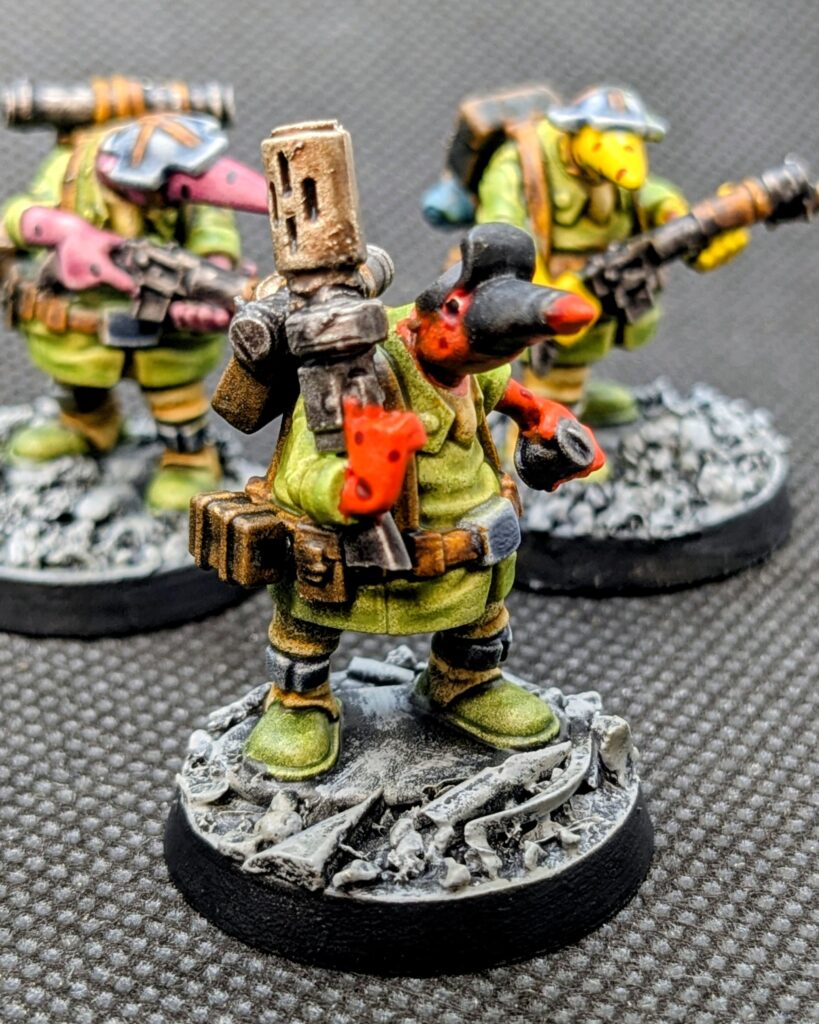
The meltaguns were super simple swaps of meltagun barrels onto the body of the Quar’s machine guns. I gave both of these guys the masked heads and painted them up as—in my mind—“notorious black caps” as I figure anyone running around with what’s essentially a disintegrator is probably pretty dastardly.
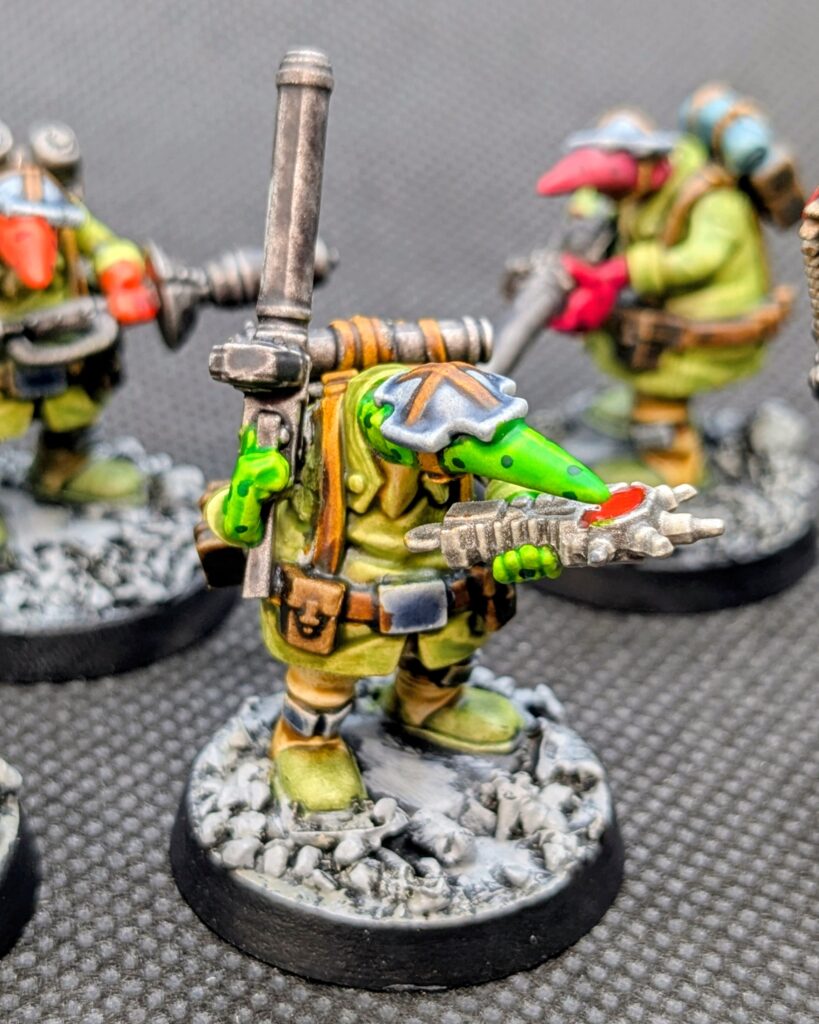
Flamer.
The flamer, I’m pleased to say, pretty much just looks like I put on a 40k flamer. But those are way too big for the Quar. The body of this is actually a vintage boltgun from waaay back when Space Marines were also cute little hunched over guys, with a modern flamer nozzle and fuel tank attached. The arms are Quar rhyfle arms with all the gun body removed.
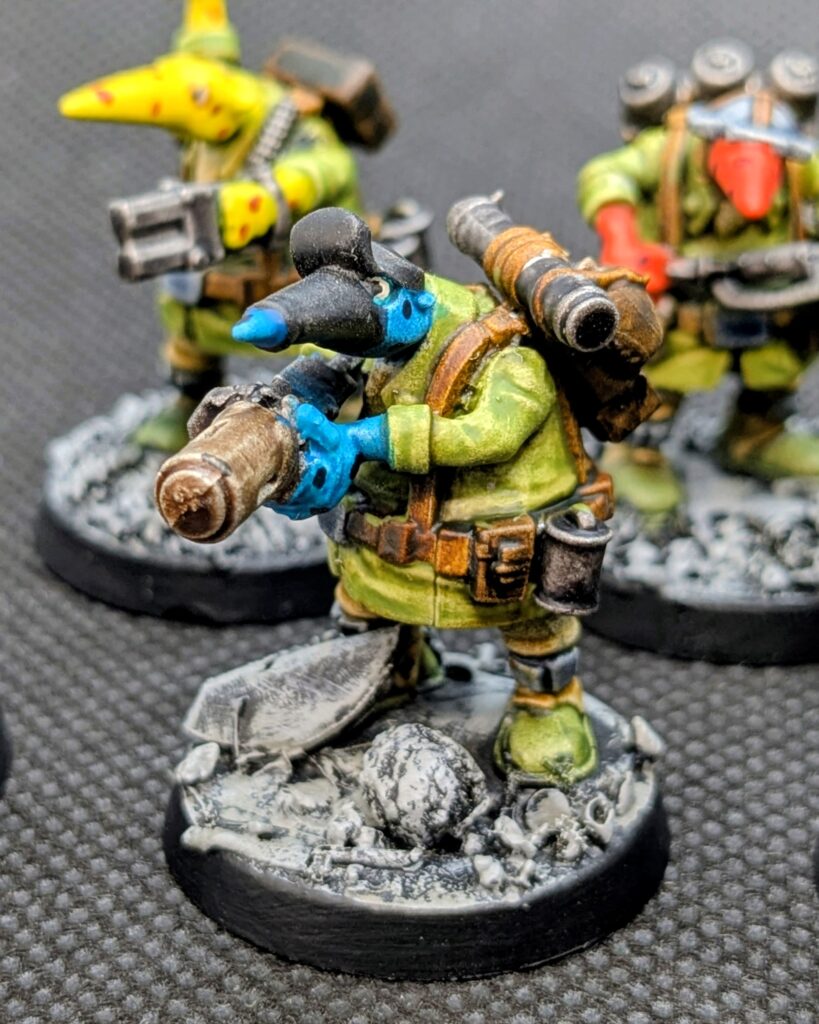
Specialist.
Finally, a standard auspex fit just right into one of the Quar hands intended to be holding a machine gun stock and adds a bit of flavor or could denote a specialist.
The Gang
Filling out the squad are standard Quar rhyfles, machine guns, and torpedos. Though I do note this first guy has a tiny bit of work done in a very low effort, high reward conversion: The wrist of an open left hand was cut and reoriented so I could pose a torpedoer holding a shotgun for close-in backup.
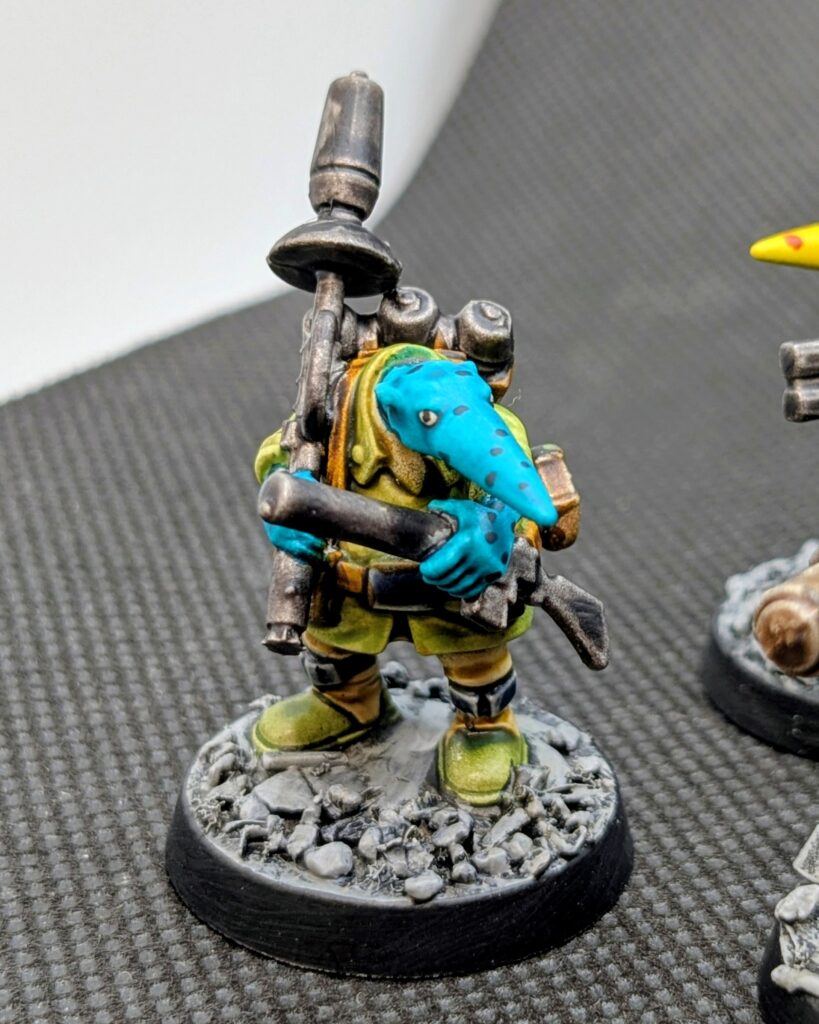
Torpedo #1.
Torpedo #2.
Rhyfle #1.
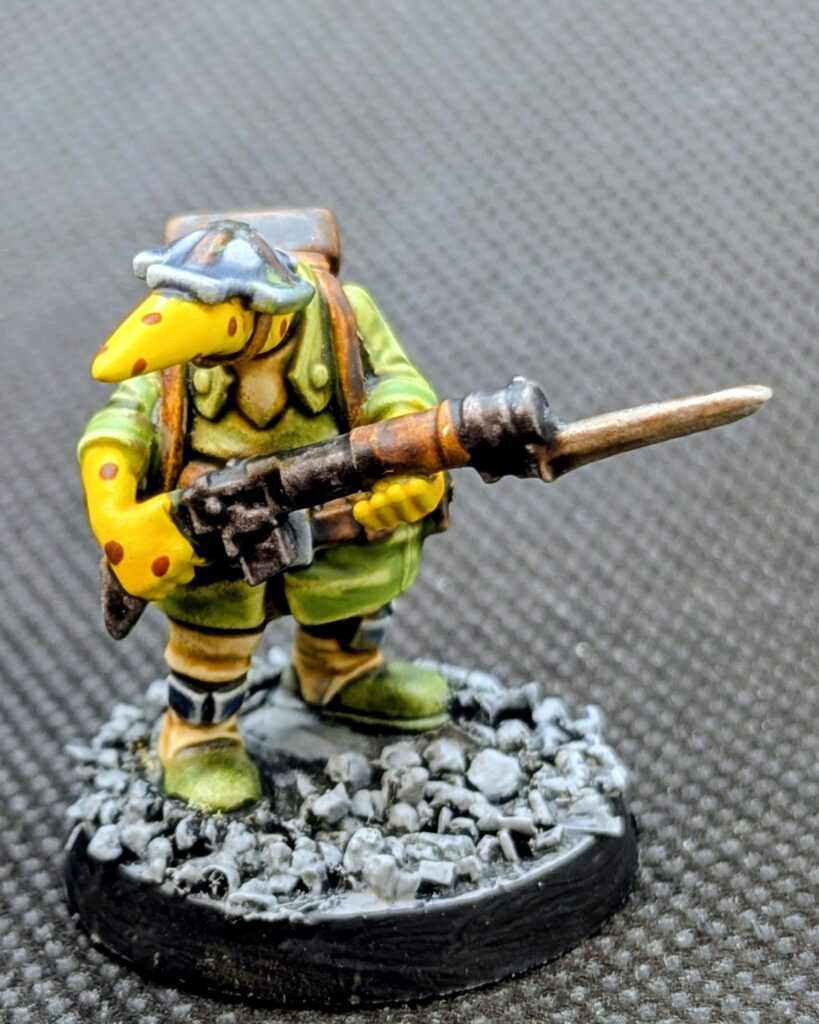
Rhyfle #2.
Machine Gun #1.
Machine Gun #2.

Alternative sergeant.
The bases were all made with a mixture of gravel, sprue cuts + shavings, and other debris.
Painting
For my future reference, these are the primary paints used, in their order of application. One note is that these were very quickly painted by my standards. I got the box late Sunday and wanted them ready for play Friday evening. So I might have varied the pouches more, done some more color on the torpedoes and machine guns, but there was a tight schedule.
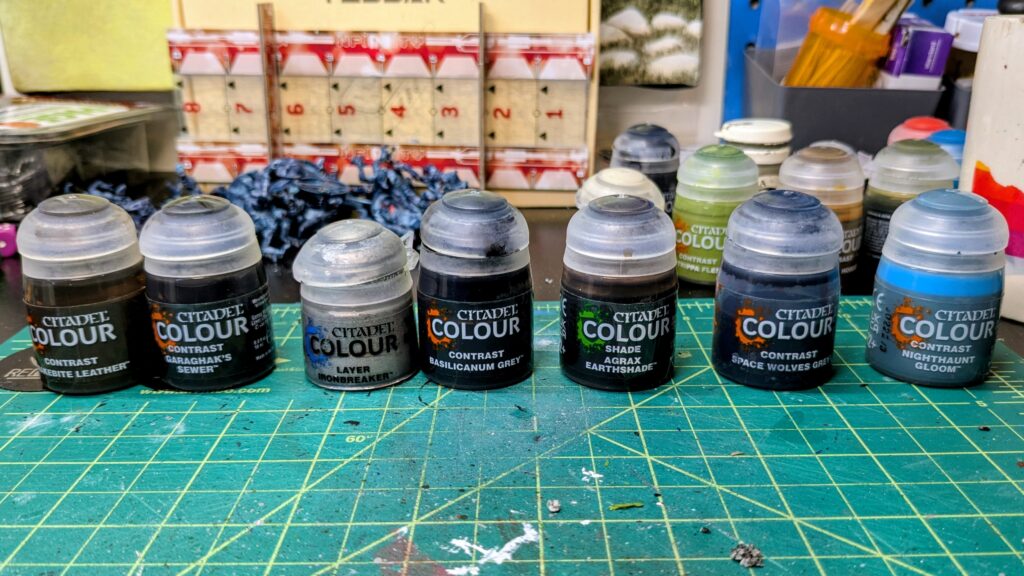
Step 1.
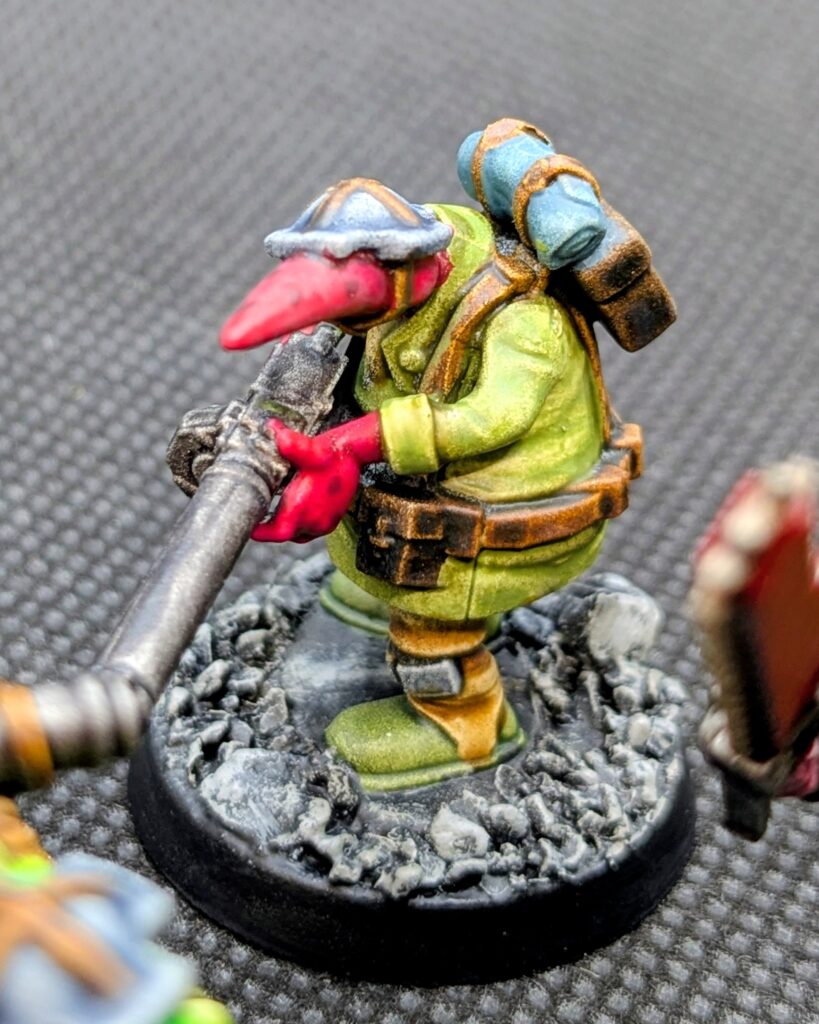
The signature equipment harness worn by the Crusader faction of the Quar is done in Snake Leather, with pouches in Garaghak’s Sewer. The guns, grenades, and such are based in Ironbreaker then coated with Basilicanum Grey. Other metal details like knives and canteens are Ironbreaker washed with Agrax Earthshade. The little bits of leg armor, helmet, and belt buckles are Space Wolves Grey. Bedrolls are Nighthaunt Gloom.
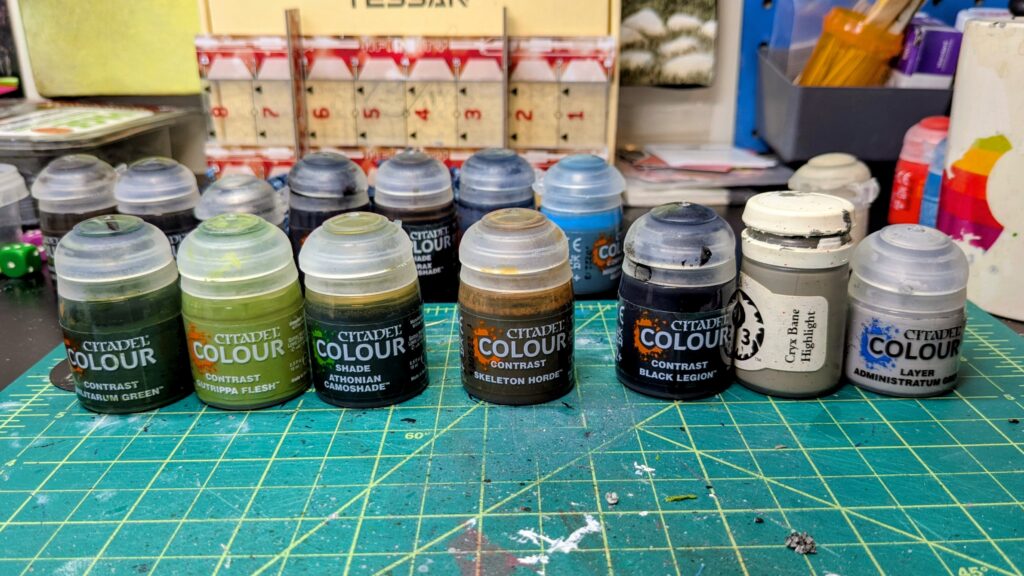
Step 2.
The militia’s shoes are Militarum Green and tunics Gutrippa Flesh with edges shaded with Athonian Camoshade. Their stirrup pants contrast that green with the tan Skeleton Horde. The bases are coated in Black Legion then drybrushed heavily with Cryx Bane Highlight and then lightly with Administratum Grey.
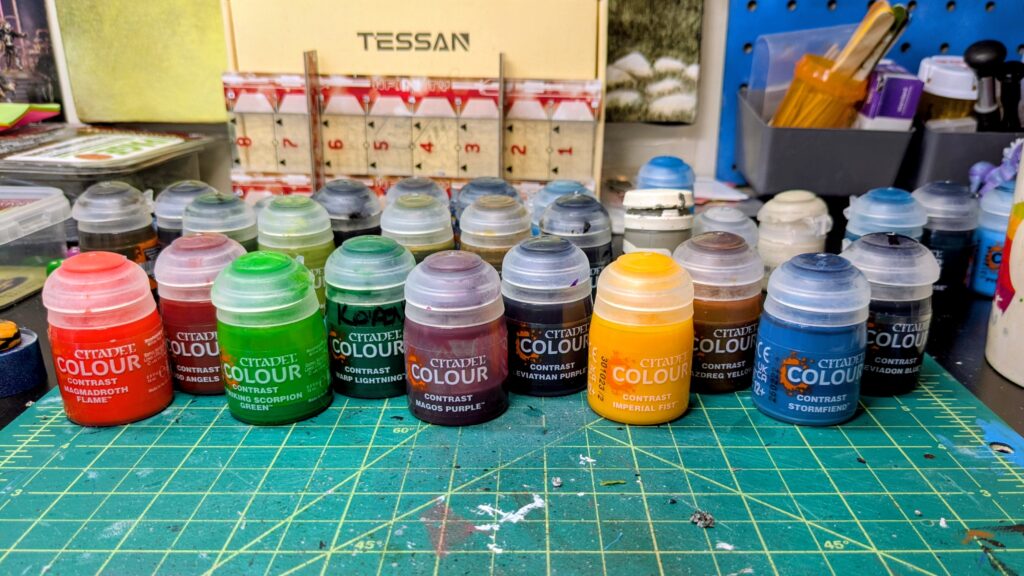
Step 3.
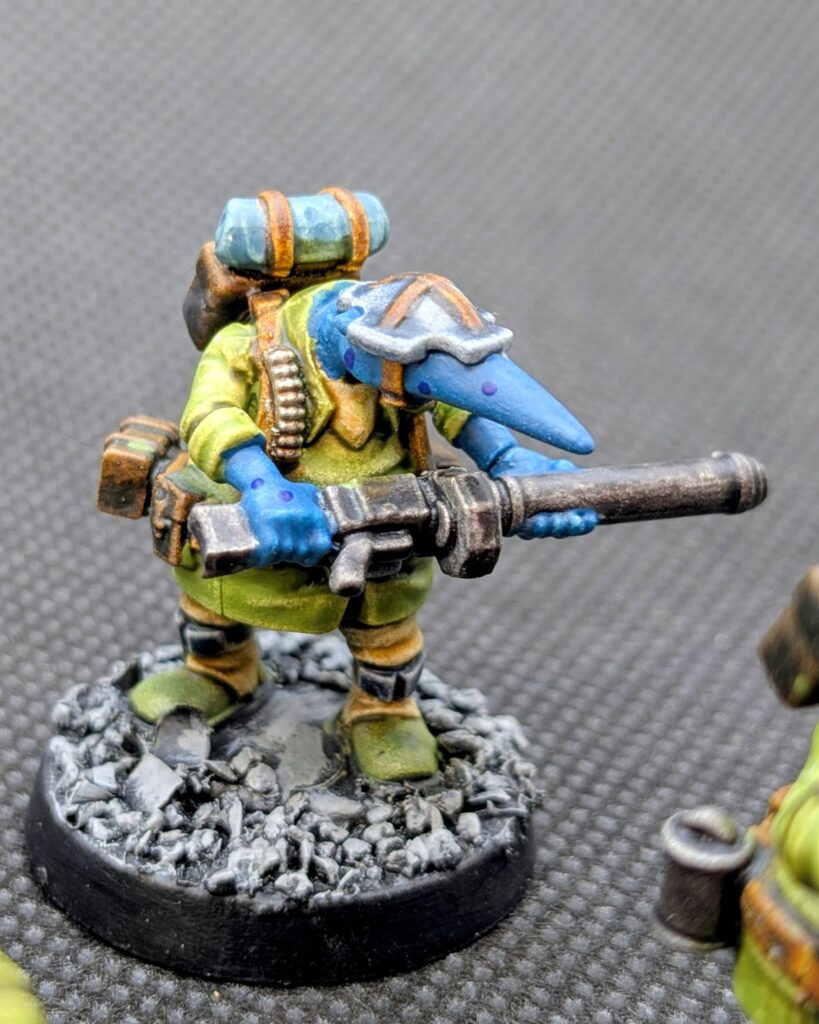
Quar are canonically colored brightly in yellows, blues, purples, etc., and as aforementioned have darker spots. Each of my bodies is simply a Contrast paint dotted with another about two shades darker. I used a bunch of pairs but the best ones are pictured here.
The few other details were also kept simple. Two notes are that the auspex screen was based with Stormhost Silver then coated in Spiritstone Red, a Citadel technical paint with a gel like consistency, giving it some depth and shimmer. The plasma coil is just Pylar Glacier with the top wiped away a bit. Both those bits were gloss coated after the models received a matte varnish overall. The chainsword body I’m particularly pleased with as it has a nice full body with a slight shine. It’s a base of Ironbreaker coated with Baal Red, a Contrast paint.
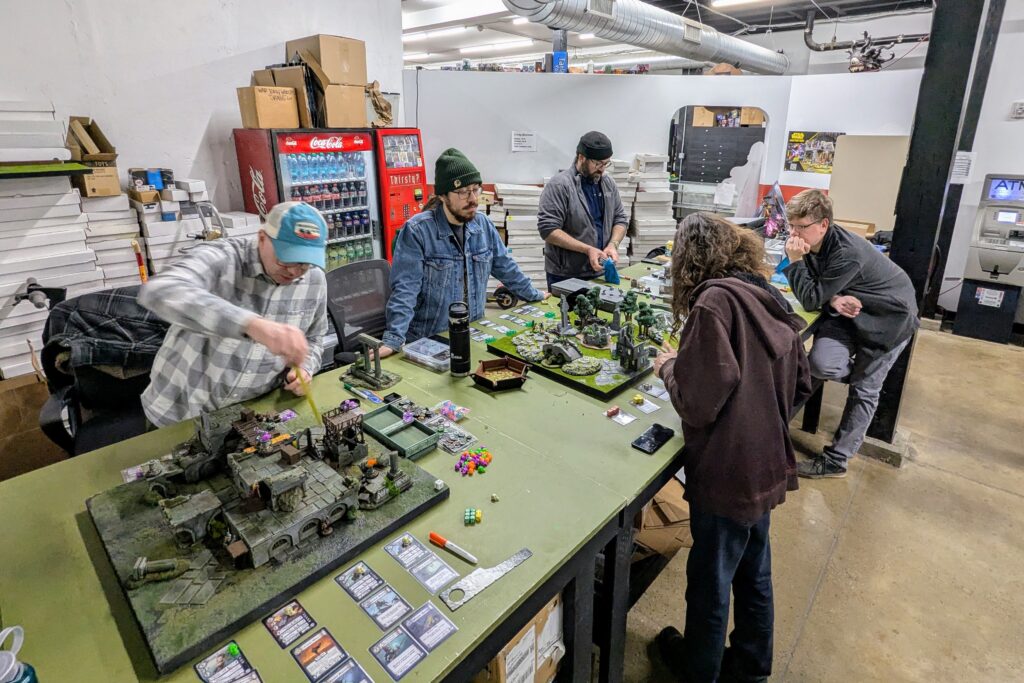
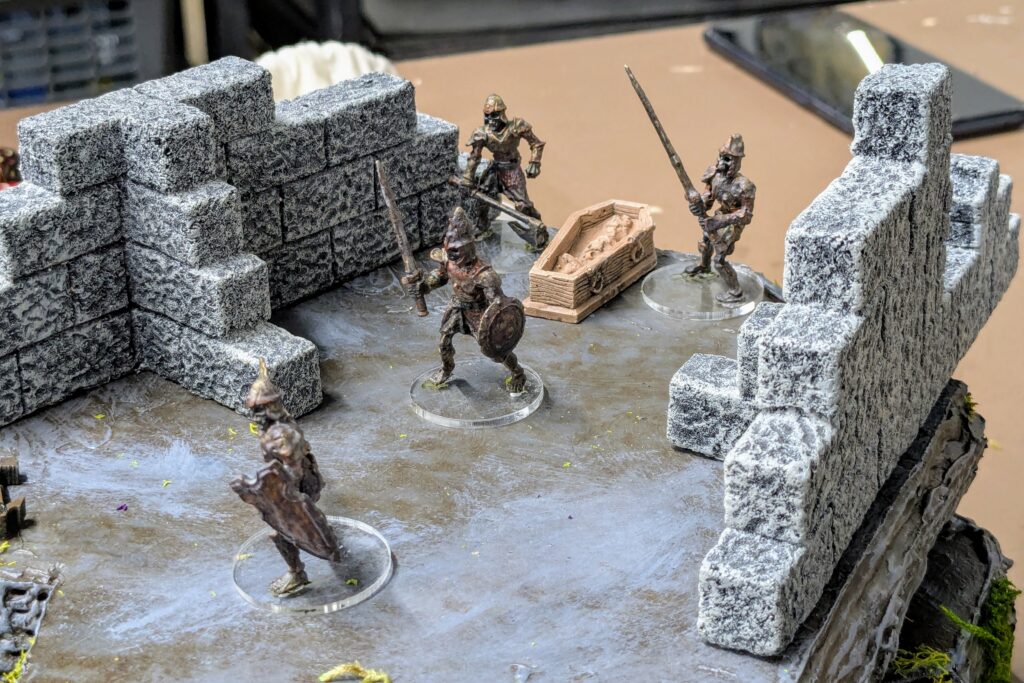
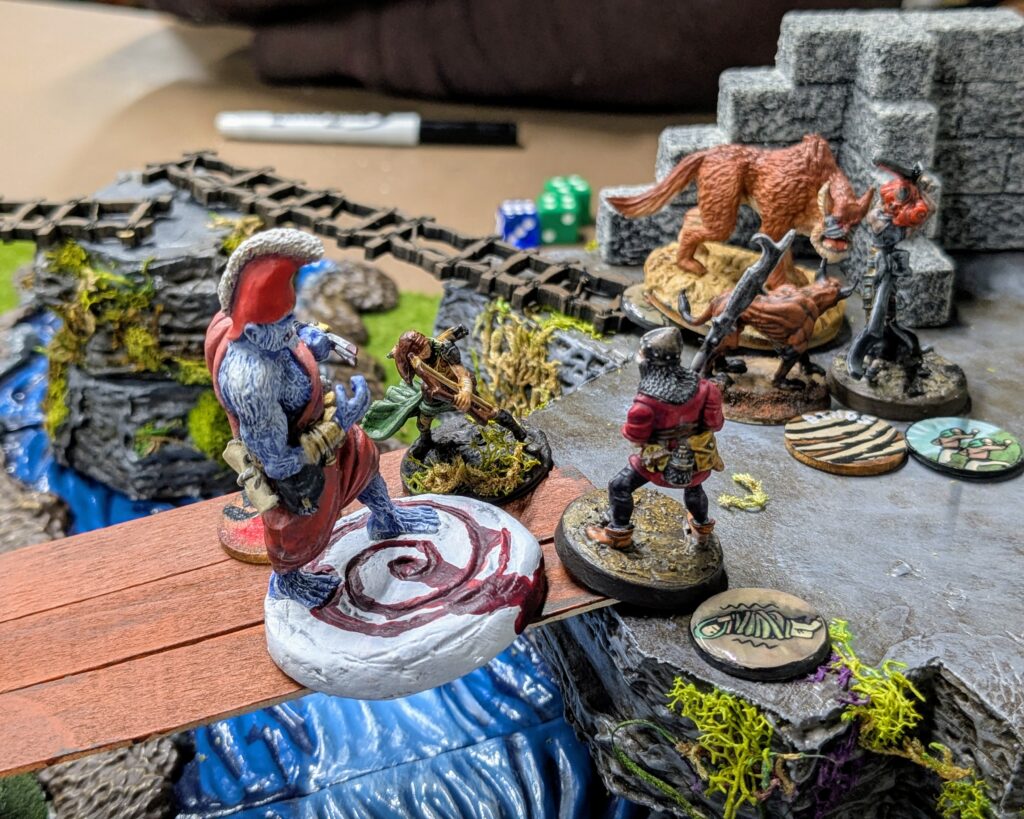
Fight!
Crusader Militia № 215 saw its first action right on schedule last night. They need to work on their climbing skills a bit but otherwise acquitted themselves well and retired happily afterward for celebratory tea & cupcakes.

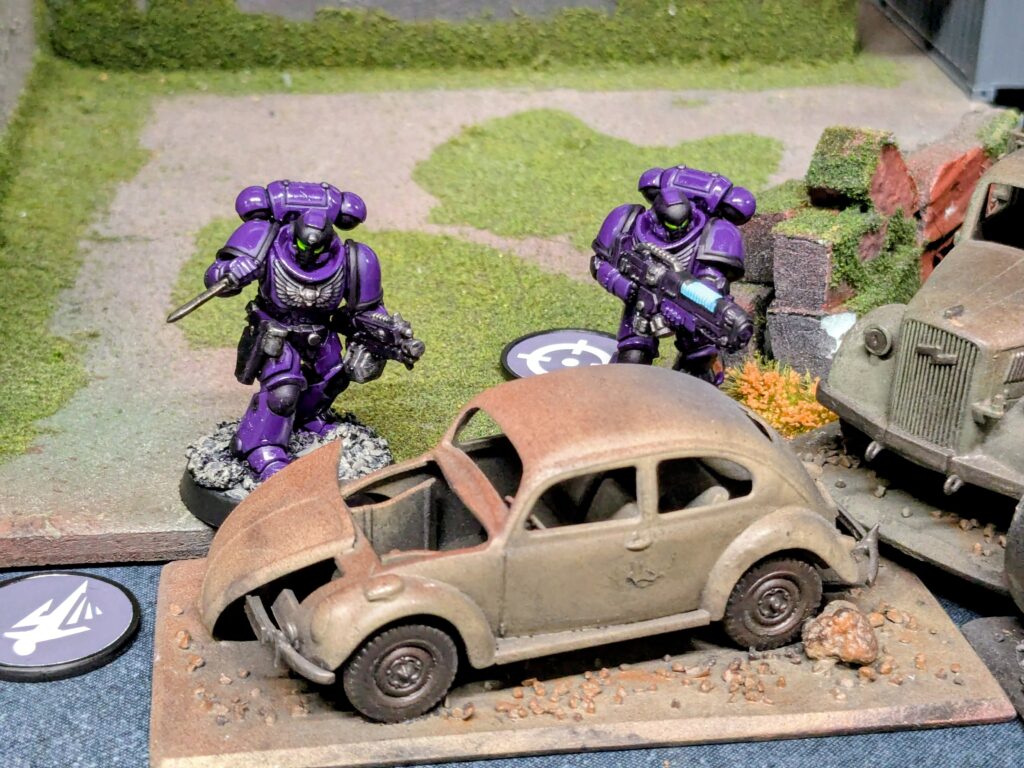
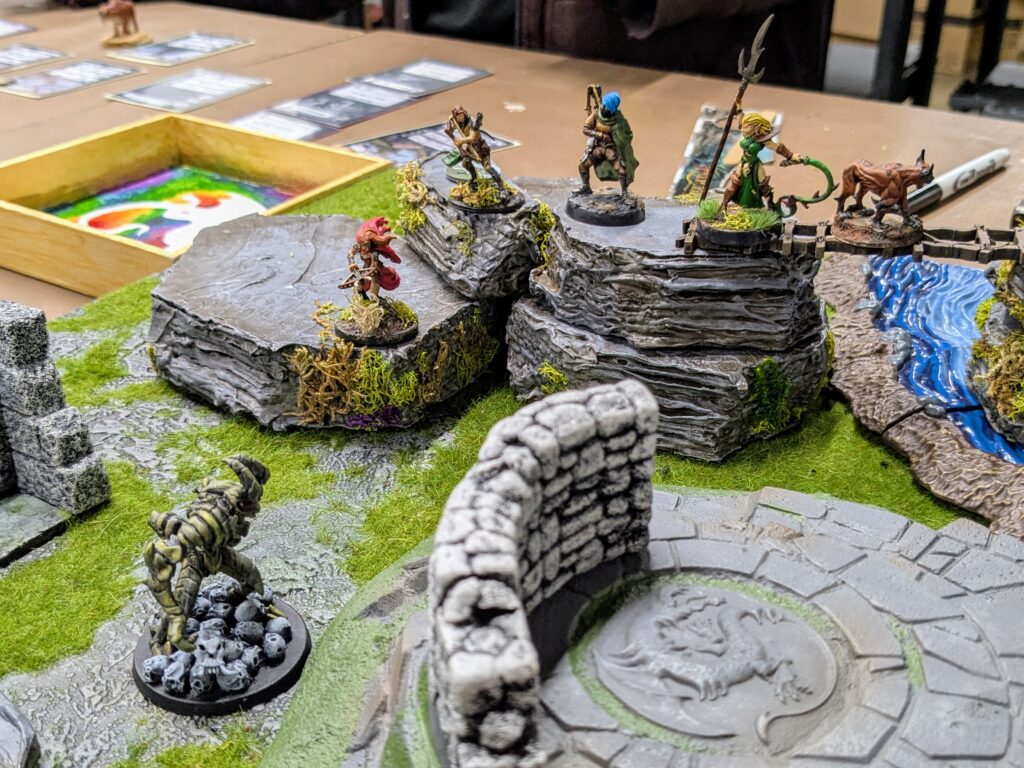
Sneaking along the ramparts.
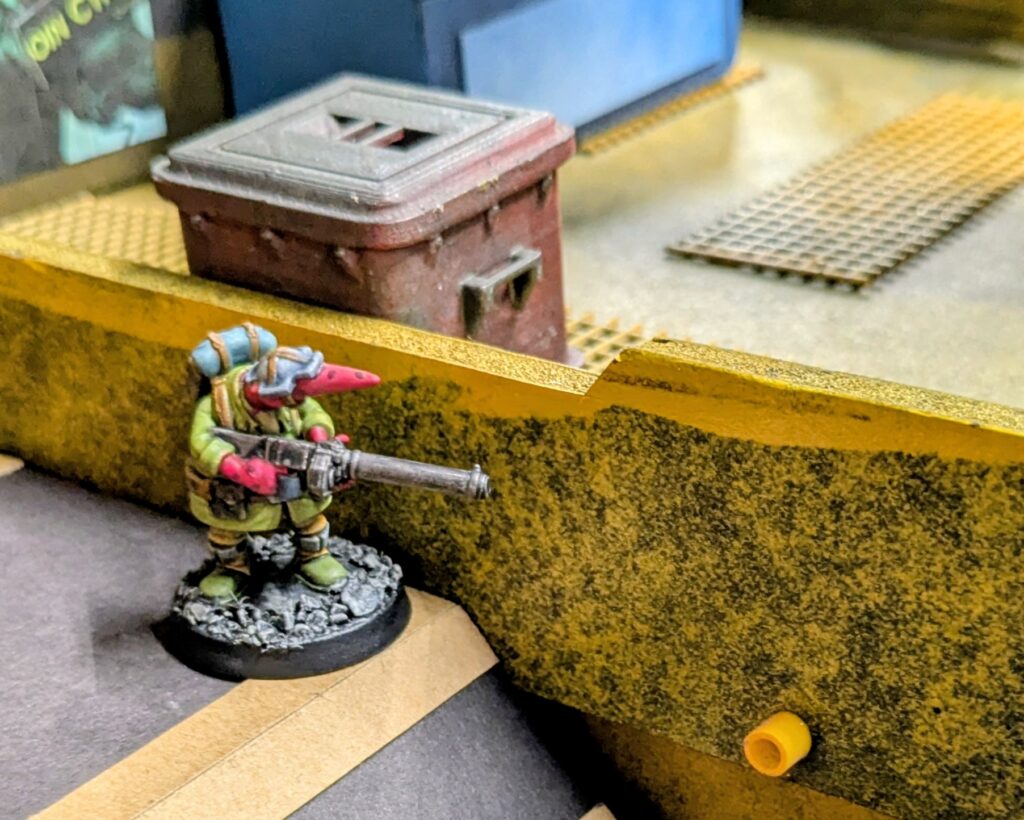
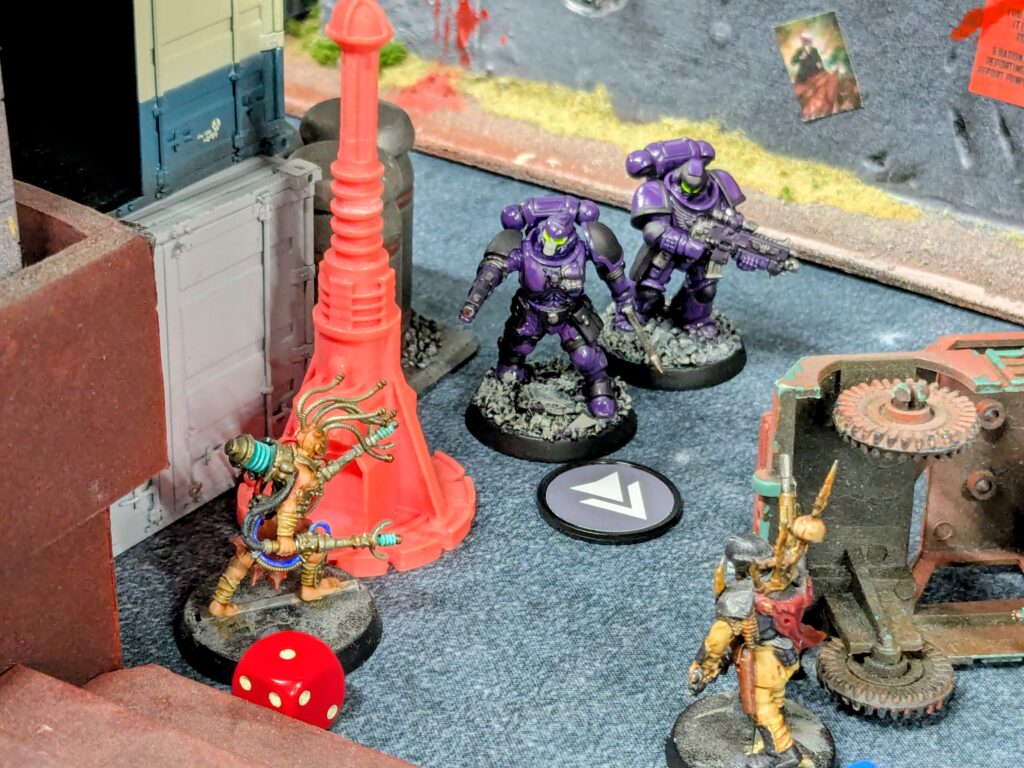
Overlooking a contested area.
As they say (well now they do): In the grim darkness of the far future, there is only QUAAAAAR!!!