Alliances of Solypsus 9

banner

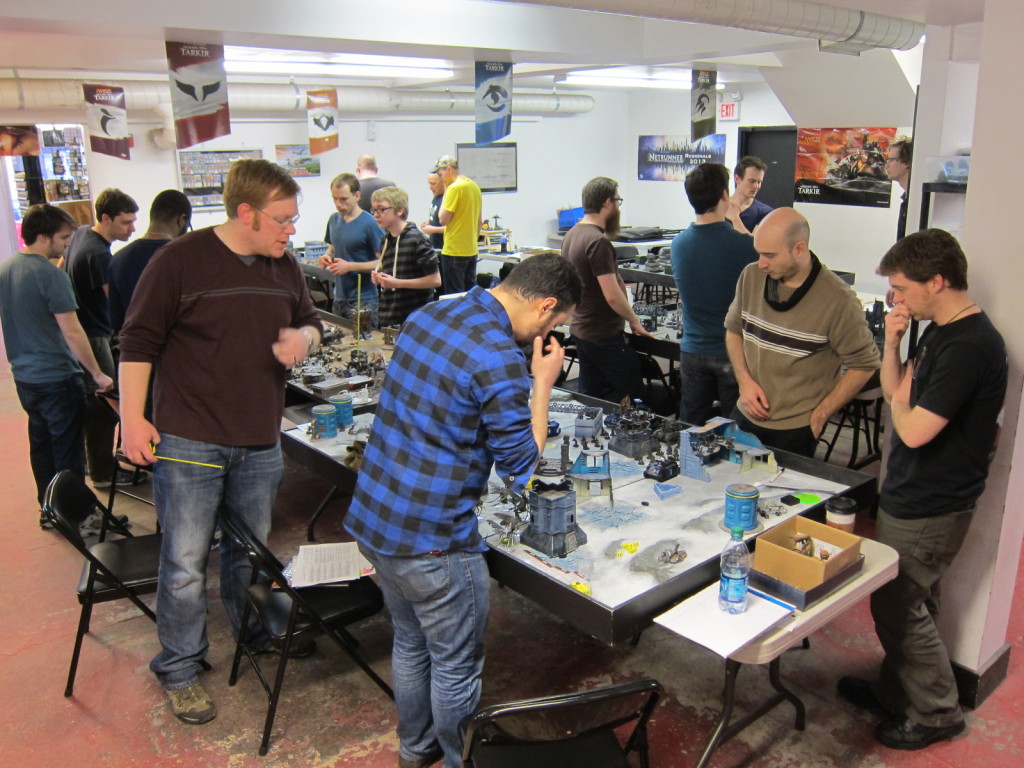
The third event of our Solypsus 9 campaign was yesterday. Eight teams comprising sixteen players total competed in the doubles format, each player fielding 1000 points. The Legions of Discord joined the battle, working to carve out a beachhead on the planet from the Spoiler Horde already invading and the Forces of Order defending:

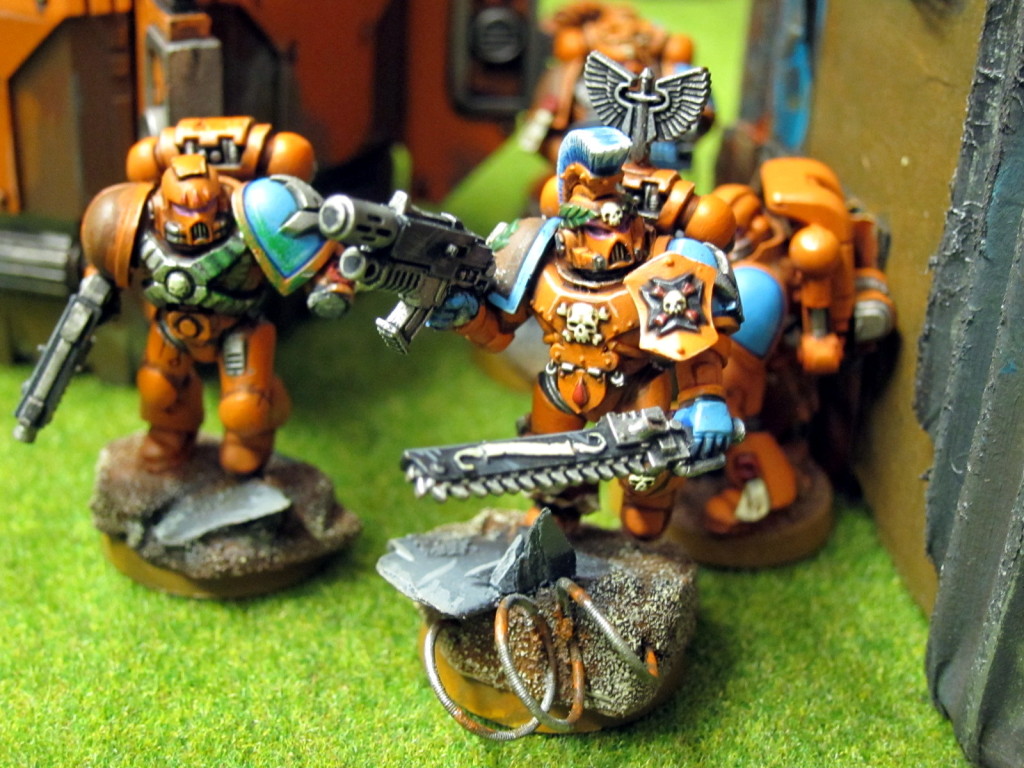
  • Forces of Order: White Scars, two contingents of Imperial Guard, Adepta Sororitas, Kingbreakers Space Marines, and some surprisingly friendly Orks
  • Legions of Discord: Four contingents of Chaos Daemons, Chaos Marines, and Dark Eldar
  • Spoiler Horde: Tyranids, Dark Eldar, and two contingents of Necrons

More photos are in the gallery. Full results and missions are on the event webpage. Core campaign mechanics are in the Solypsus 9 outline.

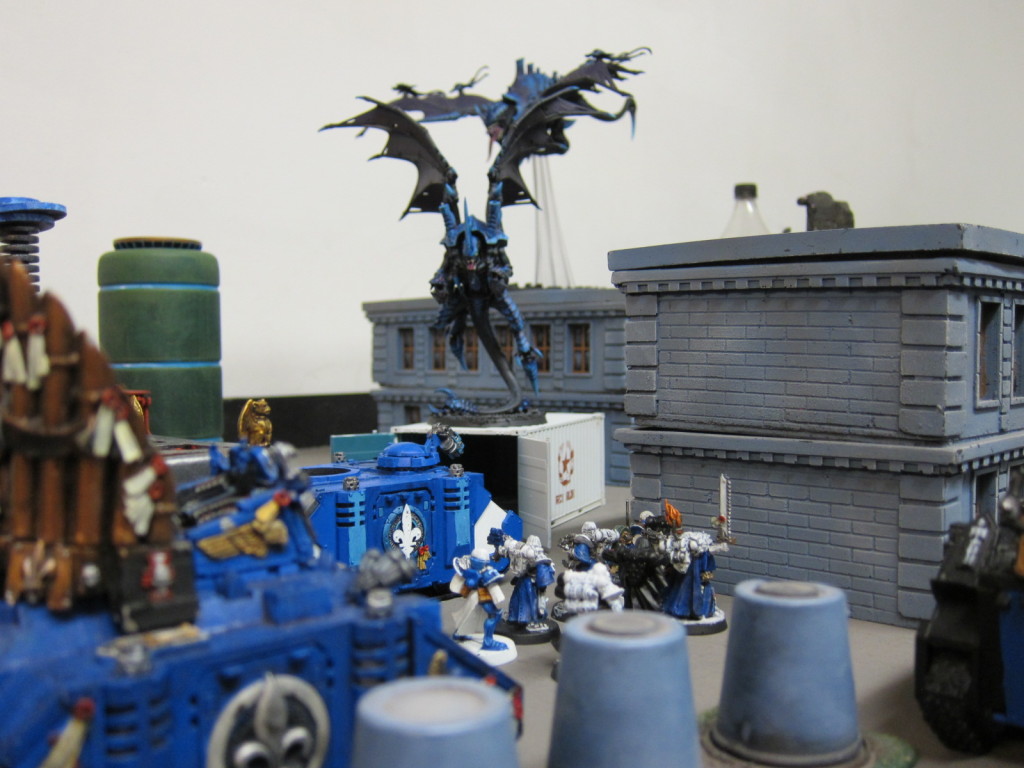
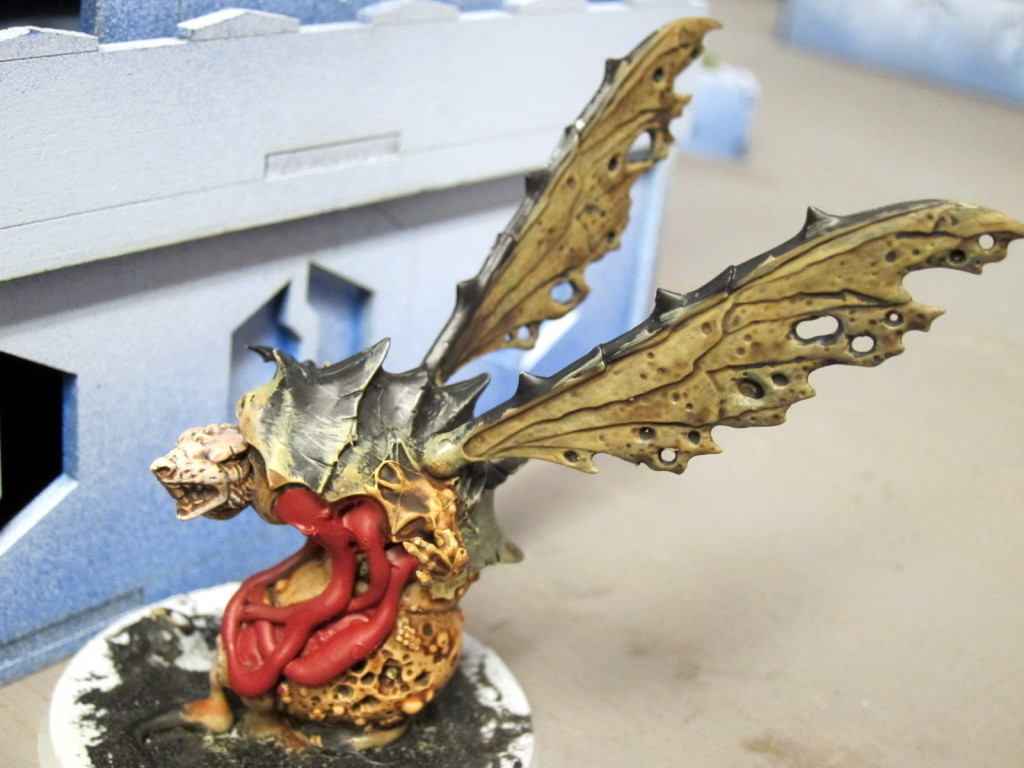
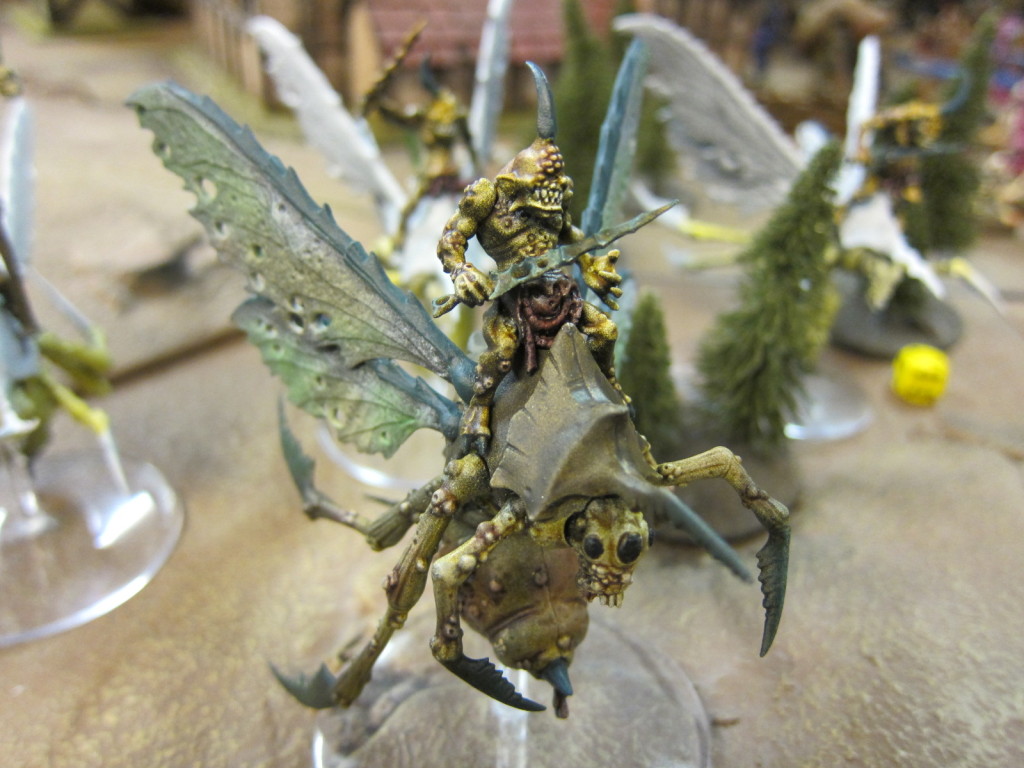
Chaos arrives, on the wings of plague!

Chaos arrives, on the wings of plague!

Solypsus 9

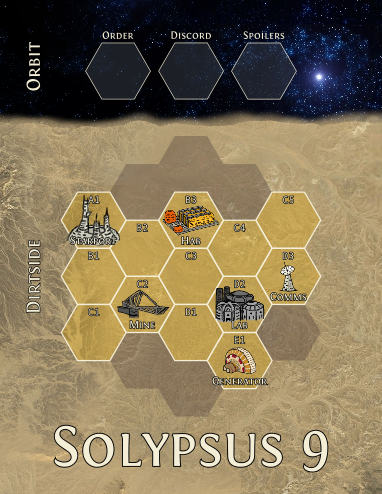
The last two months of fighting began with a Tyranid and Ork horde dropping on the forgotten Imperial outpost of Solypsus 9. The horde quickly overran the Hab Blocks, but Imperium armies successfully shored up the Mine, Lab, Comms Tower, and Starport. In subsequent fighting the Spoilers took the Laboratory but the displaced Order troops reestablished themselves at the Generator. No doubt delayed in The Warp, this month the Legions of Discord finally arrived, hungry for battle.

Battle

Fighting renewed focused around the Lab and Hab Blocks.

  • First Round: Dark Eldar and Necron Spoilers correctly anticipated the primary threat on the Laboratory, making a move against the center of the settlement just as Imperial Guard and Sororitas troops attacked from there. The Spoiler attack though was disrupted by Chaos Daemons and the remaining Necron and Tyranid defenders in the Lab overrun. Meanwhile, yet more Daemons also clawed out of The Warp into the heart of the Hab Blocks, overwhelming the defenders and terrorizing the populance.
  • Second Round: Chaos Daemons and Imperial Guard both moved on the Necrons and Tyranids regrouping on open ground, but the Order was soundly rebuffed even as the Spoilers were crushed. On the hunt for fresh victims to buff up their strength, Dark Eldar supported by Necrons also successfully raided the Hab Blocks.
  • Third Round: Fighting spilled out all over the settlement, with Daemons and Kingbreakers making attacks on open ground to scour fleeing troops. Dark Eldar were routed from the Hab Blocks in the closing moments by Chaos Marines working in tandem with other denizens of Commoragh to betray their kind.
Tyranid harry Sororitas forces.

Tyranid harry Sororitas forces.

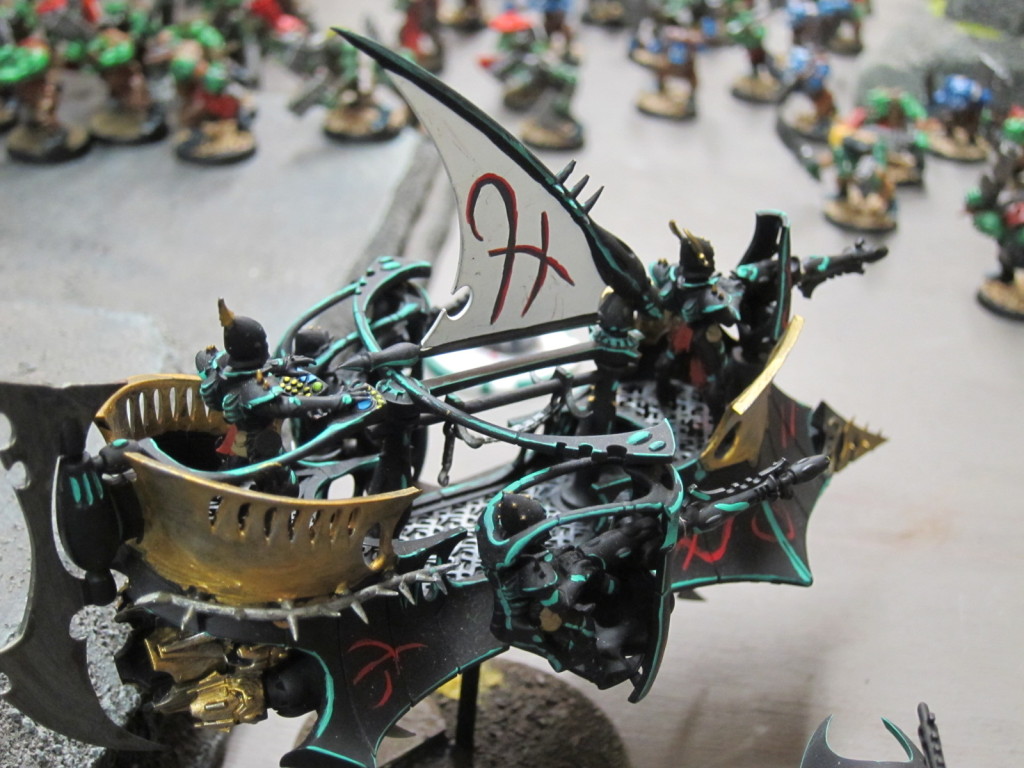
Dark Eldar swoop in from the skies.

Dark Eldar swoop in from the skies.

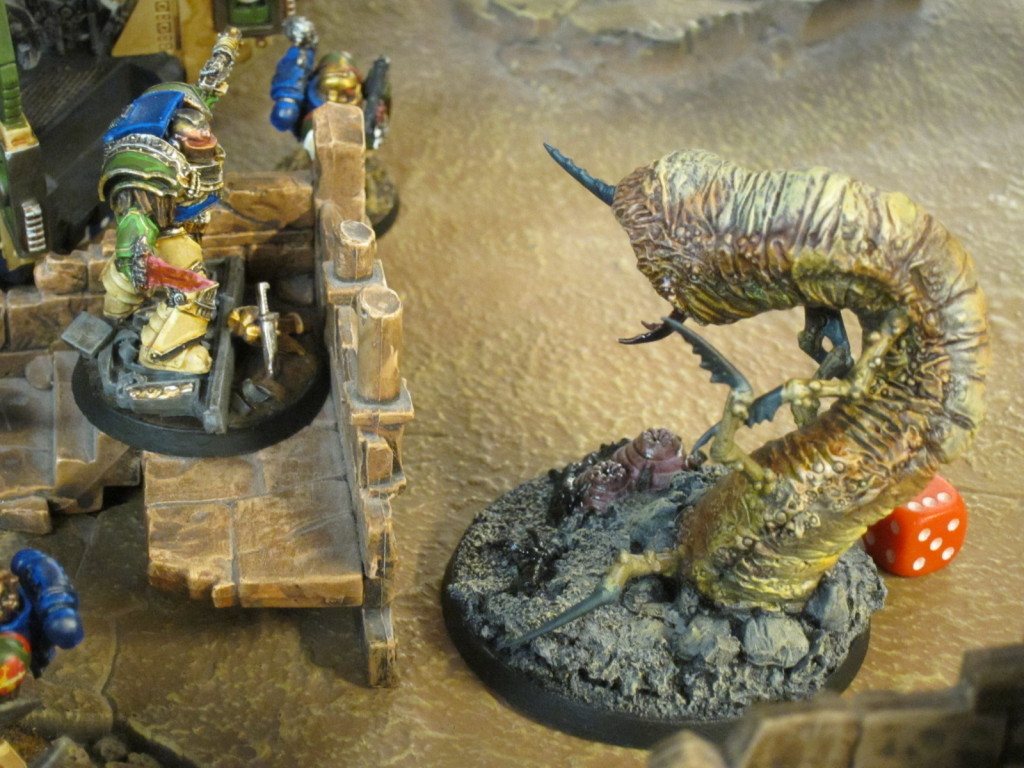
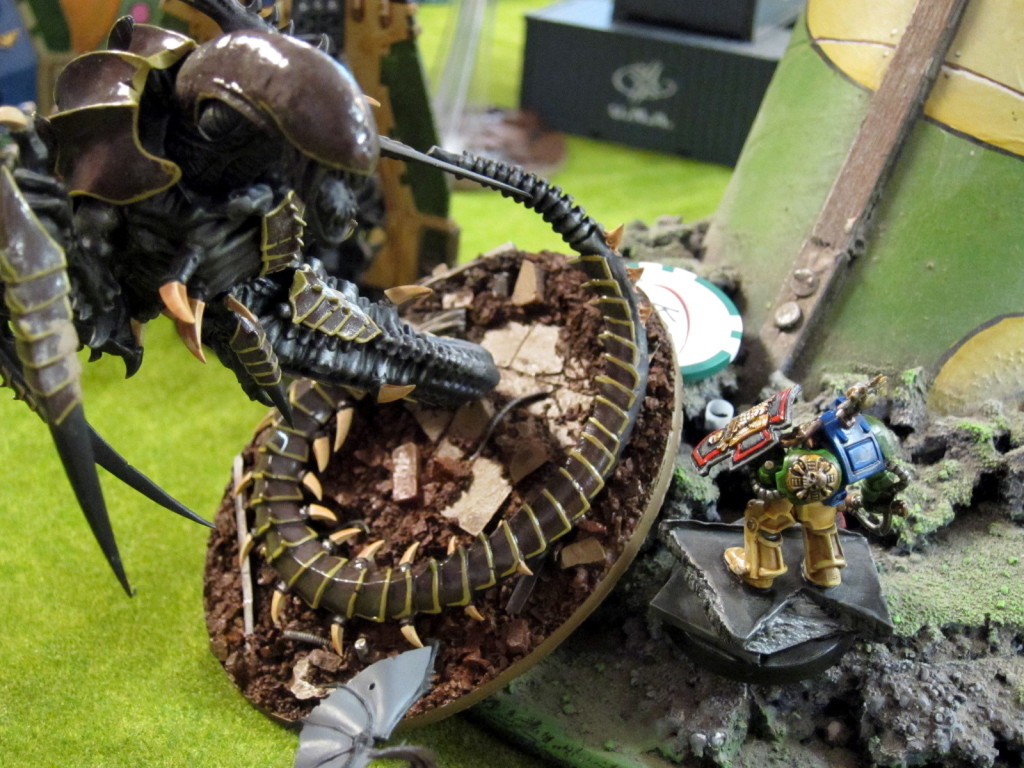
Captain Angholan faces off against the wormlord.

Captain Angholan faces off against the wormlord.

Outcome

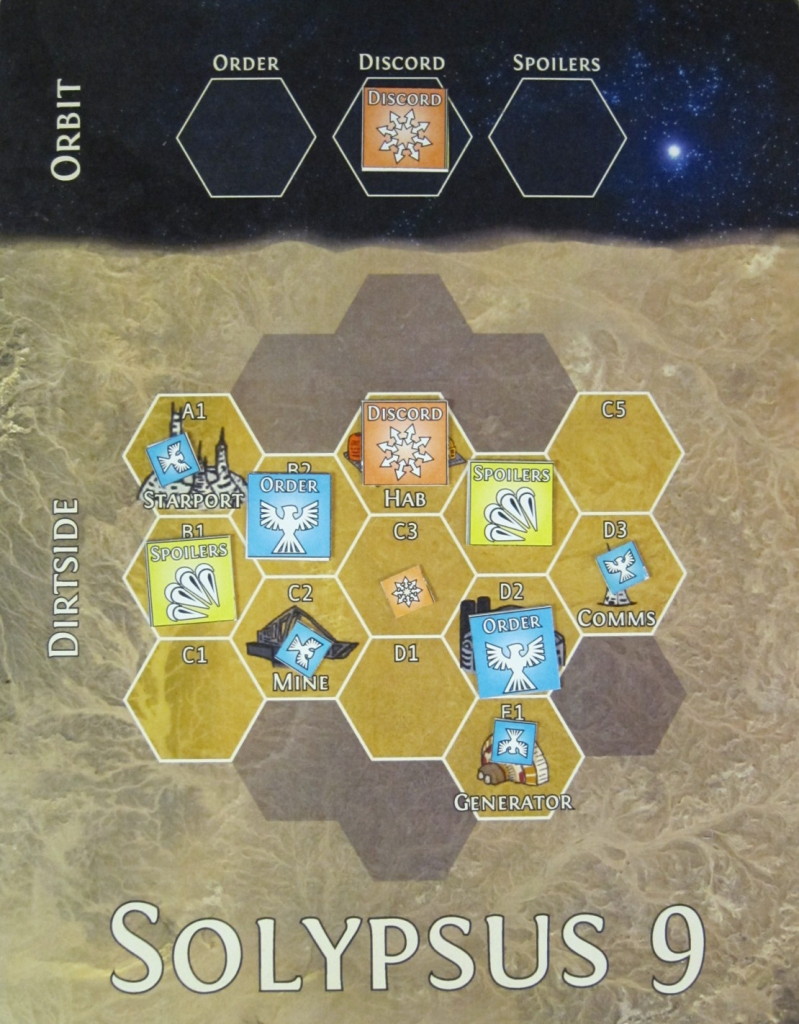
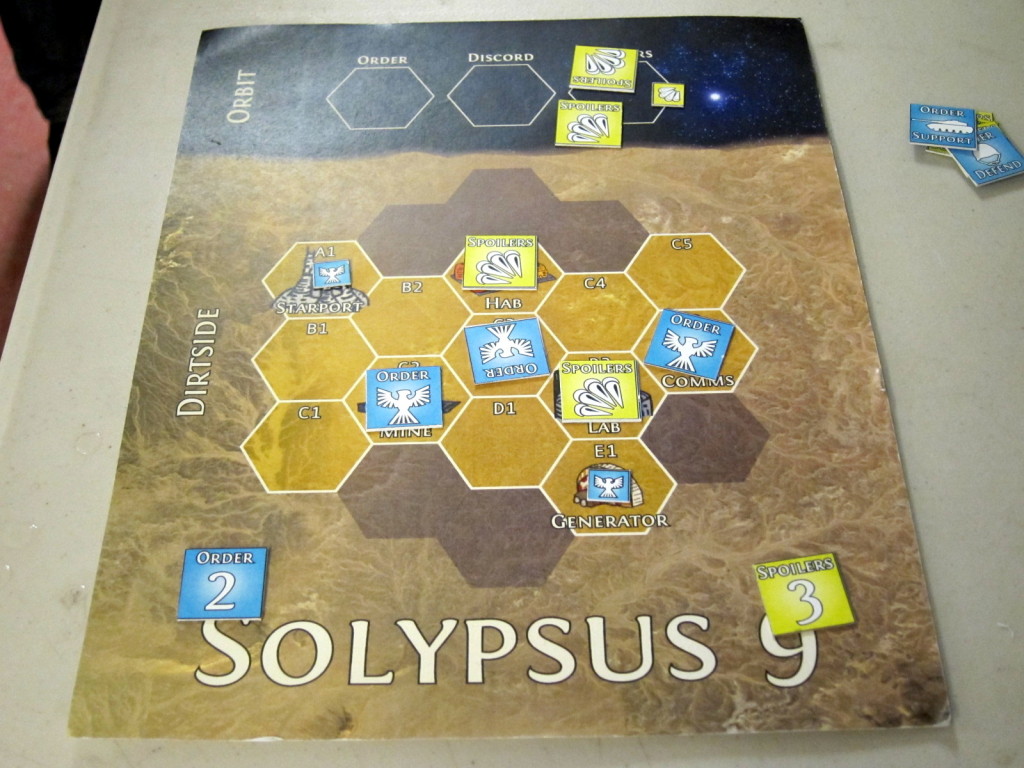
Discord handily won each of the three rounds, for a total of 114 points versus Order’s 76 and Spoilers’ 66. Spoilers were routed from all the installations, with Discord taking up control of the Hab Blocks while Order regained the Lab while retaining the Mine, Starport, Generator, and Comms Tower. With both Discord and Spoilers targeting the Hab for control in this session but Discord winning out, the latter gained 6 campaign points in its first appearance. By gaining the Lab order achieved its target and, combined with the other installations, earned 12 campaign points. That puts the current standings at:

  • Order: 5 + 5 + 12 = 22 campaign points; 123 + 179 + 76 = 378 victory points
  • Spoilers: 1 + 4 + 0 = 5 campaign points; 110 + 140 + 66 = 316 victory points
  • Discord: 6 campaign points; 114 victory points

It was very clear very early on that all of the games would be extremely pressed for time in the doubles format, so I left out some of the narrative campaign elements originally planned. They’ll just have to make an appearance in next month’s finale.

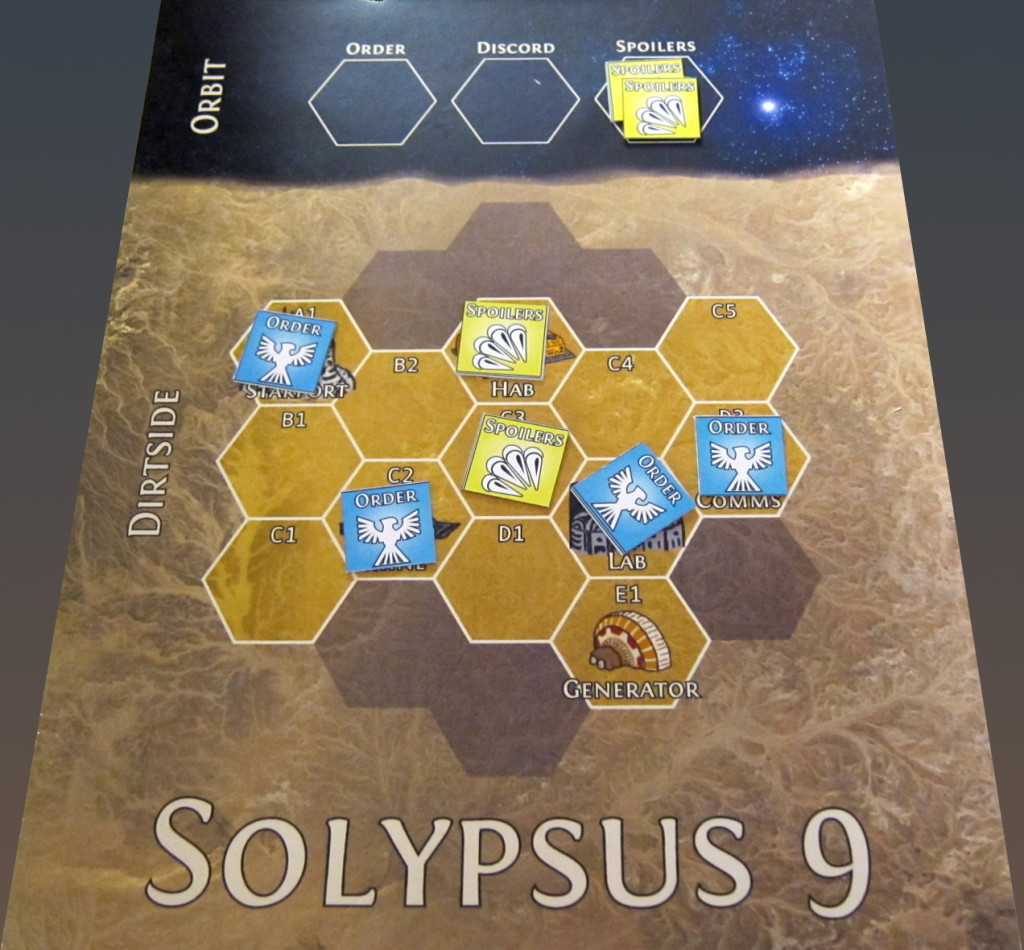
Final disposition of armies and territories after the third event.

Final disposition of armies and territories after the third event.

Kingbreakers

An Ork player did not have a partner, so I wound up playing two matches with him and then a third on my own after he left.

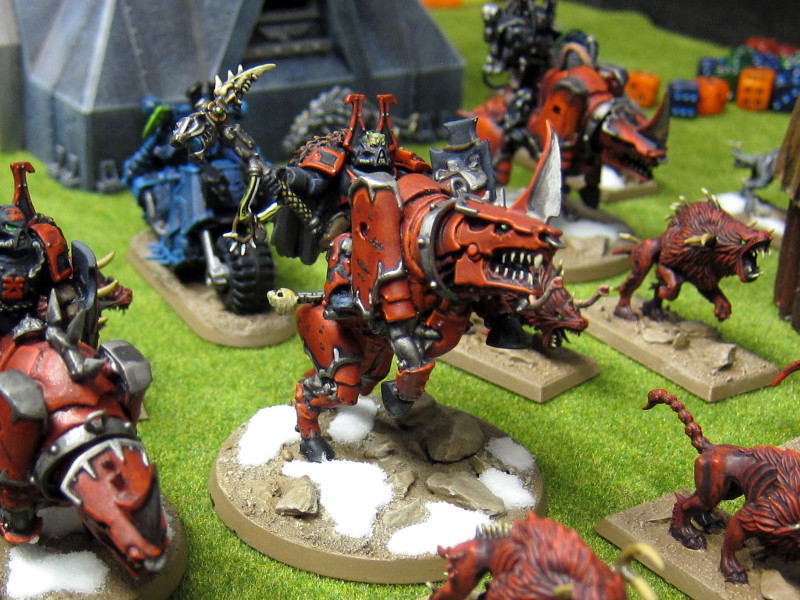
Round 1: The opening deployment setup split up each team, and already not having a ton of obvious synergy with the Ork Green Tide we basically wound up playing two separate games on opposite flanks of the table. Facing oncoming Chaos Marines, I managed to sacrifice a Rhino and some Marines to draw their beast pack into combat with my Terminators. Otherwise I was concerned that the beasts would literally just run around them, the Kingbreakers never being able to tag them before they could swoop around to my home objectives. Unfortunately though the Terminators all failed their 2+/3++ saves and were swept off the field en masse. That left nothing with a realistic chance of stopping the Juggernaut lord from sweeping through all of my rear infantry. The Orks meanwhile were largely contained by opposing Dark Eldar, and the whole thing went down to a loss.

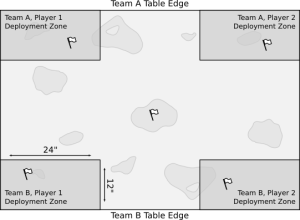
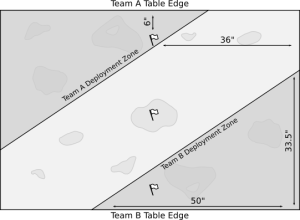
Split deployment zone setup for round 1.

Split deployment zone setup for round 1.

Round 2: Next, the opposing Dark Eldar + Necron team did a good job on mutual target priority and support in this Maelstrom battle. They wound up fighting as a real combined force, first primarily whittling away the Kingbreakers and then shifting focus to the Orks, still operating largely as distinct armies. In the early going though we established control over most of the board and leapt ahead. At one point we drew the Commander tactical objective (1 VP per objective) and were easily able to claim a whopping 5 of 6 objectives that turn. Several other objectives cards were also easy pickings. After that though the Kingbreakers were spread all over and picked apart, while the Ork blob couldn’t effectively claim new tactical objectives. The Spoilers slowly clawed their way back from a substantial deficit and eventually won by a few points.

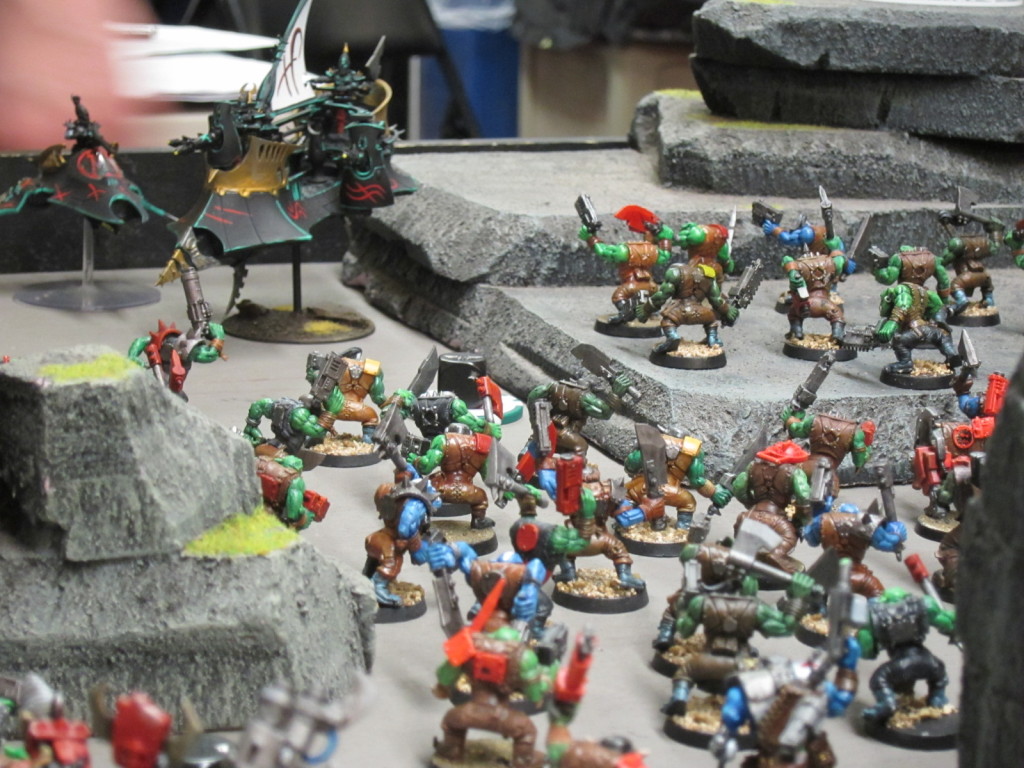
The mob swarms through the rocks.

The mob swarms through the rocks.

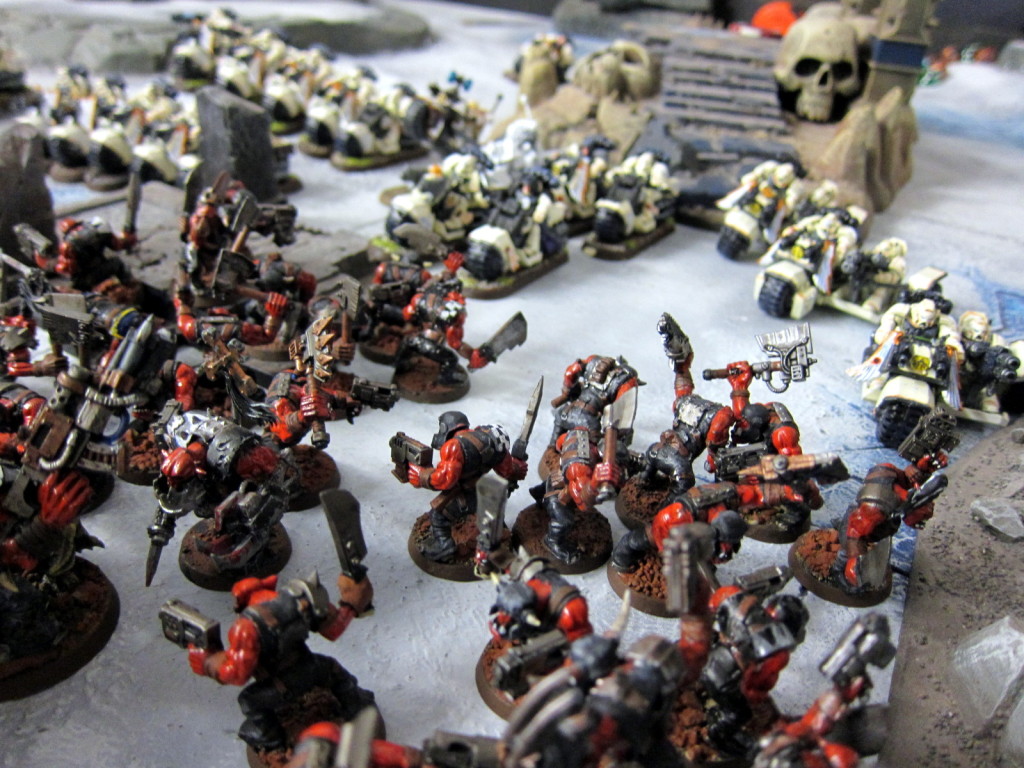
In the first two rounds we were a bit disadvantaged as it just wasn’t clear how my Marines could work well with the Ork mob. With over 100 Orks crammed into 1000 points, they simply filled an entire sector of the board. Mixing the armies together evenly or putting the mob forward would have limited the more mobile Kingbreakers from moving about or engaging in longer range shooting. Conversely, putting the mob on rear defense would have forced the Kingbreakers’ defensive units into an awkward role. So, we wound up essentially splitting the board into two flanks.

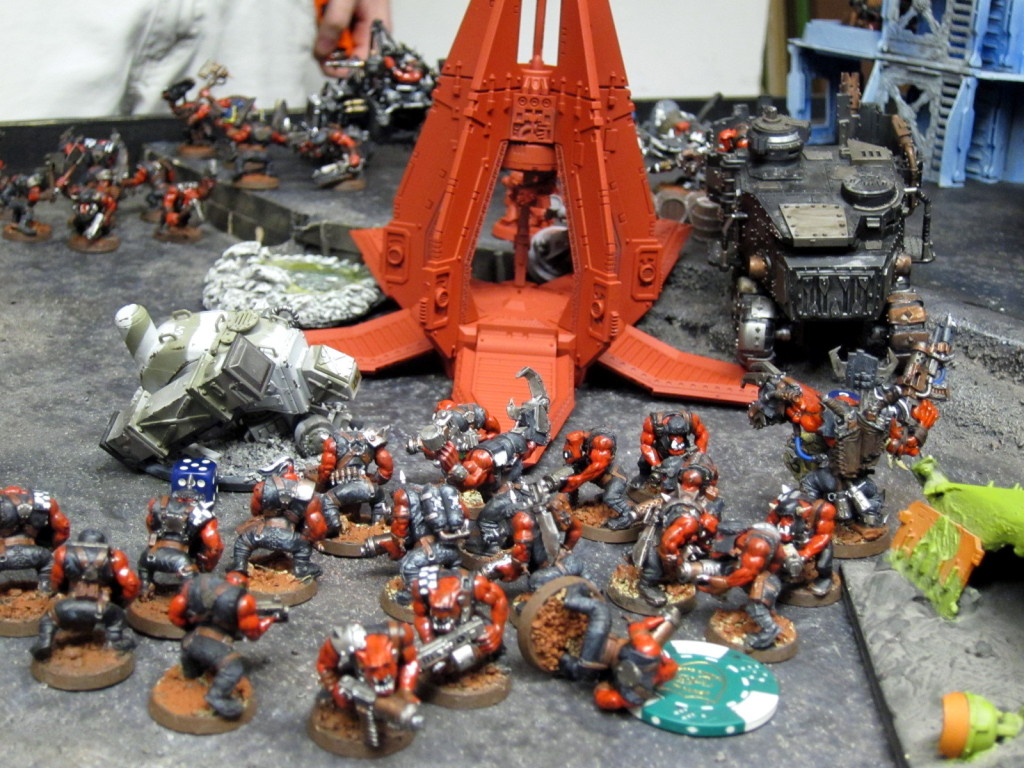
That would be fine as such a mass of Orks could hold down an entire side, but they were grouped up into a Green Tide formation, making the vast majority of the army a single unit. That made them near impossible to dislodge, but rendered that huge points percentage only able to hold a single objective. Combined with being on foot, the blob just wasn’t able to effectively hold down all the objectives on its side, particularly in the more dynamic Maelstrom mission. We spent as much time trying to figure out how to move the other units of Gretchin and so forth through our own troops to actually claim objectives as we did working out offensive tactics.

Overall then, we had an awkward mix. Kingbreakers could take objectives easily, but needed support from a longer lasting force. Orks were longer lasting, but couldn’t really move to support or take objectives themselves.

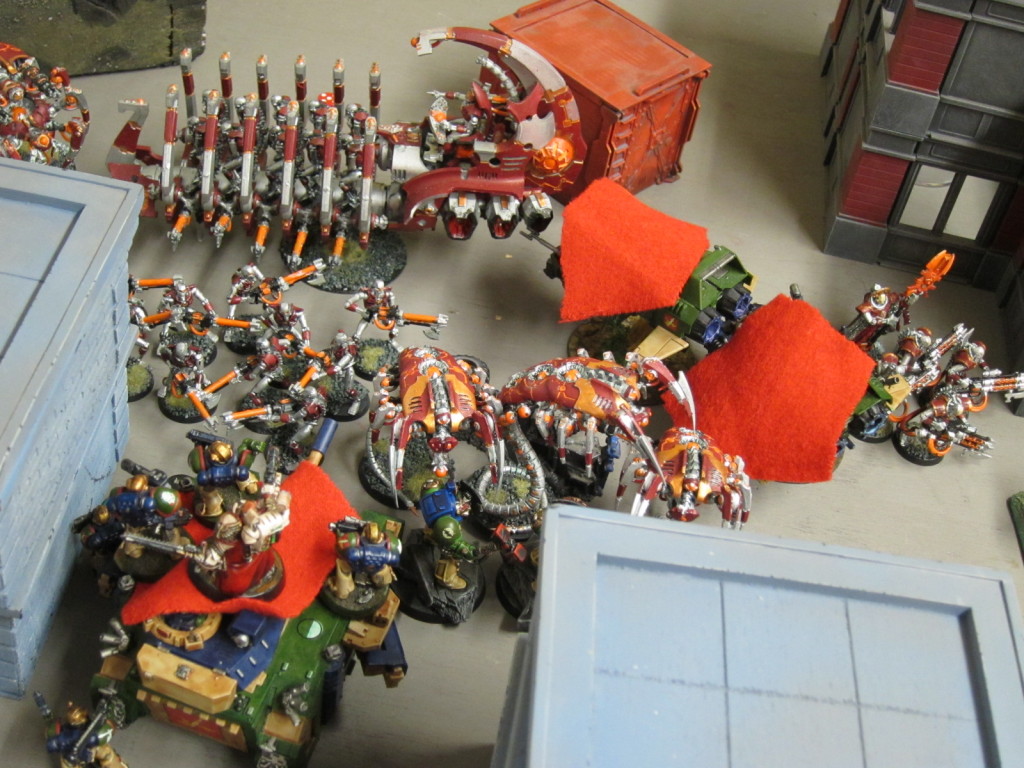
Necrons and Kingbreakers pile in.

Necrons and Kingbreakers pile in.

Round 3: The final round was an old school matchup of 2000 points of Kingbreakers versus Chaos Daemons. I gave myself little odds of winning on the primary objective of annihilation, so from the start I focused on the secondary objective of holding markers. In addition, given that every match had been pressed on time and the opposing Chaos army particularly slow-playing with all its spells, Warp Storms, and other trickery, I strongly assumed the game would make it at most to Turn 4. This was born out when we only made it through Turn 3 and my army had taken heavy losses but few units been broken, while also claiming two of the markers and Linebreaker as well as First Blood. That eked out a win and nothing substantial would have changed in a turn, but a full five or six turn game would have swung hard the other way as units were wiped and markers forfeited.

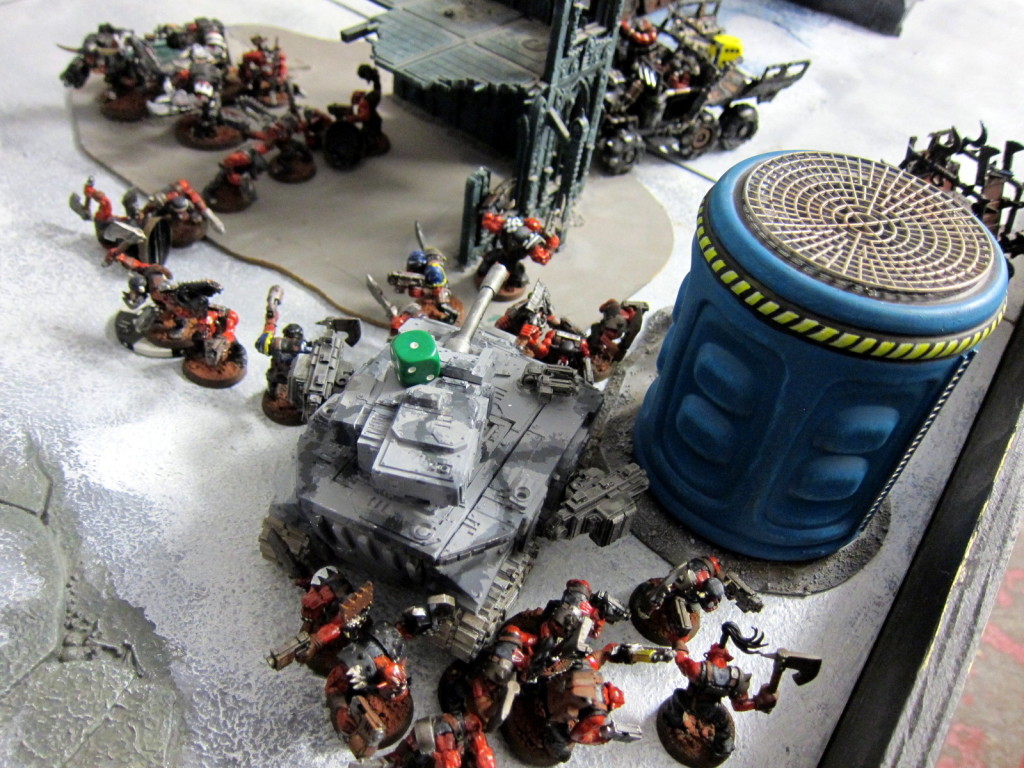
Key here was that I had exactly what I needed to quickly grab the three secondary objectives and start off having to be dislodged, rather than fighting my way in: A bunker to put on home base, tanks to roll onto the midfield, and Drop Pods to go after the opposing marker. In general Marines can also just take a fair bit of abuse before they crumple. Terminators did a good job tying up several incoming units long enough that they had no chance to slaughter my squishier rear units. Captain Angholan (Vulkan) , Master Sauvon (Harath Shen), and Squad Scolirus similarly hung tough to draw out combat with both a Greater Daemon and a Soulgrinder in order to claim the far objective. Meanwhile, the other units did their best to not die and to make what contributions they could, like Sternguard in a single volley taking down a Nurgle Beast skulking about on the far flanks, for First Blood.

Placement of the three secondary markers.

Placement of the three secondary markers.

Finale

Next month will be the conclusion of our Solypsus 9 campaign. We’ll be running a 1000 -> 1500 -> 1850 point escalation format, with each list having to contain the previous list, as the armies and alliances hurtle into the endgame for control of the planet. Don’t miss out!

In the second round.

In the second round.

Shift on Solypsus 9

bannerYesterday our Solypsus 9 campaign continued. Tyranids settled down to munch on biomass, Orks brawled with anybody they could, and some Necrons decided to help out the Space Marines and Guard, while Chaos finally descended in force. Ten players made it through the snowy streets:

  • Forces of Order: Swords of Dorn+Legion of the Damned, fascist Guardsmen, White Scars, Space Marines, and Necrons
  • Spoiler Horde: The Flying Swarm, Ork Mob, Death Guard, Traitor Marines, Rotted Daemons

More photos are in the gallery. Full results and missions are on the event webpage. Core campaign mechanics are in the Solypsus 9 outline.

Chaos Marines ride to the assault on Solypsus 9!

Chaos Marines ride to the assault on Solypsus 9!

Mechanics

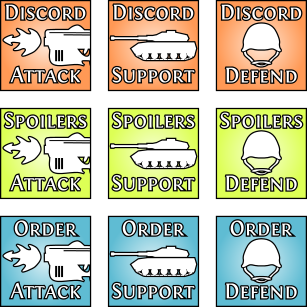
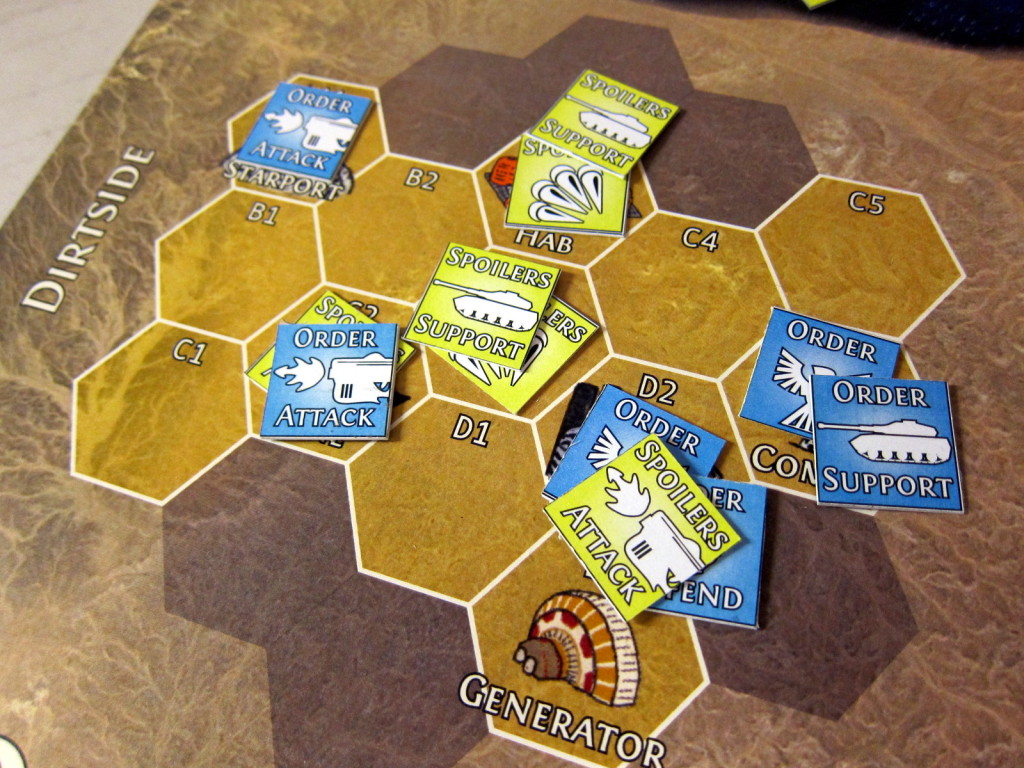
The core of the campaign is based around a map of the sole settlement on Solypsus 9. The alliances are working to control one of the major installations on the planet—the Laboratory, Hab Blocks, or Mine—as well as the supporting sites—the Starport, Generator, or Comms Tower. Each round the alliances simultaneously place secret orders on their active armies. Those orders are then revealed and the alliances alternate assigning a player and a target to a chosen order, with the other alliance(s) responding with a defending player. Cumulative mission results then determine the outcome and control of each territory. Full details are in the draft writeup. The system continues to seem to be working really well, especially as more players get a better handle on it.

commands

map

Drop on Solypsus 9

In last month’s fighting, a massive Tyranid horde descended on Solypsus 9 with new Orkoid hybrid morphs. Caught off guard, the Imperium was forced to drop assault their own planet to shore up defenses as fast as possible. Lead by the Swords of Dorn, they successfully established positions in the Laboratory, Mine, Comms Tower, and Starport. The invaders though occupied the Hab Blocks and began feasting.

Battle

This stage of the campaign started off focused on the mine, and then swung onto the Laboratory.

  • Round 1: The Tyranid settled down in the Hab Blocks to gorge on biomass after their long journey through the stars, while the Orks mob continued to roll throughout the settlement in their jalopy battlewagons. Finally awoken to the major conflict on Solypsus 9, Chaos Daemons and traitors descended from orbit against the Imperial forces. Death Guard and their cultists attacked the Astra Militarum guarding the Mine and won the tactical battle but were rebuffed by supporting forces. Traitor Marines dropped on the undefended Generator and were surprised but not deterred to find Necrons phasing onto Solypsus 9. Rotted daemons meanwhile were intercepted by a collection of Space Marines. Swords of Dorn engaged the Ork Mob at the center of the colony but could not overcome their sheer mass. Finally sated, a Tyranid Harridan led a sortie of flying beasts that cut through the White Scars defenders and entered the Laboratory complex.
  • Round 2: The Swords of Dorn rushed to retake the Laboratory, crushing a Chaos beast pack on the way. Orks, Death Guard, and Tyranid made a combined assault on the Mine, with Space Marines, Imperial Guard, and White Scars defenders suffering a major defeat. Necrons meanwhile successfully took the central pathway of the settlement from the rotted daemons.
  • Round 3: Death Guard could not repel an onslaught on the Generator from the Swords of Dorn. Traitor Marines again assaulted the Laboratory and almost lost to White Scars defenders, but the Ork Mob arrived hot on the heels of Necrons moving on the facility and rolled over the entire complex. Daemons guarding the Mine were dispelled by the exhortations of Astra Militarum Priests and Psykers even as their Space Marines outriders were mulched by the Tyranid swarm.
Swords of Dorn advance through the slum shacks surrounding the Hab Blocks.

Swords of Dorn advance through the slum shacks surrounding the Hab Blocks.

Orks and White Scars engage in a frenzy of speed and close combat.

Orks and White Scars engage in a frenzy of speed and close combat.

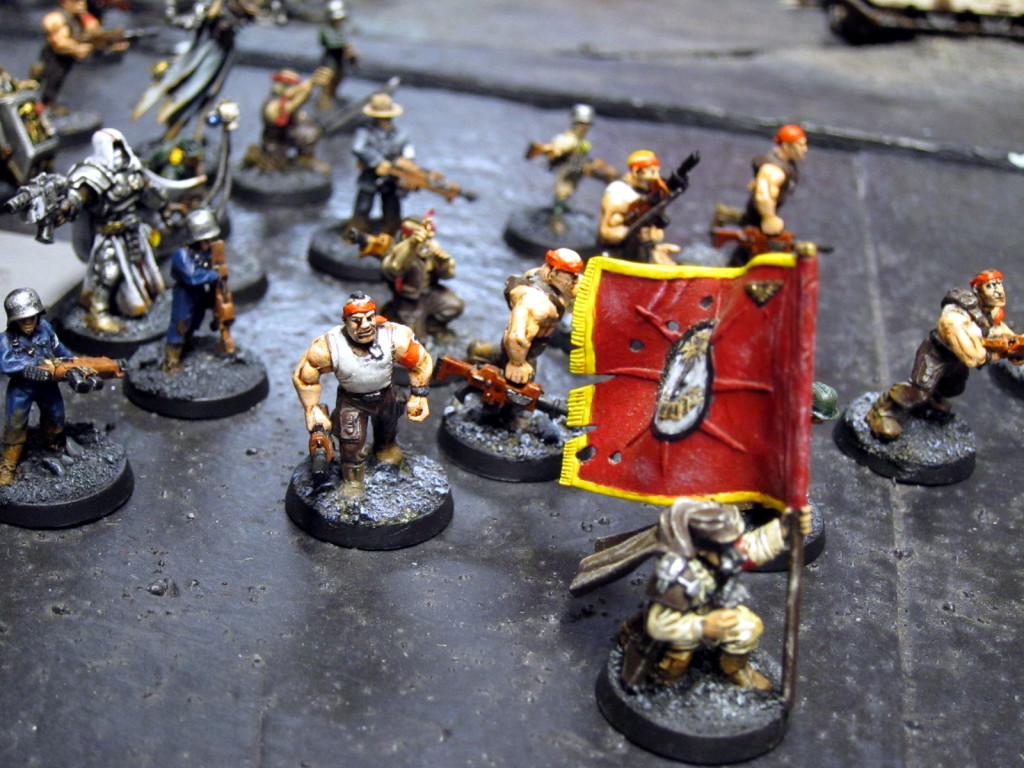
Imperial Guard roustabouts take up arms under the banner of psykers and priests.

Imperial Guard roustabouts take up arms under the banner of psykers and priests.

Outcome

Although the individual rounds were closely fought, Order took the day with 179 victory points to 140 largely due to successfully claiming a number of covert missions in the second round. Spoilers advanced their position slightly, maintaining control of the Hab Blocks and gaining the Laboratory. Order meanwhile entrenched their position on each of the other installations. Neither side though claimed their chosen primary objective for the day, leaving Order slightly ahead on campaign points earned, 5 to 4.

Again, more photos are in the gallery, and full results on the event webpage.

Final campaign positioning at the end of the second event.

Final campaign positioning at the end of the second event.

Design Notes

One of the challenges in the campaign structure is that we don’t have a fixed group size or composition. The underlying mechanics seem to support this well, but some narrative sleight-of-hand is required. In this case, a bunch of last month’s Spoilers couldn’t make it but some new Chaos players did. The number of players though came just short of warranting a third faction. Absent that, I erred toward simplicity and narrative continuity and kept the factions as Order and Spoilers.

The highly modified and fairly original Maelstrom mission seemed to work well. I did though notice a preference to use the standard cards to draw and track objective numbers, rather than marking our sheet, then consulting our sheet to read the actual text in play. That’s not a really problem, but clearly people prefer the physicality of cards over checkboxes. There are logistical hassles though to rolling our own cards that I’m not sure how to work around, and I can’t see just switching to using the standard deck (more on that its many flaws in a later post).

A rotted Plague Drone roams the battlefield.

A rotted Plague Drone roams the battlefield.

On a similar logistical note, almost every table played the last round decidedly slow. I would guess some part of it was the extra complexity of the Maelstrom bookkeeping, though everybody I polled seemed to think it was mostly just being tired. In general I continue to think 1850 points is just a touch high for 2.5 hours for a group mostly on the more casual end of the spectrum.

For this event I started introducing a few narrative aspects to the actual gameplay itself. One of the rounds included Apparations, little entities scattering around scaring everybody. I forgot though one of my cardinal rules of game design for 40k: If a narrative mechanic doesn’t clearly benefit somebody or directly determine the game outcome, most people will forget or purposefully ignore it. I do exactly the same thing with Mysterious Objectives, for example. To avoid unbalancing games I gave people the option to simply ignore this—Patrick, with his low-leadership Orks, in particular looked terrified. Several did, but the rest mostly forgot about them anyway. Reinforcing that design lemma though, people continue to be pretty excited about the covert missions giving to the trailing alliance. So, for next month the narrative aspects will be reworked into the covert missions, which will also provide some more inspiration and direction for the latter.

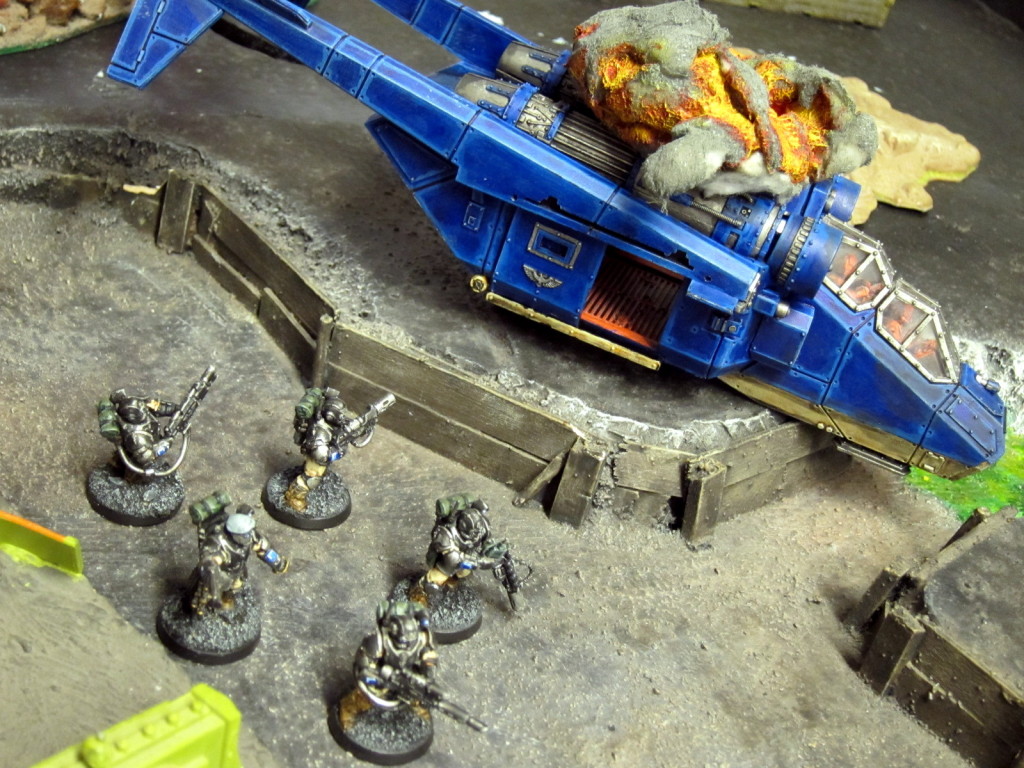
Stormtroopers search the burning crash site of their downed flyer for fellow survivors.

Stormtroopers search the burning crash site of their downed flyer for fellow survivors.

Onward!

Next month is going to be a doubles format, players competing in teams of two with each fielding 1000 points. Doubles are by far the best attended 40k events at Redcap’s, and attendance has been a bit higher for our events recently than the previous trend, so I’m hopeful for really good turnout. Should be a blast!

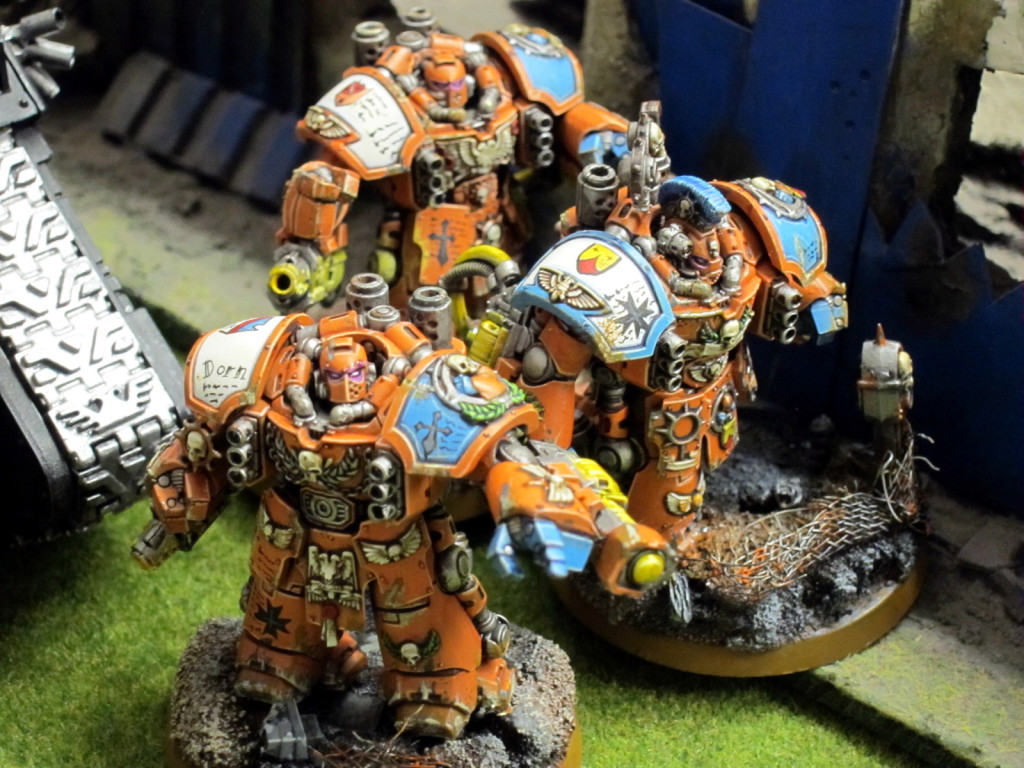
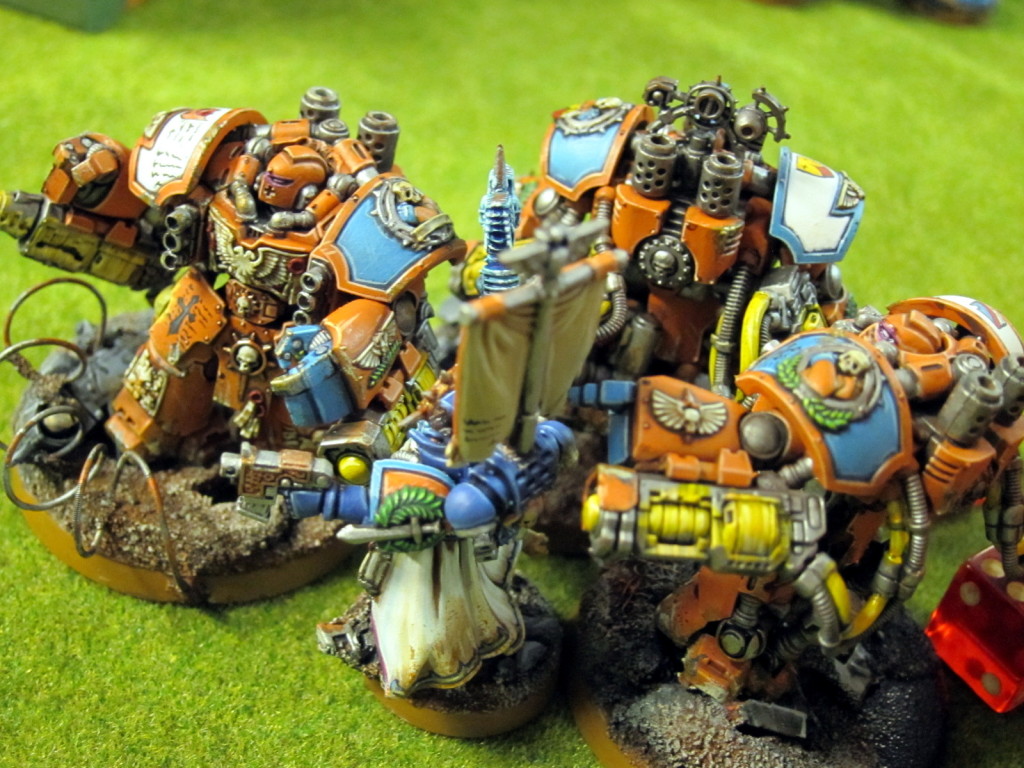
The Swords of Dorn stand firm at the center of Order's campaign to defend Solypsus 9.

The Swords of Dorn stand firm at the center of Order’s campaign to defend Solypsus 9.

Drop on Solypsus 9

banner

Our Solypsus 9 campaign kicked off yesterday. A massive horde of Tyranid including some Orkoid biomorphs descended on the planet, with Space Marines and Imperial Guard arriving just in time to aid the colony.

Eight players braved a small snowstorm, one even coming up from Virginia:

  • Forces of Order: Swords of Dorn+Legion of the Damned, Kingbreakers, Blood Angels+Sentinels of Terra, and Armoured Company
  • Spoiler Horde: Living Artillery, Endless Swarm, Spore Cloud, and Ork Mob

More photos are in the day’s Flickr gallery. Results and missions are on the event webpage. Core campaign mechanics are in the Solypsus 9 draft.

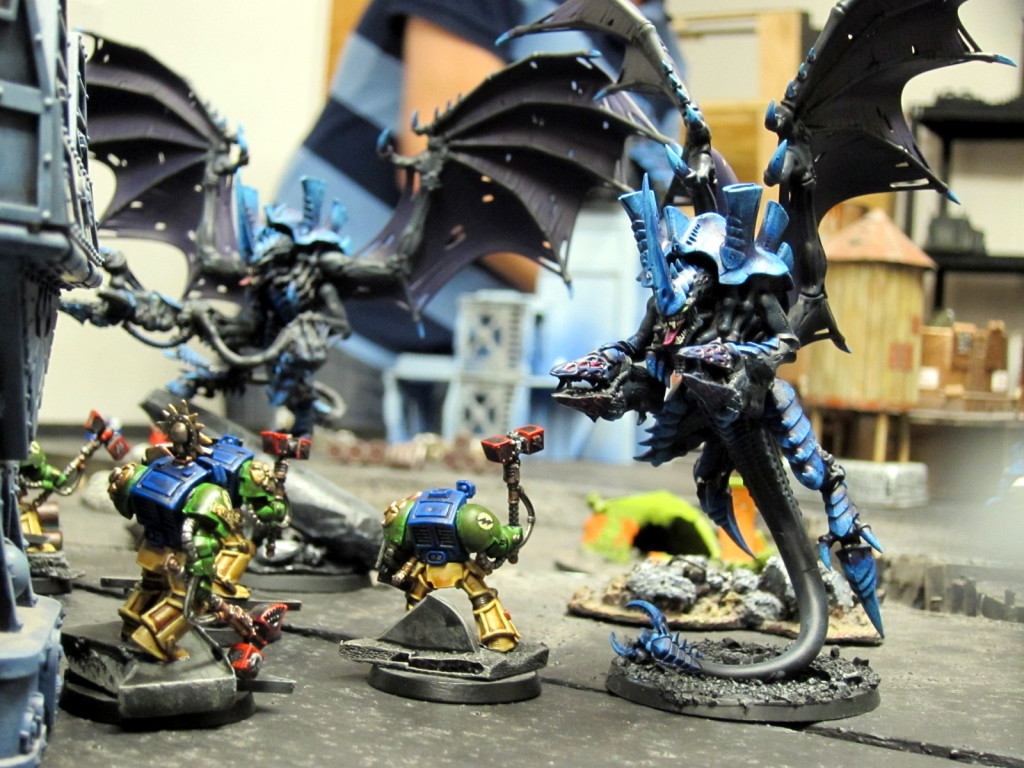
Kingbreakers rush headfirst into the oncoming wave of Hive Tyrants.

Kingbreakers rush headfirst into the oncoming wave of Hive Tyrants.

Mechanics

The campaign mechanics seemed to work out really well in their debut. There are a lot of details, especially to accommodate varying group size and composition. The basic idea though is that each alliance has a set of armies abstractly representing the major thrusts and conflicts of the campaign. Both teams secretly simultaneously place commands on those armies to Attack, Support, or Defend. They then alternate picking one of their Attacks and nominating an attacking player and target territory, with the opposing side(s) responding with a defending player. Results and control of the targeted territories are based on victory points earned there that round. Support and Defend commands aid in those contests, respectively contributing +5 to all adjacent territories and +10 to the territory itself assuming they aren’t wiped out or blocked.

The missions themselves followed the basic pattern we’ve been using: Each is worth up to 20 victory points, with 9 points available for a given primary objective based on markers or kill points, 6 points for a secondary objective chosen by each player from a list with options such as assassinating characters or controlling terrain pieces, and up to 5 points for several tertiary objectives such as claiming first blood or tagging superheavy vehicles.

Battle commands going into round 3.

Battle commands going into round 3.

Battle

Action in the first stretch of the campaign was concentrated around the Laboratory and the open ground at the center of the colony.

Round 1: The Swords of Dorn dropped successfully on the Laboratory, beating out the Ork Mob harrying them. Blood Angels repulsed the Endless Swarm’s attack on the Generator. Both forces met on the colony’s central ground en masse with the Kingbreakers barely countering an advance by the Living Artillery but the Spore Cloud overwhelming the Armoured Company to take the territory.

Round 2: The Armoured Company was kept on the retreat by the Ork Mob, losing the Hab Blocks to the invaders. A counter-attack by the Living Artillery on the Laboratory was blocked by the Blood Angels. Kingbreakers tried to disrupt the swarm’s plans at the colony’s center but could not dislodge the Spore Cloud. At the Comms Tower the Swords of Dorn boltered away the Endless Swarm.

Round 3: Swords of Dorn and Blood Angels both assaulted the Mine, with the Legion of the Damned tipping the odds against the Spore Cloud and Ork Mob.

The Swords of Dorn make landing on Solypsus 9.

The Swords of Dorn make landing on Solypsus 9.

The Ork Mob surrounds the Blood Angels' landing site.

The Ork Mob surrounds the Blood Angels’ landing site.

While the Armoured Company as well is mobbed by the Orks.

While the Armoured Company as well is mobbed by the Orks.

But the Swords of Dorn stand strong throughout.

But the Swords of Dorn stand strong throughout.

Outcome

The Forces of Order squeaked out a tactical win, with 123 victory points to the Spoilers’ 110. They also claimed a lead in campaign points for controlling installations at the end of the session, 5 to 1. Most of the colony was successfully reinforced by the Imperium, with Order armies establishing positions at the Laboratory, Mine, Starport, and Communication Tower. The Spoilers though clawed their way into the Hab Blocks and gouged out a safe beachhead at a central position among the settlement’s installations.

Alex won the standings for Order and overall with three straight wins and 91 points. Patrick took the Spoilers’ lead with 70 points. Best Painted was also voted for Alex for his gorgeous Swords of Dorn and Legion of the Damned, with Michael P’s Tyranid big bugs in second then bumping up to take the prize. Michael also continued Jason’s tradition of his shirt matching his army, something we should all aspire to.

Status after the end of the first campaign session.

Status after the end of the first campaign session.

Kingbreakers

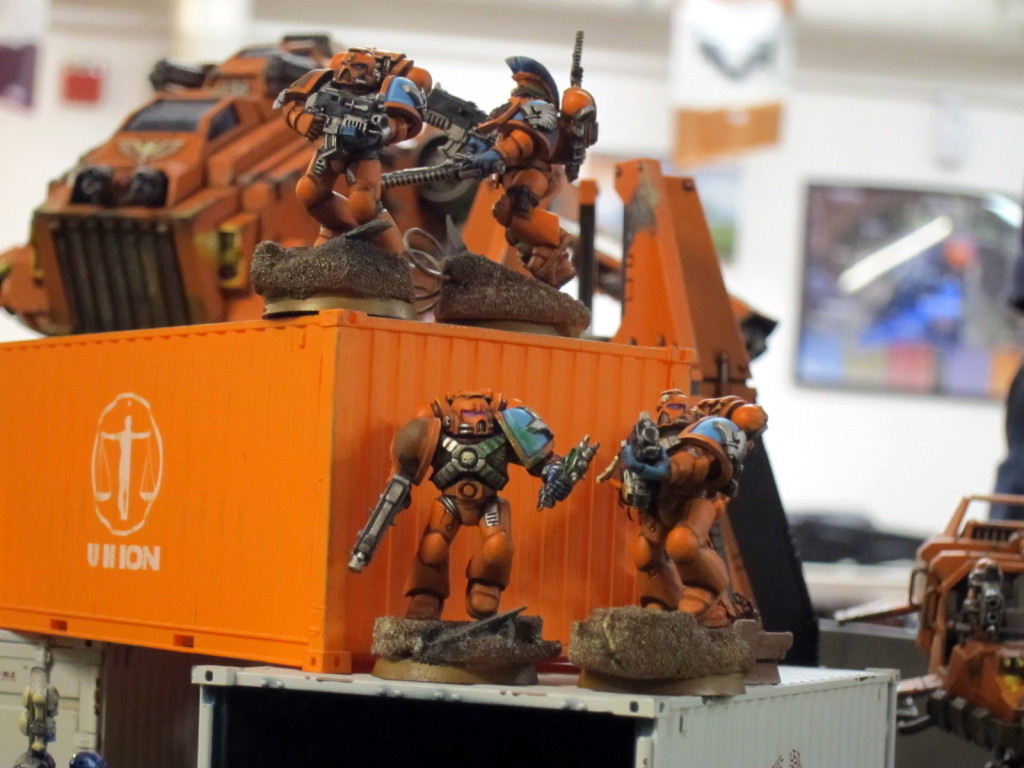
kingbreakers-iconWe had an odd number of players otherwise, so I wound up joining in the action. The Emperor’s greatest soldiers had a so-so day. As is typical, my all-around list didn’t have a clear best opponent so it was repeatedly put forward as an attacker for the defenders to react against with their preferred army.

In the first two rounds the Kingbreakers fought Justin and Michael’s big bugs. Unfortunately both had a strong force of wing-equipped Hive Tyrants. Typically I try to muddle through ignoring flyers and flying monstrous creatures. That’s been working out ok against Daemons and Imperial armies because the former have to land to assault and the latter typically don’t do enough damage. These flyrant flotillas though were well equipped to rip up my army, particularly the Knight. I’d taken the latter despite our Victory Through Attrition tertiary objective making it a substantial handicap, yielding a victory point for each hull point lost. I knew that’d be a problem but it’s just a cool model, and I wanted to see how much of a disadvantage it’d be. Turns out it’s a big one! Either way though these FMCs would have been a problem. Unfortunately I did not bring my usual bunker, which would have been helpful here to safely squat on a home objective.

In the final round two of the Spoilers had to leave so Lovell and I fought it out. This was an old school-feeling battle, much like facing 5th edition IG. His Armoured Company literally had no infantry models, and nothing but Leman Russ chassis except for a Sentinel and an Avenger flyer. This was probably the army I was best equipped to fight, due to lots of re-rolling melta. It was still an awful lot of tanks to go through though. Kingbreakers eventually won out in the kill points mission, but a lot of the killing was done by just a few units. Much of Lovell’s army that could really threaten the Knight was targeted and wrecked early, giving the Knight fairly free rein. Captain Angholan also did far more than his share, ruining a number of opponents with his Vorpal Blade (S6). Meanwhile many Tacticals and others stood around literally hoping Lovell would forget about them with his battle cannons.

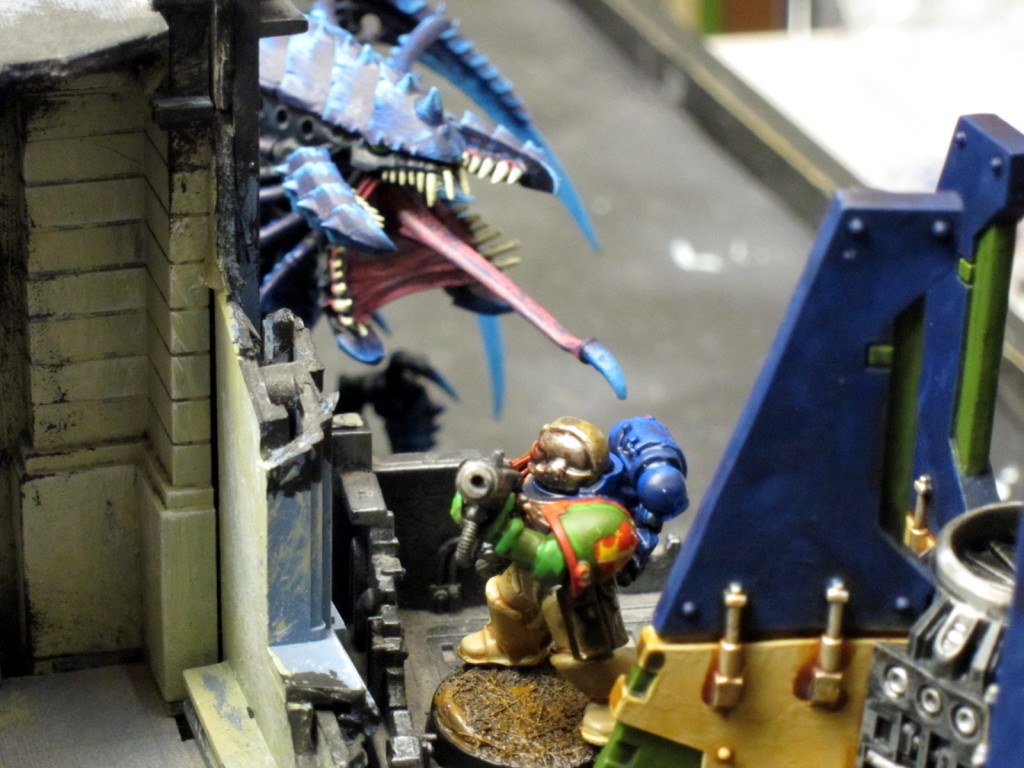
Kingbreakers scour the ruins for Tyranid monsters, finding them all too often.

Kingbreakers scour the ruins for Tyranid monsters, finding them all too often.

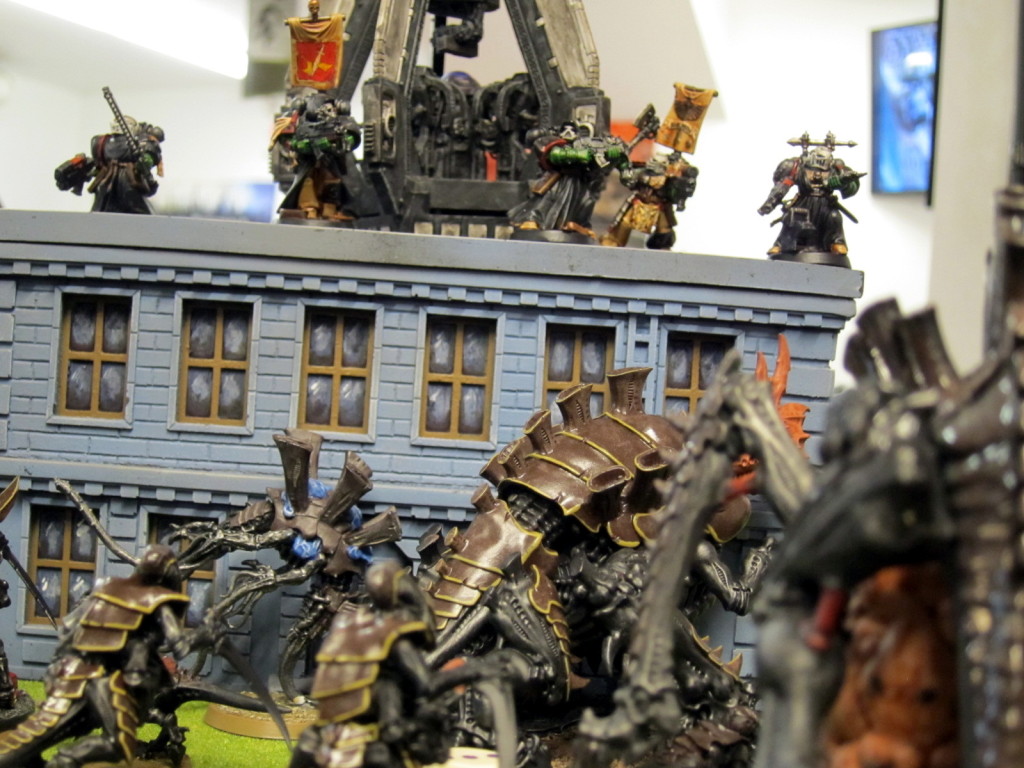
Kingbreakers Ghosts snipe away at the brain bugs from the rooftops.

Kingbreakers Ghosts snipe away at the brain bugs from the rooftops.

A pitched battle on a critical objective.

A pitched battle on a critical objective.

The Battle Continues

This was definitely a busy day on my end, trying to play a fairly sizable army while also managing all the campaign and tournament logistics. It worked out to be another great day though. I was particularly pleased that the campaign mechanics seemed to work well, as they’re essentially an entire small boardgame unto themselves. The teams seemed to be making a number of real decisions about how to proceed on the map, and there was a definite evolution of the conflict across the board. I’m looking forward to how that progresses in the future, as well as other surprises to be thrown into the mix.

Again, photos are up in the day’s Flickr gallery, results and missions on the event webpage, and campaign mechanics in the Solypsus 9 outline. See y’all in February!

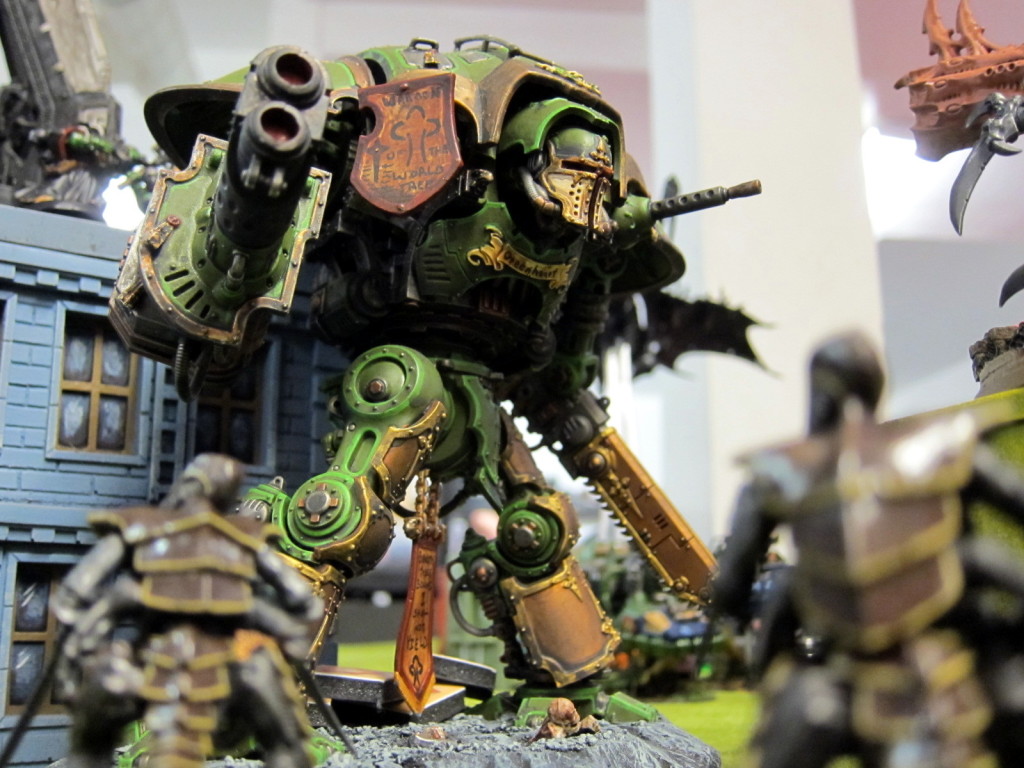
The Imperial Knight Greenheart walks among the horde.

The Imperial Knight Greenheart walks among the horde.