Our next Redcap’s/PAGE campaign is about to kick off, as monsters, traitors, and the Emperor’s finest all descend on Solypsus 9.
Who knows what dreams and dreamers lay waiting in the endless void?
There’ll be four events/sessions in the series:
- Saturday, January 24th: Standard 1850 pts
- Sunday, February 22: Standard 1850 pts
- Saturday, March 14: Doubles 2×1000 pts
- Sunday, April 19: Escalating 1000, 1500, 1850 pts
Players are free to come and go for each campaign session without penalty to their alliance or disadvantage to themselves, so don’t hesitate to join in even if you can’t make the whole series.
Missions, a signup sheet, and other details for January are on the webpage. Campaign mechanics are based on the map-based scheme drafted here, with other elements thrown in as we proceed. These will no doubt be revised as we go, to make them work better as well as to be flexible with the group’s variable size and player composition per event, a tough challenge.
Feedback and suggestions are greatly appreciated! Please comment below or email us. For those interested in playing this campaign elsewhere, we will be refining the details and putting up a PDF with all of the bits, maps, and rules afterward. Sign up for our announcements-only mailing list if you want to be notified of that release.
Background
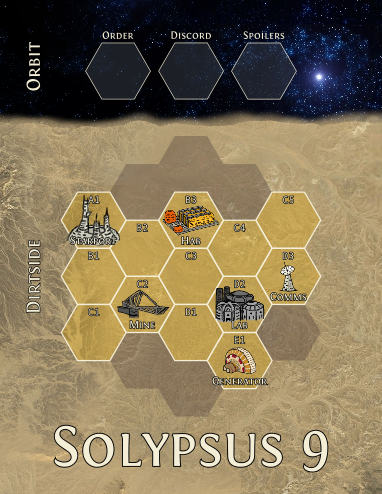
Solypsus 9 is one of the countless far flung, forgettable outposts of the Imperium. A barren, lifeless planet of rock and mountains with minimal atmosphere and sunlight but punishing wind storms, only a single small settlement has ever been established. Nestled in a rare pocket of less forbidding terrain, the colony originally grew to serve an adamantium mine. Over time as the occasional more esoteric ores and minerals were found, a small laboratory was founded to study them. With the original mine petered out to barely sustainable levels the lab has seen little call for this role of late, but clearly it is still being put to some purpose. Meanwhile, life in the colony hab blocks grows daily more grim as the workers drive the mine ever desperately deeper in search of a new lode to restore some measure of prosperity. Unseen and unknown by all but the most elite, however, is the ebb and tide of a galaxy at war, but even they fail to see how machinations and conflict throughout the sector might someday come to fall on Solypsus 9…
Objectives
At the start of a campaign session each player is grouped into an alliance: Discord, Spoilers, or Order. These should be roughly equal in size. Players can switch alliances for different sessions, i.e., to play a different faction or to balance out the teams by number or strength.

After establishing alliances, each team secretly chooses a particular strategic objective for that session from the most critical installations on the planet:
- Hab Blocks: Though miniscule by the standards of a developed world, Solypsus 9 still has a population of millions living and dying in its hab blocks to be protected, enslaved, or consumed…
- Laboratory: The laboratory has long since become an enclave unto itself amid an air of absolute secrecy. Something worthwhile must be happening there to warrant the resources dedicated to its unknown mission…
- Mine: Though shipments from the world have curtailed greatly, surely stores of great value must still be accumulated in its stockpiles, with even more ready to be extracted by a properly motivated workforce…
At the end of the session, each alliance that controls its chosen strategic objective earns campaign points equal to double the current session number in the campaign (1, 2, 3, 4). Each additional installation of those three which it controls awards campaign points equal to the current session number. The other three installations—the Starport, Comms Tower, and Generator—are each worth 1 campaign point at the end of each session.
Throughout the campaign, teams are thus fighting on three levels:
- Storyline: Working toward a narrative result among possibilities revealed and determined by the campaign’s progress.
- Strategic Victory: Earning the most campaign points by controlling installations.
- Tactical Victory: Accumulating the most victory points throughout the matches.
Setup
Each session, the alliances get a number of armies equal to the number of players in the smallest alliance, representing the active forces and major thrusts of that phase of the campaign. At the start of the campaign none of the dirtside territories on the map are controlled and all of the armies begin in the orbital positions. In later sessions the alliances start in control of those territories they held at the end of the previous session. By descending order of total accumulated victory points they alternate placing a single army on any territory they control or in orbit, until all are placed. Multiple armies may not be placed on a single territory, except for the orbital positions which can hold any amount.
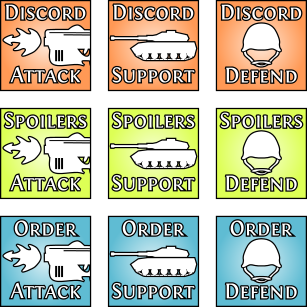
The alliances also get a number of command token sets, equal to half the number of armies (rounding down, to a minimum of one). Each command set has tokens to indicate Attack, Support, and Defend.
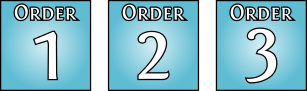
Finally, each alliance gets a set of round order bid chits, from 1 to the number of missions in the session, typically 3.
A pool of control markers to indicate territory possession as well as extra armies not yet in play are also available for each alliance, played as if unlimited in quantity.
Play
The campaign sessions are made up of the following cycle, usually over 3 rounds:
- Place commands.
- Bid for round order.
- Assign matches to commands.
- Play out matches.
- Resolve the results.
Place Commands
At the start of each mission round the alliances simultaneously secretly place commands, face down on the map. Attack commands must be put on the alliance’s own armies and all of them must be placed. Support and Defend commands can be put on an alliance’s armies or on dirtside territories it merely controls. Only one command can be placed on an army or territory except for the orbital positions, which can take as many commands as there are armies on them but cannot otherwise receive commands.
Bid for Round Order
The alliances then simultaneously bid for round order using their remaining bid chits. The round order used in the various steps below is determined by the increasing numeric order of those bids. In event of a tie, the respective alliances in order by accumulated victory points get to choose their round order position relative to each other. Following each round the bid chits used are discarded, so alliances cannot make the same bid twice in a session.
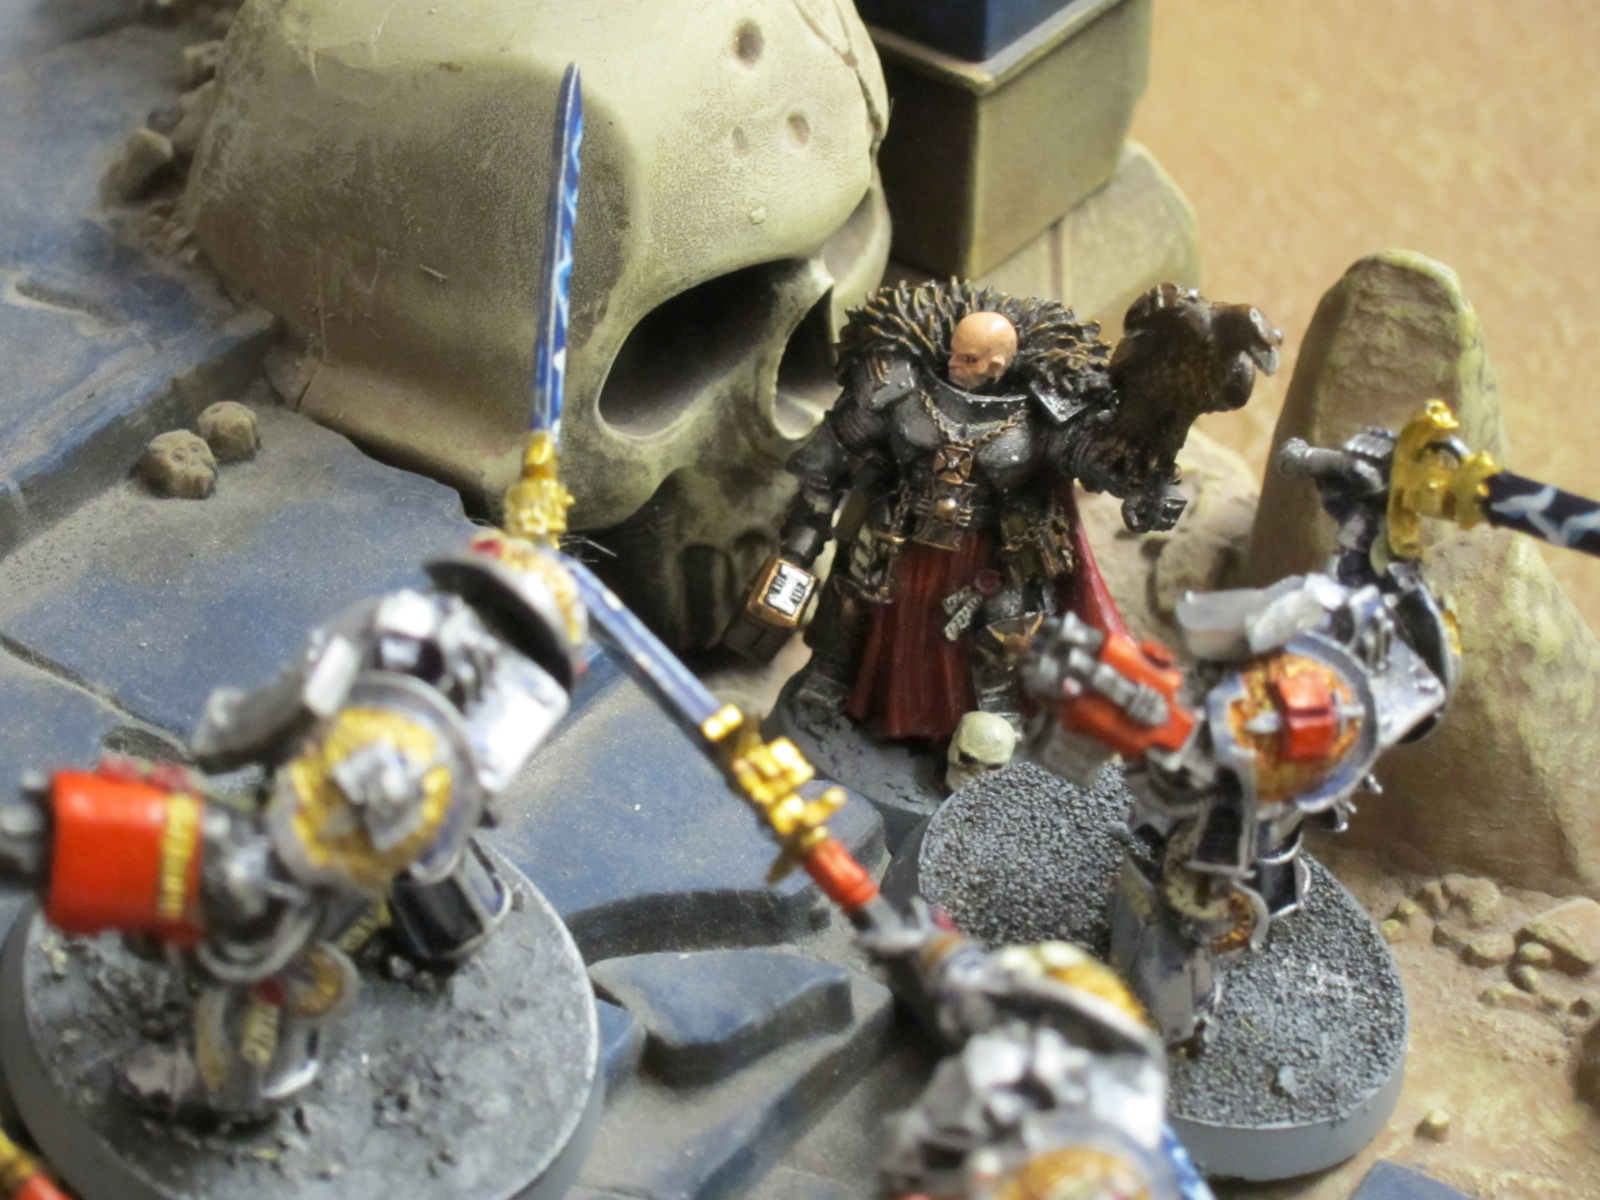
Into the temple, quickly, whatever may come!
Assign Matches to Commands
Following the round order bid, all of the commands are flipped over and revealed. In round order a match is assigned to each Attack:
- The current alliance picks one of its Attack commands and declares one of the territories adjacent to the command as its target. Attacks from orbit may take any dirtside territory as the target. Territories may be targeted by one or more attacks. Alliances may target their own territories, enabling them to maneuver armies or support embattled territories.
- The current alliance then also declares one of its unassigned players to be the attacker for the match associated with that command.
- One of the other alliances the responds with a defending player not already assigned a match for this round. If the attack is on a territory controlled by an opponent, then that alliance must respond if it has an unassigned player. Otherwise, if it is unoccupied or that alliance has no unmatched player, the alliance with the highest total accumulated score and an unassigned player must respond—their forces are spread far and wide and engaged in many battles across the conflict. A different alliance from that targeted must also respond in the same fashion if assigning a player from the targeted alliance would cause only players from one alliance to be left unassigned for the round.
- The defending player then chooses a table for the battle.
This process then repeats for the next alliance in round order until all of the Attack commands have matches. If there are more players remaining, i.e., there’s an uneven number of players, then matches are assigned to Defend and Support commands. In round order:
- An alliance with an unmatched player picks any Defend or Support command on the map, including their opponents’ as well as their own, and assigns a player to it. No target is necessary for these commands.
- If the chosen command belongs to another alliance and it has an unassigned player, then the targeted alliance responds with a defending player. Otherwise, the alliance with the highest total accumulated score and an unassigned player must respond.
- The defending player picks a table.
This repeats until all of the players are paired up and matches associated with commands. Note that there may be Support and Defend commands without associated matches, as well as those left unplayed, but all Attacks must have been placed and then associated with a match.
Play Out Matches
The players then battle for the outcome of the commands. These games might be determined randomly from the standard missions, chosen by the players, or in a campaign tournament are taken from the mission packet.
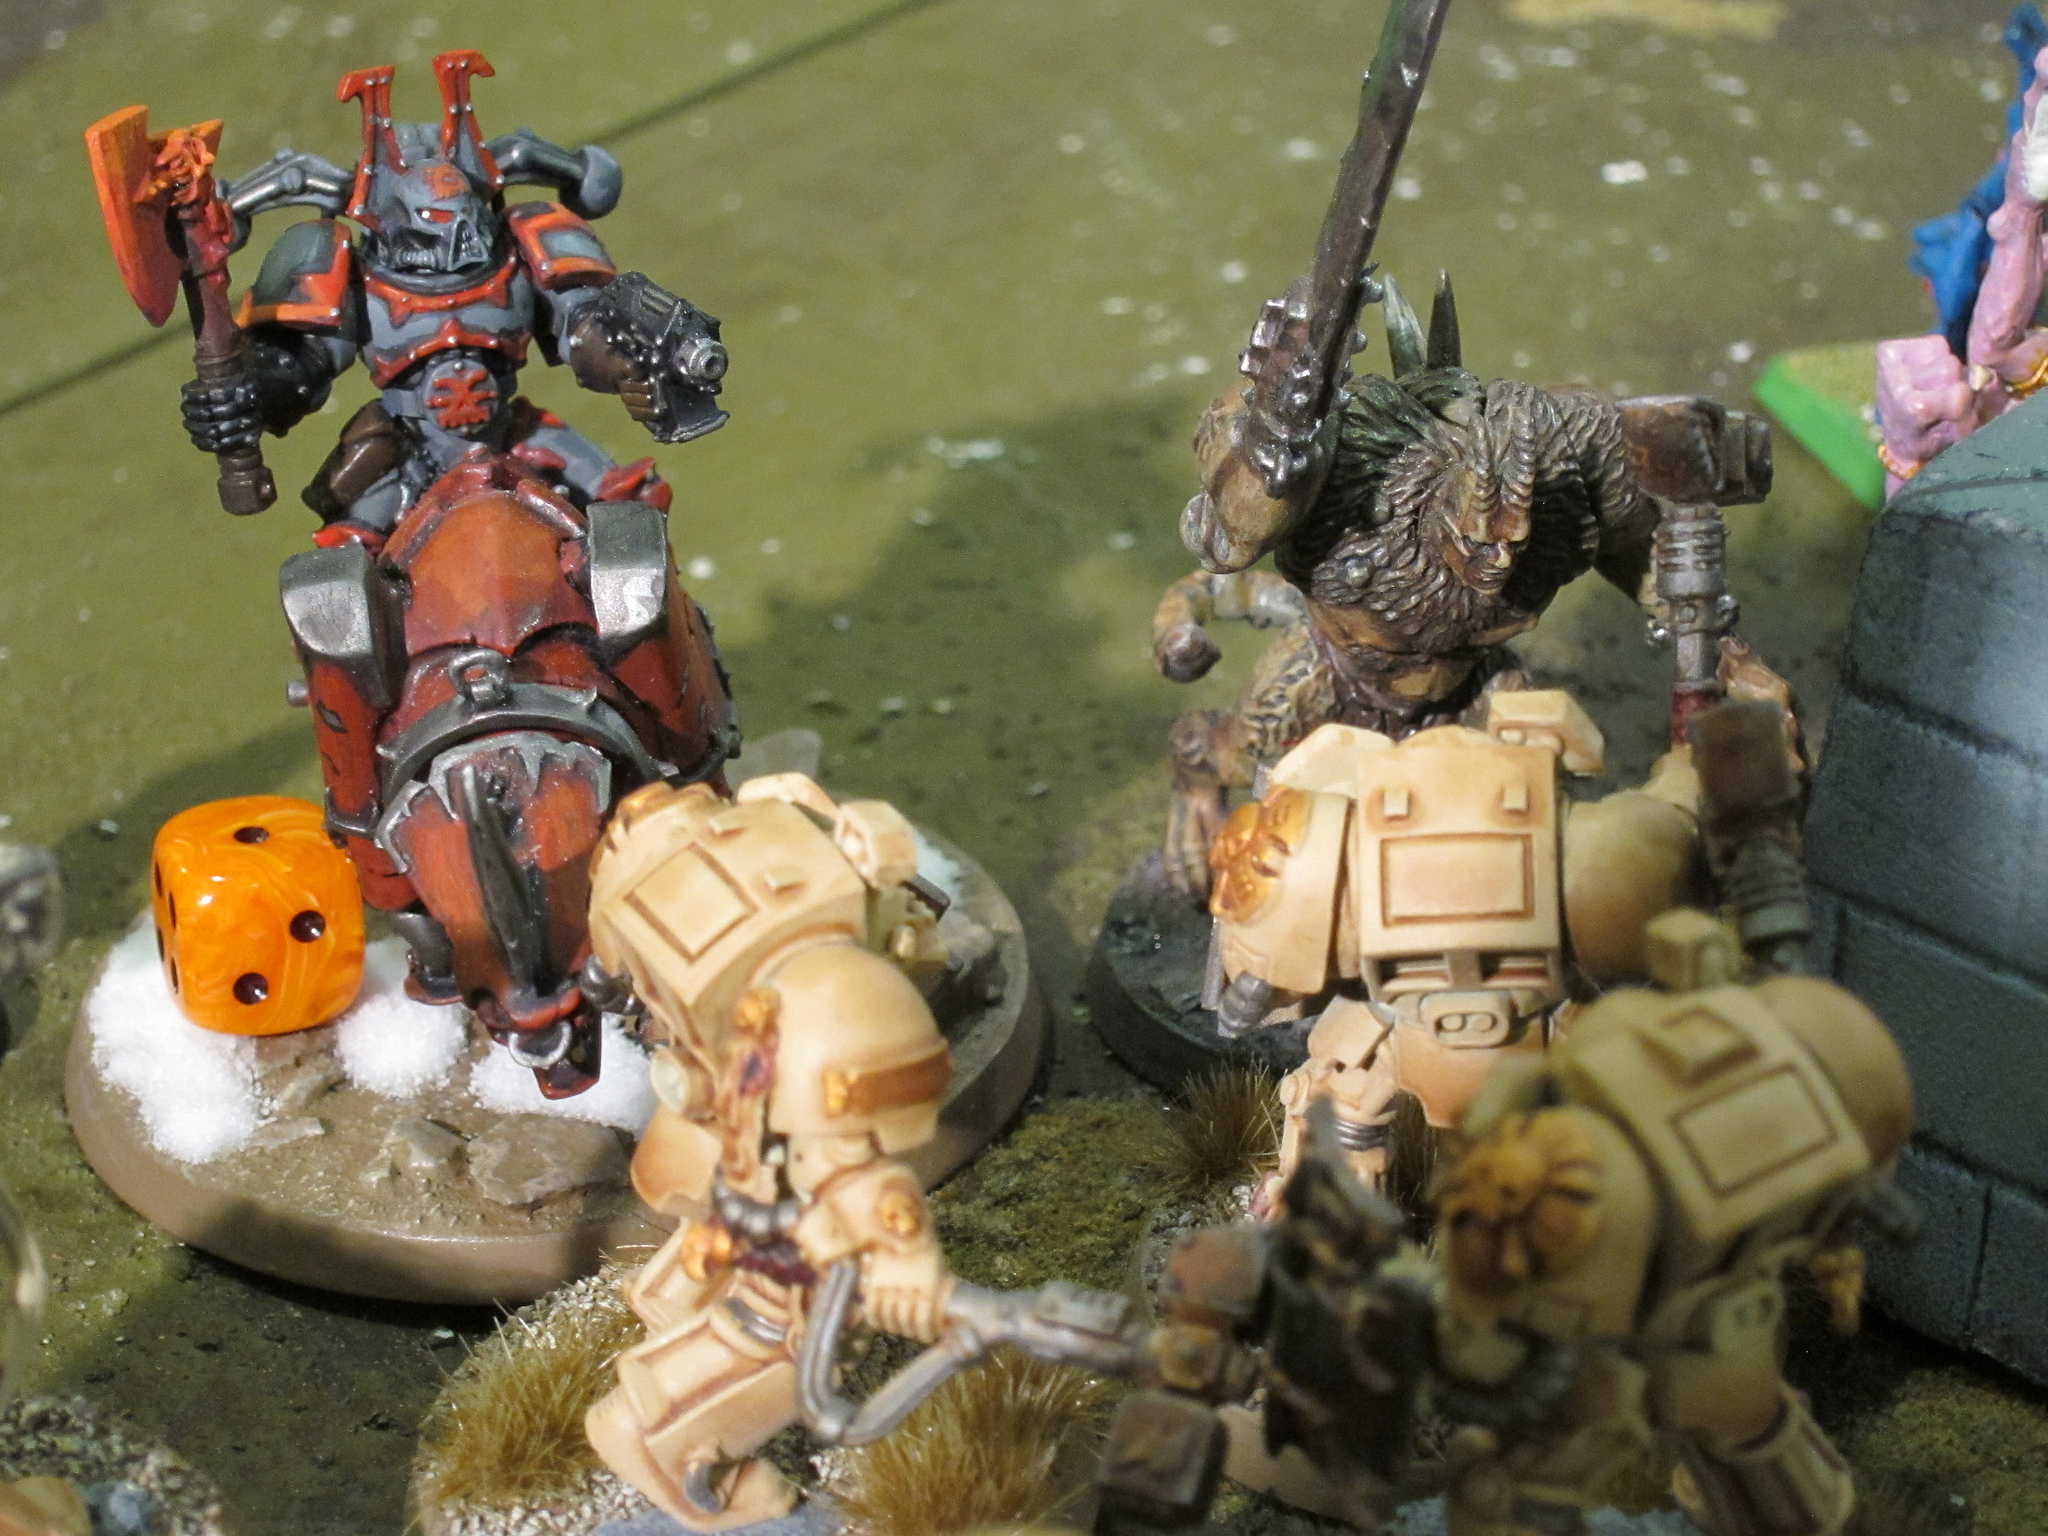
Follow your corpse god to the grave, fools!
Resolve Results
Once all the matches complete, campaign results are resolved in the sequence of Support, Defend, and Attack commands, followed by tallying victory points.
Support. Matches assigned to Support commands are evaluated first. In round order the alliances choose a Support match they won and either remove the command or leave it on the map. Any Support commands that did not have a match assigned are left in place.
Defend. Next each Defend command is evaluated. In round order the alliances choose a Defend match they won and either remove the command or leave it on the map. Any Defend commands without an assigned match are left in place.
Attack. Evaluated last are the Attack commands. In round order the alliances choose any territory targeted by an Attack, including those they are not involved in if they wish. All of the Attacks toward that territory are then simultaneously evaluated as follows:
- Each alliance that either made an attack or was controlling the territory scores points toward the outcome. If no alliance controls the territory then the defending points are scored by a virtual defender, reflecting interference from the other alliances or surprisingly staunch resistance from the native inhabitants. The same applies if the territory’s controller is the only alliance that has made an attack toward it, representing logistical or communication mishaps, friendly fire, or interception by opposing forces. Any alliance that made an attack must be scored separately, the points cannot be assigned to the defender. Alliances can only directly assist each other in that way through Support commands.
- Scoring starts with the raw points earned in each associated match, excluding covert mission successes. If an alliance other than the defender was forced to respond to an attack, i.e., by uneven alliance sizes, then its points go toward the defender—the third alliance has either crashed into the attacker’s army while making its own abortive attack, with the territory’s defenders pitching the battle between the two, or they’ve come to the aid of the defenders to support their own agenda against the attacker.
- If there is a Defend command on the territory, its alliance earns 10 additional points. Note that in the case in which no other alliance has targeted the territory, these points go to the alliance and not the virtual defender.
- For each Support command adjacent to the territory, its alliance may add 5 points to any alliance involved in the match. Any alliance may support any alliance, or not. Armies in orbit with Support commands on them may Support a single Attack per round, but may do so anywhere on the map.
Whichever alliance scored the highest in this calculation maintains control of or immediately takes over the territory. If an attacker was victorious, a single one of its participating armies may move into the territory, leaving a control marker on its starting territory if it had none. Any other attacking armies stay in their original territories, which may result in them being affected by an attack resolved later. A victorious alliance that made an attack toward a territory it already controlled may only move an army onto the territory if it is unoccupied.
Any Support or Defend command on the territory is then removed, its forces have either been routed or are too busy defending themselves to assist in other battles. Any opposing control marker is also removed. If a defending army is present it must immediately retreat, moving to an adjacent territory its alliance controls that does not already have an army on it, or an uncontrolled territory if there are no such spaces. If neither option is possible, it retreats to its alliance’s orbital position.
At no time may a territory be occupied by more than one army, including multiple armies of a single alliance.
Overall Points. Once all commands have been evaluated they are removed from the board. The raw victory points earned from all matches and covert missions are then added to the alliances’ accumulated tallies. Defend and Support commands do not factor into this.
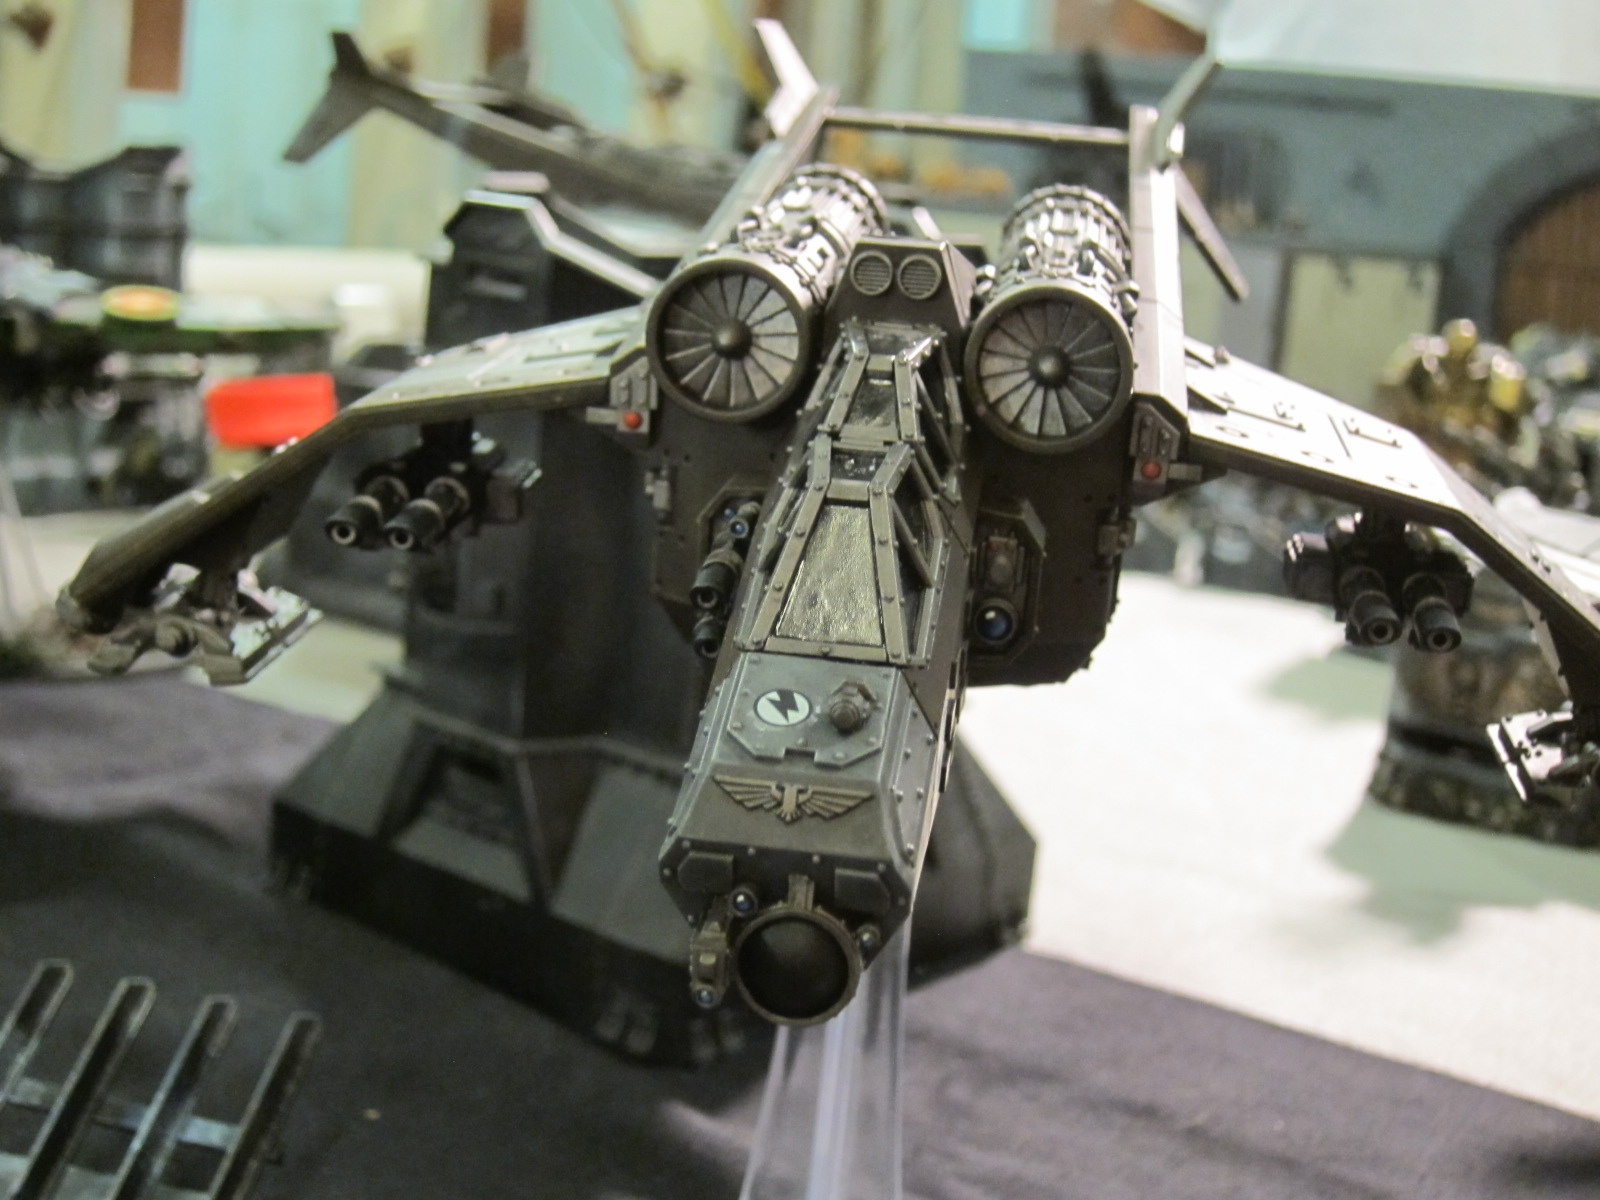
Drop zone in 3… 2… 1…
Special Effects and Covert Missions
Besides the overt strategic value of the Mine, Hab Blocks, and Laboratory, control of each will also determine how later aspects of the campaign progress. Heavy fighting in and around them may also have inadvertent, potentially catastrophic effects as infrastructure, equipment, and the planet itself are destroyed.
The other installations though also offer tactical choices:
- Starport: After results are resolved for a round, the alliance controlling the Starport may move one of its armies anywhere on the map back to its orbital position, leaving a control marker in its place.
- Comms Tower: After commands are revealed, the alliance controlling the Comms Tower may rearrange any three of its commands among themselves.
- Generator: (to be determined)
Finally, players may be given the opportunity to directly affect their alliances’ tactical situation as well as the campaign itself by completing covert missions. In each round after the first, all the players in the alliance with fewest accumulated victory points will be given a covert mission, as will half the players in the middle-ranked alliance. Those alliances will be randomly given a mission from a list of possibilities, with all their players working toward the same goal. Every player that achieves their covert mission that round will gain the given boon for their alliance, regardless of the tactical outcome of their battle. Any victory points earned by a covert mission success are in addition to those earned as normal, but apply only to the overall campaign tallies and not the player’s individual score or resolving any associated command. Players should be sure to record at the stated time any secret selections their mission requires them to make.
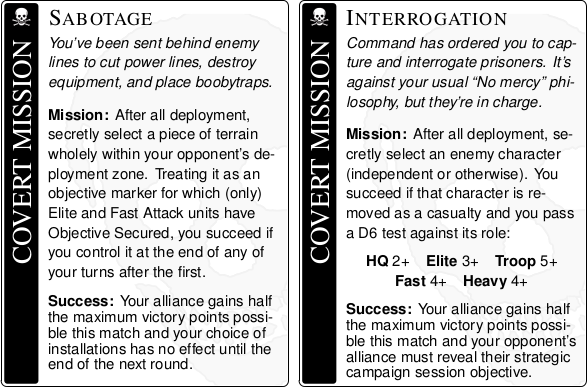
Two sample covert missions.
Prepare to Drop!
We have some other ideas and fun stuff lined up for the later sessions, but these are the core basics needed to get our Solypsus 9 campaign off the ground. Again, any comments, suggestions, or questions are more than welcome; please comment below or email us. We also hope you can join us for any or all of the campaign!