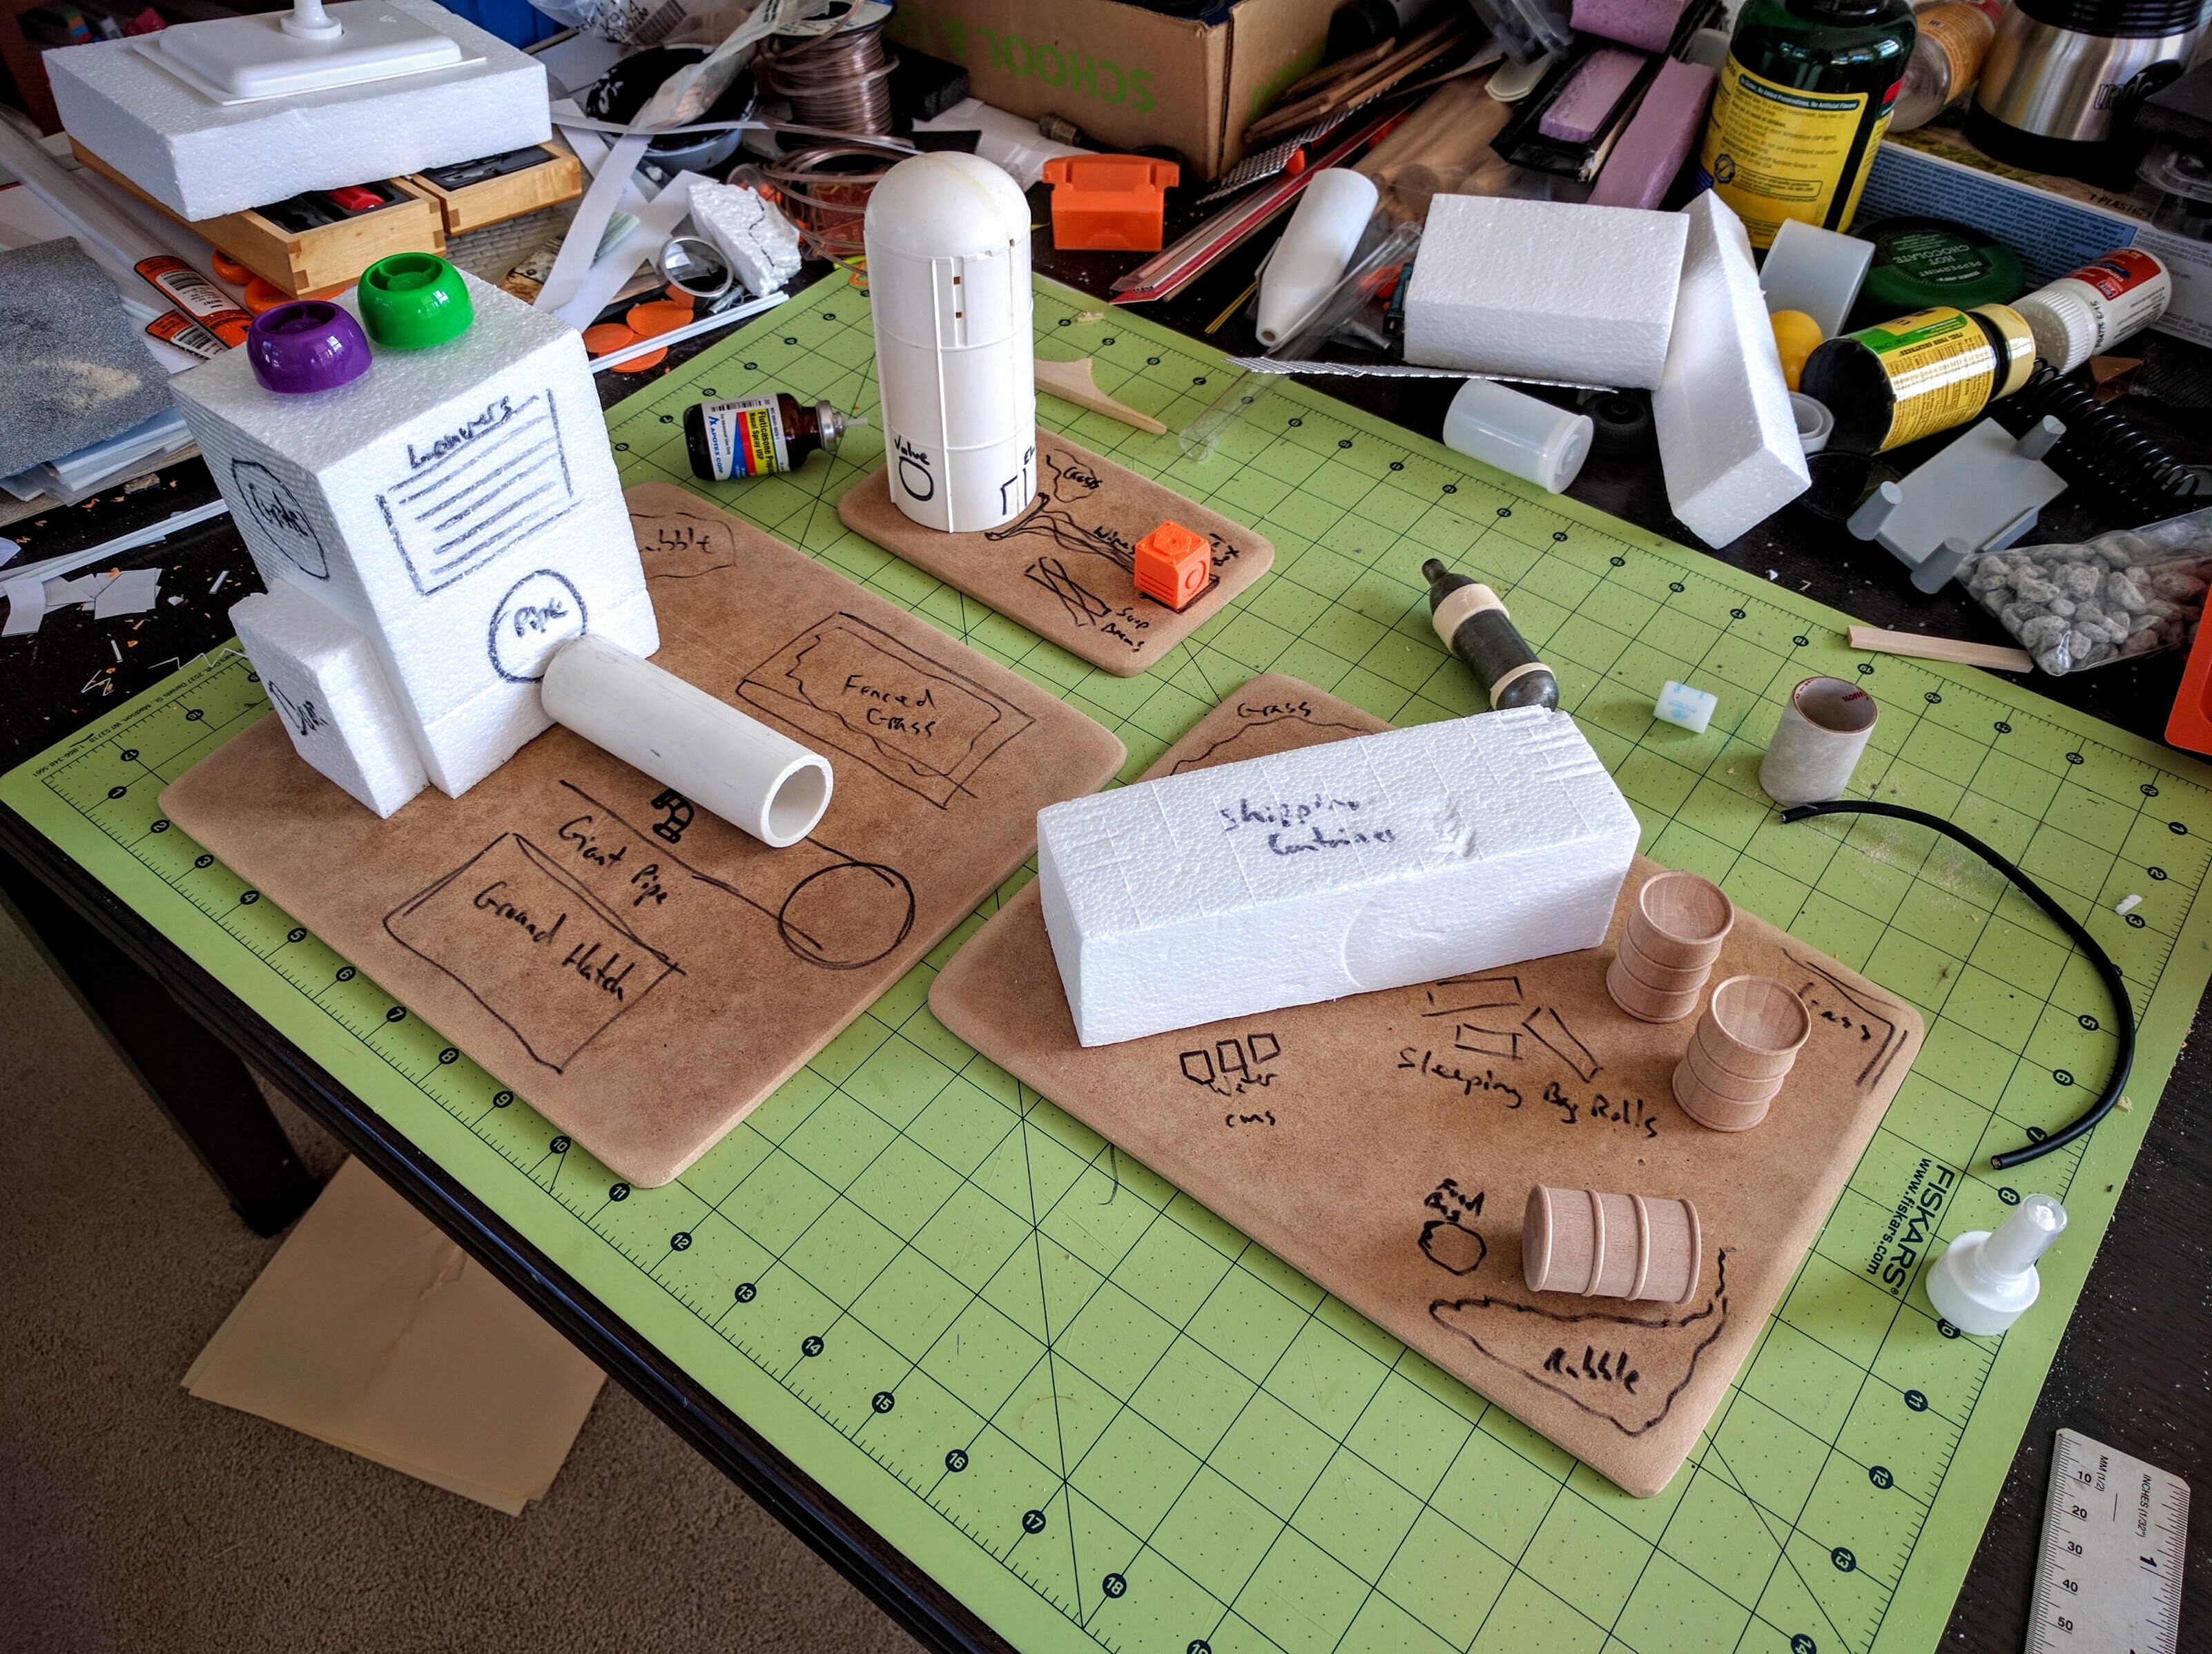
Two more pieces completed for the Medea Refinery board: A water tower and a resting place. I have two more in progress to complete tonight, and then tomorrow a group from PAGE is coming over to paint, paint, paint! With these last pieces the set will come out to almost exactly a 2’x3′ area and thus definitely cover almost precisely 25% of a standard 4’x6′ 40k board.

The water tower.

A resting place.
Resting Place
The resting place is straightforward, just gluing things together and onto the board.
Originally I had sketched out this piece to be based around a shipping container providing some heavy cover. But in the age of MDF terrain it has become clear that the worlds of the future will in no way want for shipping containers. There will be shipping containers everywhere, just laying around to be used for any purpose. So that wasn’t very exciting to get started building.
But then this truck model in my closet caught my eye. It’s a WW2 US Army Eager Beaver 2 1/2 Ton Truck 1/35 scale model from Monogram. That scale is oversize for 40k, which is closer to 1/48 as much as it has any scale (it doesn’t). But these older trucks and vehicles tend to have actually been a lot smaller and more frail than our modern mega-sized age conceives of them. To put it into some perspective: WW2 Jeeps had 4″ wide wheels. I have a mountain bike with 4.8″ wide wheels, and there are 5″ and 6″ models available. On top of that, 40k and many other miniatures games have an oversize aesthetic to accentuate (and render more easily paintable) guns and other equipment details. So, between our modern expectations and the dramatized aesthetic, many—though not all—1/35 model kits like this fit in just fine.
I’m not sure if this specific model is still in production, it’s no longer available on Amazon. But you can generally find 1/35 and 1/48 trucks like this for $20–$25US. Many of them, like this one, have been manufactured for thirty years or more. So some of the idioms and conventions are a bit different from a modern kit. For example, the front cab assembly on this one didn’t really lock into place, it all just sort of lined up and hopefully you held it in position long enough for the glue to set. On the flip side, these older kits are cheap, go together quickly, and look great.

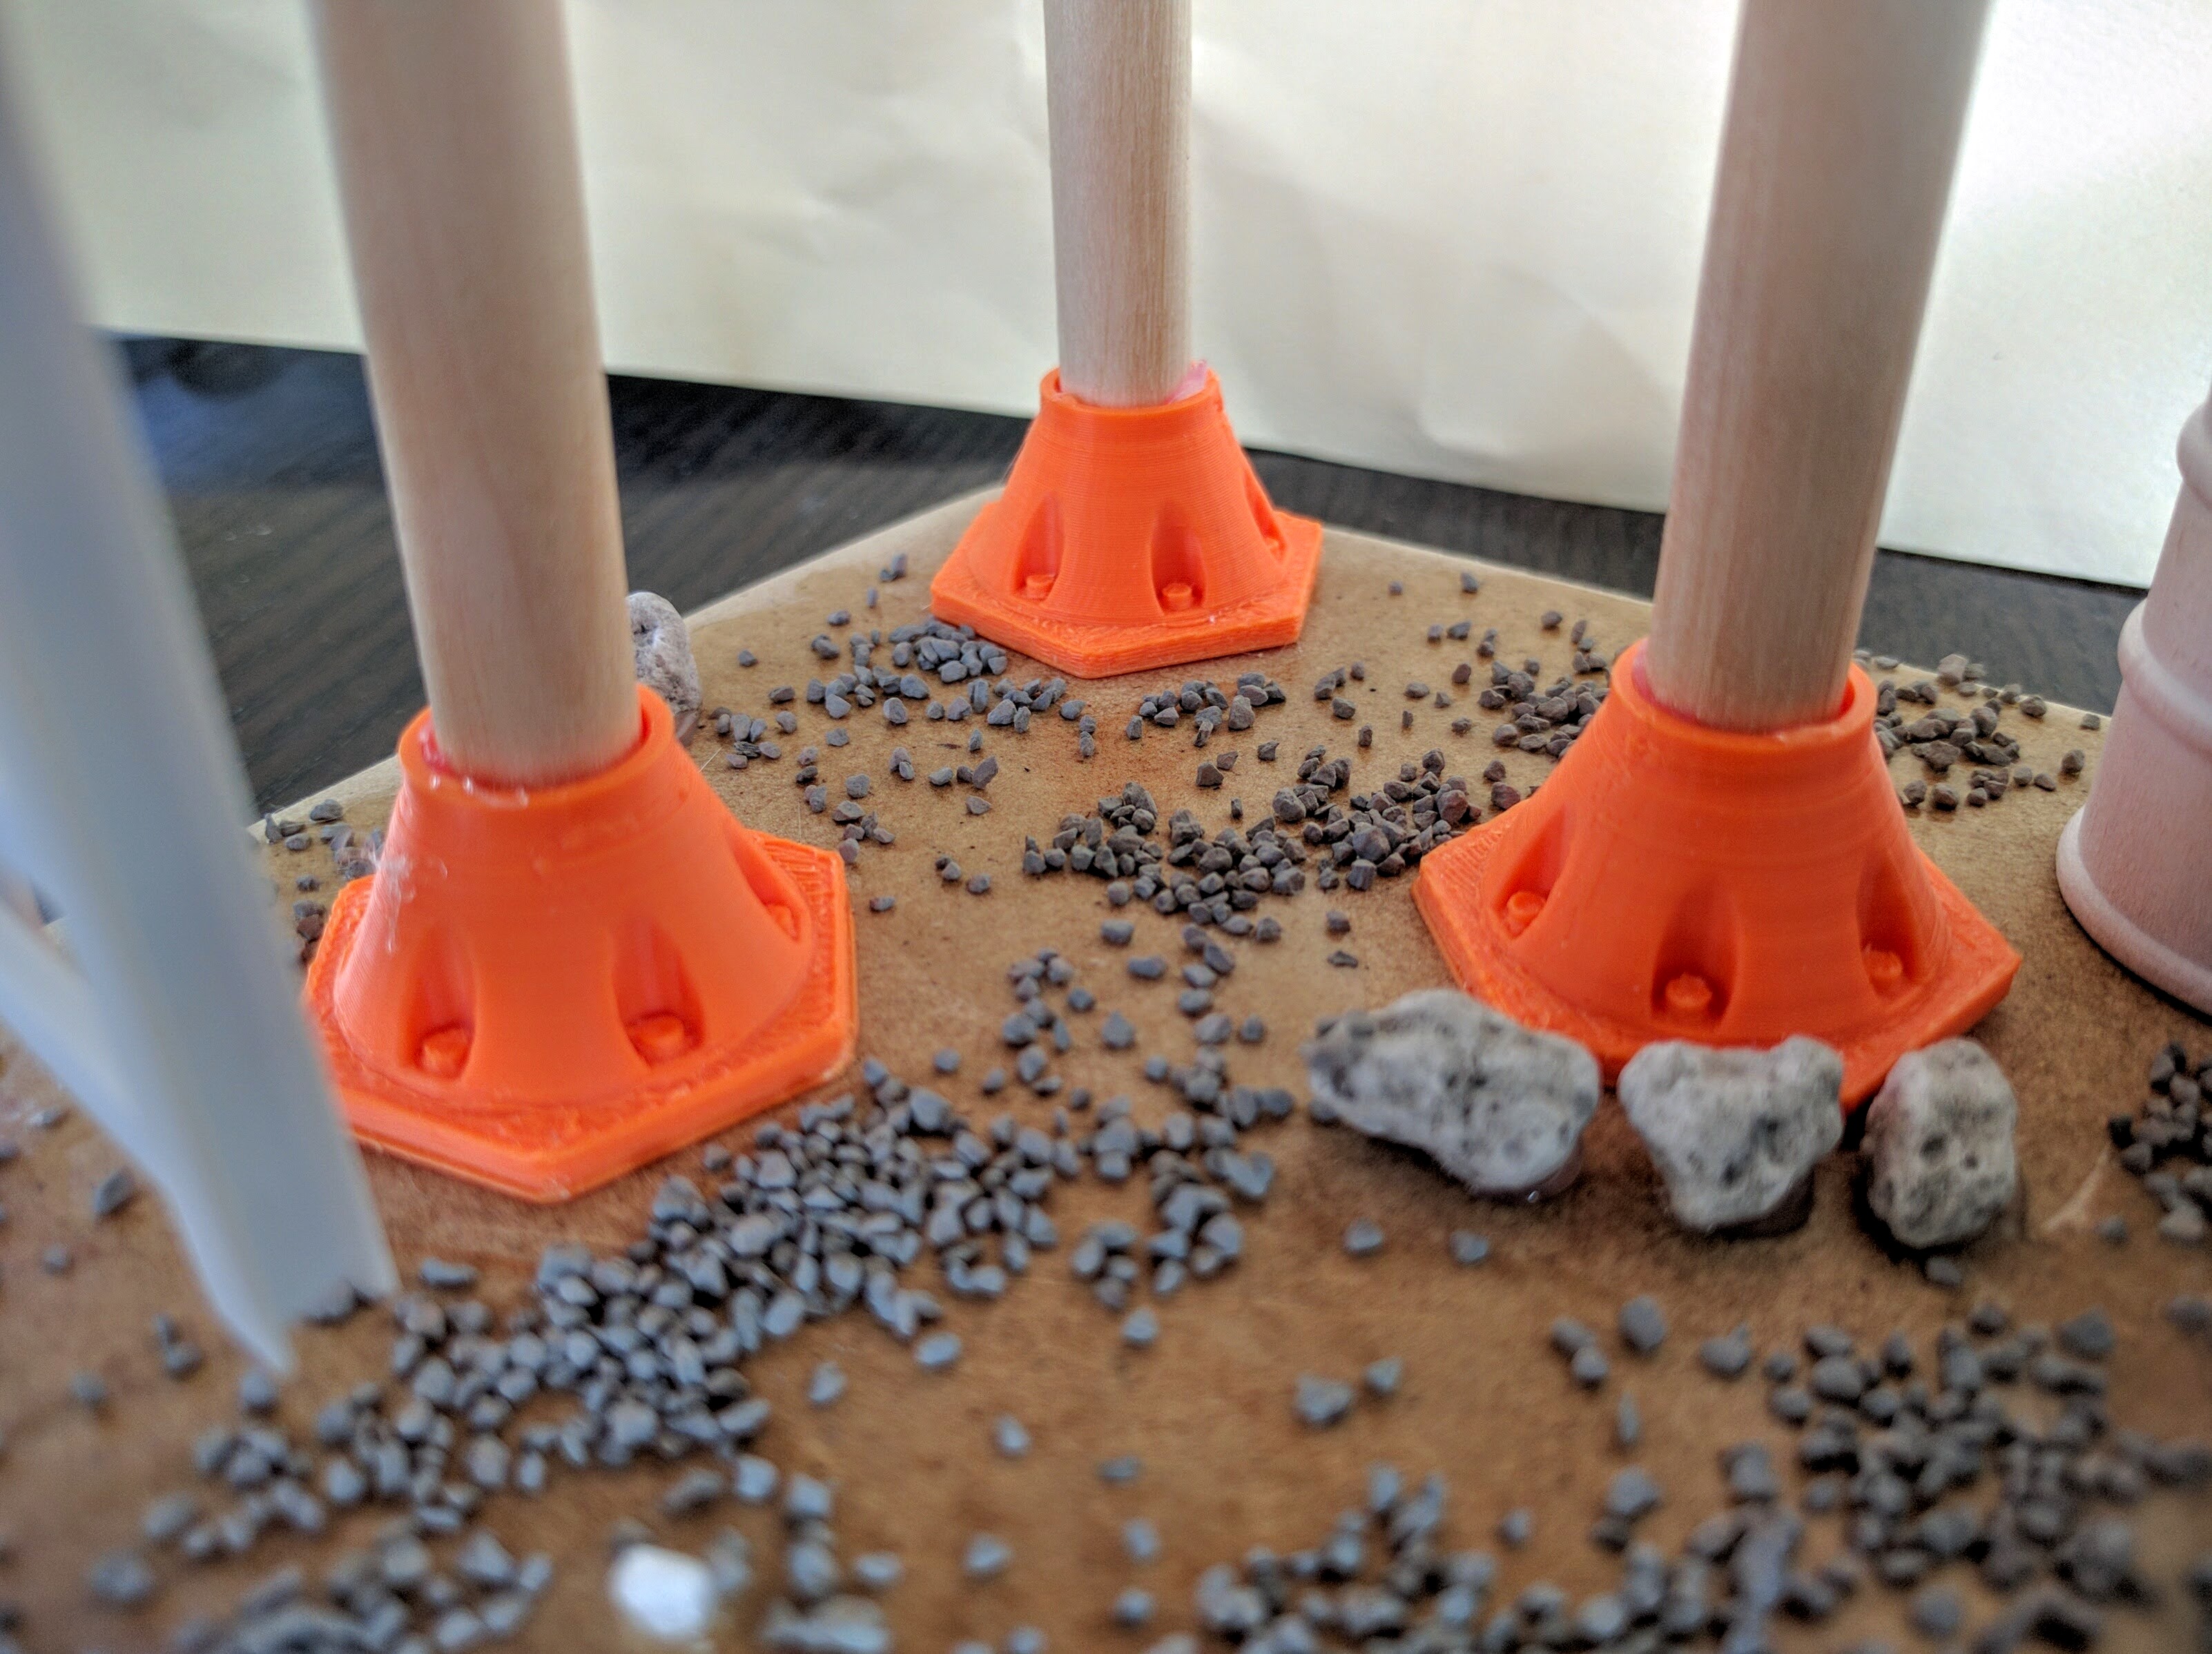
Mod Podging the gravel into place.

Campsite details.
Around the truck I wanted to suggest a little story vignette of a team of refinery workers, scouts in the ongoing conflict, or vagabonds driven on by the war to have roughing it here overnight among some cover, but having to hurriedly abandon the position for whatever reason. The bags and small drum are from a Tamiya 1/35 Allied Vehicles Accessories kit, a great source of these kinds of bits. The rifle is from a Space Marine Sniper Scout box. The wood oil drums are from CraftParts. You can find them at Michael’s and other arts & crafts stores, but usually only in bags of ~2.
The rocks are some kind of chalky, very light material that I stole from a friend’s miniatures basing kit while we were working on a project. Rather than using my limited supply of them to build up the pile in the corner, it’s cut-up scrap foam under a single layer of rocks. The small gravel is affixed by brushing on a layer of Mod Podge and then sprinkling it around, as I’ve done with all the pieces in this set. The primer to be used for the ground is a texture paint that will provide some smaller grained variety, though in the future I have to restock on a larger variety of gravel sizes and mix them for this sort of thing.
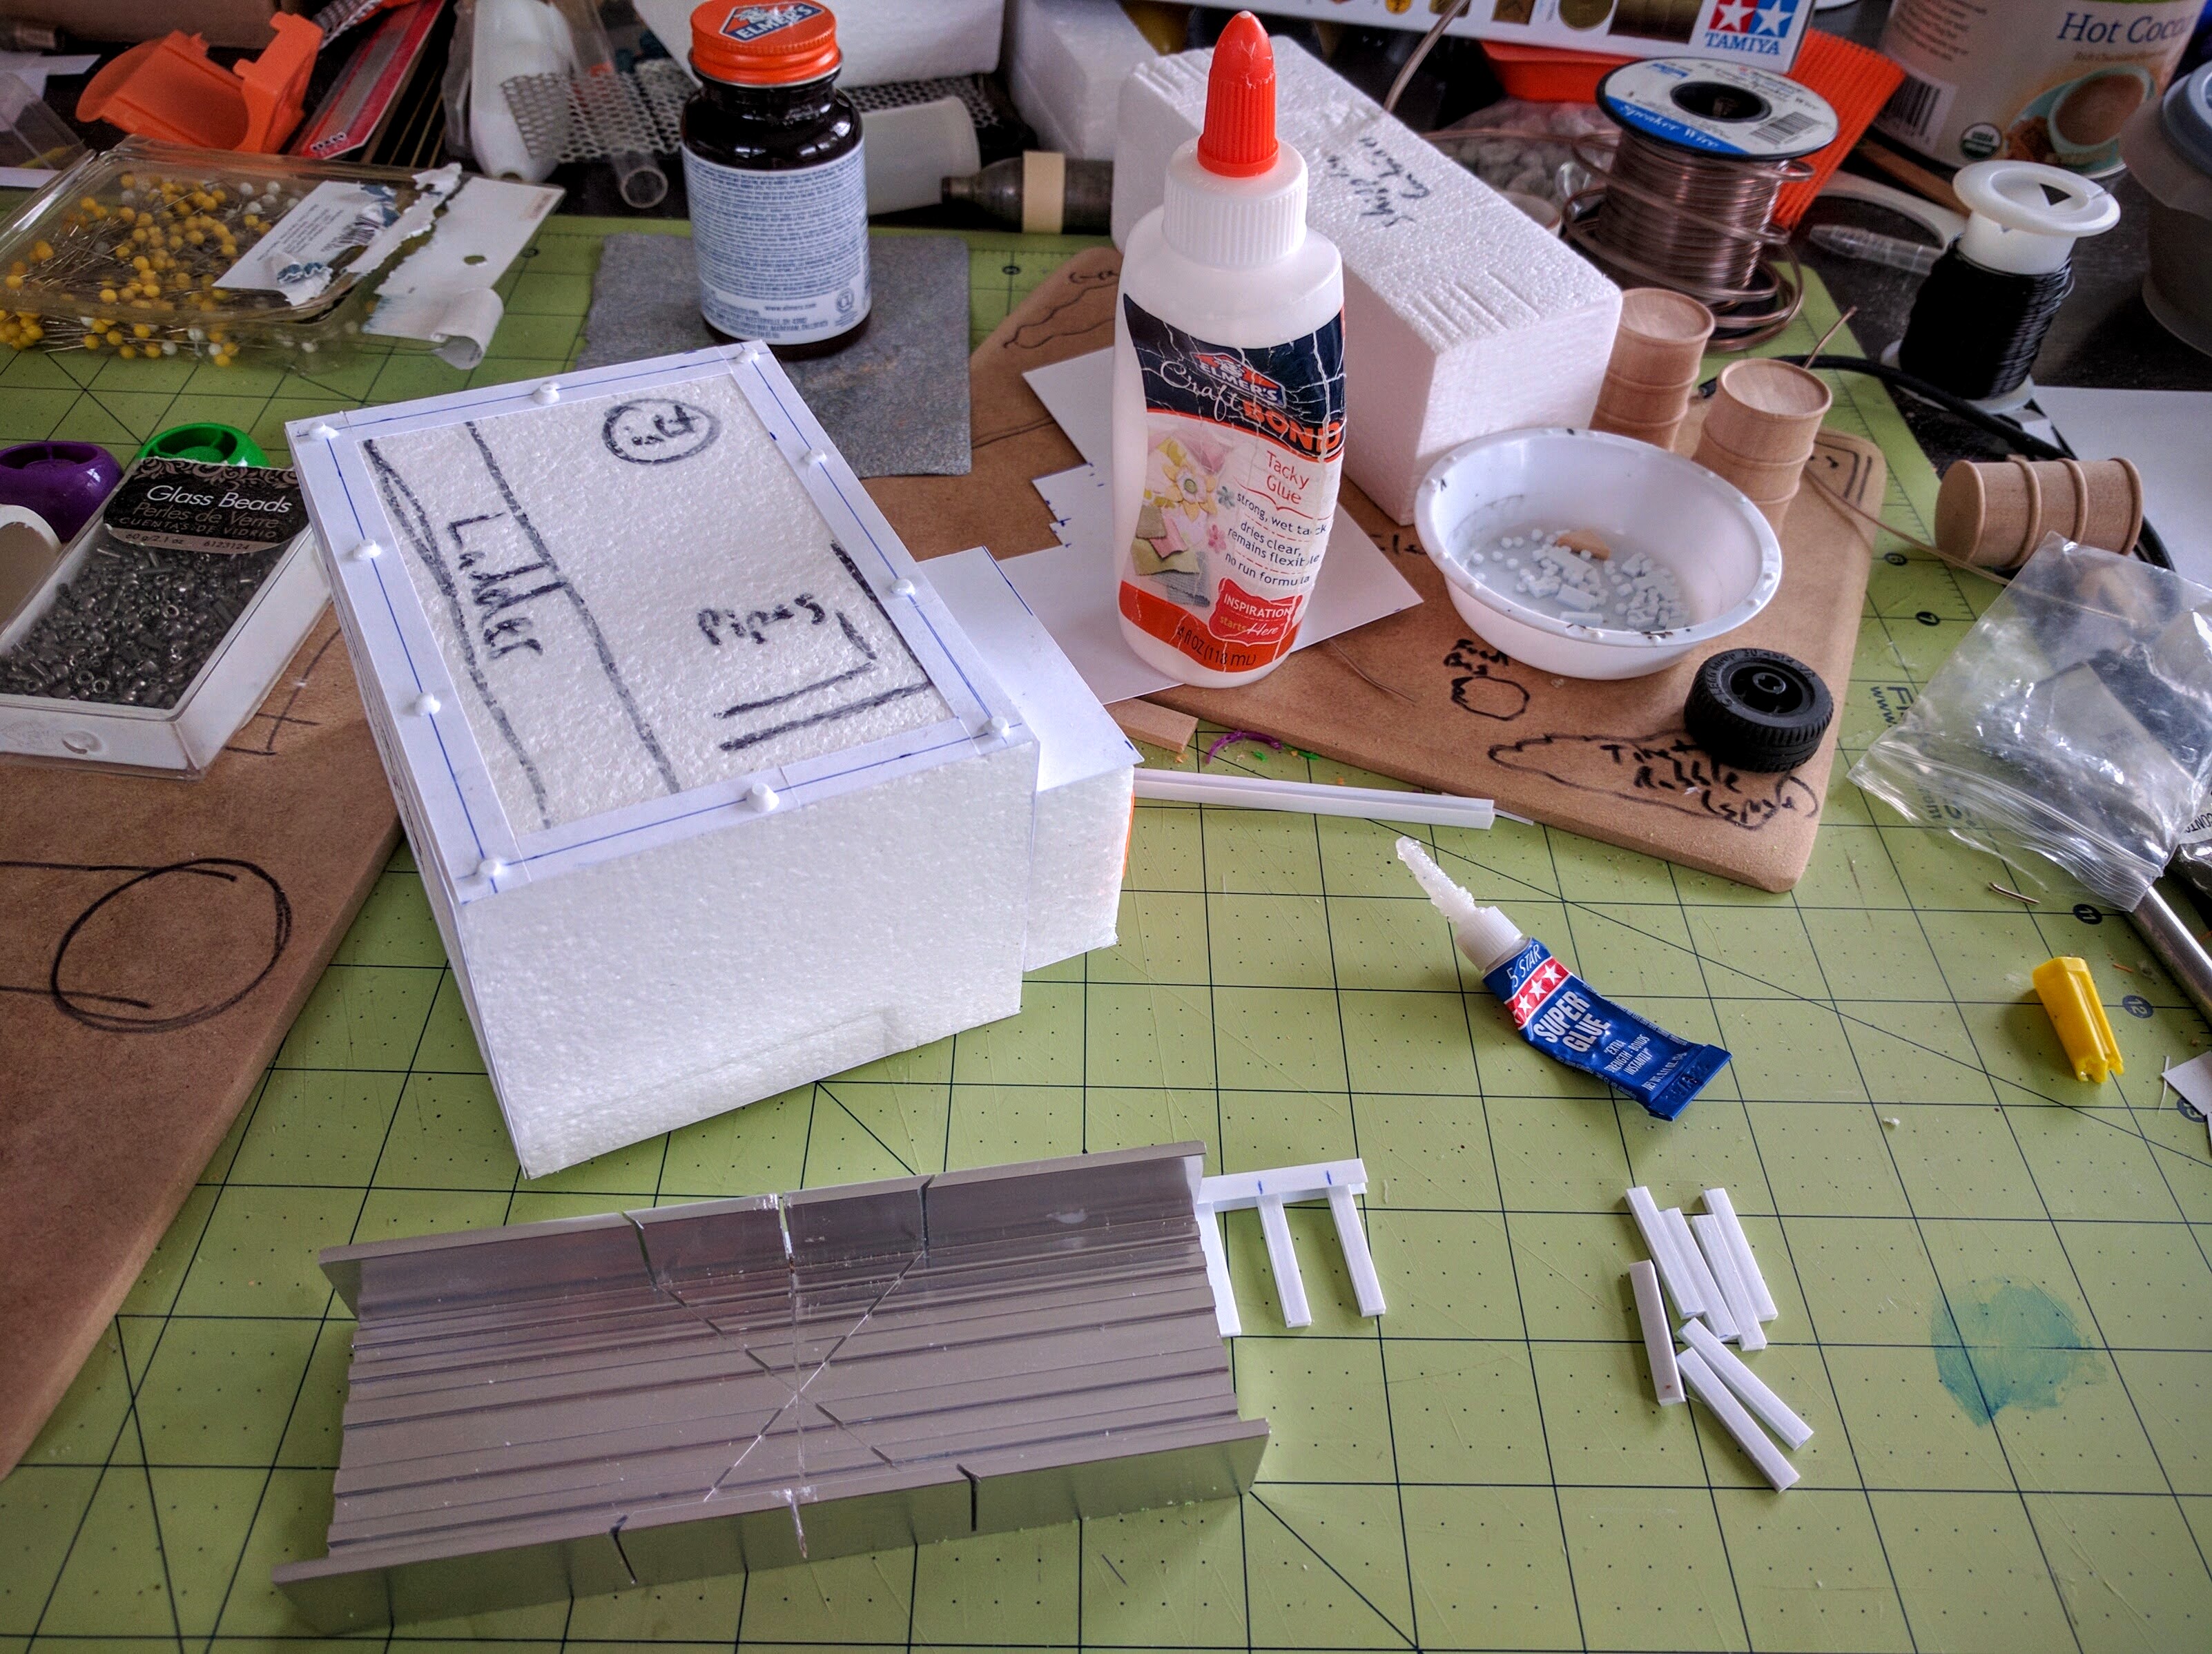
Water Tower
The water tower is a more elaborate scratchbuild, much of it digitally. I started with some inspiration from a canister of hot chocolate powder and wooden dowels. From there I modeled some feet for the legs and an insert for the bottom of the canister.

Working up some inspiration.

Modeling an insert for the bottom of the canister to position and hold the legs.

Prototype foot printed out for testing.
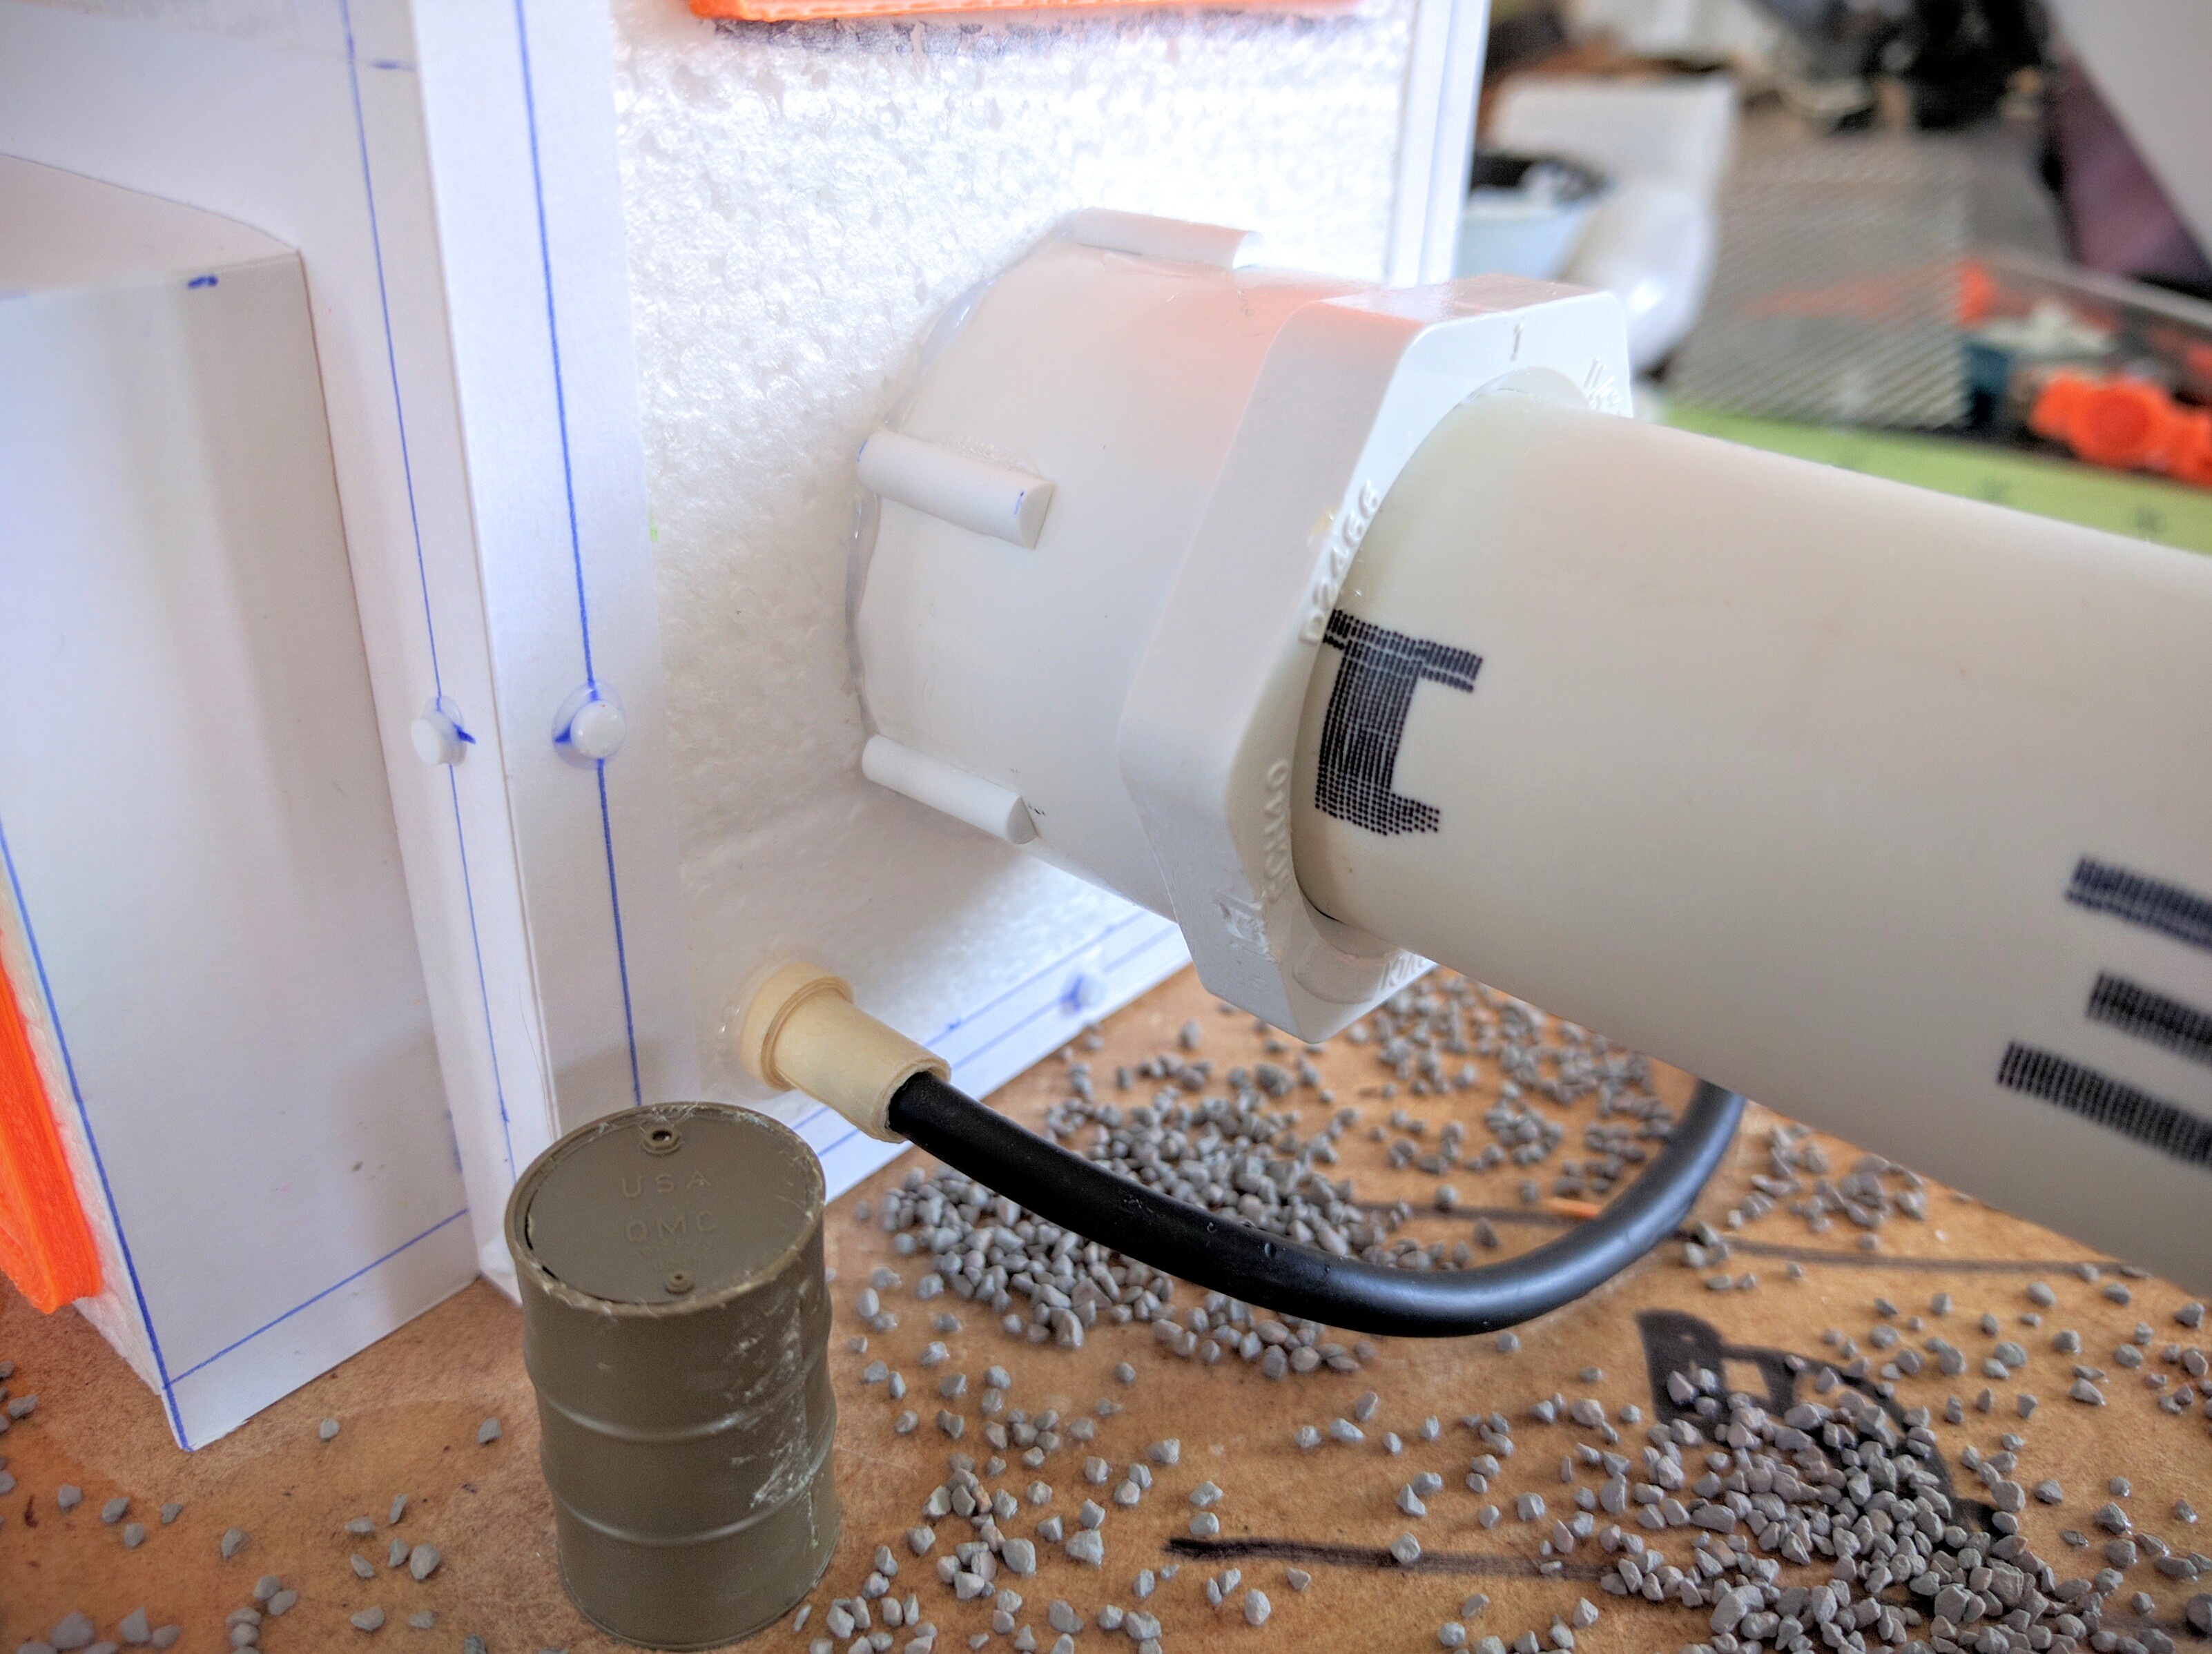
The canister I wrapped in cardstock and tape, then added Plastruct struts regularly around it for texture and to mask its identity. The outlet pipe I modeled as parts to be assembled, to be printed without supports.
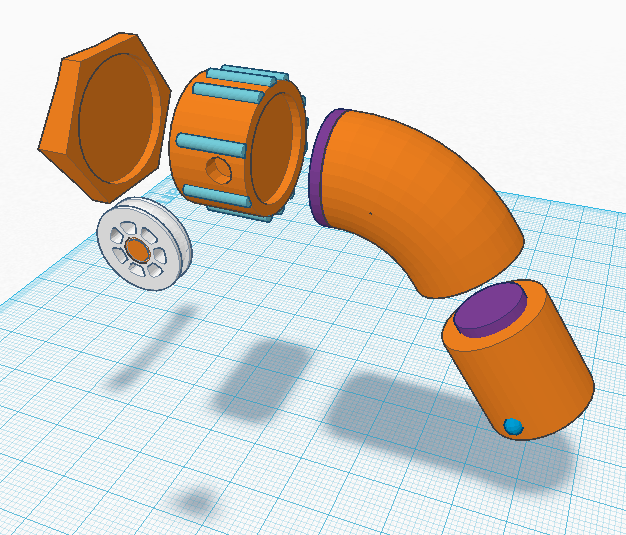
Modeling the outlet spigot.

Assembling the outlet spigot.
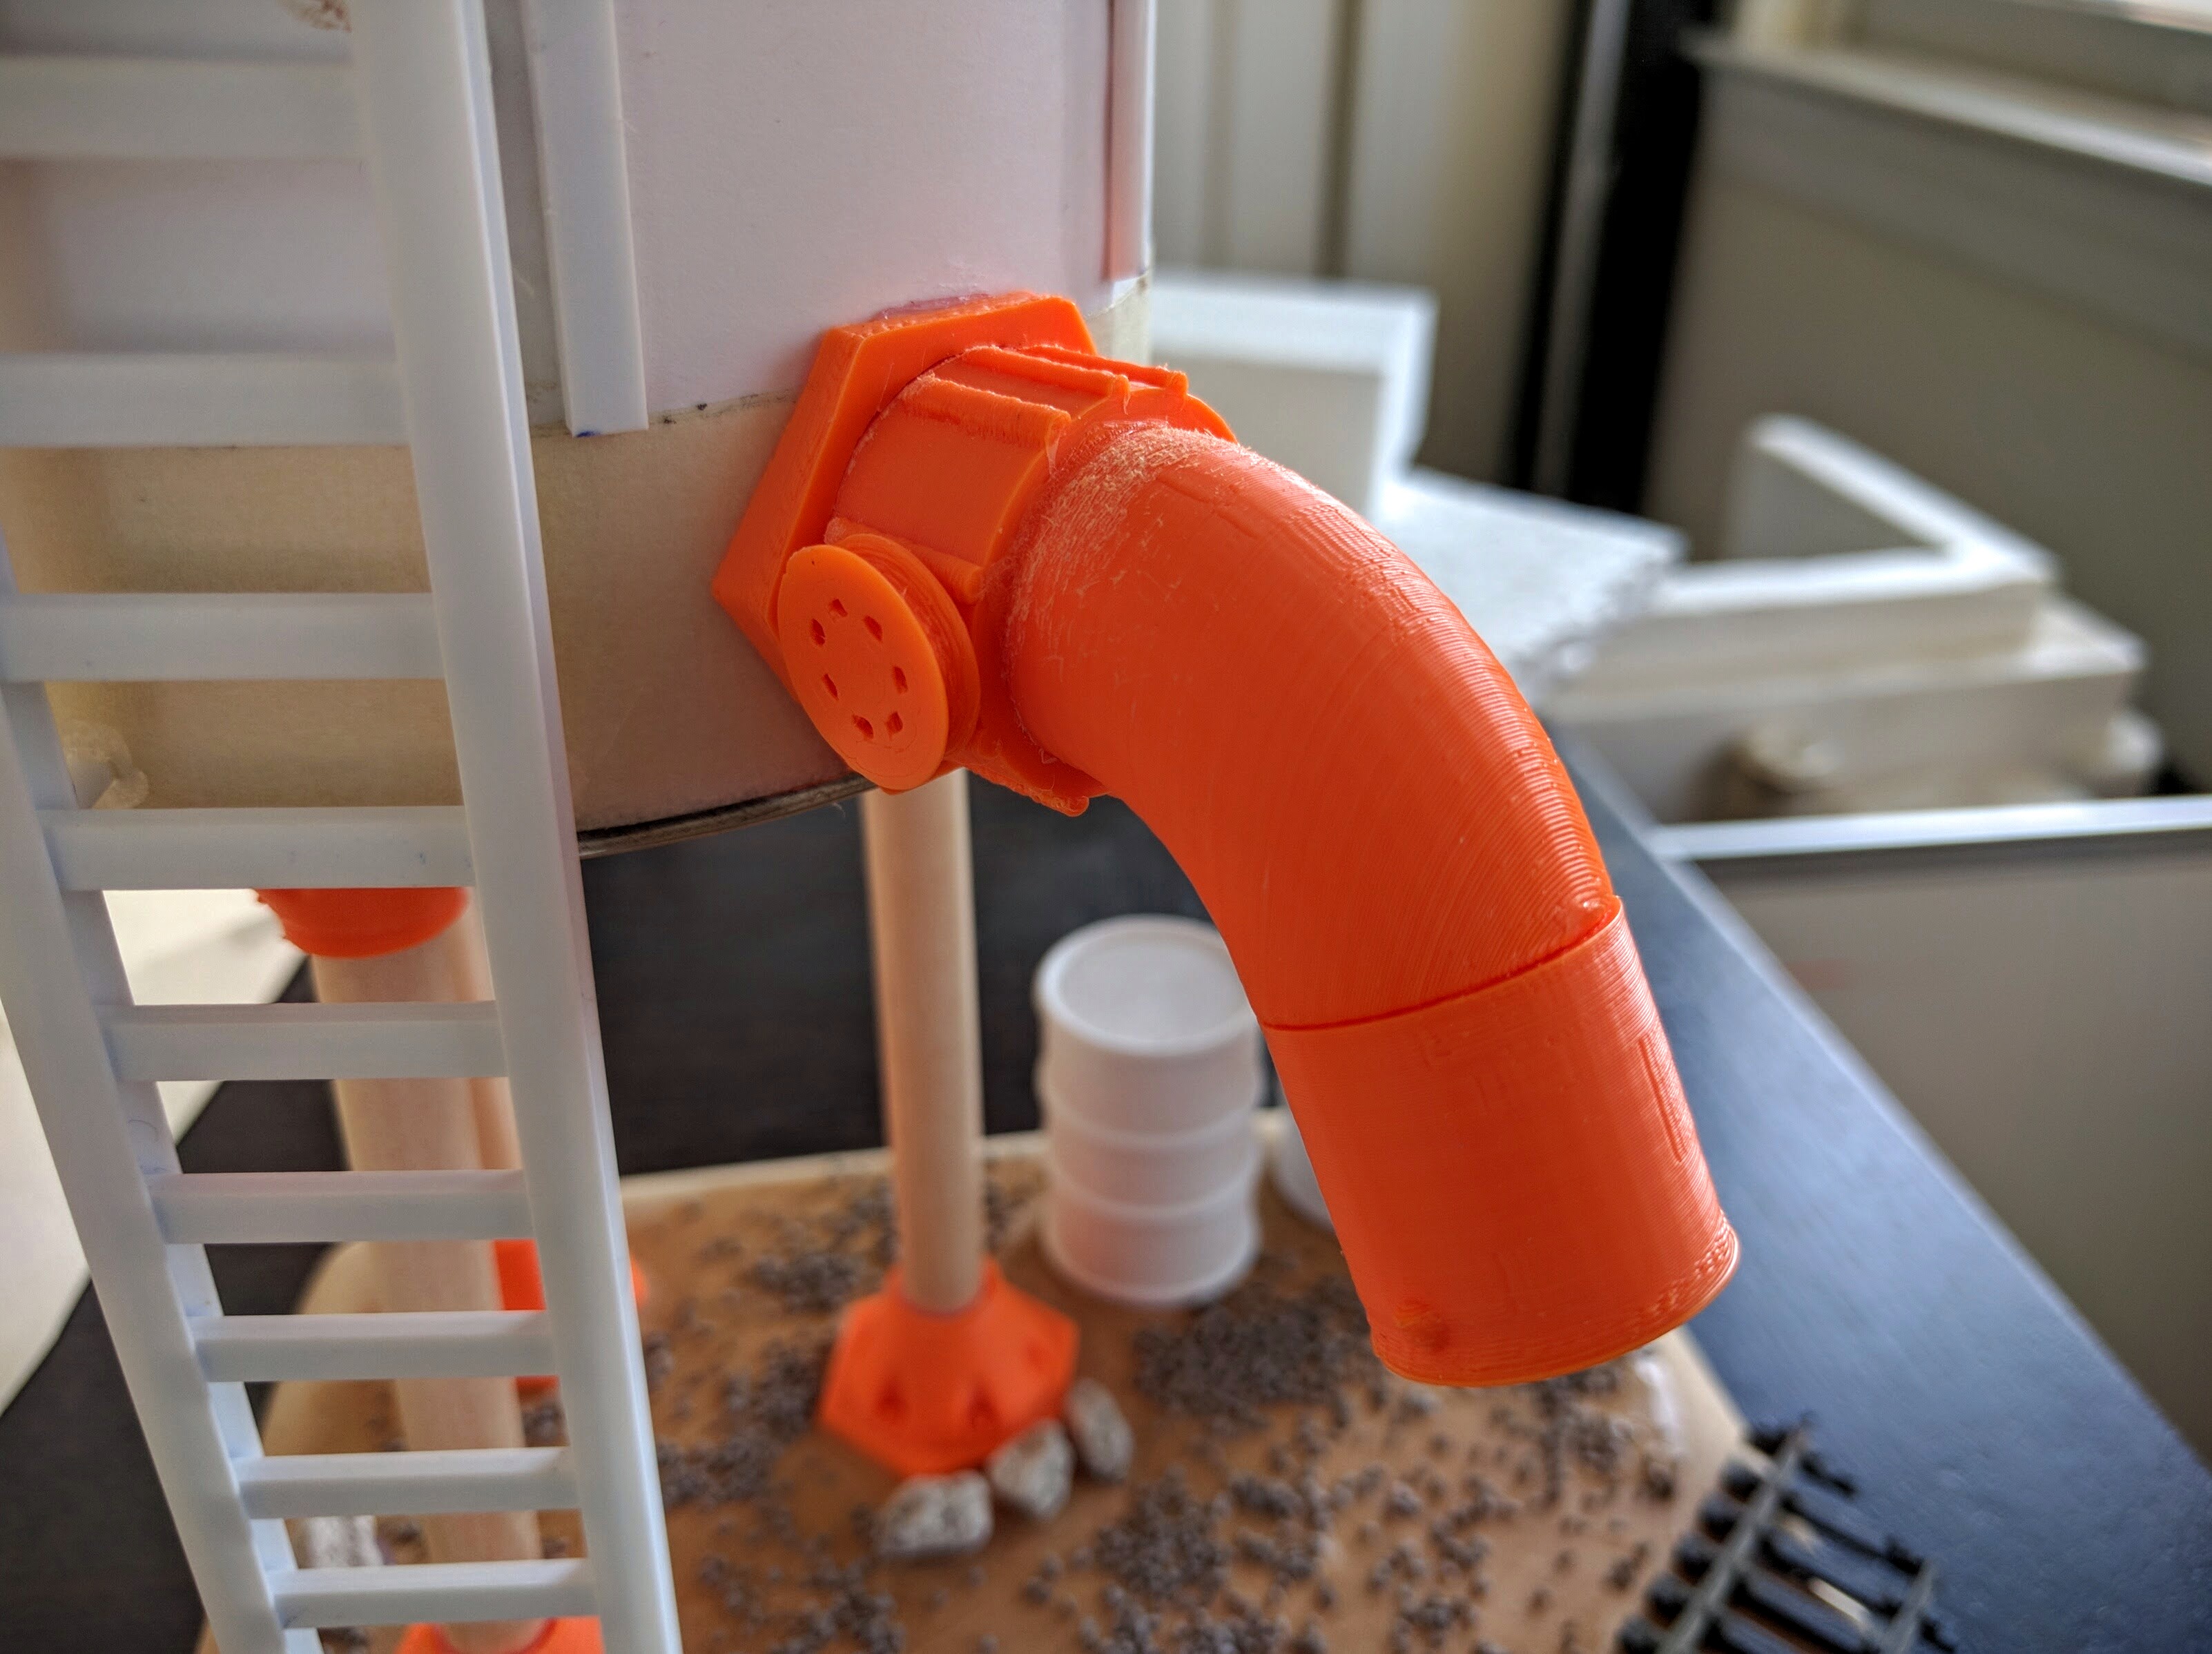
Assembled outlet spigot.
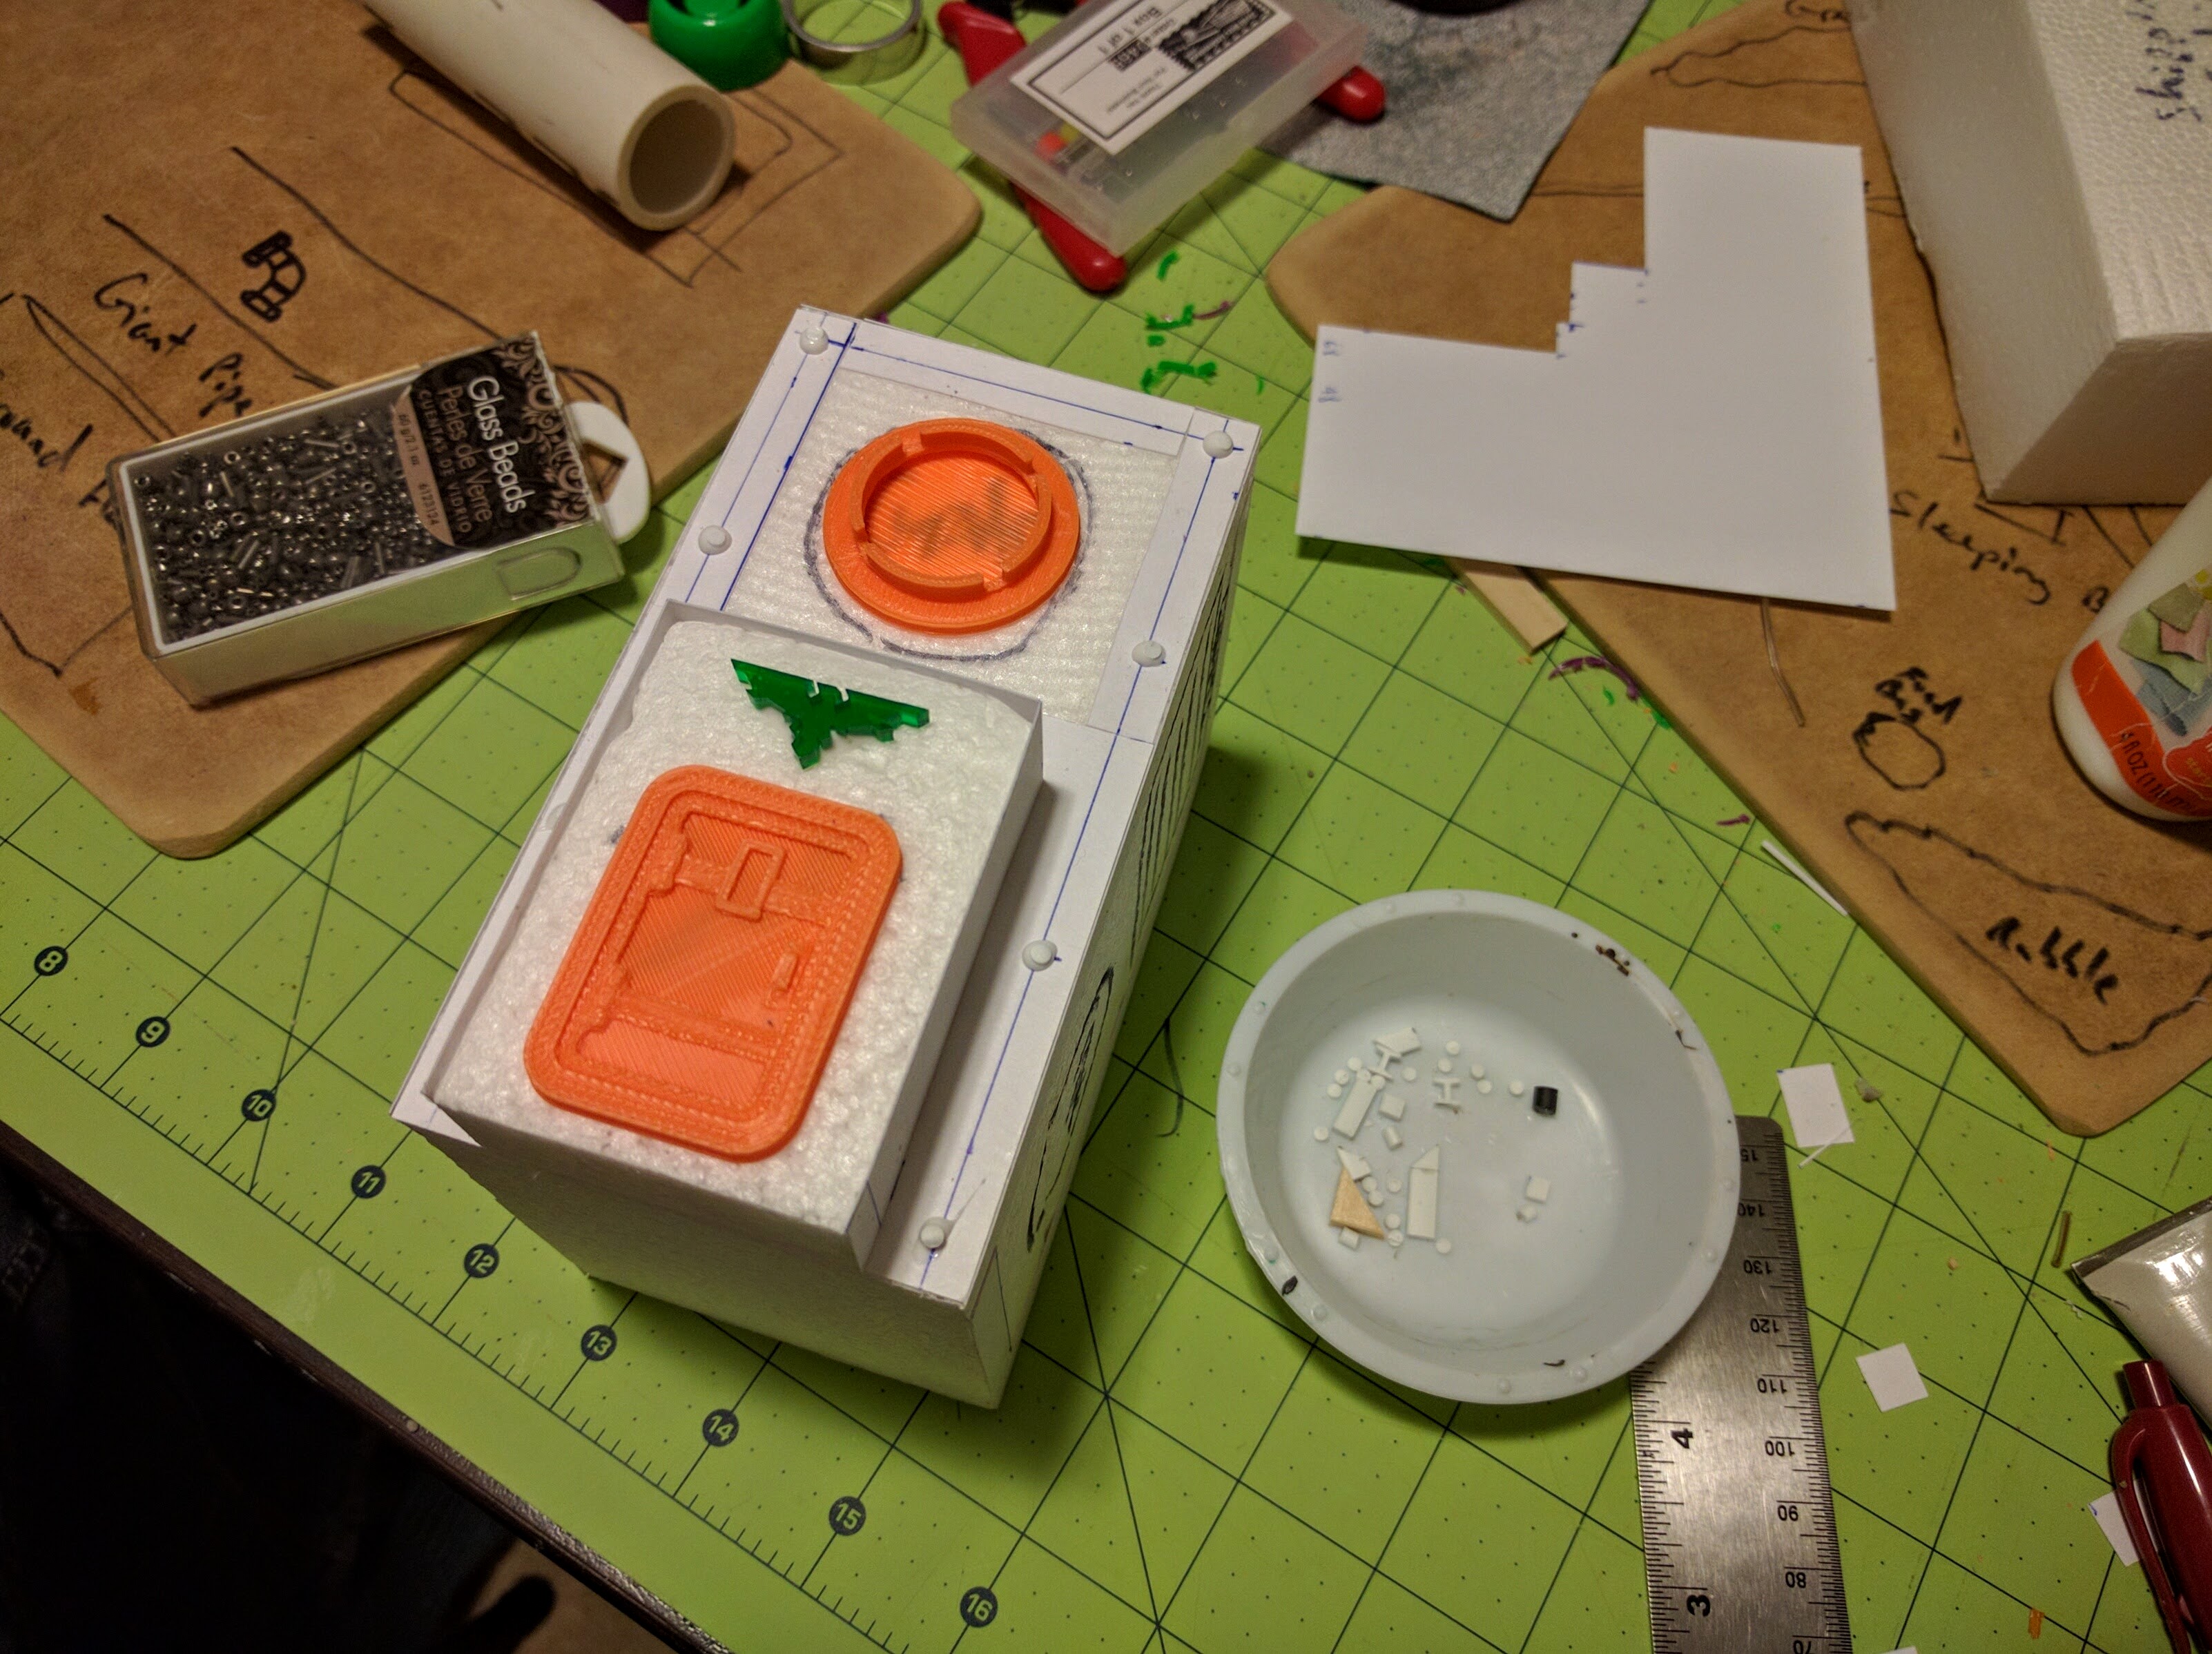
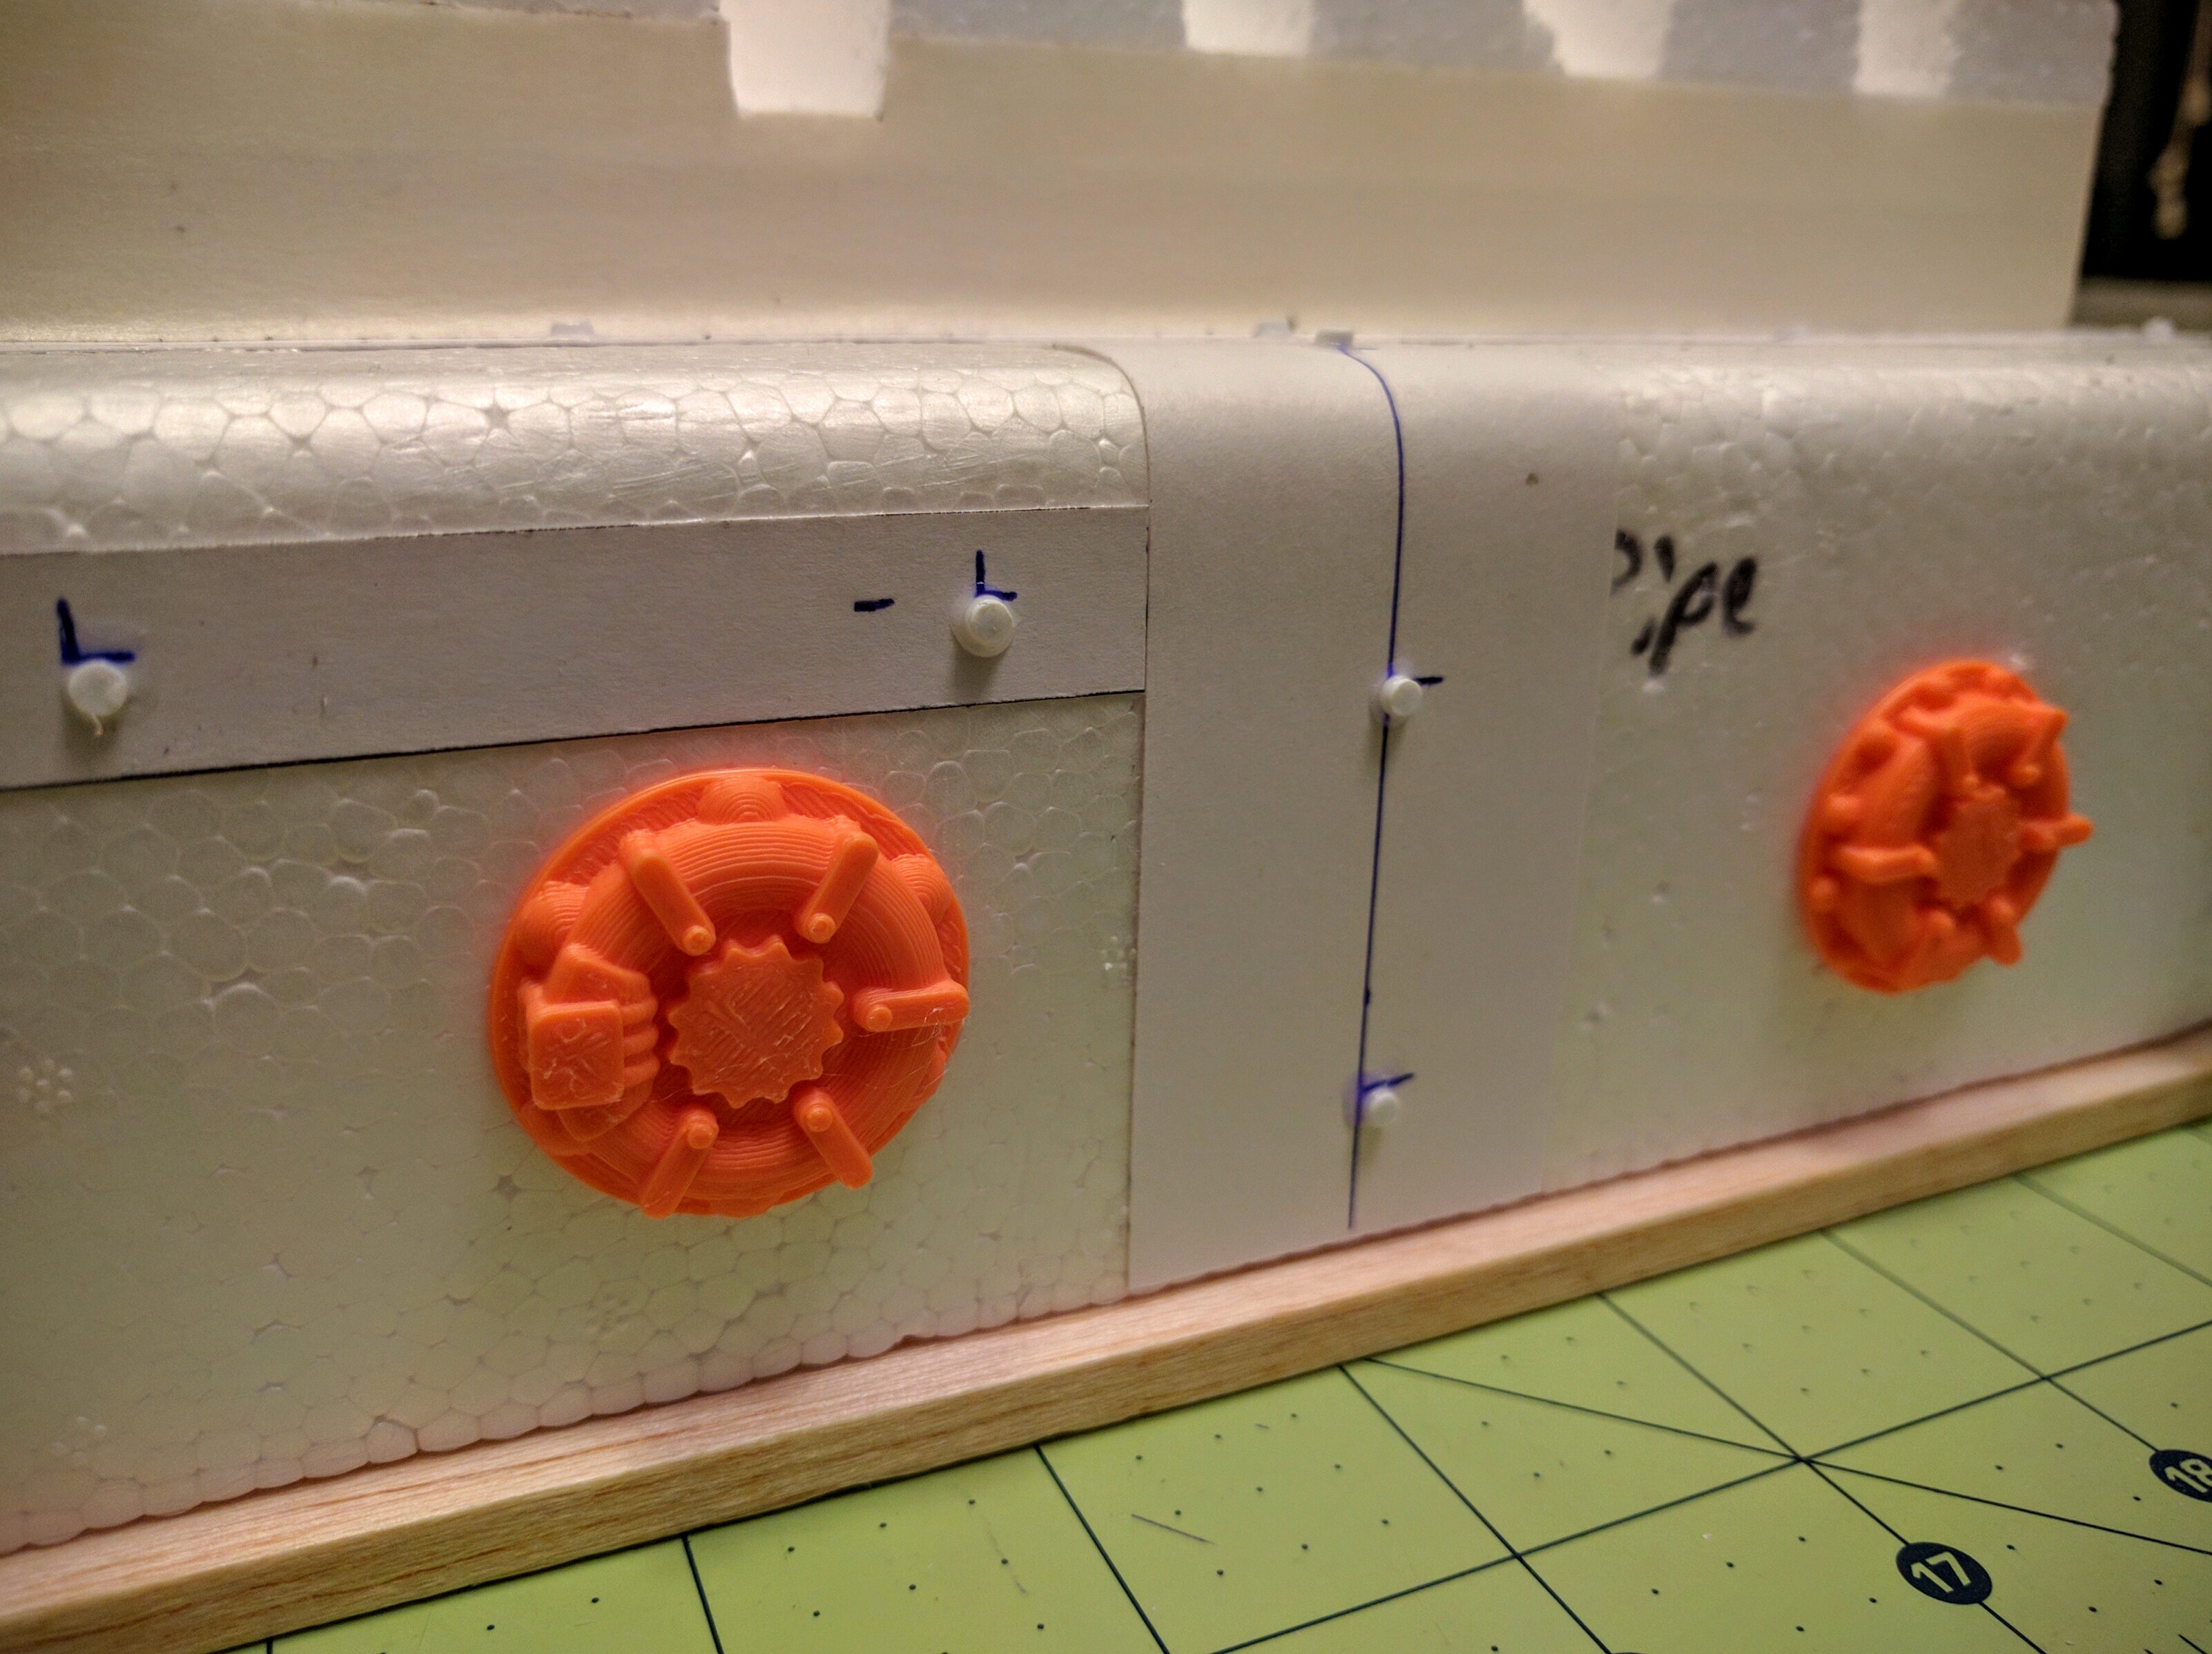
Throughout all this modeling and building I try to think a bit about how the terrain structures and represents the gameplay on it. For example, most people play a piece like this in 40k such that models on the top of such a structure would get some kind of cover. That’s kind of funny seeming thematically if it’s just a bare roof or top. So I like to have bits around to give a suggestion of the kinds of things the figures are hiding behind. For the bits on top here I used some of the generic 3D printed bits I’ve designed, as well as some I downloaded. Of course then the soldiers need a plausible way to get to the top, so a ladder was constructed as in this tutorial and hung off the side.
Beyond that, I was thinking a bit here about the story image of the civilians who operated this tower. Specifically, I thought about the engineer having to climb up this somewhat perilous ladder to turn the wheel controlling the outlet, and then the even more dangerous task of climbing up to replace the small fuel tank powering the machinery on the roof and inexplicably hung off the side. So there are a couple real design details, like they ladder has been placed in reach of both, and the fuel tank hanger designed with a bottom insert and a backing cage with rounded edges such that you could plausibly hang by the ladder and throw a tank on. That said, it’s important to not worry too much about the story. For example, how does this water tank get refilled? Don’t know, don’t care.
The train track is a random HO scale piece I had laying around, cut down a bit with a Dremel. The scale of it works much like the truck discussion above but in reverse. HO scale is actually much too small for 40k, being 1/87 whereas 40k is around 1/46. For train cars, buildings, and equipment, O scale at 1/48 is much more appropriate. However, set on their own, I think HO tracks like these work visually. People underestimate how wide train tracks are in reality. Plus, in a use like this it’s easy to imagine the tracks being for very narrow gauge rail or even just small material hopper carts such as is used in mines.

A recognizable tower, but still a work-in-progress.
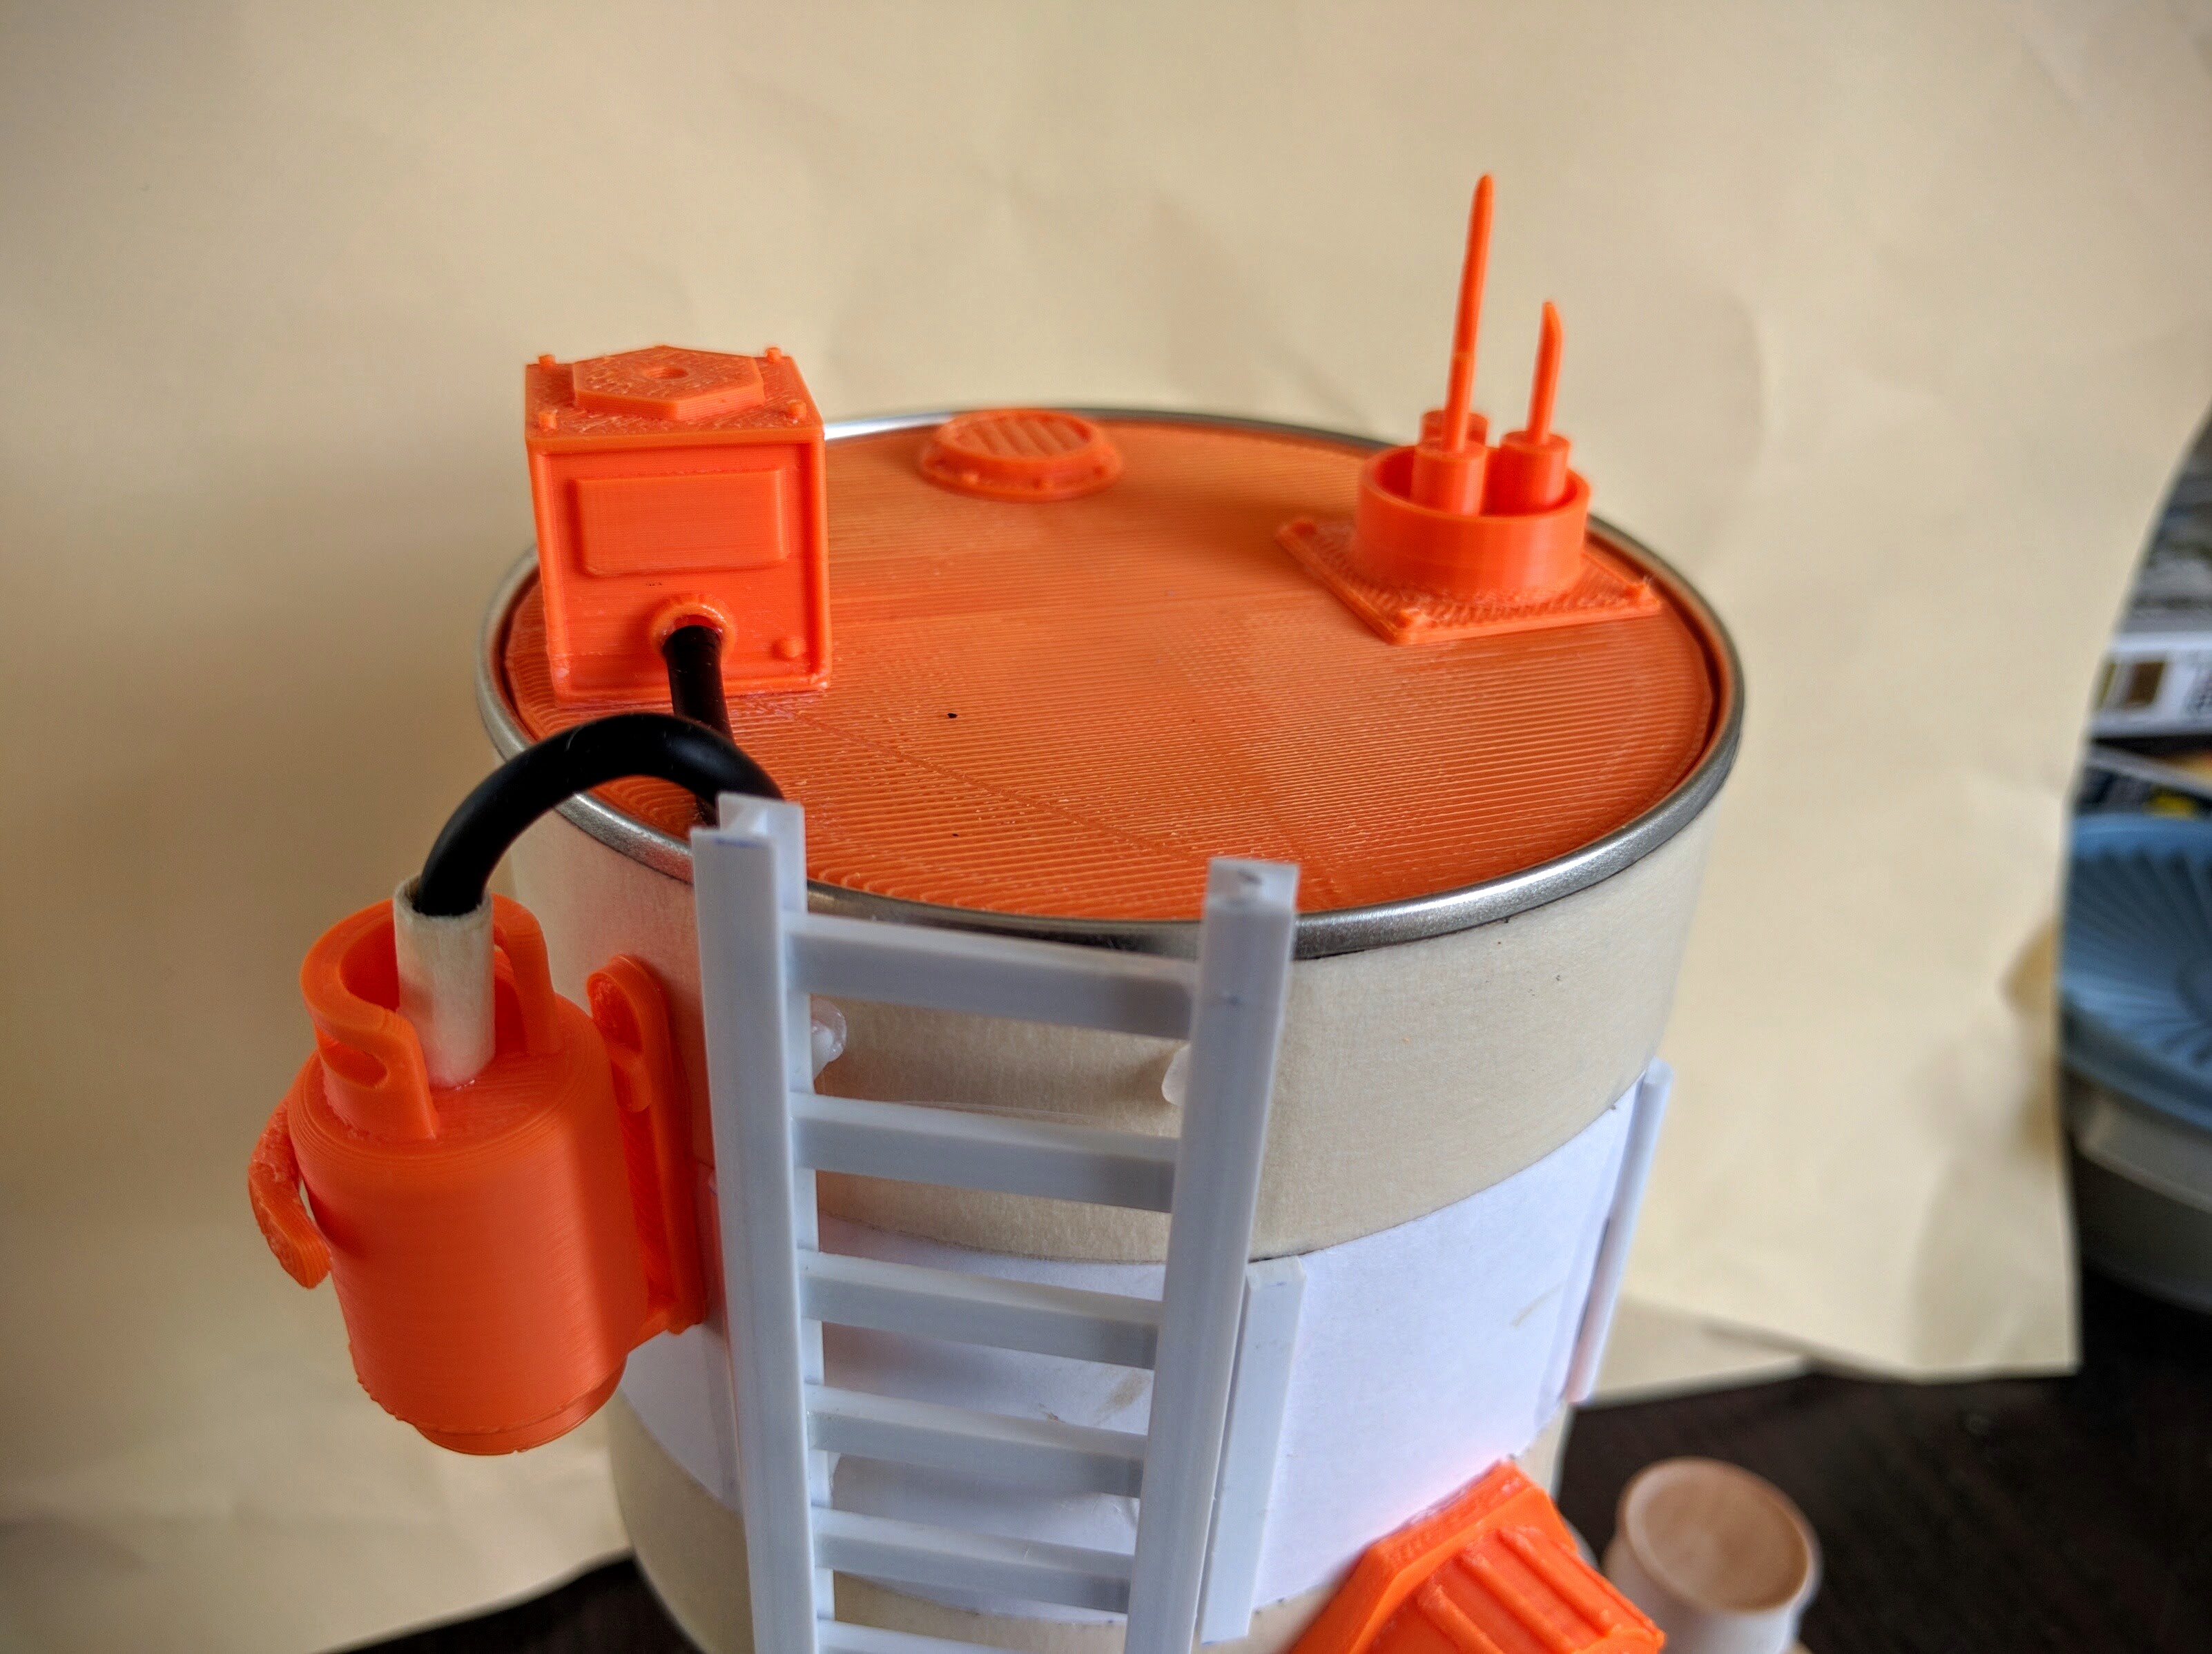
Details added to the top, and a ladder to get to them.
The feet in place along with some surface texture.

The assembled water tower.
Models
Both these pieces were a lot of fun to put together, in different ways: One very old school modeling, and the other very futuristic high-tech crafting. The 3D models developed so far are available for free on my Thingiverse account. More to come as the remaining Medea Refinery pieces get completed and painting begins!